Drone637
Well-Known Member
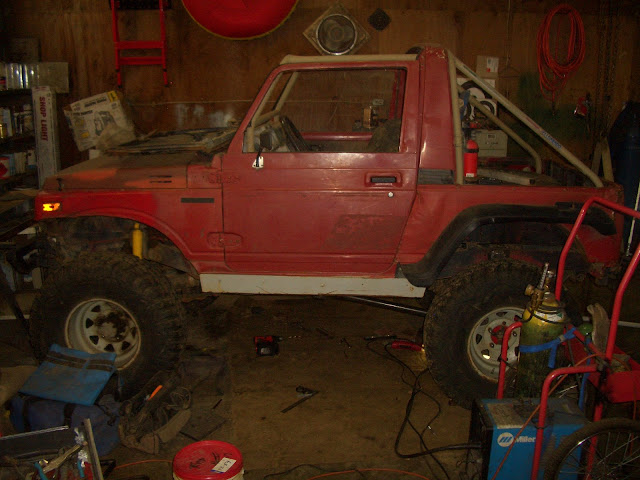
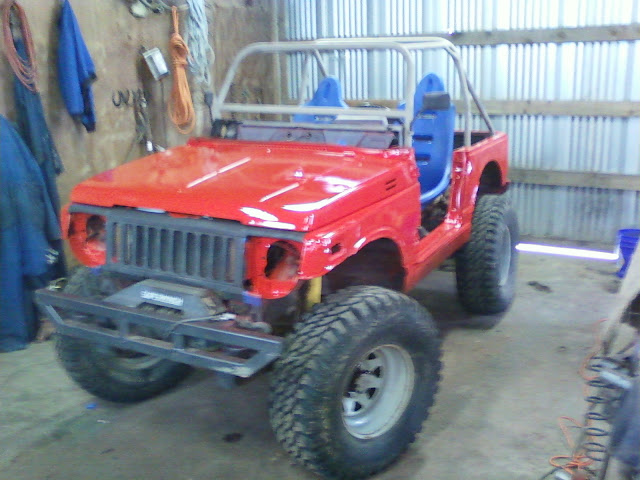
SJ-410 Project
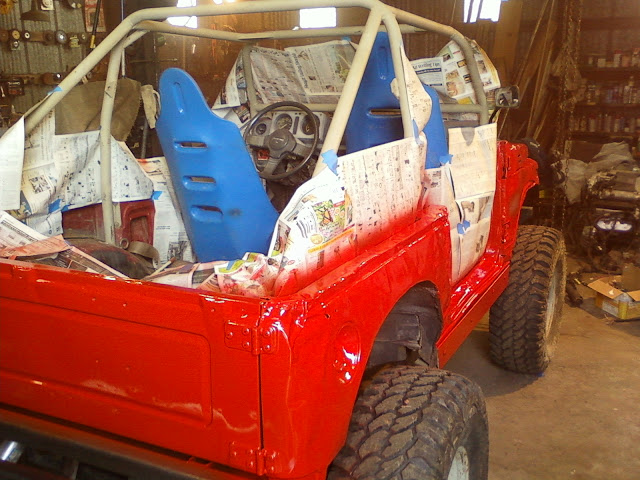
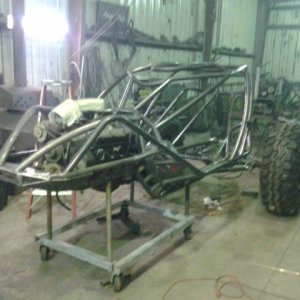
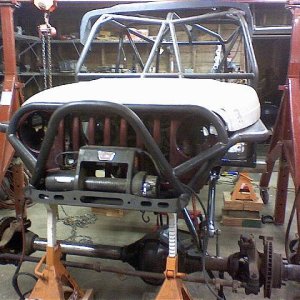
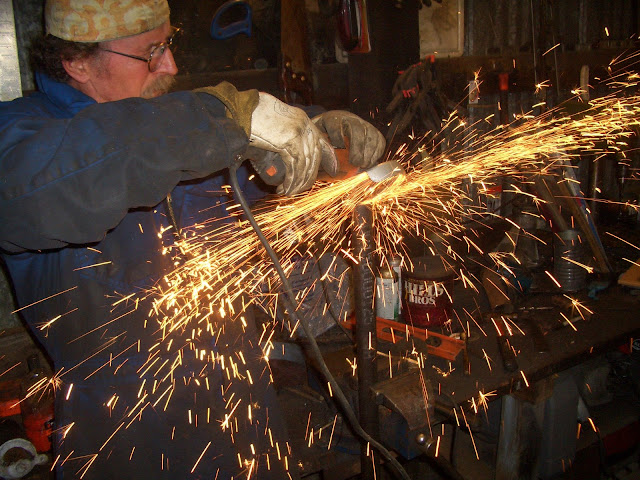
Putting up pictures from the last few weekends of building on the SJ-410.
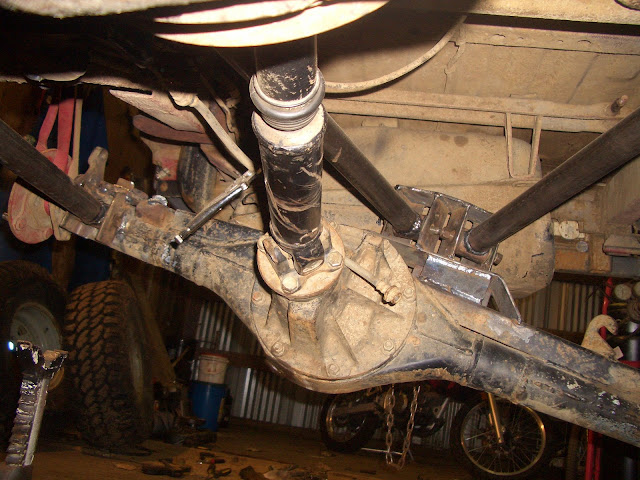
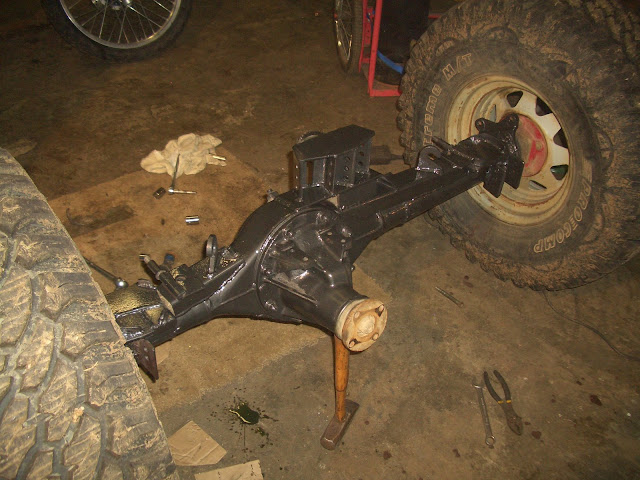
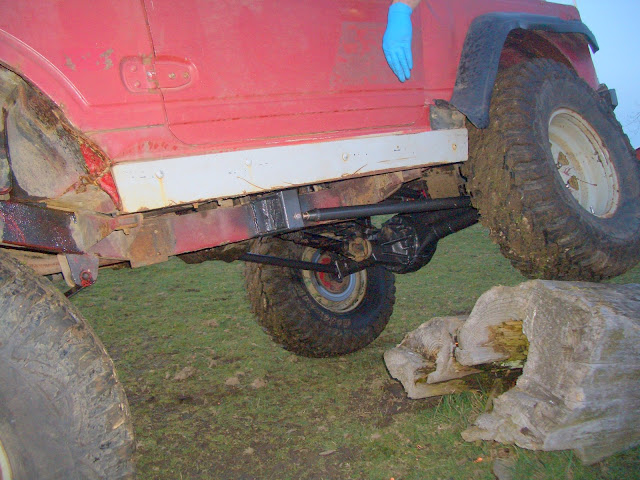
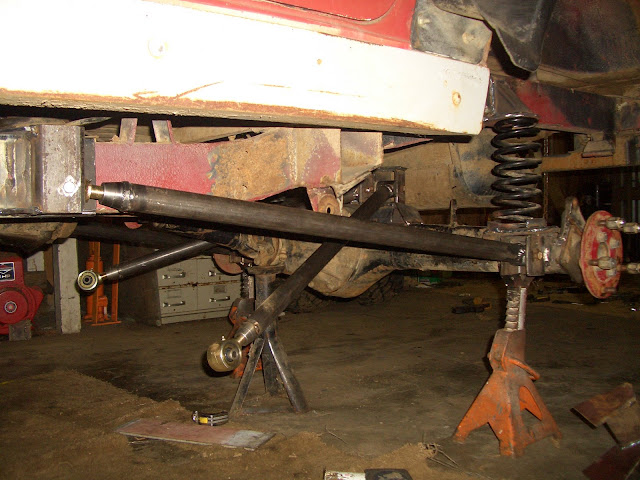
Axle looks like we can move it back about an inch and still clear the gas tank.
Full picture set can be found at http://picasaweb.google.com/CrawlersNW/4Link#
Shots from the first weekend.
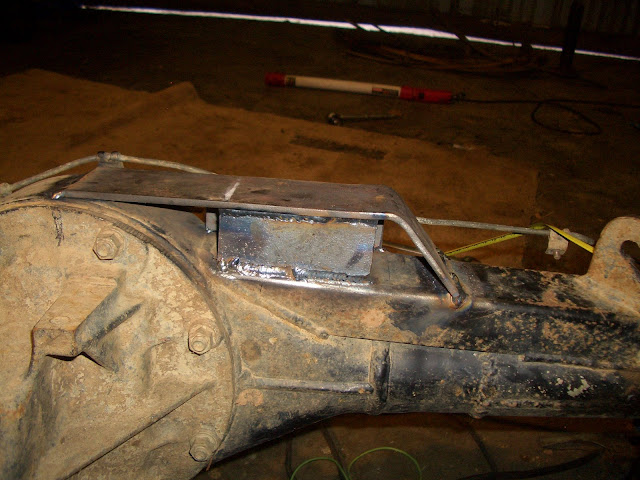
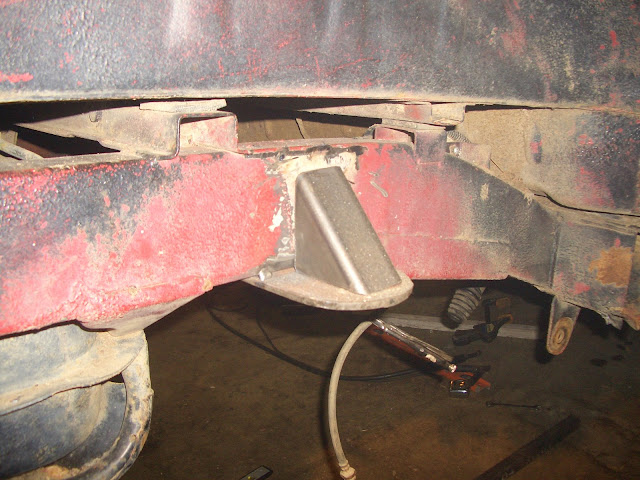
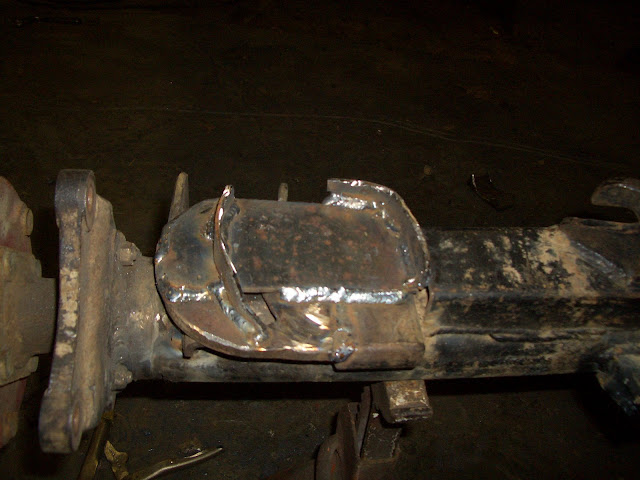
Upper link base, front side.
Upper link brace, back side.
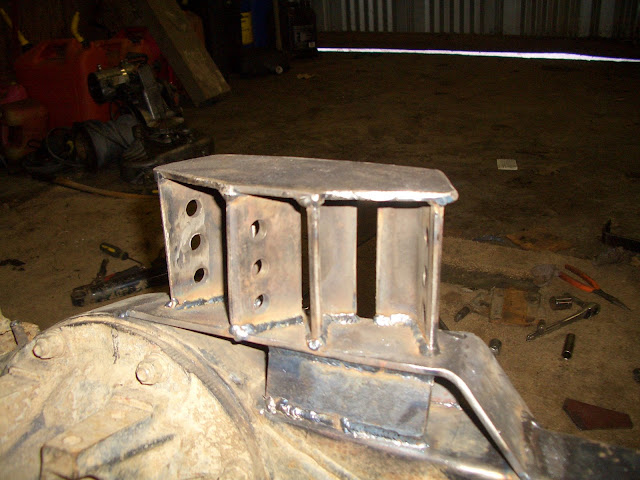
Upper link brace with mount sitting on top. We ended up replacing the mount.
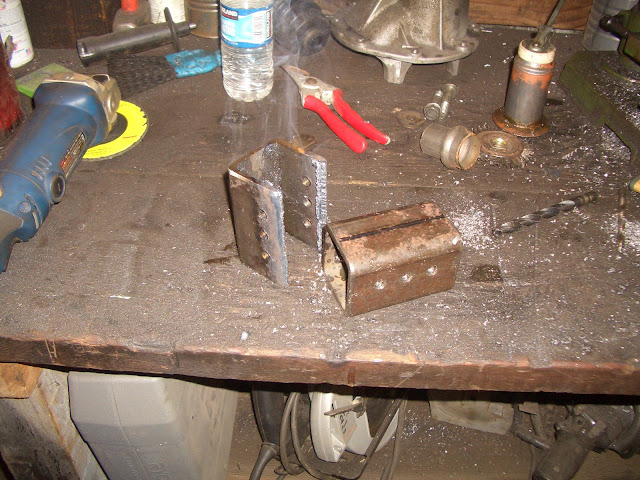
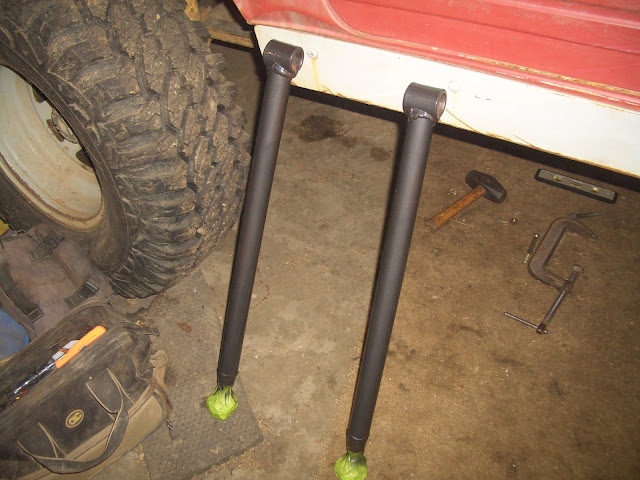
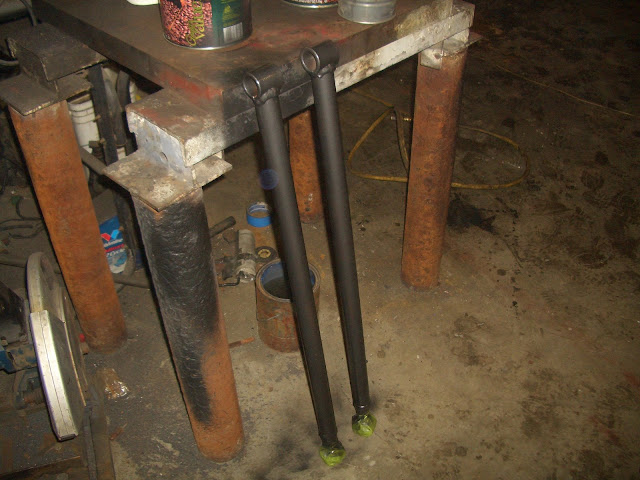
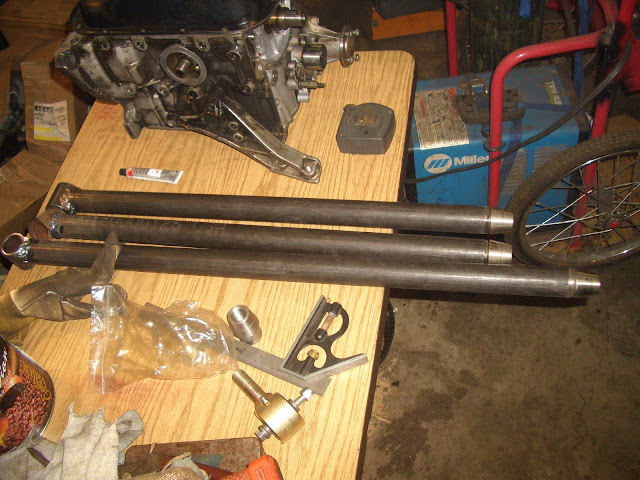
Upper link mounts, found square stock just the right size for the Johnny Joints. They are used often.
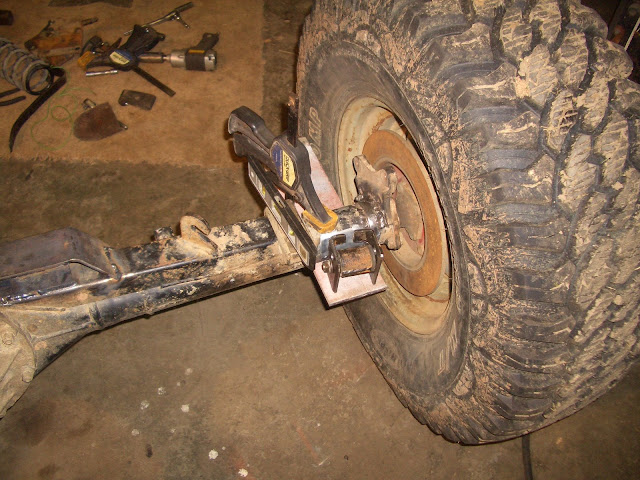
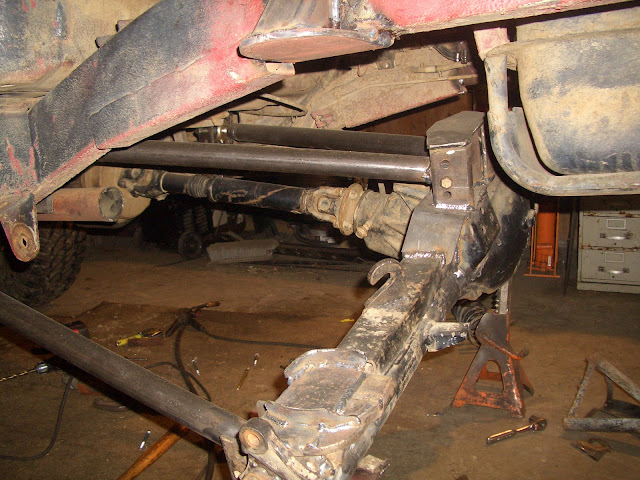
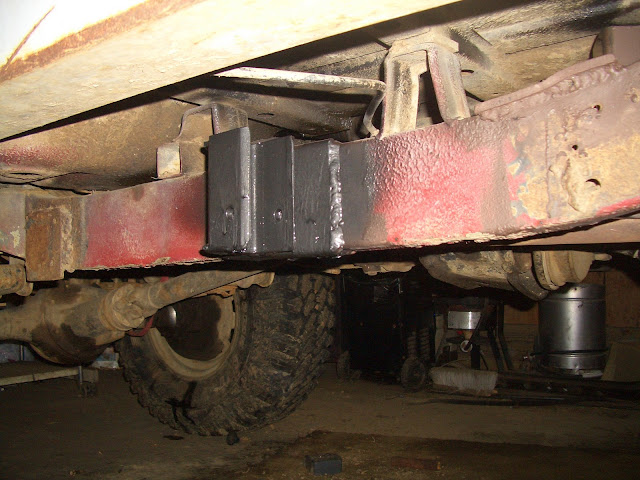
Lower Link Mounts sitting in position.

Lower Link Mounts, frame side, sitting in position. No bracing has been added yet.
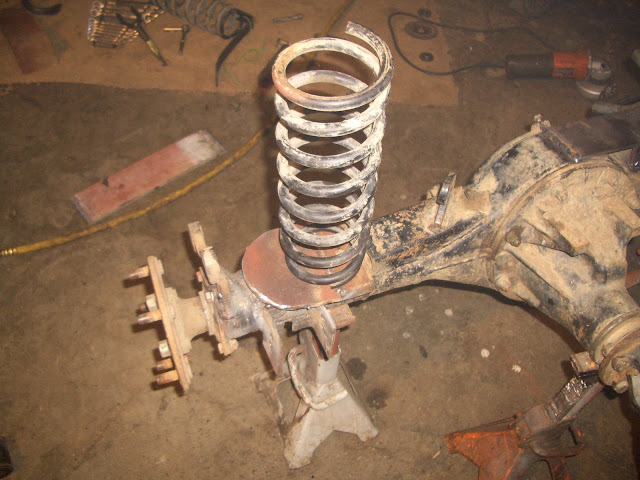
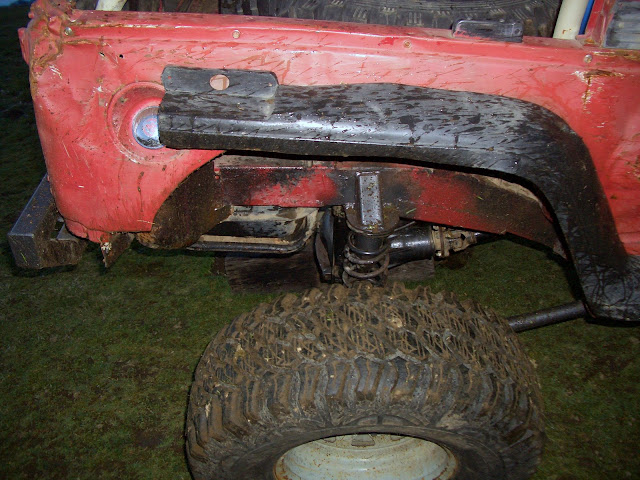
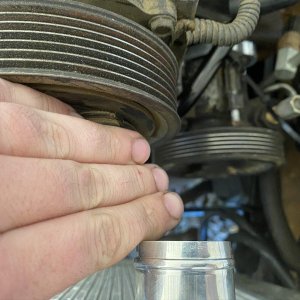
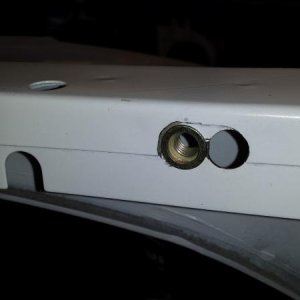
Lower Spring Pad + Lower Link Mount. We had a couple designs on the spring pad design, we ended up modifying this one next week.
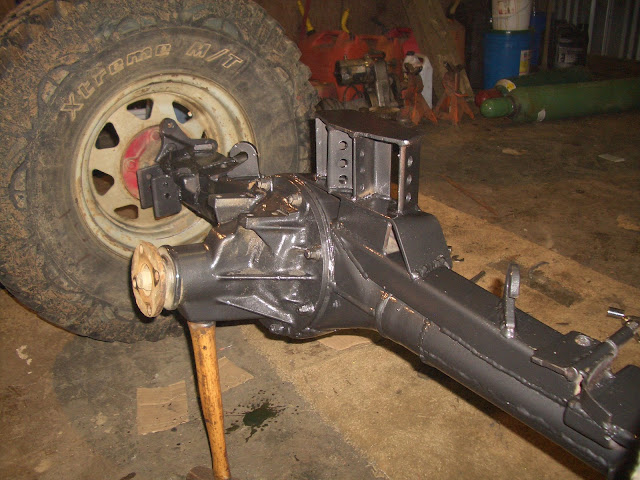
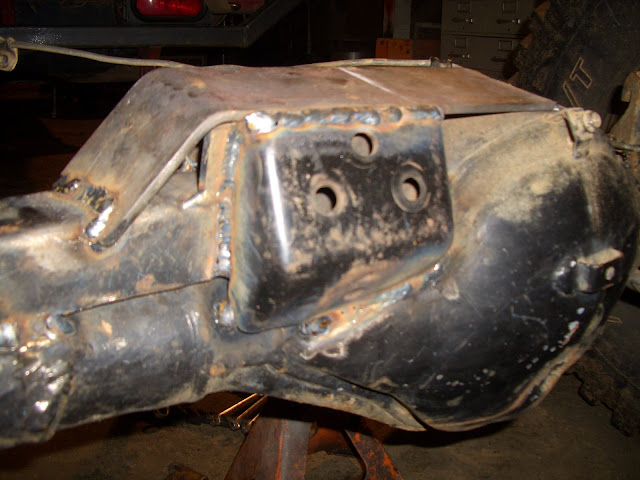
Upper spring pad mount with brace. The pad is just tacked in at this point in case we need to move it.
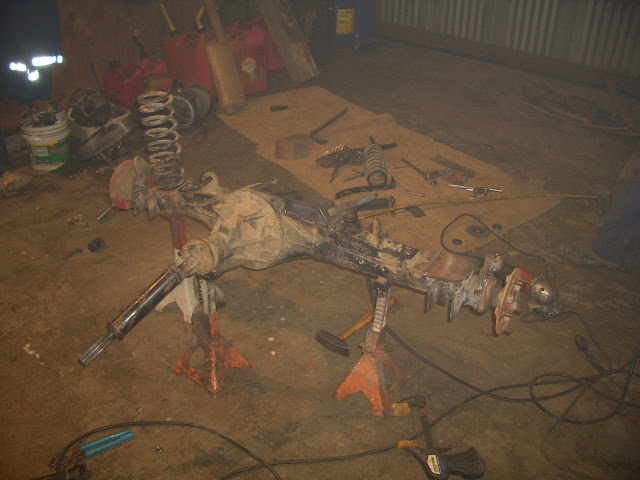
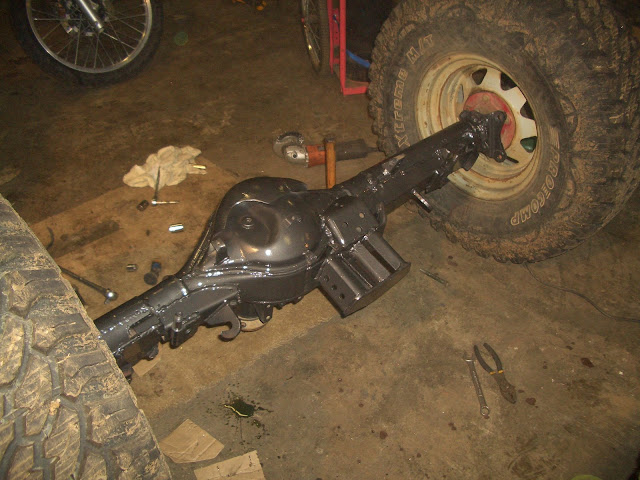
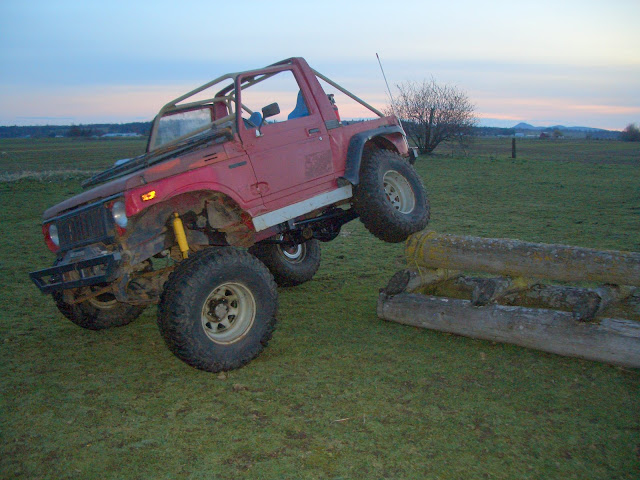
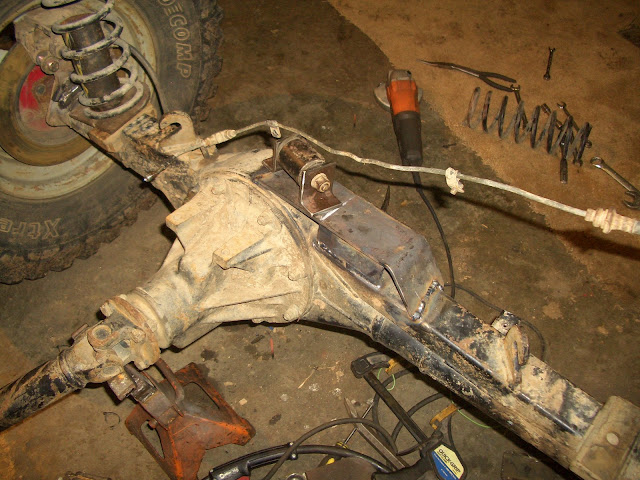
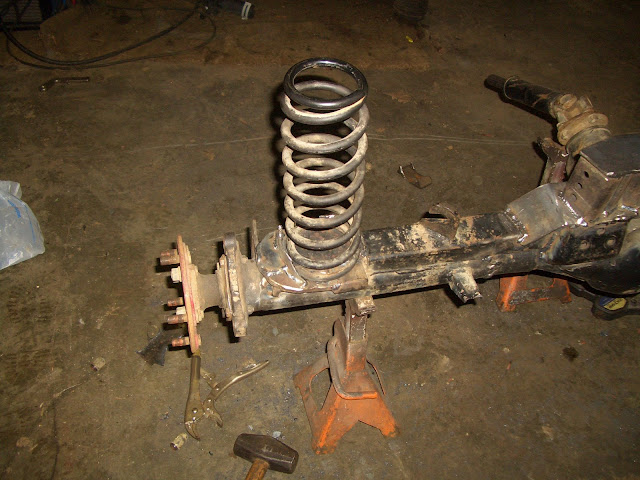
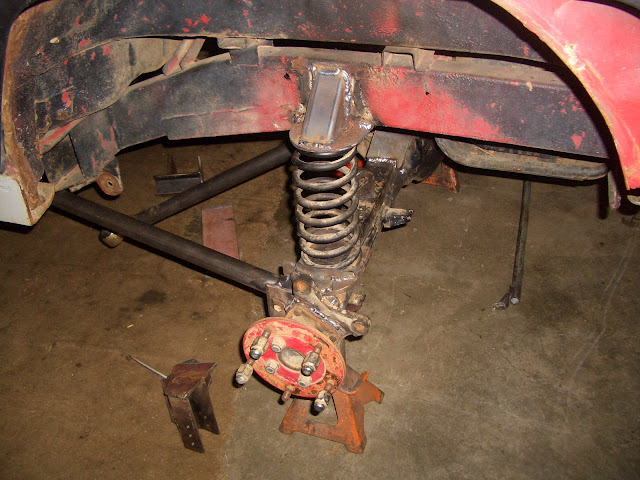
As the axle sat for a few weeks until we could get back to it.
Putting up pictures from the last few weekends of building on the SJ-410.
Axle looks like we can move it back about an inch and still clear the gas tank.
Full picture set can be found at http://picasaweb.google.com/CrawlersNW/4Link#
Shots from the first weekend.
Upper link base, front side.
Upper link brace, back side.
Upper link brace with mount sitting on top. We ended up replacing the mount.
Upper link mounts, found square stock just the right size for the Johnny Joints. They are used often.
Lower Link Mounts sitting in position.
Lower Link Mounts, frame side, sitting in position. No bracing has been added yet.
Lower Spring Pad + Lower Link Mount. We had a couple designs on the spring pad design, we ended up modifying this one next week.
Upper spring pad mount with brace. The pad is just tacked in at this point in case we need to move it.
As the axle sat for a few weeks until we could get back to it.
Last edited:

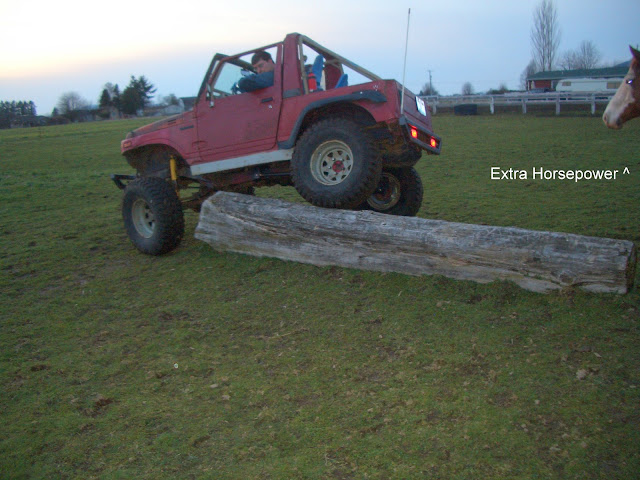
 with any luck you could have this thing out for the spring cleanup?