Toyotanut
Well-Known Member
did they get the semi unstuck?
did they get the semi unstuck?
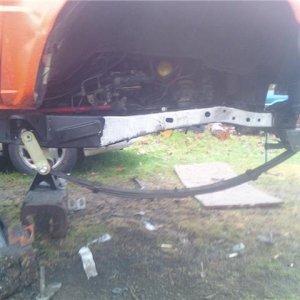
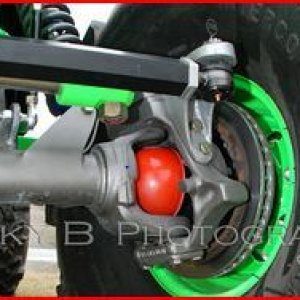
If its not to much trouble can you measure from end of output to end of output on the new set up?
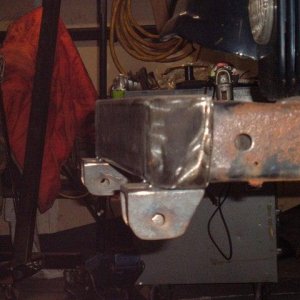
What do you use to cut the aluminum? Care to share, or are you keeping it a secret?


Where are the damn updates on these?
:fawkdancesmiley:
Just kidding! I feel your pain with all the power out and all.


(Hijack on)---hey, I just realized, my daughter's name is also Kaytlin! spelled differently, but the end result is the same!Who'd a thunk---(hijack off):redneck:
Nice builds tho!!!:awesomework: I've always wanted to get into these...