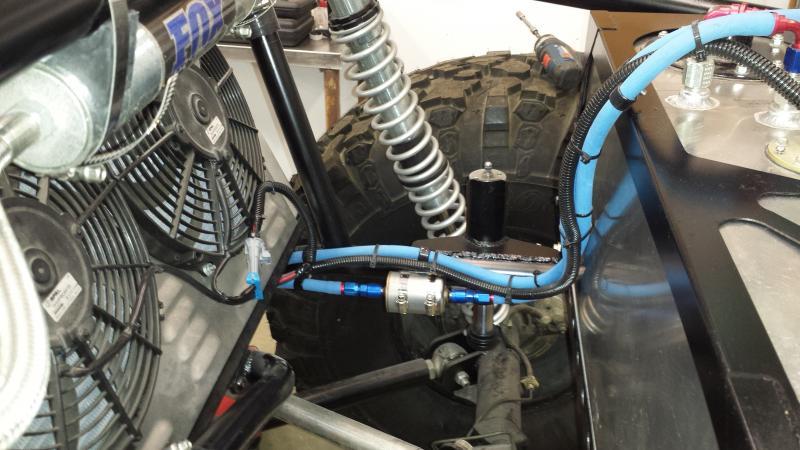
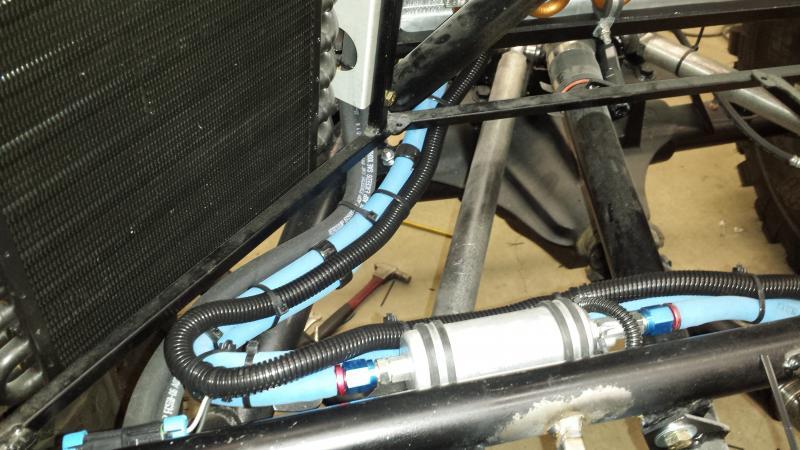
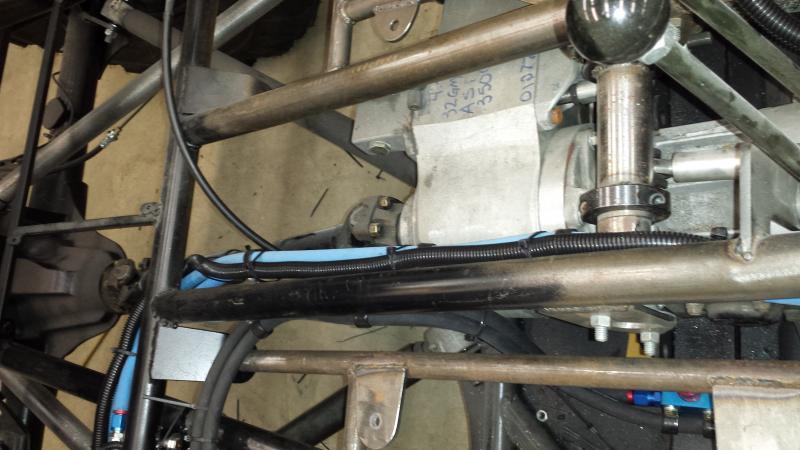
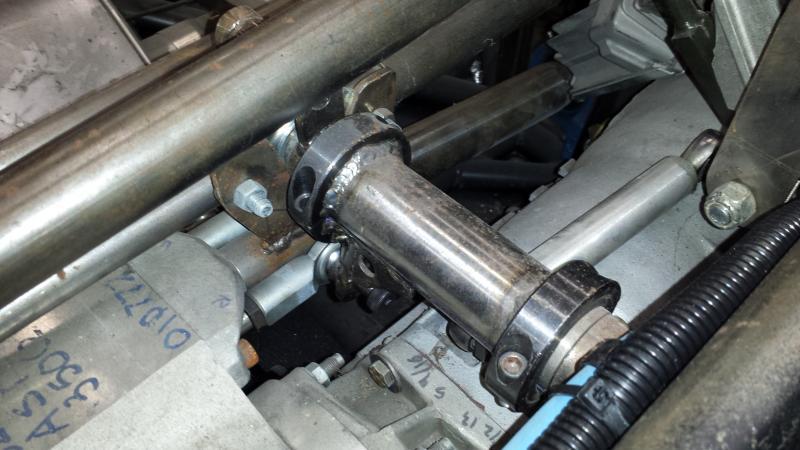
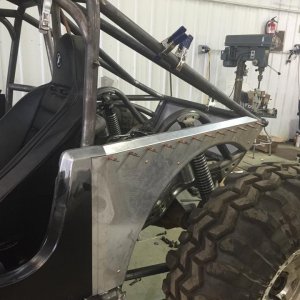
Another lil something.....

Hardline Crawlers - Rock Bouncer Builds, Tech & Off-Road Trail Talk

Help Support Hardline Crawlers:

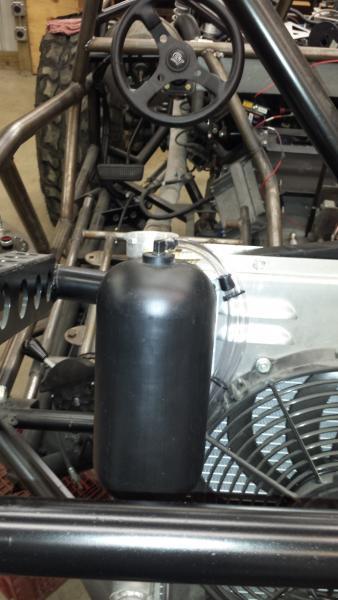
They need a vent to work. It's easy to push hot fluid out since it's getting passed a cap with 13-16 lbs of pressure but it doesn't draw that much vacuum to suck the coolant back in without a vent.

I tried feeding it in the bottom and using the top as a vent. Still did not work. Also tried drilling out the vent hole.
 
Did ya replace your rad cap?

Brand new. Now with a regular old universal from napa everything works as it should. Ugly, but functional.

Hell, I used a 24oz coors can with a piece of hose dropped in it for years on my buggy. The Napa unit is an upgrade. :redneck:
 
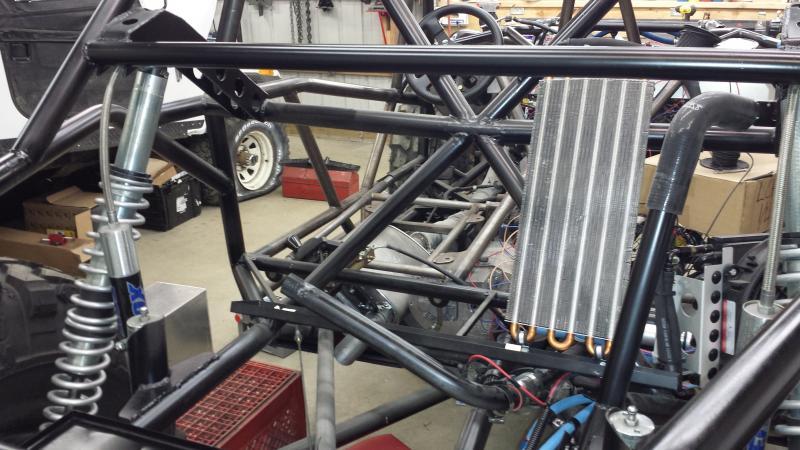
I went ahead and pulled the radiator for a couple reasons.
 

Attachments

  • 20160221_123234.jpg
    20160221_123234.jpg
    73.3 KB
I didn't like how the foam for the radiator was done and plus one whole edge was out of place and the rad was sitting on metal. So that got fixed.
 

Attachments

  • 20160221_123243.jpg
    20160221_123243.jpg
    65.1 KB
  • 20160221_132529.jpg
    20160221_132529.jpg
    62 KB
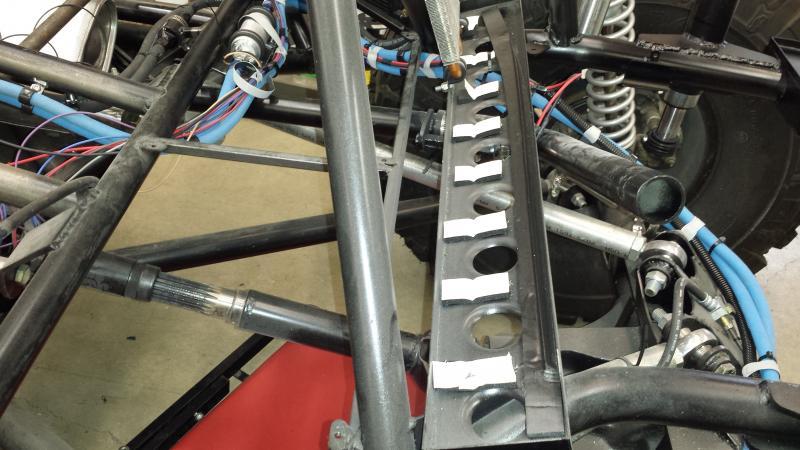
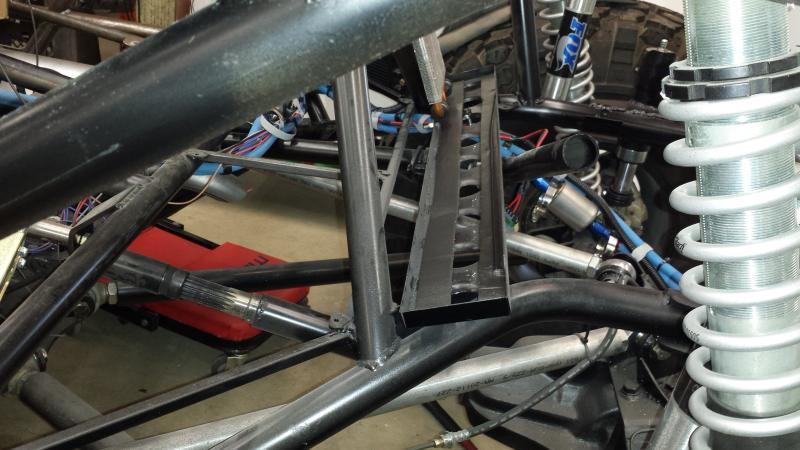
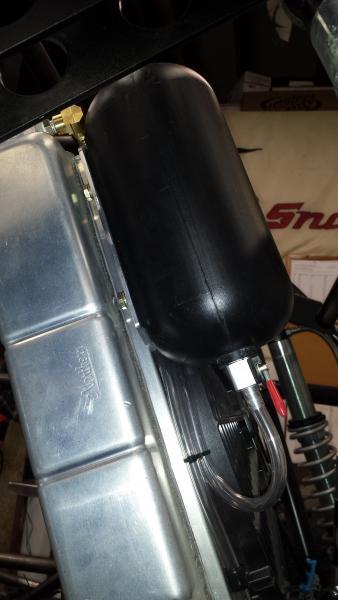
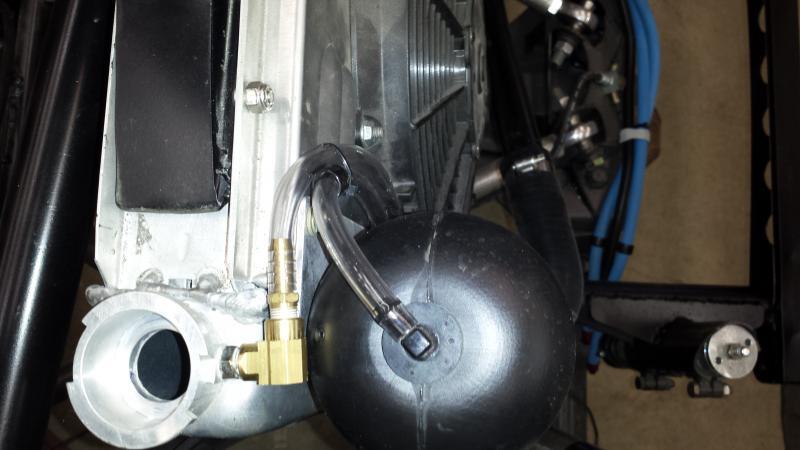
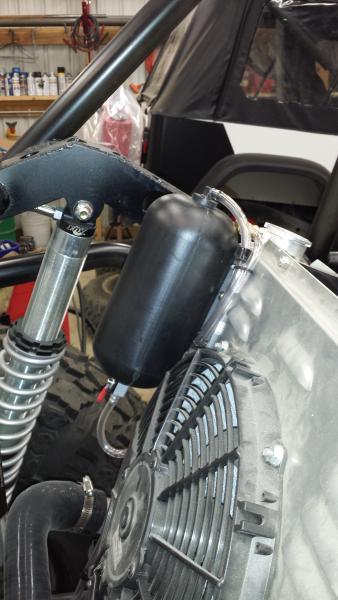
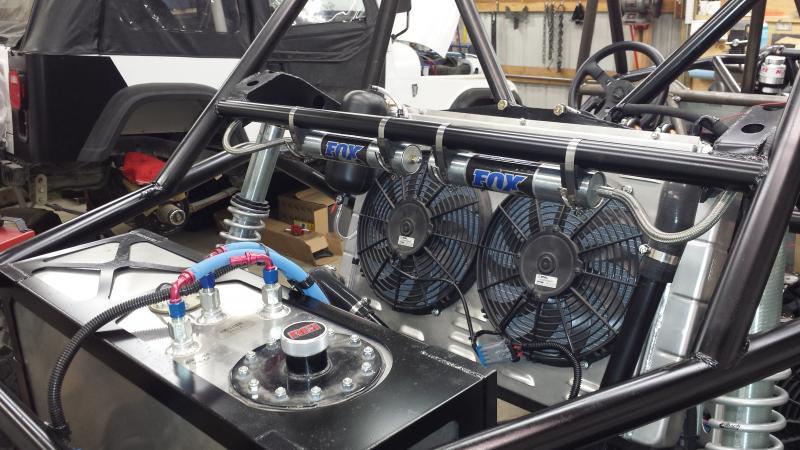
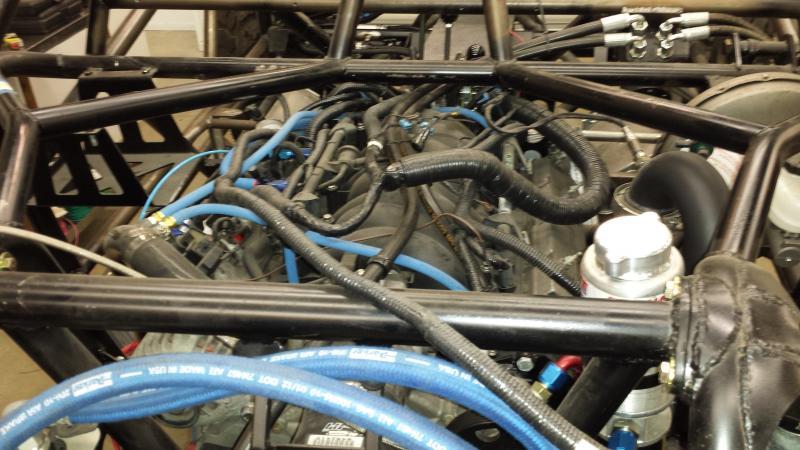
Another reason for pulling the rad was it simply made it easier to build the mount and install the coolant recovery bottle.
 

Attachments

  • 20160221_161023.jpg
    20160221_161023.jpg
    35.6 KB
  • 20160221_161036.jpg
    20160221_161036.jpg
    26.8 KB
  • 20160221_161047.jpg
    20160221_161047.jpg
    43.1 KB
  • 20160221_161155.jpg
    20160221_161155.jpg
    36.7 KB
As an Amazon Associate we earn from qualifying purchases. Product prices and availability are accurate as of the date/time indicated and are subject to change.
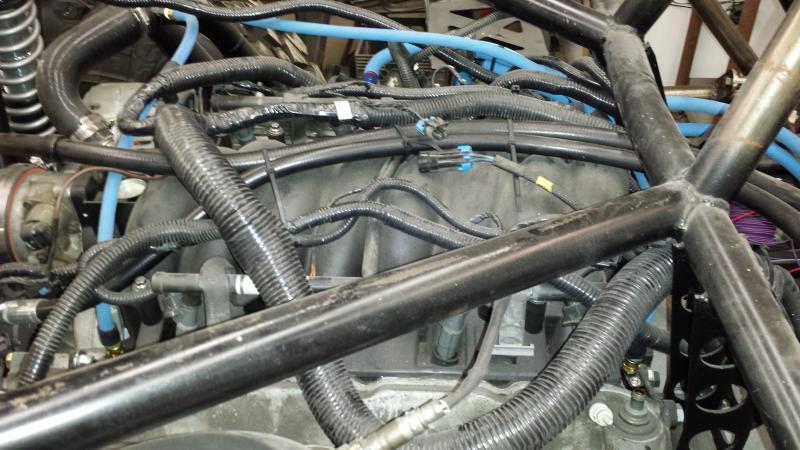
I also pulled everything off the tail and got all the bare metal painted and stuff reinstalled. I also got the rear wiring harness started.
 

Attachments

  • 20160220_180238.jpg
    20160220_180238.jpg
    58.9 KB
  • 20160221_192935.jpg
    20160221_192935.jpg
    66.3 KB
  • 20160221_192943.jpg
    20160221_192943.jpg
    74.5 KB
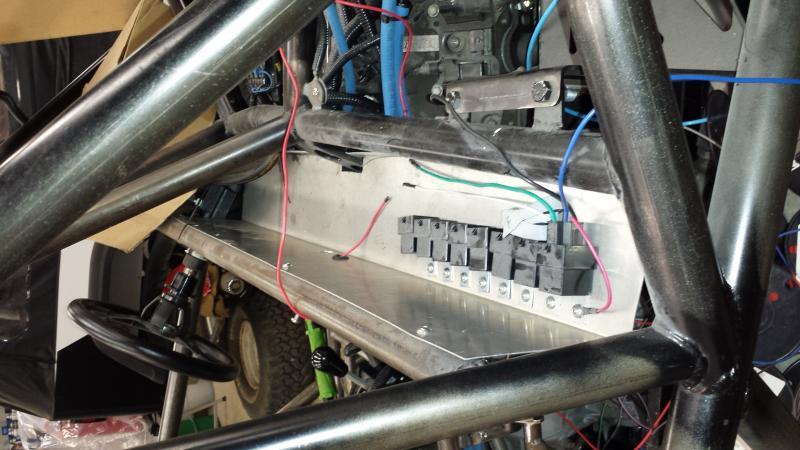
I got the rear half of the wiring done all the way to the rough area of the relay/fuse center.

I generally like to keep the electrical separately mounted but there simply was no room to do so.
 

Attachments

  • 20160221_192952.jpg
    20160221_192952.jpg
    64.2 KB
  • 20160221_221412.jpg
    20160221_221412.jpg
    67.2 KB
  • 20160221_221419.jpg
    20160221_221419.jpg
    56.7 KB
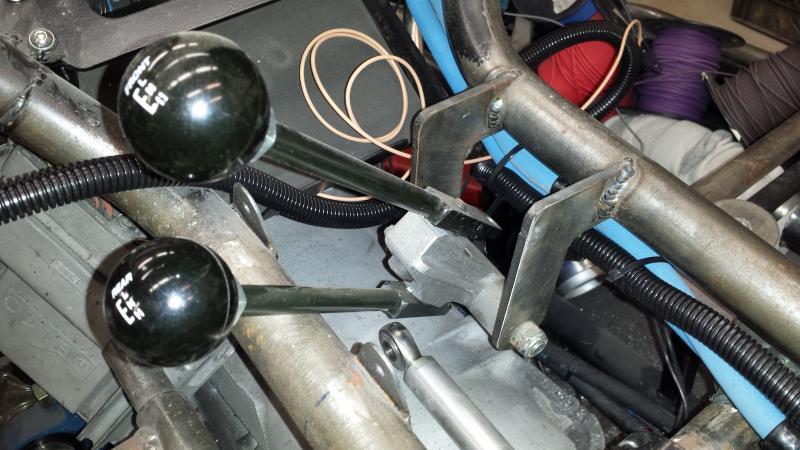
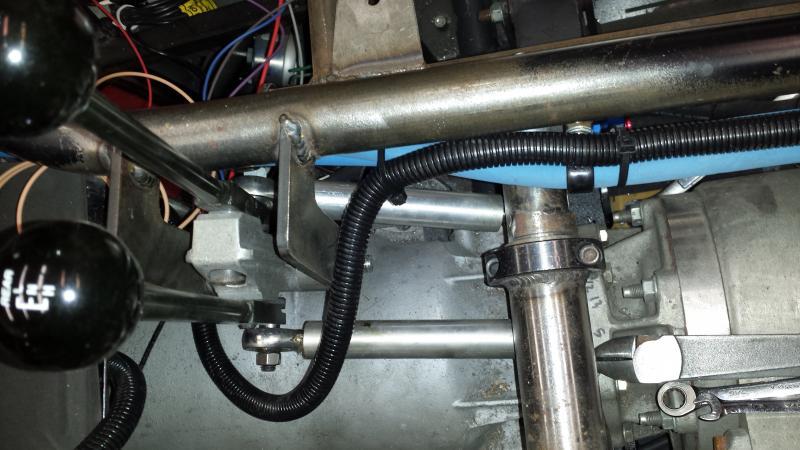
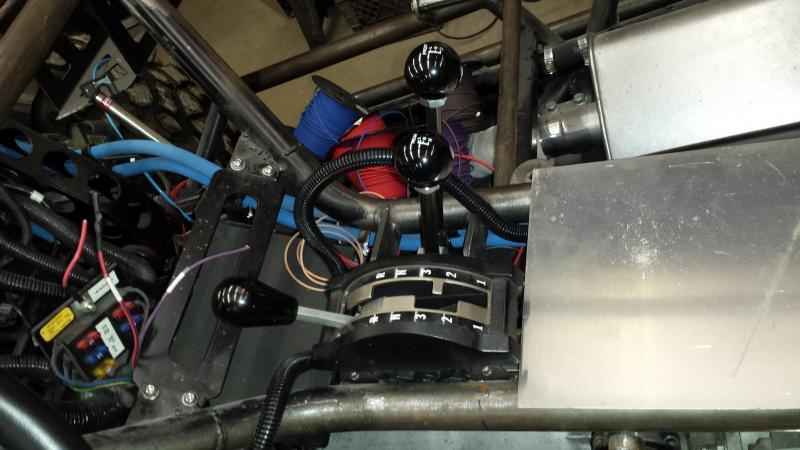
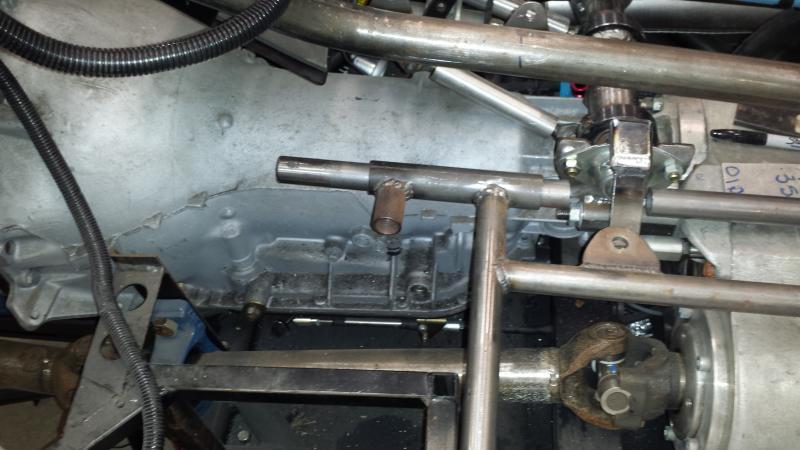
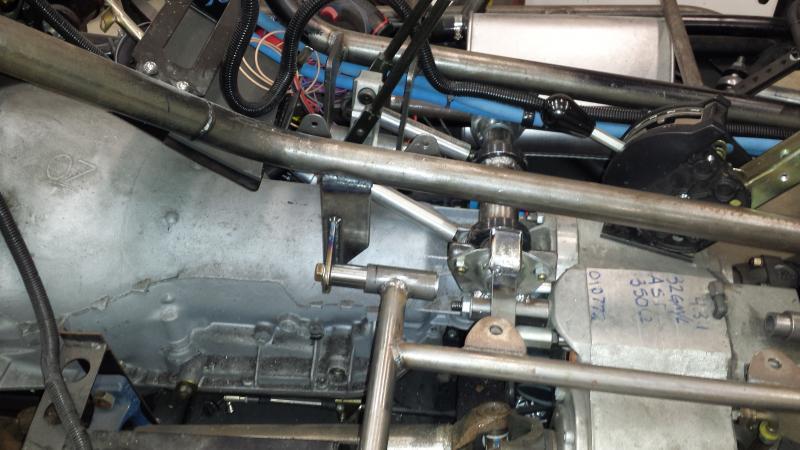
Next onto getting the atlas shifters sorted out.
 

Attachments

  • 20160222_194028.jpg
    20160222_194028.jpg
    56.1 KB
  • 20160222_194013.jpg
    20160222_194013.jpg
    67.8 KB
  • 20160222_194005.jpg
    20160222_194005.jpg
    58.1 KB
So I had to start by pulling it apart at the tcase and grinding the support down because there was zero room for a head of a bolt of any kind. It was setup with shouldered bolts with an allen at the end and luckily the head was pretty shallow.

There is adequate room now..
 

Attachments

  • 20160222_201738.jpg
    20160222_201738.jpg
    52.3 KB
  • 20160223_210330.jpg
    20160223_210330.jpg
    39.1 KB
  • 20160223_210417.jpg
    20160223_210417.jpg
    34.3 KB
So I jacked up the ass end to see just what gear the tcase was in. Nothing is tight but I was able to shift it. It will all have to come apart for paint once I get a few more things figured out.
 

Attachments

  • 20160223_210425.jpg
    20160223_210425.jpg
    61.7 KB
  • 20160223_210507.jpg
    20160223_210507.jpg
    50.8 KB
So matt is coming out thursday so I can get him into the car and get the seat set where it needs to be so I can make the 4th mount. I also mounted the trans shifter(got a new cable sitting here to fix that) to see how it all fits him.
 

Attachments

  • 20160223_215200.jpg
    20160223_215200.jpg
    54.1 KB
I still have to figure out the main electrical location but I am dumping this mess.
 

Attachments

  • 20160223_214038.jpg
    20160223_214038.jpg
    62.5 KB
So most of you guys know how I am about electrical. I HATE pre-fabbed harness's. Here is a perfect example where **** is looped up and fitment is terrible. With how it is it waist's a perfect spot for the electrical center behind the motor. I am going to talk it over with matt and see if he wants me to fix it up RIGHT...

This stuff just drives me bonkers :D
 

Attachments

  • 20160223_215735.jpg
    20160223_215735.jpg
    61.9 KB
  • 20160223_215742.jpg
    20160223_215742.jpg
    73.5 KB
  • 20160223_215758.jpg
    20160223_215758.jpg
    69.2 KB
  • 20160223_215808.jpg
    20160223_215808.jpg
    71.9 KB
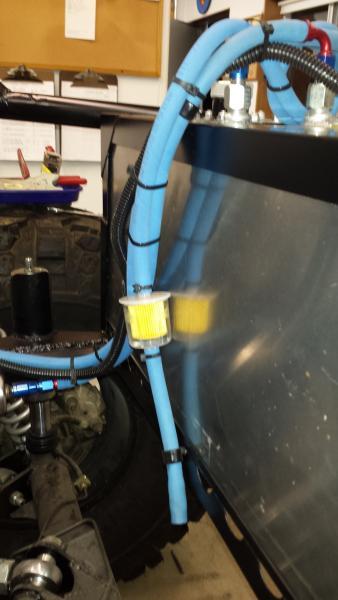
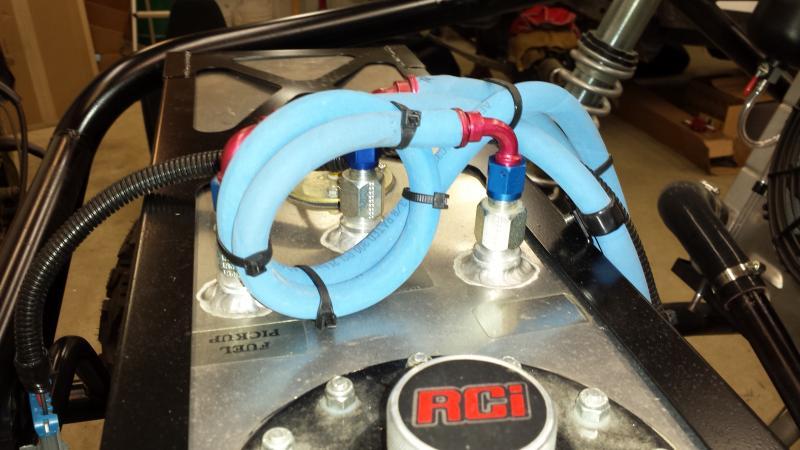
Finally got the tank vent all done.
 

Attachments

  • 20160225_211138.jpg
    20160225_211138.jpg
    56.1 KB
  • 20160225_211151.jpg
    20160225_211151.jpg
    28.2 KB
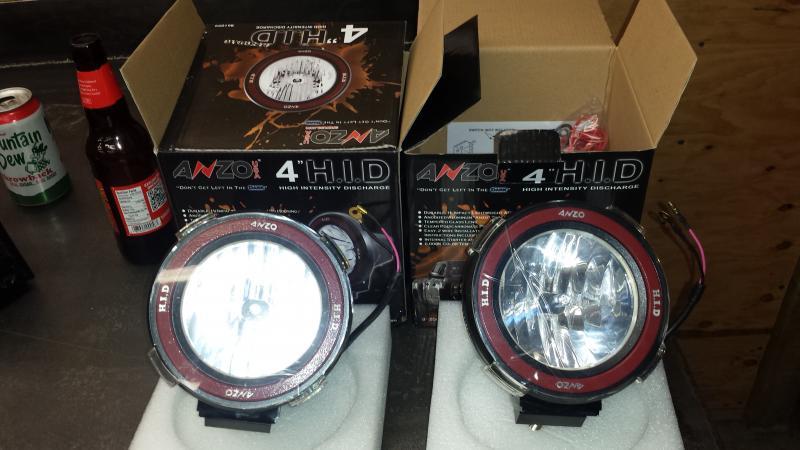
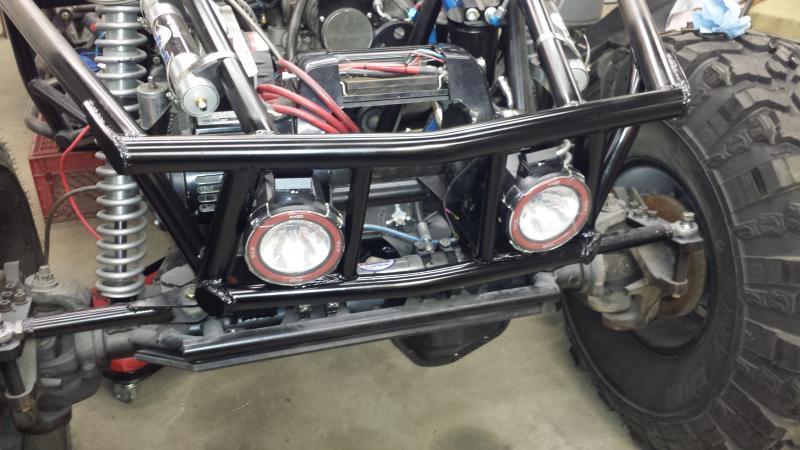
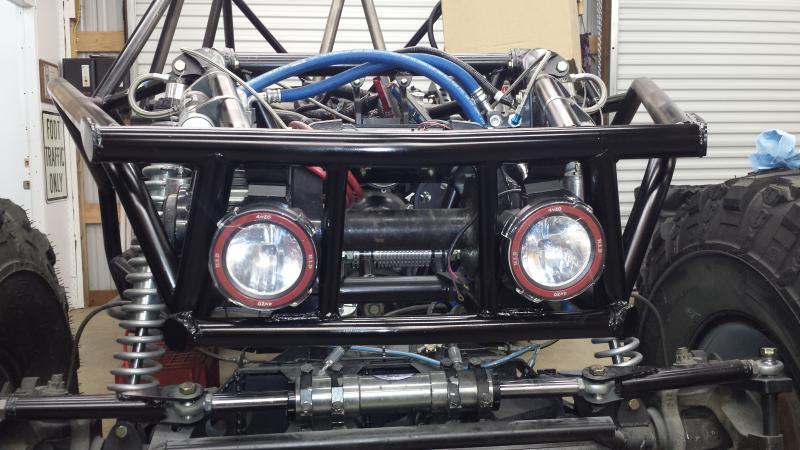
So the headlight we had were just too big (5") so matt got some 4"..
 

Attachments

  • 20160226_185054.jpg
    20160226_185054.jpg
    53.8 KB
This is going to be REALLY tight...
 

Attachments

  • 20160226_185101.jpg
    20160226_185101.jpg
    68.1 KB
  • 20160226_194808.jpg
    20160226_194808.jpg
    66.4 KB
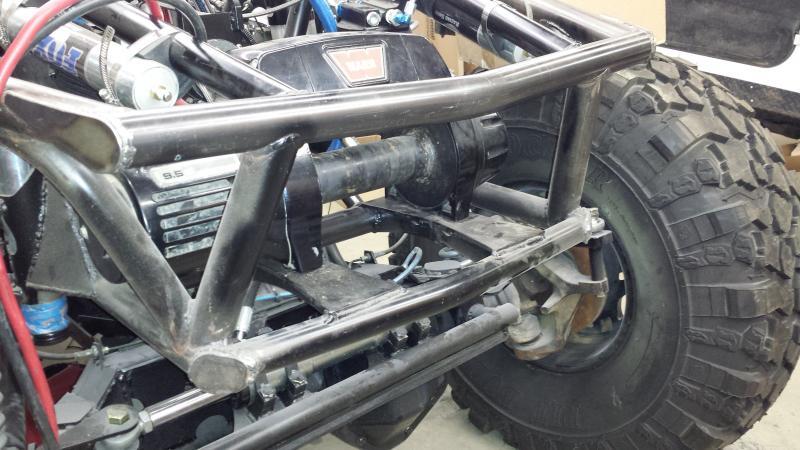
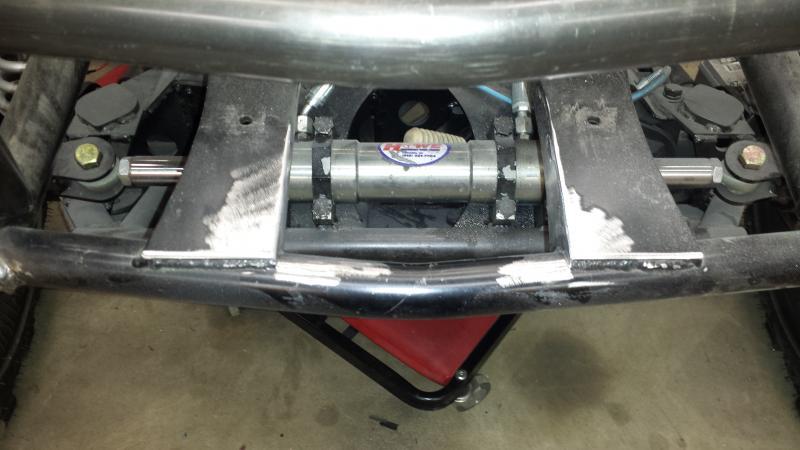
So I started by reworking the winch mount. I wanted to widen the area for the rope to run without being damaged--it was very narrow.
 

Attachments

  • 20160226_195109.jpg
    20160226_195109.jpg
    52.7 KB
  • 20160226_205518.jpg
    20160226_205518.jpg
    45.8 KB
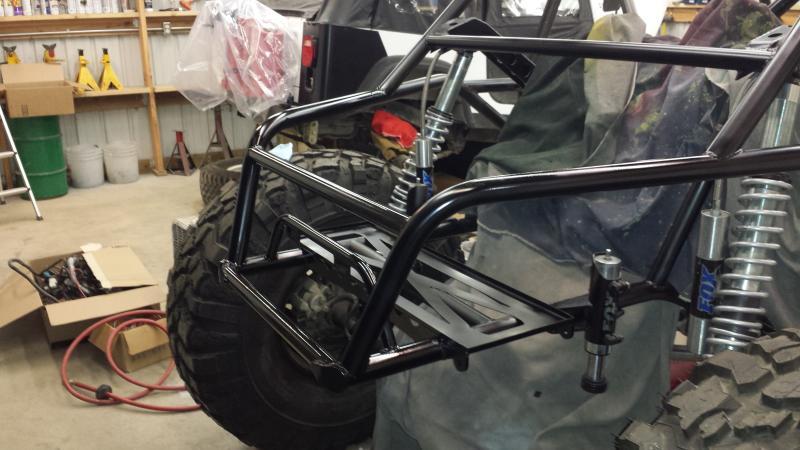
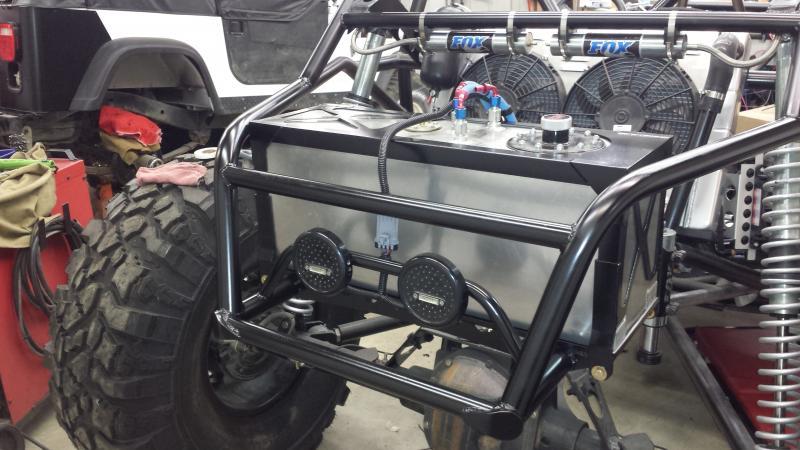
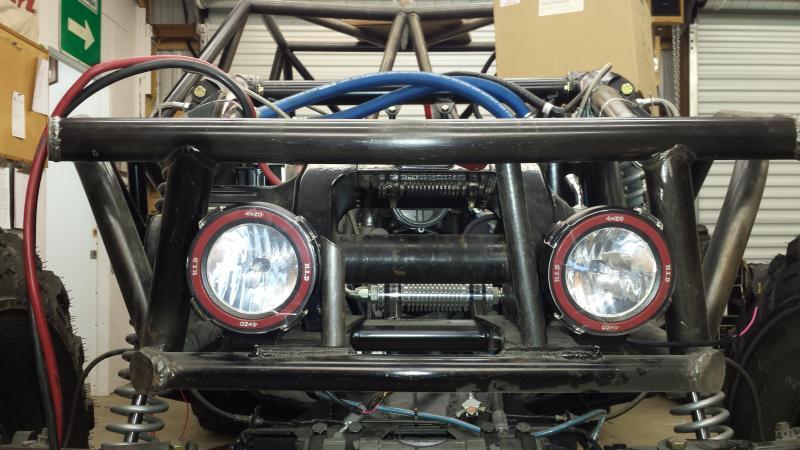
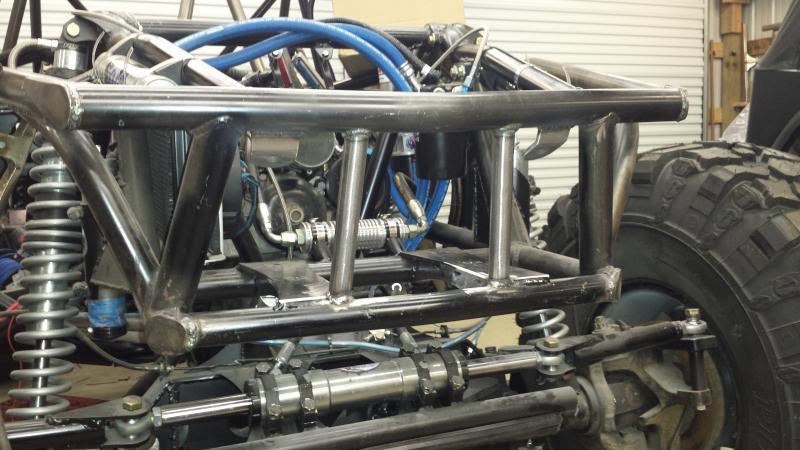
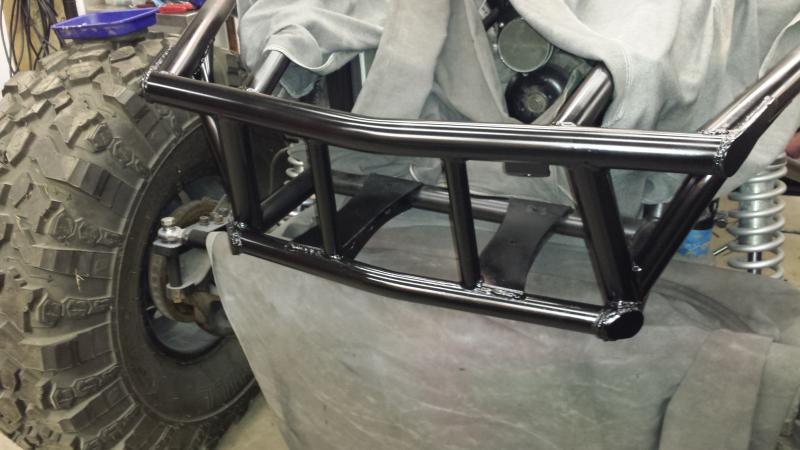
Got the center bars cut and burned in. This will protect the lights from the rope and keep the rope also protected from sharp stuff that could possibly damage it. I also made the light mounts and burned them in.

I originally wanted the tube to follow the slope of the outer tubes but found it was causing the winch line window to be too narrow.
 

Attachments

  • 20160228_124826.jpg
    20160228_124826.jpg
    67.2 KB
A little paint to cover those bare areas :redneck:
 

Attachments

  • 20160228_154520.jpg
    20160228_154520.jpg
    51.4 KB
I think that turned out pretty good....
 

Attachments

  • 20160228_194535.jpg
    20160228_194535.jpg
    62.8 KB
  • 20160228_194542.jpg
    20160228_194542.jpg
    69.8 KB
So again 2 steps forward one step back :mad:

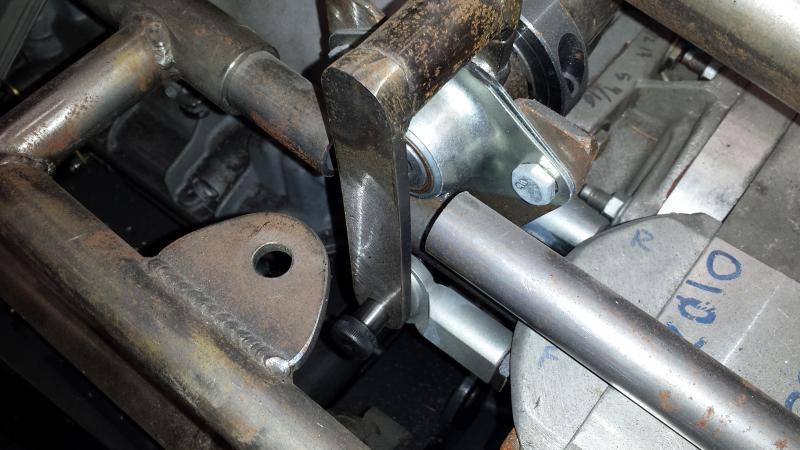
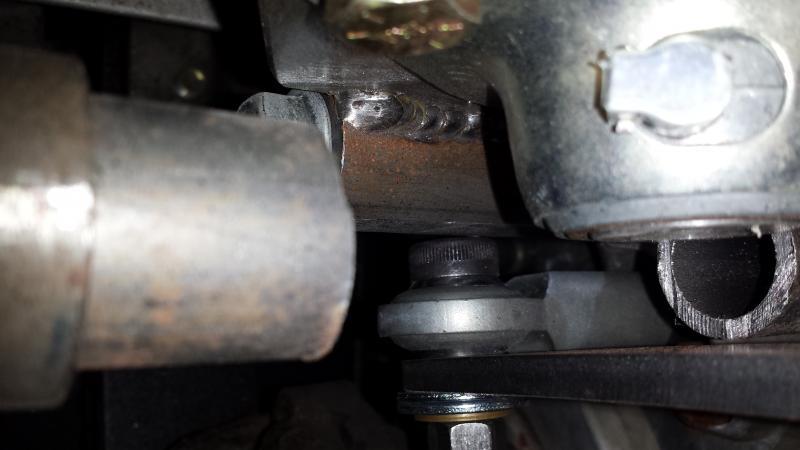
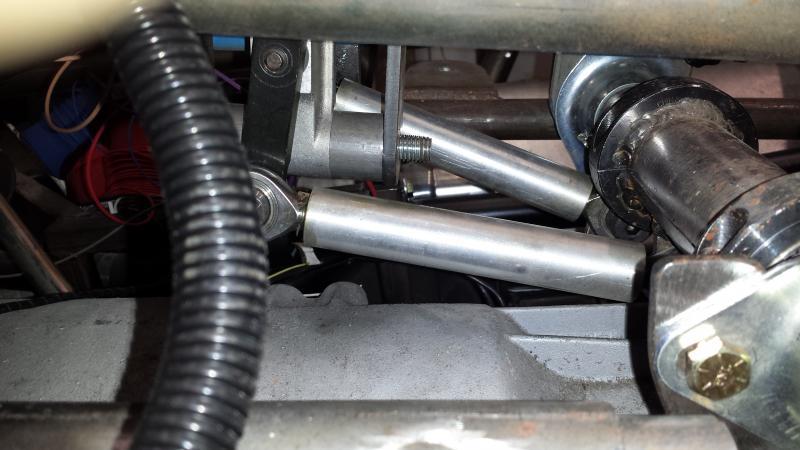
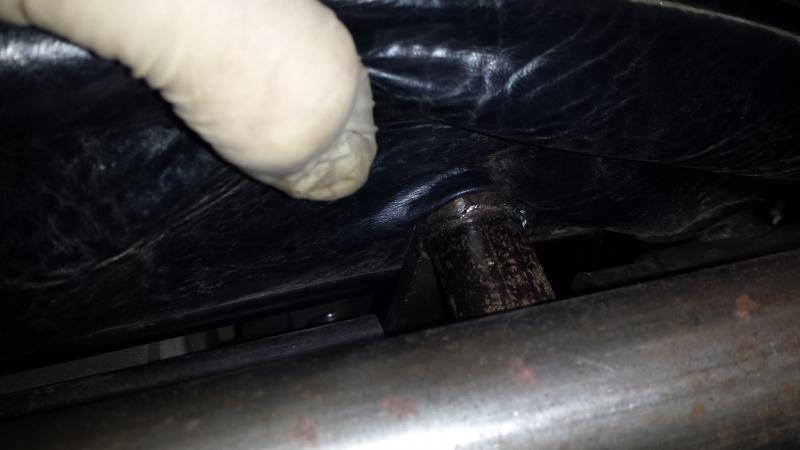
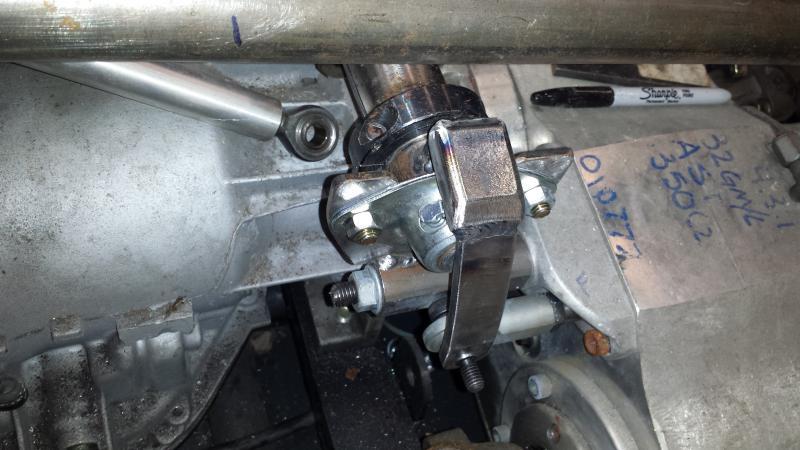
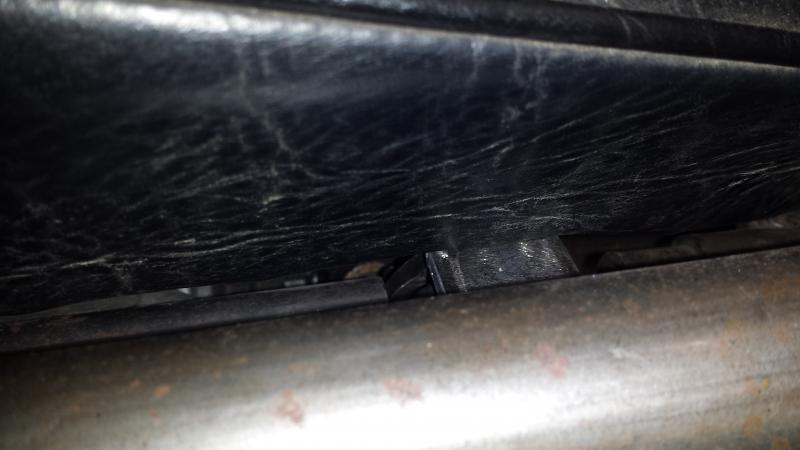
So I was unable to get the drivers seat in due to the tcase shifter linkage hitting the seat--badly. Seat still had to move 1/4" to reach the mounting holes.
 

Attachments

  • 20160228_131935.jpg
    20160228_131935.jpg
    29.3 KB
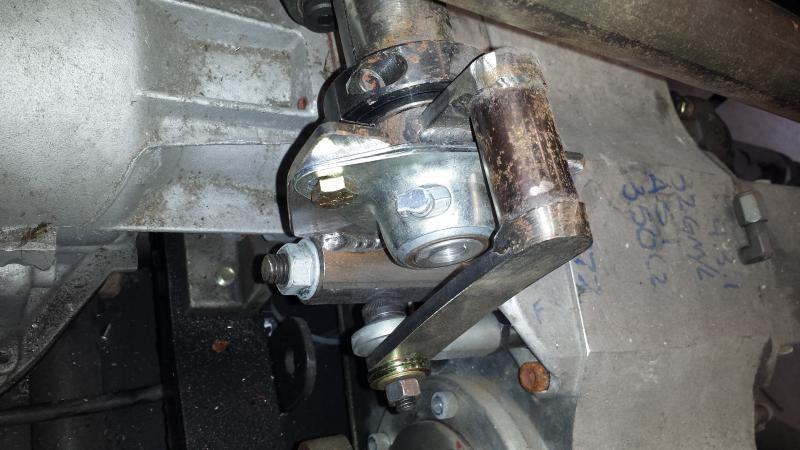
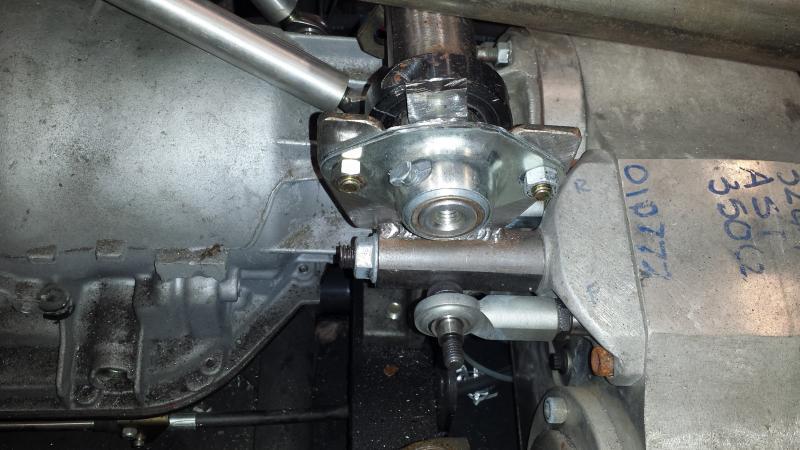
So time to remove that part and rebuild....
 

Attachments

  • 20160228_132031.jpg
    20160228_132031.jpg
    57.5 KB
  • 20160228_144328.jpg
    20160228_144328.jpg
    58.6 KB
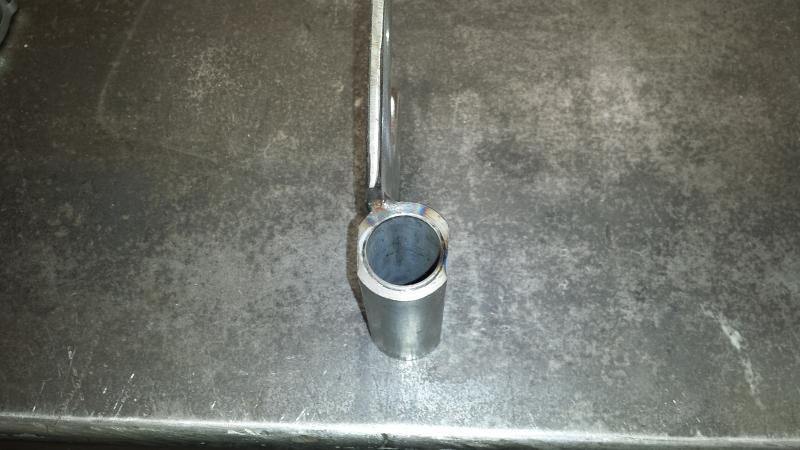
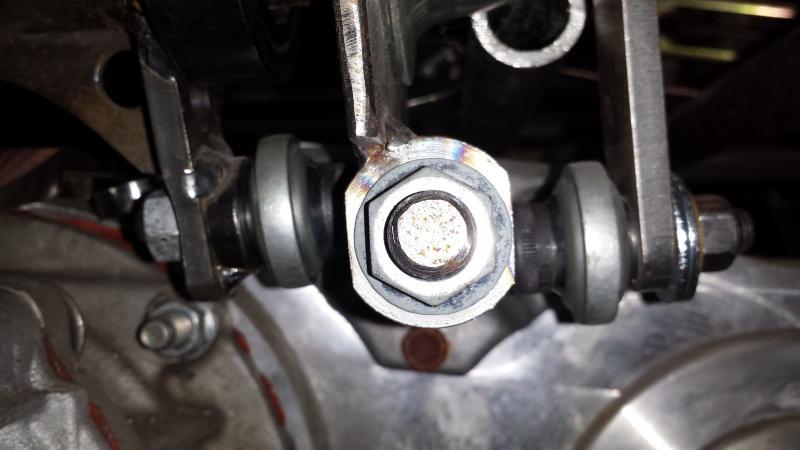
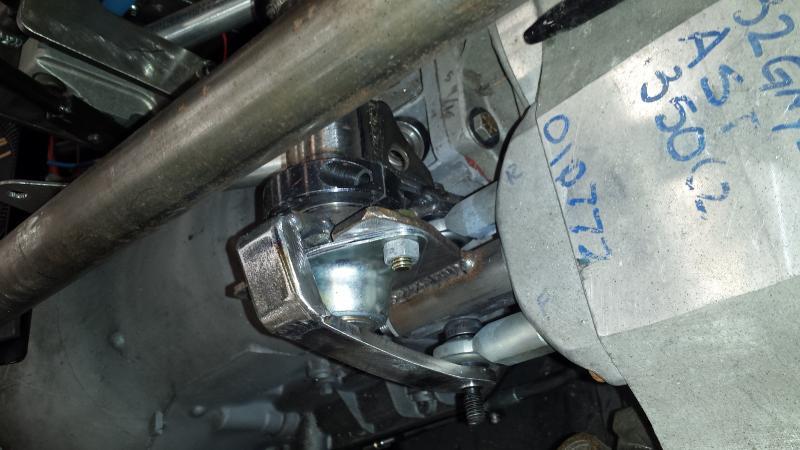
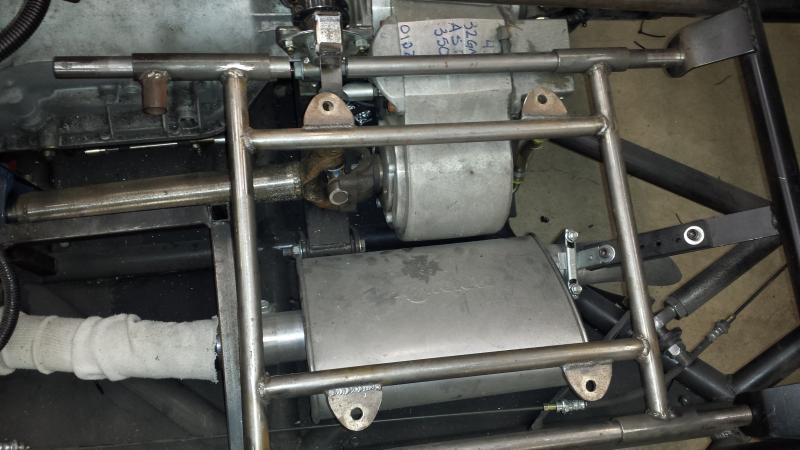
So I made new linkage and made it totally hug the pivot point (like 1/16"). So now the seat goes in and the linkage just rubs the cover. I was hoping to keep it from rubbing anything seat wise but thats just not going to happen...
 

Attachments

  • 20160228_173713.jpg
    20160228_173713.jpg
    55.2 KB
  • 20160228_174125.jpg
    20160228_174125.jpg
    33 KB
  • 20160228_173719.jpg
    20160228_173719.jpg
    53.3 KB
So with the linkage done it was time to get the 4th mount made for the seat mount..
 

Attachments

  • 20160228_180847.jpg
    20160228_180847.jpg
    52 KB
  • 20160228_180852.jpg
    20160228_180852.jpg
    54.1 KB
  • 20160228_194822.jpg
    20160228_194822.jpg
    59.8 KB
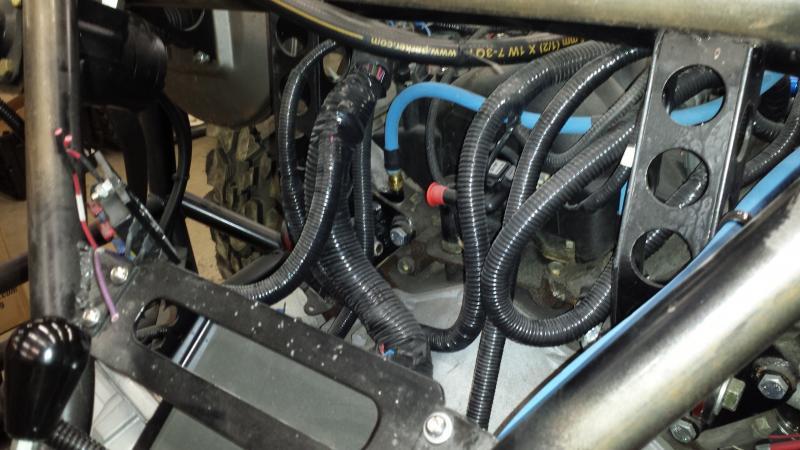
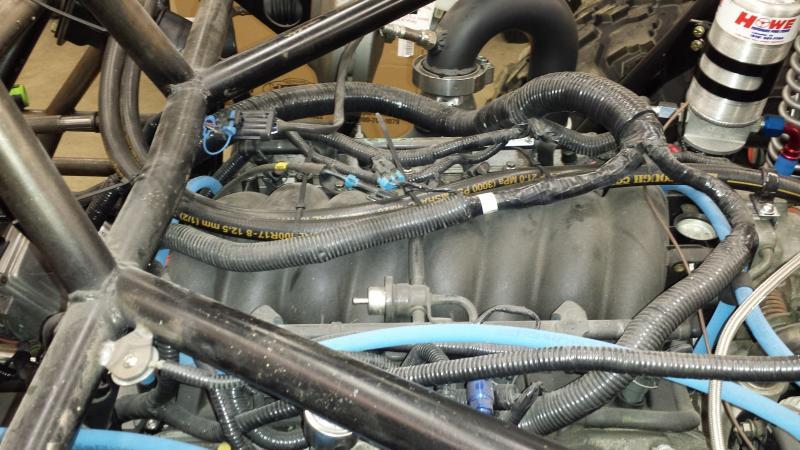
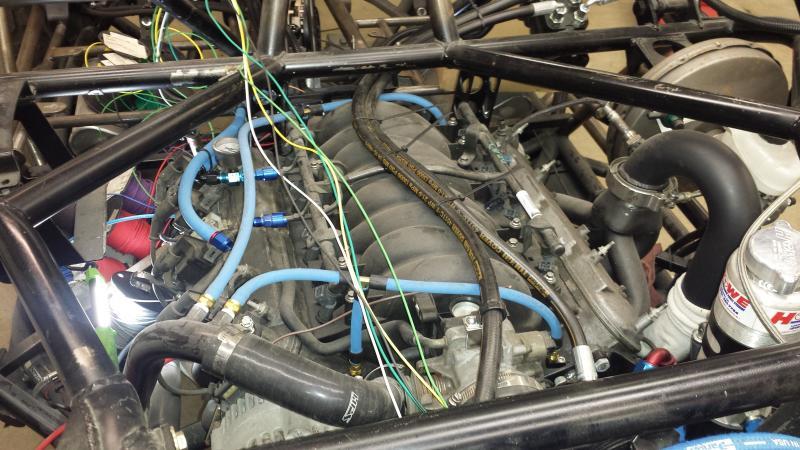
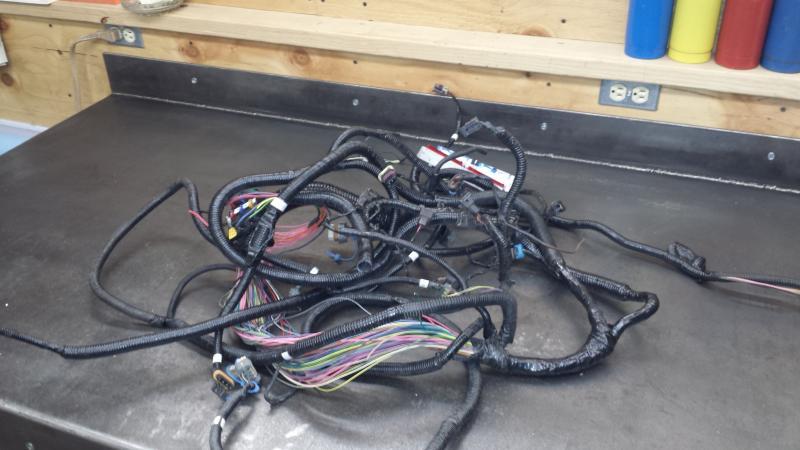
Will be kinda jumping around but next I ripped the engine harness off to get it fixed up.
 

Attachments

  • 20160302_205515.jpg
    20160302_205515.jpg
    79.7 KB
  • 20160302_205520.jpg
    20160302_205520.jpg
    50.1 KB
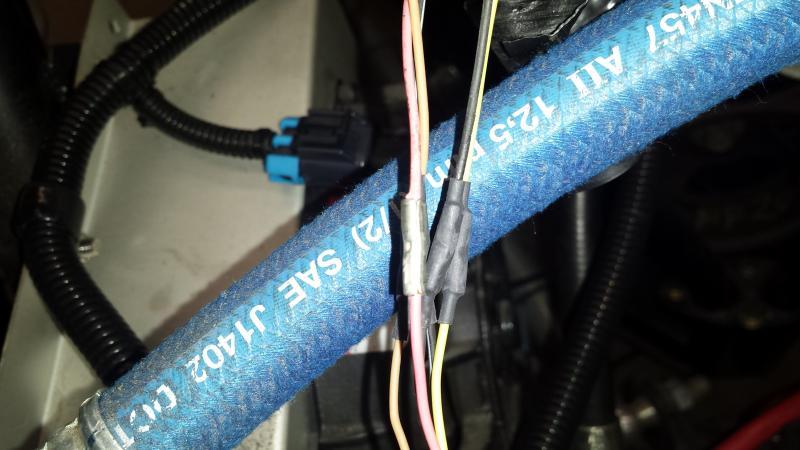
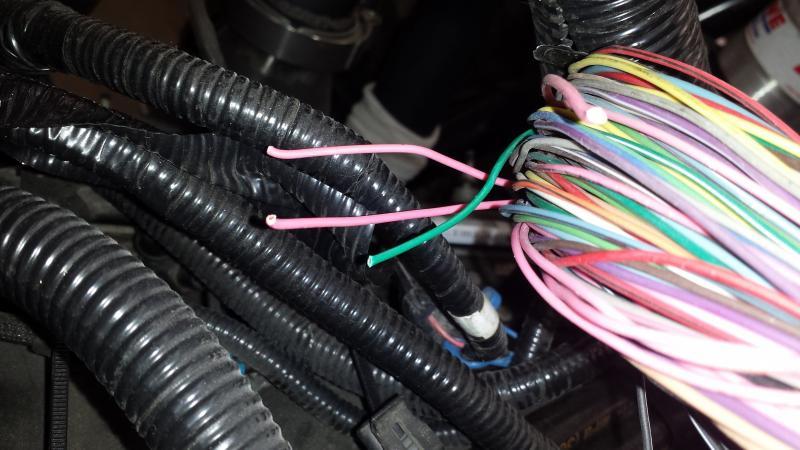
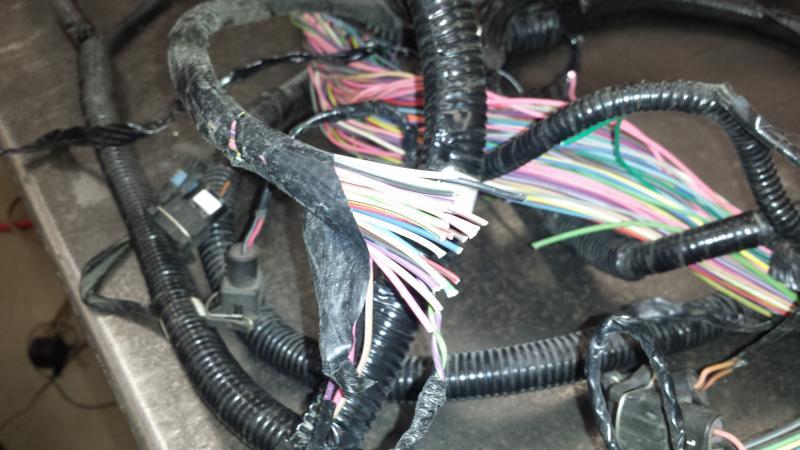
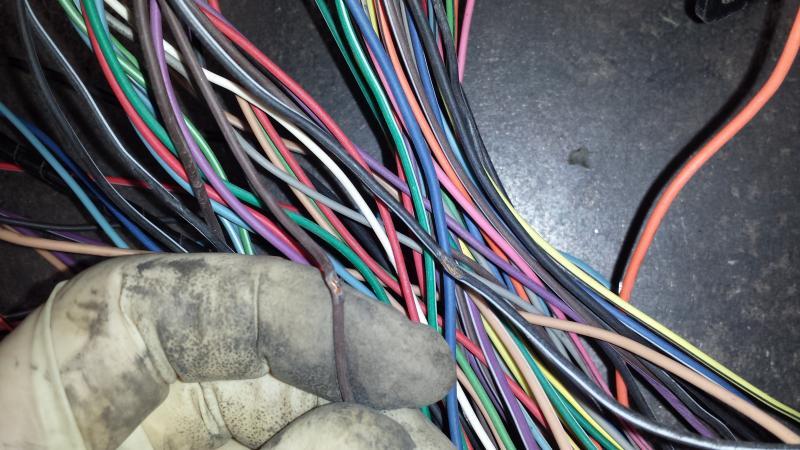
So I have no idea who did this harness--but it is an utter pile of ****--worse craftsmanship I have seen from a "ready to run setup"--just awful.

First no solder--just crimped connections.
There was a **** ton of dead circuits still in the loom.
A bunch of wires had been smacked causing the insulation to be either torn off of ripped open with noticeable corrosion starting to form on the wires.
 

Attachments

  • 20160302_201810.jpg
    20160302_201810.jpg
    50.1 KB
  • 20160302_202243.jpg
    20160302_202243.jpg
    61 KB
  • 20160302_210101.jpg
    20160302_210101.jpg
    57.2 KB
  • 20160303_191710.jpg
    20160303_191710.jpg
    76.6 KB
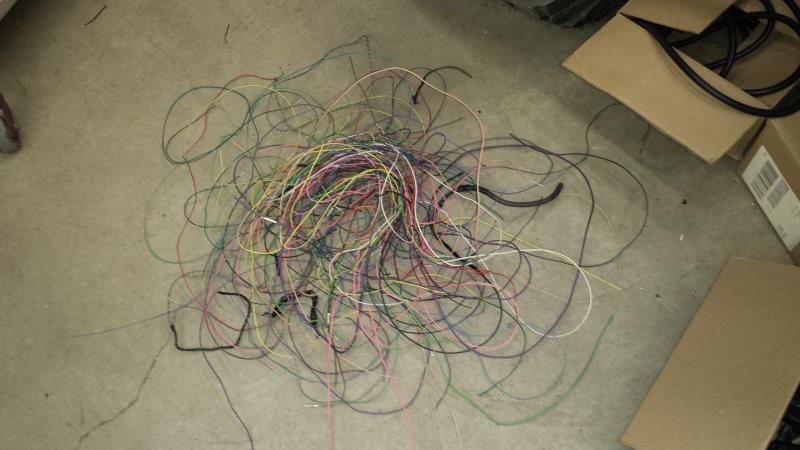
Pile of dead wire. There will be another pile about the same size from all the extra length that will be removed.
 

Attachments

  • 20160303_212552.jpg
    20160303_212552.jpg
    48.8 KB
Back
Top