You are using an out of date browser. It may not display this or other websites correctly.
You should upgrade or use an alternative browser.
You should upgrade or use an alternative browser.
Another lil something.....
- Thread starter crash2
- Start date

Help Support Hardline Crawlers:
crash2
-Oh no I picked a side-
crash2
-Oh no I picked a side-
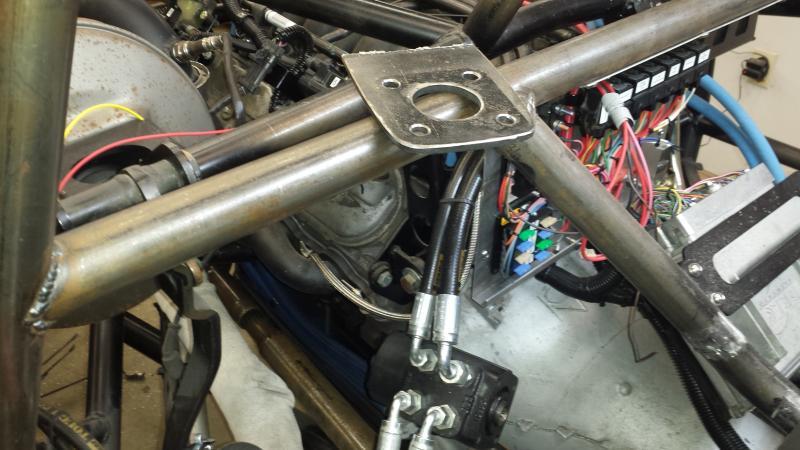
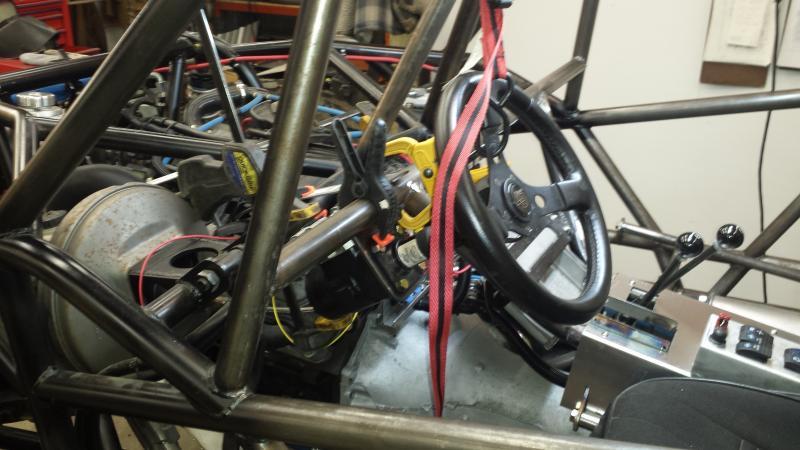
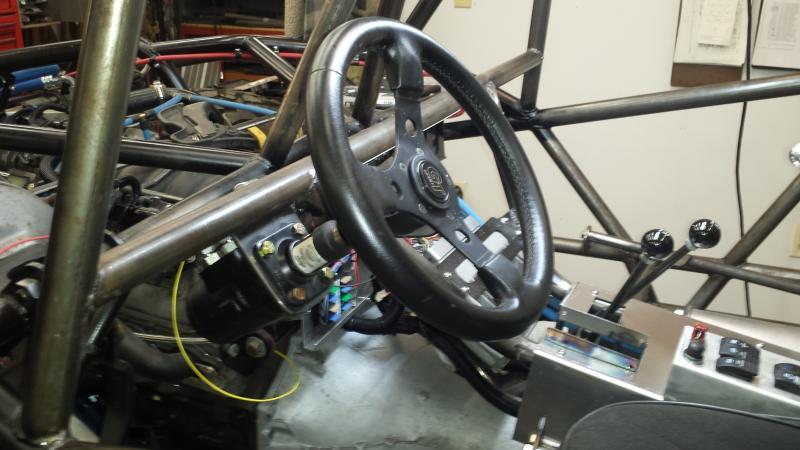
So I was pre planning the start of tinning the rig and found the hydro lines were above the line for the top dash panel. I threw the seat in and sat in it and found the steering wheel was way too low (tilted) to the point my knee was in the way. So I looked it over and cut the orbital mount off and redid it. I lowered it a tad and changed the angle--should be perfect now.
Attachments
crash2
-Oh no I picked a side-
crash2
-Oh no I picked a side-
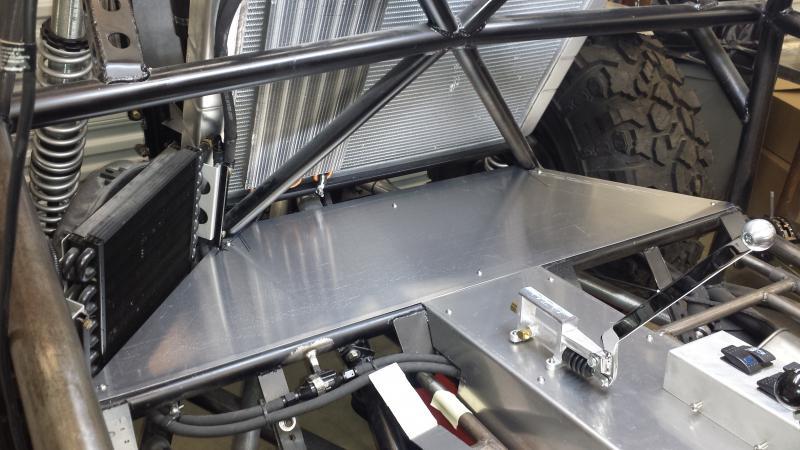
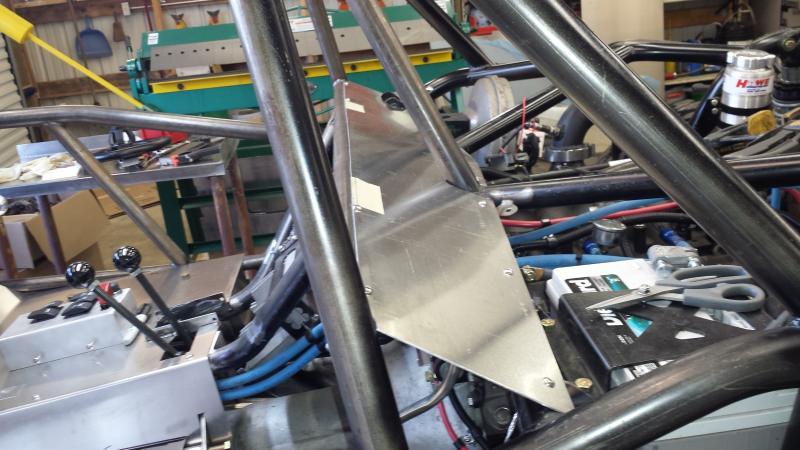
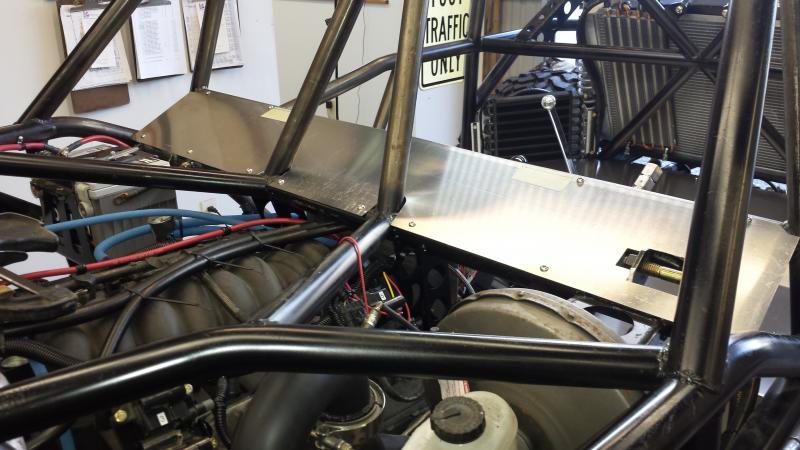
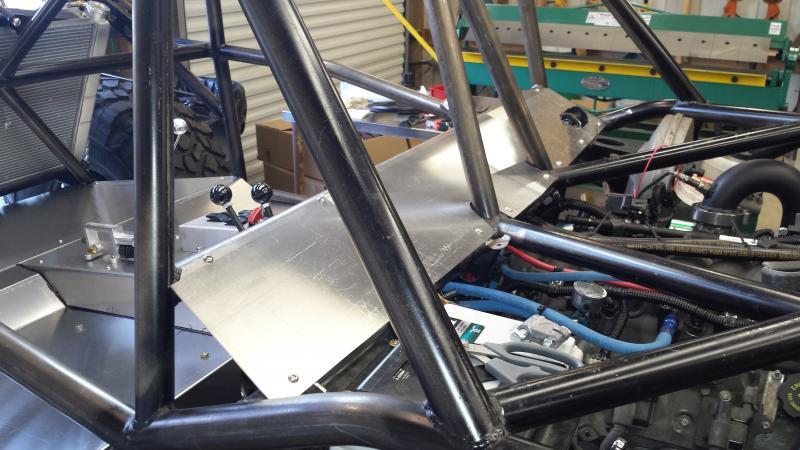
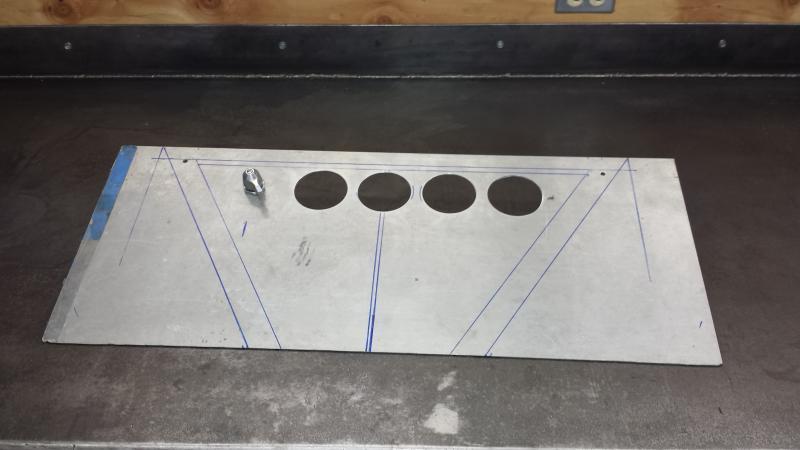
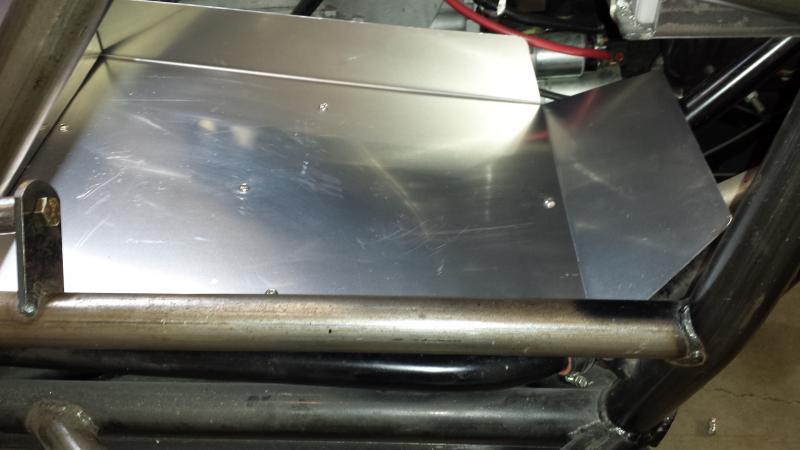
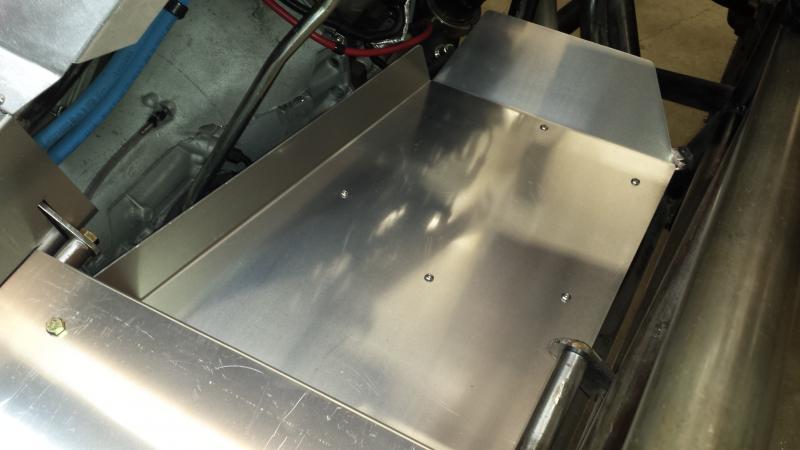
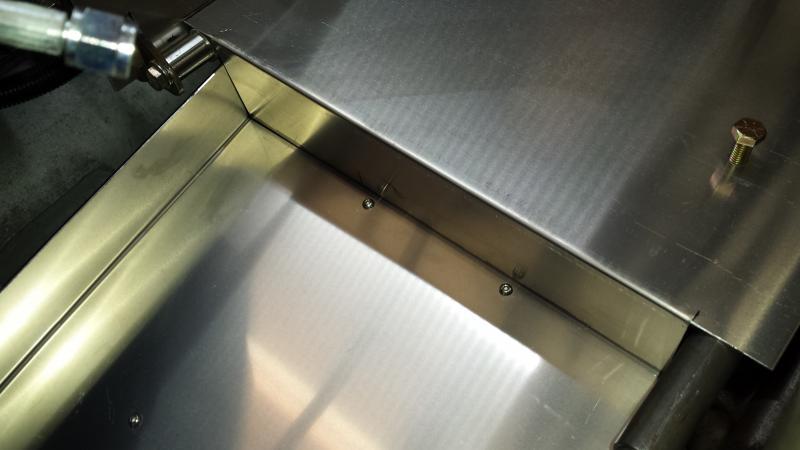
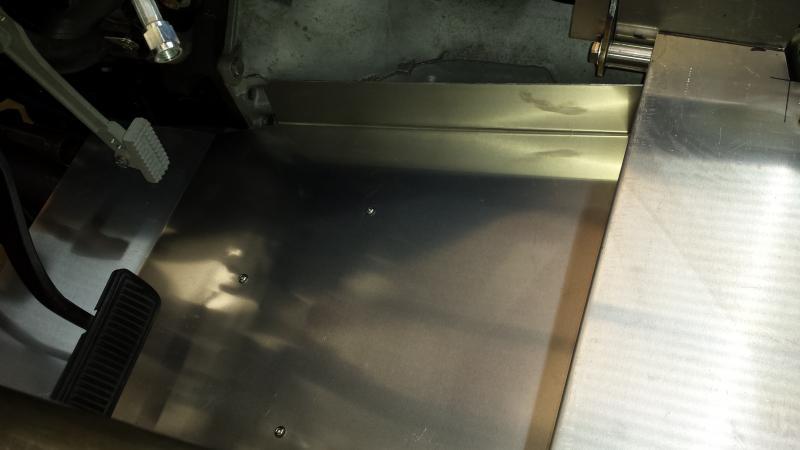
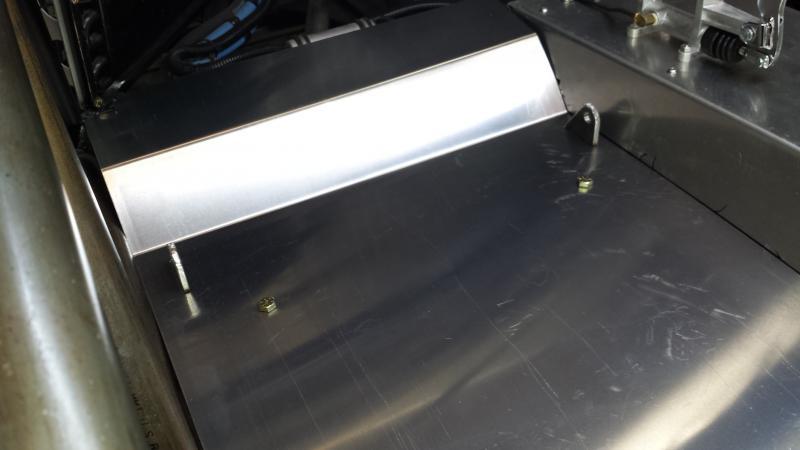
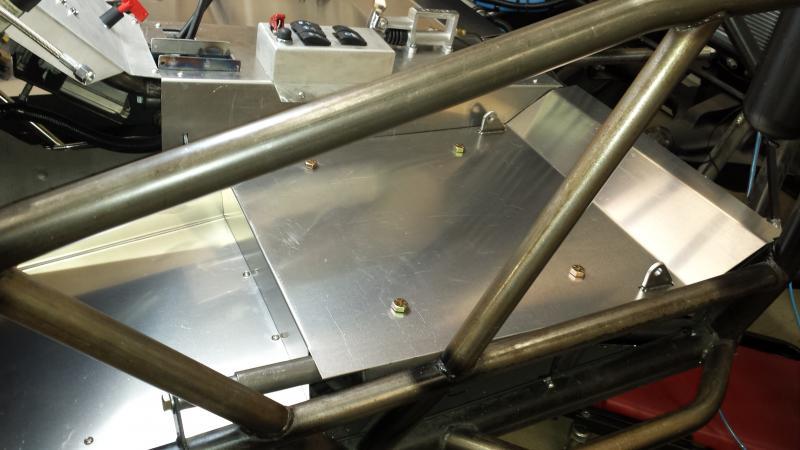
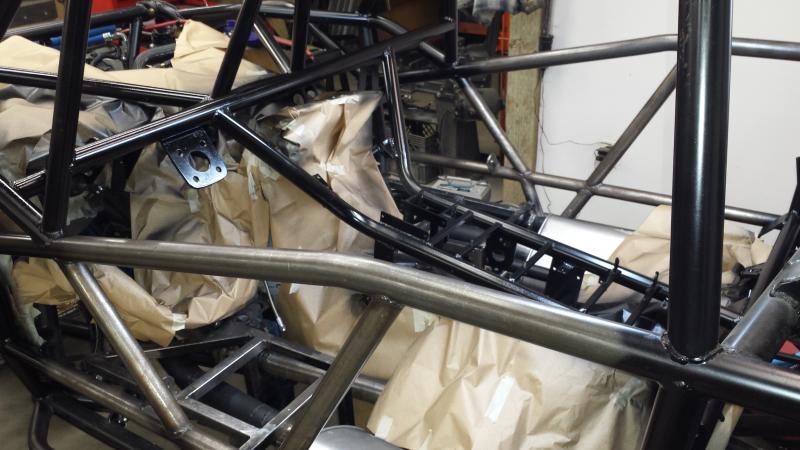
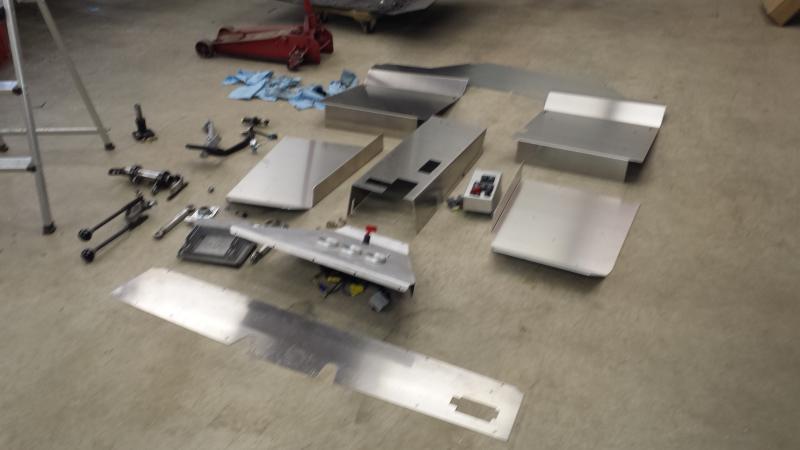
Now the fun began. I don't think there was any pre-planning for any sort of floor in this thing. It took a bunch of measuring, cardboard and more measuring but I was able to get the panels made for under the seats. It isn't a perfect fit (back corners where they meet the console) but I think they turned out pretty good and able to do them both in one shot.
Attachments
crash2
-Oh no I picked a side-
crash2
-Oh no I picked a side-
crash2
-Oh no I picked a side-
crash2
-Oh no I picked a side-
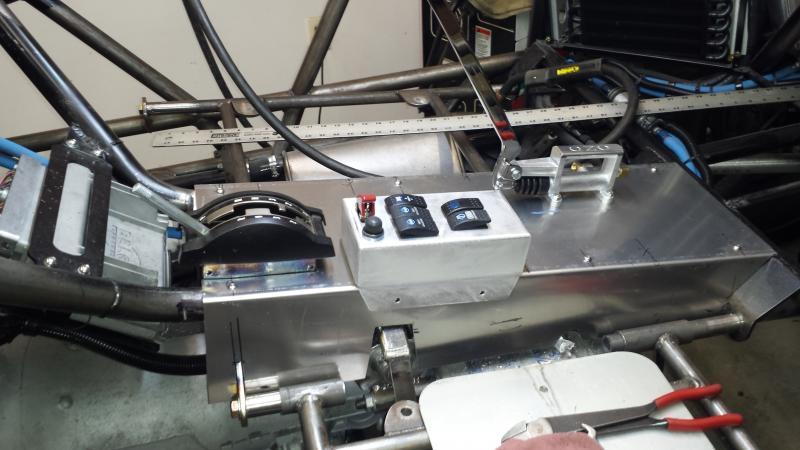
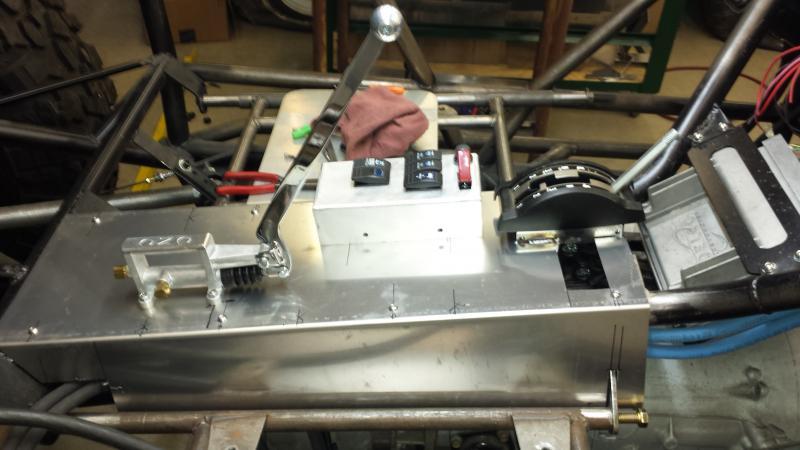
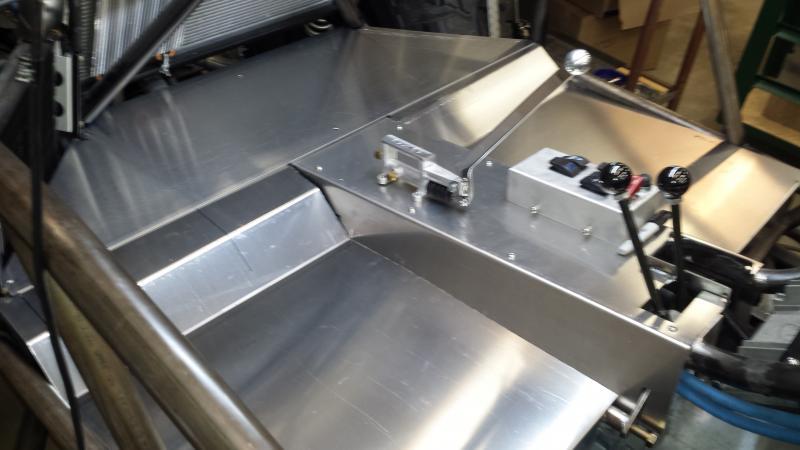
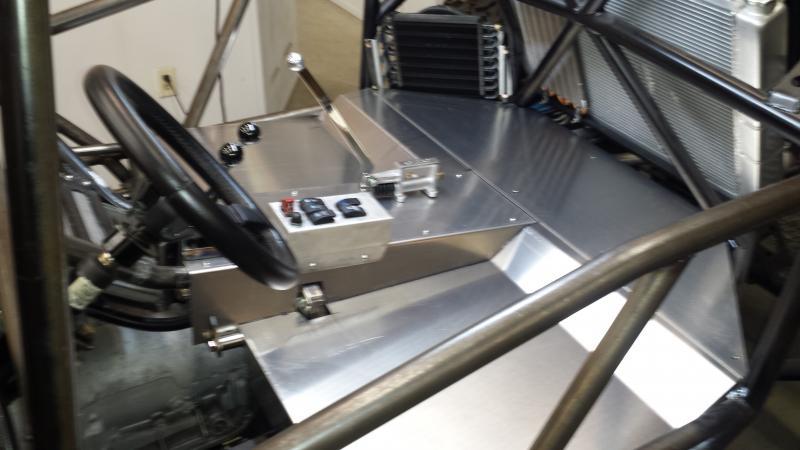
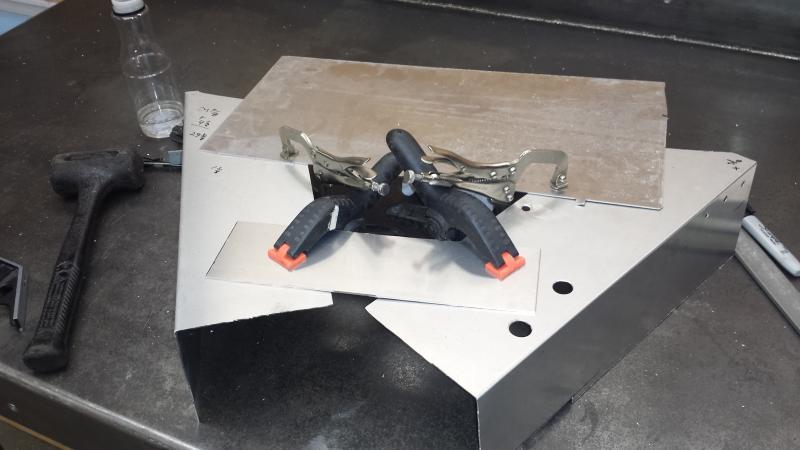
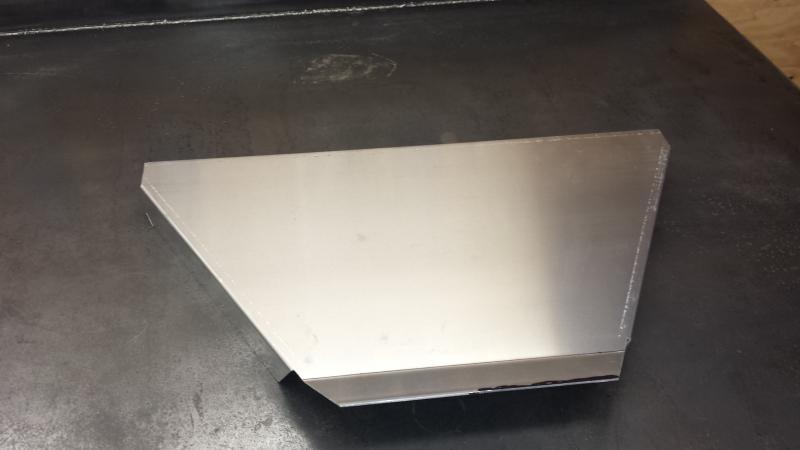
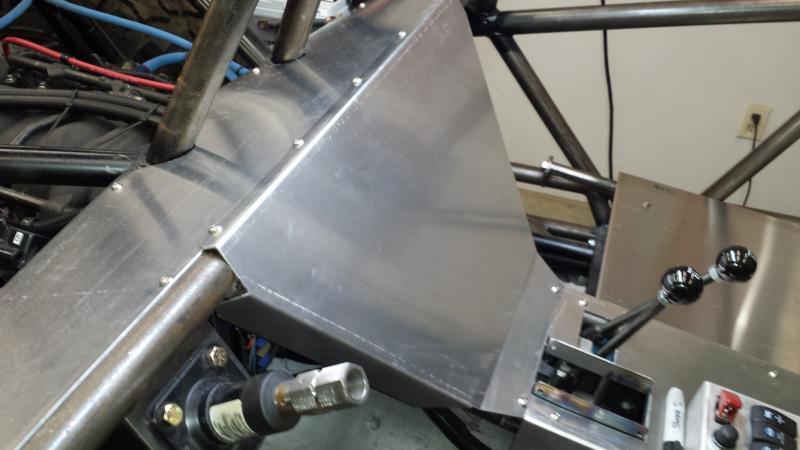
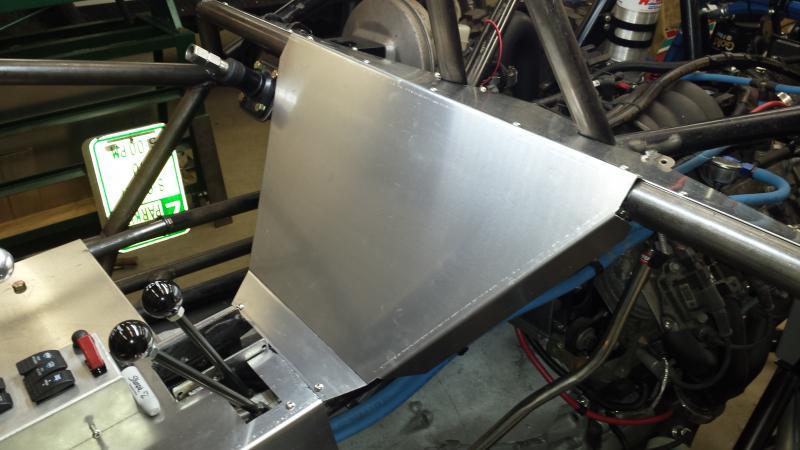
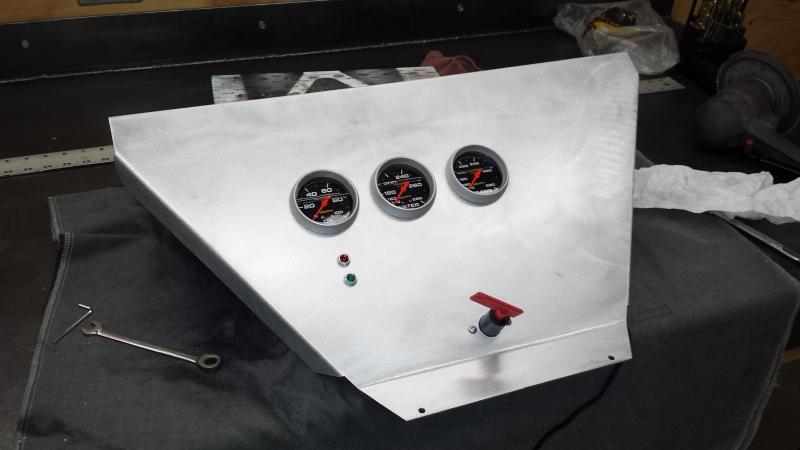
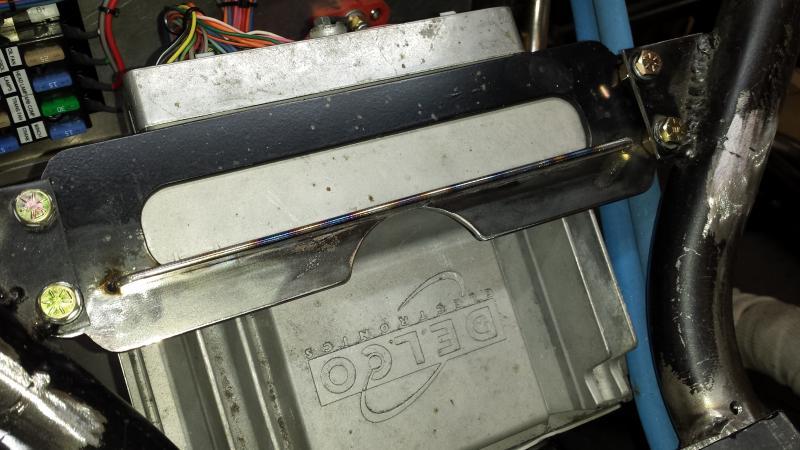
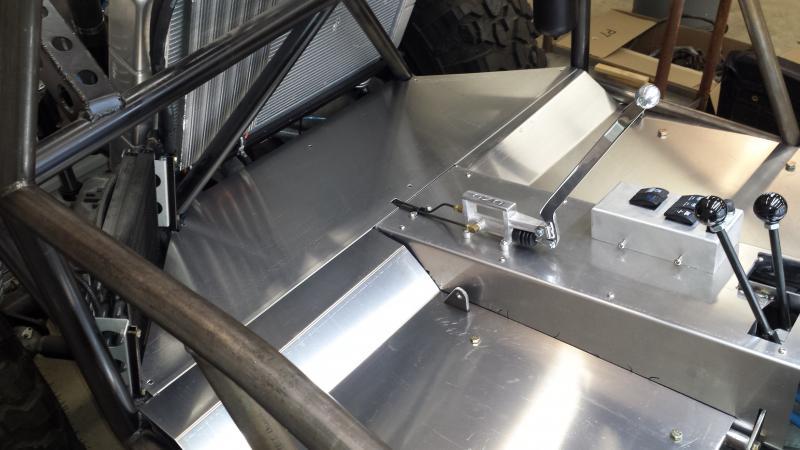
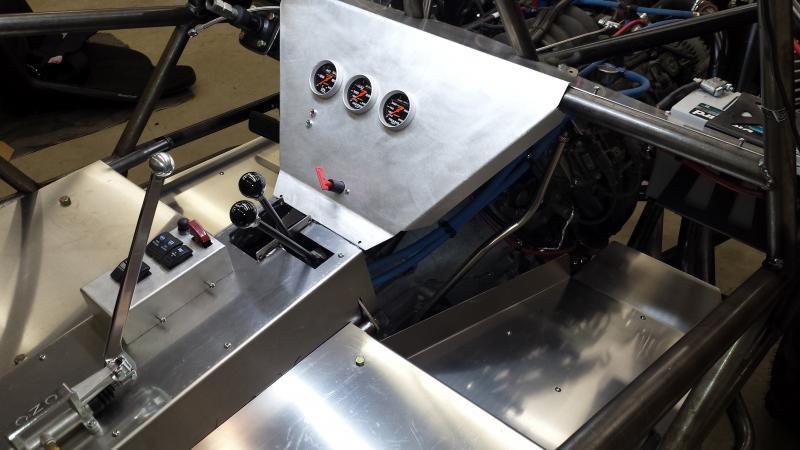
And this is what I came up with. I ended up having to do it twice due to finding out the limitations of the tool the hard way,lol..
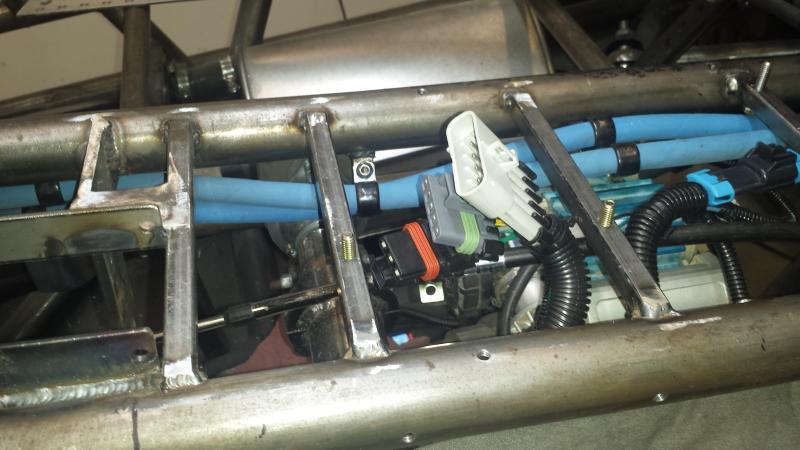
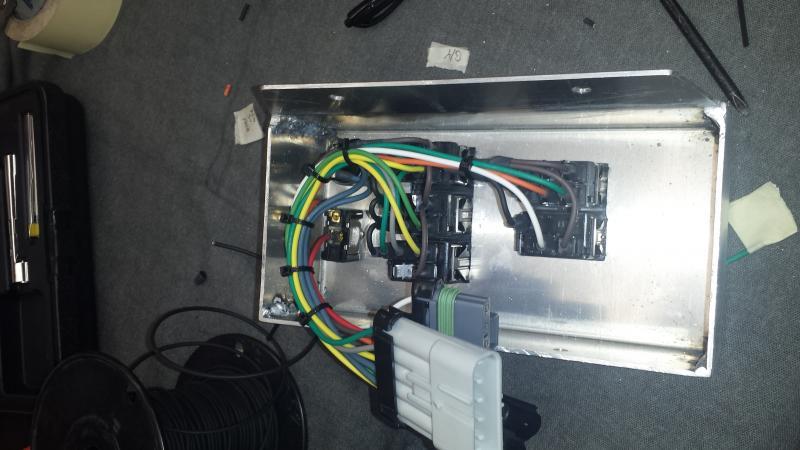
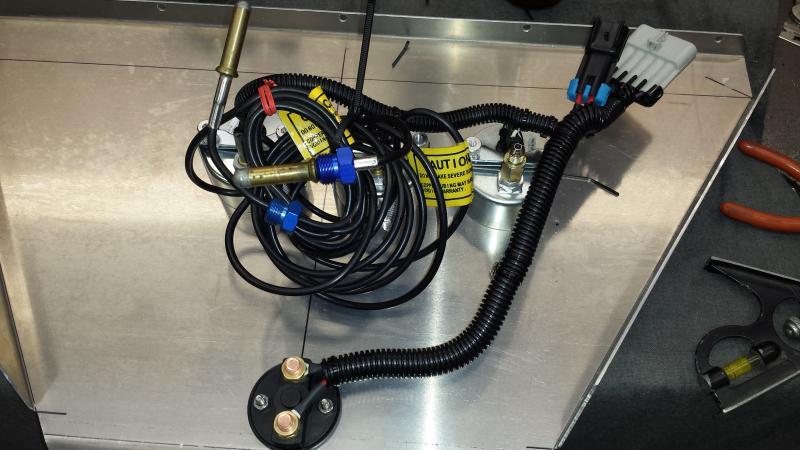
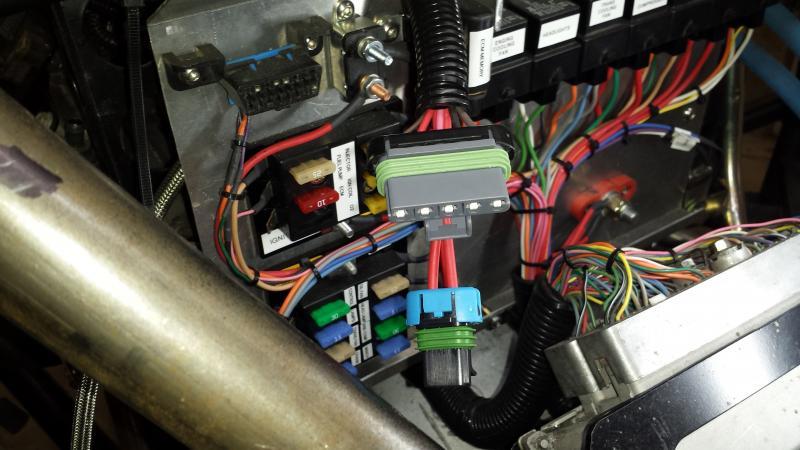
It was very tricky though due to the multiple angles and the fact it was between panels. I ended up overlapping the top dash panel simply to keep any water from walking down onto the electrical center.
Now its ready for the gauges and the master battery switch.
It was very tricky though due to the multiple angles and the fact it was between panels. I ended up overlapping the top dash panel simply to keep any water from walking down onto the electrical center.
Now its ready for the gauges and the master battery switch.
Attachments
crash2
-Oh no I picked a side-
Nice work
Thanks its coming along...
crash2
-Oh no I picked a side-
crash2
-Oh no I picked a side-
crash2
-Oh no I picked a side-
crash2
-Oh no I picked a side-
crash2
-Oh no I picked a side-
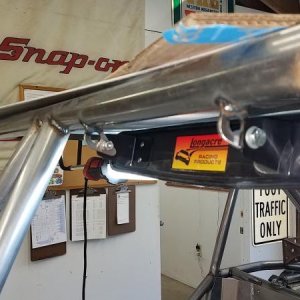
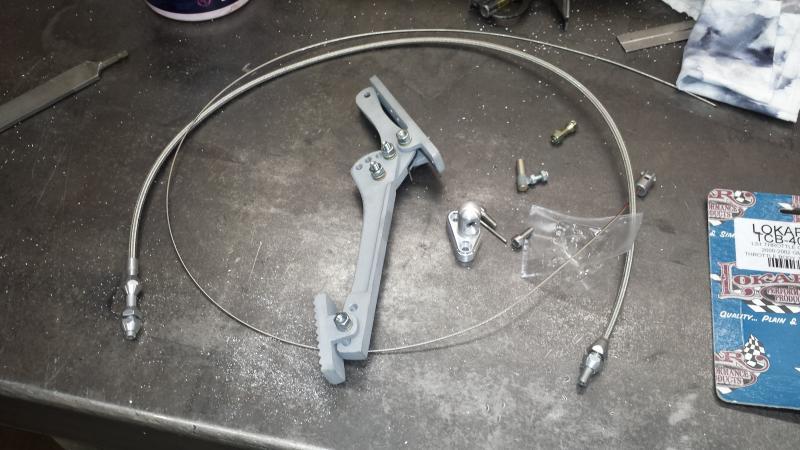
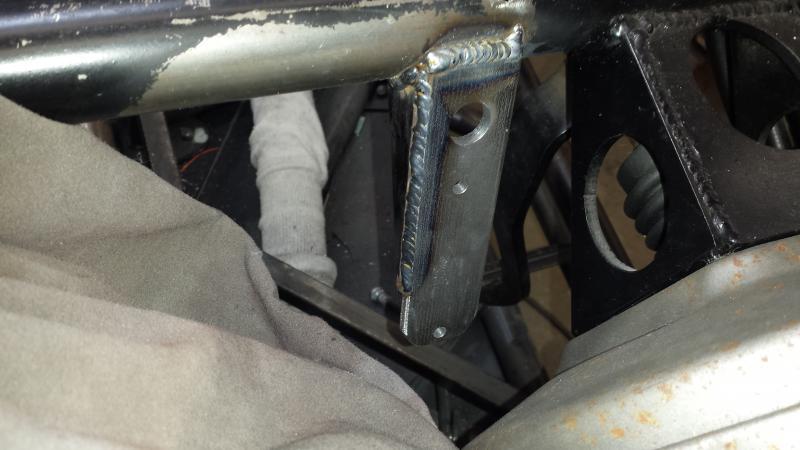
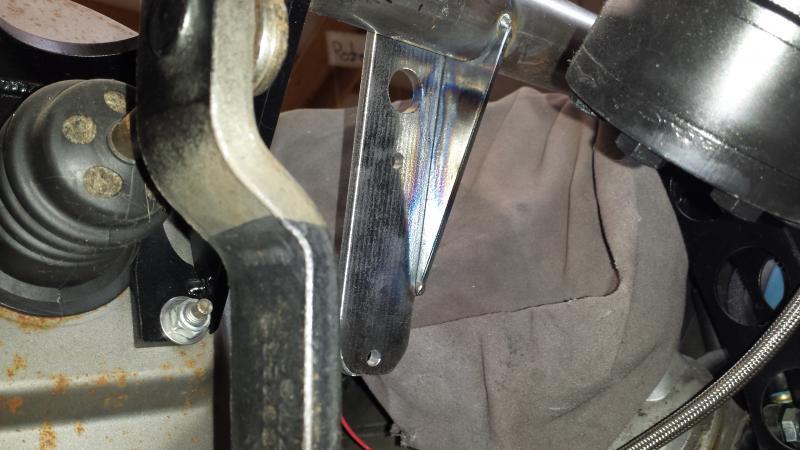
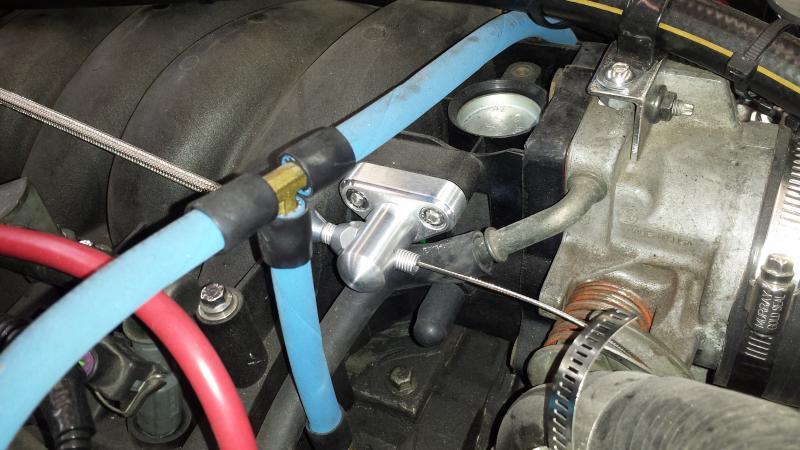
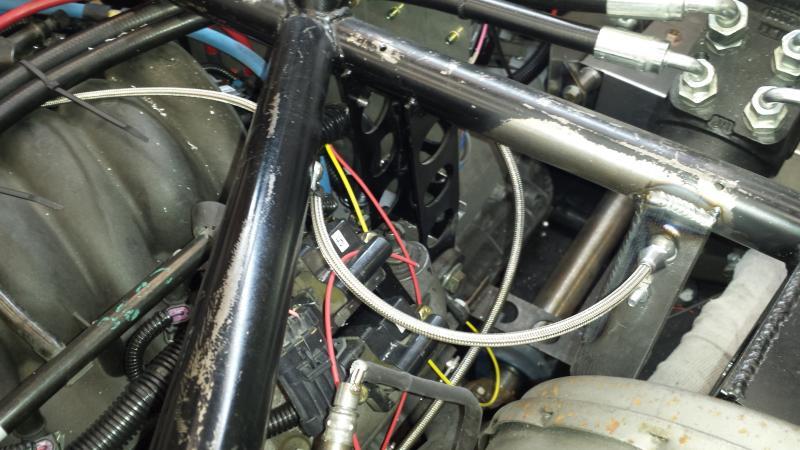
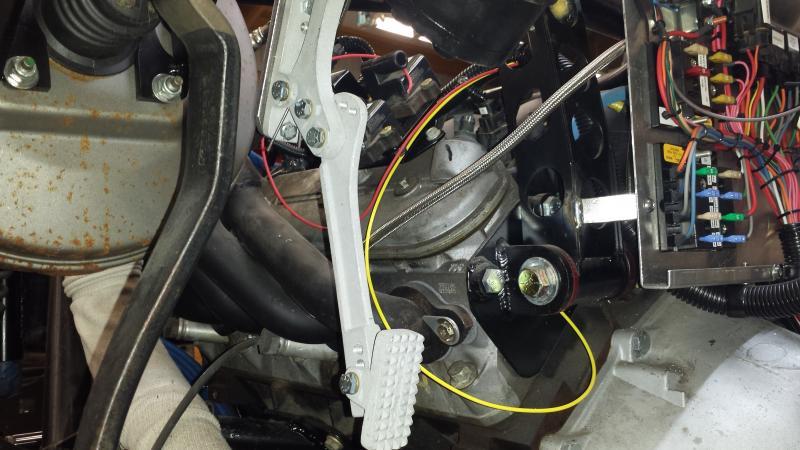
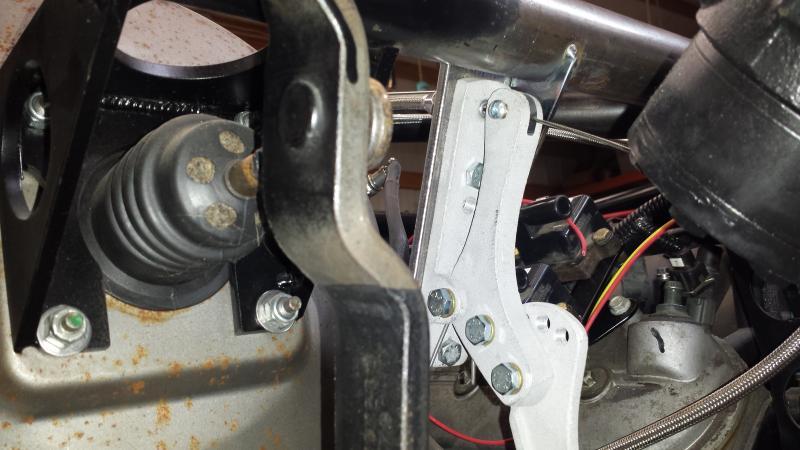
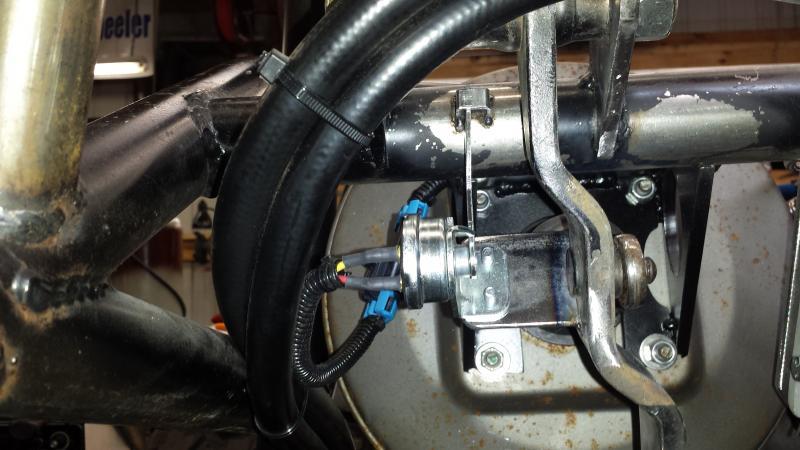
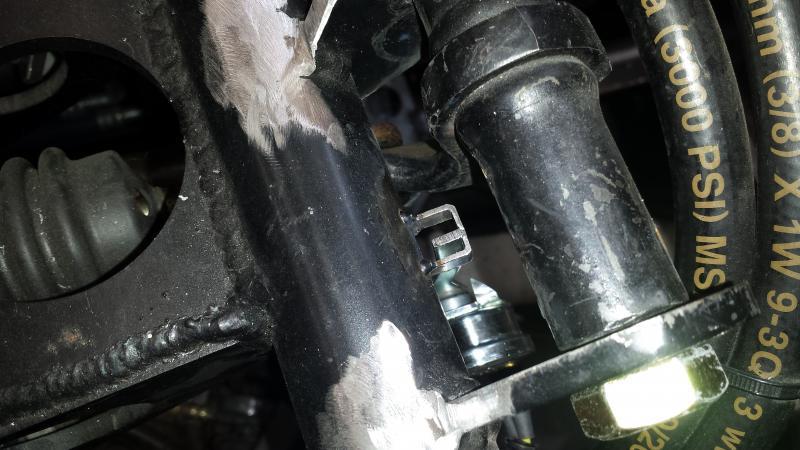
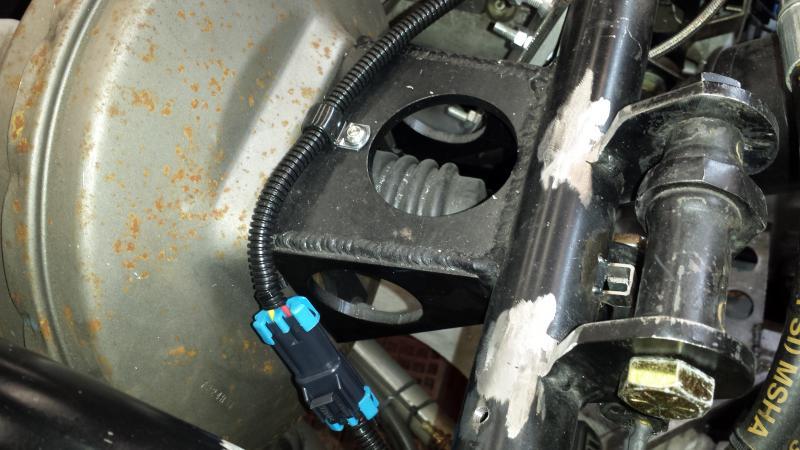
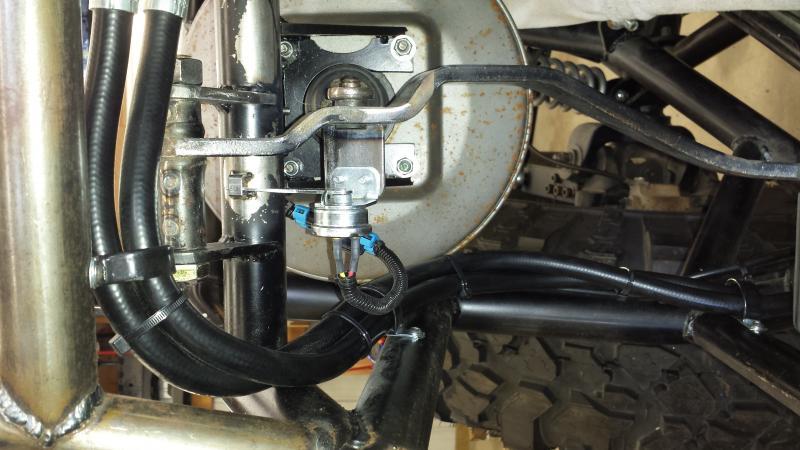
This was tricky to do--brake switch due to how it was setup internally. At rest the circuit was closed so as the pedal was pushed I needed it to move towards the at rest position. Had it been open at rest and closed when moved it would have been much simpler to setup.
Attachments
crash2
-Oh no I picked a side-

stealthrunner1
Well-Known Member
:swing: Great stuff my friend!!!:awesomework:
crash2
-Oh no I picked a side-
thanks Bill...
This was tricky to do--brake switch due to how it was setup internally. At rest the circuit was closed so as the pedal was pushed I needed it to move towards the at rest position. Had it been open at rest and closed when moved it would have been much simpler to setup.
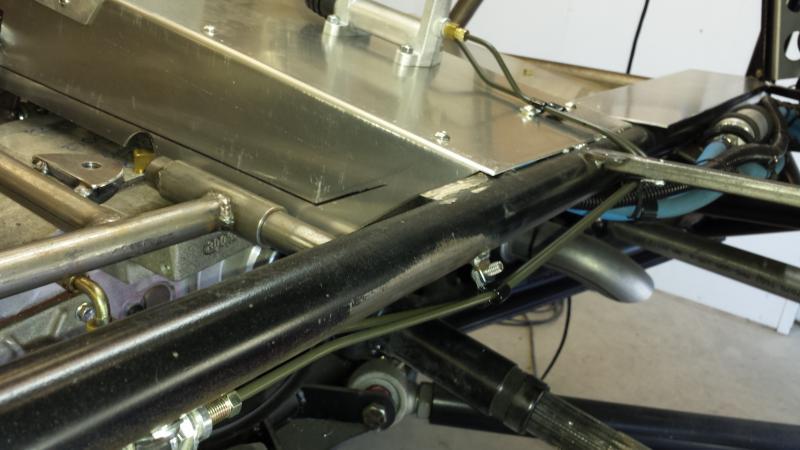
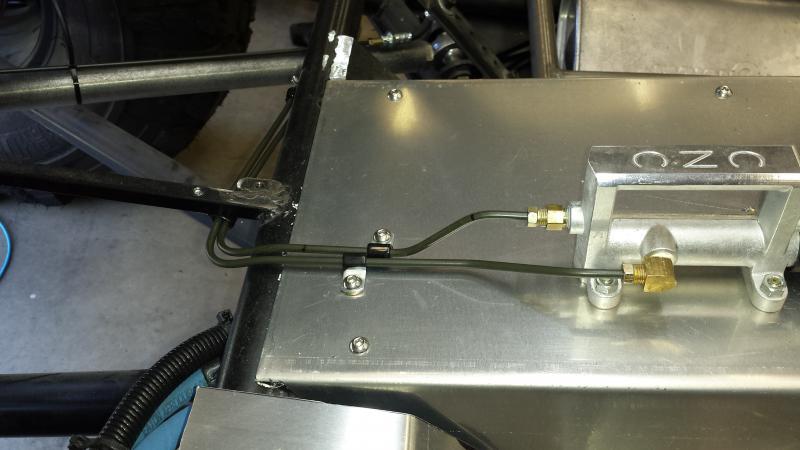
Why wouldn't you use a switch that plums in to your brake lines?
crash2
-Oh no I picked a side-
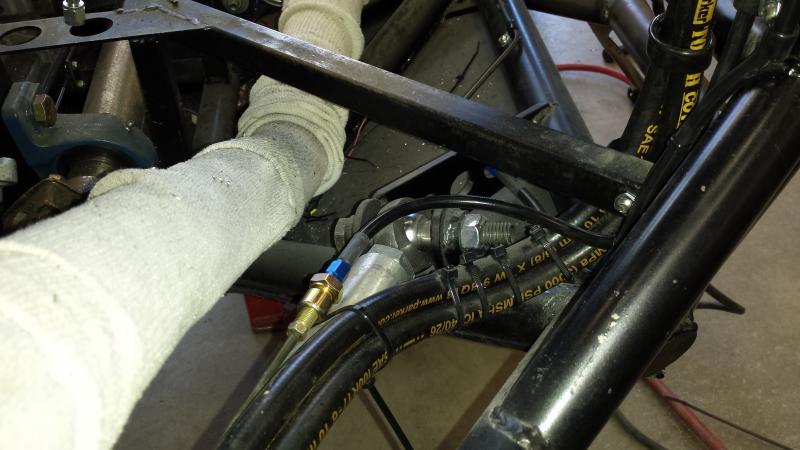
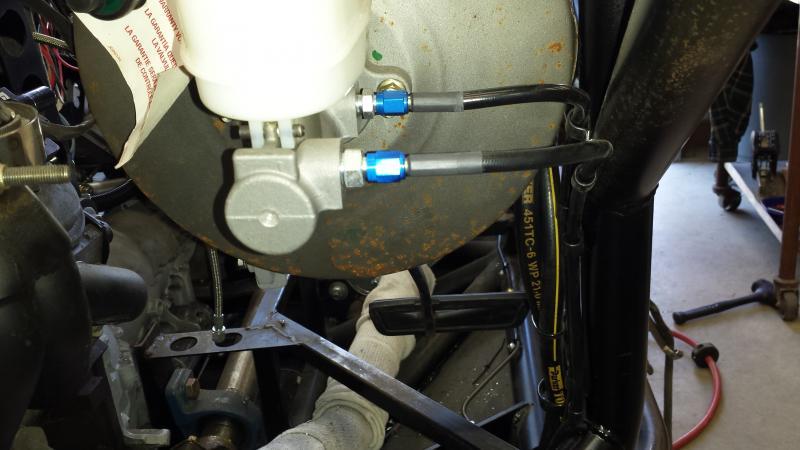
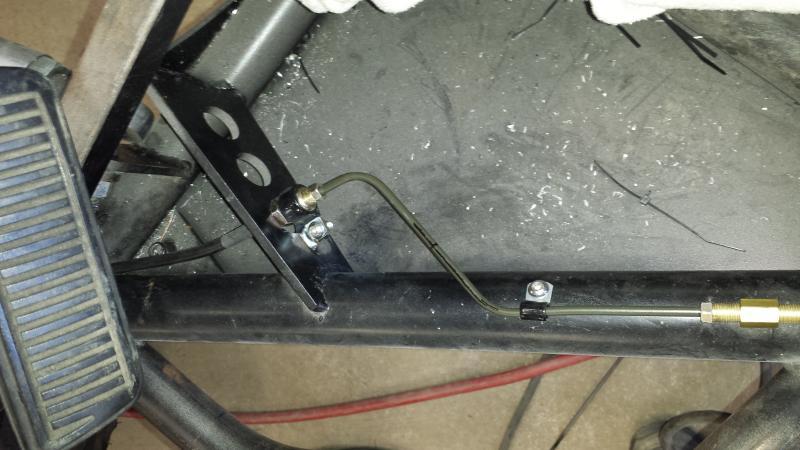
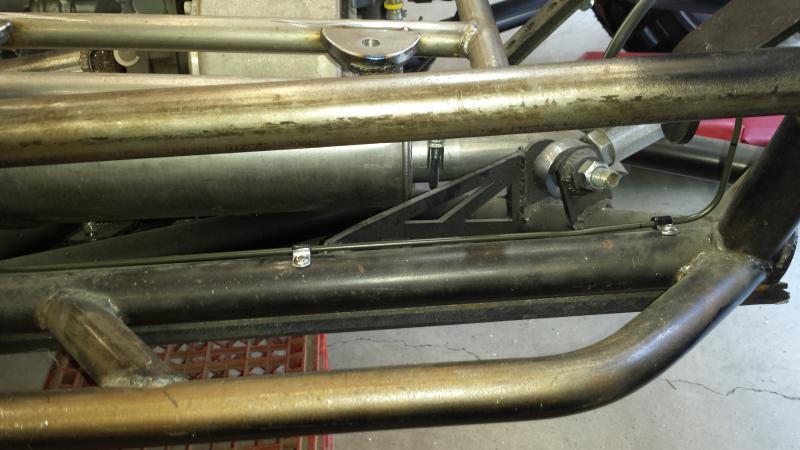
The switch was in the pile of parts and I had already finished the brake hardlines
crash2
-Oh no I picked a side-
crash2
-Oh no I picked a side-
crash2
-Oh no I picked a side-
crash2
-Oh no I picked a side-
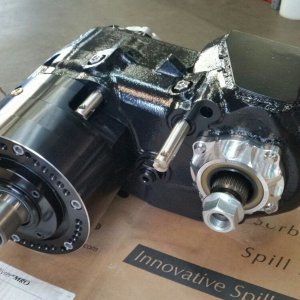
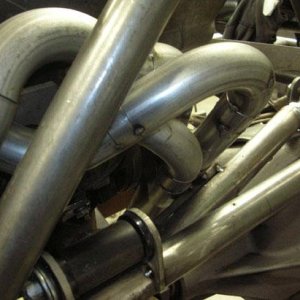
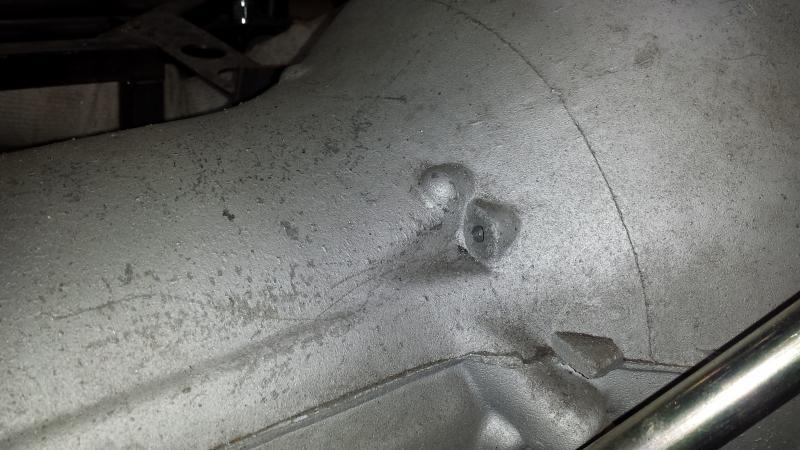
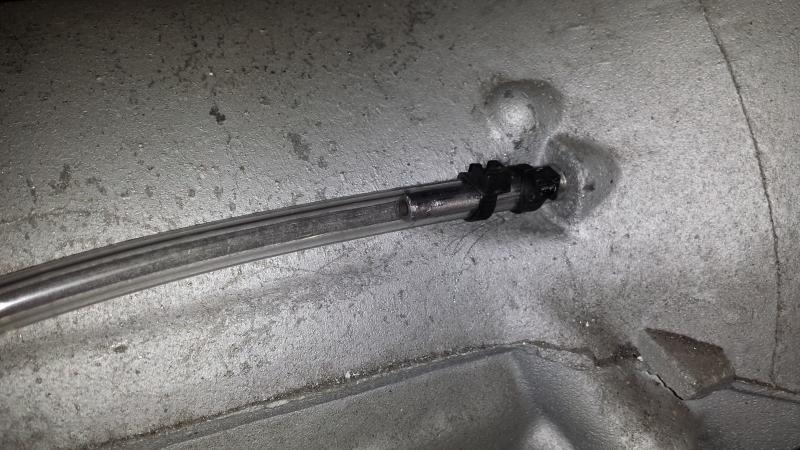
One thing I had noticed was the vent on the th400 was gone. It was hard but I was able to see down the hole and found a good portion of the vent still in the trans. Took some work to dig it all out. At this point I had a few choices one being drilling and tapping to 1/8". I chose to take 1/4" hardline and filed it down to a interference fit and worked it into the trans.
Attachments
crash2
-Oh no I picked a side-
crash2
-Oh no I picked a side-
crash2
-Oh no I picked a side-
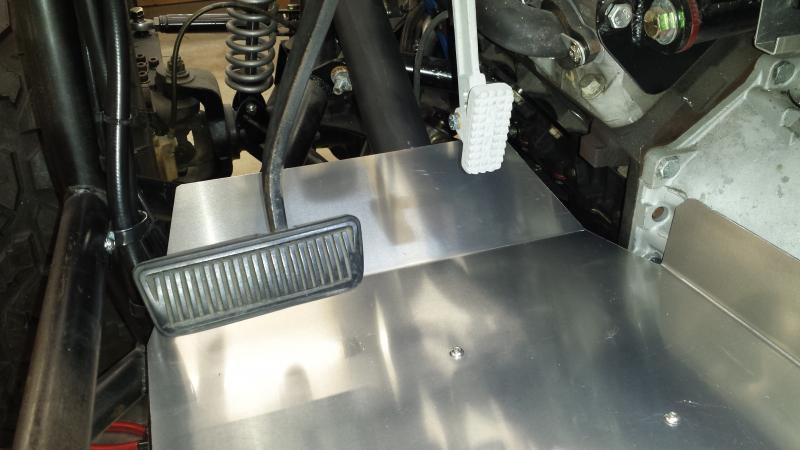
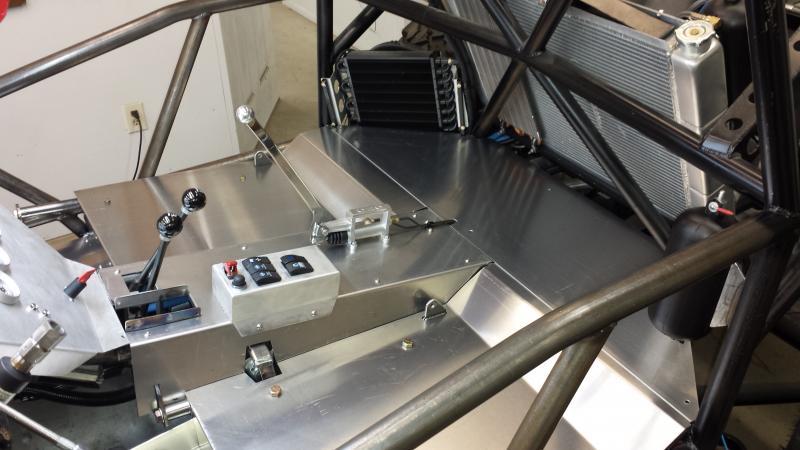
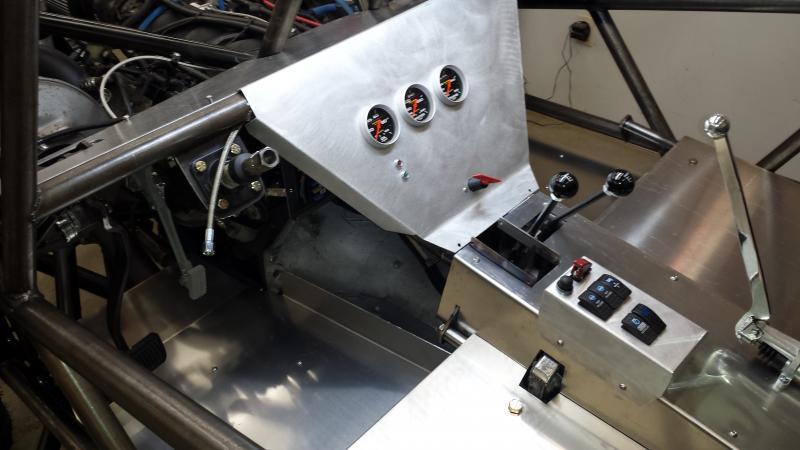
So that completes the interior sheet metal. My original intention was to also enclose at the front of the trans. I spent a good few hours and could not come up with any good ideas that didn't look like complete ****.
Attachments
crash2
-Oh no I picked a side-
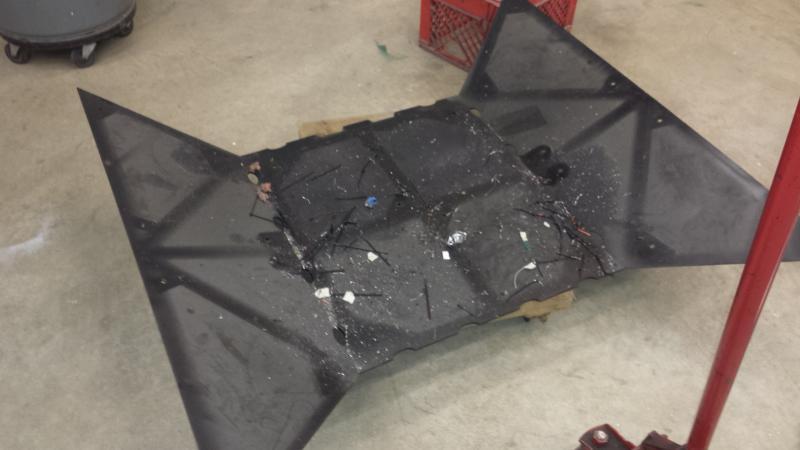
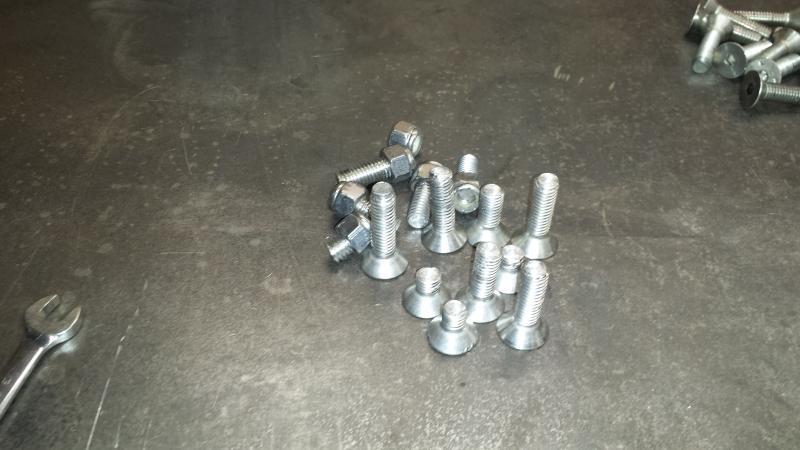
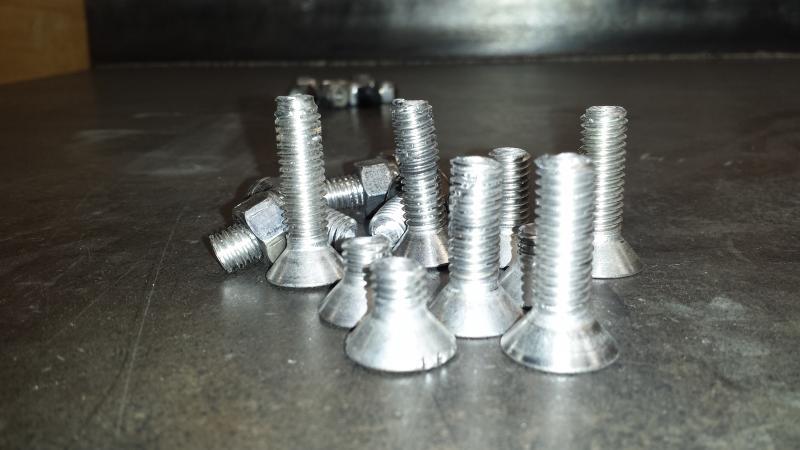
I went ahead and pulled the skid plate to mainly clean all the crap out of it. When I did so I found many of the stainless bolts not even tightened and I found out why. I ended up having to literally break many of them and had to drill a few heads off. I didn't find out why until I went to reinstall it with new metal bolts. Many of the holes did not line up perfect causing the threads to be galled since stainless is soft. I had to had work a bunch of the holes but got everything to go back on right.
Attachments
crash2
-Oh no I picked a side-
Latest posts
-
-

-
-
-
-
-
-

-
-
-
For Sale First Generation 4Runner Rock Crawler for sale or trade
- Latest: FirstGenFunRunner
-
-
-
Withdrawn First Generation 4Runner Rock Crawler for sale or trade
- Latest: FirstGenFunRunner
-