You are using an out of date browser. It may not display this or other websites correctly.
You should upgrade or use an alternative browser.
You should upgrade or use an alternative browser.
Another lil something.....
- Thread starter crash2
- Start date

Help Support Hardline Crawlers:
crash2
-Oh no I picked a side-
crash2
-Oh no I picked a side-
crash2
-Oh no I picked a side-
crash2
-Oh no I picked a side-
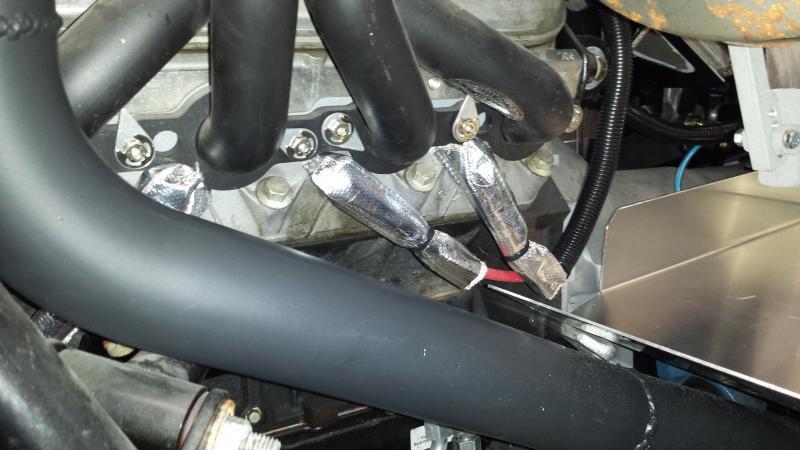
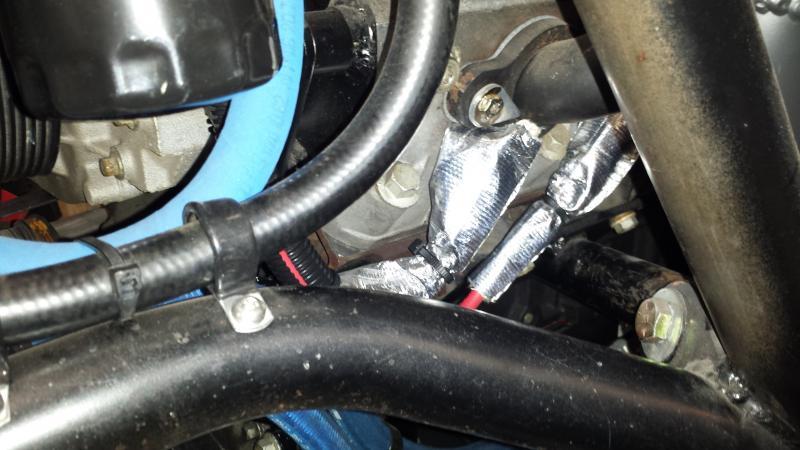
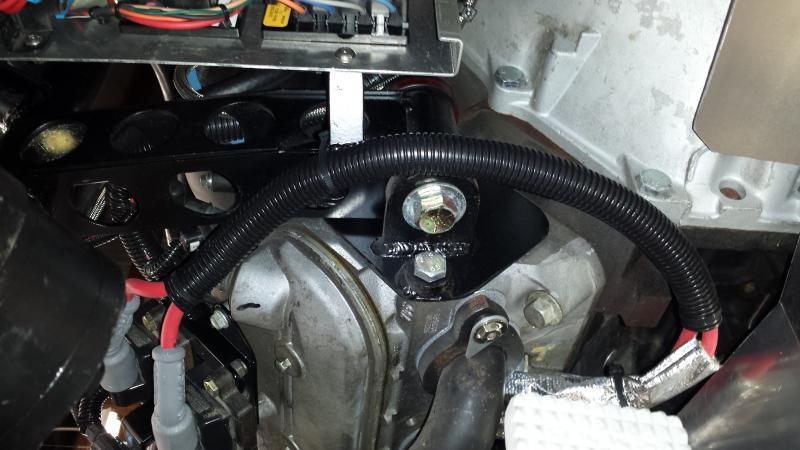
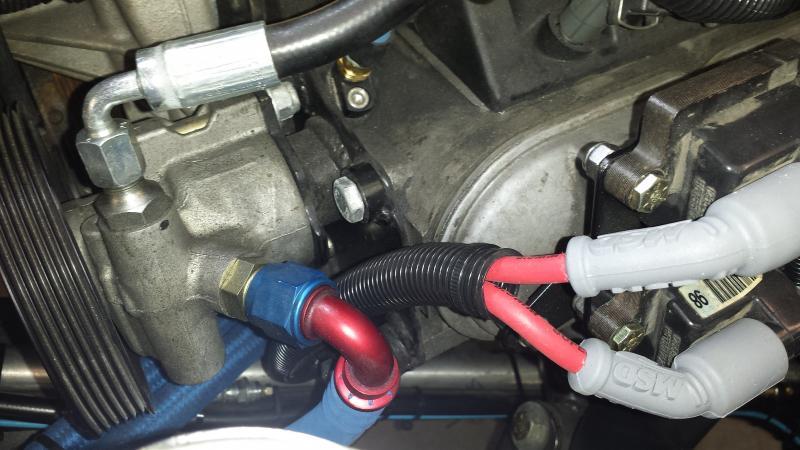
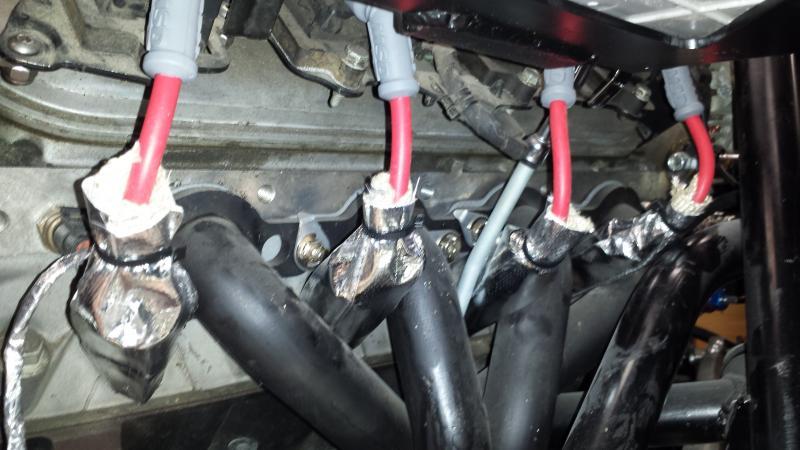
So I searched high and low for a plug wire set for the ls motor that were cut to fit since the driver side was no where near in stock form. I found one set (I always prefer to use MSD wires) and got the plug wires all done.
Attachments
crash2
-Oh no I picked a side-
crash2
-Oh no I picked a side-
crash2
-Oh no I picked a side-
crash2
-Oh no I picked a side-
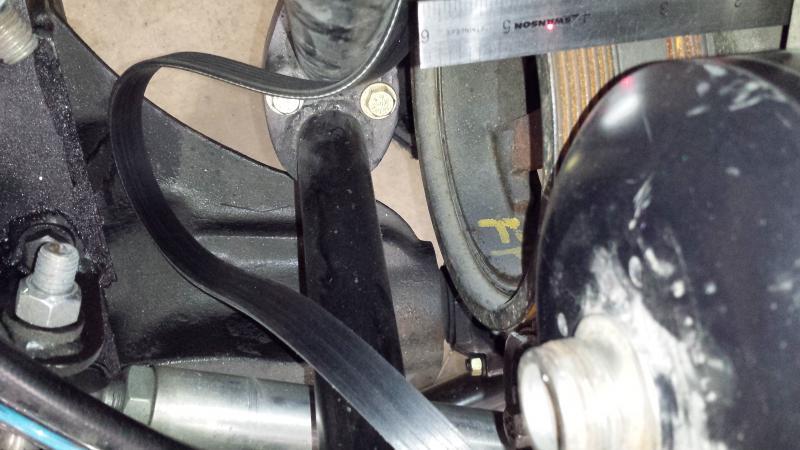
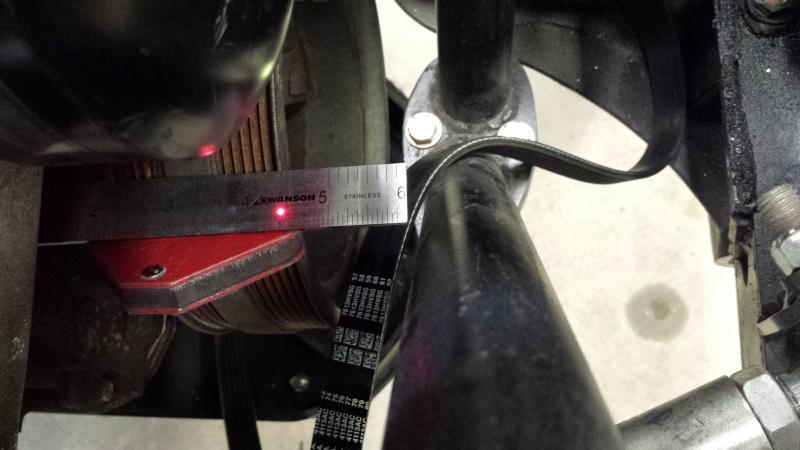
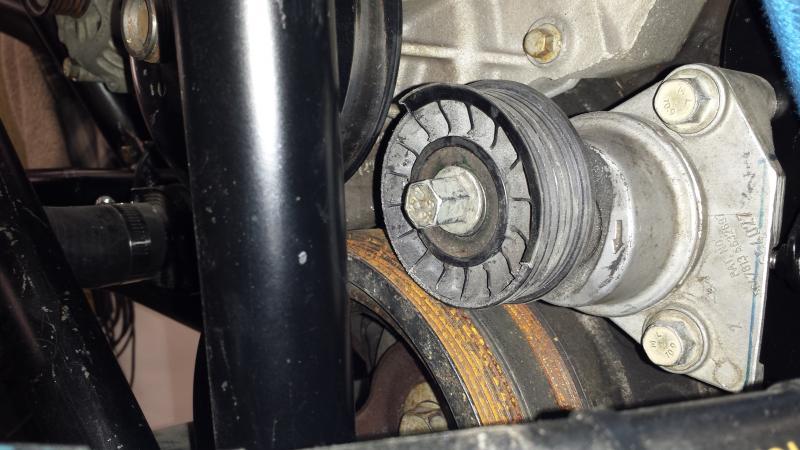
So with that I am going to also check the p/s pump alignment and fix the hokey tensioner.
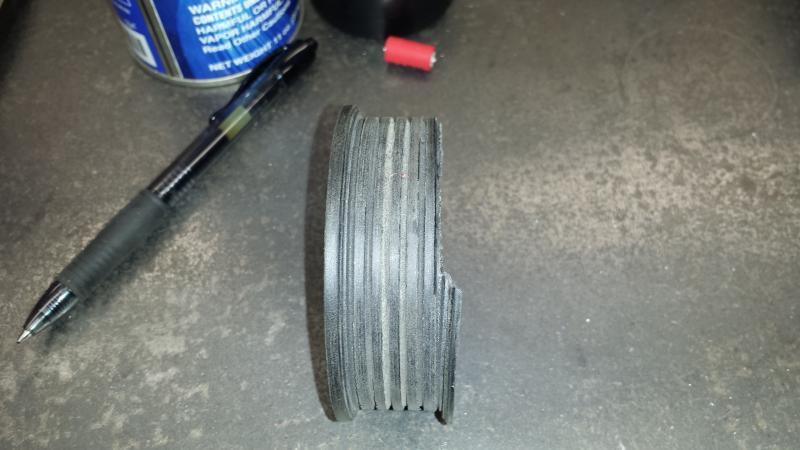
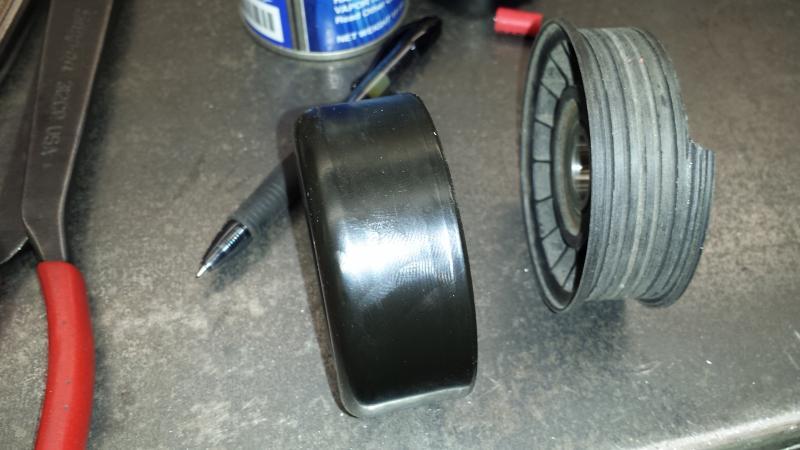
So the layout is the alt was moved over to where the belt tensioner, the p/s pump is where the alt was and the tensioner is where ther p/s pump was. the tensioner was made to have the ribs of the belt ride against the idler. Well the ribs were filed or ground down and when the belt popped off it actually broke the edge off.
So the layout is the alt was moved over to where the belt tensioner, the p/s pump is where the alt was and the tensioner is where ther p/s pump was. the tensioner was made to have the ribs of the belt ride against the idler. Well the ribs were filed or ground down and when the belt popped off it actually broke the edge off.
Attachments
crash2
-Oh no I picked a side-
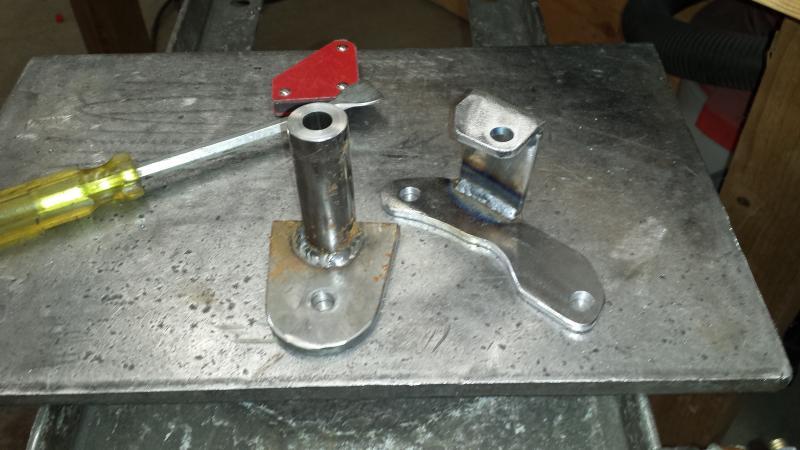
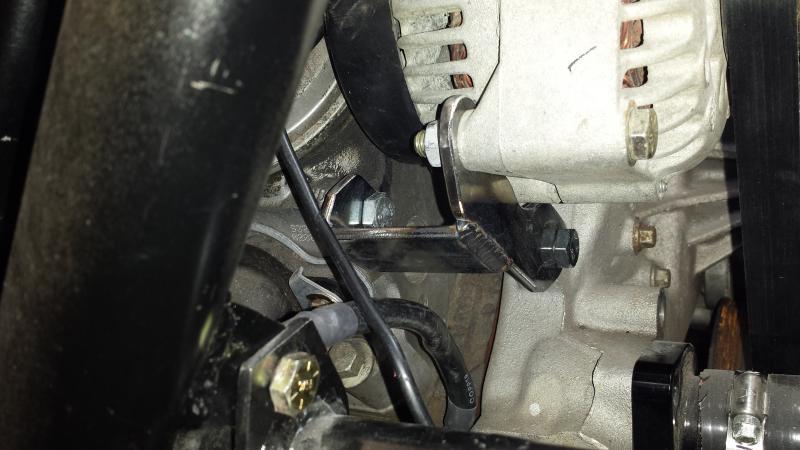
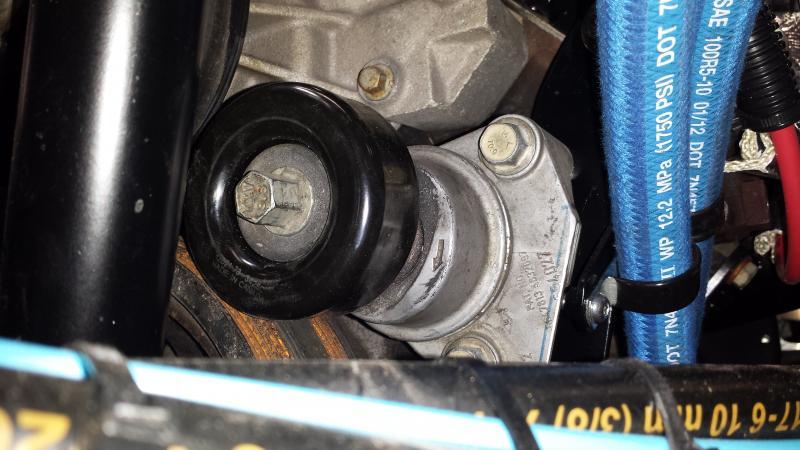
So I did some digging and found gates make a 3" idler thats made to ride on the back side of the belt. I could not find the info regarding the offset or the hole size of the bearing so I went ahead and grabbed it.
Damn its absolutely perfect. So I have to tweek the p/s pump a tad and get a 1/4" longer belt and that will be done.
Damn its absolutely perfect. So I have to tweek the p/s pump a tad and get a 1/4" longer belt and that will be done.
Attachments
crash2
-Oh no I picked a side-
Paulie
Looking for man love
Things are tight in there, looks clean mike
deerlick
Well-Known Member
hey crash I recommend laying camper tape on all the surfaces the sheetmetal will lay on and fasten to. it will help with noises transferring through the chassis and making annoying sounds from vibrations on the aluminum.
Clark
Well-Known Member
Whoever you're doing all that work for is going to be extremely happy with how you've done everything. It's almost therapeutic to watch you unfawk what's been previously fawked. :Stoned:
crash2
-Oh no I picked a side-
Things are tight in there, looks clean mike
Ya its a tight ***** :redneck: Thanks Paulie
crash2
-Oh no I picked a side-
hey crash I recommend laying camper tape on all the surfaces the sheetmetal will lay on and fasten to. it will help with noises transferring through the chassis and making annoying sounds from vibrations on the aluminum.
I had thought of something like that and once I know everything is good I will plan on some sort of insulator for sure :awesomework:
crash2
-Oh no I picked a side-
Whoever you're doing all that work for is going to be extremely happy with how you've done everything. It's almost therapeutic to watch you unfawk what's been previously fawked. :Stoned:
Thanks clark and matt is super stoked to whats been done so far. He was getting pretty down for a while when it sat in his friends garage for close to a year in the state that I got it and was told a couple guys who knew what they were doing could have it done in a weekend,lol.
But he told me he is really getting excited to wheel again after some time of not being able to.
crash2
-Oh no I picked a side-
crash2
-Oh no I picked a side-
crash2
-Oh no I picked a side-
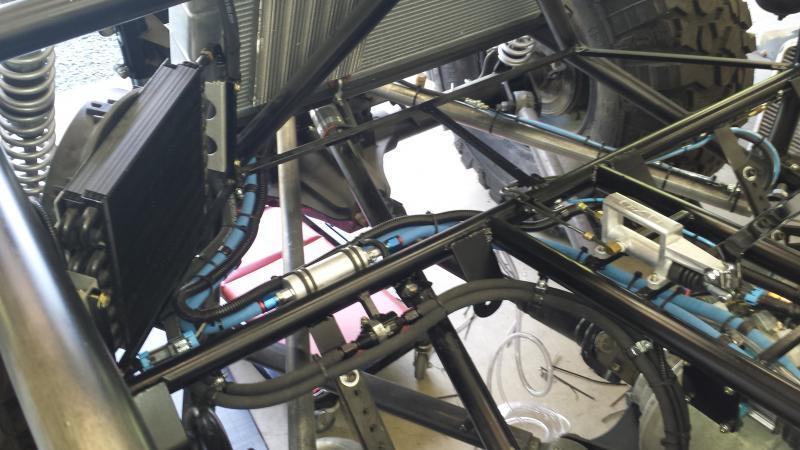
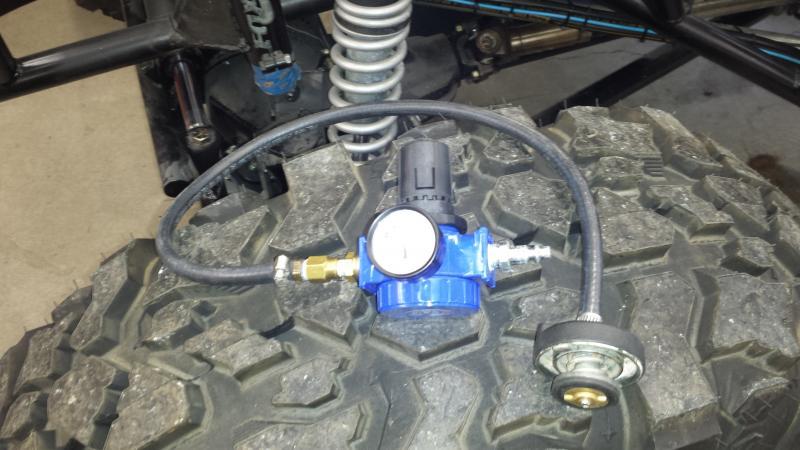
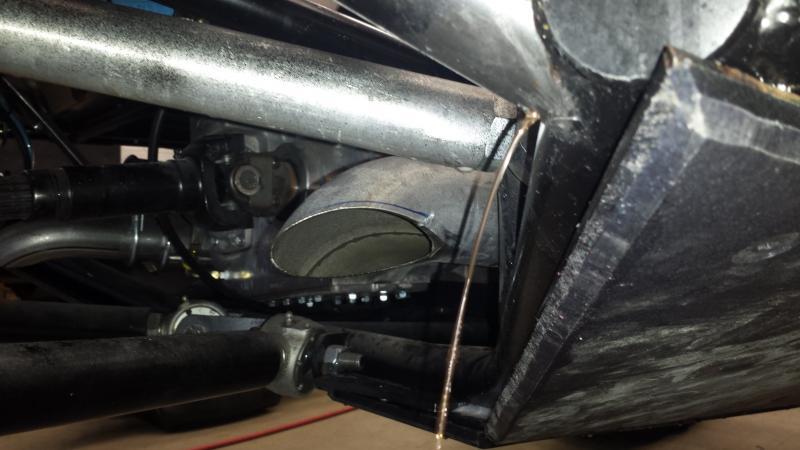
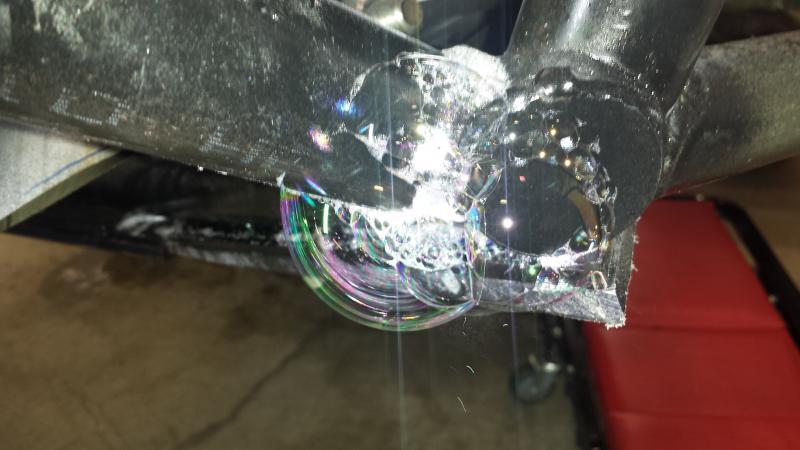
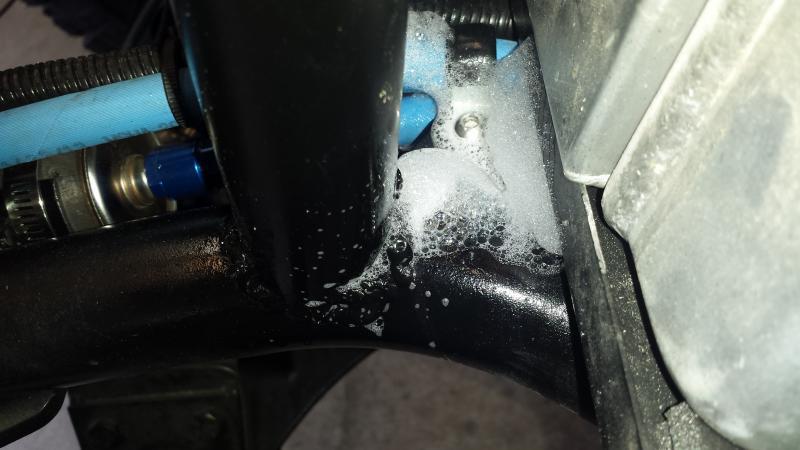
So I got the tool hooked up and what I was finding there was no way to drain the coolant out of the chassis-it was only seeping coolant. #1 that makes it difficult to pinpoint the leak and #2 trying to weld it will be difficult. So what I ended up having to do was drill a hole and drain the coolant and then plug weld the hole back up.
Attachments
crash2
-Oh no I picked a side-
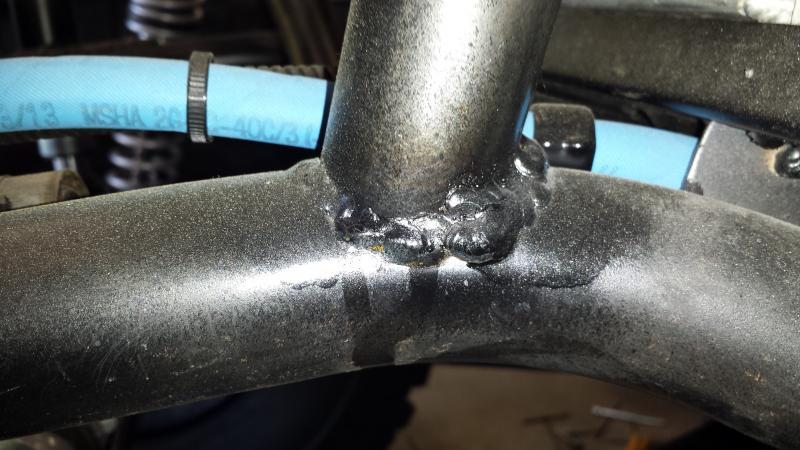
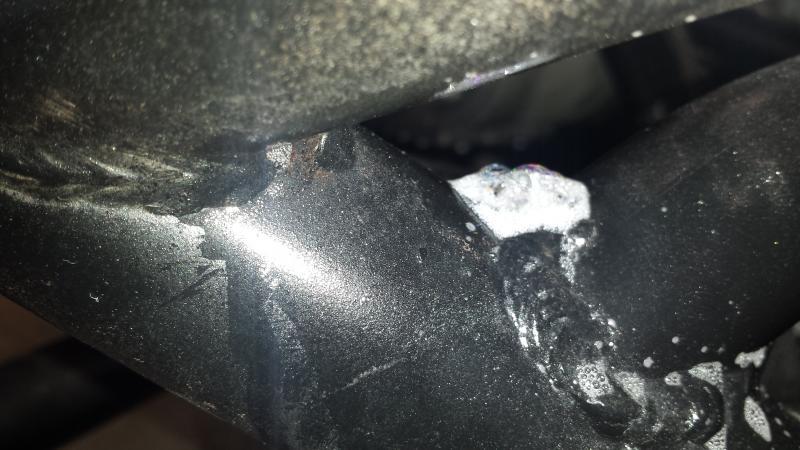
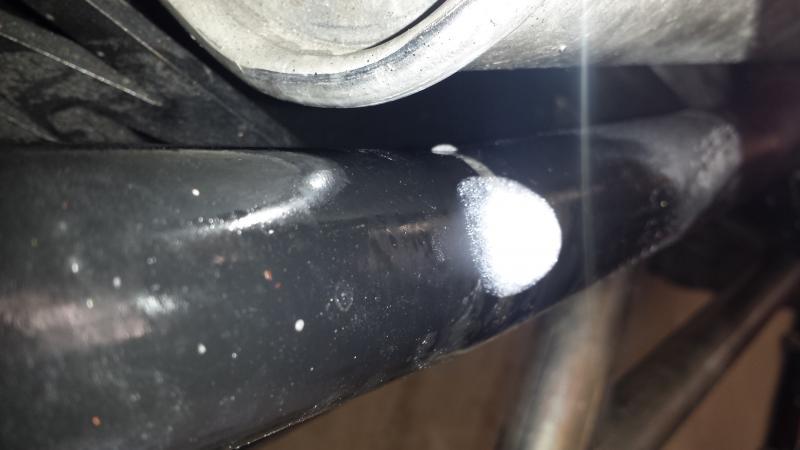
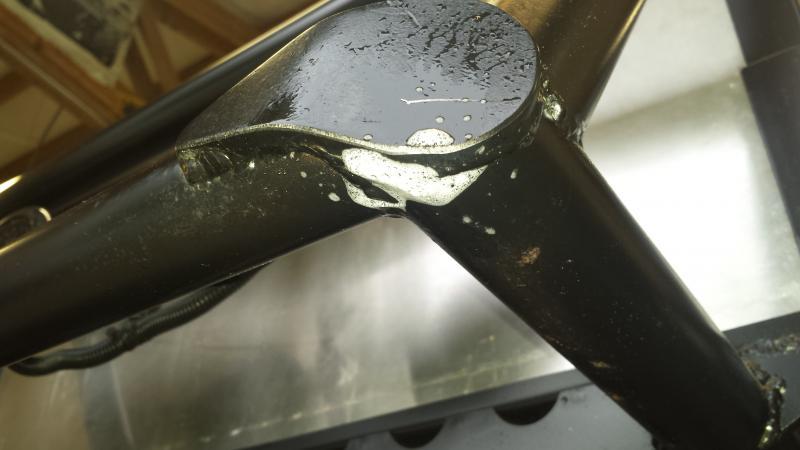
So there were 5 separate leaks in the short section where the coolant goes thru the chassis--5.....
One was right in the middle of a tube where 2 sections were butt welded..
It took some work to get them all fixed but I finally did and ran the system and got the coolant all topped off,,,
One was right in the middle of a tube where 2 sections were butt welded..
It took some work to get them all fixed but I finally did and ran the system and got the coolant all topped off,,,
Attachments
crash2
-Oh no I picked a side-
So for the first time I was able to drive it out of the shop and spent some time playing on the property with it---this thing hall balls....
crash2
-Oh no I picked a side-
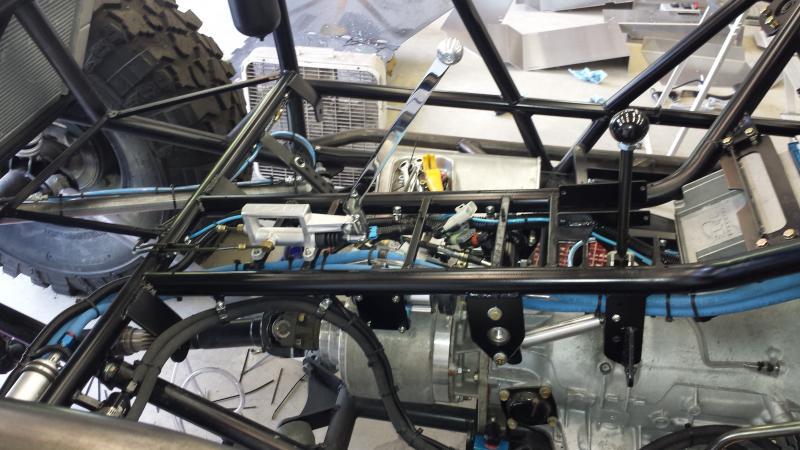
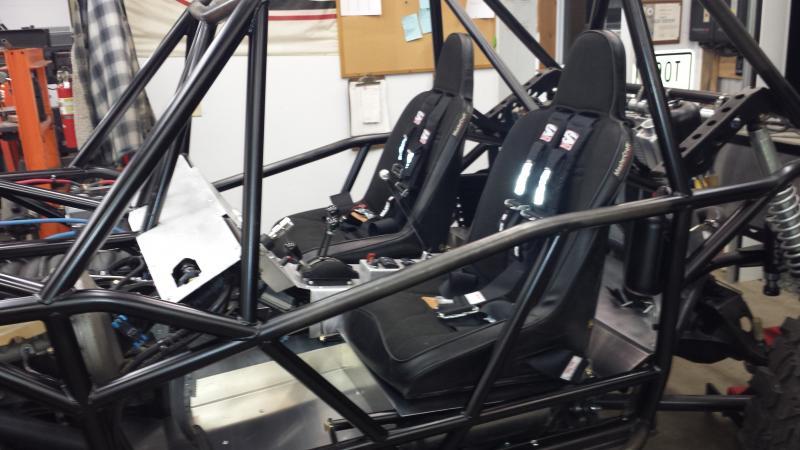
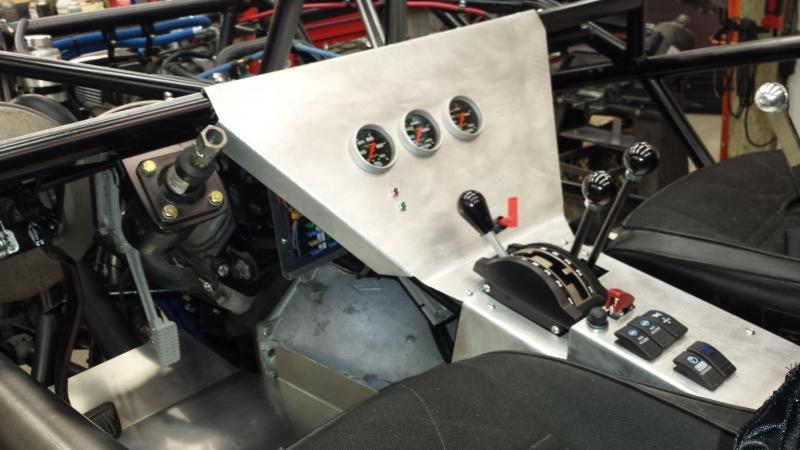
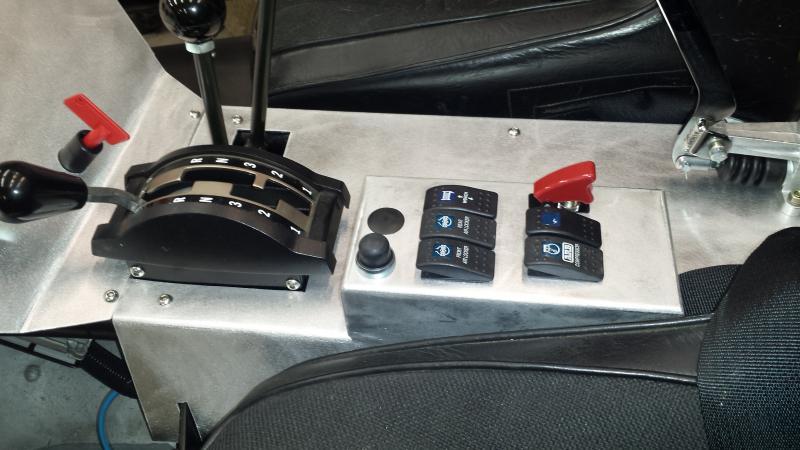
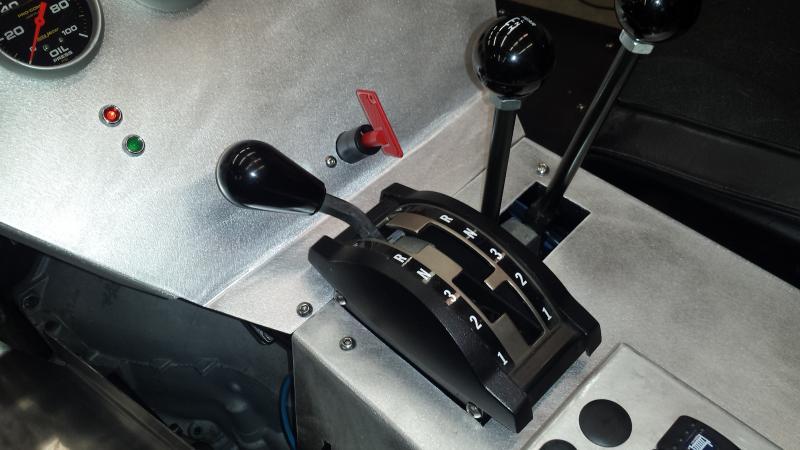
So I made a couple tweeks. First I moved the ignition switch back on the switch pod. I found the shifter knob was very close to the safety portion of the switch. I also had to put a little bend in the shifter itself to help with clearance against the t-case shifters.
Attachments
crash2
-Oh no I picked a side-
crash2
-Oh no I picked a side-
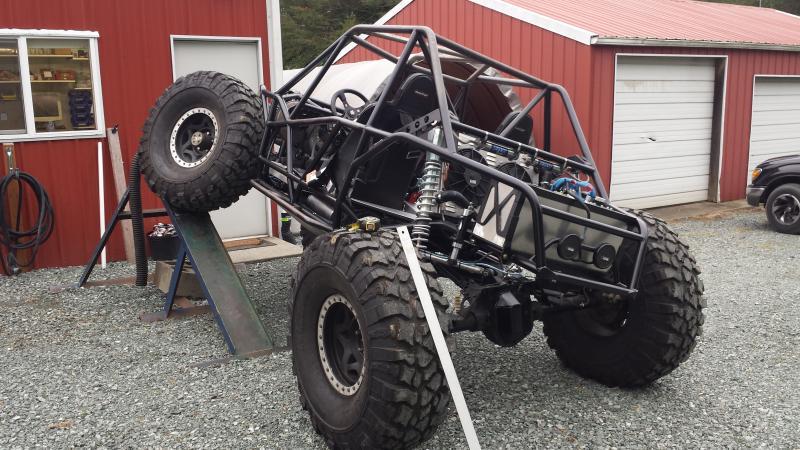
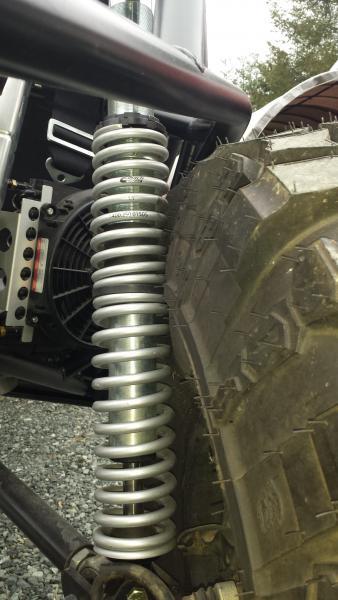
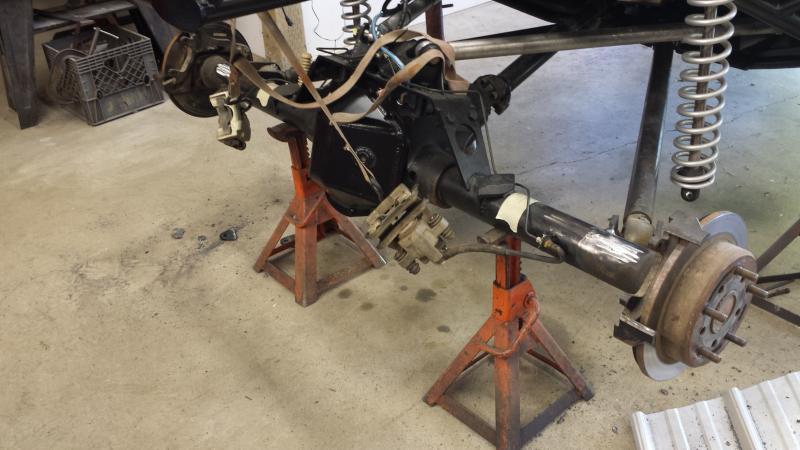
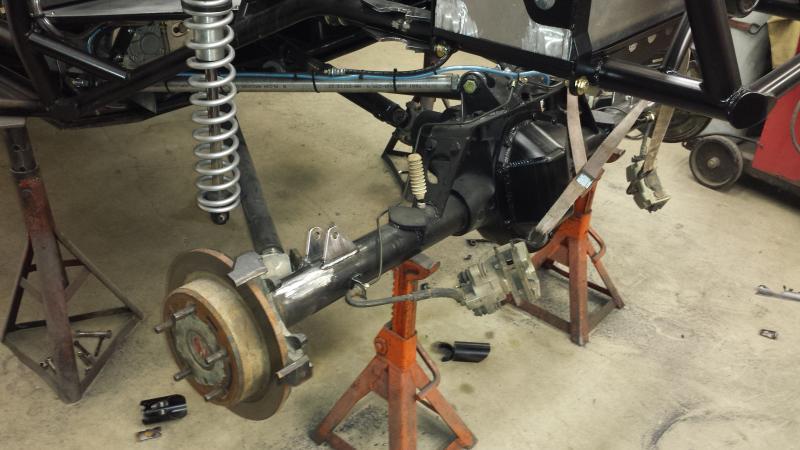
So on the way up the ramp I could feel the rig binding up. Well ya guess what I found. Guess what another fawked up thing. :looser:
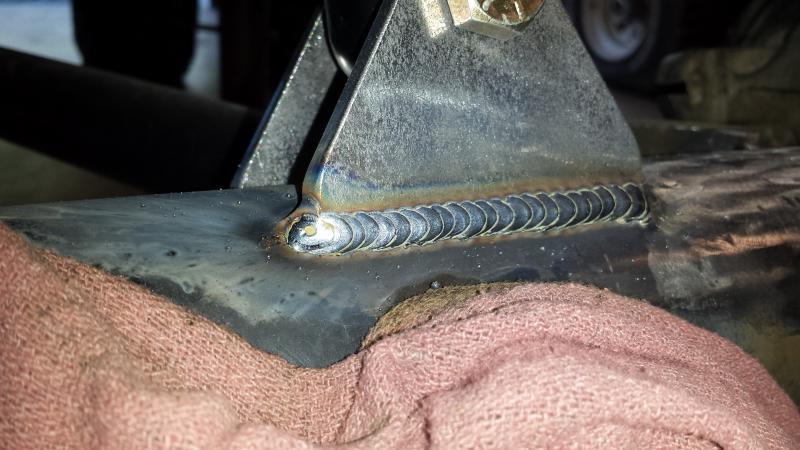
So the shocks sit at roughly 12 degrees in. The upper mount will be a pos to rebuild and move. I took a bunch of measurements and I can move the lower shock mount inward about 2.5" and have the shock at 5 degrees. I know thats not "perfect" but from my own experience I have found it will not change the performance. So I called and talked with matt and let him know what was happening.
So the shocks sit at roughly 12 degrees in. The upper mount will be a pos to rebuild and move. I took a bunch of measurements and I can move the lower shock mount inward about 2.5" and have the shock at 5 degrees. I know thats not "perfect" but from my own experience I have found it will not change the performance. So I called and talked with matt and let him know what was happening.
Attachments
crash2
-Oh no I picked a side-
crash2
-Oh no I picked a side-
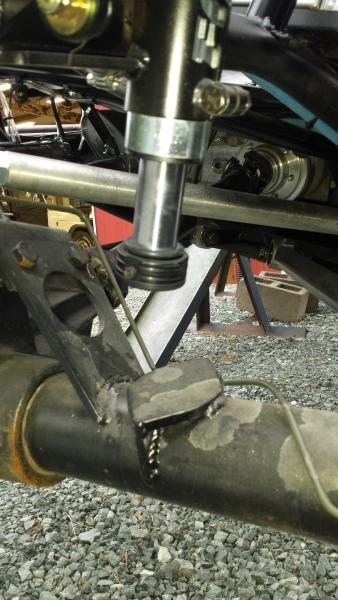
So these are the front air bumps from ride height to about 1" left of shock compression. The fronts are 4" and the rears are 2".
So I am thinking of swapping the front with the rears. I have to get the rear coilovers moved and cans cut off and do some measuring.
The air bump is new to me so its a bit of a learning curve but some good education for when I rebuild my rig.
So I am thinking of swapping the front with the rears. I have to get the rear coilovers moved and cans cut off and do some measuring.
The air bump is new to me so its a bit of a learning curve but some good education for when I rebuild my rig.
Attachments
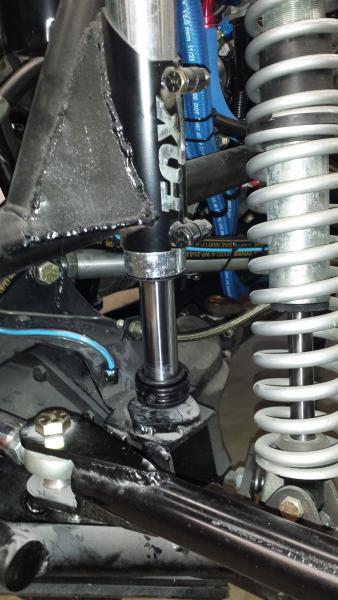
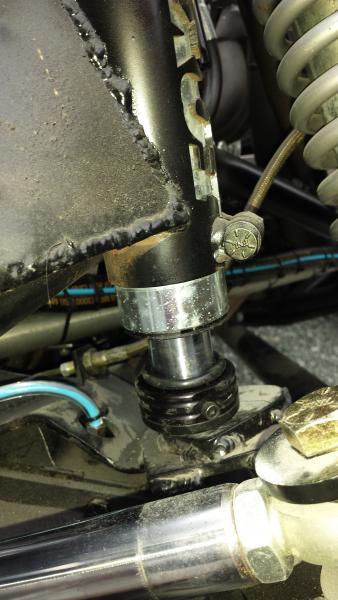
So these are the front air bumps from ride height to about 1" left of shock compression. The fronts are 4" and the rears are 2".
So I am thinking of swapping the front with the rears. I have to get the rear coilovers moved and cans cut off and do some measuring.
The air bump is new to me so its a bit of a learning curve but some good education for when I rebuild my rig.
Sounds like if you swap the bumps and remount you'll be alright. You can always make the 4" a 2" it's really simple. Fine tuning buggys alway good..
crash2
-Oh no I picked a side-
Sounds like if you swap the bumps and remount you'll be alright. You can always make the 4" a 2" it's really simple. Fine tuning buggys alway good..
I found bellvista's write up on them and some good info :awesomework:
crash2
-Oh no I picked a side-
Latest posts
-
-

-
-
-
-
-
-

-
-
-
For Sale First Generation 4Runner Rock Crawler for sale or trade
- Latest: FirstGenFunRunner
-
-
-
Withdrawn First Generation 4Runner Rock Crawler for sale or trade
- Latest: FirstGenFunRunner
-