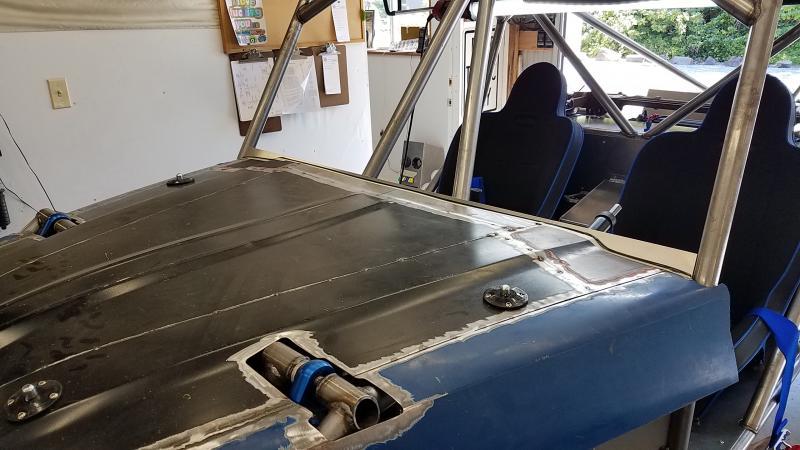
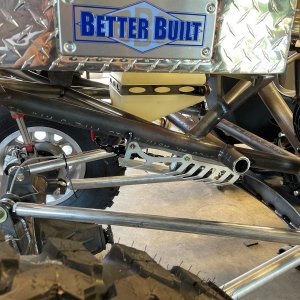
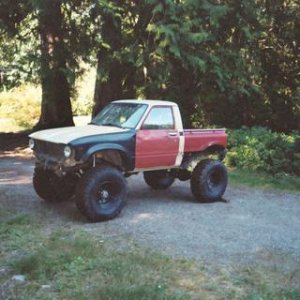
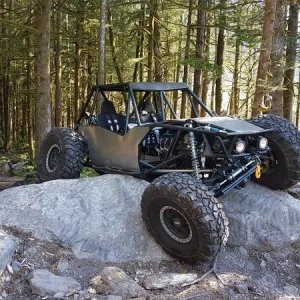
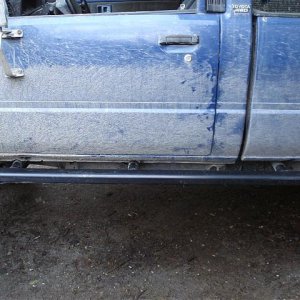
Finally....Da new rig..

Hardline Crawlers - Rock Bouncer Builds, Tech & Off-Road Trail Talk

Help Support Hardline Crawlers:

Looks nice. Just a heads up, on the ignition toggle cover I had a problem of it snapping close killing the truck. On hard hits to rocks and really bad washboard roads. Eventually just took the cover off.
 
Last edited:
Interesting. I have been using this brand for years now and never had one fail when mounted vertically which I would suspect if they were to fail they would be more susceptible to doing so.
 
Ya, they should last forever. Didn't happen right away, took around a year before it started to happen. Figured it was because its the only one that gets used every time the truck is used.
 
Ya, they should last forever. Didn't happen right away, took around a year before it started to happen. Figured it was because its the only one that gets used every time the truck is used.

I buy in bluk and use them allot---no biggy if I gotta replace it every couple years...
 
You've probably answered this question earlier Mike but what welder are you using for all the aluminum work? I really like your approach on different parts and its making me itch to wanna do some myself....
 
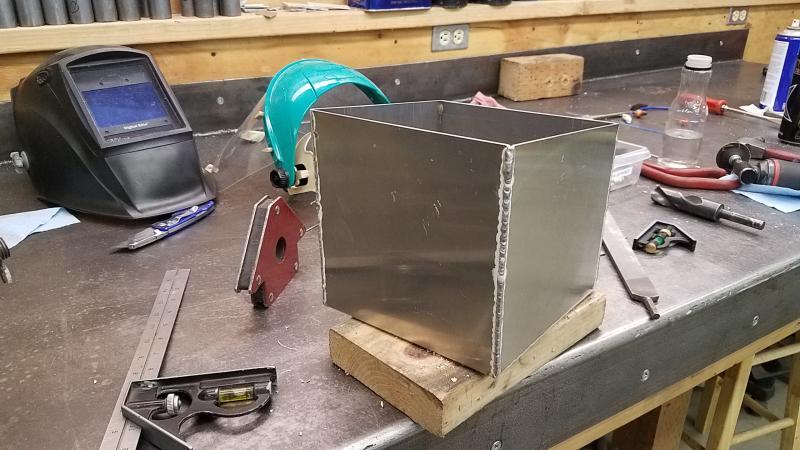
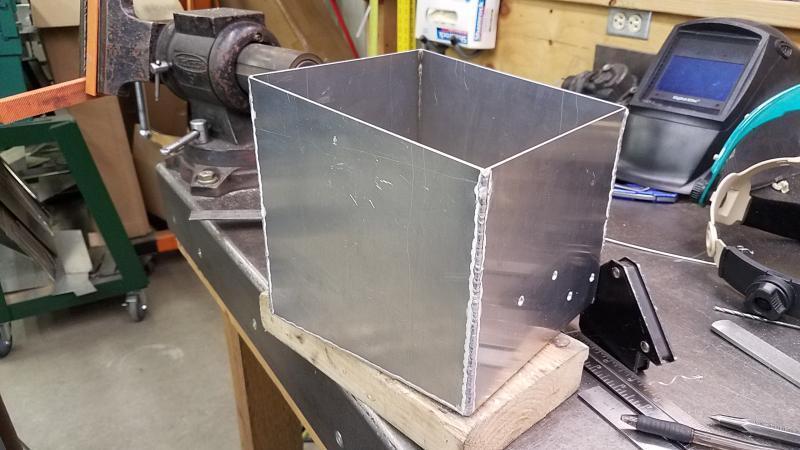
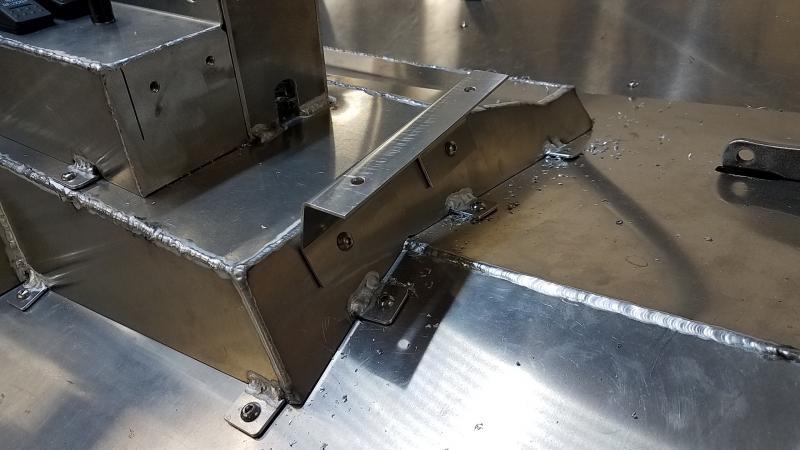
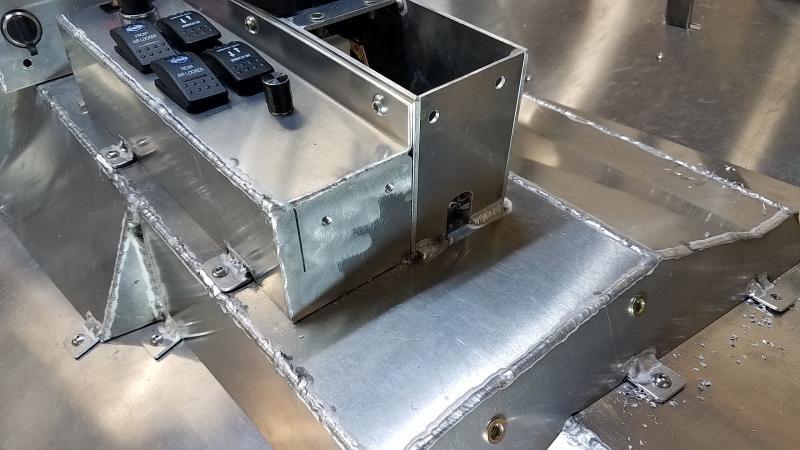
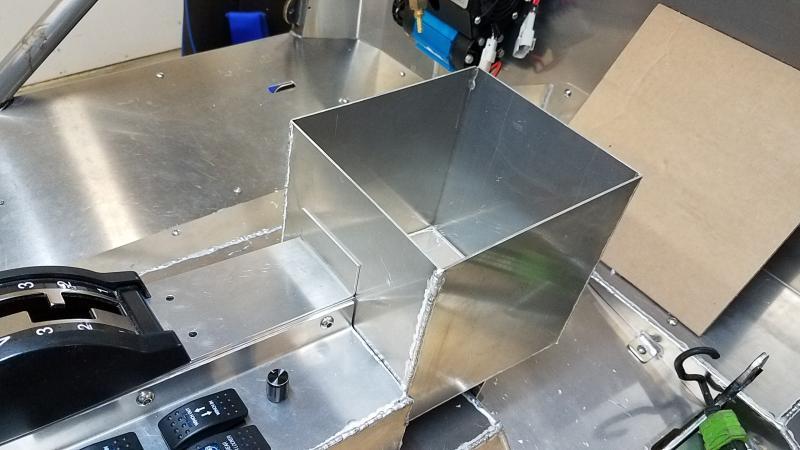
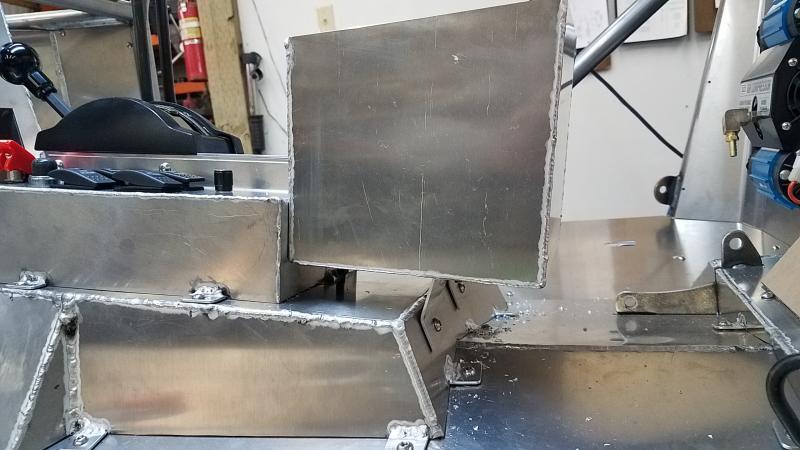
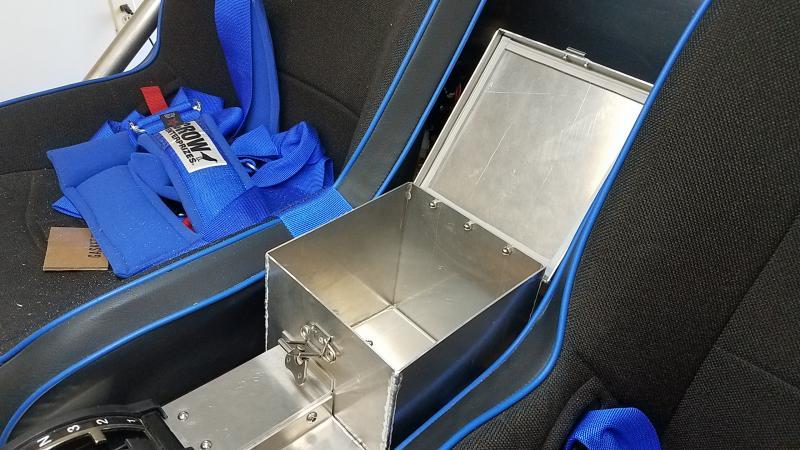
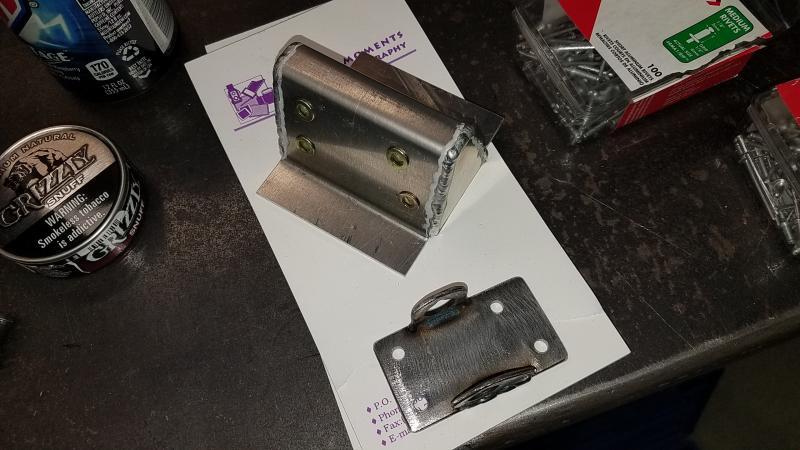
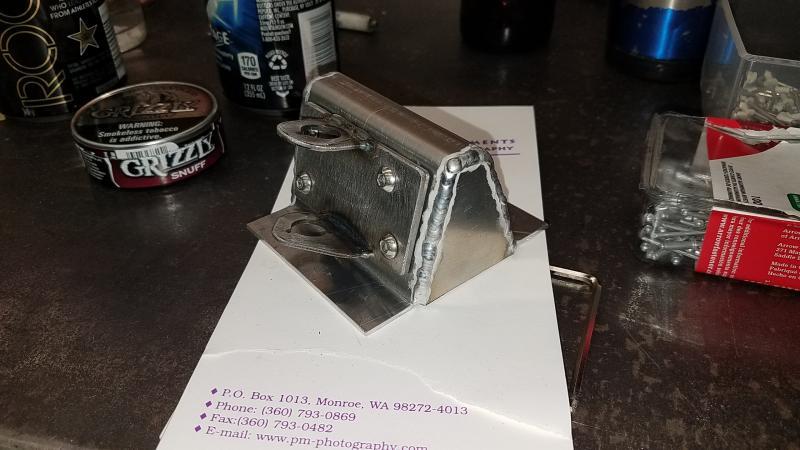
Onward and forward.... So the shifter mount and switch pod were made in such a way for a second reason... So started by bending and forming a small box looking thingy. My tig work is slowly getting better...
 

Attachments

  • 20170618_115328.jpg
    20170618_115328.jpg
    64.1 KB
  • 20170618_115324.jpg
    20170618_115324.jpg
    56.6 KB
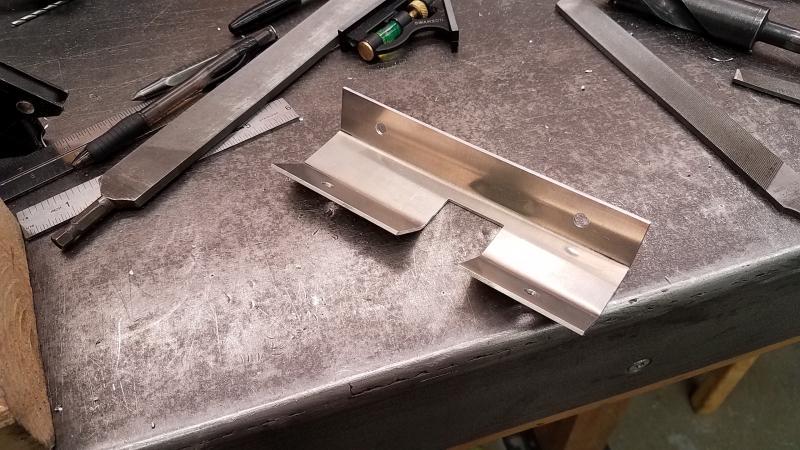
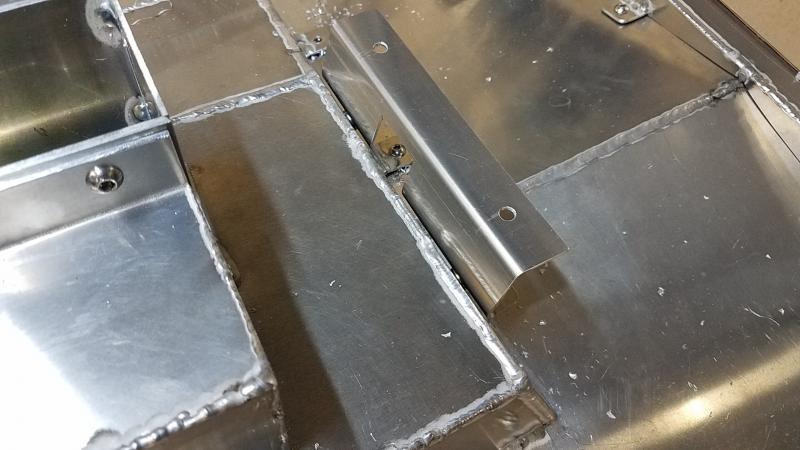
Next I made a support bracket and finished modifying the back of the shifter mount and switch pod.

I originally wanted to re-use my tuffy center console but there was no way to make it fit so I went another direction....
 

Attachments

  • 20170618_115910.jpg
    20170618_115910.jpg
    73.7 KB
  • 20170618_120028.jpg
    20170618_120028.jpg
    46.8 KB
  • 20170618_120033.jpg
    20170618_120033.jpg
    46 KB
  • 20170618_115942.jpg
    20170618_115942.jpg
    56.1 KB
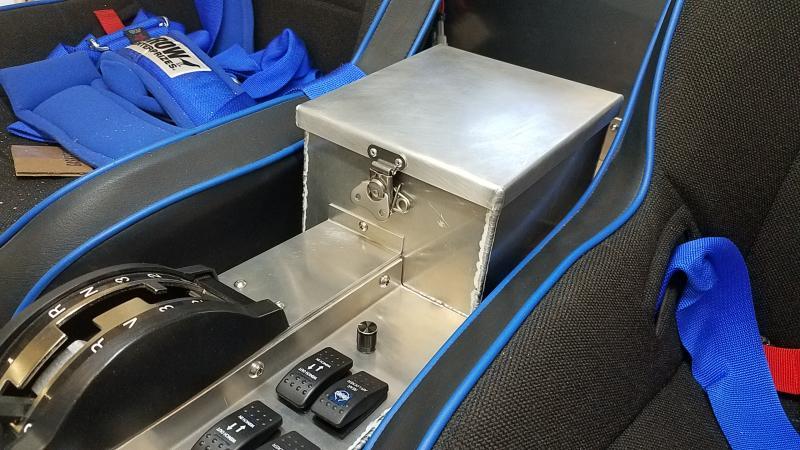
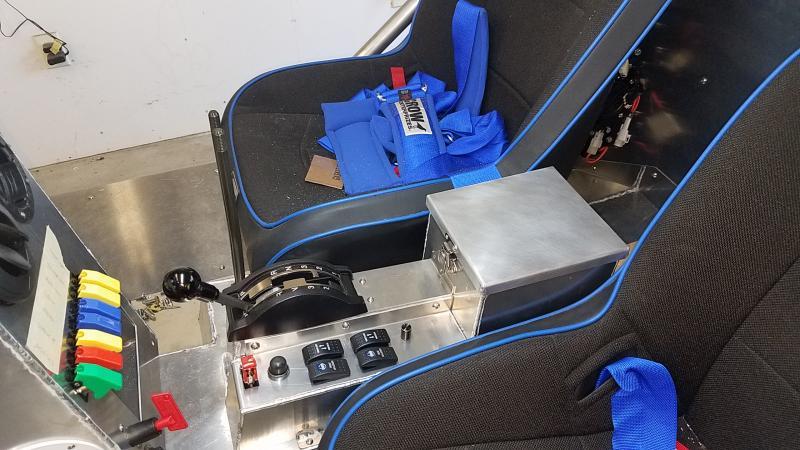
And with it mounted...
 

Attachments

  • 20170618_120337.jpg
    20170618_120337.jpg
    49.8 KB
  • 20170618_120344.jpg
    20170618_120344.jpg
    53.8 KB
So I made a top with a hinge and 1/2 turn latch and now I have an arm rest and storage area. After done I sat and played with the shifter and switches and it feels really good ergonomically.

I plan on having a short padded top made to go onto the top of it...
 

Attachments

  • 20170621_195332.jpg
    20170621_195332.jpg
    67.2 KB
  • 20170621_195322.jpg
    20170621_195322.jpg
    70.8 KB
  • 20170621_195314.jpg
    20170621_195314.jpg
    65.3 KB
Looks great Mike. You are getting really good at that sheet metal work

Thanks Les. Ya I am getting the hang of it for sure and even have some stuff lined up after my rig is done building storage type stuff..
 
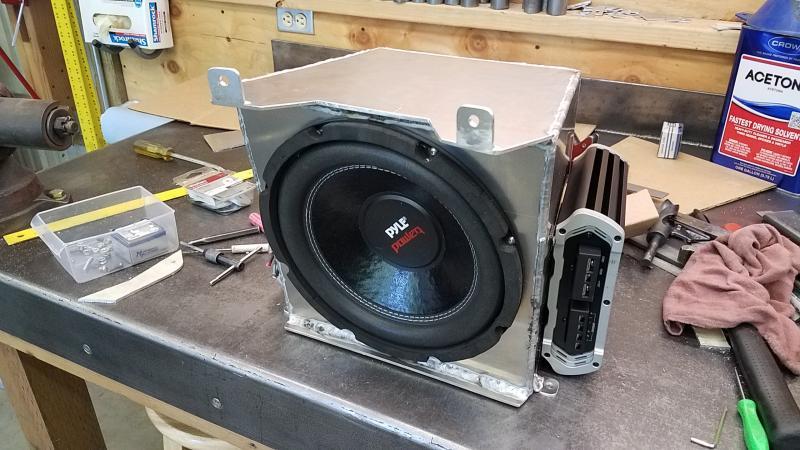
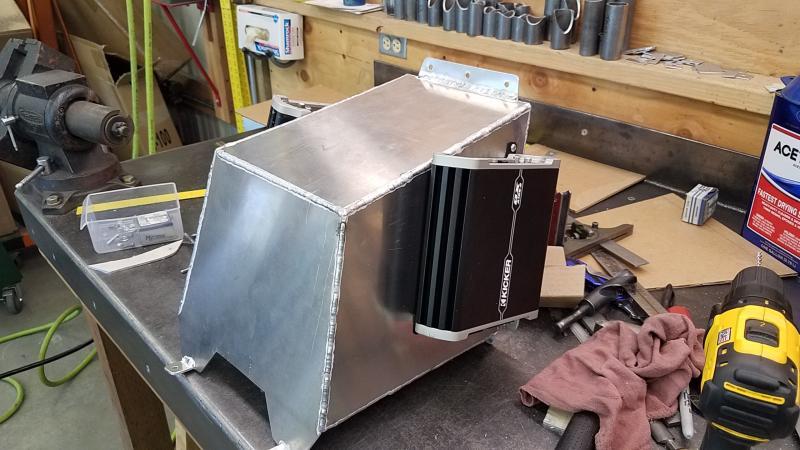
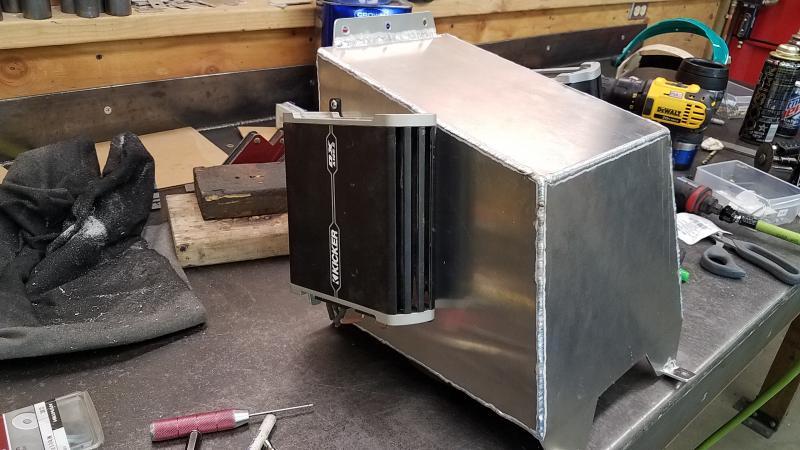
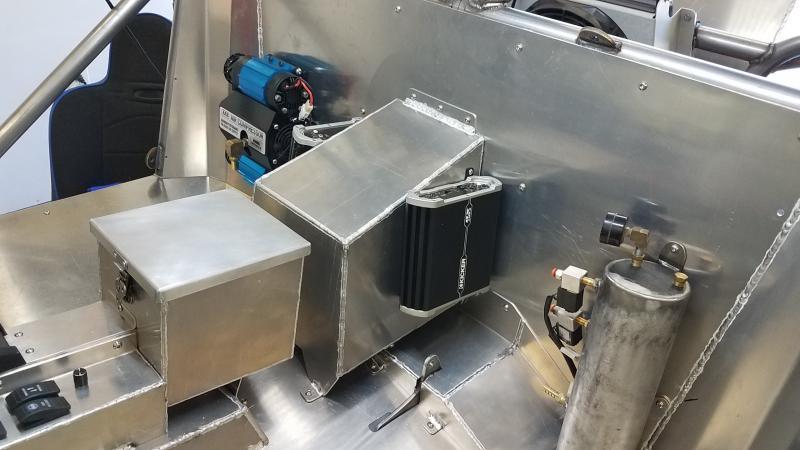
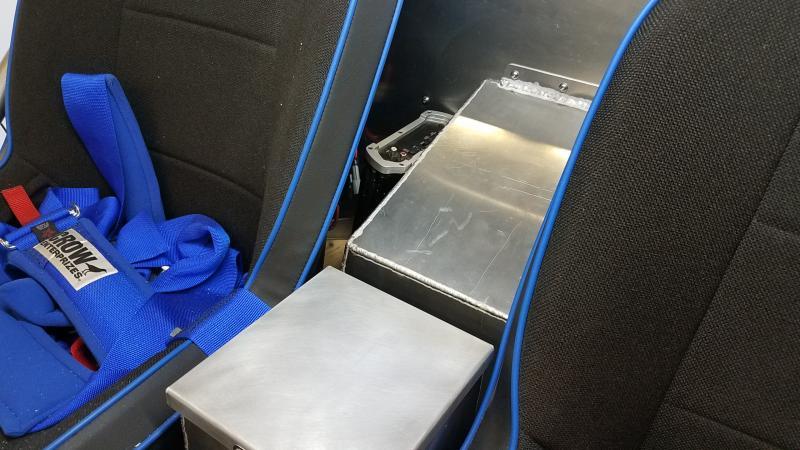
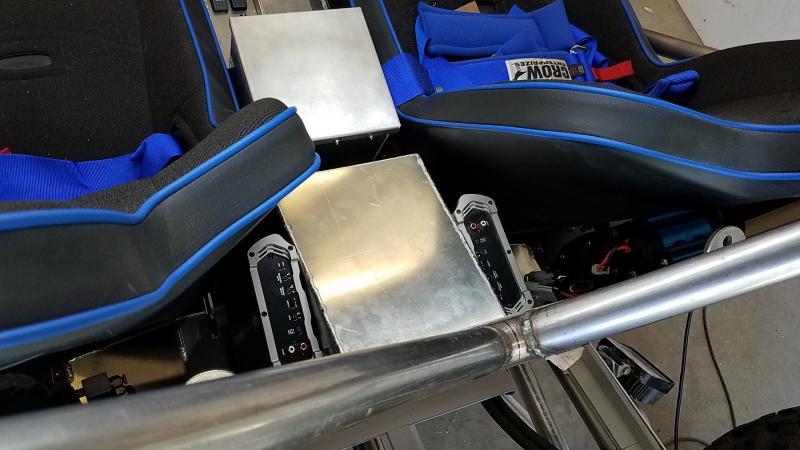
So next I built this. I figured I could get a 10" sub in the area I wanted and I was right. My original intention was to mount the amps on the back wall but with having to swap to an electric air pump that took the room needed. I found the amps nicely fit on the new sub box. Its built out of 1/8" so that should help take the tinny noise out of it and its fully welded. On final setup I will be layering the inside with something like dynomatt.
 

Attachments

  • 20170624_160200.jpg
    20170624_160200.jpg
    70.5 KB
  • 20170624_160208.jpg
    20170624_160208.jpg
    64.7 KB
  • 20170624_160212.jpg
    20170624_160212.jpg
    62.3 KB
As you can see its a snug fit but it fits quite well. I built the top in a slope so I would not worry about banging my elbow on it if it slid back off my armrest. I am also going to make some top covers for the amps to give them a little protection when towing for water spray back and also dust on the final setup of the rig.

That was the last big item in the passenger area with the only thing left was cup holders and something for my Ipod to sit on..
 

Attachments

  • 20170624_160546.jpg
    20170624_160546.jpg
    48.2 KB
  • 20170624_160706.jpg
    20170624_160706.jpg
    58.9 KB
  • 20170624_160713.jpg
    20170624_160713.jpg
    51.2 KB
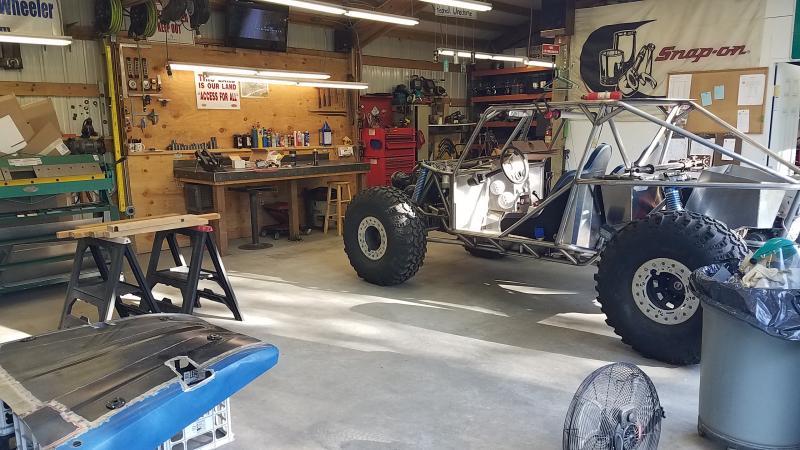
Again time to clean the shop and organize boxes...
 

Attachments

  • 20170625_074031.jpg
    20170625_074031.jpg
    77.3 KB
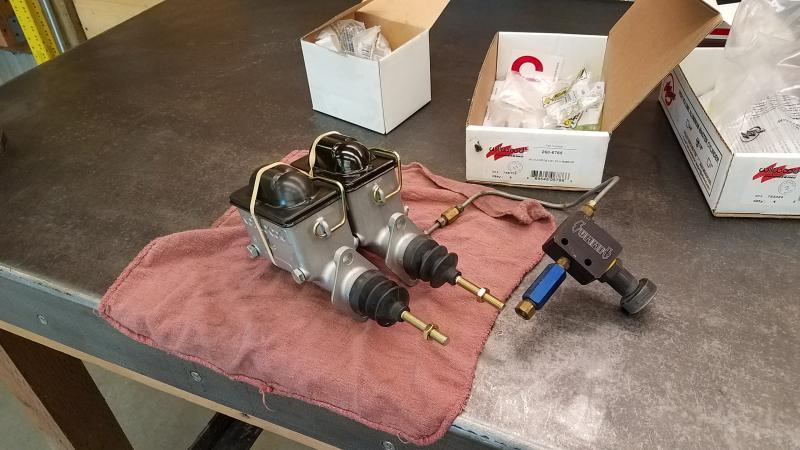
Ok time to bring out more boxes and get the pedals done up...
 

Attachments

  • 20170625_073727.jpg
    20170625_073727.jpg
    60.1 KB
Thanks Les. Ya I am getting the hang of it for sure and even have some stuff lined up after my rig is done building storage type stuff..
Oh yeah? I might have to hit you up later on, my dad wants me to build him some kind of storage box for the back of his bed even though I keep telling him I suck at sheetmetal work. :)
 
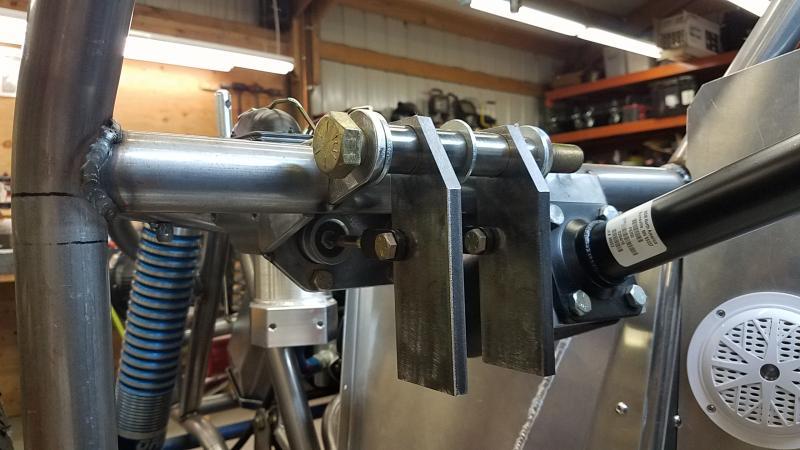
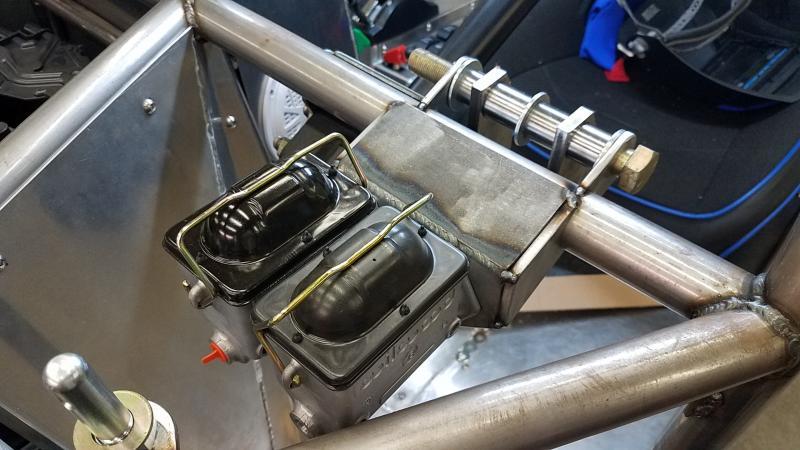
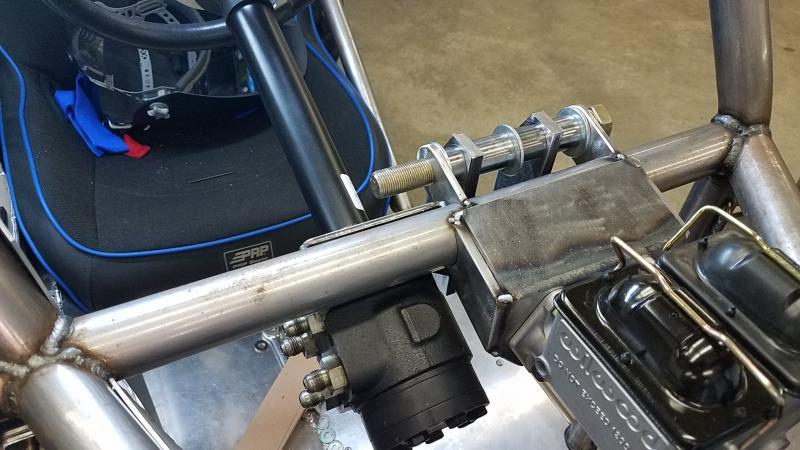
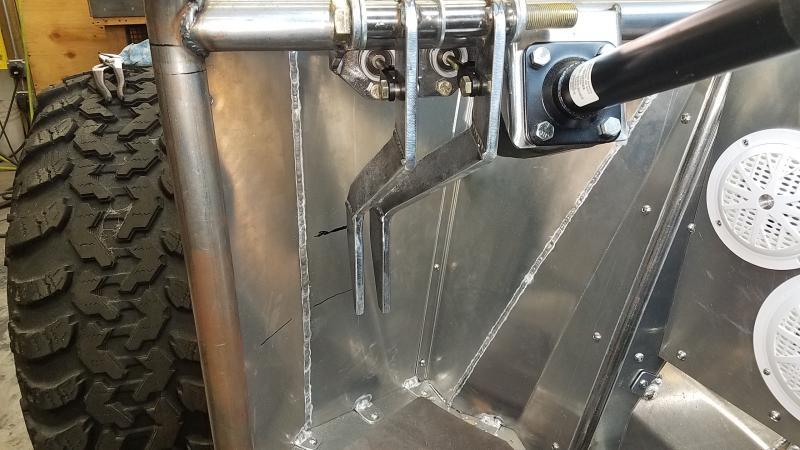
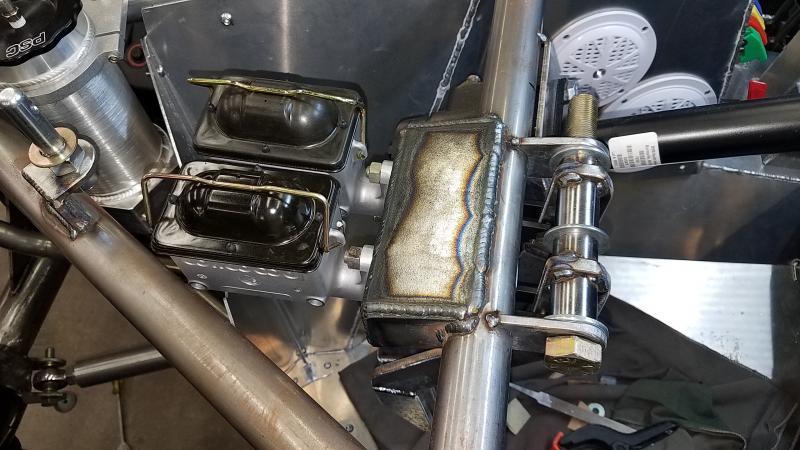
Ok so I got the master and pedal mounts made up and tacked into place. I only had to change the pedal mount once and that was simply rolling it down a tad to accommodate for the rise/fall of the pedal rod.
 

Attachments

  • 20170625_225025.jpg
    20170625_225025.jpg
    54.2 KB
  • 20170625_225021.jpg
    20170625_225021.jpg
    59.1 KB
  • 20170625_225011.jpg
    20170625_225011.jpg
    60.1 KB
  • 20170625_225016.jpg
    20170625_225016.jpg
    62.5 KB
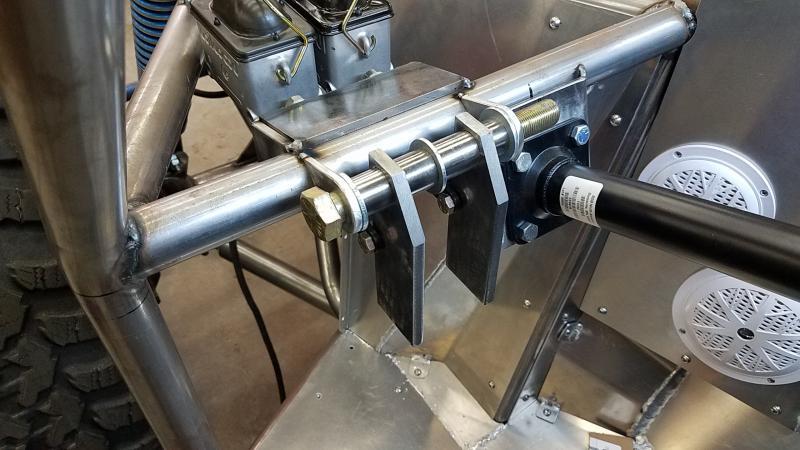
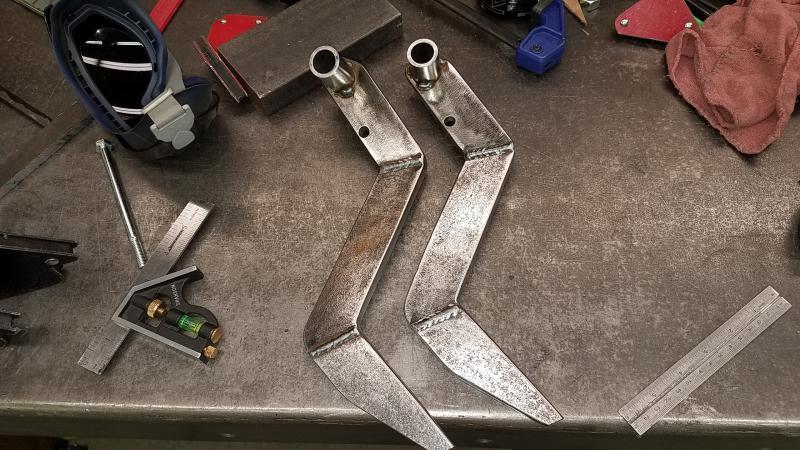
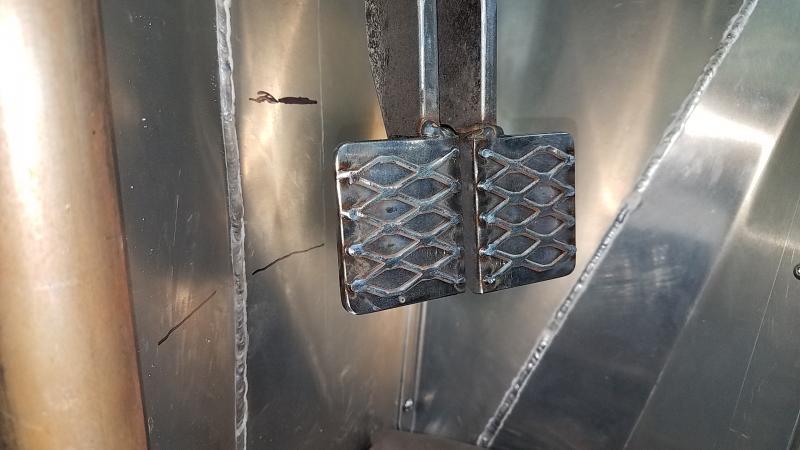
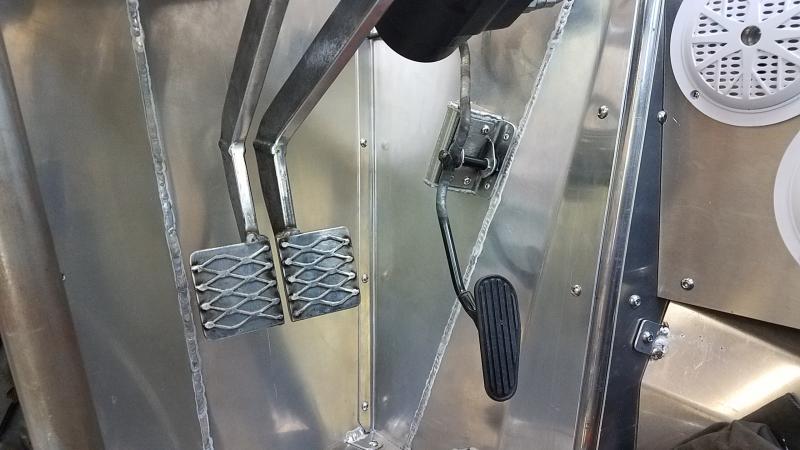
I got the pedals roughly built and then necked them down. I do all my brake pedals in 3/8" material...
 

Attachments

  • 20170629_215611.jpg
    20170629_215611.jpg
    78.3 KB
  • 20170629_215855.jpg
    20170629_215855.jpg
    60.7 KB
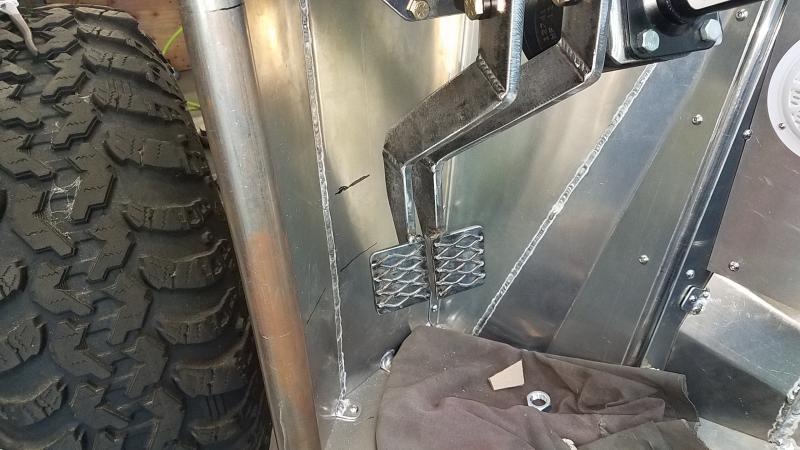
I got the mount burned in (have not burned in the pedal mount as of yet until I am 100% sure on my steering mount) and got the pedals finished up.

I won't be shocked if I have to rework the pedals after I get the rig drive able because its just hard to find where ya think you will be comfortable without driving it..
 

Attachments

  • 20170629_221037.jpg
    20170629_221037.jpg
    66.4 KB
  • 20170630_150850.jpg
    20170630_150850.jpg
    42.7 KB
  • 20170630_150834.jpg
    20170630_150834.jpg
    58.7 KB
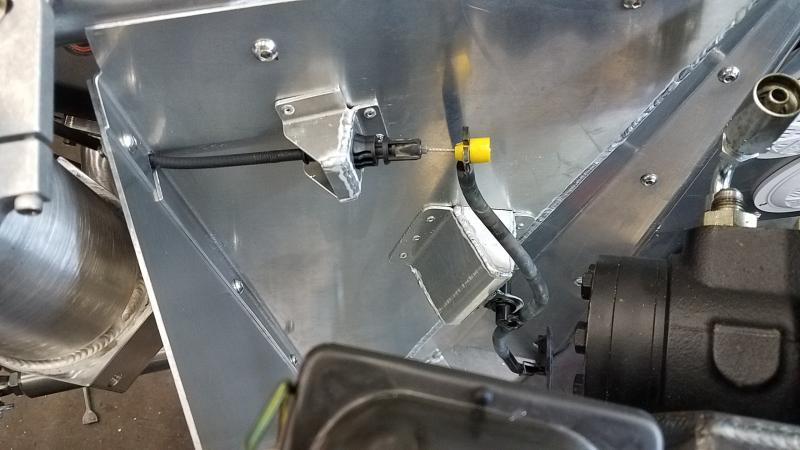
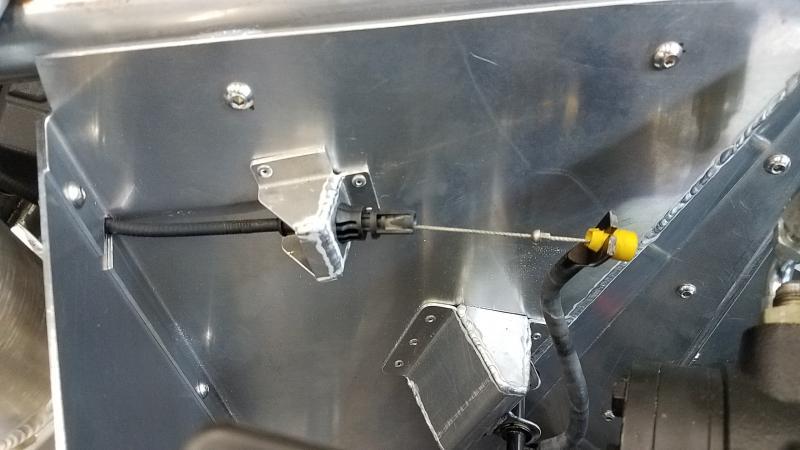
So next onto the gas pedal. for this I will be using all factory parts. The accel cable will be the oem for the 4.3 and the gas pedal I wanna say off a 3rd gen truck? I can't recall as it was in a box of stuff I had for some time but the pedal was removable from the base with plastic bushings. So I tossed the stock base on the pedal and made a new one then I made a riser for the pedal to mount to.
 

Attachments

  • 20170630_201749.jpg
    20170630_201749.jpg
    57 KB
  • 20170630_202020.jpg
    20170630_202020.jpg
    52.2 KB
  • 20170630_202403.jpg
    20170630_202403.jpg
    73.6 KB
And the riser mounted on the inner panel...
 

Attachments

  • 20170630_210613.jpg
    20170630_210613.jpg
    41 KB
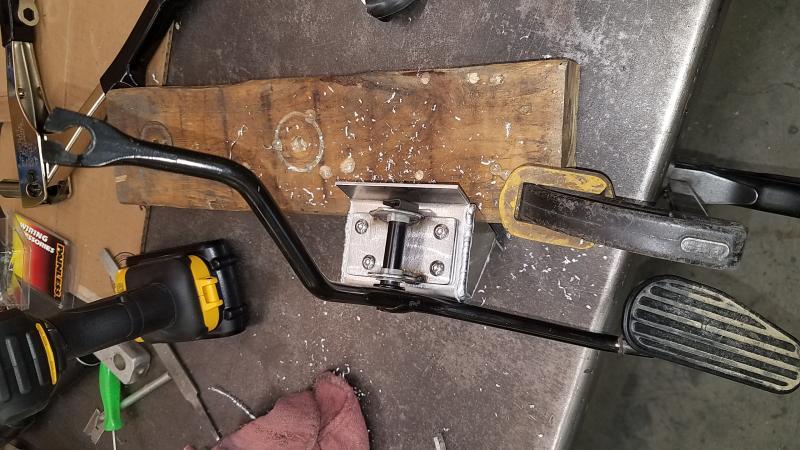
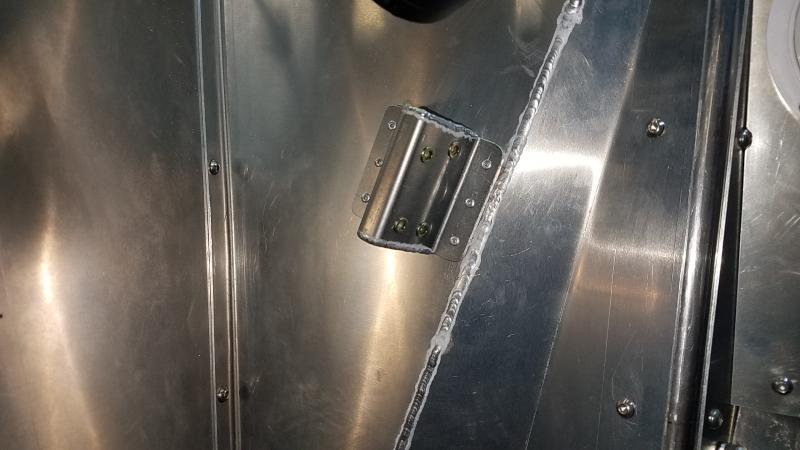
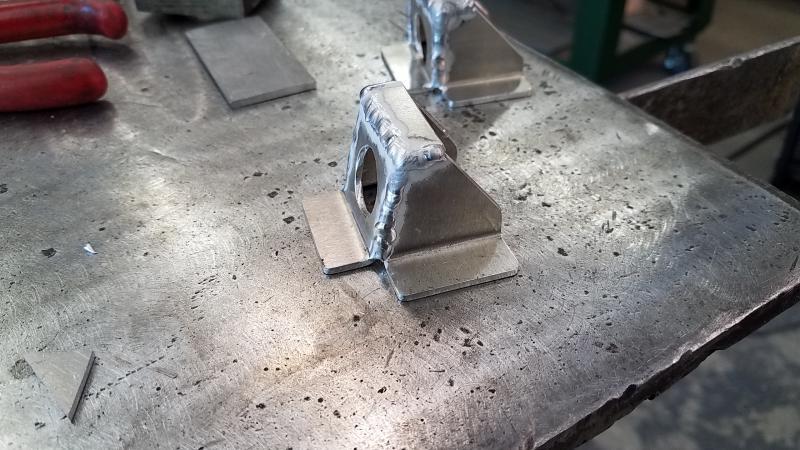
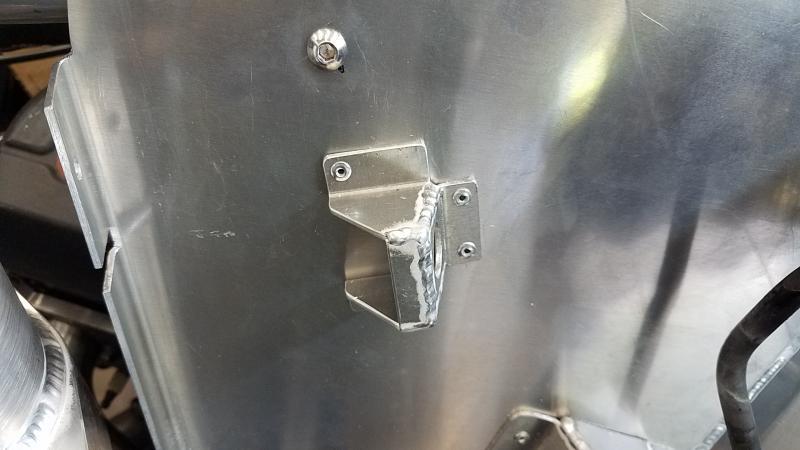
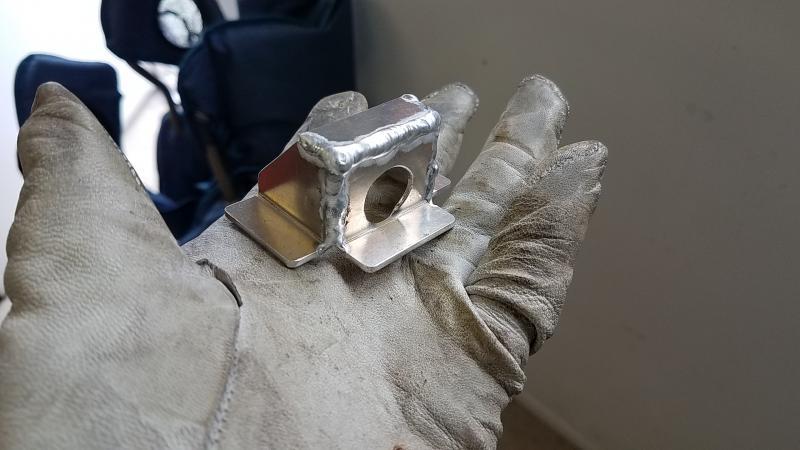
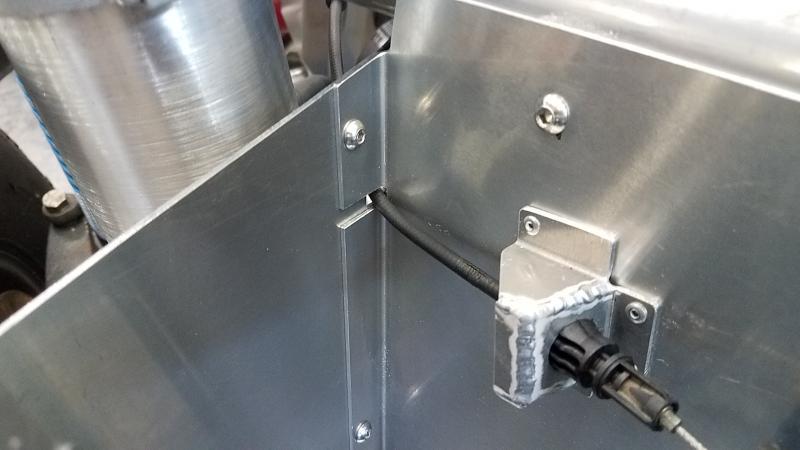
Next I had to make something to hold the end of the cable. The first one I made was wrong but version 2 was on the money...
 

Attachments

  • 20170701_144927.jpg
    20170701_144927.jpg
    69.8 KB
  • 20170701_150405.jpg
    20170701_150405.jpg
    37.8 KB
  • 20170701_124847.jpg
    20170701_124847.jpg
    44.6 KB
Got the cable ran thru the front panels and idle to wot-- I don't think I could have gotten it more spot on...
 

Attachments

  • 20170701_153916.jpg
    20170701_153916.jpg
    35 KB
  • 20170701_153854.jpg
    20170701_153854.jpg
    47.9 KB
  • 20170701_153912.jpg
    20170701_153912.jpg
    42.2 KB
So the pedals are done. Like I stated earlier I won't be surprised if I have to tweek them a bit once the rig is done but they should hopefully be pretty close...
 

Attachments

  • 20170701_153848.jpg
    20170701_153848.jpg
    50 KB
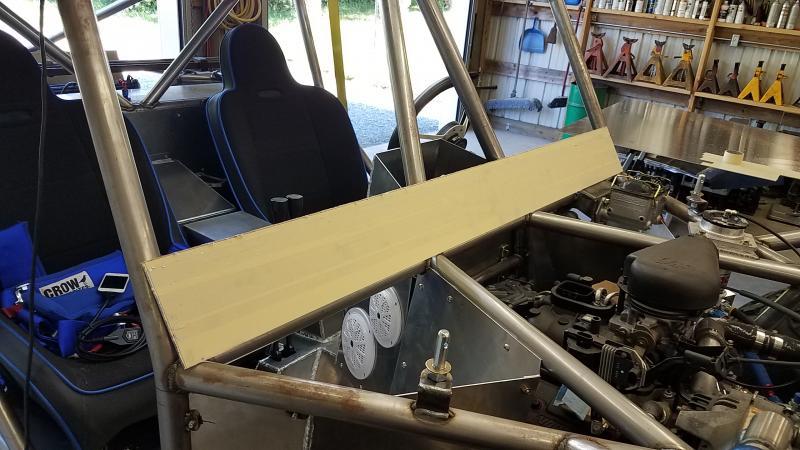
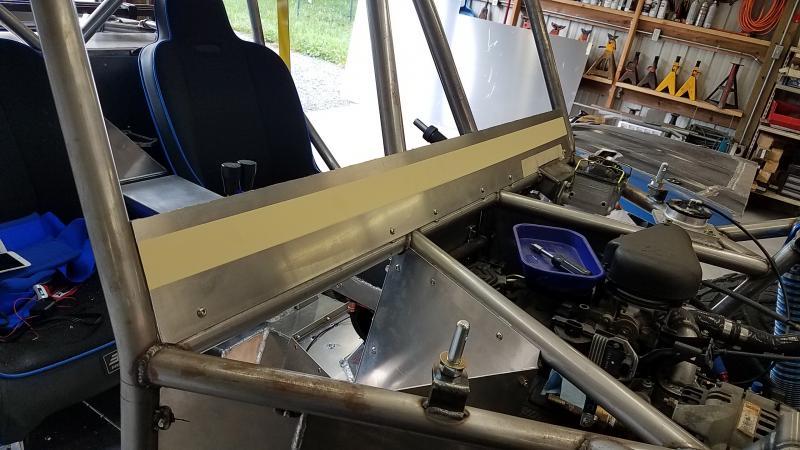
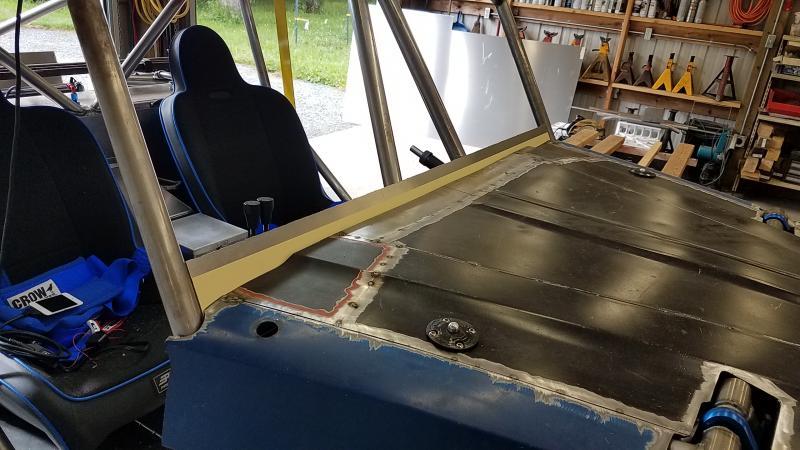
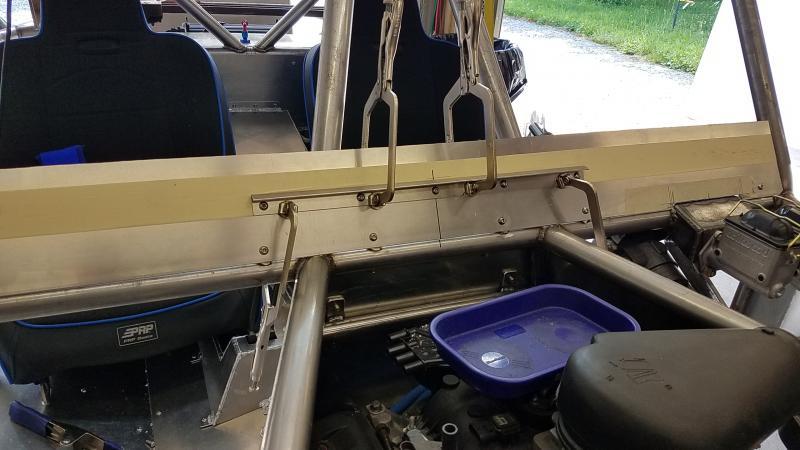
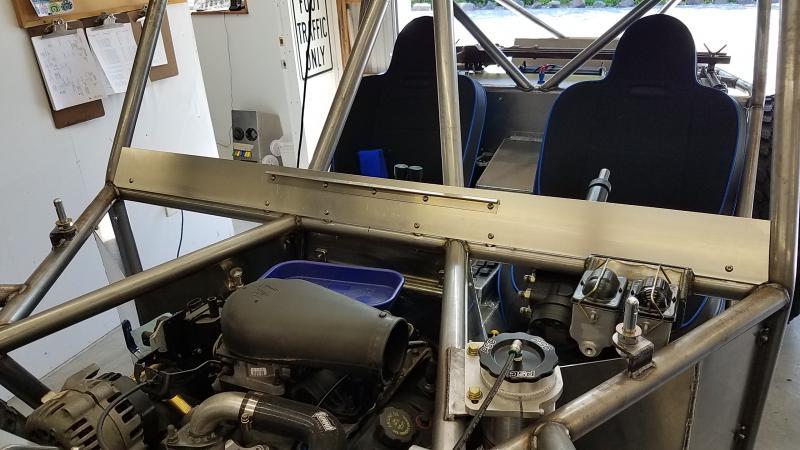
So next I started what I am going to call the backbone panel and the reason behind that is its the panel that the hood and dash butt up against.

So I cut the panel and then worked on mounting it. Once that was done I trimmed the back of the hood.
 

Attachments

  • 20170701_172342.jpg
    20170701_172342.jpg
    67.4 KB
  • 20170702_075641.jpg
    20170702_075641.jpg
    66 KB
  • 20170702_080625.jpg
    20170702_080625.jpg
    64.5 KB
So I needed some way to support the center of the hood at the backbone. This is what I came up with. Once that was all set and knew where the hood was going to sit I then cut the backbone down to the needed height...
 

Attachments

  • 20170702_105122.jpg
    20170702_105122.jpg
    50.8 KB
  • 20170702_120953.jpg
    20170702_120953.jpg
    63 KB
  • 20170702_121748.jpg
    20170702_121748.jpg
    59.4 KB
Back
Top