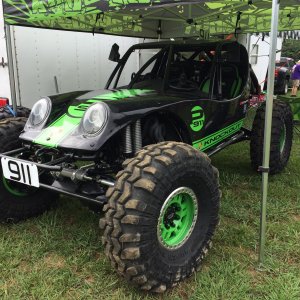
SXOR single seater build

Hardline Crawlers - Rock Bouncer Builds, Tech & Off-Road Trail Talk

Help Support Hardline Crawlers:

I had to be at work at 5:48 this morning and I didn't sleep well last night so I hit the shop at 3:30 this morning. I didn't take any pictures but I rolled the new rear housing under the buggy and loosely bolted it up. It's done minus getting the stuff to @Jody Treadway to build the 3rd and ordering shafts when I have the $$$.

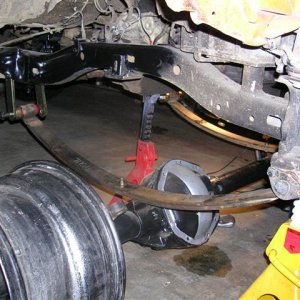
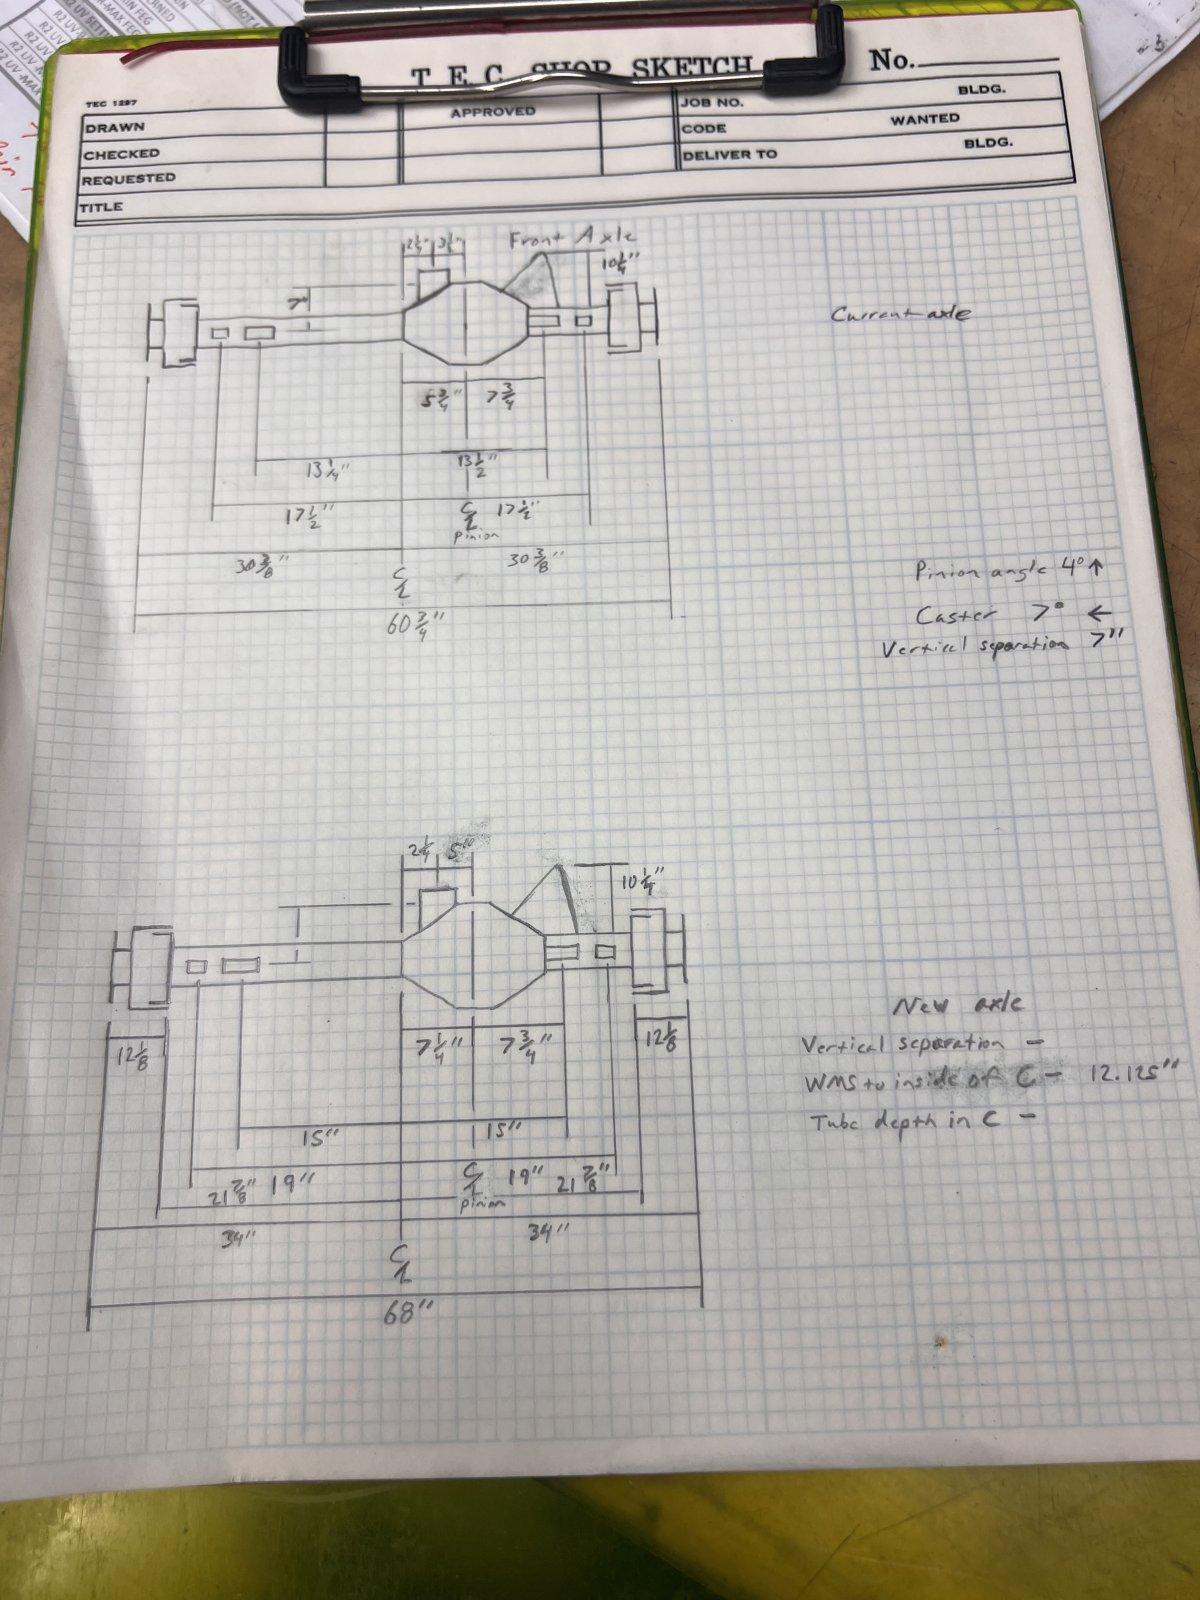
After that I got the front end up on jackstands and measured and sketched out the existing front axle. By then it was time to head to work so I brought my pad with me and sketched out the layout for the new front axle. The new axle will be about 8" wider, and I plan to move the lower link mounts and shock mounts out 1.5", and move the pinion over 1.5" as well. Of course none of that is set in stone yet. The vertical separation between the links on the existing axle is only 7", that seems low to me so that may need to be addressed as well.
IMG_0098.jpeg
 
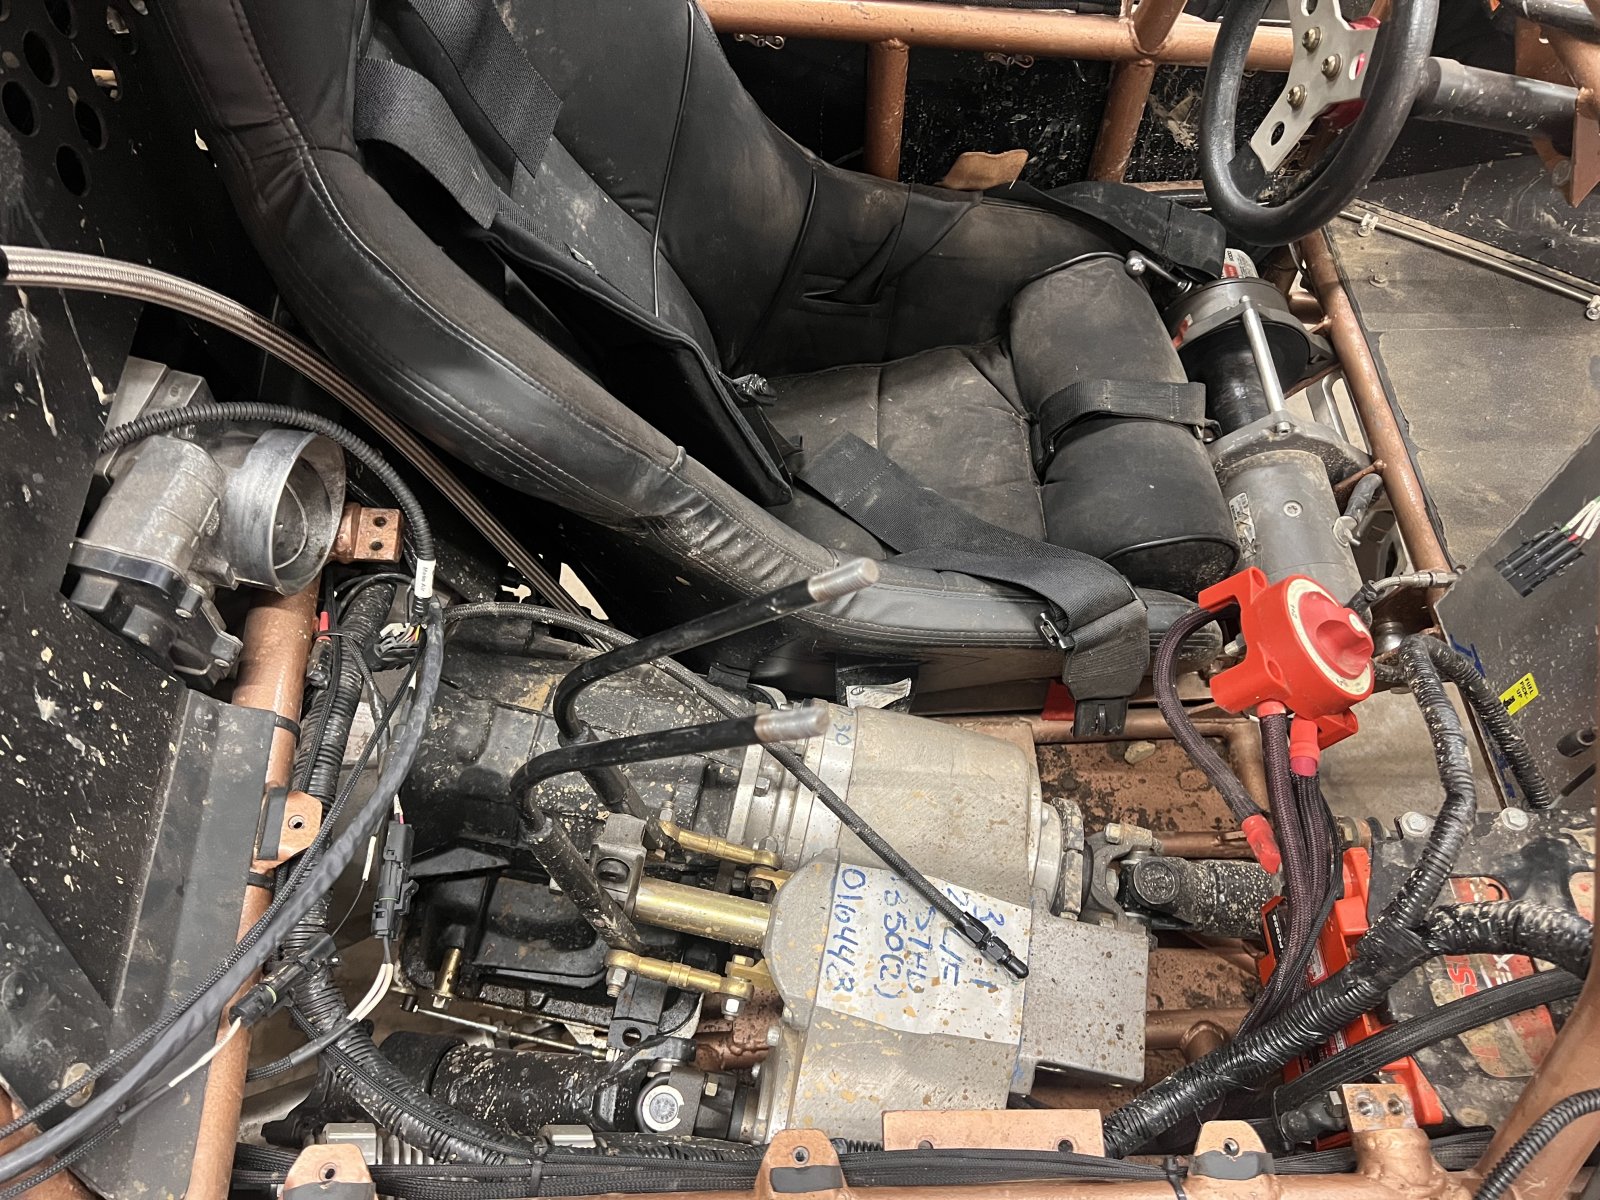
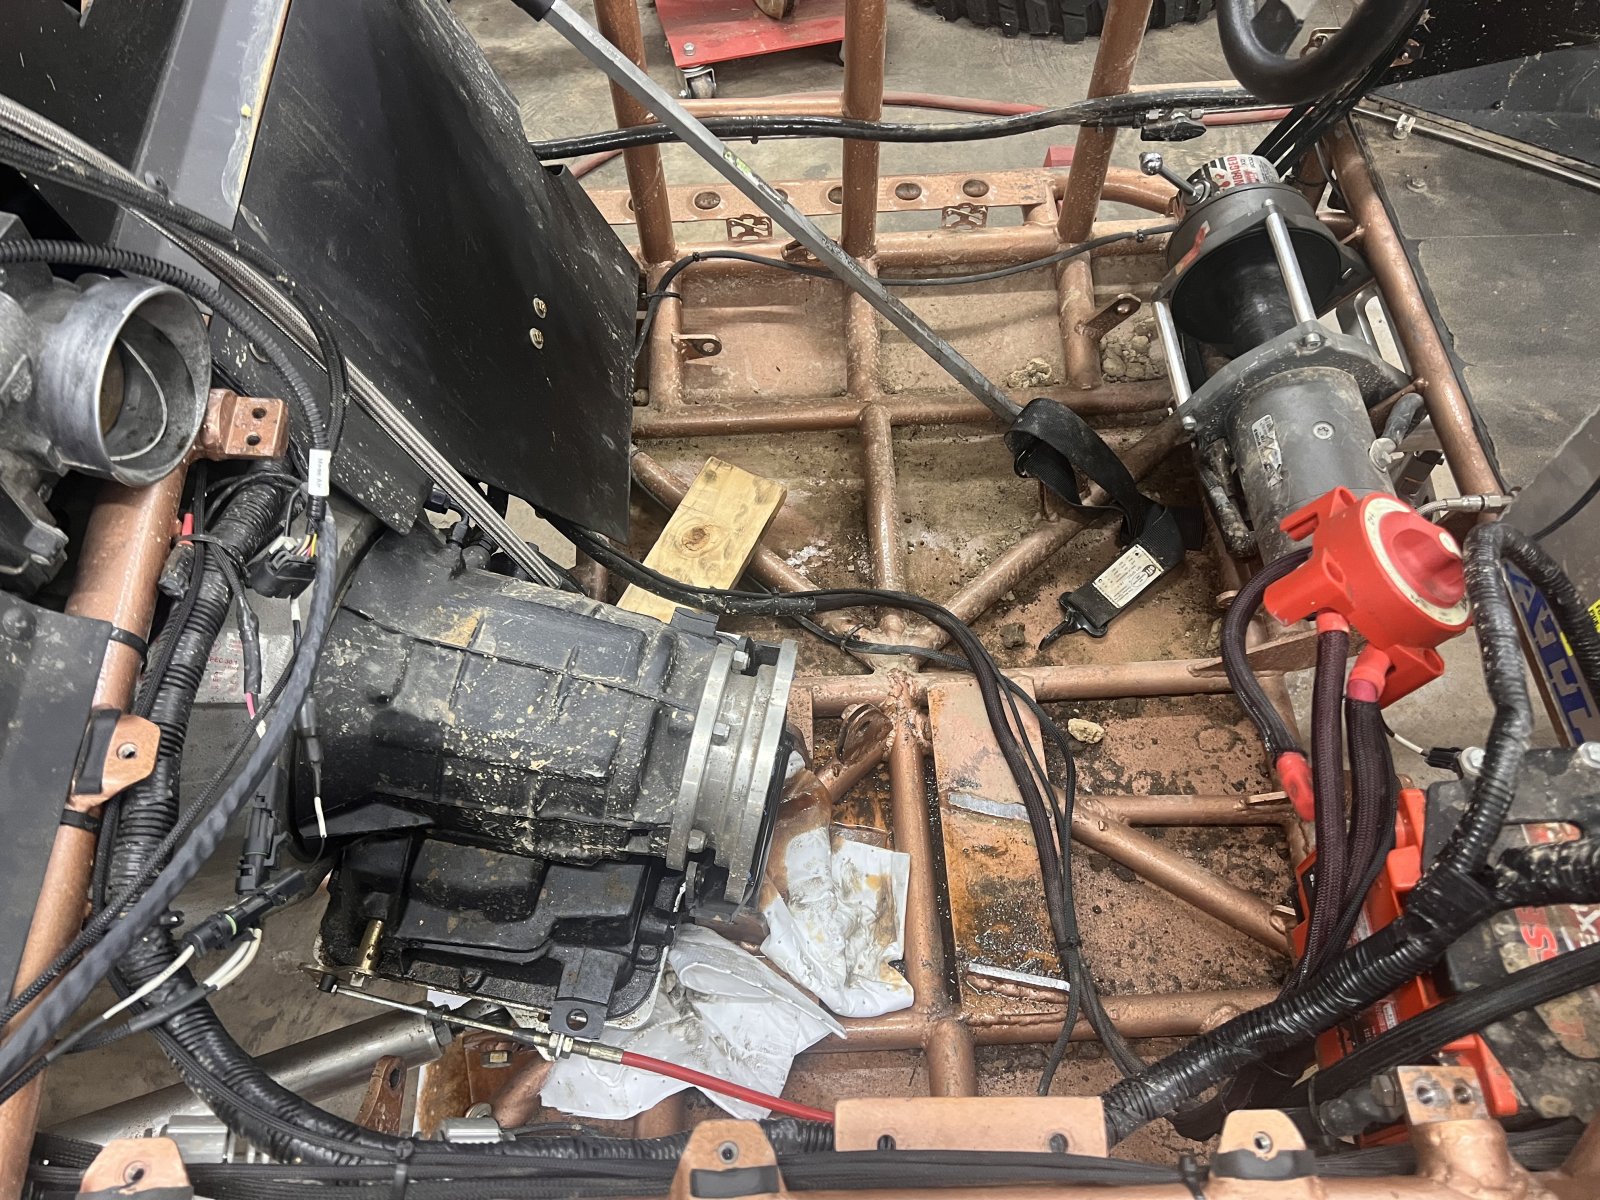
I jumped back on this thing a little bit the last couple mornings. A friend is building a buggy and wants to buy my 3.0 Atlas, so I got started on getting everything out of the way so it can come out. The belly of the chassis is solid, so it has to come out from the top, so everything in the interior has to come out. I didn't take a picture this morning, but all that's left is one bolt still in the seat, pull the front driveshaft, and then the adapter bolts. The transmission and t-case went in already assembled, but I'm hoping to be able to pull just the case.

IMG_0215.jpeg
 
I jumped back on this thing a little bit the last couple mornings. A friend is building a buggy and wants to buy my 3.0 Atlas, so I got started on getting everything out of the way so it can come out. The belly of the chassis is solid, so it has to come out from the top, so everything in the interior has to come out. I didn't take a picture this morning, but all that's left is one bolt still in the seat, pull the front driveshaft, and then the adapter bolts. The transmission and t-case went in already assembled, but I'm hoping to be able to pull just the case.

View attachment 216547
That looks “fun”
 
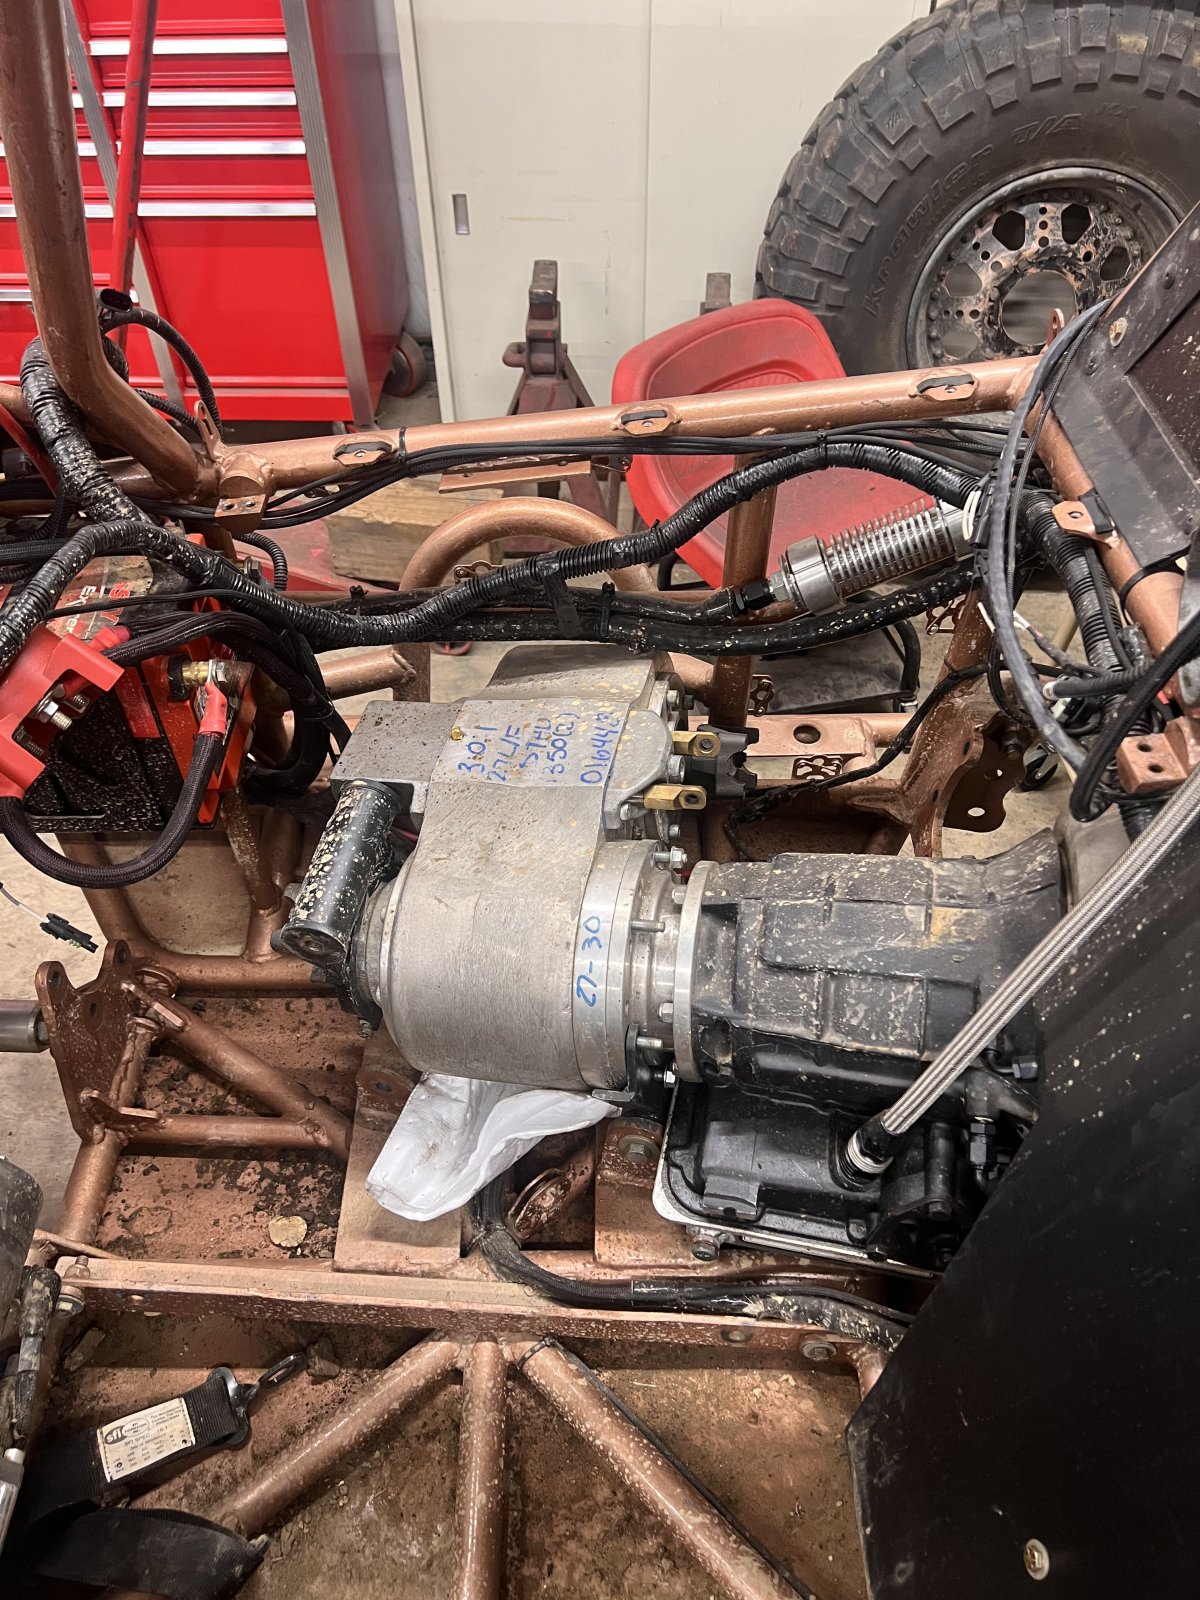
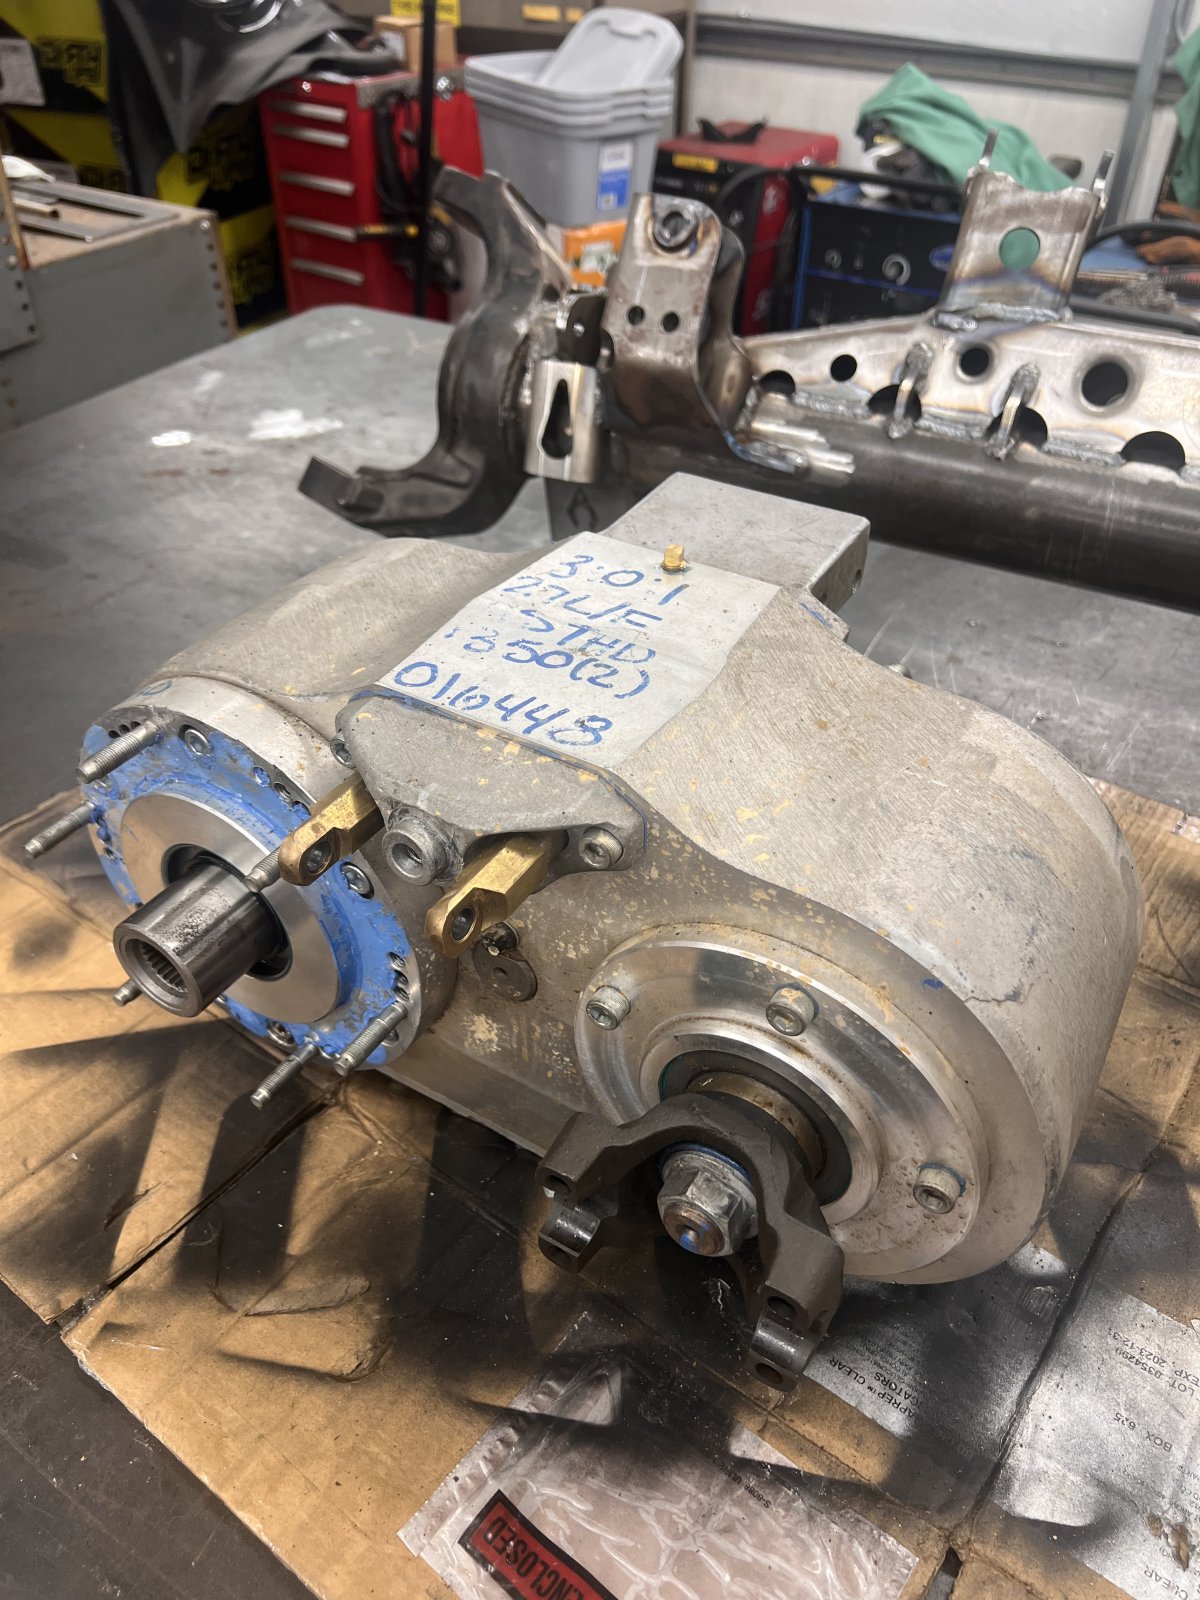
I finally got the case out this morning before work. It had it all loose yesterday morning, but it was being stubborn separating from the transmission and I ran out of time. The powerglide doesn't have an output shaft seal so the adapter has to be RTV'd, it just needed some persuasion to come loose.

While I have it apart I'm going to follow some advice I was given during the build that I stupidly didn't follow. The way I built the trans and t-case mounts neither could slide back far enough to separate. I cut the tabs off the t-case mount to get it out. I'm going to also cut off the trans mount tabs and clean all that up. I'll rebuild them both, most likely hanging from the top from the removable tubes that hold the interior panels.

IMG_0222.jpeg

IMG_0223.jpeg

IMG_0224.jpeg

IMG_0225.jpeg
 
As an Amazon Associate we earn from qualifying purchases. Product prices and availability are accurate as of the date/time indicated and are subject to change.
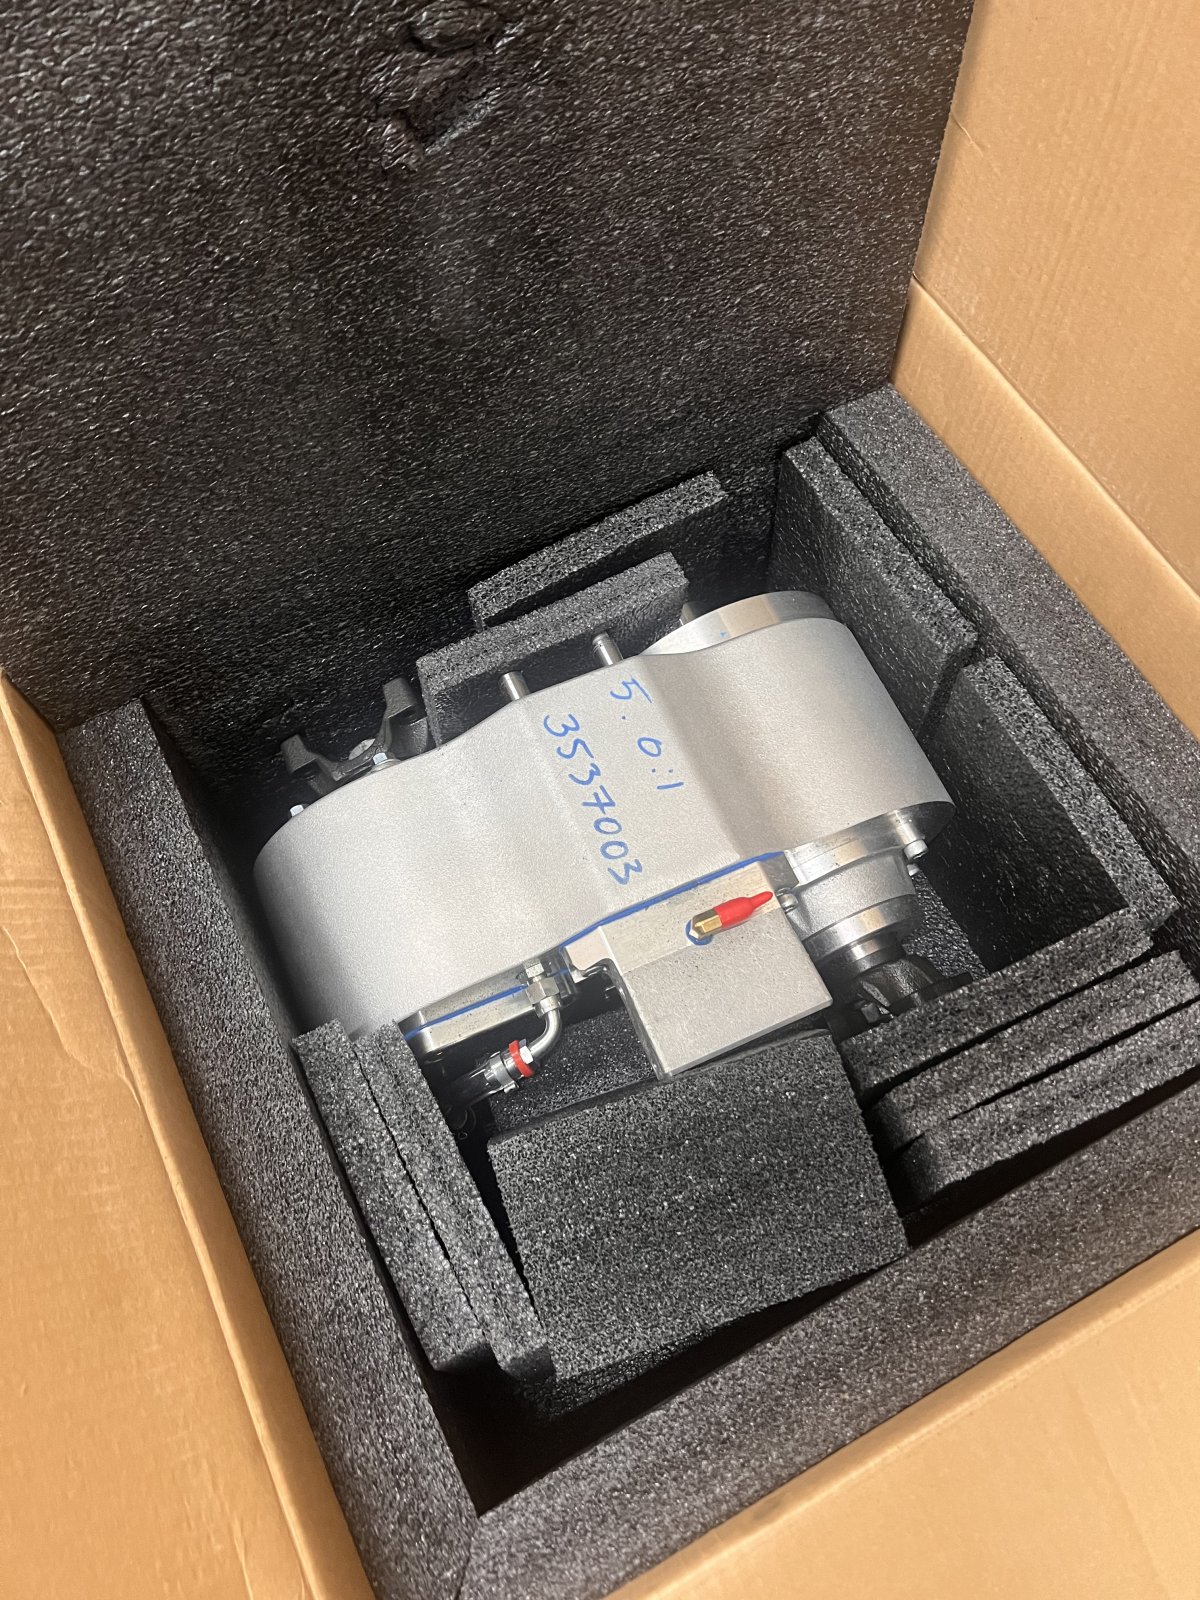
I sat the new case in this morning and temporarily bolted it up. I had to order some stuff today so I can start coming up with a mounting solution to hang them from the top.

IMG_0232.jpeg
 
I worked on the midship shafts today and got both of them tacked together and the carrier bearing mounts tacked in place. The carrier bearings are WOD's single ended bearings. The weld yoke is a Spicer 3-28-777 welded into a short piece of 2.25"x.250" DOM to sleeve into the 2.5"x.120" tubing. And the end yoke is a forged 32 spline 1350 yoke from Northern Drivetrain.

Starting on the rear shaft.


Here's my redneck fixture I set up to get them as square as possible and the joints in phase. I'm sure there are much better ways of doing this, but it's what I came up with and it worked pretty well for me.


All tacked together.


And tacked in place.


This picture makes it look a little closer than it really is, but it should clear the shifter linkage just fine.


Looking back from where the pinion yoke will be. As you can see this thing will see some pretty crazy angles.


Putting together the front shaft.


Mounted in place.


And looking back from the pinion again. The front shaft won't have near the angle that the rear does.


I originally planned to put short slips in these shafts hoping that would help with vibration. I already had all the parts to make the shortest slip I could find. But I mentioned it in another thread and Ryan from He-Man Machine recommend that I not put a slip in them. And since he designed and builds the bearings I figured I should definitely take his advice.


I know this is a long ways back. But WOD lists this is a 3"x .095 mid ship end? Did you machine it down to fit the smaller tubing? I would love to find a smaller tube for my midship shaft..
 
I know this is a long ways back. But WOD lists this is a 3"x .095 mid ship end? Did you machine it down to fit the smaller tubing? I would love to find a smaller tube for my midship shaft..

No I didn't machine anything, but it appears they've changed the design since then. The ones I have use 32 spline yokes, and now they use 10 spline.
 
No progress to update because today was day 39 in a row of 12+ hr shifts. But I did get with Lee from Partially Committed Racing today to spend some of that money before my pocket could even start to smolder. I ordered up some Branik 40 spline 300M party shafts for the rear axle and also the rest of the parts from Gearworks to build the 10" 3rd member for the front axle.
 
No progress to update because today was day 39 in a row of 12+ hr shifts. But I did get with Lee from Partially Committed Racing today to spend some of that money before my pocket could even start to smolder. I ordered up some Branik 40 spline 300M party shafts for the rear axle and also the rest of the parts from Gearworks to build the 10" 3rd member for the front axle.
That's still progress!
 
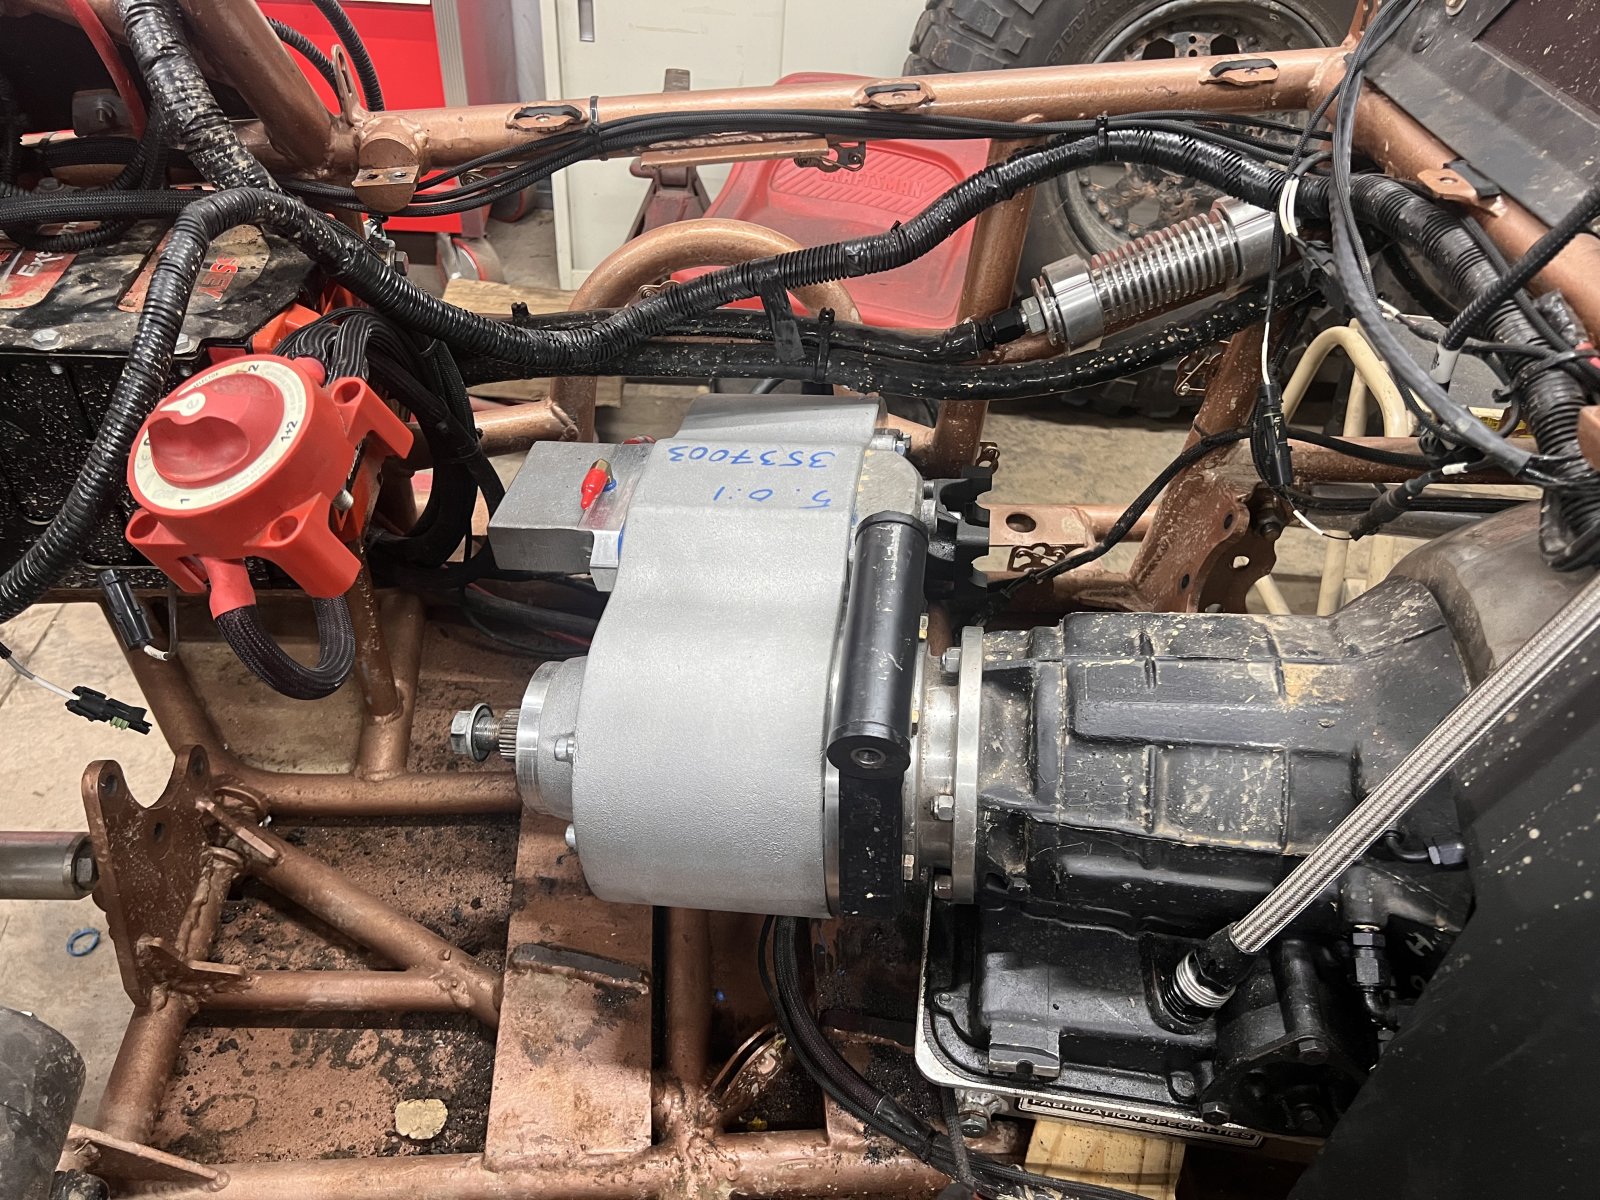
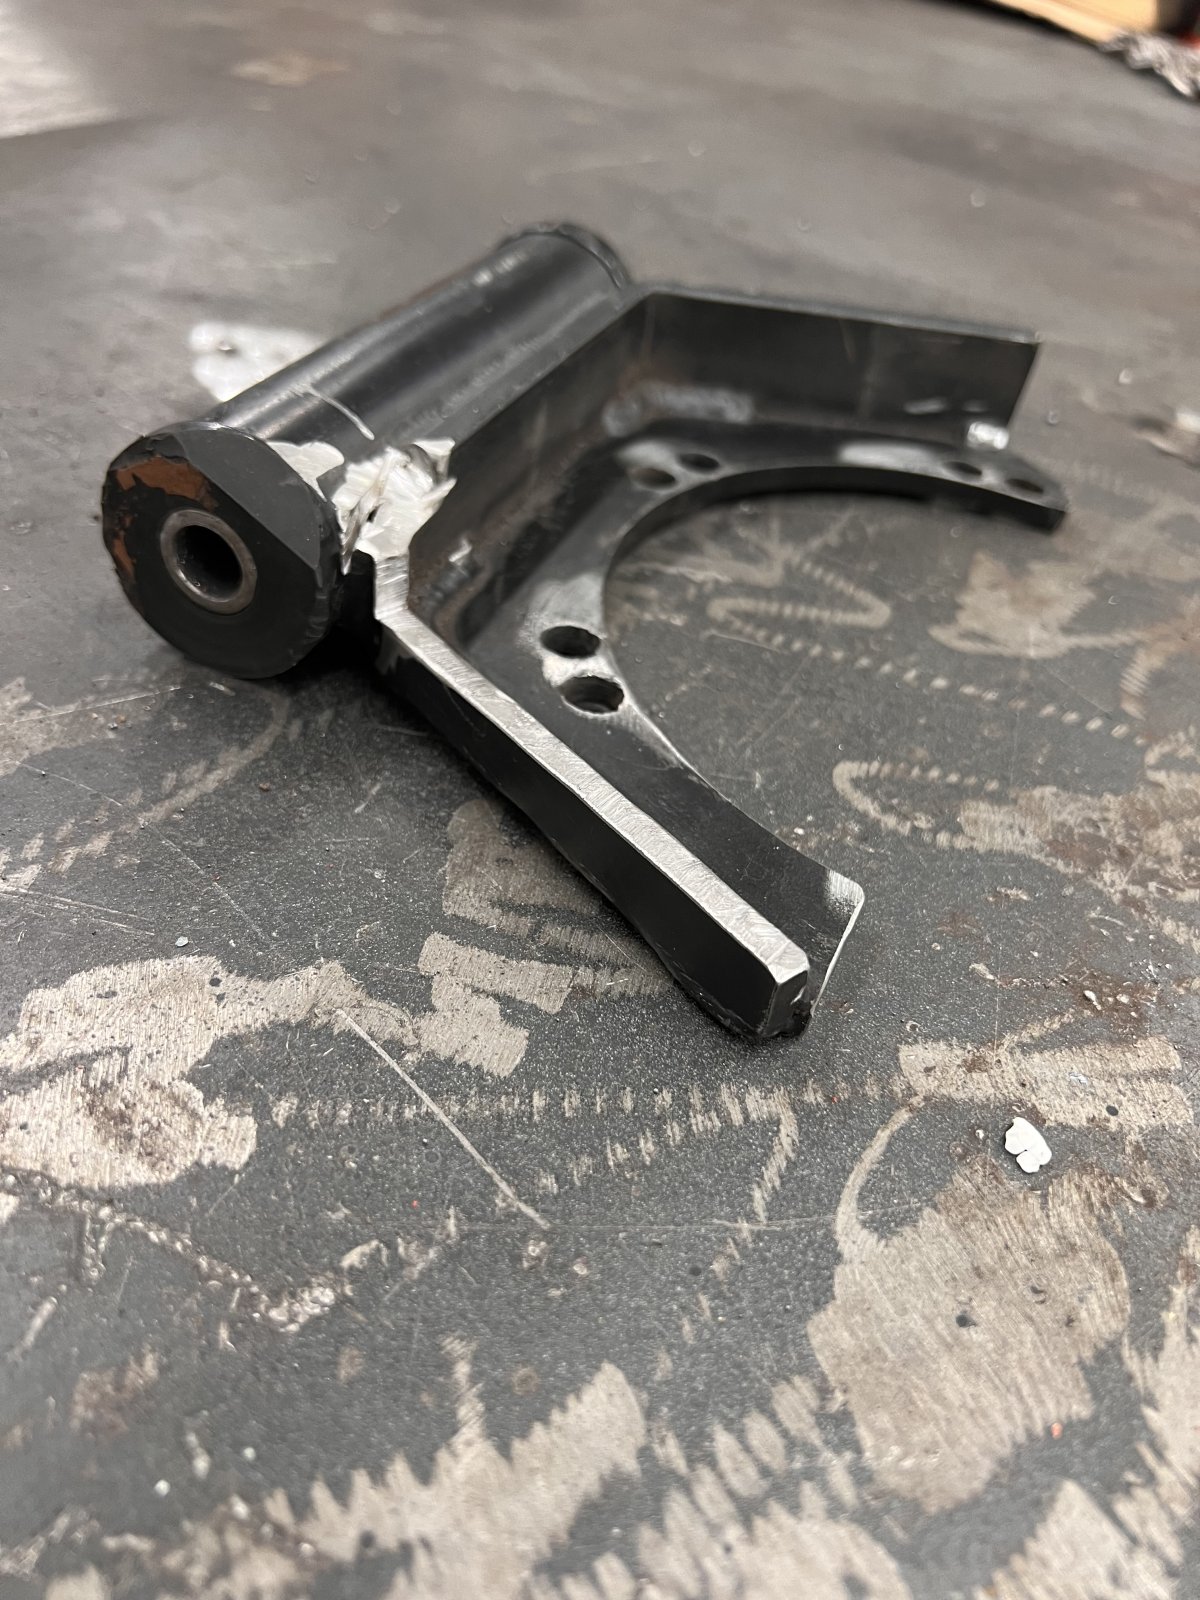
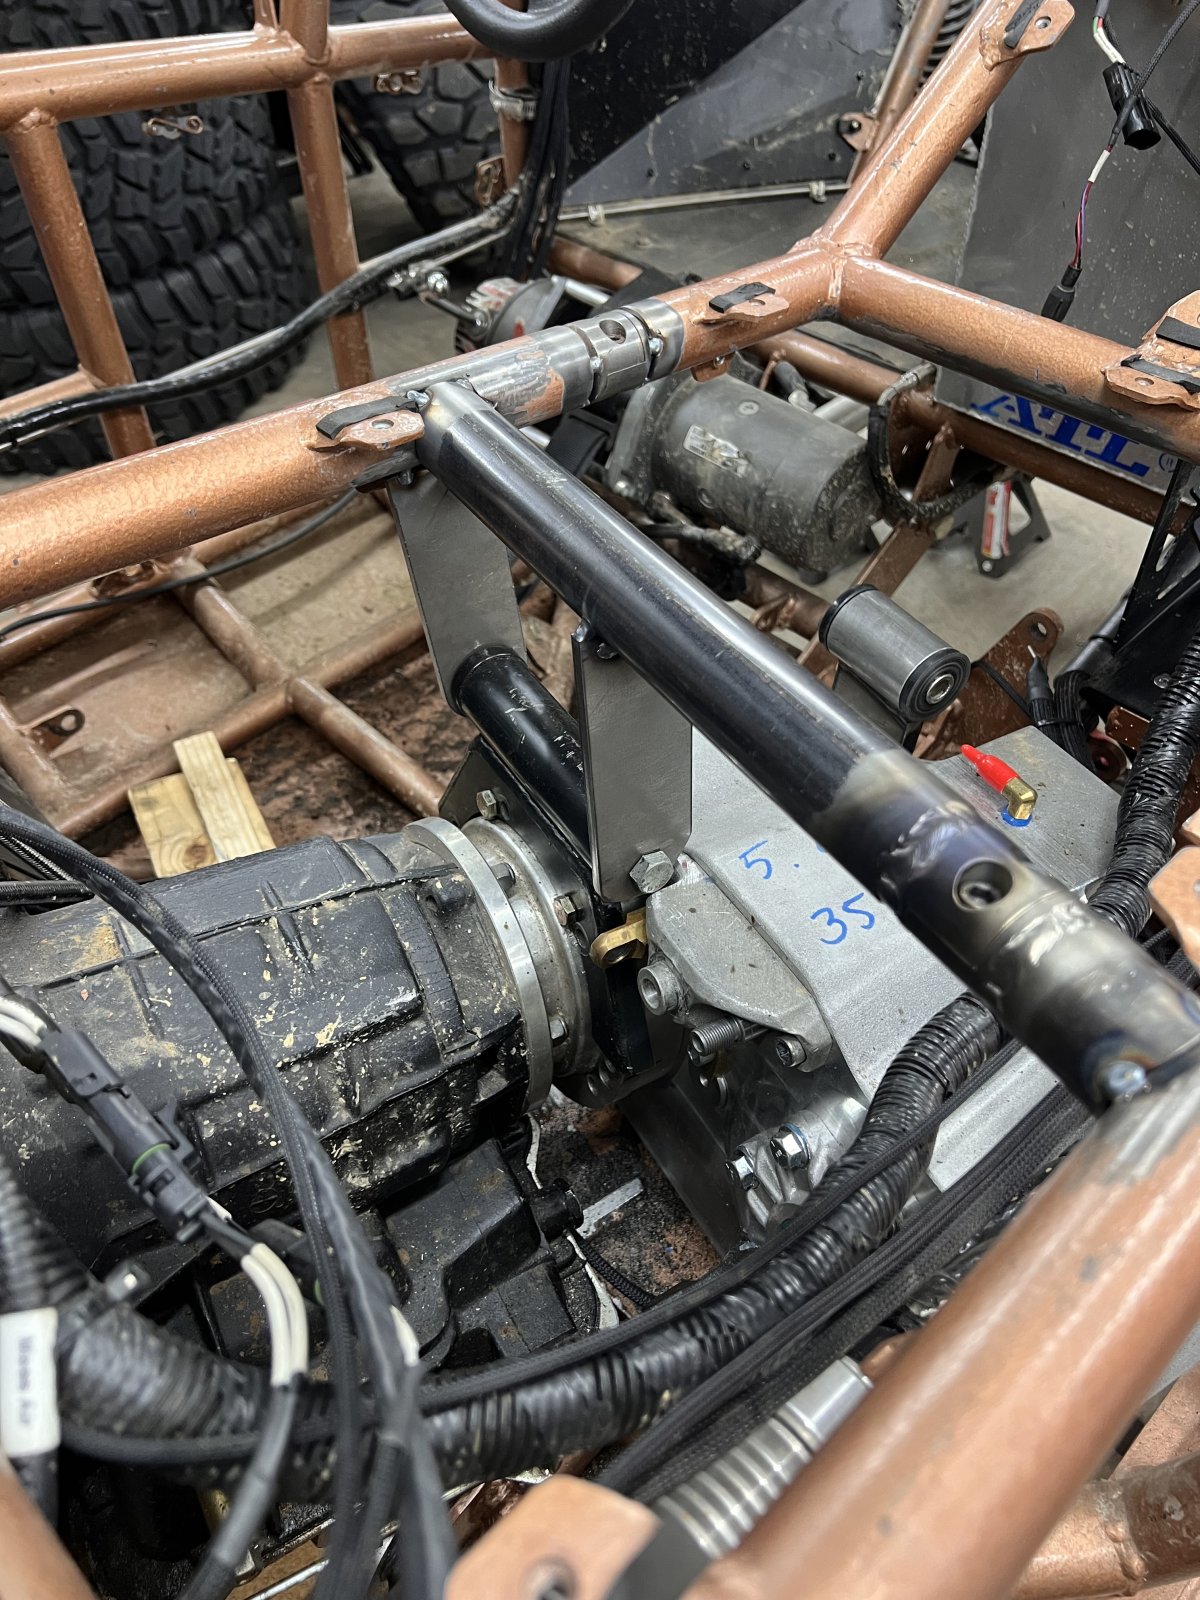
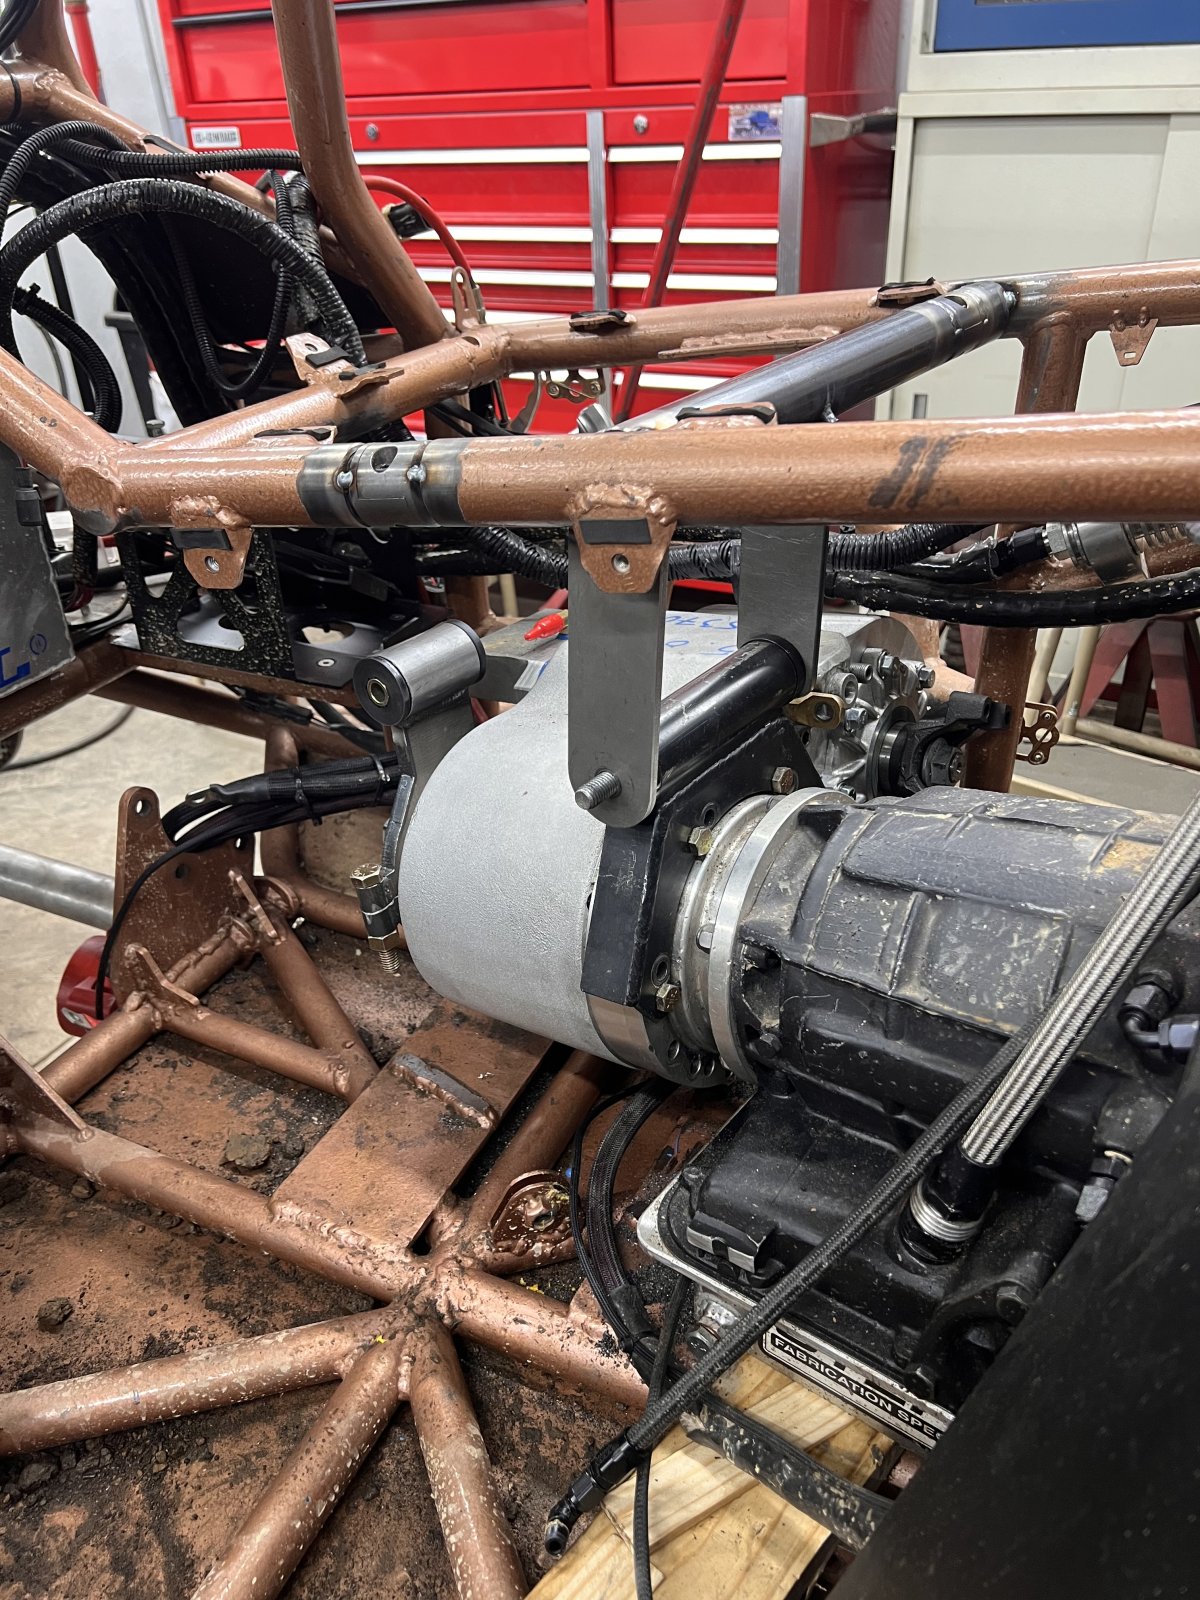
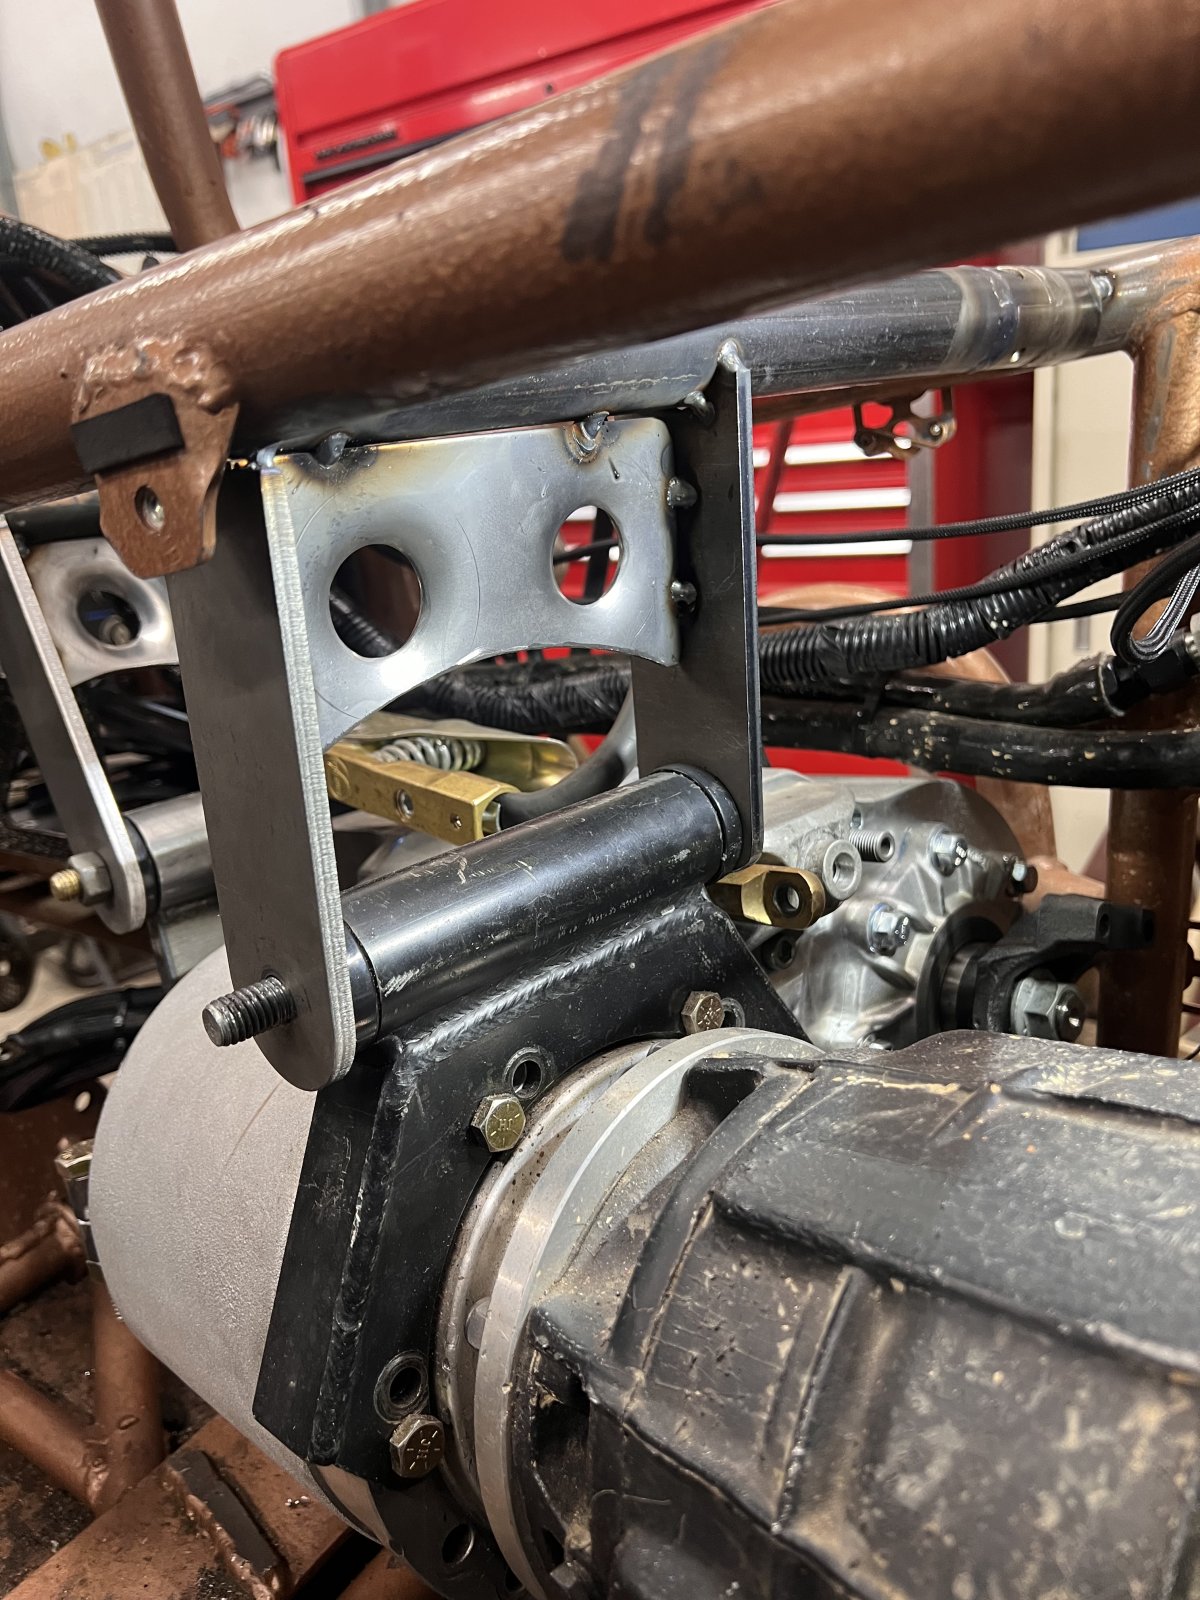
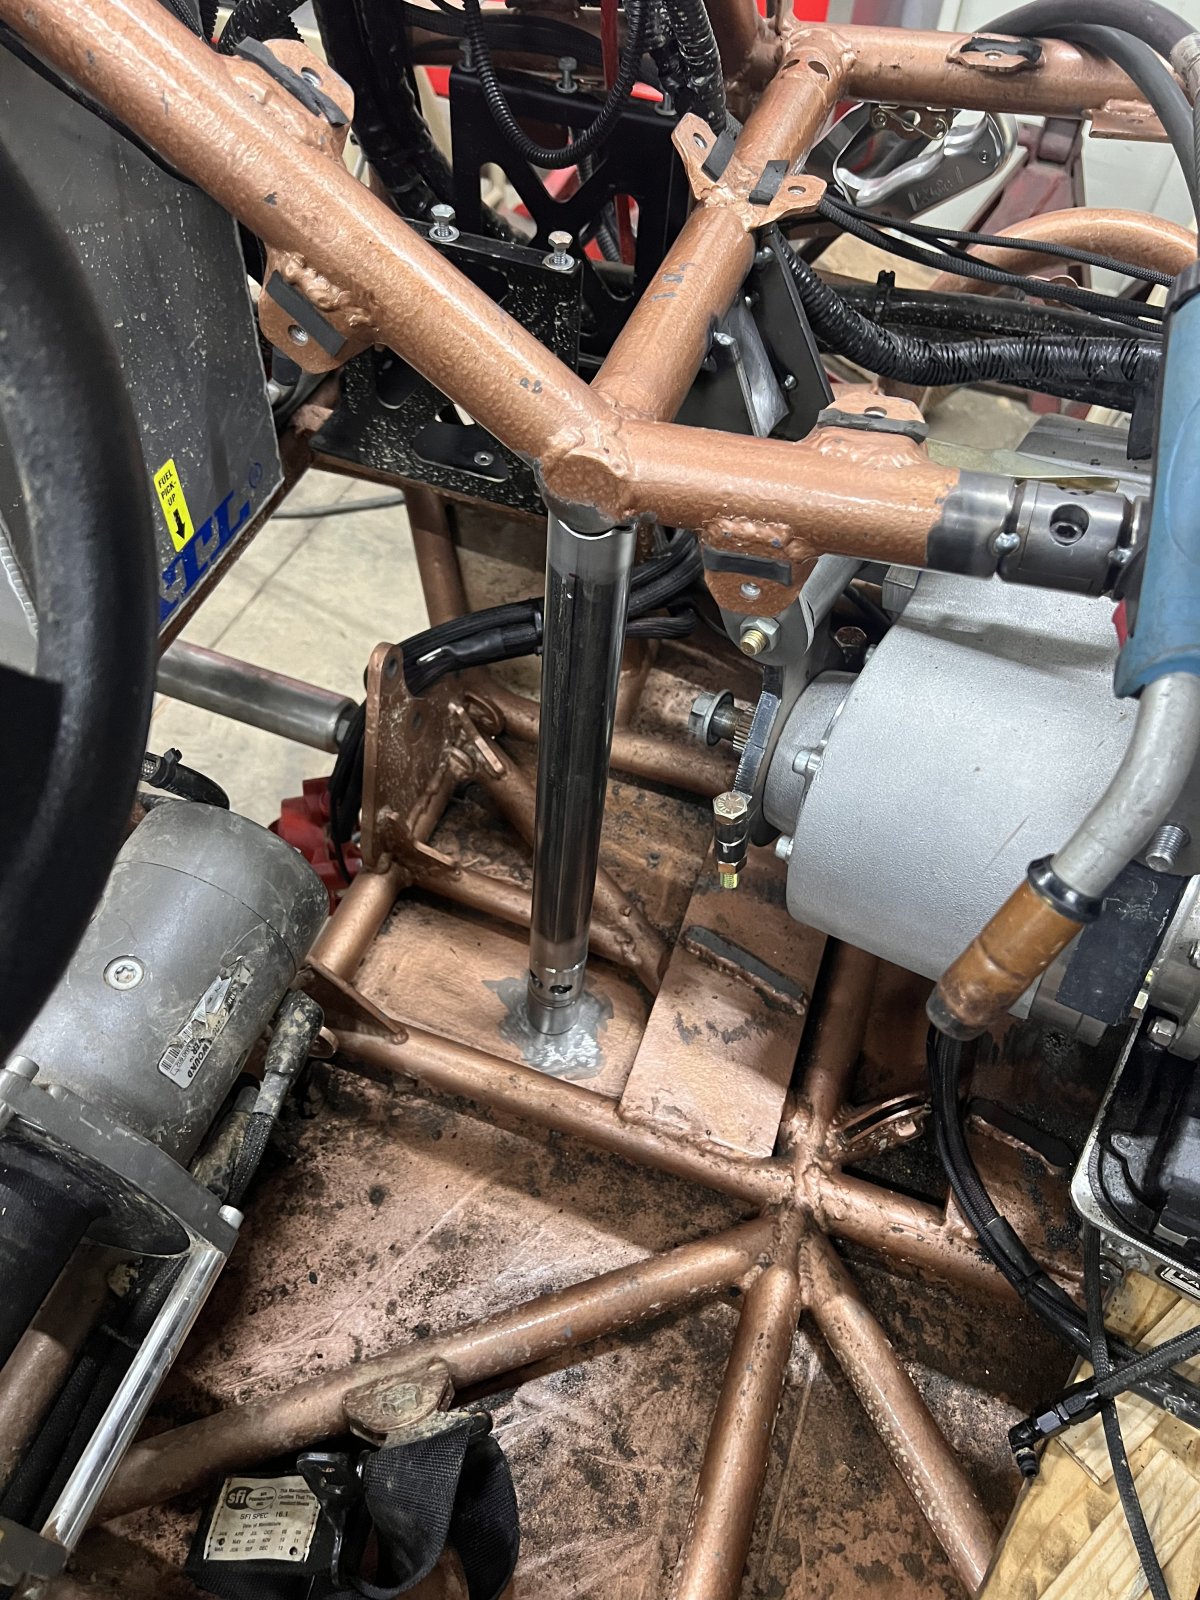
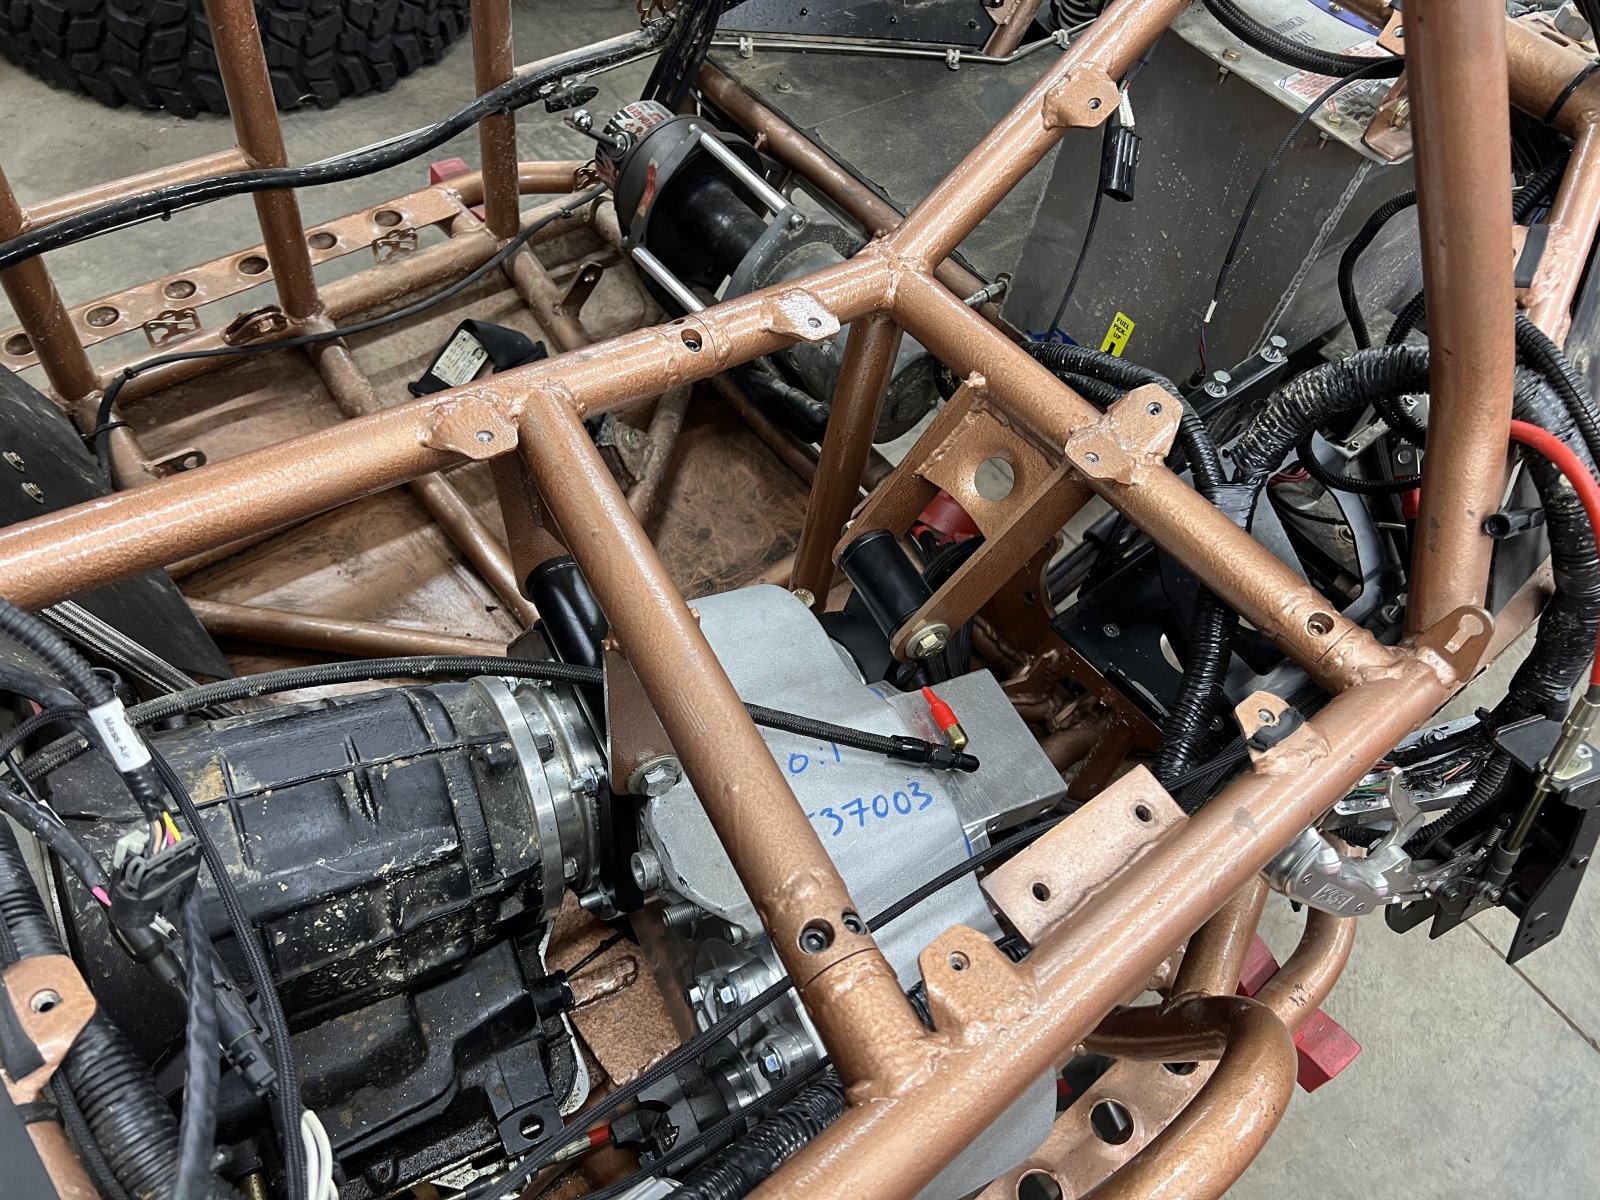
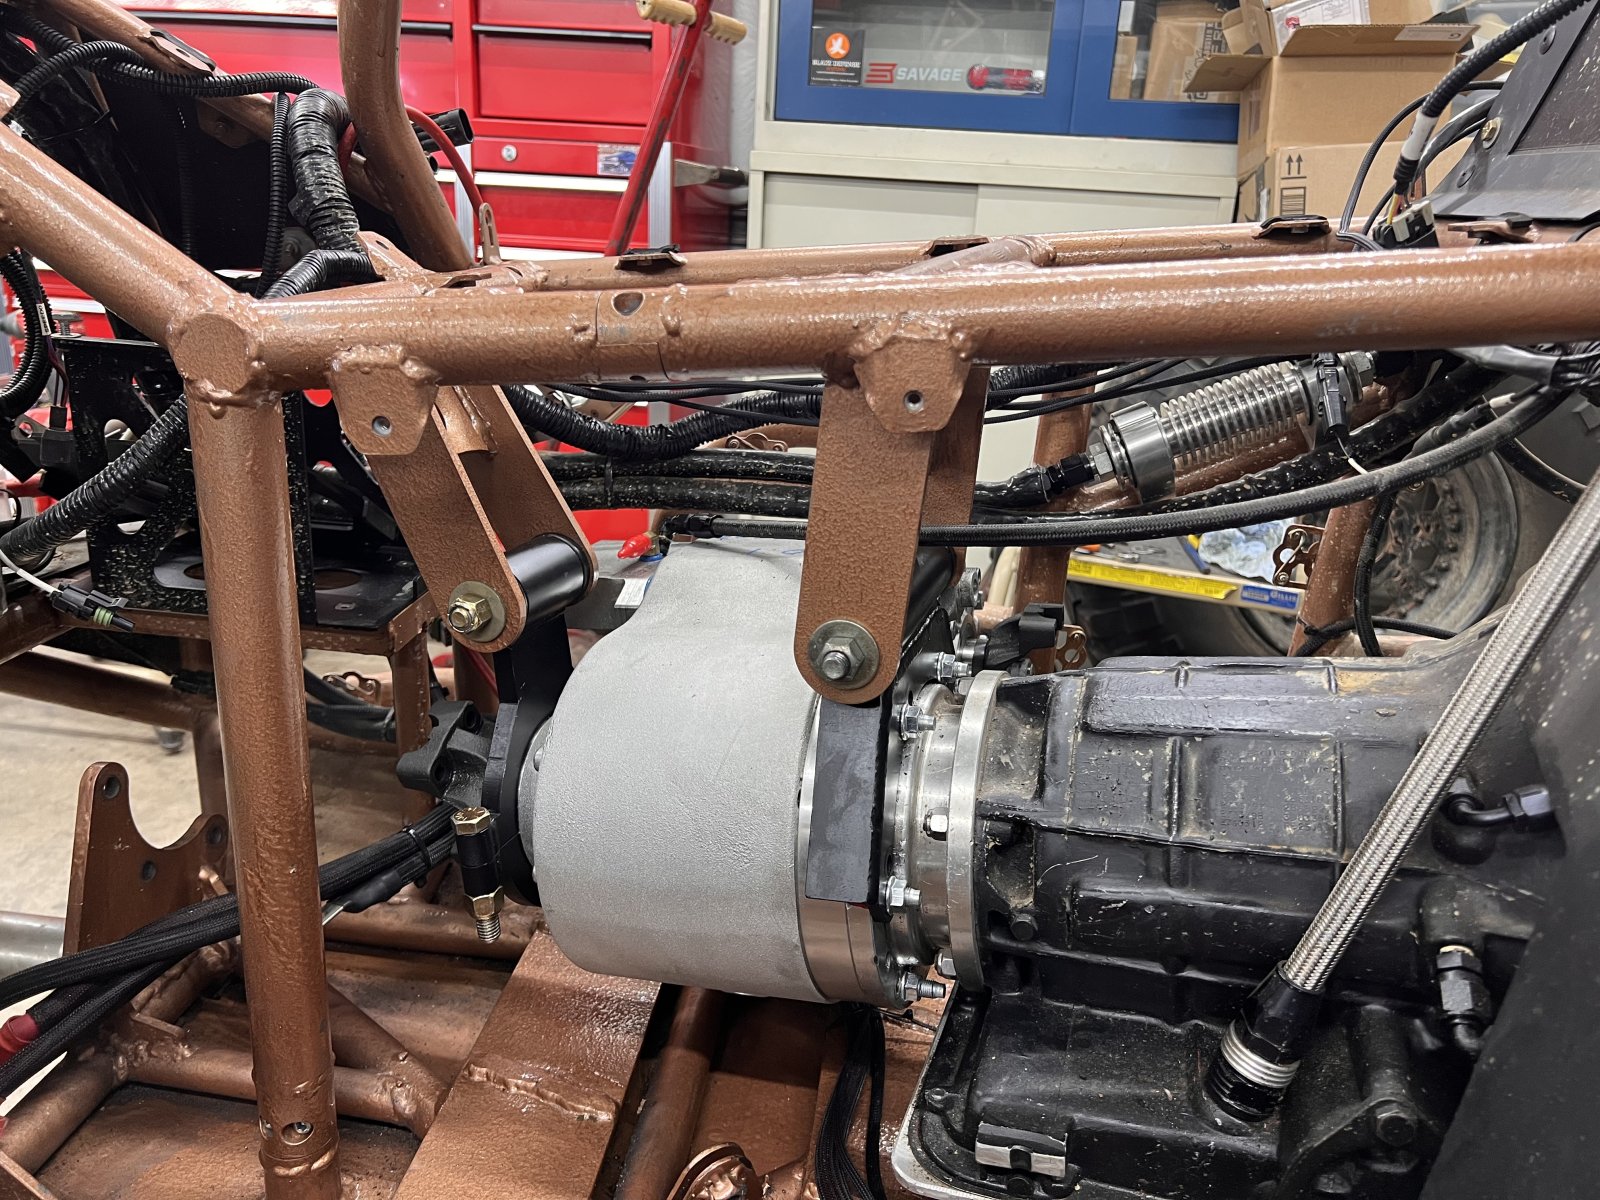
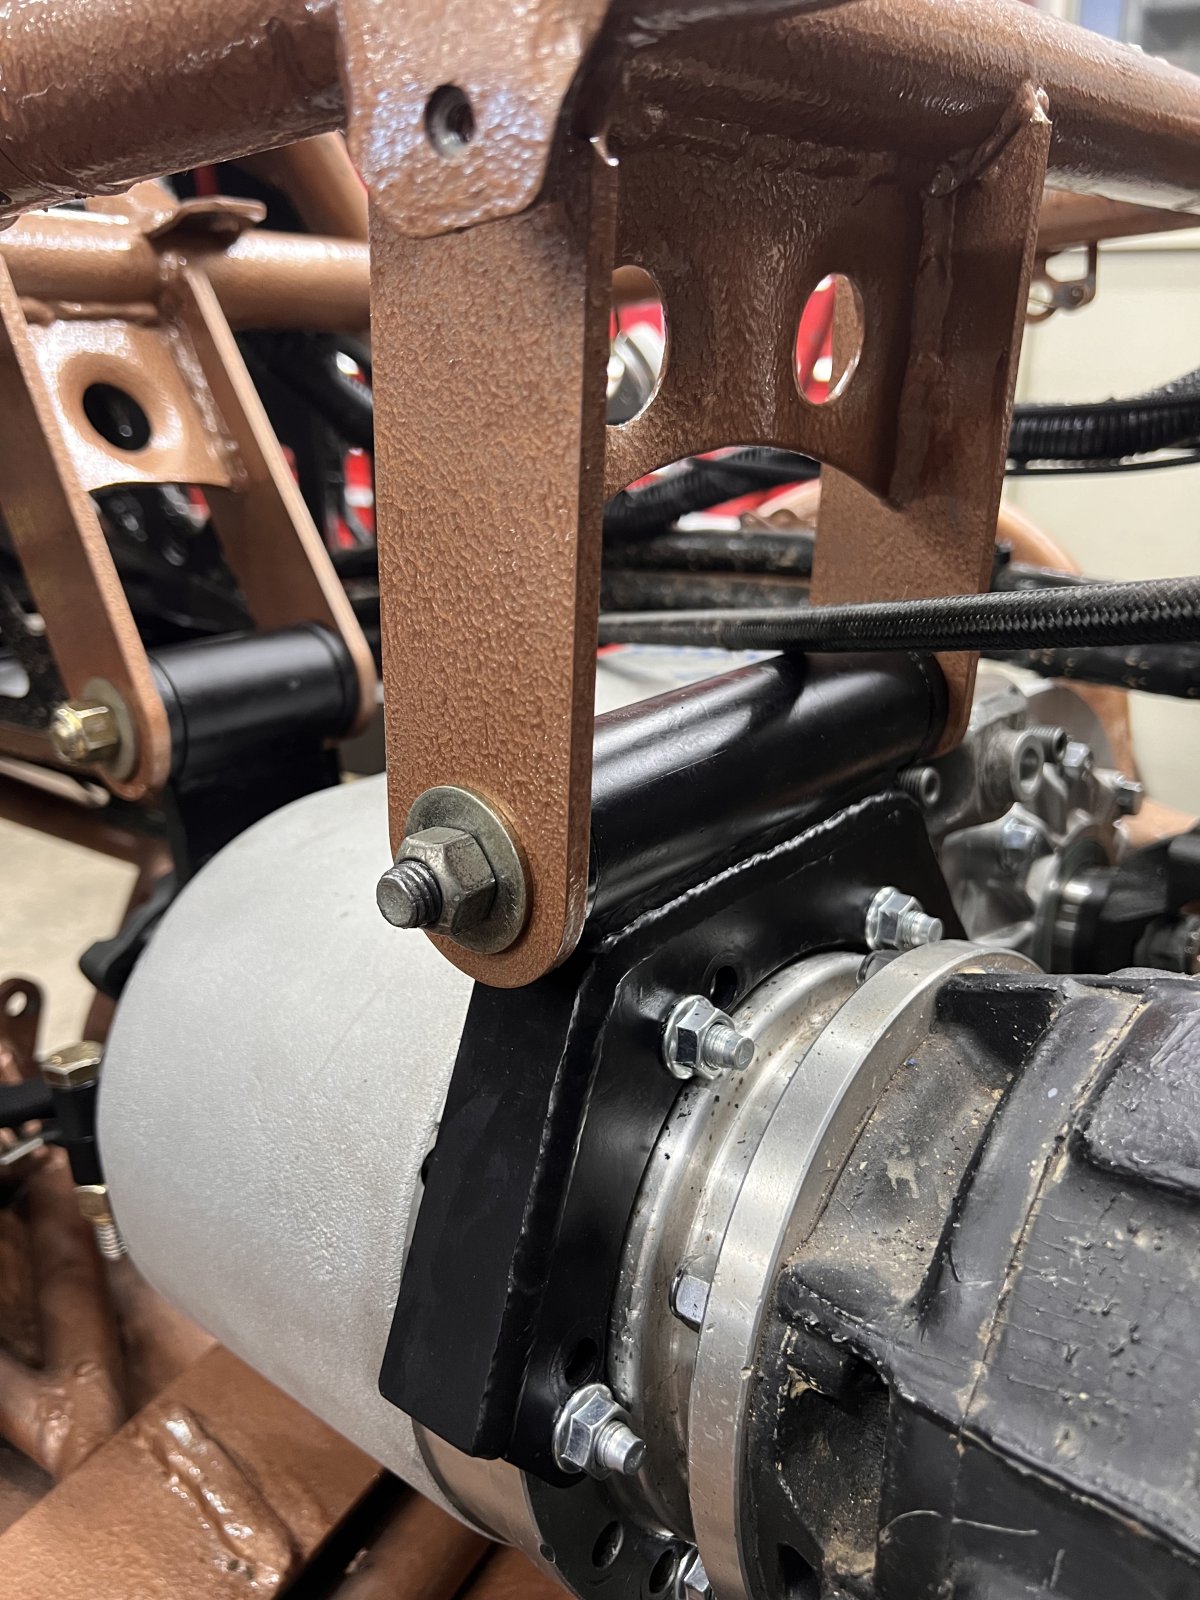
I've been slowly working on figuring out new mounts for the trans and Atlas. I had to do a good bit of trimming on the trans mount for it to work upside down and also had to do a lot of trimming on the Atlas shifter base and swap one of the socket head bolts for a button head, but it all clears now.

IMG_0283.jpeg


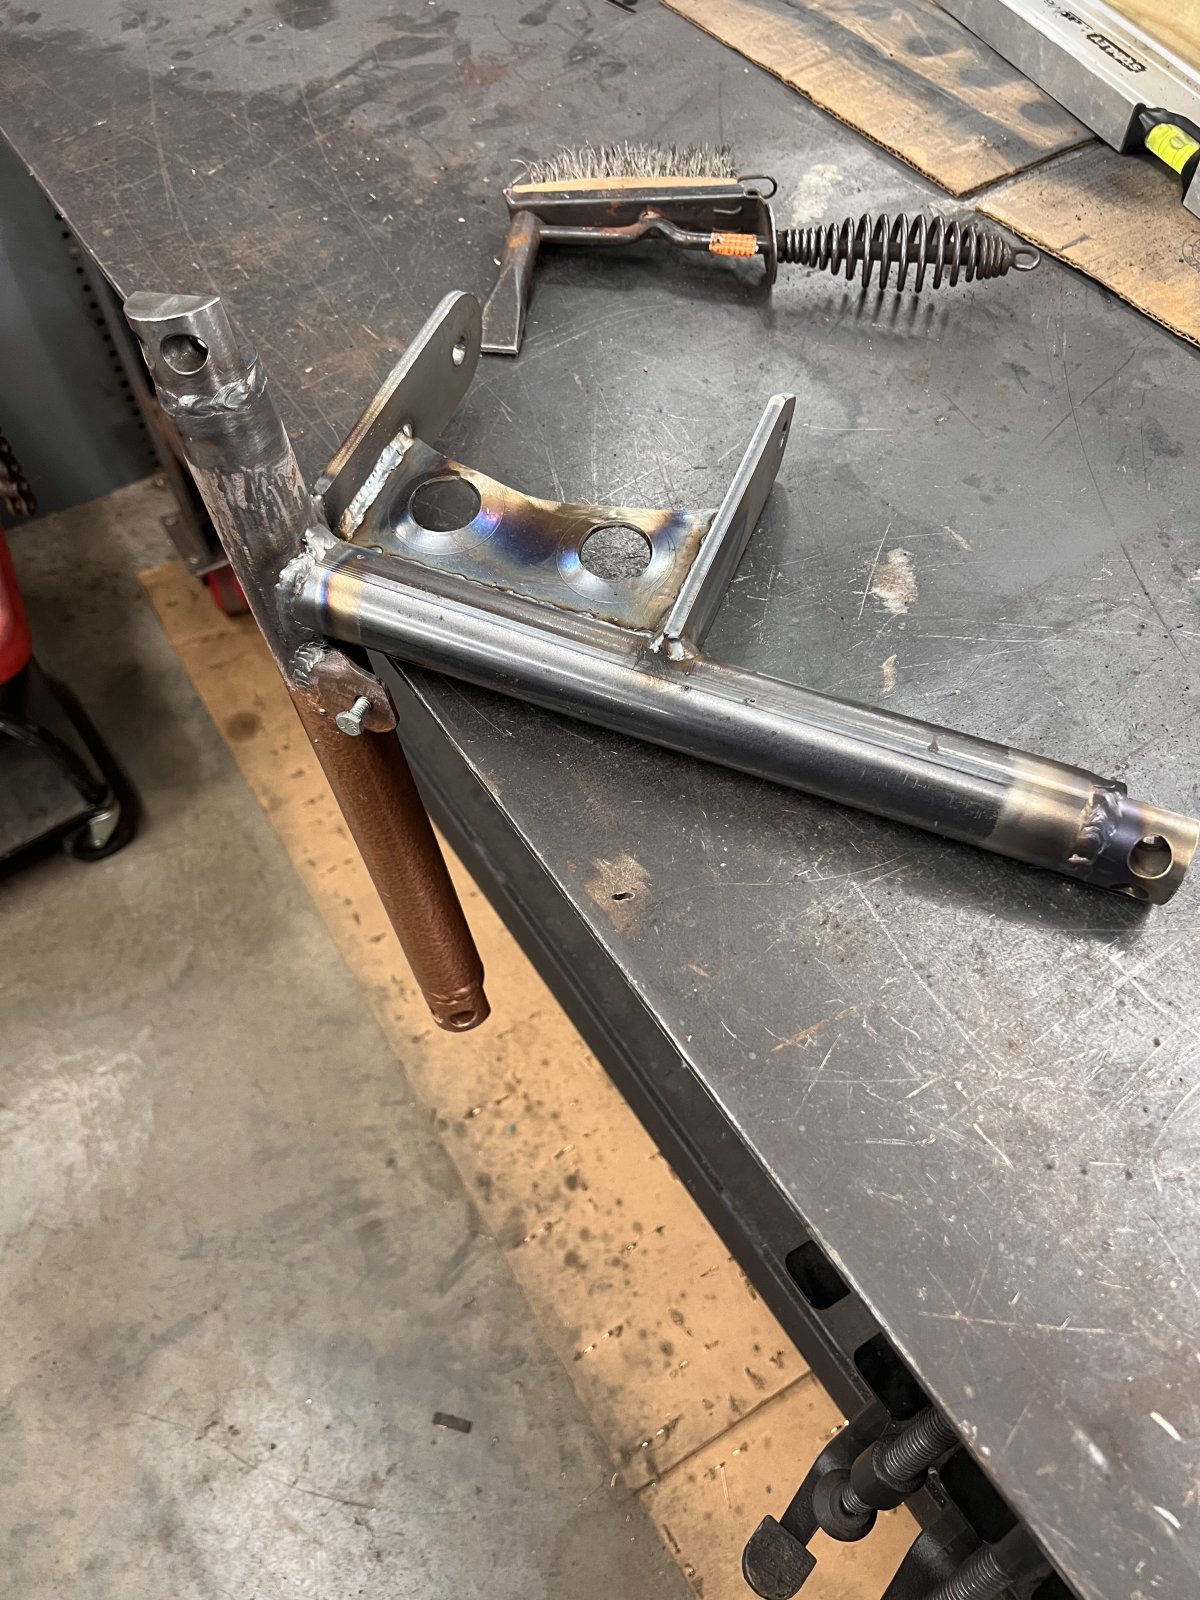
The Atlas mount will go to the tube right above it. I'll add a tube across where the trans mount is with a disconnect in it. The three tubes you can see in the picture all have disconnects on the end of them and that whole piece comes out of the chassis.

IMG_0296.jpeg
 
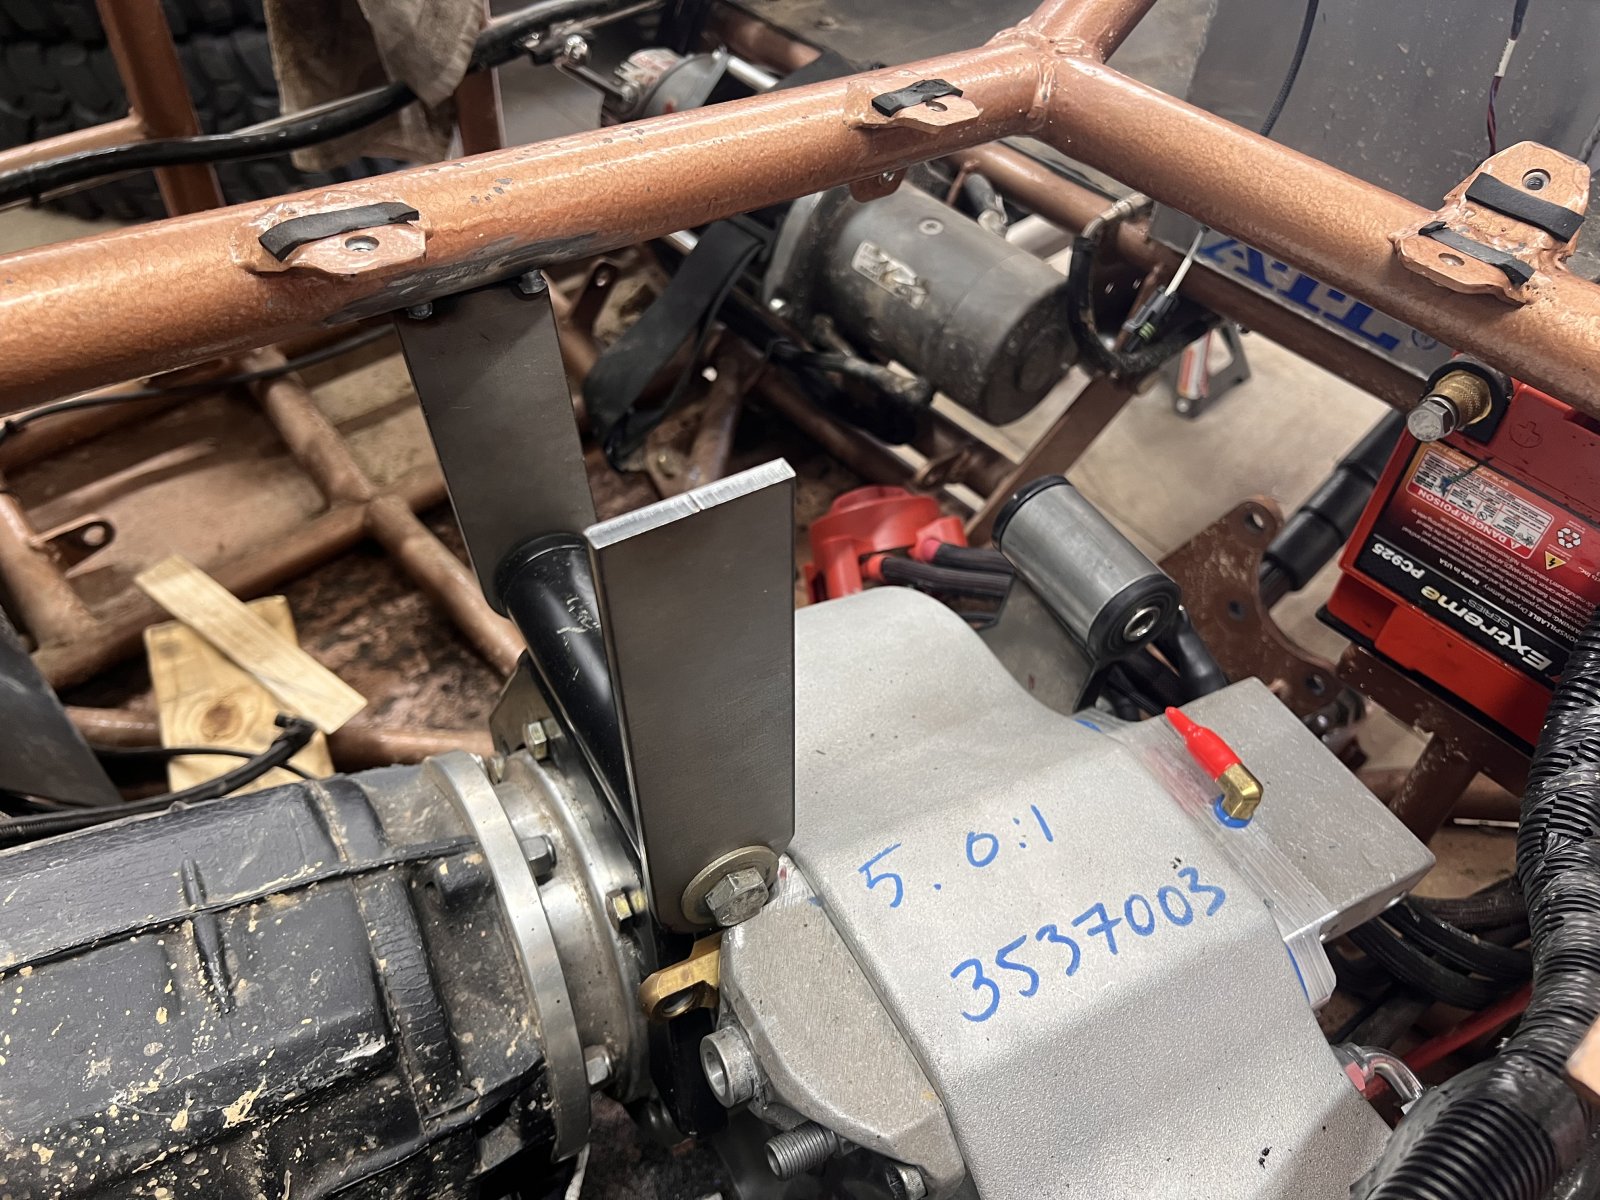
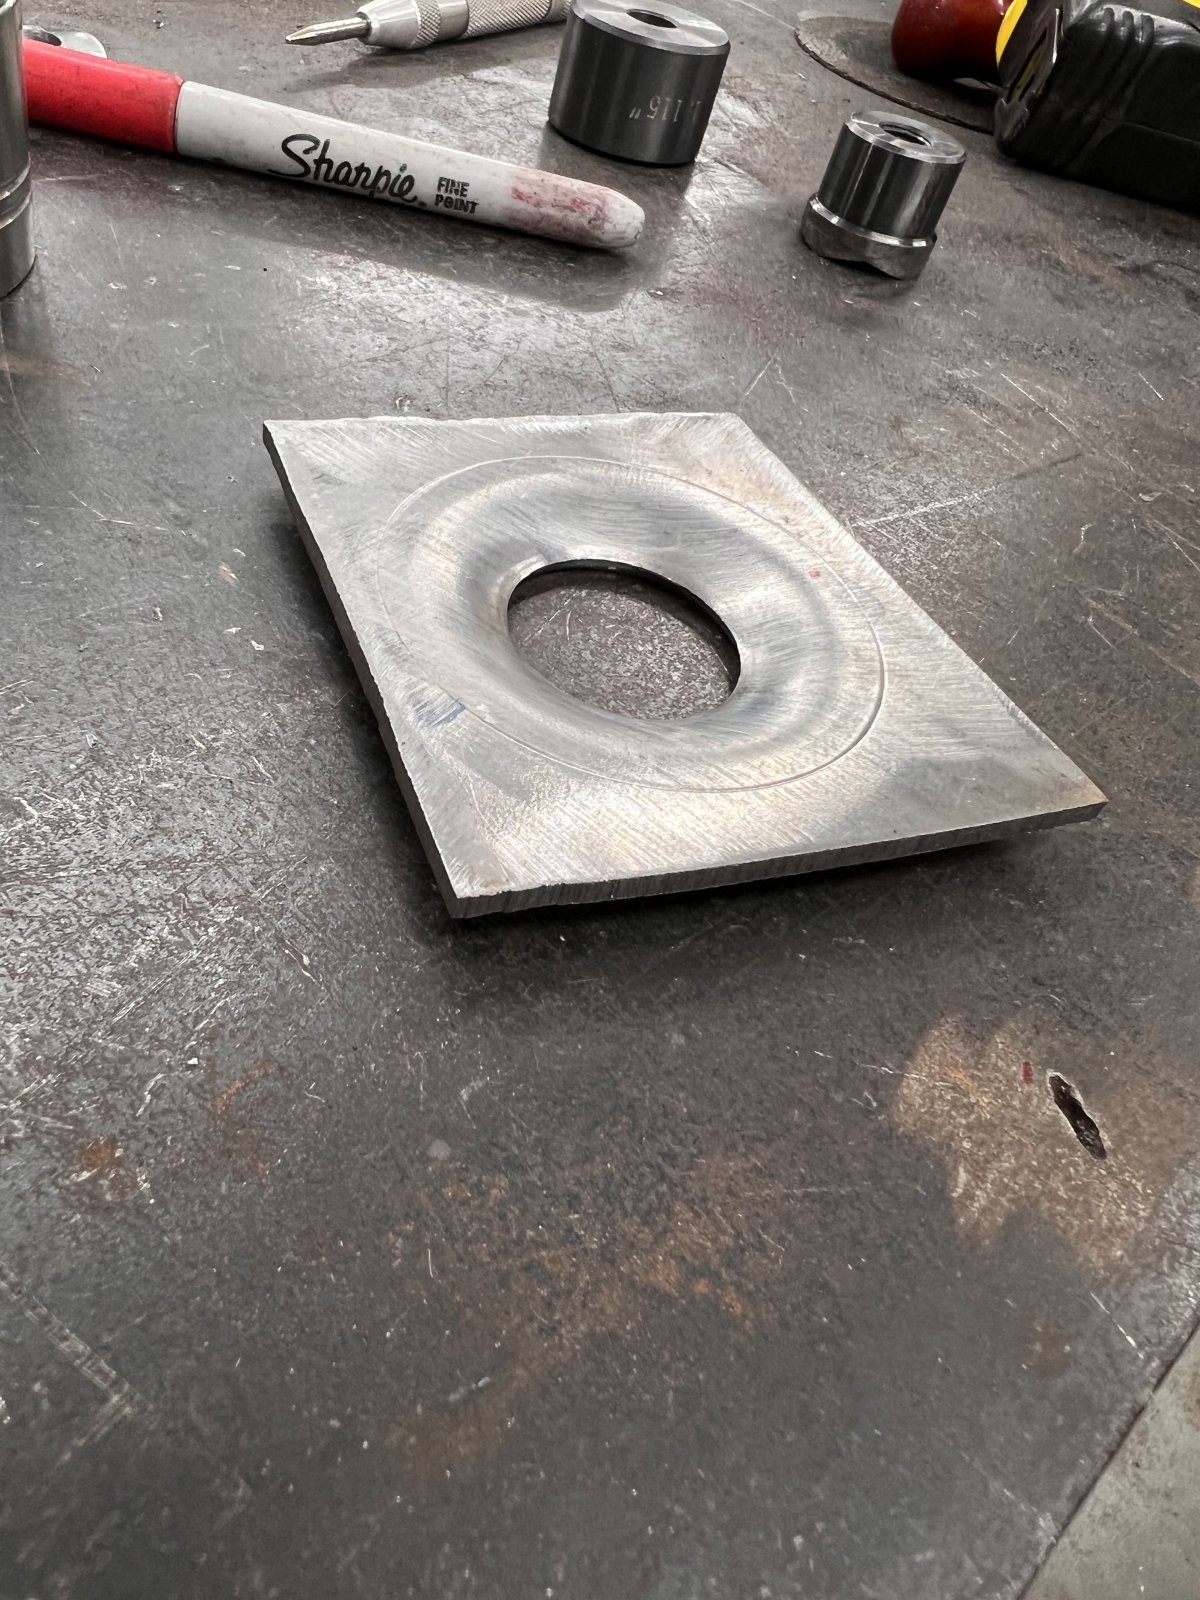
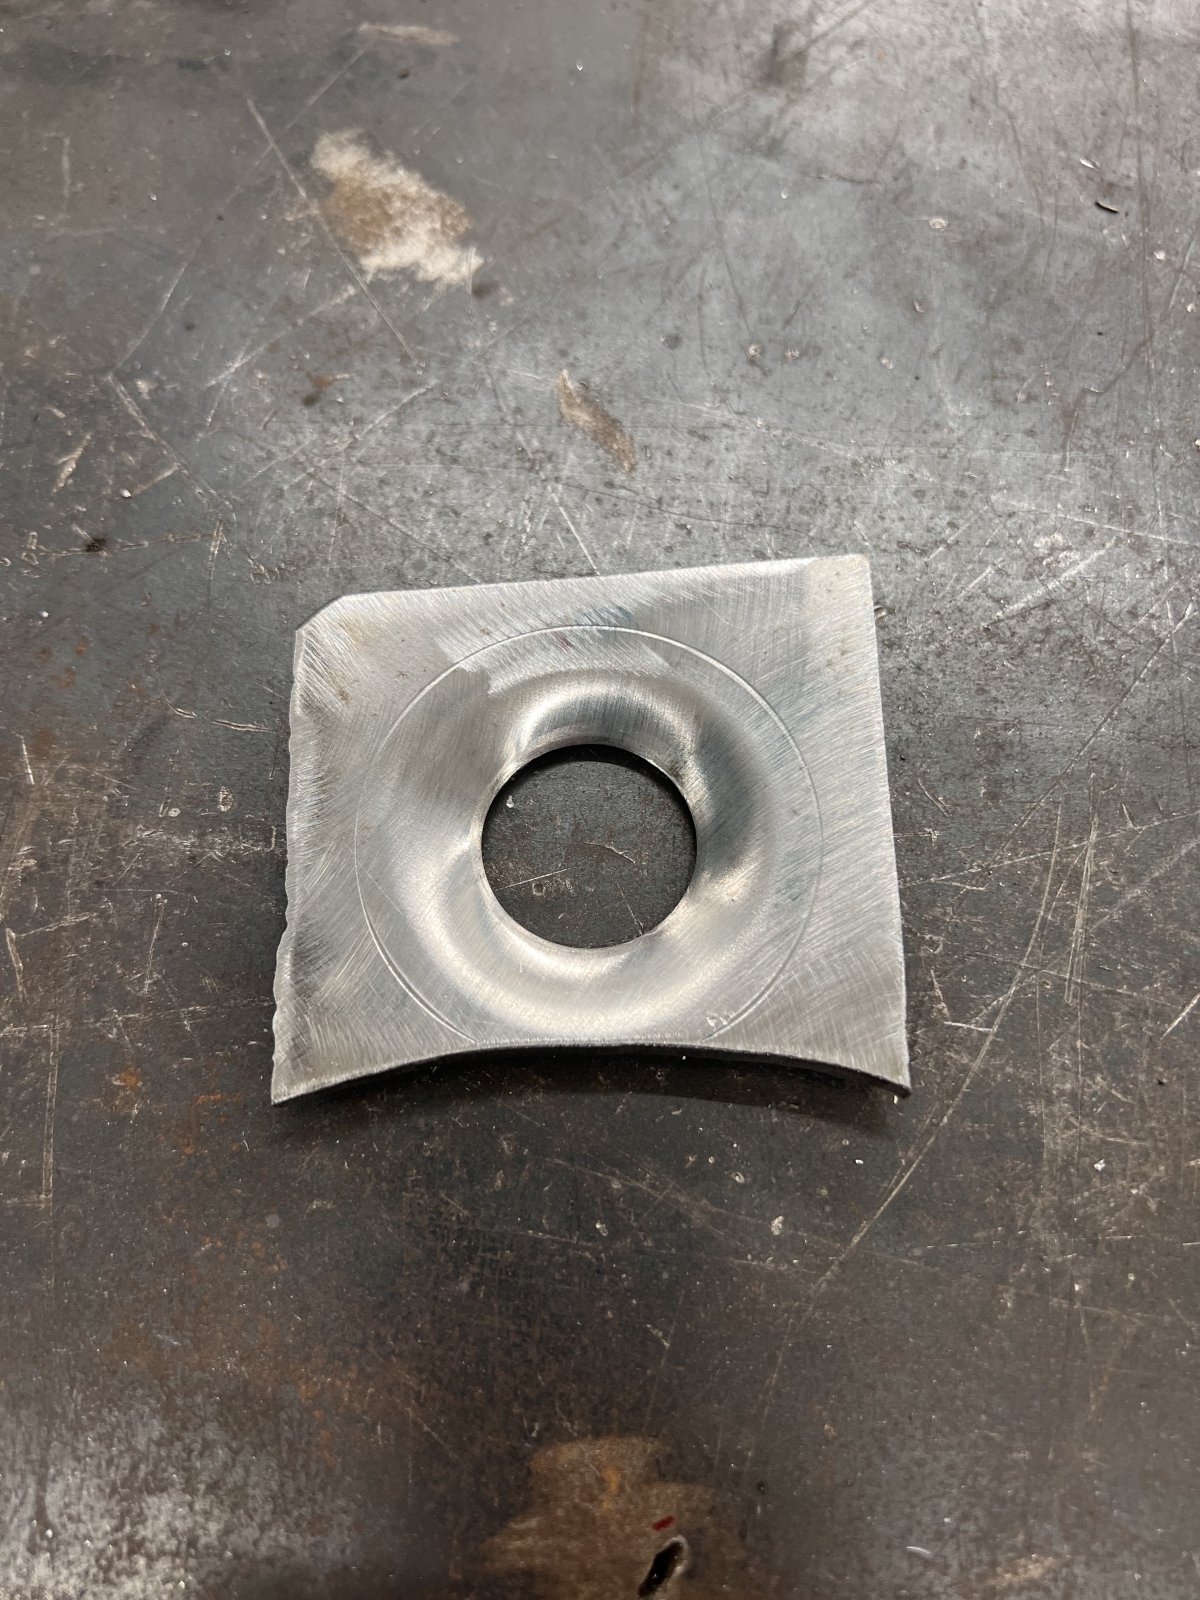
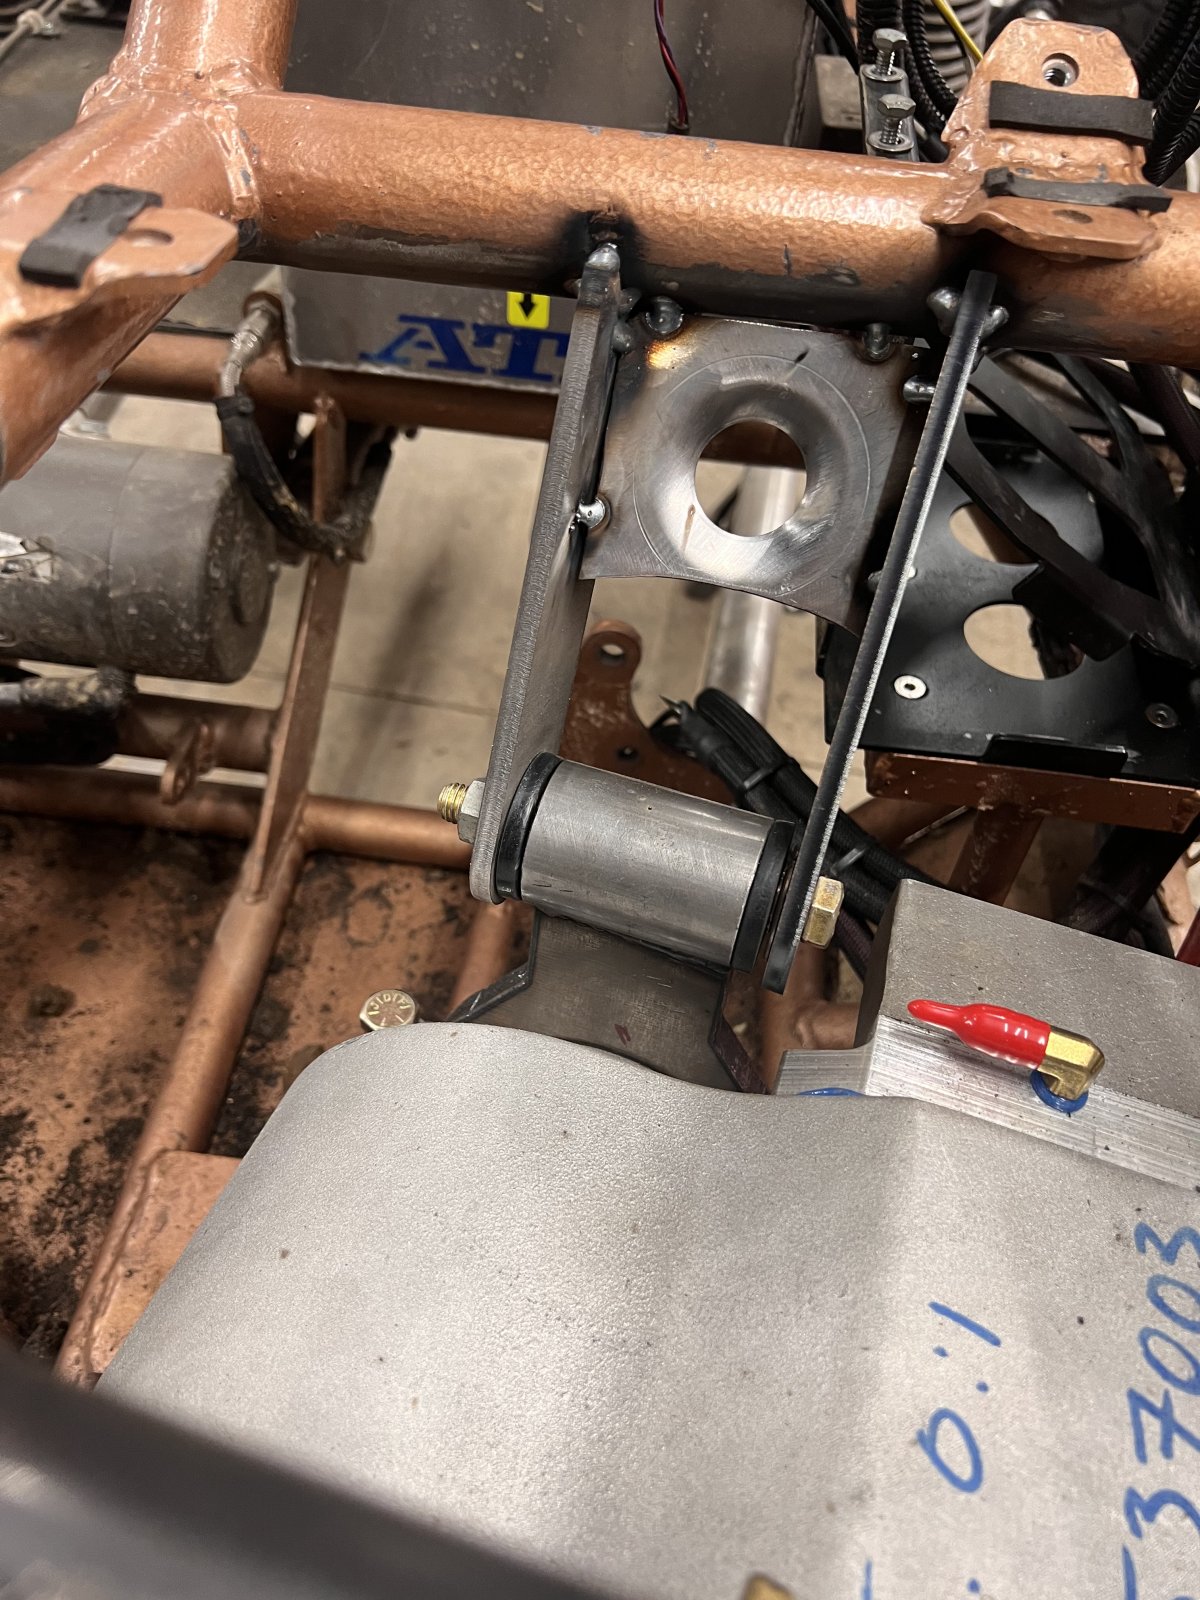
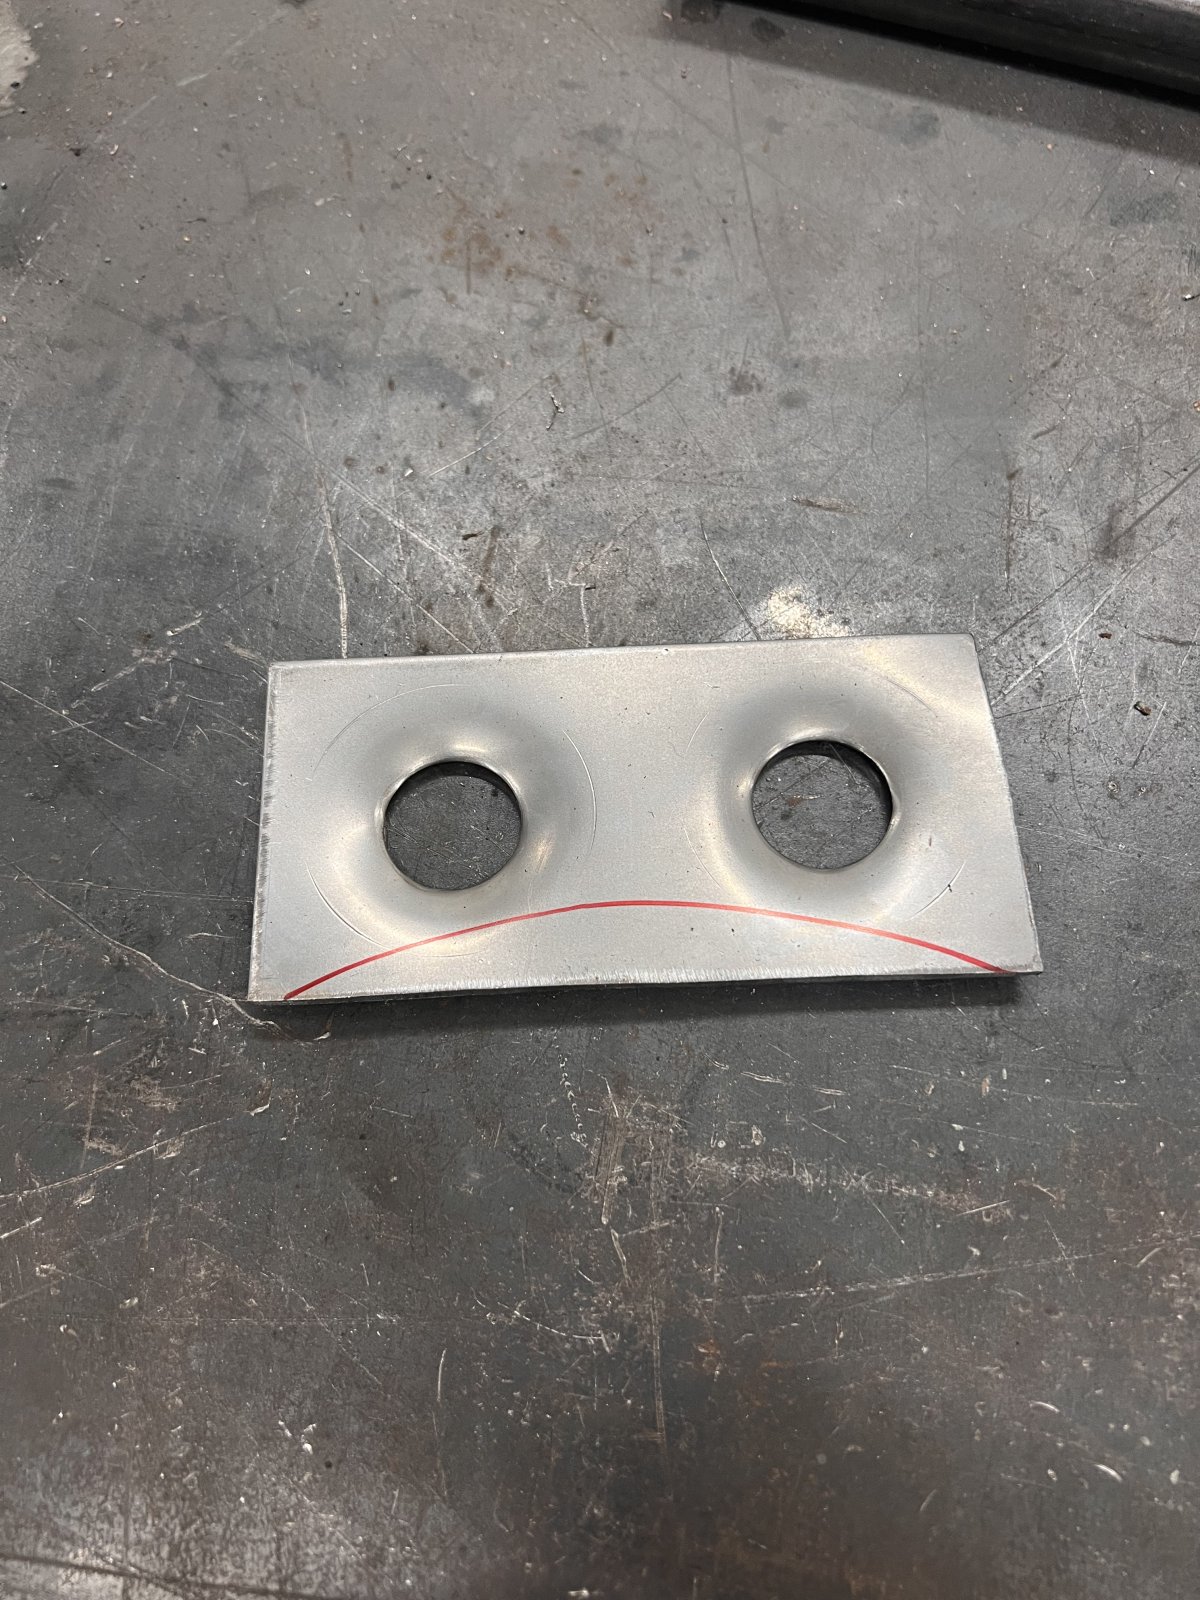
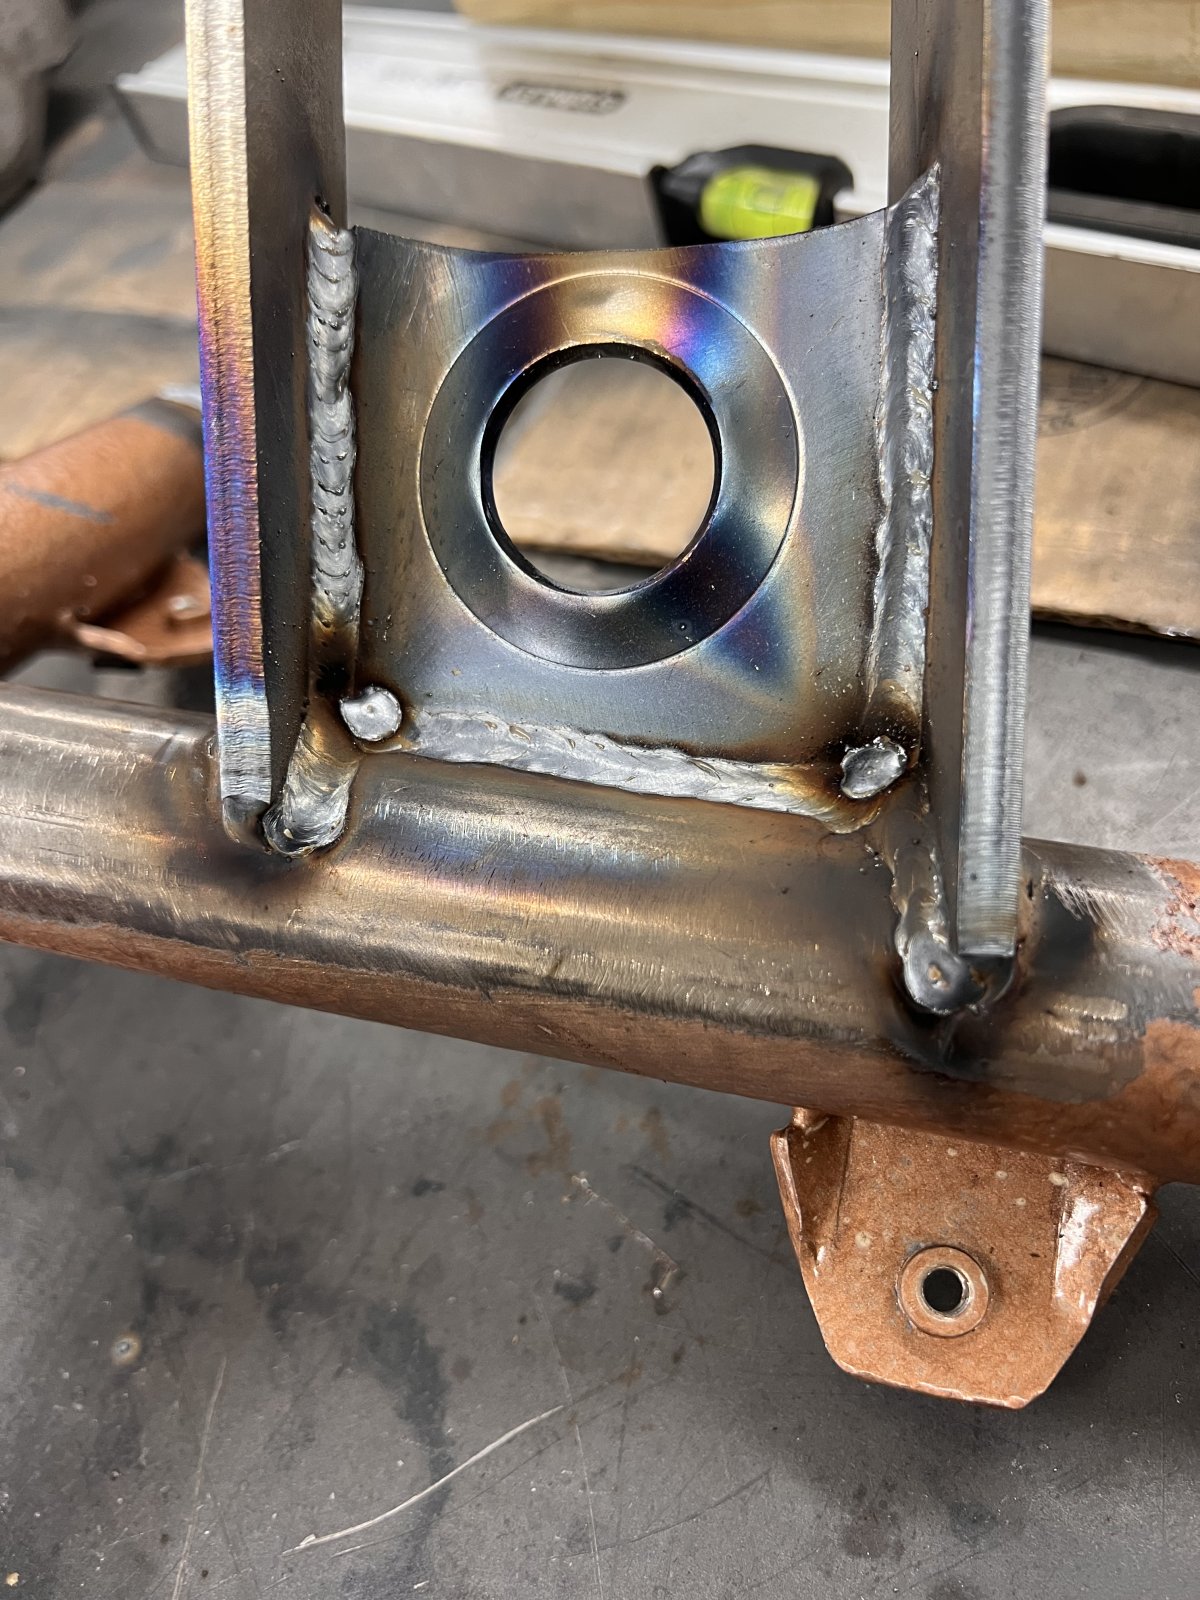
Got in a little over an hour on it this morning before work. The trans mount is sorted out and tacked in. If I can get up in the morning I'll work on the Atlas mount. I'll probably add a fancy little dimpled plate between the tabs on both of them to strengthen them up. I'll also add a vertical tube down to the bottom of the chassis to help support it all.

IMG_0307.jpeg


IMG_0308.jpeg
 
I couldn't sleep last night so I got up about 2:30 and went to the shop. I got the atlas mount finished up and the gusset plate for the trans mount is almost done.

There's only a few groups of people in life that you can tell that you woke up at 2:30 in the morning and mounted a tranny, and they won’t blink an eye. :ROFLMAO:

IMG_0316.jpeg

IMG_0317.jpeg

IMG_0318.jpeg

IMG_0319.jpeg

IMG_0321.jpeg

IMG_0322.jpeg
 
Last edited:
Didn't have much time this morning, but I got the gusset plate for the trans mount done and tacked in. The vertical support tube is cut, notched, and ready to weld up.

IMG_0325.jpeg


IMG_0326.jpeg
 
The Atlas is in and buttoned up. Most of the interior will probably stay out until it closer to ready to wheel. It needs new batteries and it would have to come back out to put them in, and I'm not going to buy the batteries until it's ready. Still waiting on shafts from Branik and parts from Gearworks to get the rear axle buttoned up. I guess soon I'll throw the new front housing up on the table and start getting it laid out.

IMG_0342.jpeg


IMG_0343.jpeg


IMG_0344.jpeg
 
So I guess I lied in the last post. A while back I ended up going ahead and getting new batteries for it. Found a good deal plus a coupon code, so I figured why not. I put them put in and got everything wired back up. It started up and ran surprisingly decent for having 7 year old gas in it still. :rolleyes:


In VGG fashion we'll just pretend we didn't see the backfire and sparks out the exhaust, I'm sure it's nothing. :LOL:

I let it sit and idle for 15 minutes or so to get everything up to temp. It seemed to clean up a little after it ran a while. I definitely need to flush the old fuel out of it though. At idle the water temp never got over 175* so the fan never kicked on.


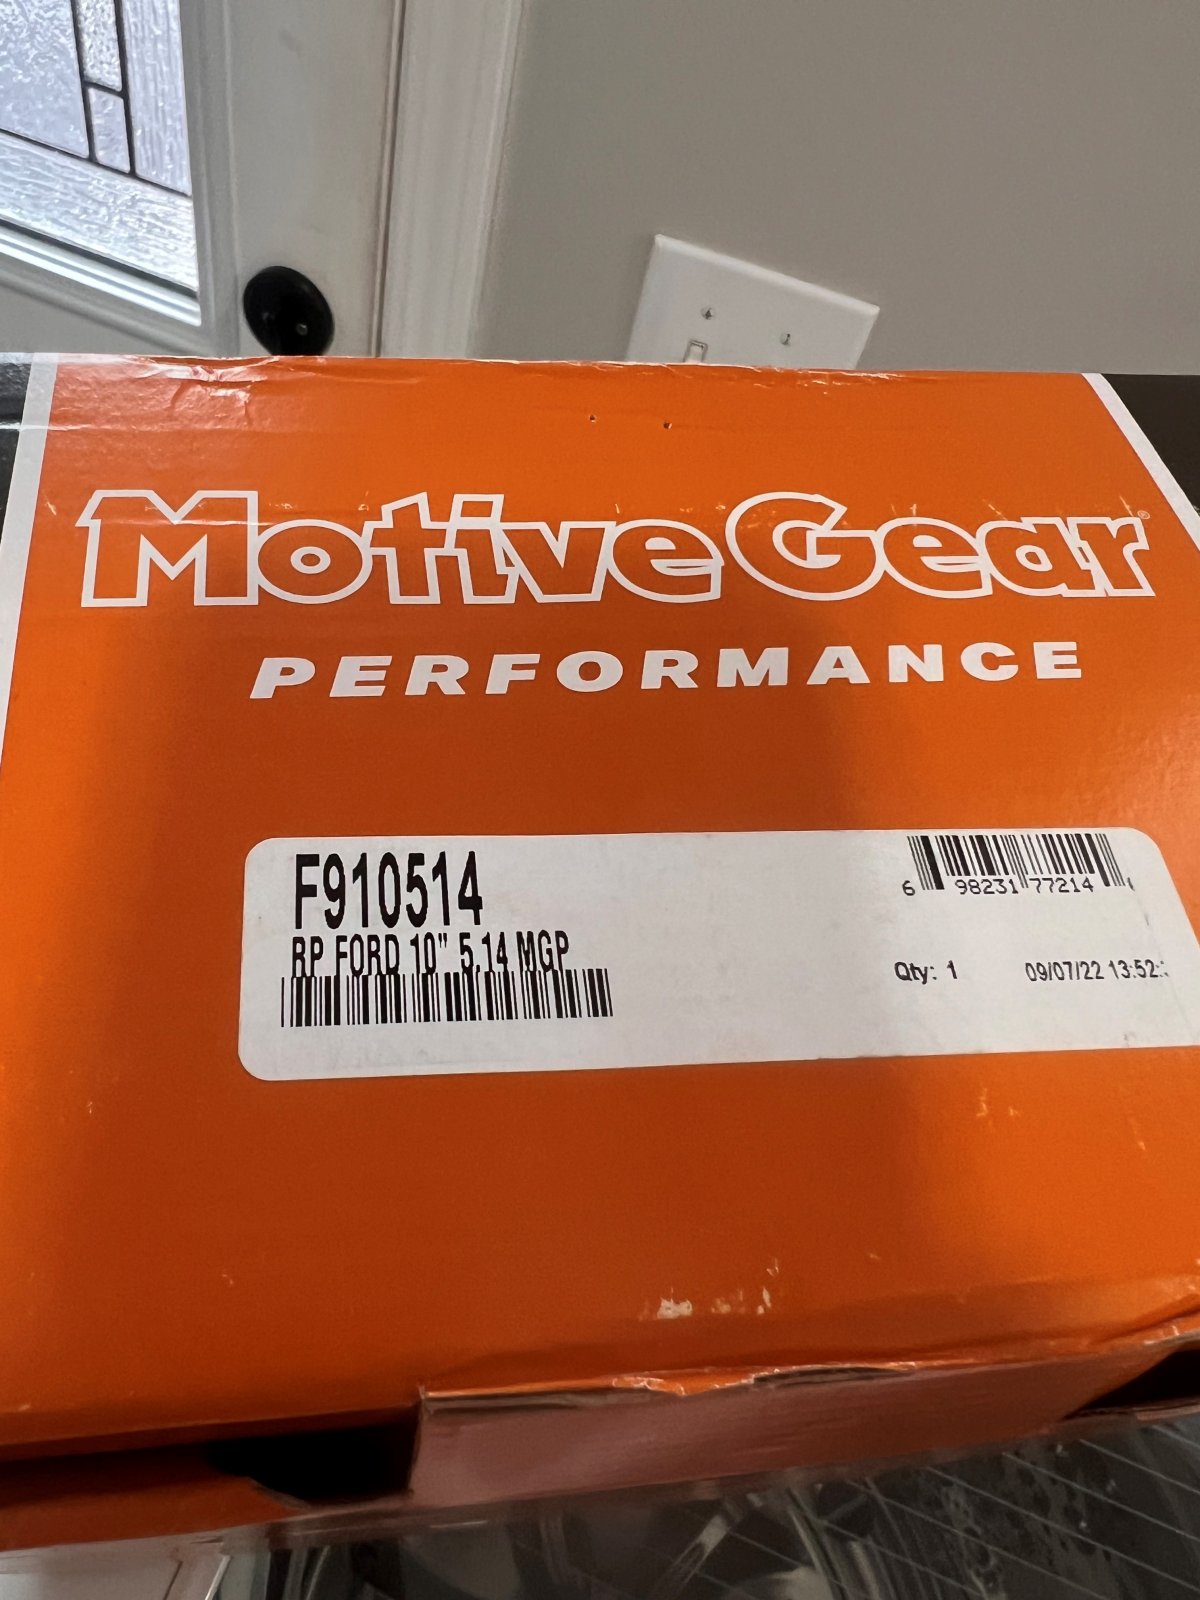
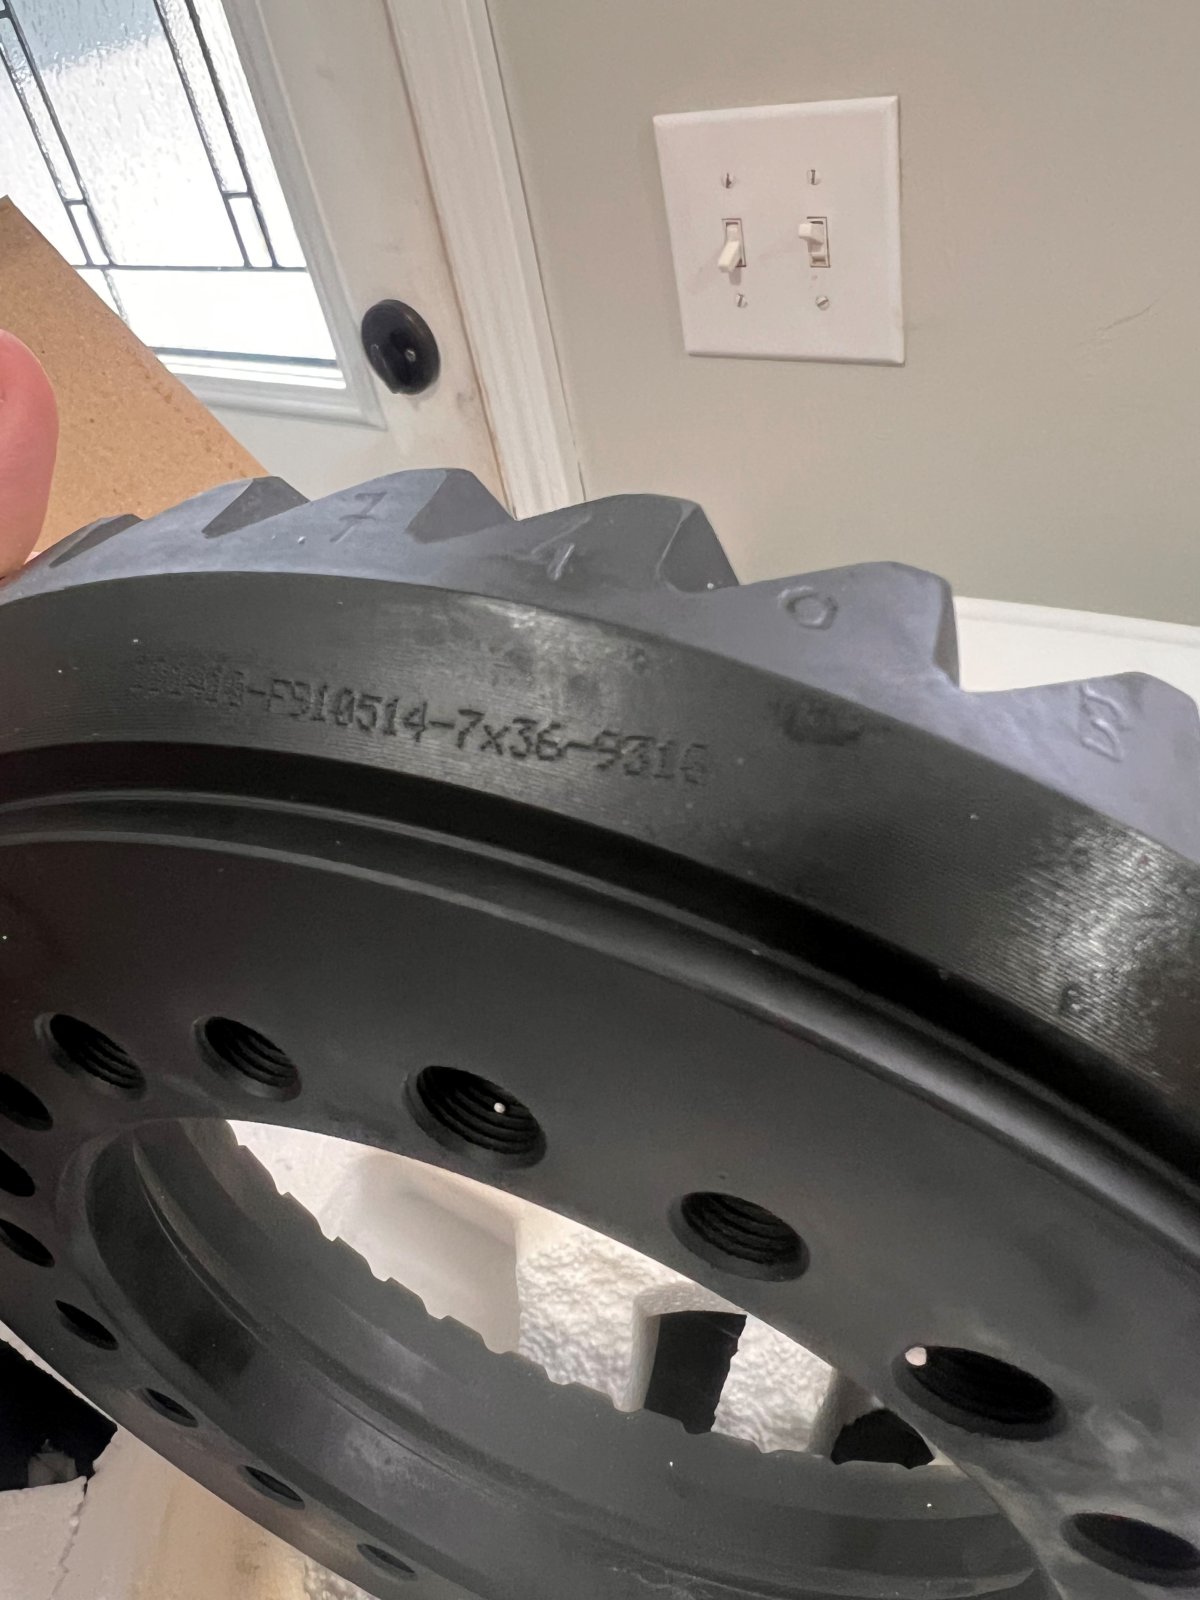
Also just a couple days ago I saw some Ford 10" 5.14 gears listed on Ebay for $350, those gears are usually $1300-$1500. I was skeptical, but took a chance and they were delivered today. A set of Motive 10" 35 spline pinion 5.14 pro gears for $380 to my door. Not sure if it's some kind of closeout deal or what. But now I've got 10" gears for both axles. I just need to find the time to get across the mountain to meet @Jody Treadway to get these 3rds built. It's still a long way from being ready to wheel, but I'm just trying to chip away at the iceberg with my salad fork. And yes, I did put a battery maintainer on it this time, and it will stay on it. :LOL:

gears1.jpg

gears2.jpg
 
It's just a stock LQ9 6.0 with a LS6 intake, but the exhaust is only a set of forward facing turbo headers with a 3" header "muffler" welded on them. It's a bit loud. :LOL:
 
It's just a stock LQ9 6.0 with a LS6 intake, but the exhaust is only a set of forward facing turbo headers with a 3" header "muffler" welded on them. It's a bit loud. :LOL:
The innerwebs says with that combo plus exhaust note, it's good for 500hp :rolf:
 
That's a crazy deal on the 10" gears. Wow.

and they still have some listed.
https://www.ebay.com/itm/2853446326...VHAY5anm+/4dxG2mgo0b/K1S+oL/|tkp:BFBMpsL3q5pl
wish they had 5.43s that cheap too, I'd stock a couple sets of those for that price.
It definitely is! All I saw that cheap was 5.14 and 5.00. Luckily 5.14 is what I needed. It was just a random eBay search. I already had a set of 9.5” 5.14s I planned to use, but I couldn’t pass that up. I’m guessing it’s a close out thing. Last I looked I think they showed 9 still in stock. They’re also on Amazon for the same price.
 
I dropped off a pile of parts with Jody on Thursday to build both 3rds. Once I get them back I can fully assemble the rear axle. The last couple mornings before work I sat the new front housing up on the table and started marking everything out on it. I've also go the front axle almost ready to pull out of the buggy so i can slide the new one under and start mocking stuff up.
 
Back
Top