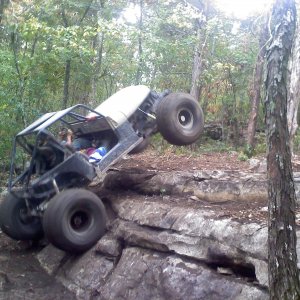
Chattanooga Whiskey Buggy Refresh

Hardline Crawlers - Rock Bouncer Builds, Tech & Off-Road Trail Talk

Help Support Hardline Crawlers:

All new hydraulic lines made in house and replaced a few brake lines


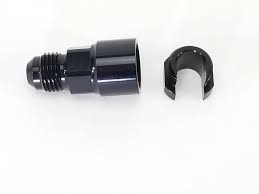
New fuel line with heat wrap and secured to the fire wall


View attachment 115252


I would not trust that plastic clip in the adapter fitting. It wasn't designed to hold a heaving fitting and line (even though you have it supported a few inches away).

I'd look in to changing it to a screw together adapter, or a compression fitting adapter on the end of the hard line.

Russell makes a screw together part # 644133
1575909295408.jpeg


Earls makes a "fancy" compression fitting, or you could just use a brass one.
ear-at165006erl_xl.jpg
 
I would not trust that plastic clip in the adapter fitting. It wasn't designed to hold a heaving fitting and line (even though you have it supported a few inches away).

Same fitting has been on there for 8+ years. I understand and appreciate the concern. I re-used all the fittings I could and changed out hoses. It would be an easy part to swap out of Andrew feels the need.
 
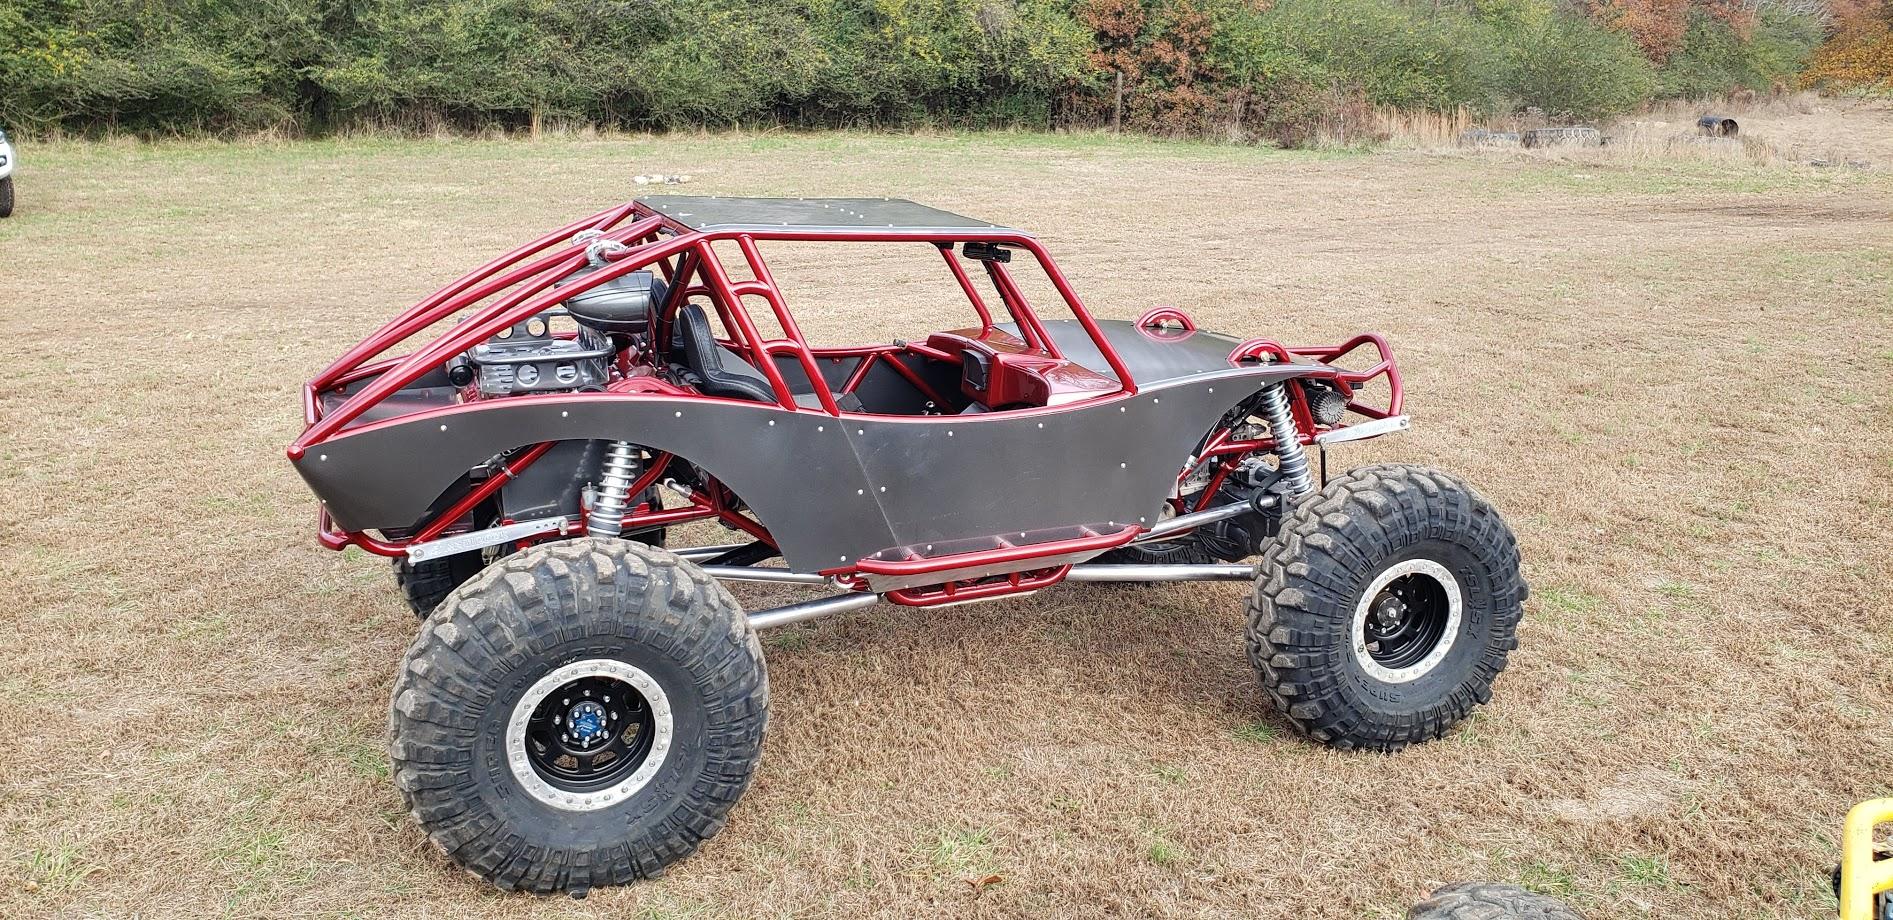
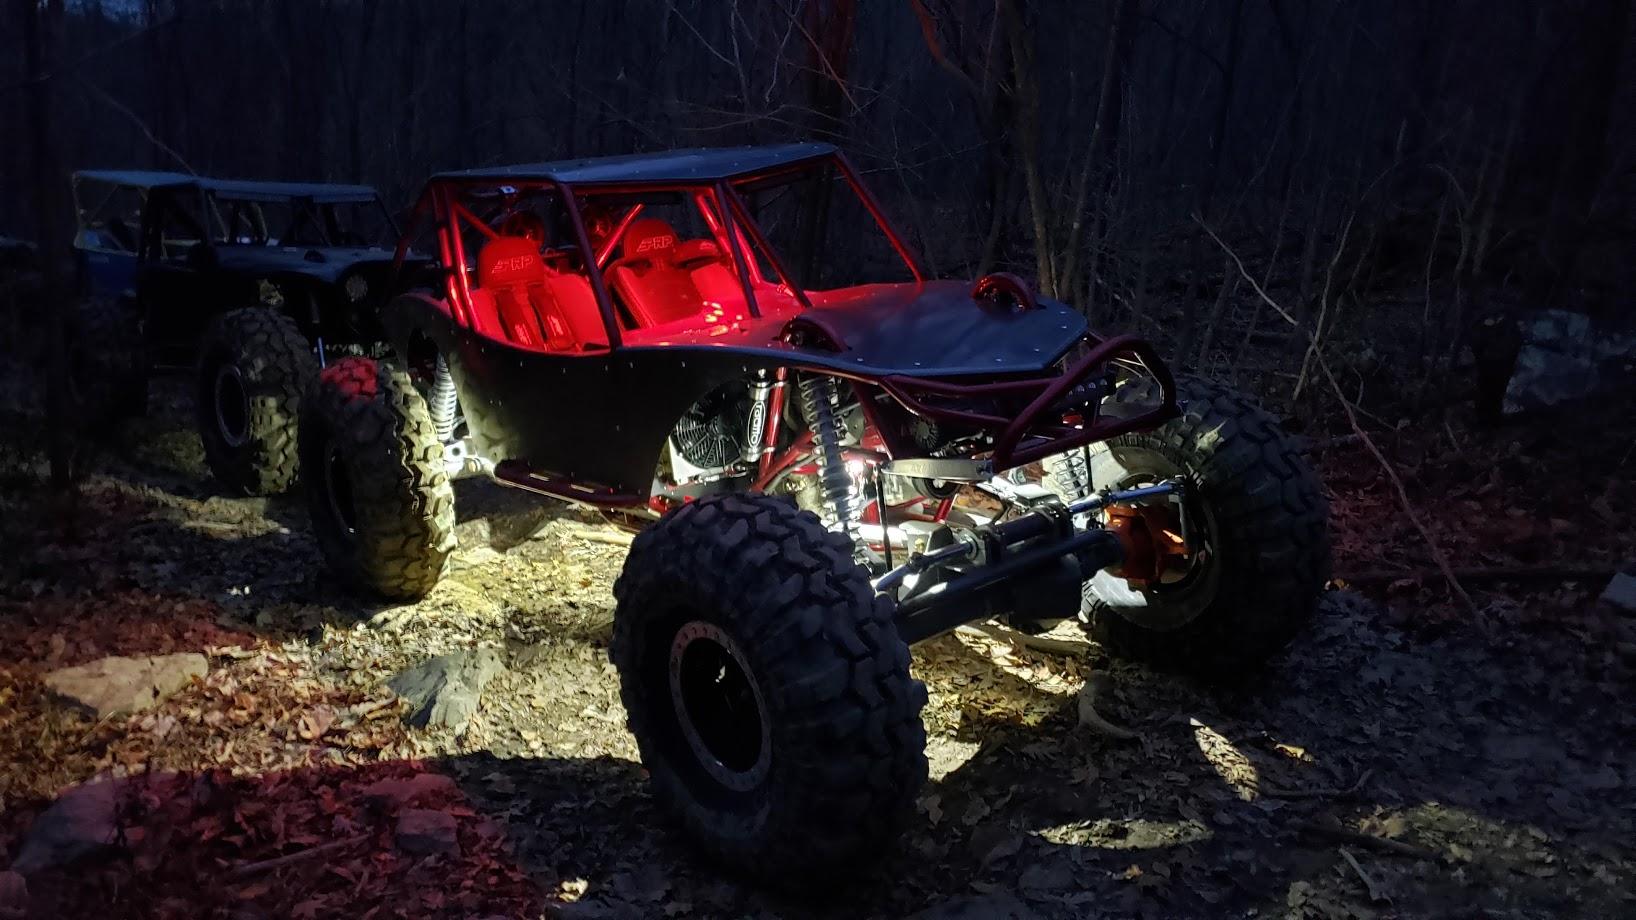
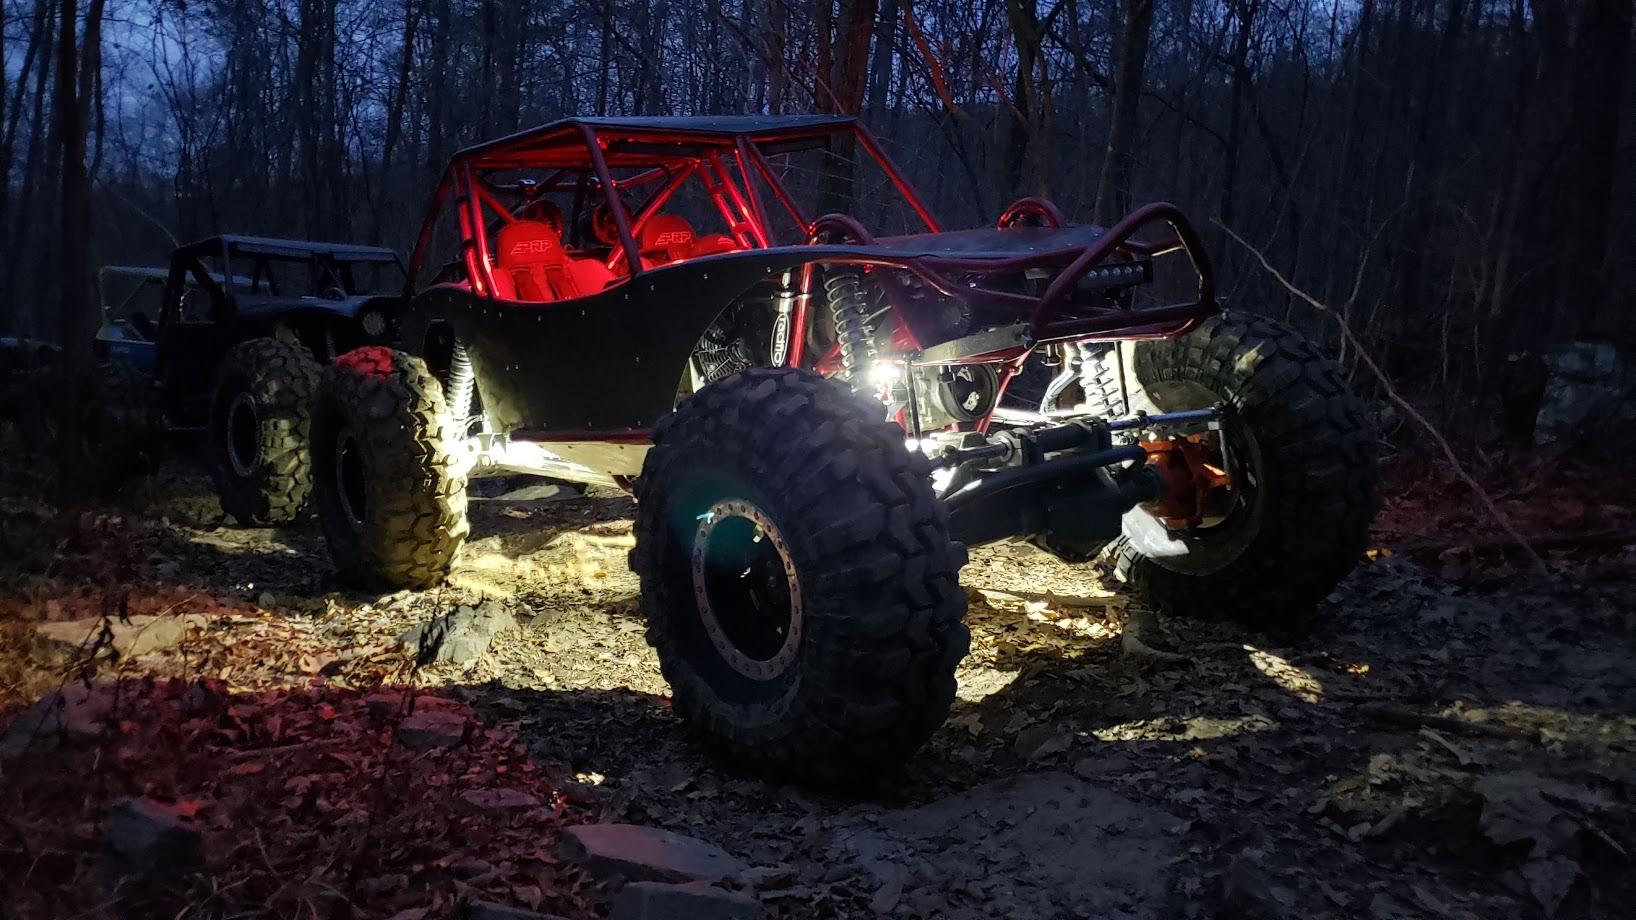
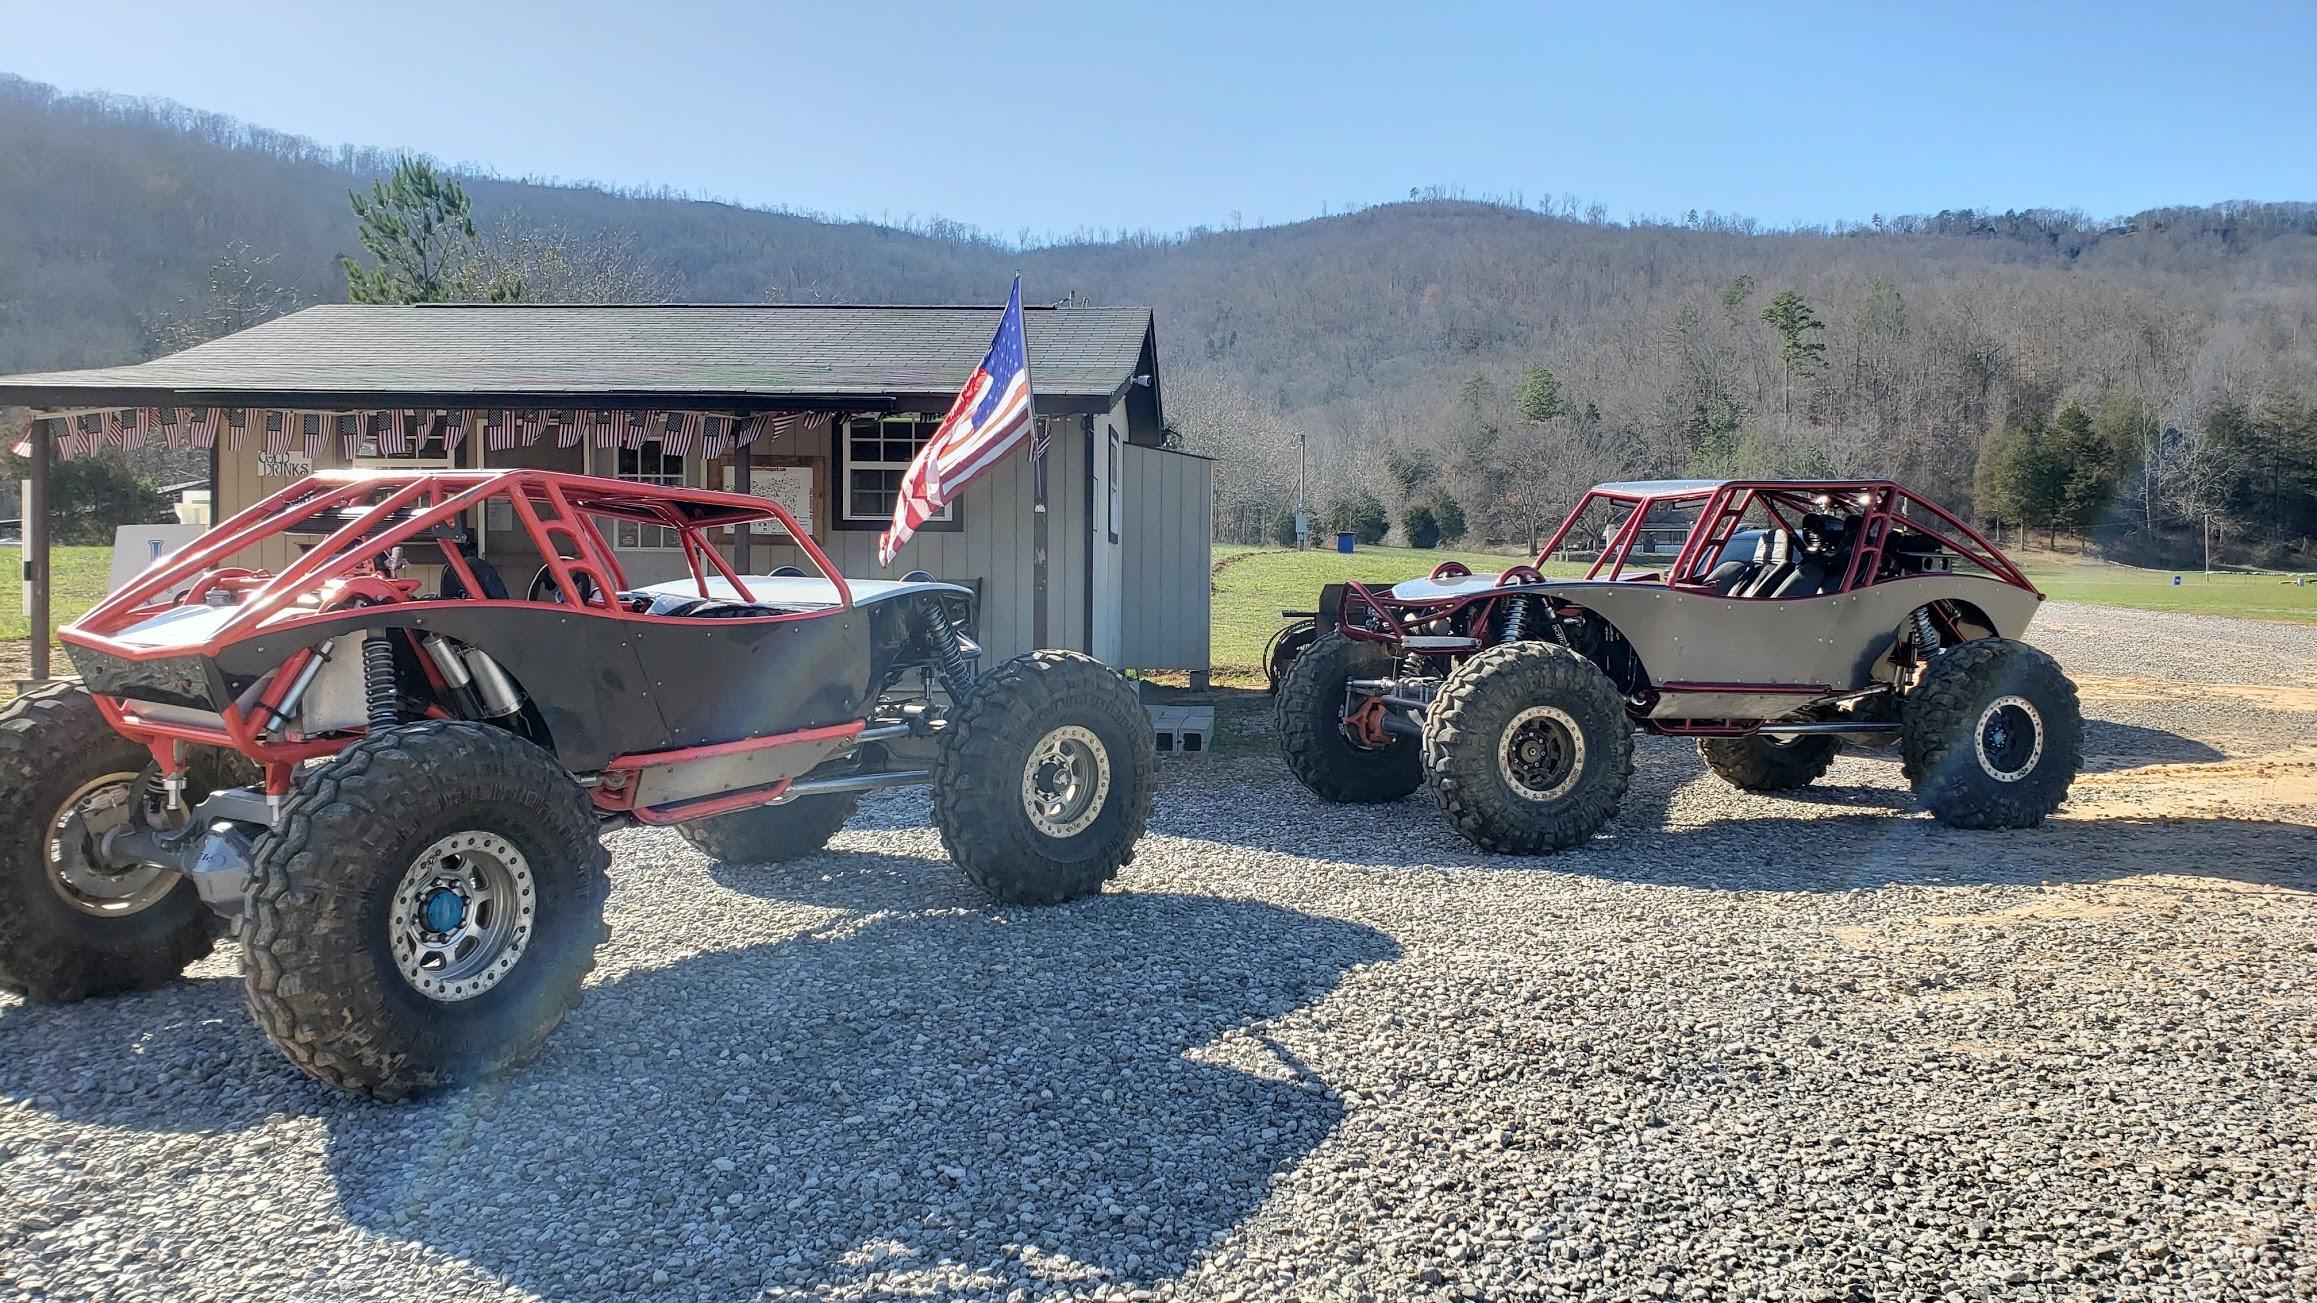
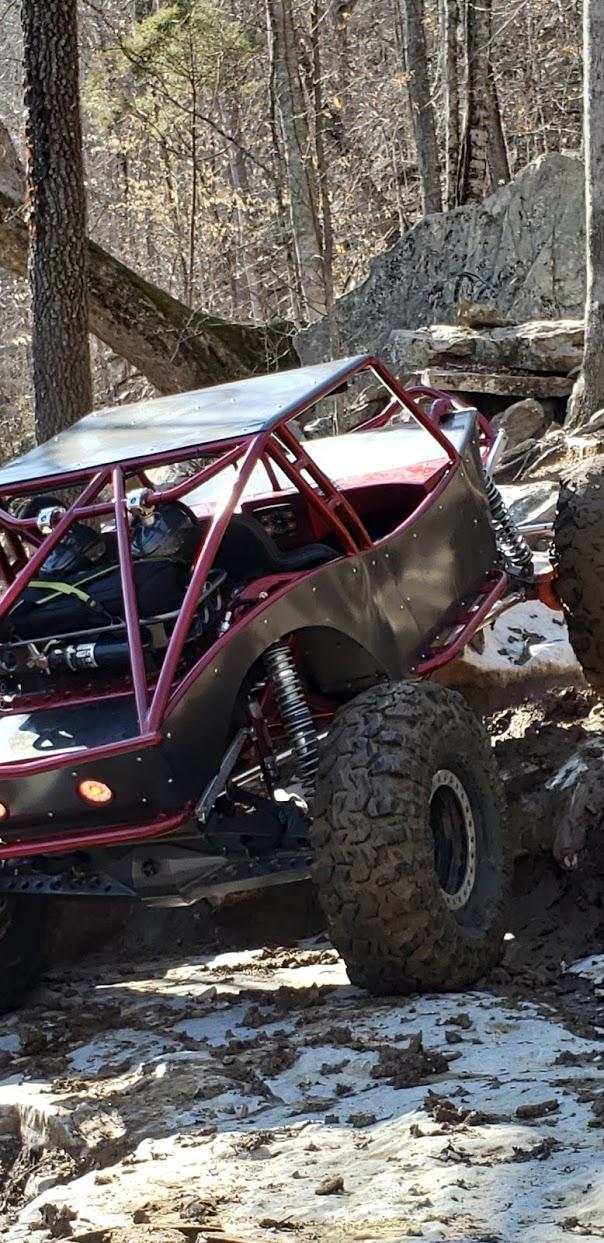
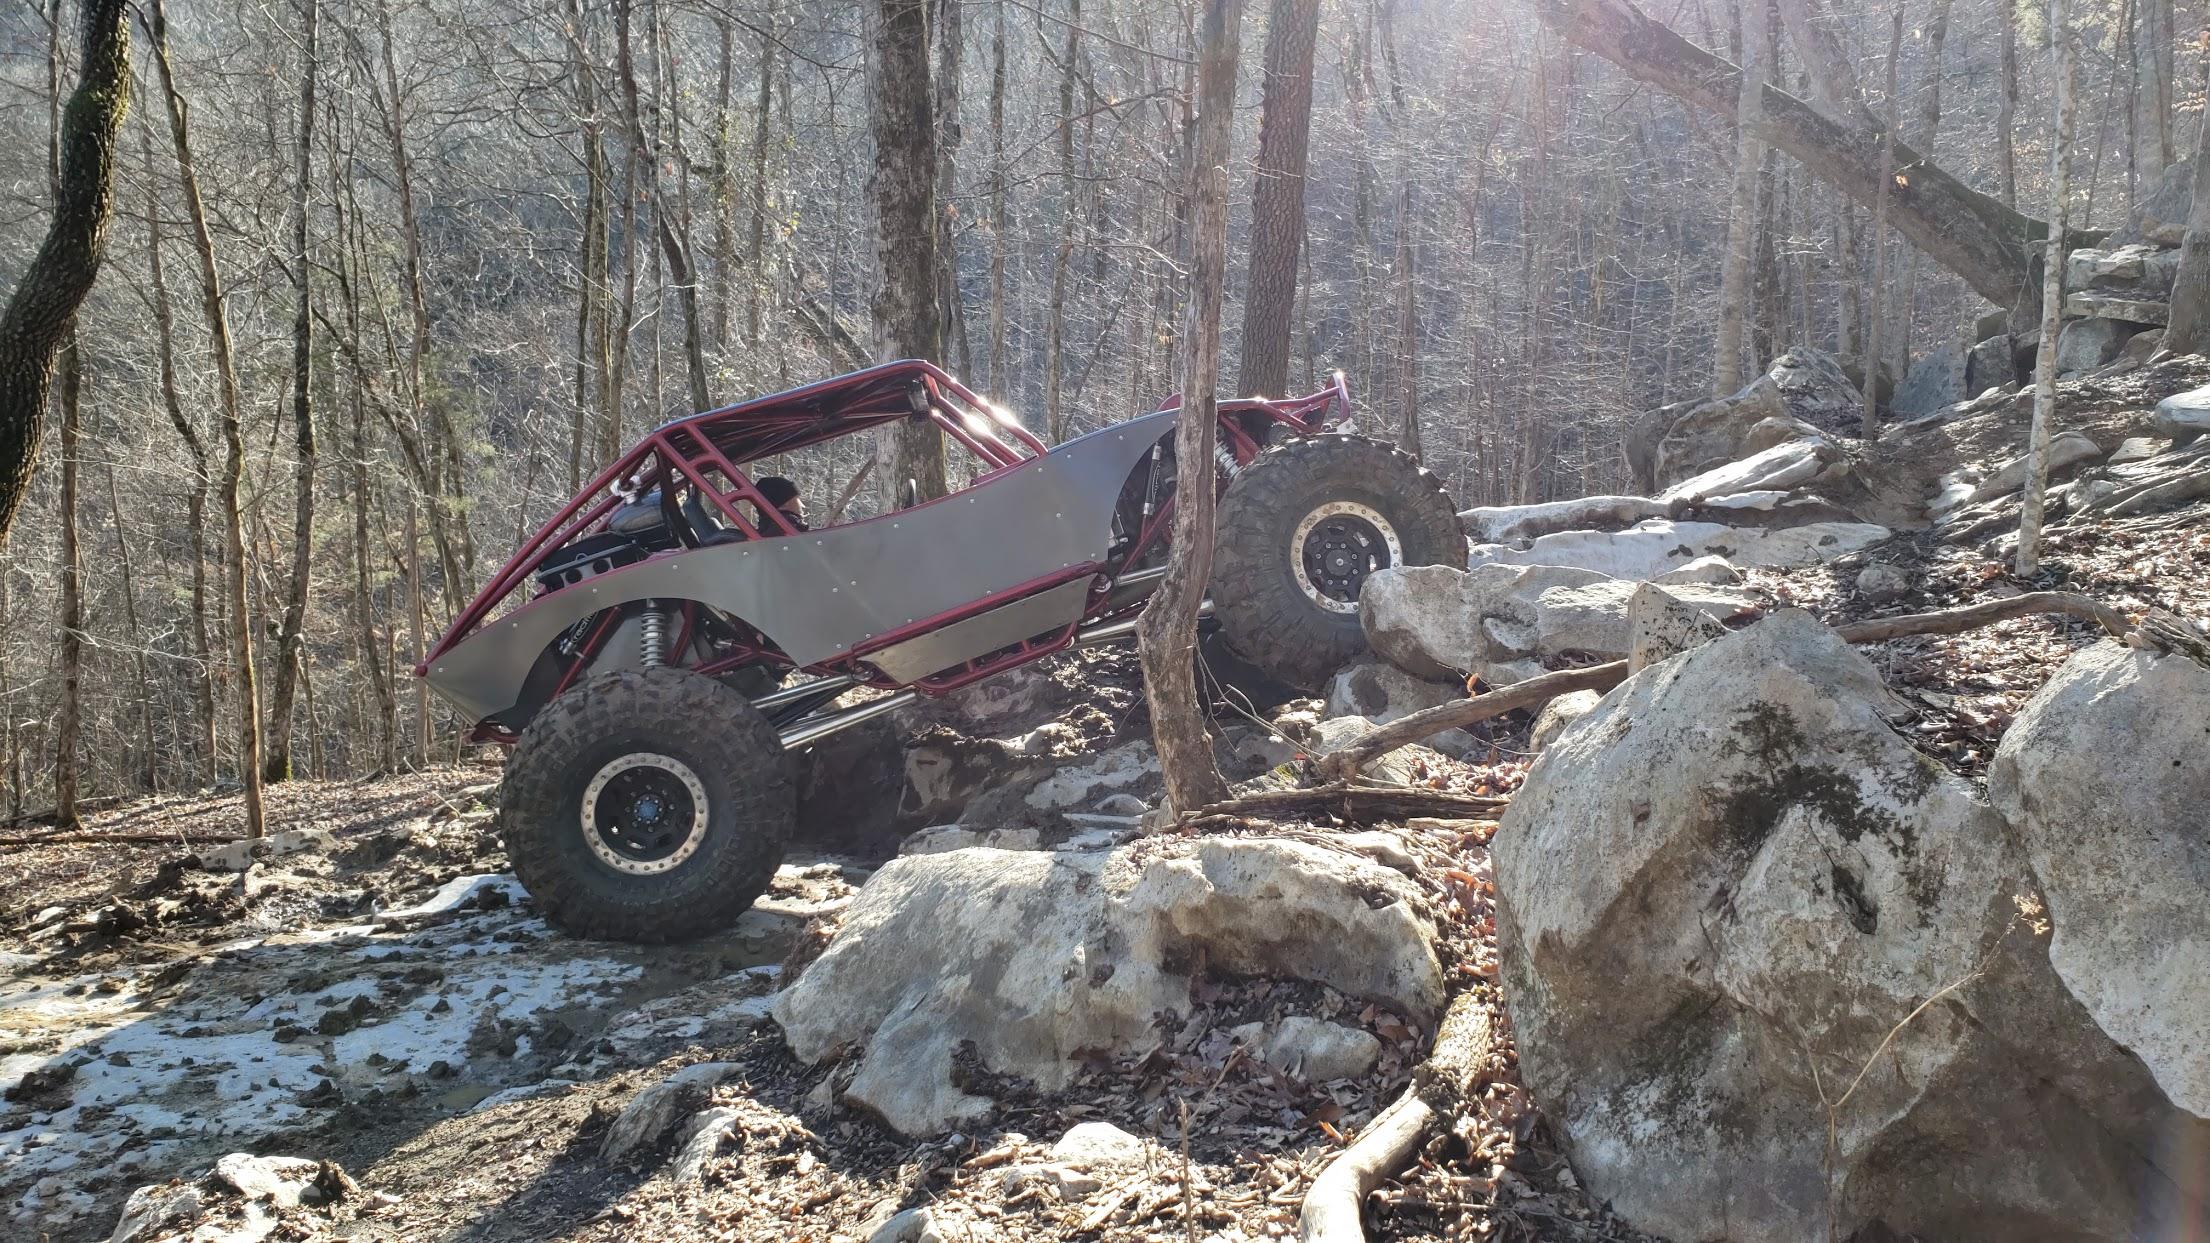
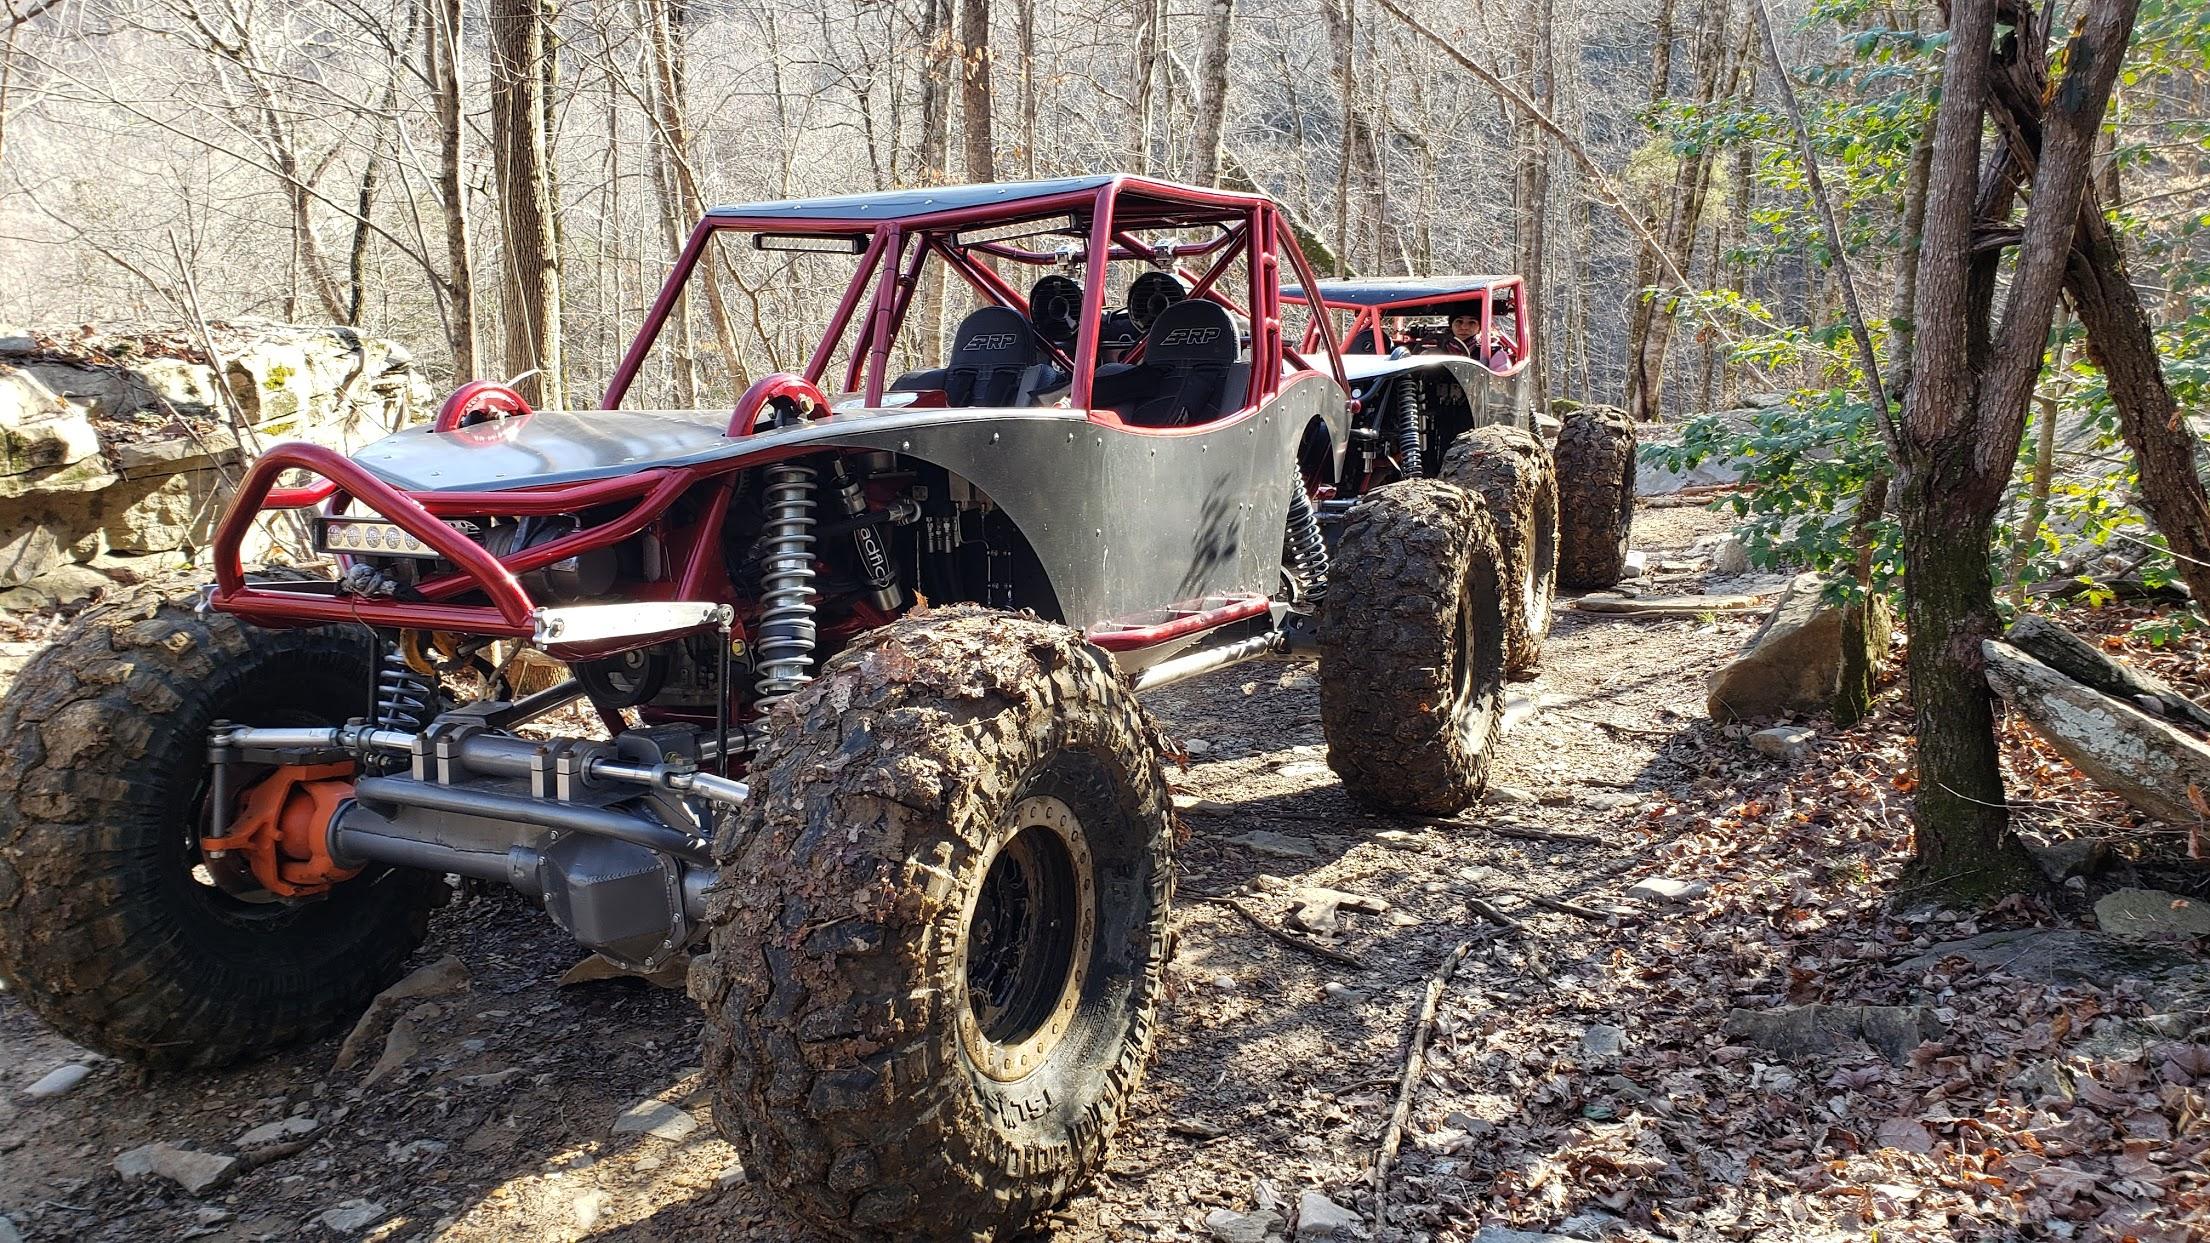
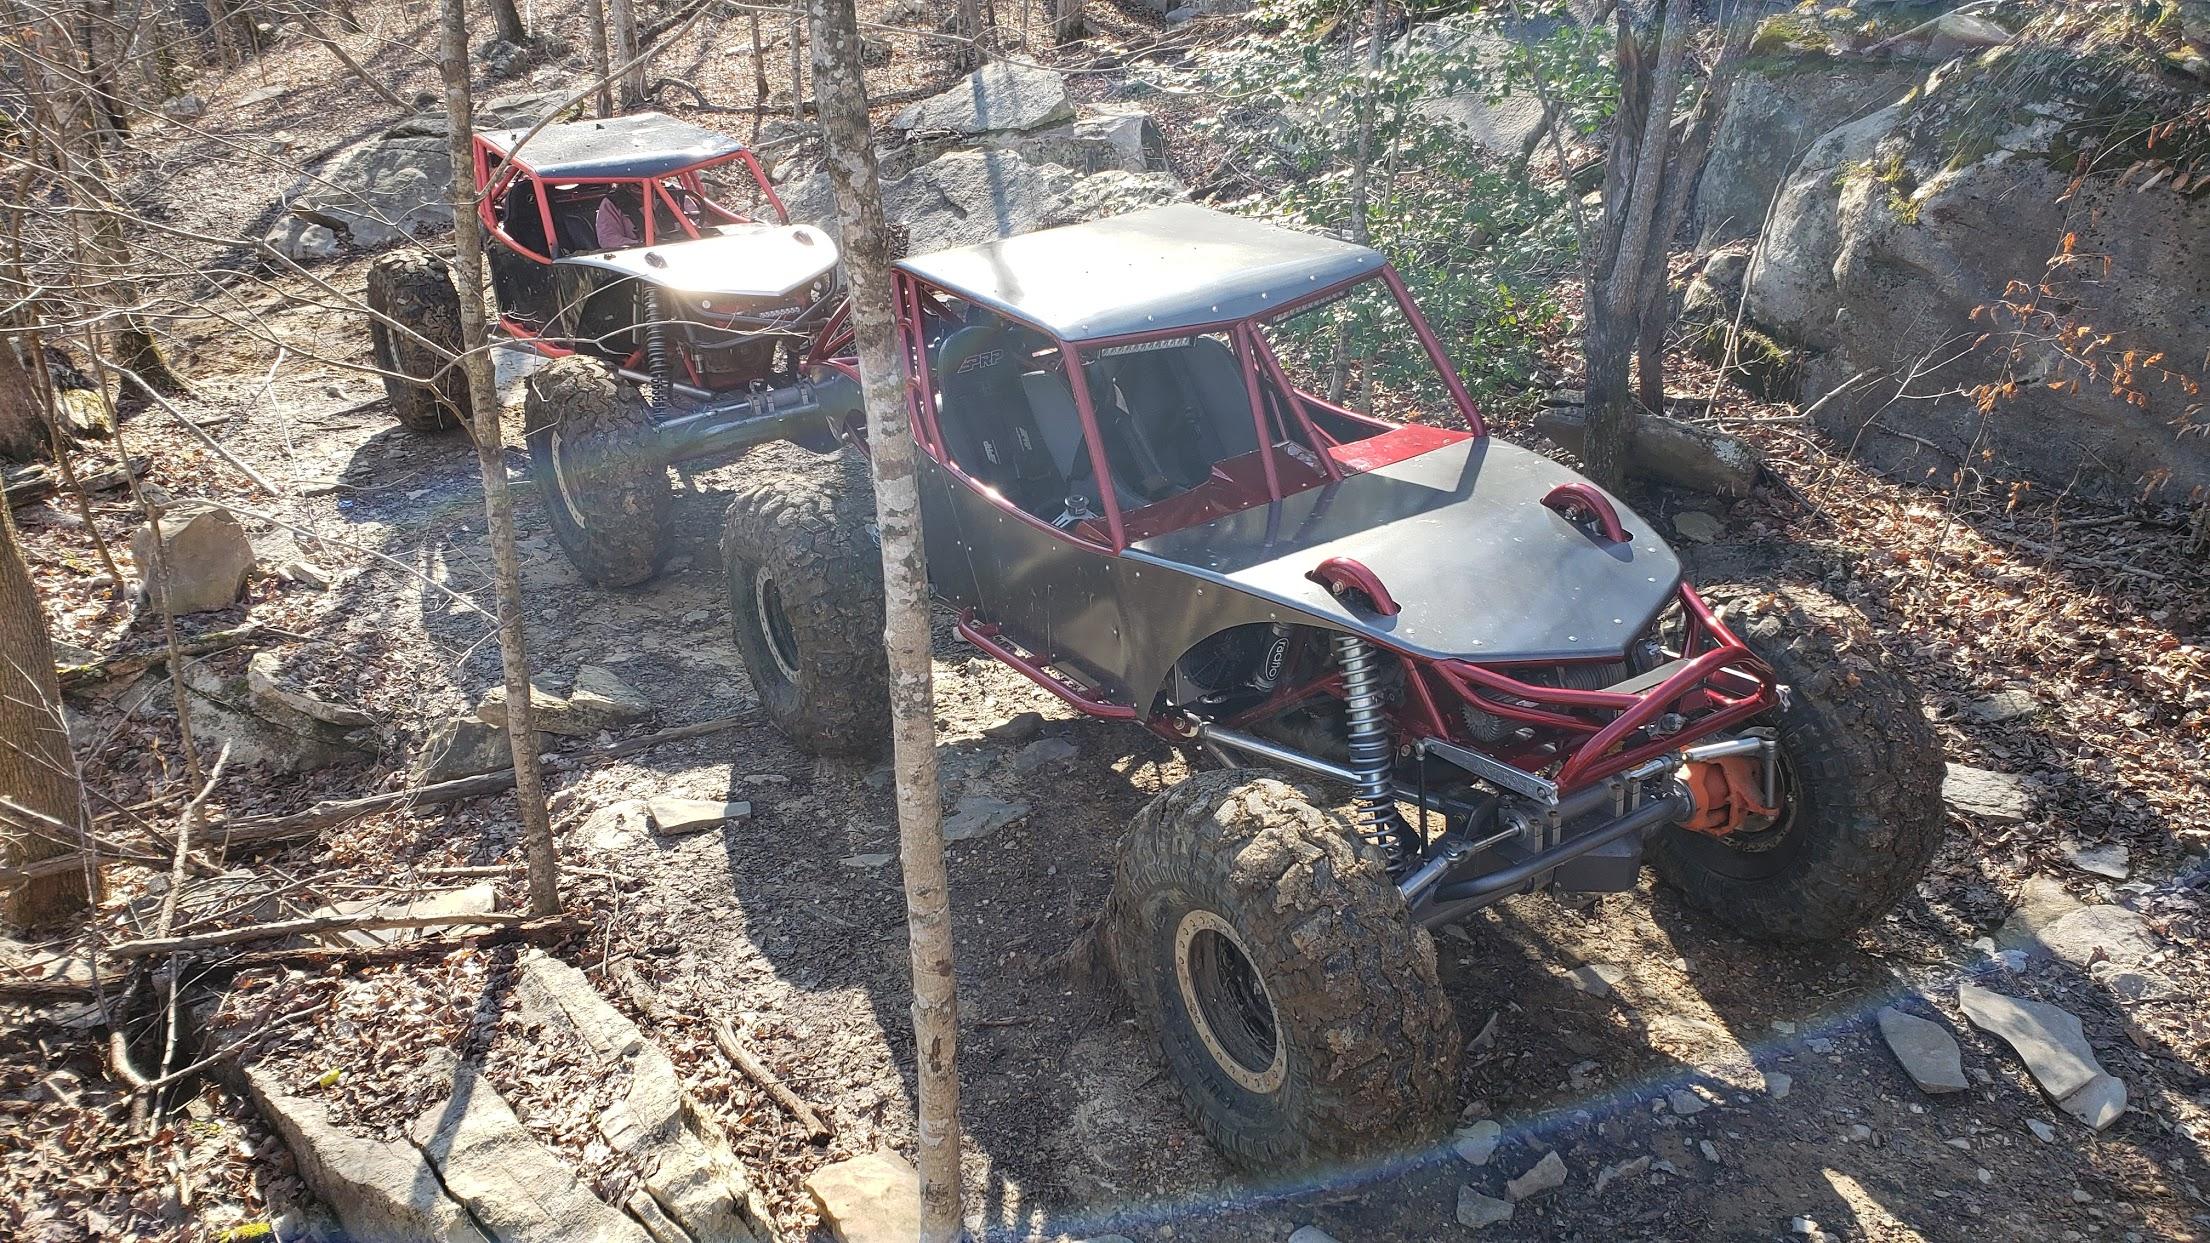
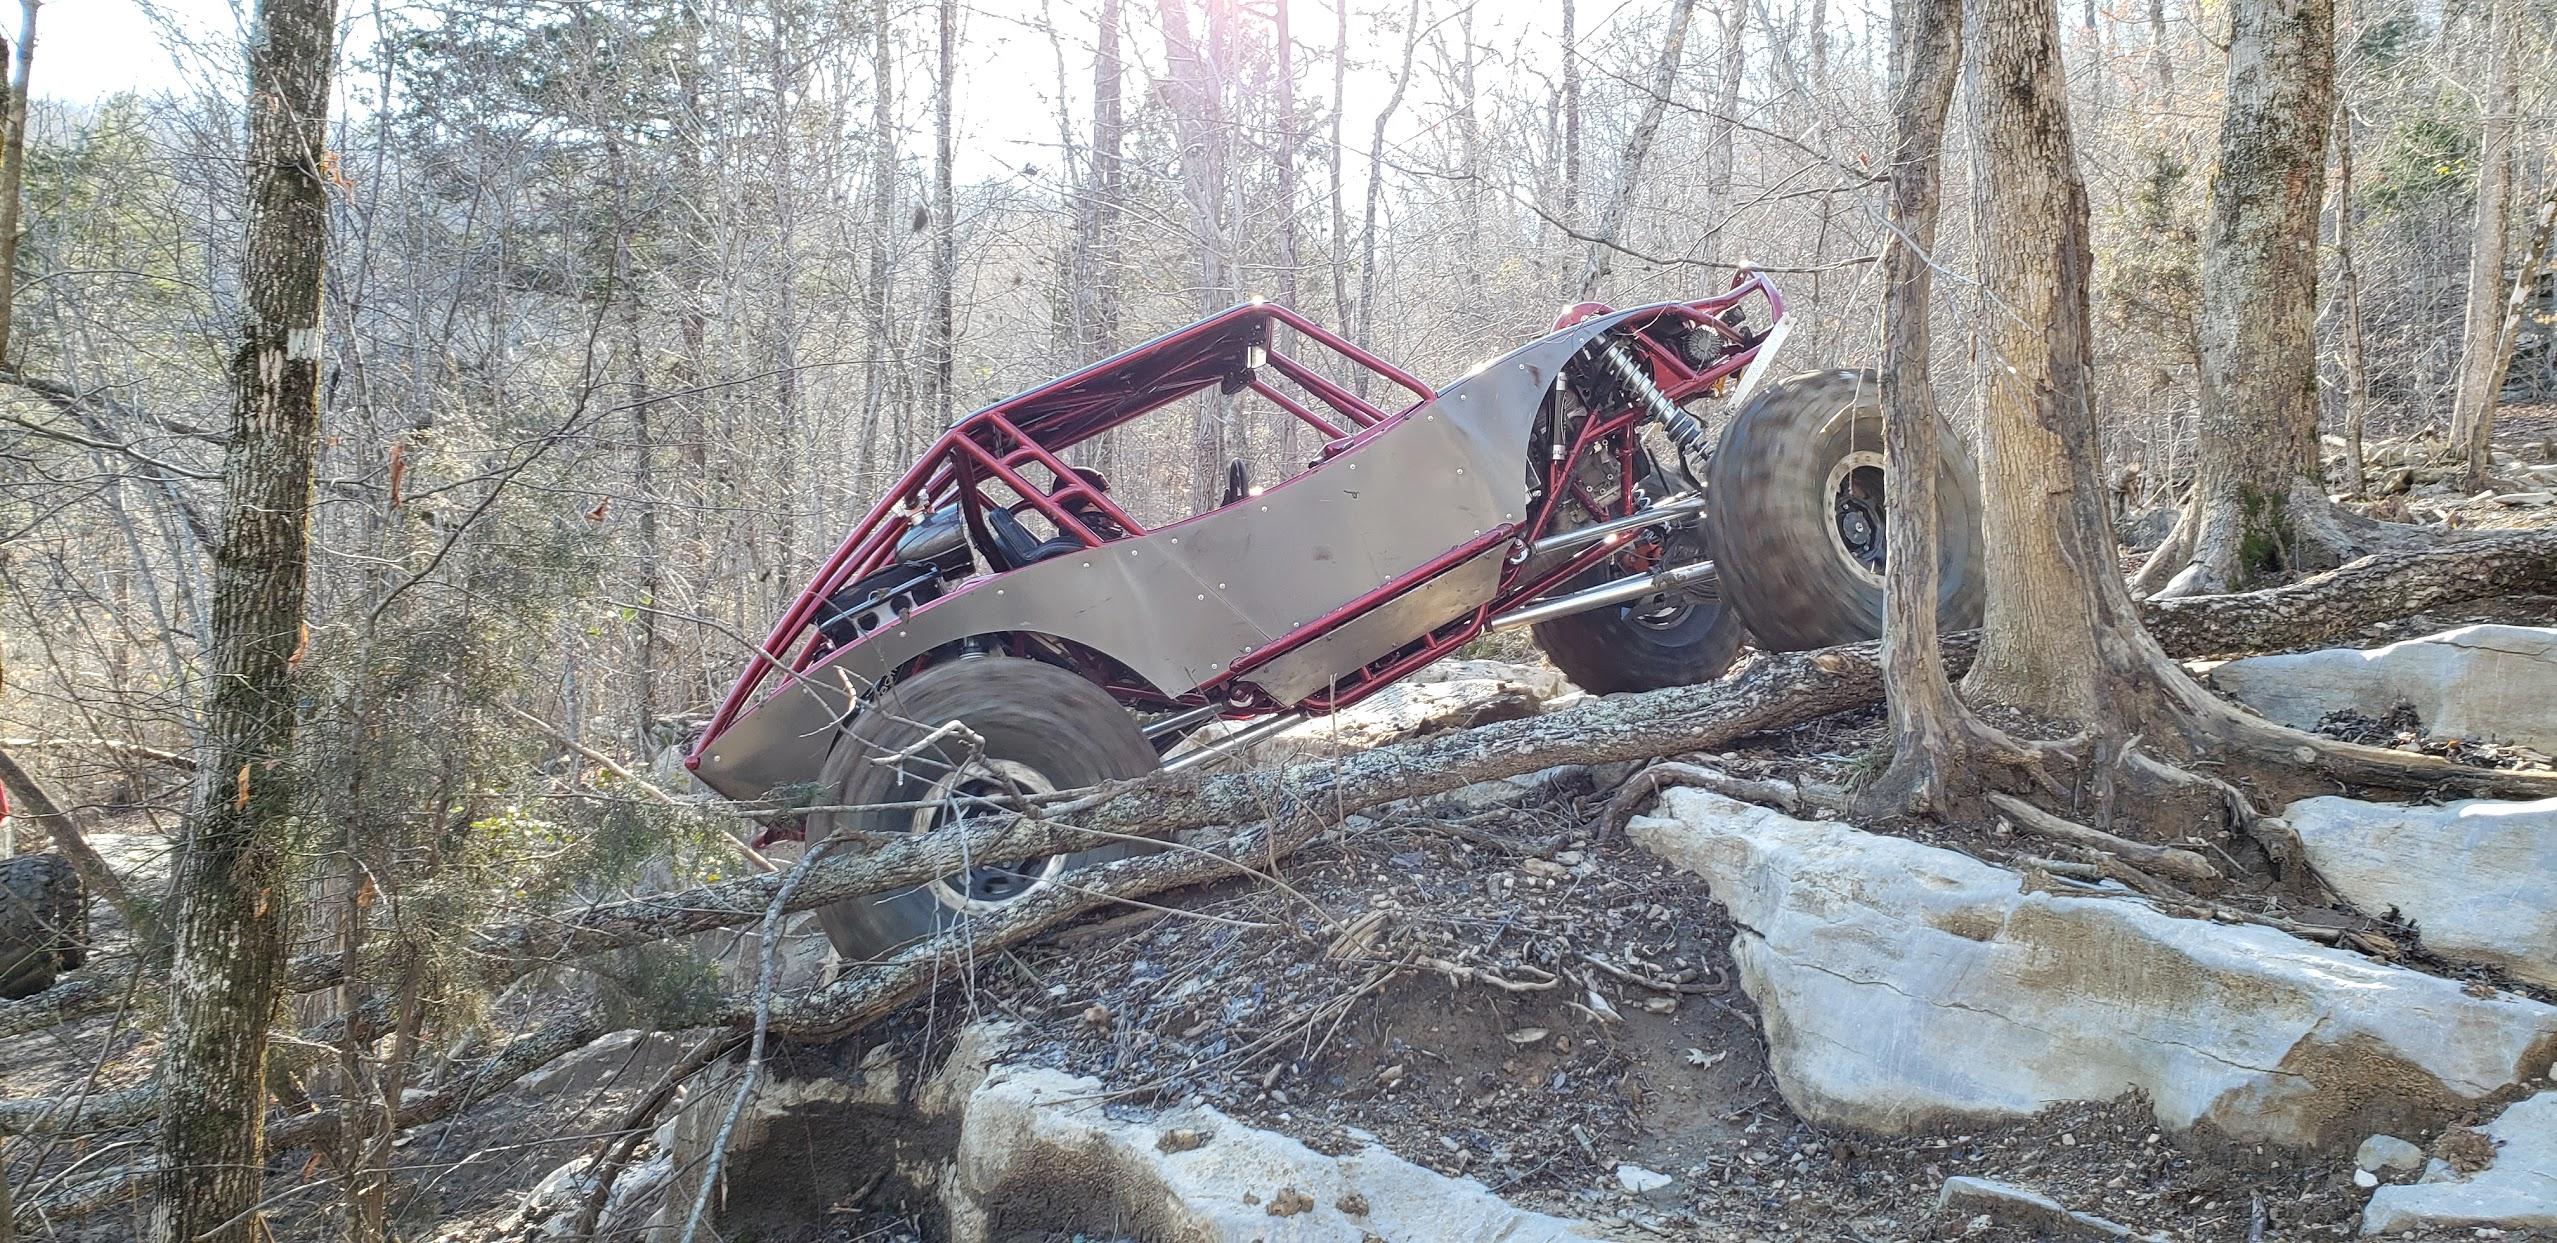
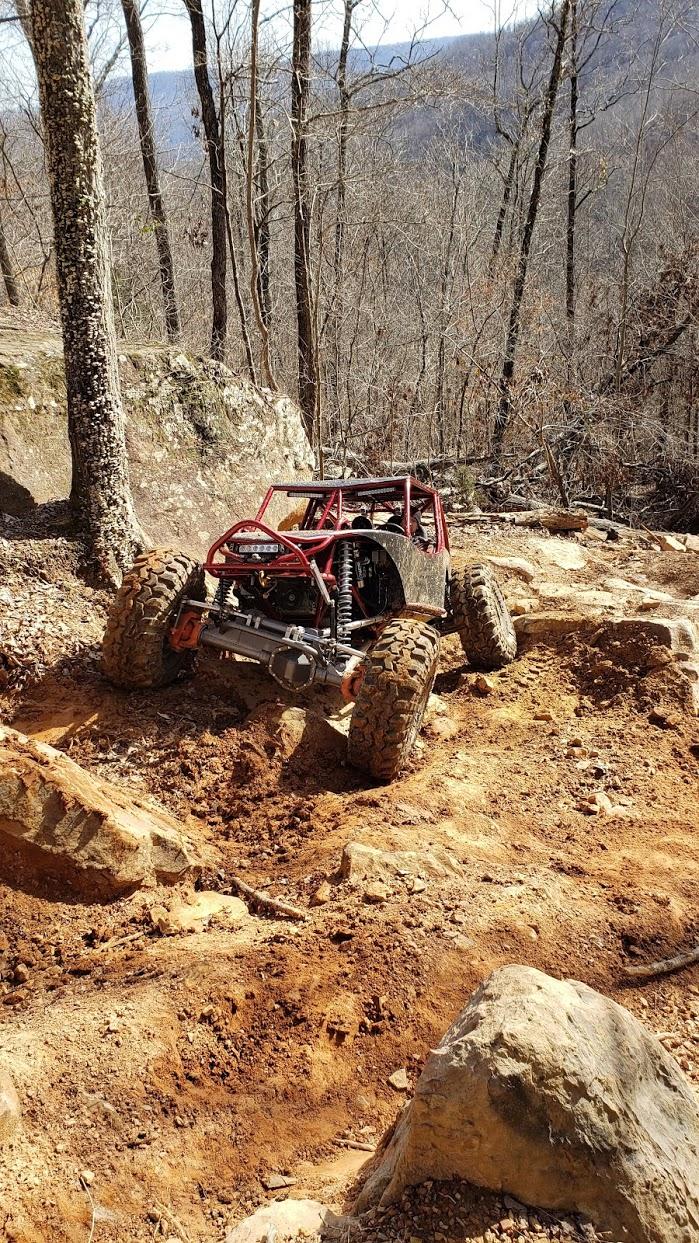
First I want to just say how blown away I am at how good this rebuild turned out. The devil is in the details with any build and that is where Chris shines. He really went the extra mile on this one and delivered way more than what I was expecting. One of the coolest things about getting this rig back was the familiarity I have with it. I essentially got a brand new rig but when I got in the driver seat it was like I never left. There was no learning curve of adapting to a brand new build which was really nice (not to mention way cheaper than starting from scratch). And knock on wood, there really shouldn't be any "new rig issues" since we didn't change anything major. So far that has turned out to be the case.

I have to say version 1.1 surpasses the original which already had set a high bar. I made changes over the years and really had 1.0 dialed in but there are always things you still want to change or would do differently on any build and this rebuild addressed those final things as well as just cleaning her up and making her pretty again. Here's to another 7 years of hard riding.

How does the subwoofer and speakers sound? I have always been on the fence about adding tunes to a rig. I have a fairly loud big block and when wearing a helmet...just can't imagine I would hear anything.

Rebuild looks great...very well thought out upgrades.

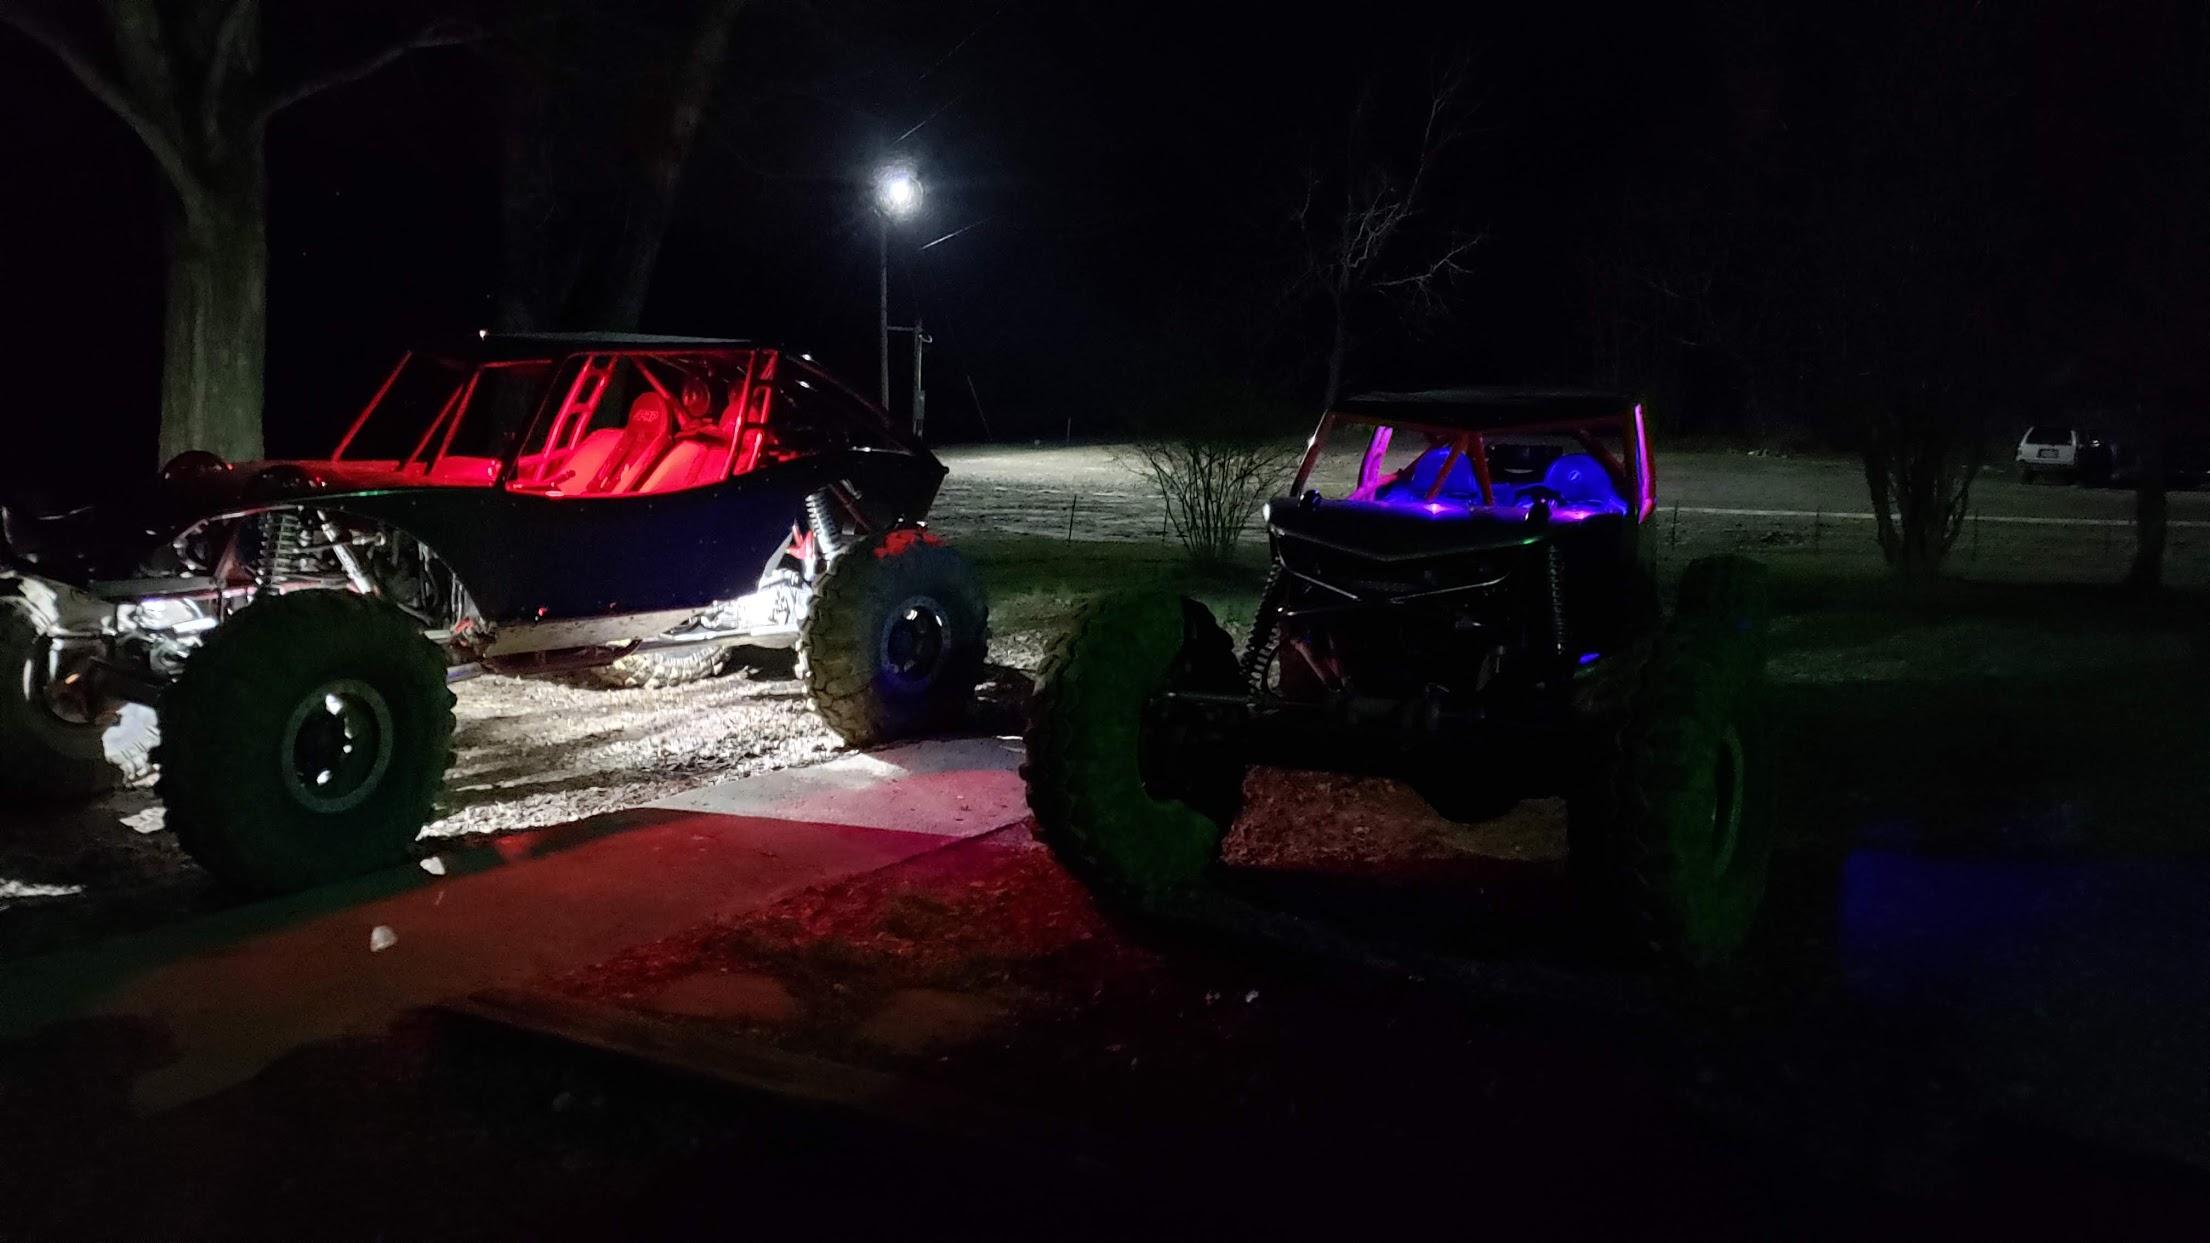
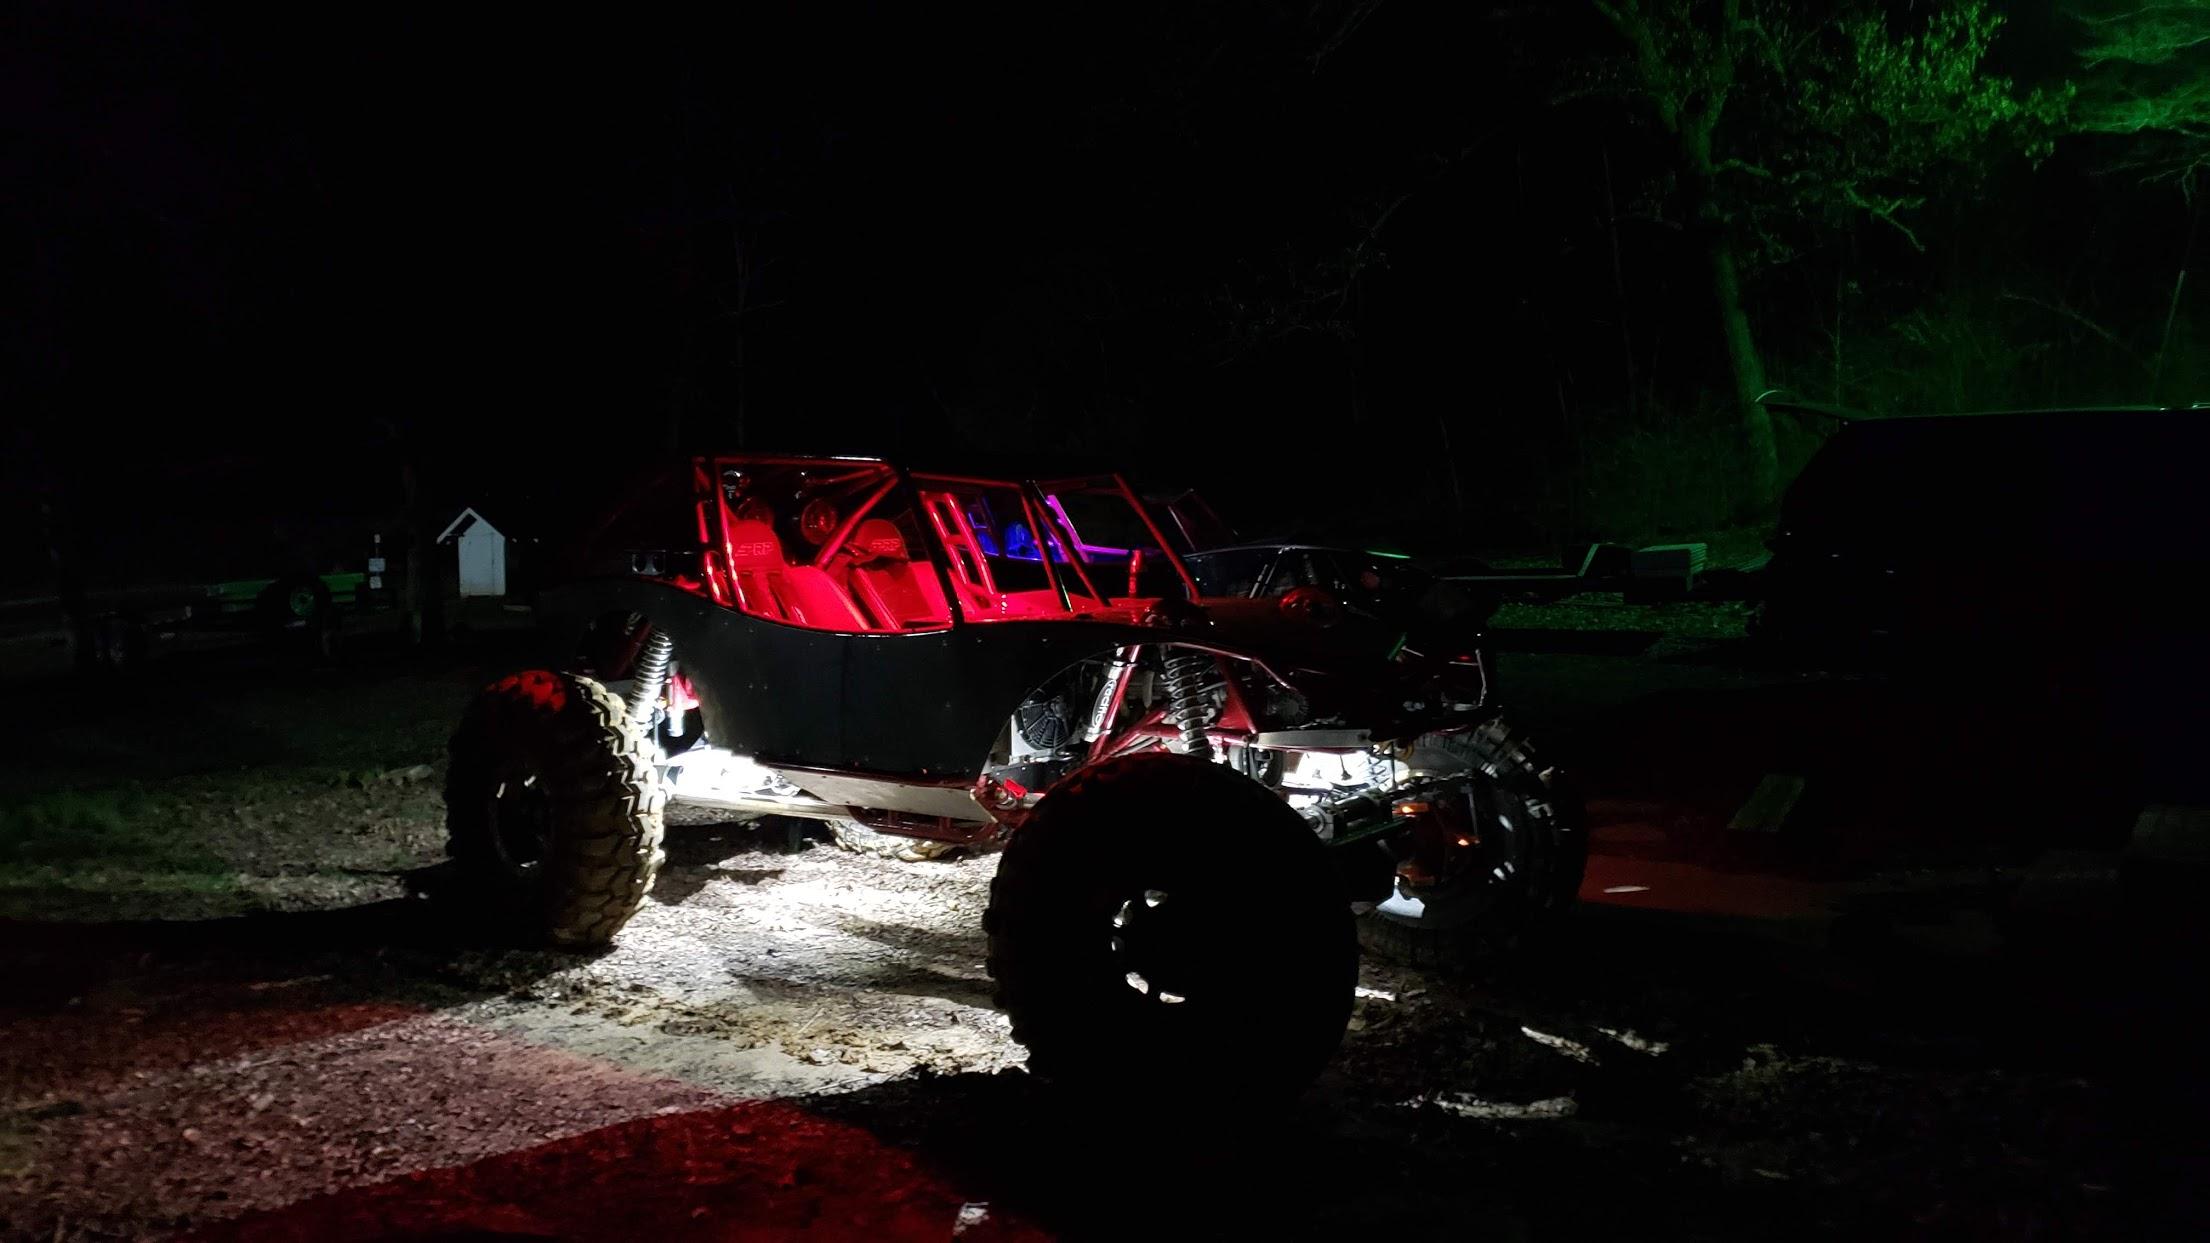
It sounds amazing. Soundbars are great, tower speakers do what they do and that is to be really loud, but nothing compares to a well thought out system with a subwoofer and components. Granted that's a lot to stuff in a buggy but if you can and you care about tunes I highly recommend it. Most people don't know but I have two 6.5s tucked up under my dash as well. I also have a knob that can adjust the towers, 6.5s, and sub levels so you can get it all playing nicely together. My engine is loud too, I don't usually listen to tunes while I ride but more so when we stop or back at camp. I also will listen to them while leaf looking/cruising and the sound comes through over the motor.

Outstanding job Chris, looks like it came out perfect. One question though, what motor is it running and did you freshen it up any? I know you said he's running a MAST motor setup, just curios to what is in there. Your attention to detail is impeccable as I'm sure the Big Guy knows what he wants and expects.

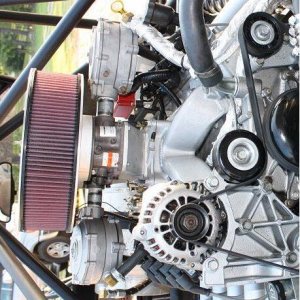
It was freshened up by Mast shortly before Chris got it. It is a Mast built LS2 stroker, forged top and bottom end, Mast heads, 11:1. Makes plenty of power and is reliable.

It does look nice. I used to see it being trailered by my house from time to time, figured he lived somewhere close by.

You should see it more often now :dblthumb:
 
Awesome job! Your attention to detail is impressive. Where did you find the yellow heat shrink tube with labels?

You may be able to buy pre-made heat shrink tubing but I have a specific label maker for those. All those ends have regular black adhesive lined heat shrink, yellow labeled heat shrink and then a clear heat shrink over it all.

I'm sure there are other brands out there but the brand label maker I use is DYMO.
 
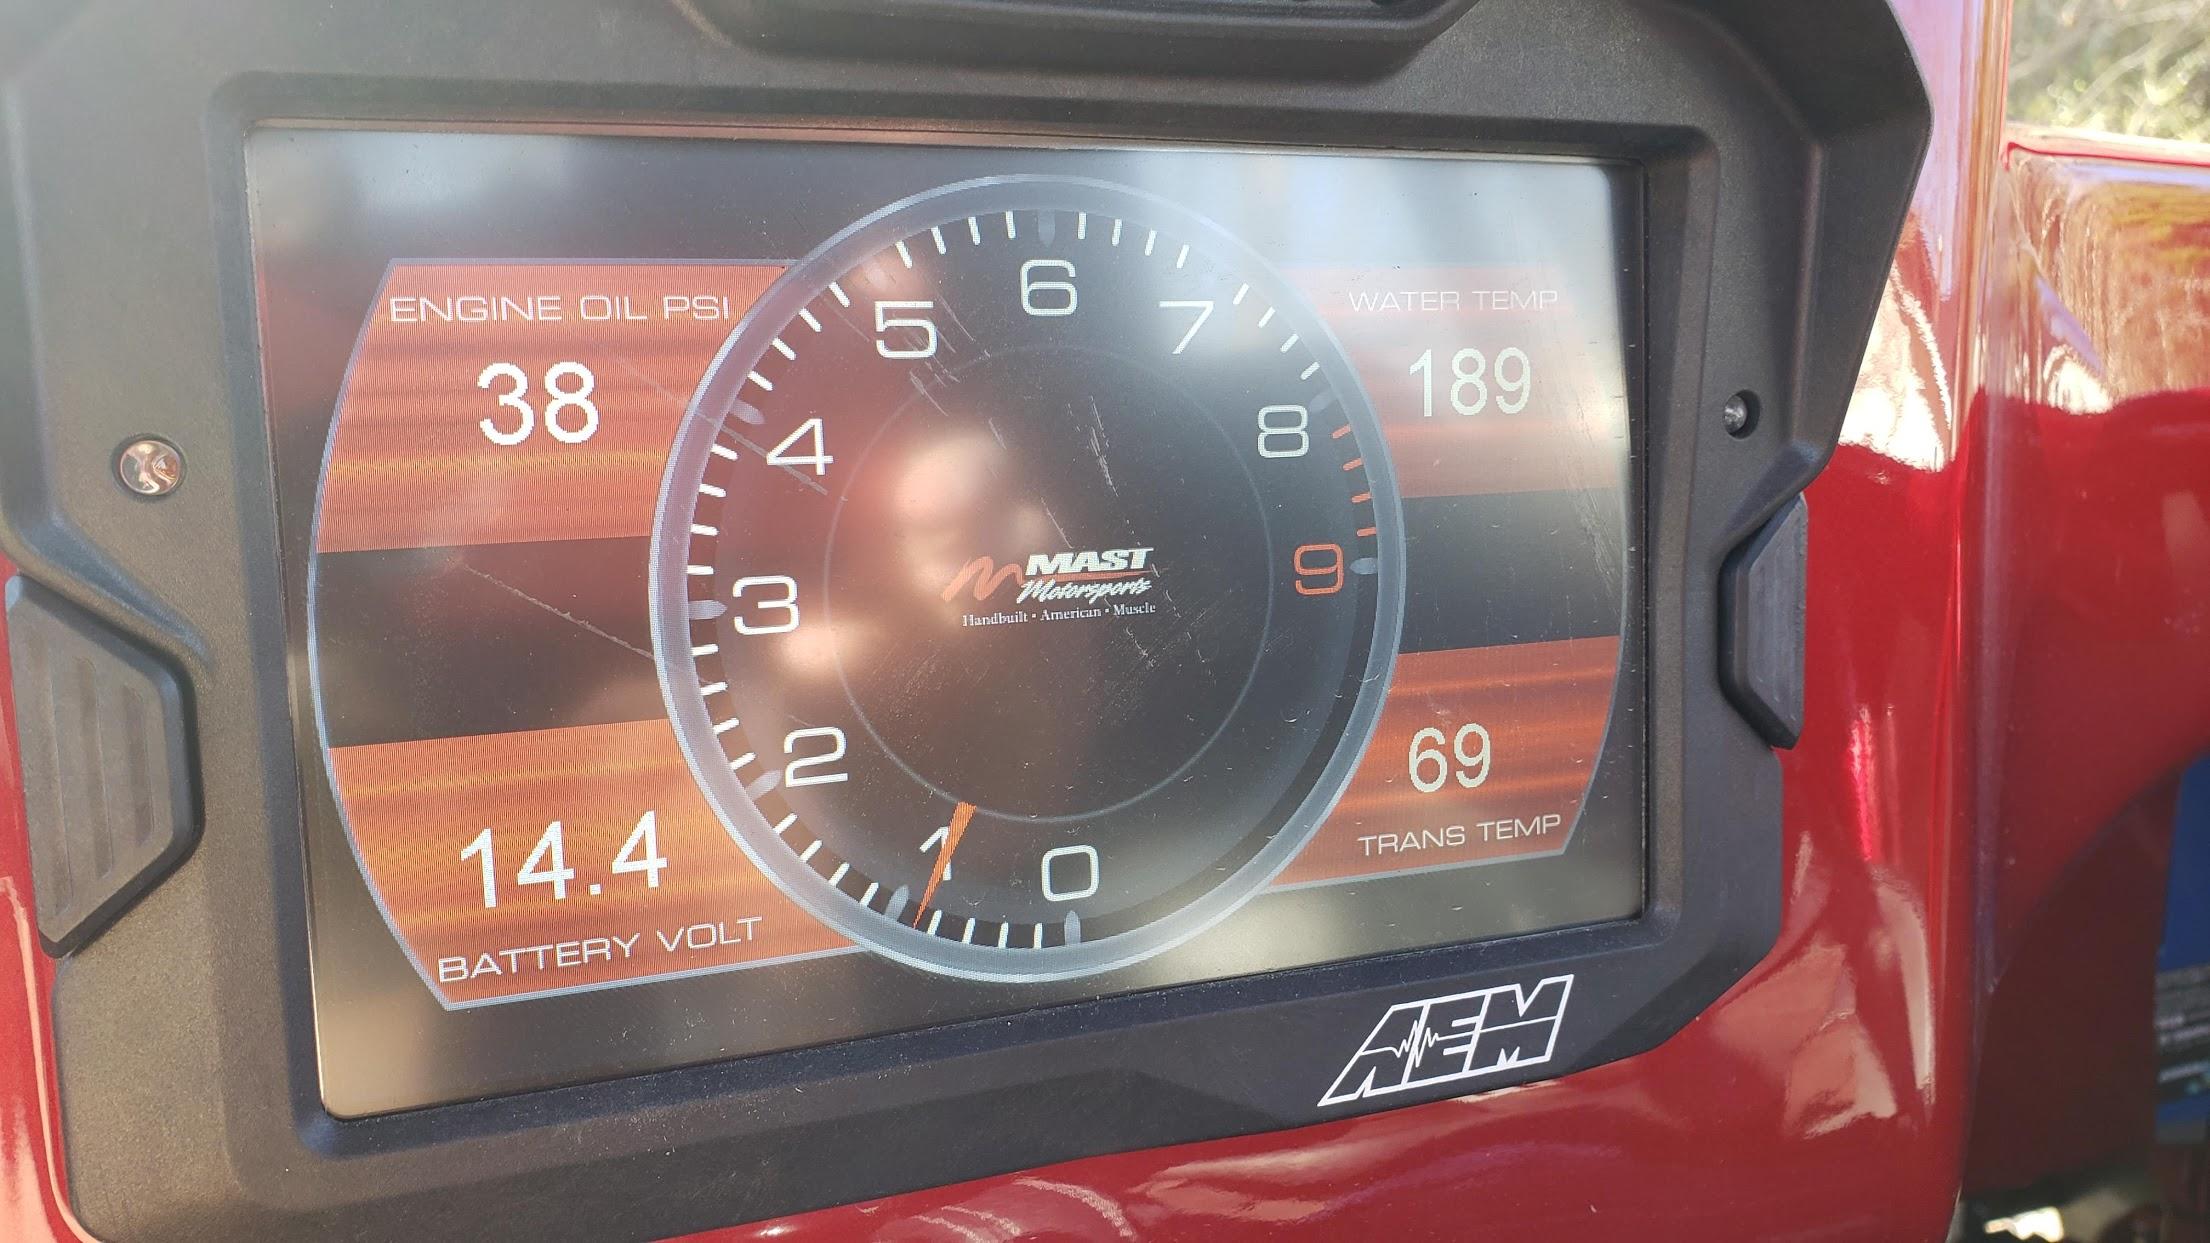
Something in particular Andrew wanted to upgrade was the gauges. He had done a bunch of research and decided on the AEM CD-7 set up.
View attachment 115205

View attachment 115206

View attachment 115208

Andrew worked with both MAST motorsports and AEM to get the MAST ECM and AEM CD-7 to work together. This is the basic display you get. Andrew has a custom lay out and back ground he can share.
View attachment 115209
Would love to get more Info on this. I'm also running Mast stuff and always wondered if this was a option.
 
Would love to get more Info on this. I'm also running Mast stuff and always wondered if this was a option.

If you are interested in the CD-7 absolutely go for it. I worked with AEM and Mast to get this done and it is extremely simple. All you need to do is download the CAN configuration from the AEM website https://www.aemelectronics.com/forum/can-configurations-3rd-party-hardware
You'll need to load that into your dash, pick up CAN1+ and CAN1- from the Mast harness, wire that into Port2 of the dash along with power and ground, go into the AEM dash design software and set your baud rate to 250k. That's it.
 
If you are interested in the CD-7 absolutely go for it. I worked with AEM and Mast to get this done and it is extremely simple. All you need to do is download the CAN configuration from the AEM website https://www.aemelectronics.com/forum/can-configurations-3rd-party-hardware
You'll need to load that into your dash, pick up CAN1+ and CAN1- from the Mast harness, wire that into Port2 of the dash along with power and ground, go into the AEM dash design software and set your baud rate to 250k. That's it.
Right on, I'll look into it. Thanks!
 
You may be able to buy pre-made heat shrink tubing but I have a specific label maker for those. All those ends have regular black adhesive lined heat shrink, yellow labeled heat shrink and then a clear heat shrink over it all.

I'm sure there are other brands out there but the brand label maker I use is DYMO.


Wow! I never would've guessed there was three layers of heat shink on each terminal. Thanks for sharing the information.
 
Glad to see this ole unit nice and shiny again! I'm eventually catch up with Andrew in Chattanooga and punish my liver.
 
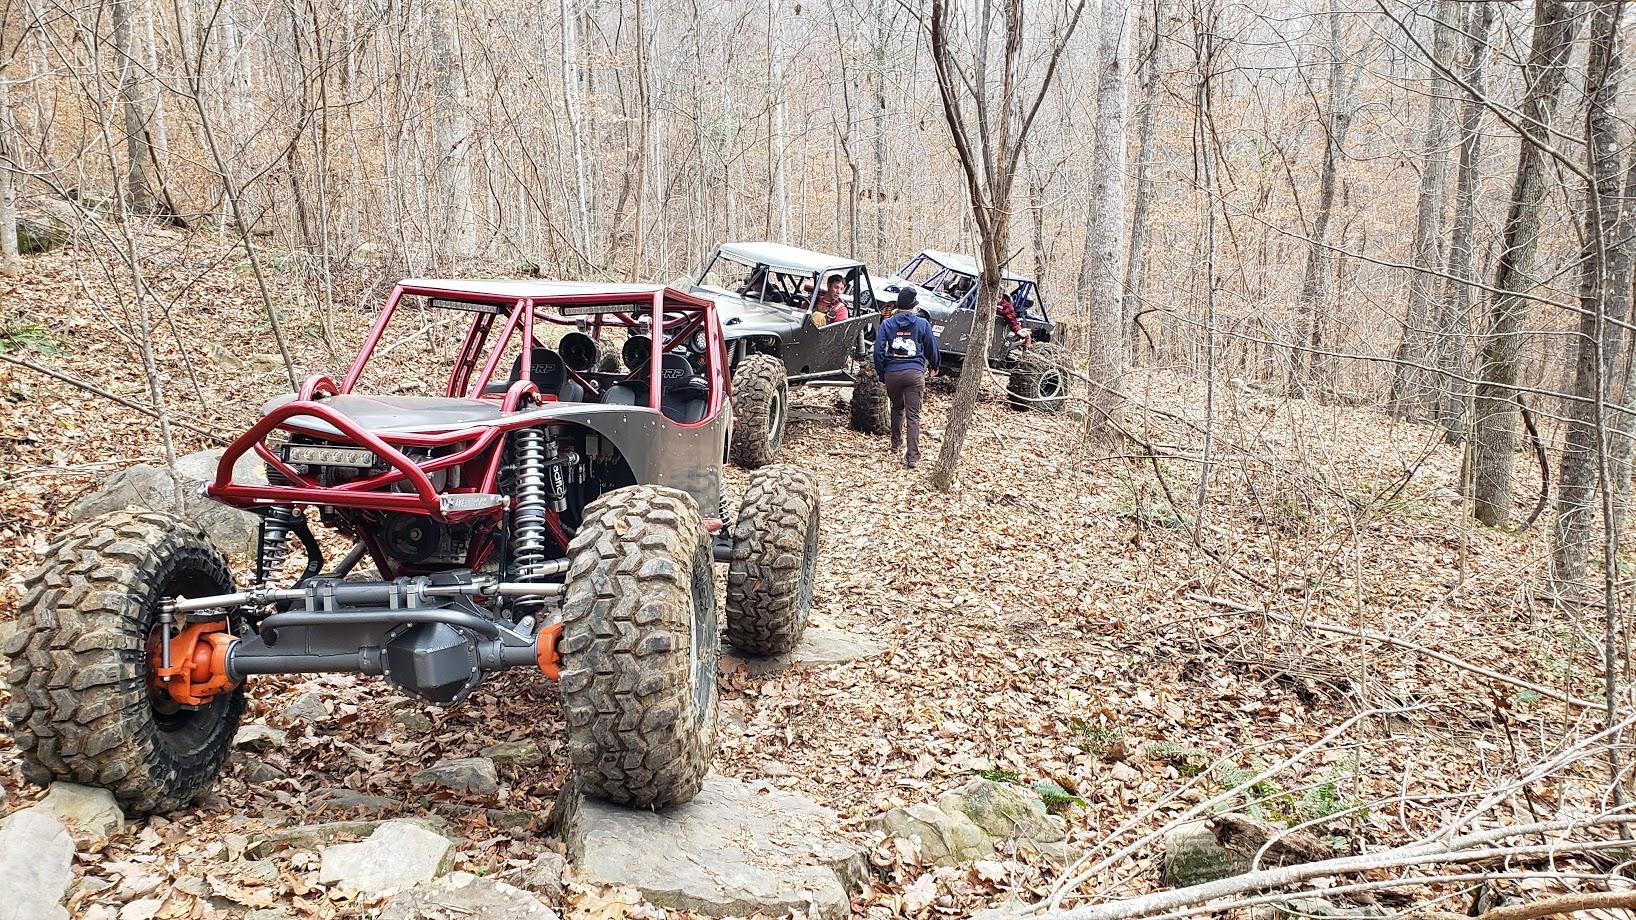
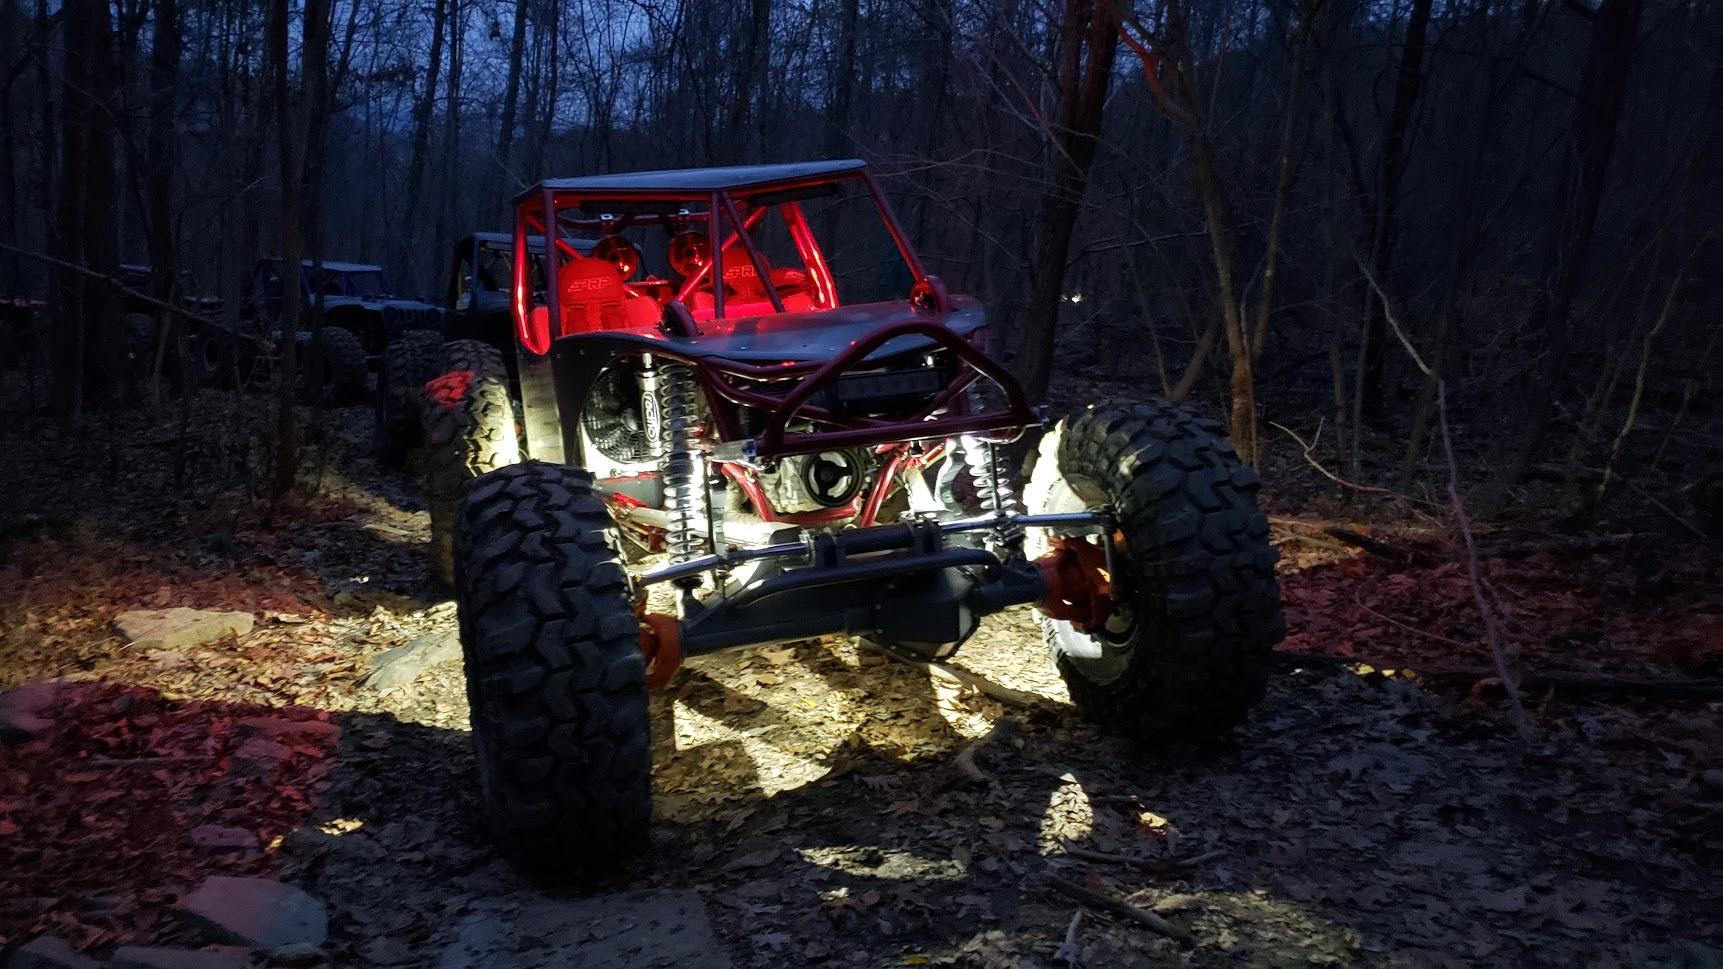
If there was ever a competition for baddest "trail" buggy I think this thing would have to win. Never seen it in person but it just seems like it has everything you would want in a buggy that you want to take out for a weekend.
 
If there was ever a competition for baddest "trail" buggy I think this thing would have to win. Never seen it in person but it just seems like it has everything you would want in a buggy that you want to take out for a weekend.

I really appreciate that because that has been my goal for the build since day 1. At this point there isn't anything I would change. It checks all the boxes for me. I love it.
 
Glad to hear it's all you want and a little more Andrew. What is your wheelbase? Now that I've got one as well, it's 115", I'm trying to compare it with another to see if it's the magic number. My old buggy was 119" and I could control it pretty well, so this is a bit shorter and reacts differently. Any hints? Thanks and hope we can run these together sometime.
 
Not sure if it was mentioned or not but what color is the powder? That is a sweet color.
 
Buggy is working better than ever :spin:
 

Attachments

  • 20200214_140151.jpg
    20200214_140151.jpg
    702.1 KB
  • 20200214_140543.jpg
    20200214_140543.jpg
    275.1 KB
  • 20200214_141754.jpg
    20200214_141754.jpg
    172.1 KB
  • 20200214_142239.jpg
    20200214_142239.jpg
    671.9 KB
  • 20200214_143217.jpg
    20200214_143217.jpg
    855.2 KB
  • 20200214_143352.jpg
    20200214_143352.jpg
    822 KB
  • 20200214_144858.jpg
    20200214_144858.jpg
    862.6 KB
  • 20200214_223703.jpg
    20200214_223703.jpg
    158.3 KB
  • 20200214_223729.jpg
    20200214_223729.jpg
    168.9 KB
  • 20200215_135419.jpg
    20200215_135419.jpg
    327.6 KB
Back
Top