CHOP SHOP
Well-Known Member
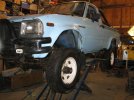
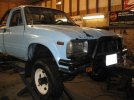
Ok this thing is as close to "its a boy" blue as it gets.
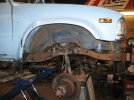
Nice clean 1st gen to cut up.
Nice clean 1st gen to cut up.
is that the one that was on craigslist since the dawn of man? from a junkyard??
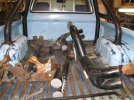
yep deffinately the truck from binford auto wrecking, thought about buying it a dozens times, couldnt justify it
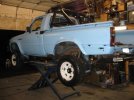
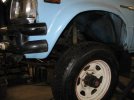
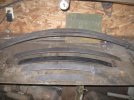
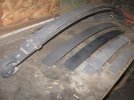
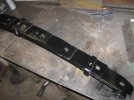
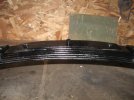
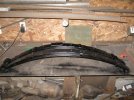
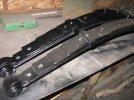
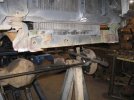
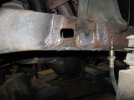
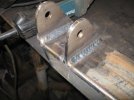
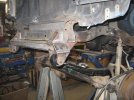
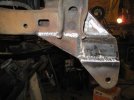
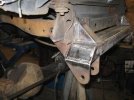
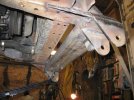
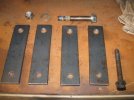
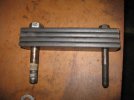
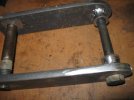
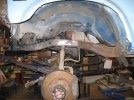
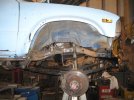
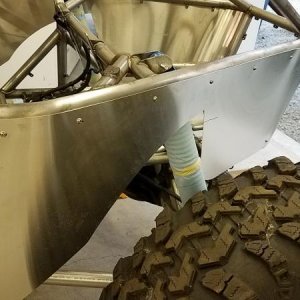
 Tex was cool about it he gave us a bunch free parts like mass air sensor, taillight, IFS box.......at least he tried to make it right. We put a W56 trans in it since it was 4 inch's longer and already had no drivlines.
 that is by far the coolest front spring hanger i have seen on a toyota did you build it like that just to keep the truck lower, and or keep the shackles off the body mounts? so how far total did that setup move the axle forward?