• Help Support Hardline Crawlers :

Project "H3RESQ" round 2

H3RESQ

Well-Known Member
Joined
Jul 20, 2006
Messages
823
Location
Olympia
I've decided it's round 2 for "ol resq".
I think most of you know the basics so far.RK 6.5 LA, Atlas 3.8 w driveline brake, 35 spline 9inch rear, ARB's, 37's and a constanlty broken D30.

The goal for round 2 is....... Spidertrax housings F/R. High pinion carriers F/R. 35 spline shafts F/R. ARB's F/R. 14" coilovers F/R. Air bumps F/R. All new custom long arm F/R. Full Hydro(self center, high speed application)Or possibly hydro assist.

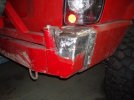
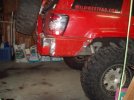
Basic Idea is keep it low, Keep it streetable and full body. Make it a trail/dunes/obstacle course runner.
Thinking Currie high pinion front, hi9 rear. Use drivline brake as e-brake and e-brakes in wilwoods disks as cutting brakes. No more than 4ish inches of uptravel. 3 Link panhard front, 4 link rear. Full skids ETC.

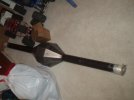
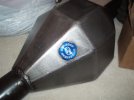
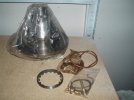
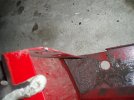
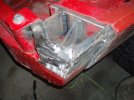
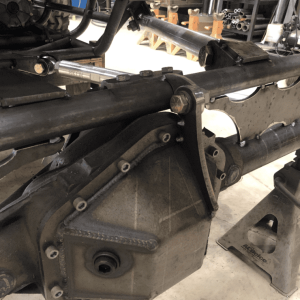
Here's what I got so far. 1 spidertrax housing and 1 35 spline arb.
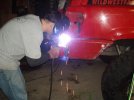
The idea for now is to get the front started since my rear is stought and will only be getting a new housing and brackets.

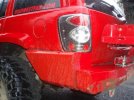
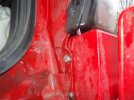
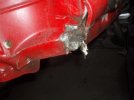
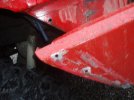
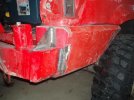
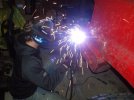
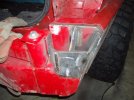
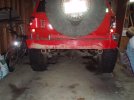
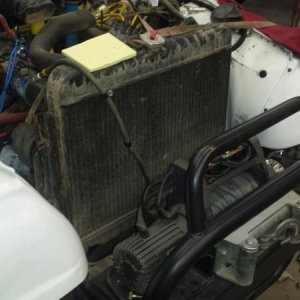
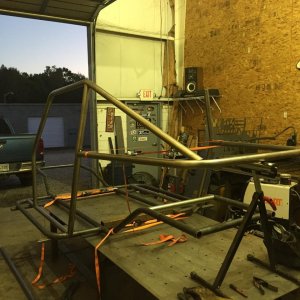
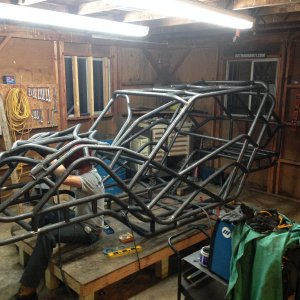
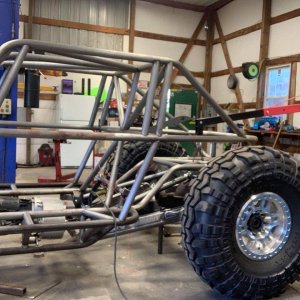
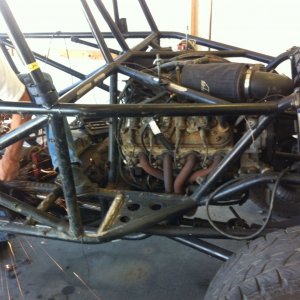
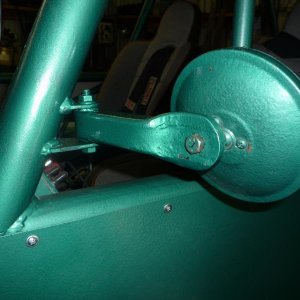
Pics of it so far and some of the new parts. Will keep collecting parts and updating .
 

Attachments

  • P1010104 (Small).JPG
    P1010104 (Small).JPG
    33.3 KB · Views: 431
  • P1010105 (Small).JPG
    P1010105 (Small).JPG
    41.3 KB · Views: 431
  • P1010112 (Small).JPG
    P1010112 (Small).JPG
    41.3 KB · Views: 436
  • P1010251 (Small).JPG
    P1010251 (Small).JPG
    61.2 KB · Views: 438
  • the squeze (Small).jpg
    the squeze (Small).jpg
    62.3 KB · Views: 436
Sweet. First dibs on all your old stuff at the swap meet this year.

Looking good so far. Just, are you gonna do all the work on the Rubicon, or do you have a shop. :redneck:
 
Skip the Currie high pinion 9"...they run 8.8 gears and are not rated for anything bigger than a 35" tire. I believe they only come small bearing for 31 spline carriers...at least thats' all that they had available years ago when I orginally bought one.

Just go with the Hi9's if you need hi pinions...
 
ive seen your rig in down town oly a few times, good to see a bad ass grand cherokee around... representing for the jeeps:flipoff:
 
Currie will only be in the front. Should hold up fine there. correct rotation for strength. I will hi9 the rear.
 
Last edited:
Well since I'm still waiting on parts I decided it's time to fix a little problem. My bumper is 3 peice. The corners are seprate. They use to bolts hidden in the back and two small allens in the front. These are not holding up well to my type of wheeling. When my bumper comes down on obstacle's it's smaching the corners upwards. Once I took it apart I realized the damage was worse than I thought.
Notice the bends in the Body.(cracked paint etc.) Also notice the corner smashed in the other pics. It's time to fix the problem
In the first pic you can see how the bumper has moved up.(enough to smash my tailight and crack it. The last pic is how they attached it at the front.
 

Attachments

  • P1010173 (Small).JPG
    P1010173 (Small).JPG
    55.9 KB · Views: 255
  • P1010177 (Small).JPG
    P1010177 (Small).JPG
    48.6 KB · Views: 260
  • P1010187 (Small).JPG
    P1010187 (Small).JPG
    32.7 KB · Views: 261
  • P1010183 (Small) (2).JPG
    P1010183 (Small) (2).JPG
    53 KB · Views: 249
  • P1010182 (Small).JPG
    P1010182 (Small).JPG
    45.1 KB · Views: 254
Here's how we went about plating it in. pics are pretty self explanitory. We got it almost plated today. Still need to do the bottom and a support for the front. It will be a brace underneeth. So this is basically how it will look. The passengerside was a little more in depth since we had to work around the tire carrier. The nice welds are thanks to pos97tj. The crappy welds are thanks to me. I tried to not show them until I ground.:looser: . Hey I'm learning this welding thing though. I'll try to post some pics of the finished product on Sunday. We plan to finish it then.
 

Attachments

  • P1010192 (Small).JPG
    P1010192 (Small).JPG
    52.4 KB · Views: 244
  • P1010194 (Small).JPG
    P1010194 (Small).JPG
    44.8 KB · Views: 241
  • P1010200 (Small) (2).JPG
    P1010200 (Small) (2).JPG
    52.6 KB · Views: 244
  • P1010204 (Small).JPG
    P1010204 (Small).JPG
    54.9 KB · Views: 248
  • P1010190 (Small).JPG
    P1010190 (Small).JPG
    39.2 KB · Views: 247
A couple more. Probably to many pics for a simple mod, but hey why not.
 

Attachments

  • P1010209 (Small) (2).JPG
    P1010209 (Small) (2).JPG
    43.6 KB · Views: 232
  • P1010211 (Small).JPG
    P1010211 (Small).JPG
    51.4 KB · Views: 224
  • P1010212 (Small).JPG
    P1010212 (Small).JPG
    44.5 KB · Views: 228
2pwrlftrs4u said:
that was a pretty hard hit on that bumper... we were behind you when it happend.

looks good jason

Thanks.

Ya, that was one of many. You think I'd learn to baby it a little more.:;
 
Looks good, have you reinforced the mounts? I thought you said that the mounts were bending? or was that the body?
 
Top