• Help Support Hardline Crawlers :

Bluetorch Buggy Rebuild

Harrison

Member
Joined
Nov 18, 2013
Messages
23
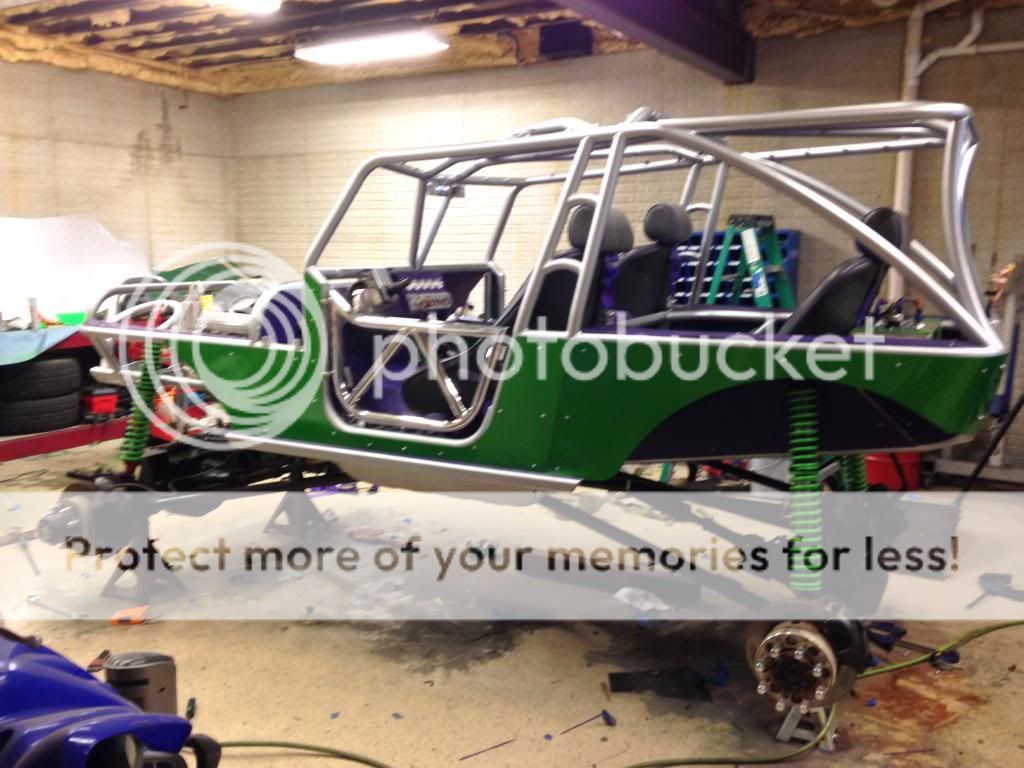
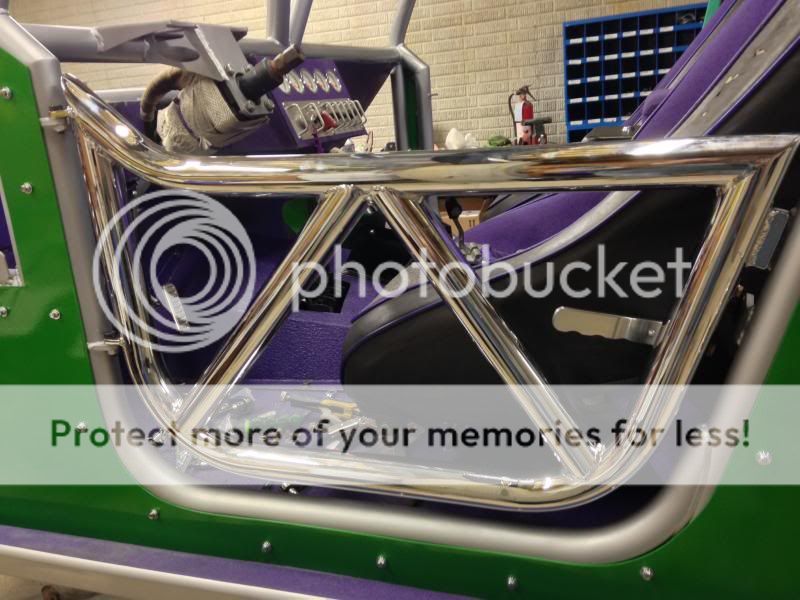
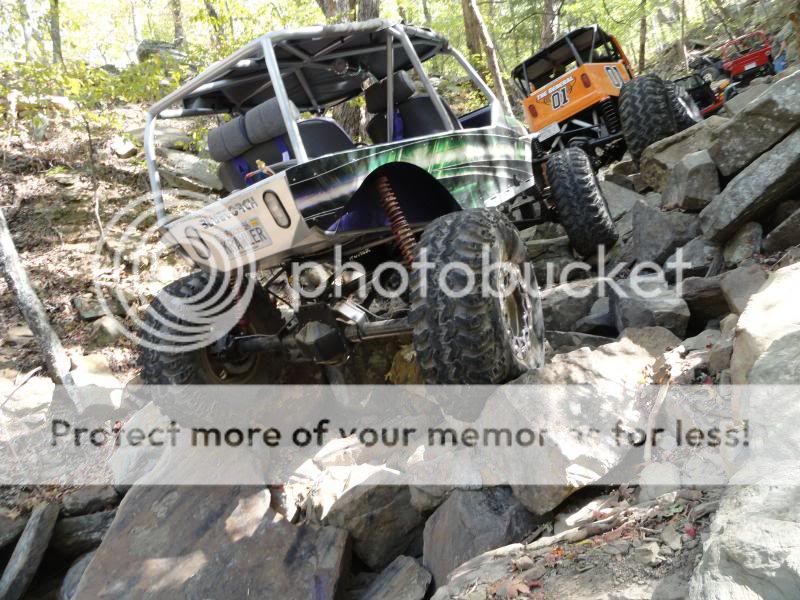
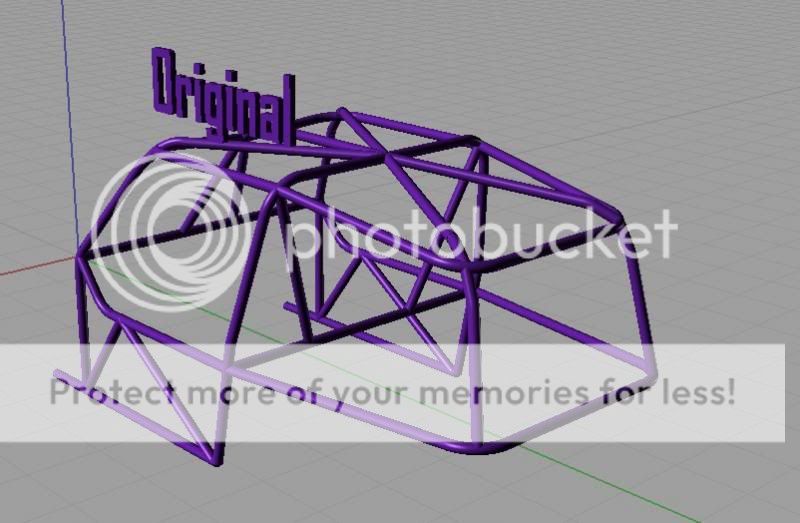
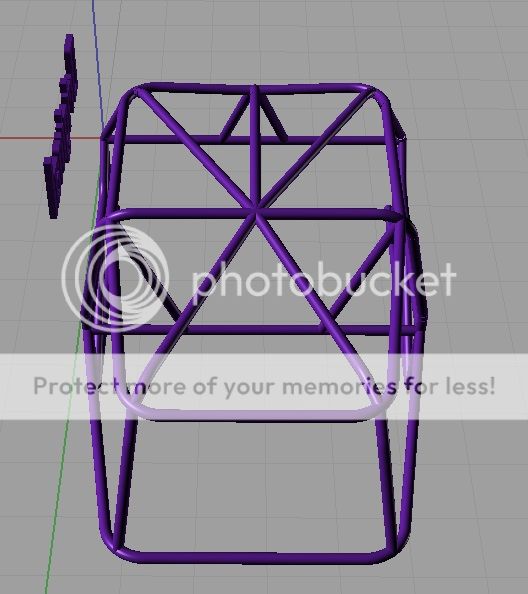
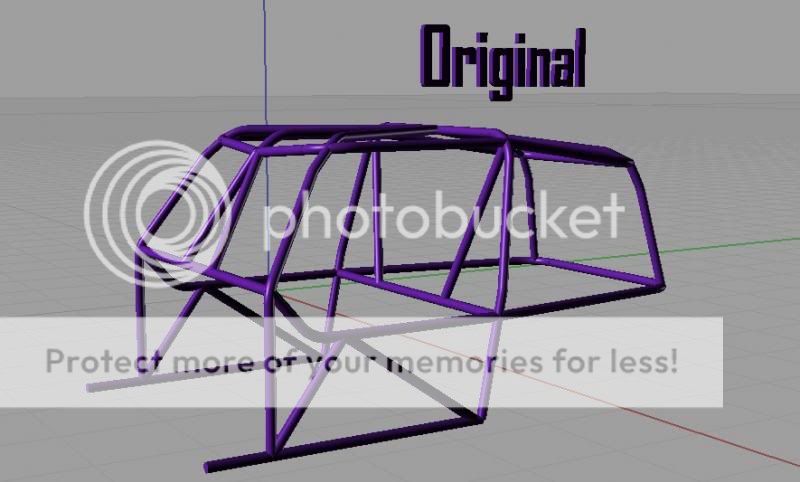
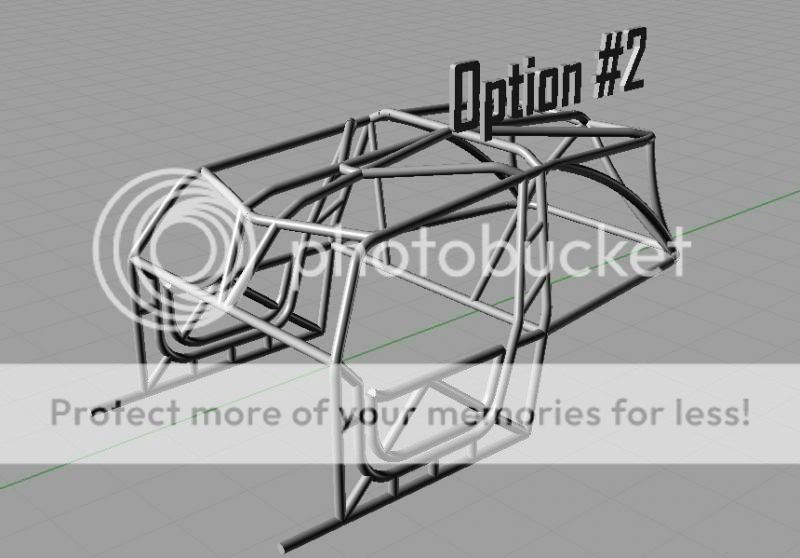
Way back in 2007 I decided to build a Bluetorch 4 seat Buggy, It took me a year to finish the original build. Over the years I have grown tired of jumping in and out of a buggy, I had also fell in love with the rolled tube roofs Wide Open Designs was building so why not cut the roof off and add doors.
A little about my rig: Bluetorch 4 seat Fusion chassis, 114 wb, 24" belly height, High Pinion 60 Front, 4340 axle shafts, CTM joints, Detroit locker, 4.56 gears, Stak 2 speed, Shaved 14 bolt with Detroit locker, LS1 with custom ground Comp Cam, PRC Stage 2.5 LS6 heads, Melling High Volume Oil Pump, Canton trap door oil pan, built TH-350 trans, Hughes Stall Converter,Edelbrock headers Saw Coil Overs, Fox nitrogen bump stops, Beadlock Specialties wheels, 40" Maxxis Sticky Treps, and a Bunch More Stuff
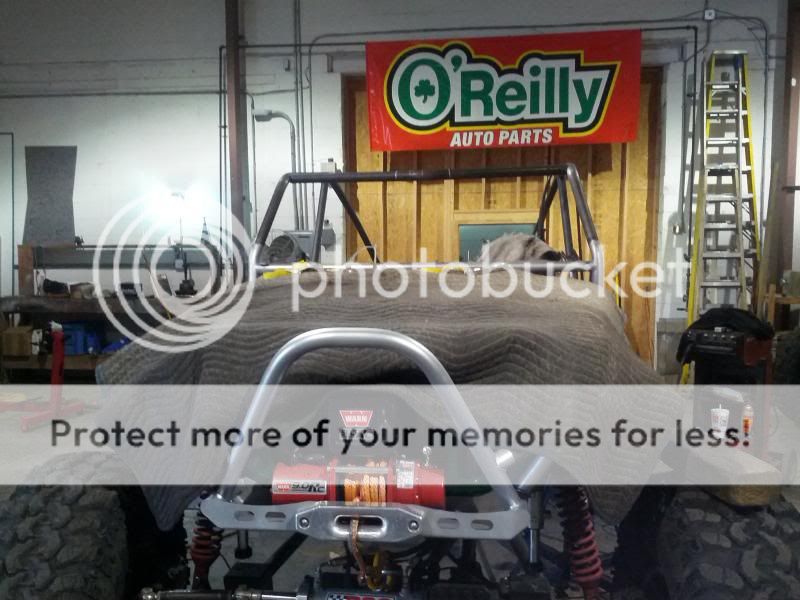
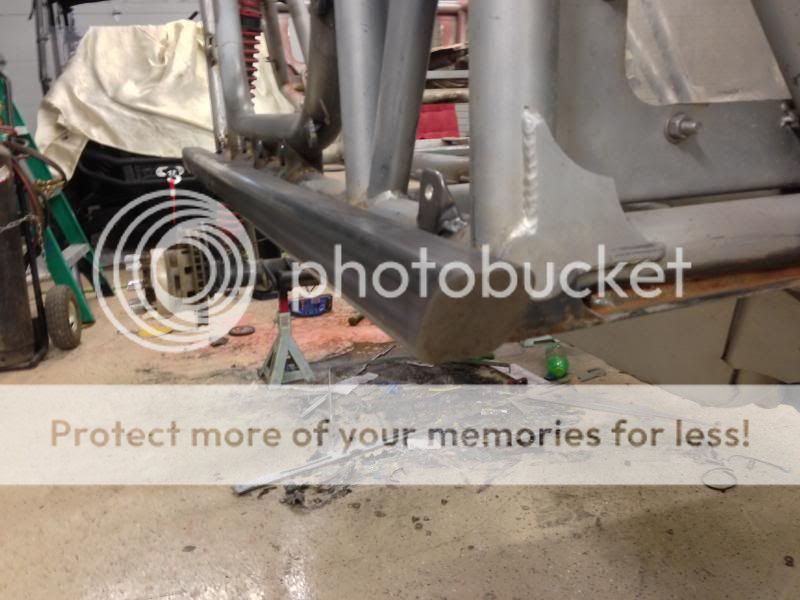
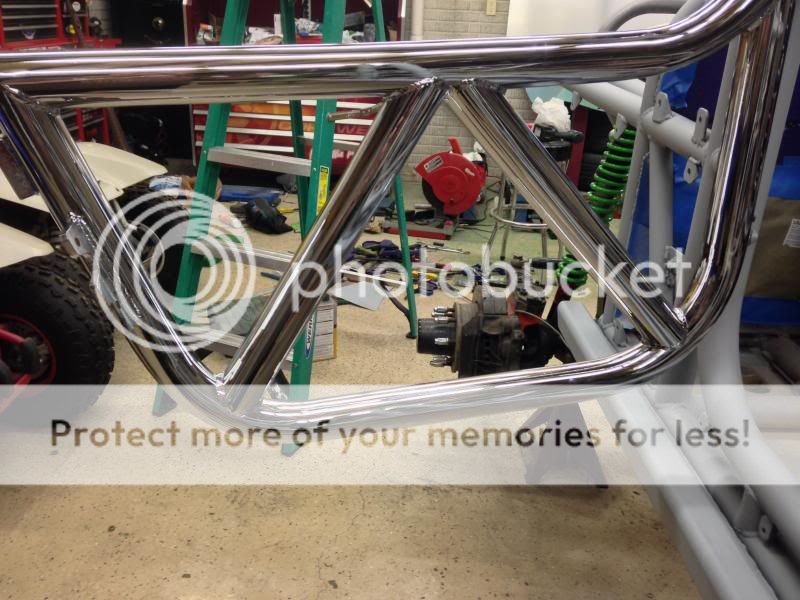
Chassis setting in my small garage back in 2007
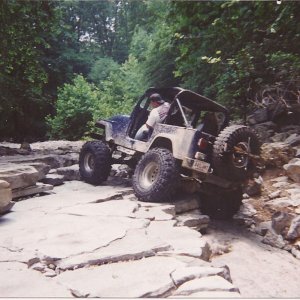
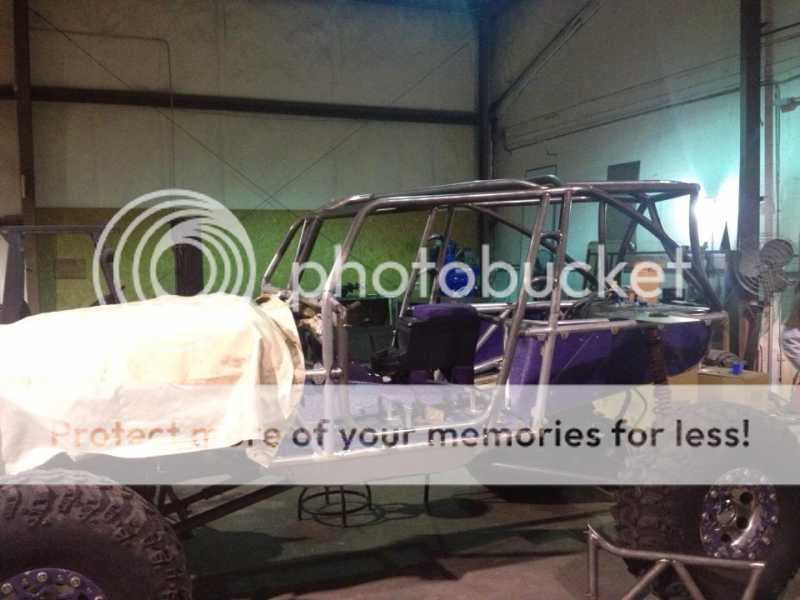
BluetorchBuggy001.jpg


2007 Build Photos
BluetorchBuggy051.jpg

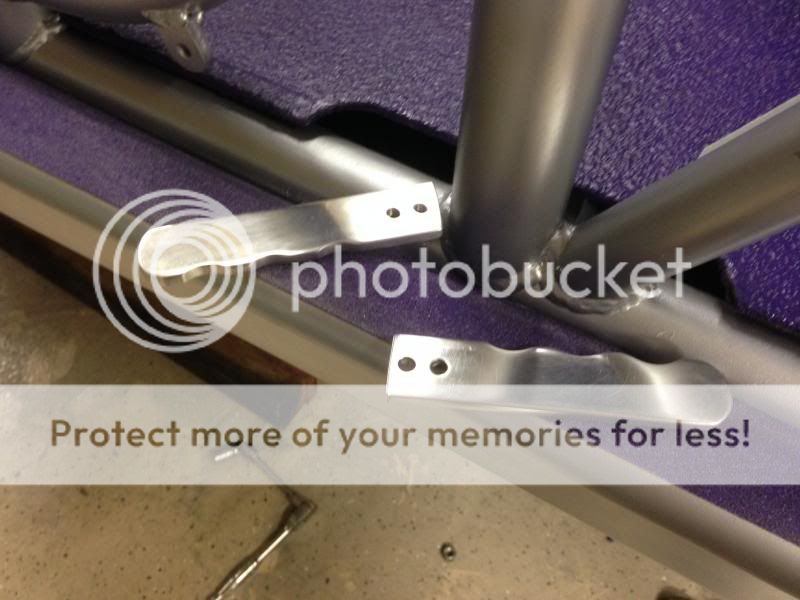
At my friend JT's shop in 2007 he set up the suspension, added the trusses, and basically turned it into a roller
BluetorchBuggy048.jpg

BluetorchBuggy067.jpg

BluetorchBuggy066.jpg

BluetorchBuggy064.jpg

BluetorchBuggy062.jpg

BluetorchBuggy059.jpg

BluetorchBuggy054.jpg

BluetorchBuggy052.jpg

Fast Fwd Several Months in 2007
buggy2012.jpg

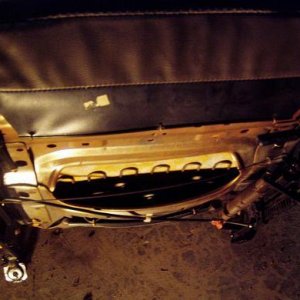
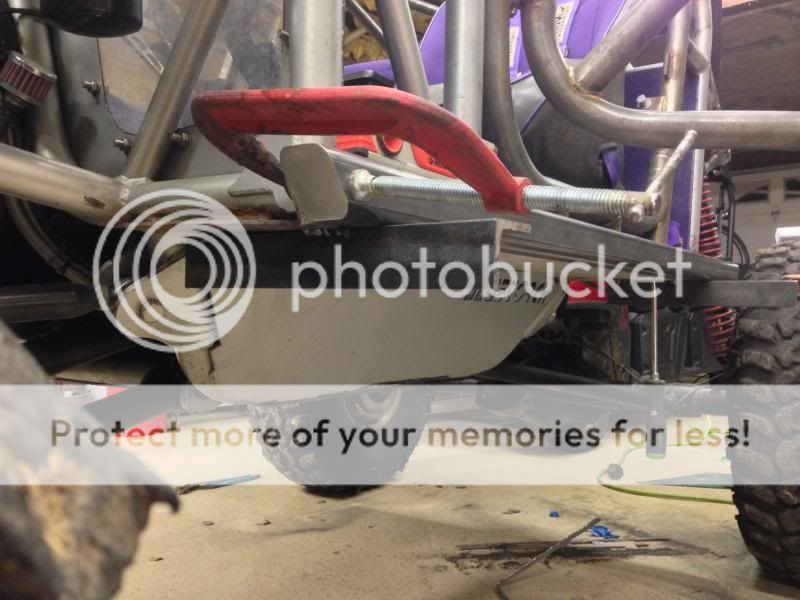
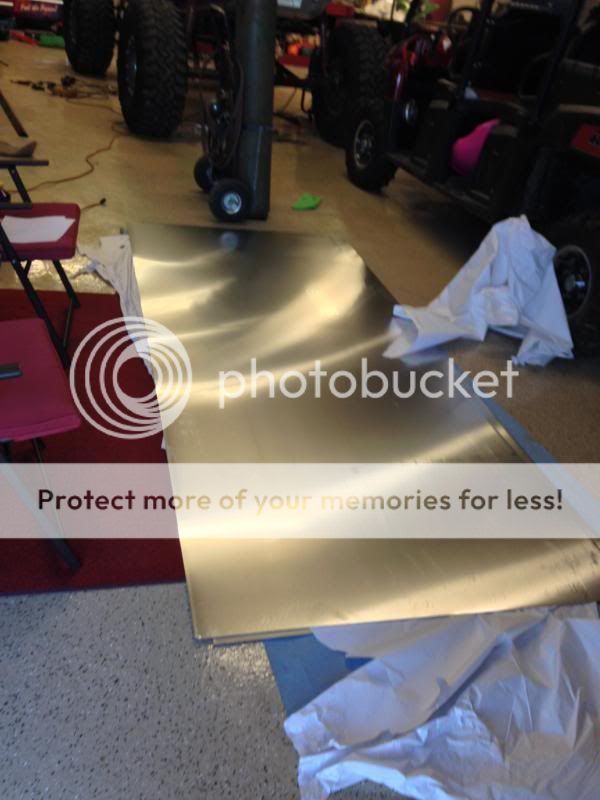
Had all the floor pans and interior sheet metal Rhino lined.
Fusion3003.jpg

Fusion4030.jpg

Fusion4028.jpg

Fusion4018.jpg

Fusion4003.jpg

Wiring
Buggy4006.jpg

Buggy4002.jpg

Buggy4008.jpg

Buggy4011.jpg

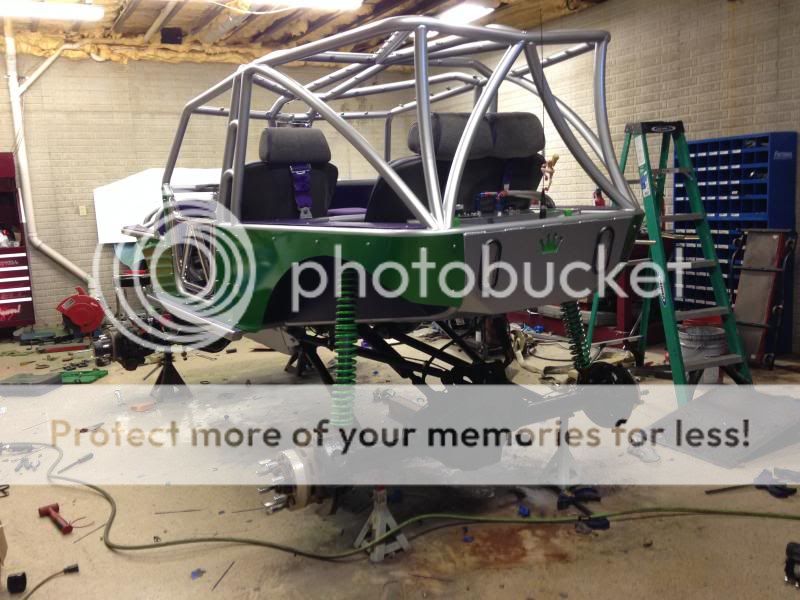
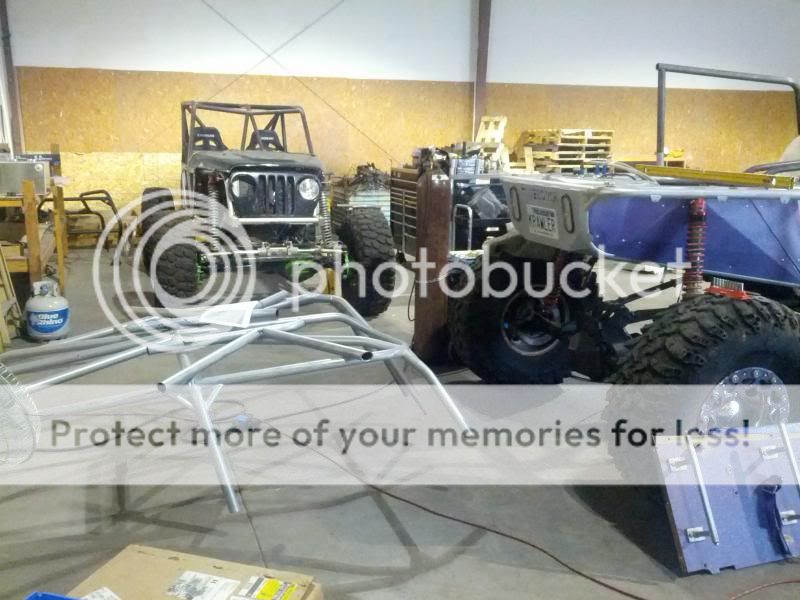
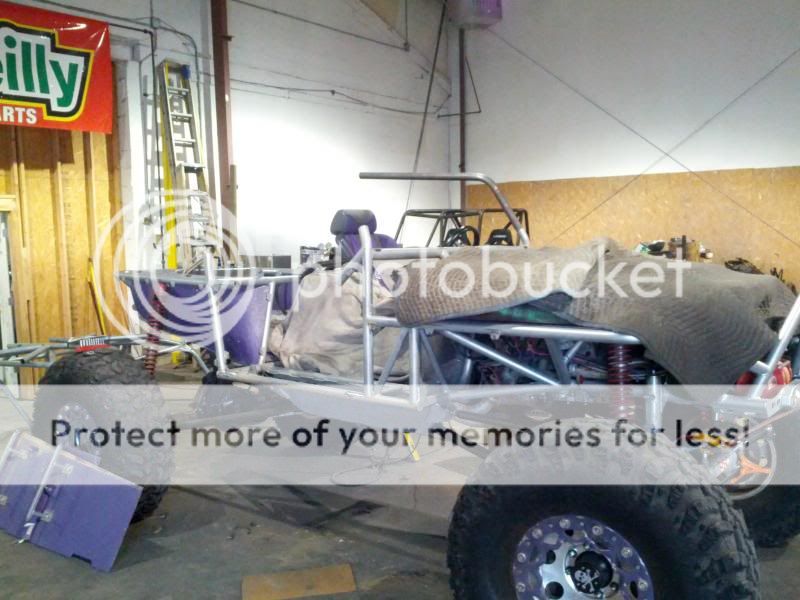
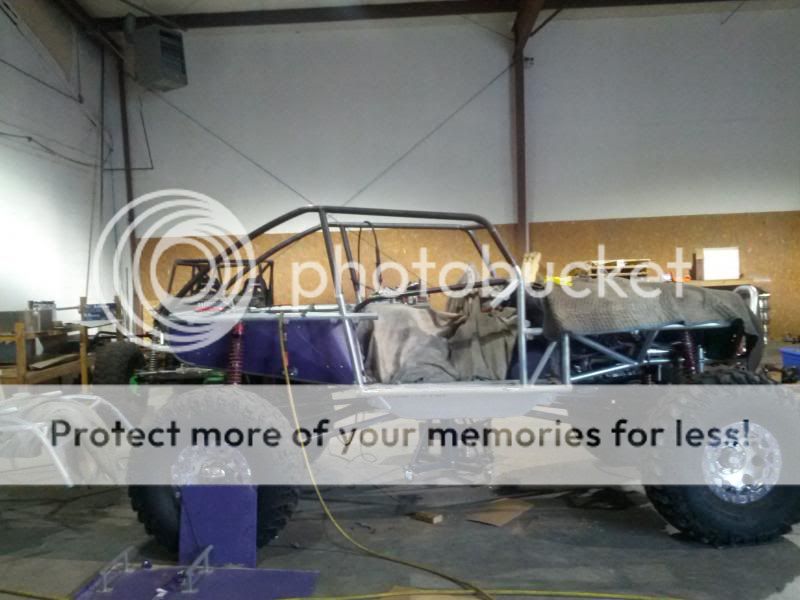
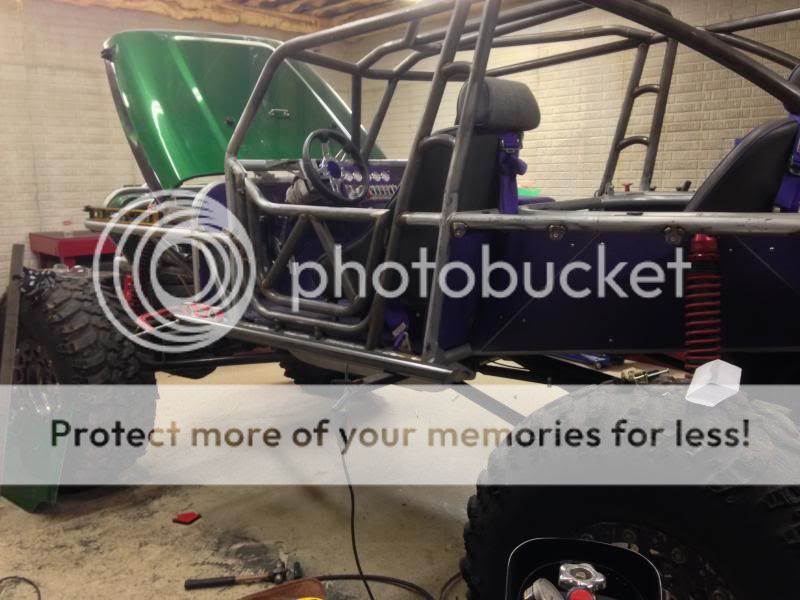
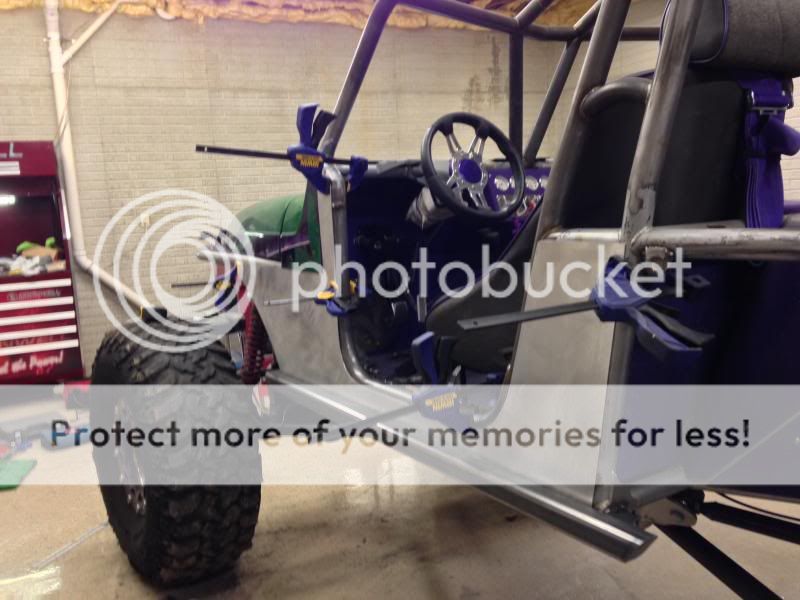
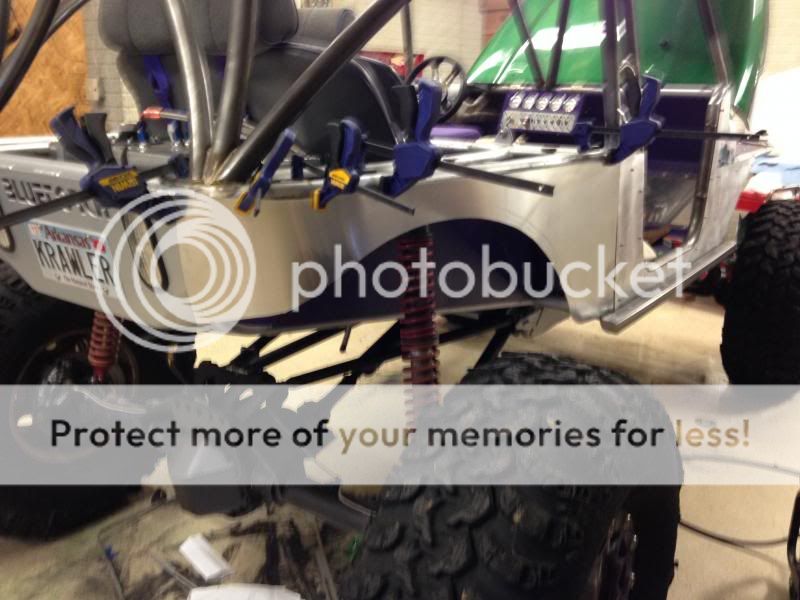
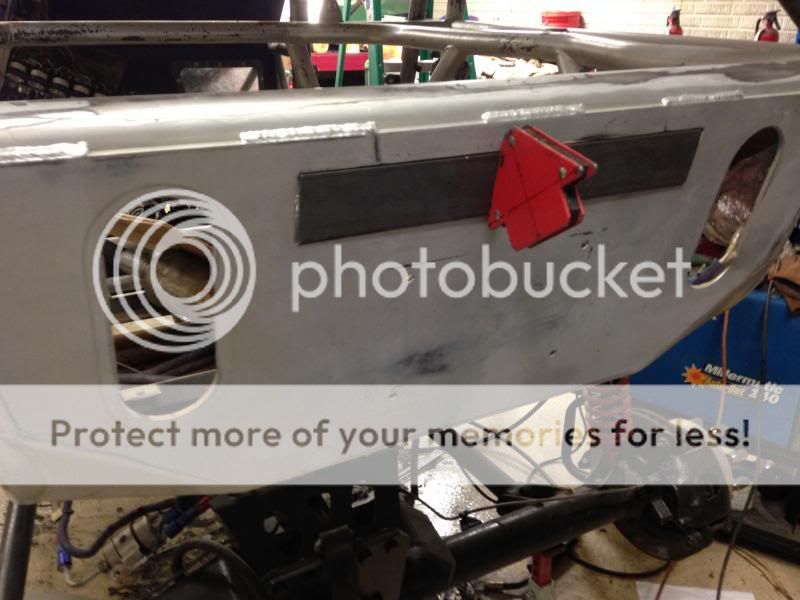
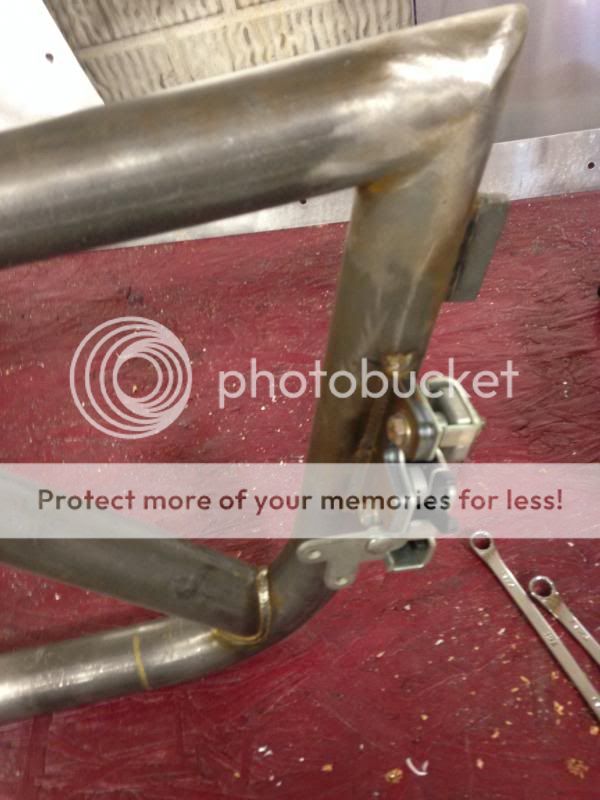
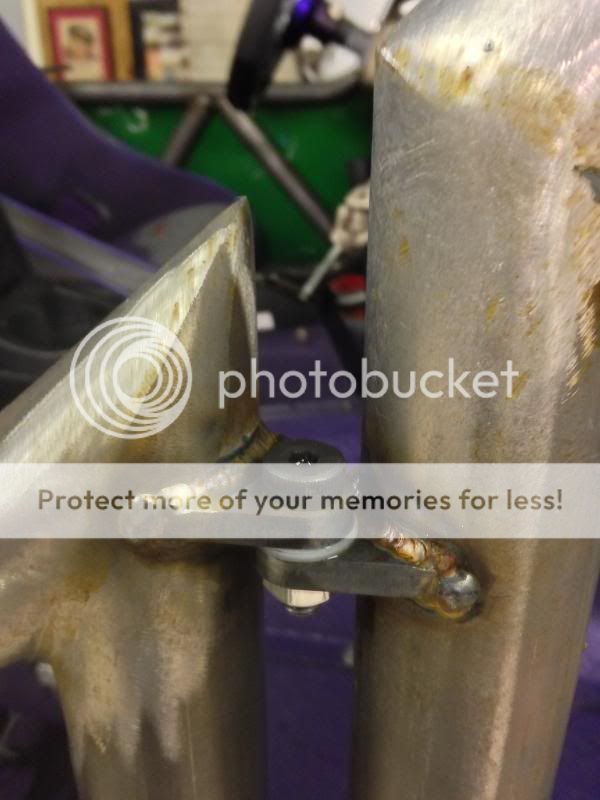
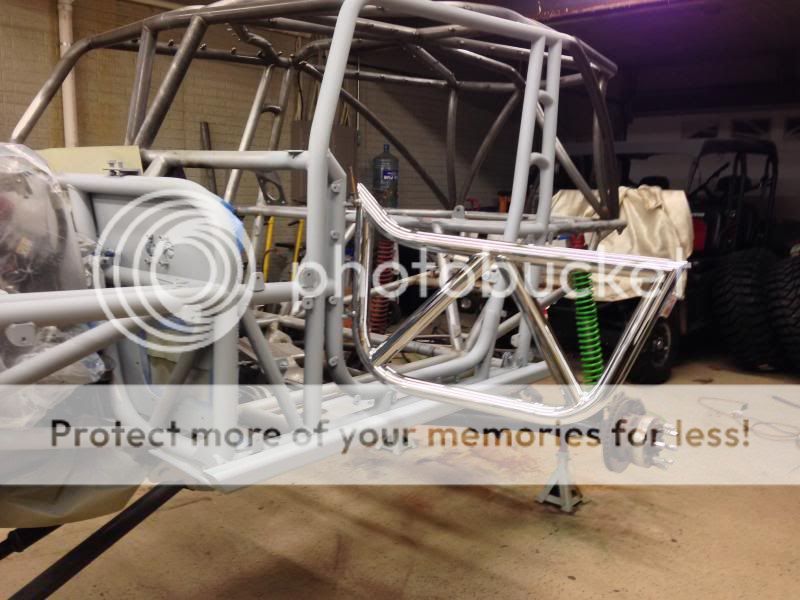
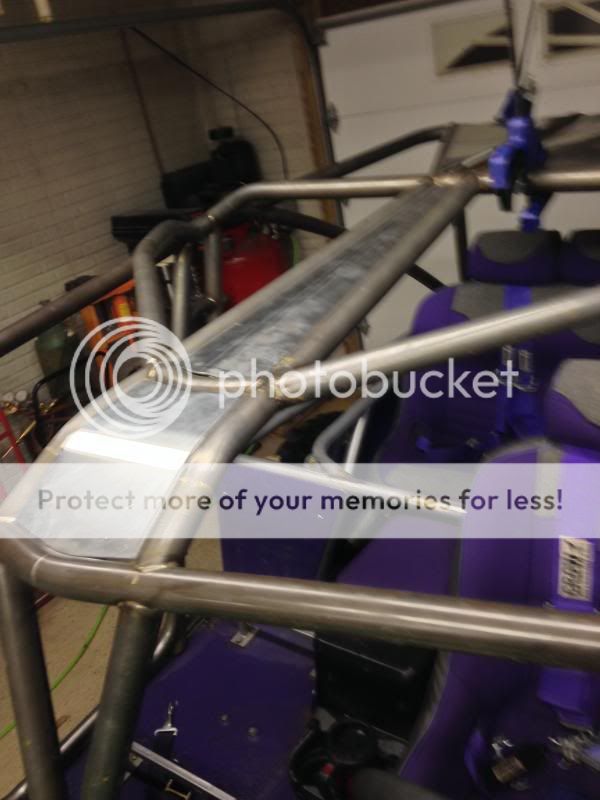
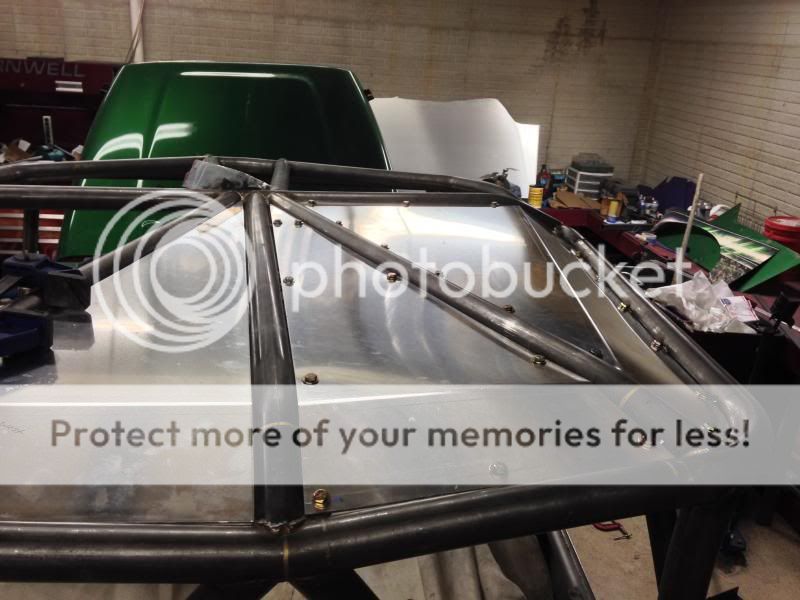
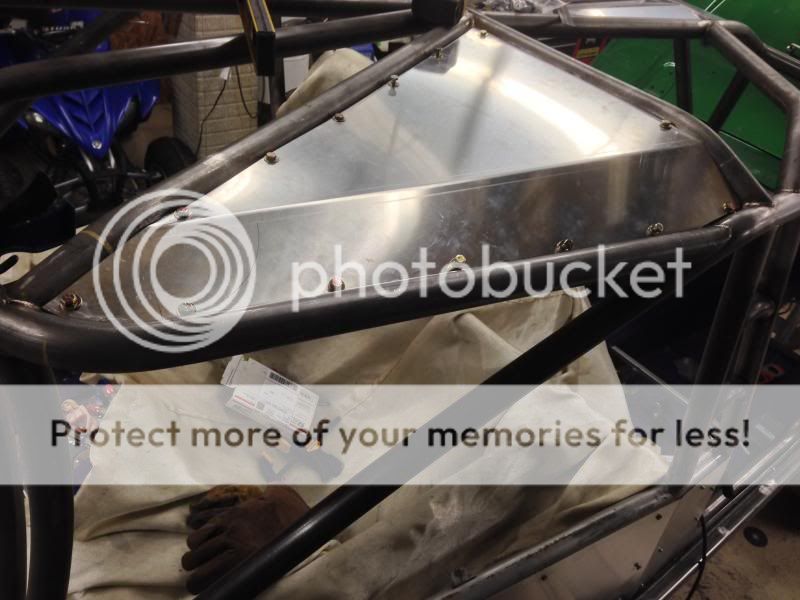
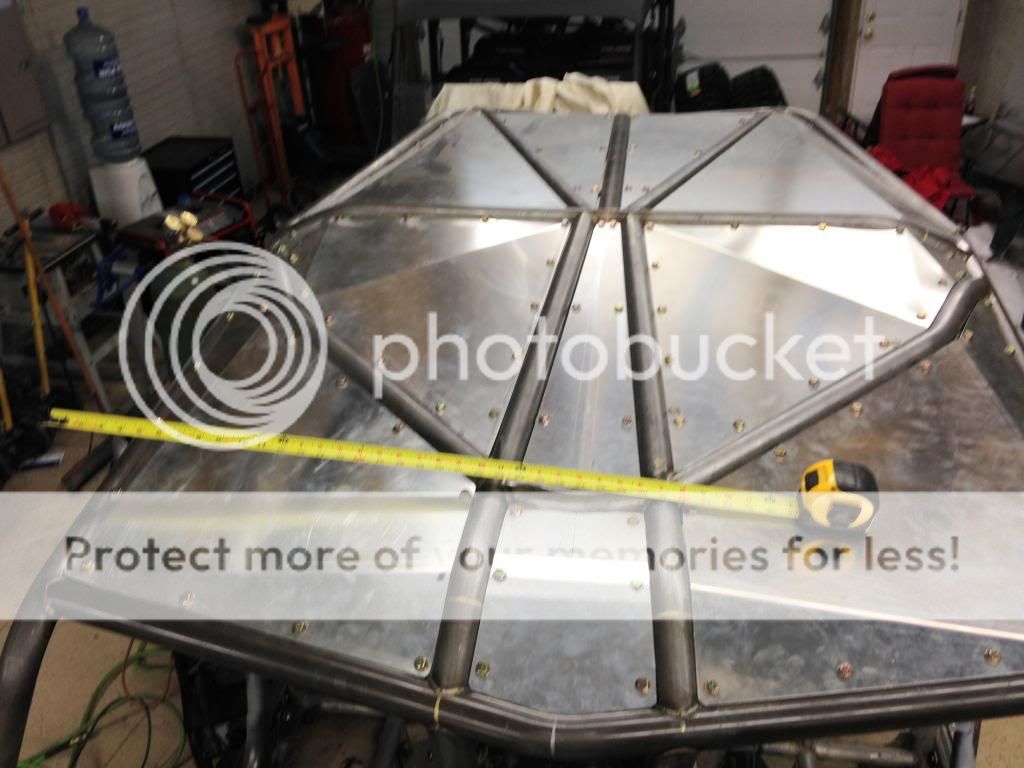
Lets Fast Forward to Dec. 2013
IMG_20131030_172020.jpg

IMG_20131030_171943-1.jpg

I will post more tomorrow.
 
Are you doin anything other than new roof and doors?


Sent from my iPhone using Tapatalk
 
So over the seven years of wheelin hundreds of milesI have changed several things, done several rebuilds, and broke a couple parts: Several drivelines, broke a TH-350 case, several sets of skins, I'm on LS1 #2, several axle shafts, several sets of tires, front stinger was replaced after meeting a tree, several bent links, and a lot more that I have forgot about. The things I wanted to change on the rebuild are: Doors, A more up to date roofline, Rock Sliders (Nerfbars) to help save the skins, and to fix or replace the Stak 2 speed that has jumped out of gear since it was New. I'm three months into the rebuild and will be finished in a couple of days. I work 50+ hours a week at three different jobs plus have two small kids so time is hard to find.

Here are a couple of past wheeling pictures to give everyone an idea where I wheel.

Clayton
DSC00776-1.jpg

DSC01430.jpg

DSC01431.jpg

Smorr in Seymour, MO
DSC01077.jpg

DSC01071.jpg

016.jpg

Disney, OK
DSC01511.jpg

DSC01494.jpg

Hot Springs, AR
332.jpg
 
So around Thanksgiving of last year I called and spoke to Adam at Wide Open Designs. Adam told me to bring it to Tennessee and he would take on the challenge of adding doors and redoing the roof on my buggy. So I stripped the skins and several other things off of it and took it to Tennessee. I left the drivers seat and rear seat in as he wanted to check for headroom.
IMG_0178.jpg

A 10 hour drive later and it was parked in Wide Open Designs shop. Adam is a busy guy but he took the time to listen and take notes on what I wanted done.
IMG_0212-2.jpg

A couple days later Adam sent me these to ask what I thought
BrentKing3.jpg

BrentKing2.jpg

BrentKing1.jpg

BrentKing10.jpg

BrentKing9.jpg
 
Rocky, Adam, and the rest of the crew at Wide Open were great to deal with. They sent me updates as they were working on it
IMG_20131031_093114.jpg

IMG_20131030_171931.jpg

IMG_20131030_172020.jpg

IMG_20131031_160752.jpg

IMG_20131031_160808.jpg

btf9.png
 
On it's way home to Arkansas to be torn down in my garage.
IMG_0473.jpg

Back home and I started building rock rails.
Measuring and figuring how to make them look good.
IMG_0706.jpg

I tacked angle iron pieces under the rockers to hold the tube up so I could keep them level to weld them to the rockers.
IMG_0722.jpg

IMG_0726.jpg

I do not own a plasma cutter so everything I cut is with cut off wheels or a torch. I then use files,flap wheels, and a DA Sander to clean up the cuts.
I angle cut and filled in the end of the tube with 1/4" thick flat strap. ground the welds down and sharpened them to points with a flat file plus a little sanding.
IMG_1061.jpg

I built tabs for the back of the sliders, Cut them out with a cut off wheel and shaped them with a file.
IMG_0754.jpg
 
Synergy Green on the Skins, Hood, and Grille
I normally paint my own stuff but my two year old sons bedroom is above my garage so my painting is limited to pretty days with the garage door open. We haven't had very many warm days this winter so I have a friend spraying everything at his shop.
 
I cut all the skin tabs off and welded new tabs on with nutserts so removing the skins to replace them or work on the buggy would be easier. I used .063 aluminum for the skins cut them with a jigsaw, smoothed the edges with a file and sand paper.
IMG_0764.jpg

IMG_0776.jpg

IMG_0784.jpg

All my tabs are equally spaced on both sides of the buggy so I can use the same front skin on either side of the buggy. It allows me to keep one spare skin that will fit the driver or passenger side. It's
not as easy to do as it sounds.
IMG_0796.jpg

The rear skins I hand roll the radius on the back to fit the tube.
IMG_0913.jpg
 
So, I'm guessing I know what part of AR you are in by the screen name? I'm in NWA and BTW, Sweet buggy!!
 
I decided to change the back of the buggy a little since I'm not sure if it's a Bluetorch buggy or Wide Open Designs buggy now.
My last name is King and the Inspiration for the change came from my garage floor.
IMG_0899.jpg

IMG_1015.jpg

IMG_1018.jpg

IMG_1020.jpg

IMG_1029.jpg

I drilled the circles, cut out the rough shape with a cutoff wheel, and shaped it with a file.
IMG_1033.jpg

IMG_1067-1.jpg
 
Cleaned up the doors to ready them for Chrome. I metal filled all pin holes and grinding marks.
IMG_0903.jpg

IMG_0501.jpg

IMG_1079.jpg

IMG_1081.jpg

I built door handles out of flat aluminum stock using a half round file, flat file, and more sanding. I need to finish polishing them.
IMG_1125.jpg
 
You do good work. Them doors gonna be blindin folks on the trail lol


Sent from my iPhone using Tapatalk
 
One of the most time consuming things I have done is skinning the roof. I used .125 aluminum and around 125 tabs, A friend of mine owns a shop that does millwright work for feed mills and he helped me make the panels since I don't own a metal brake. The amount of math and time involved in forming just one panel was crazy.
IMG_0882.jpg

IMG_0878.jpg

IMG_0928.jpg

IMG_0922.jpg

IMG_1024.jpg

My Friend Johns little 320 ton press brake.
IMG_0852.jpg

It sits 6 feet under the shop floor these pictures do not make it look as big as it really is, It will brake 1/2 plate.
IMG_0850.jpg

We used his metal shear also.
IMG_0848.jpg
 
That roof is flashemifyougotem! Nice work man! :****:

Those big ass presses and shears are awesome! :dblthumb:
 

Latest posts

Top