You are using an out of date browser. It may not display this or other websites correctly.
You should upgrade or use an alternative browser.
You should upgrade or use an alternative browser.
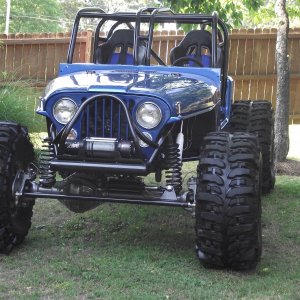
Bringing the LJ back to life
- Thread starter Fordzuki
- Start date
Finally got the tree cleaned up in front.
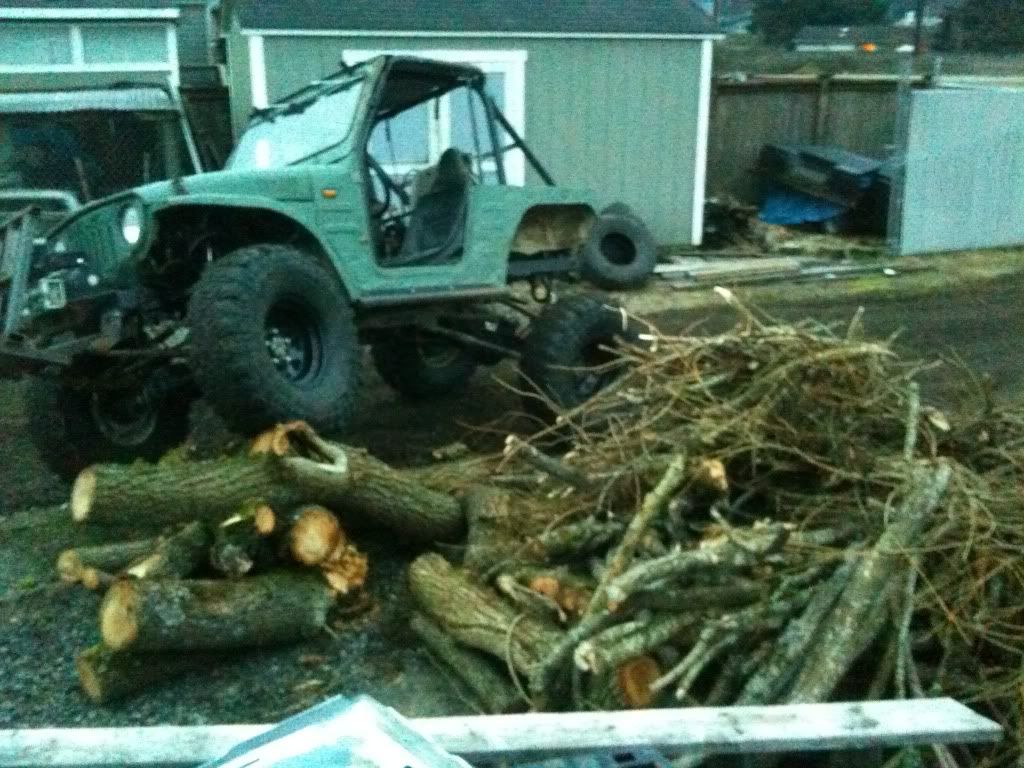
This was all moved with a combination of the dumpbox and forks. The majority of the small stuff, I used the plowblade to rake it all up into a pile, then used the forks to move the pile in two loads.

You can kind of see here where I used the plowblade to re-level the gravel lot out back too.
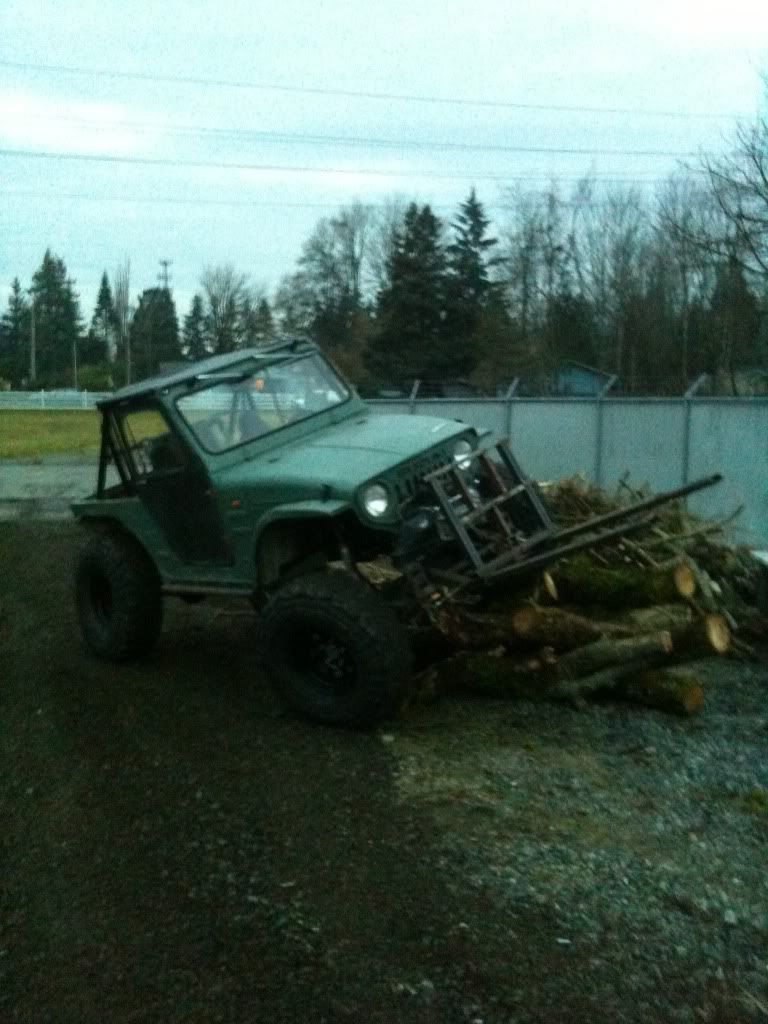
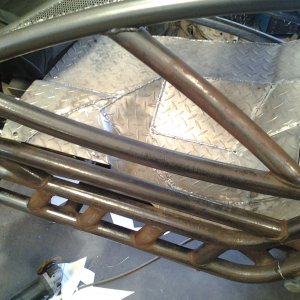
I also made a few additions to the blade.
I added a plate/scraper that sandwiches the rubber, this will help stiffen it, and it adapts it more for gravel/dirt use. I can cut the ground moving foward, then level in reverse, using the rubber as a rake.
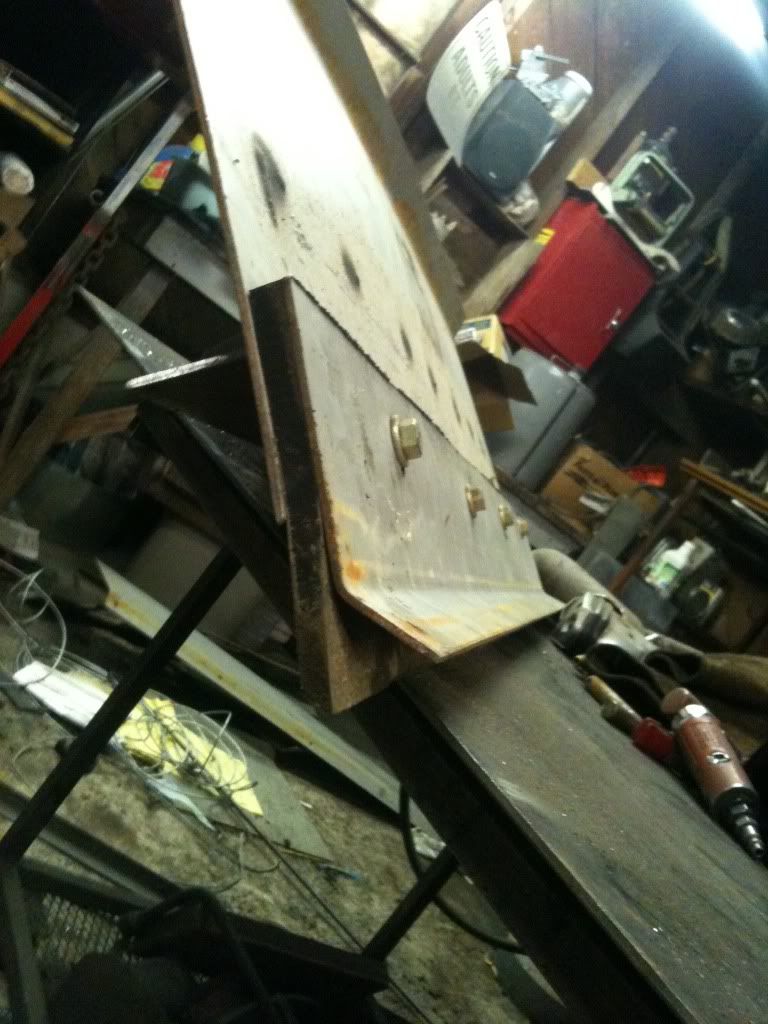
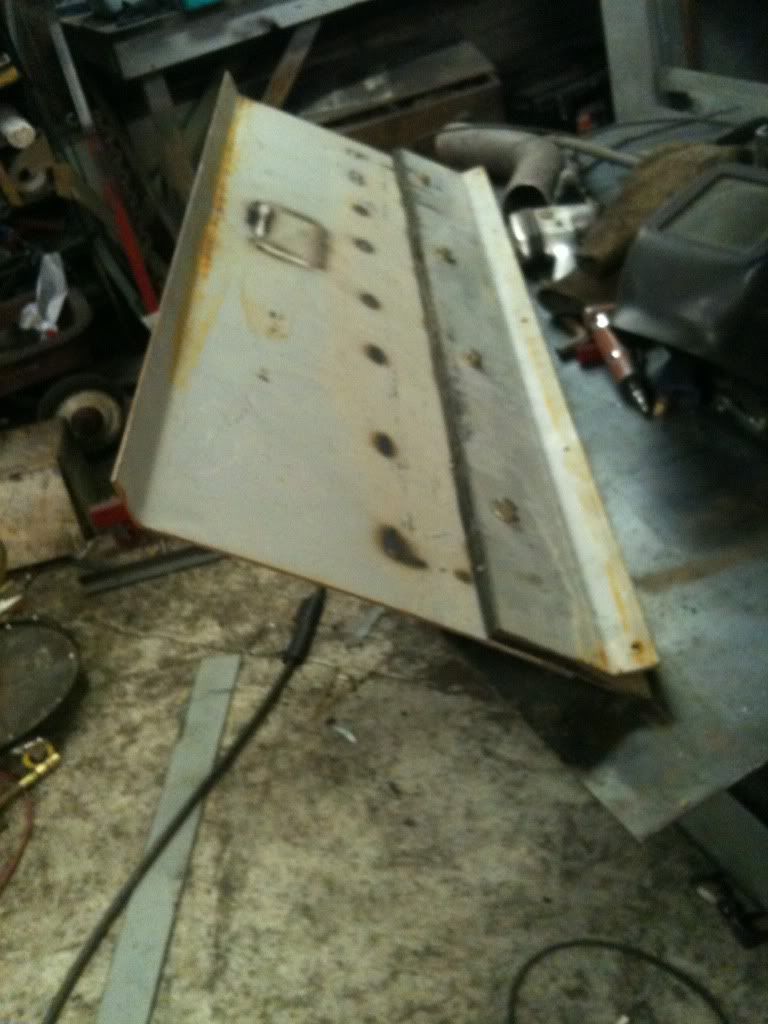
I also added some bracing to the back of the blade to keep it from bending.
This was all moved with a combination of the dumpbox and forks. The majority of the small stuff, I used the plowblade to rake it all up into a pile, then used the forks to move the pile in two loads.
You can kind of see here where I used the plowblade to re-level the gravel lot out back too.
I also made a few additions to the blade.
I added a plate/scraper that sandwiches the rubber, this will help stiffen it, and it adapts it more for gravel/dirt use. I can cut the ground moving foward, then level in reverse, using the rubber as a rake.
I also added some bracing to the back of the blade to keep it from bending.
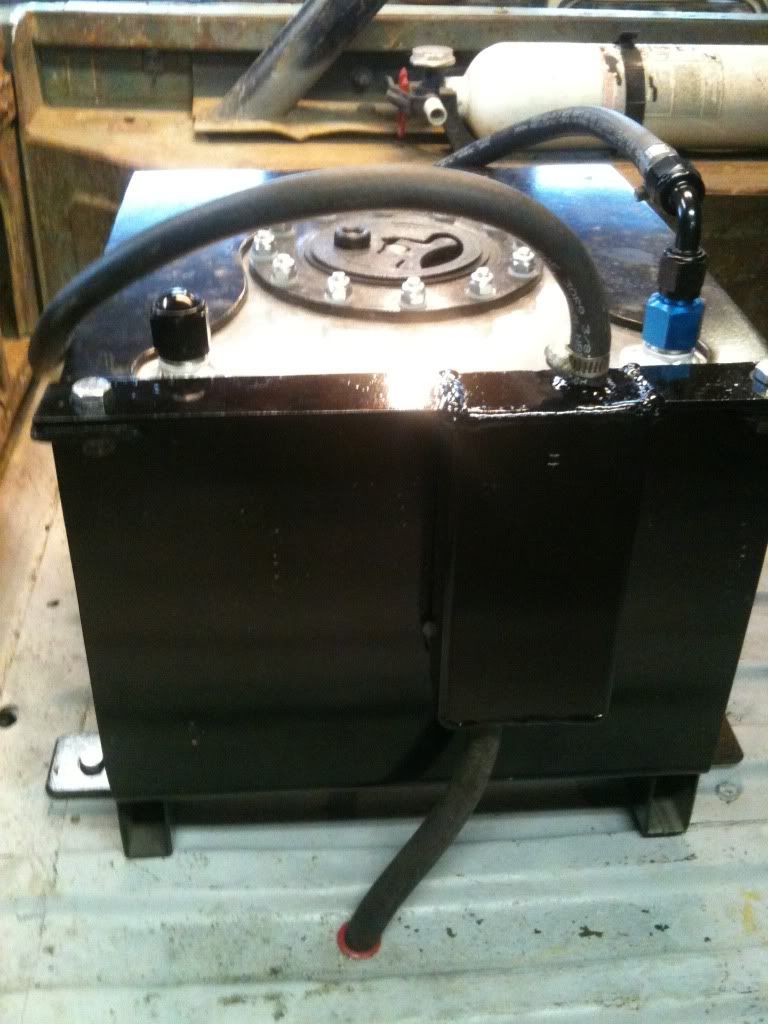
With just the driving around the yard I've done, I noticed the fuelcell vent would leak a little after alot of bumping around, and alot of abrupt forward/backward driving...
The problem was I just had a 3 foot hose coiled up along the side, and after filling up the coils, it'd dump in the back..
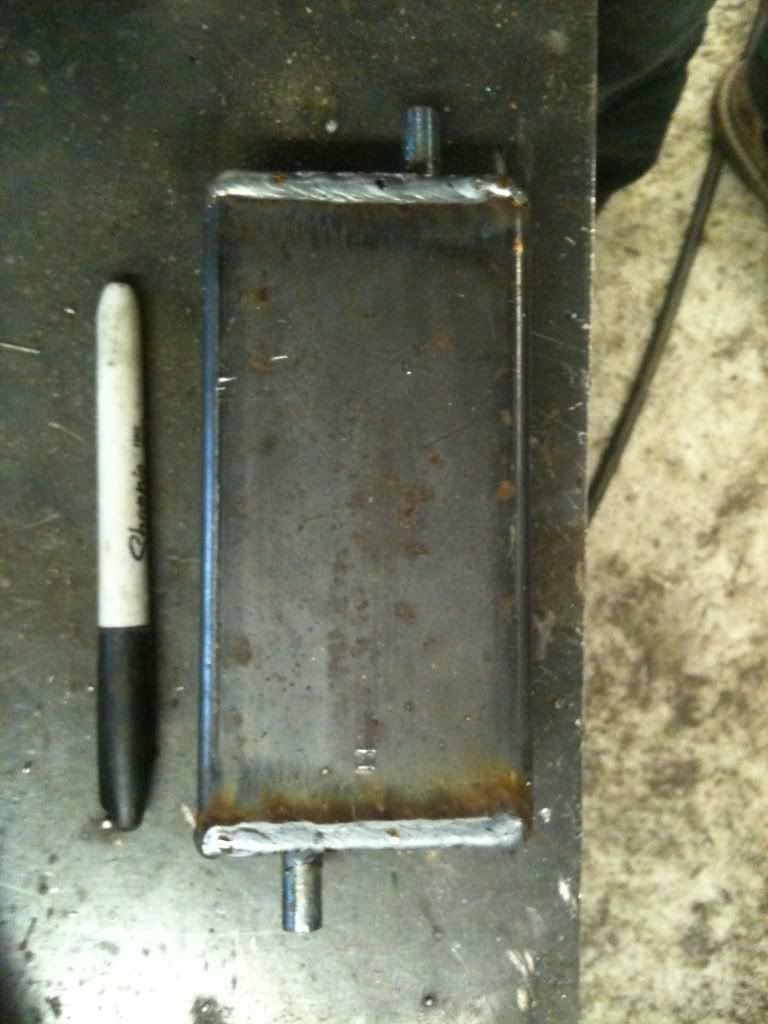
So I came up with somewhat of a catchcan/evap can.
I used a piece of 1.5"x3" box tube, and made 11g caps for the ends. I used two pieces of 3/8" od tube, one cut the length of the box tube, and one cut at about 2". I offset some holes on both endcaps, and welded the tube in with an inch sticking out. The long tube is the overflow drain, and the short tube is the inlet. I am also running a "4 sides" routing with the hose from the cell to the evap can, so theoretically, whatever gas does make it's way to the canister, will drop in, and either evap back out, or collect there till it fills to within an inch of the top, and drain out the longer tube, which is connected to a hose running out through the floor.
Then I welded a couple tabs on to mount it to the side of the cell.
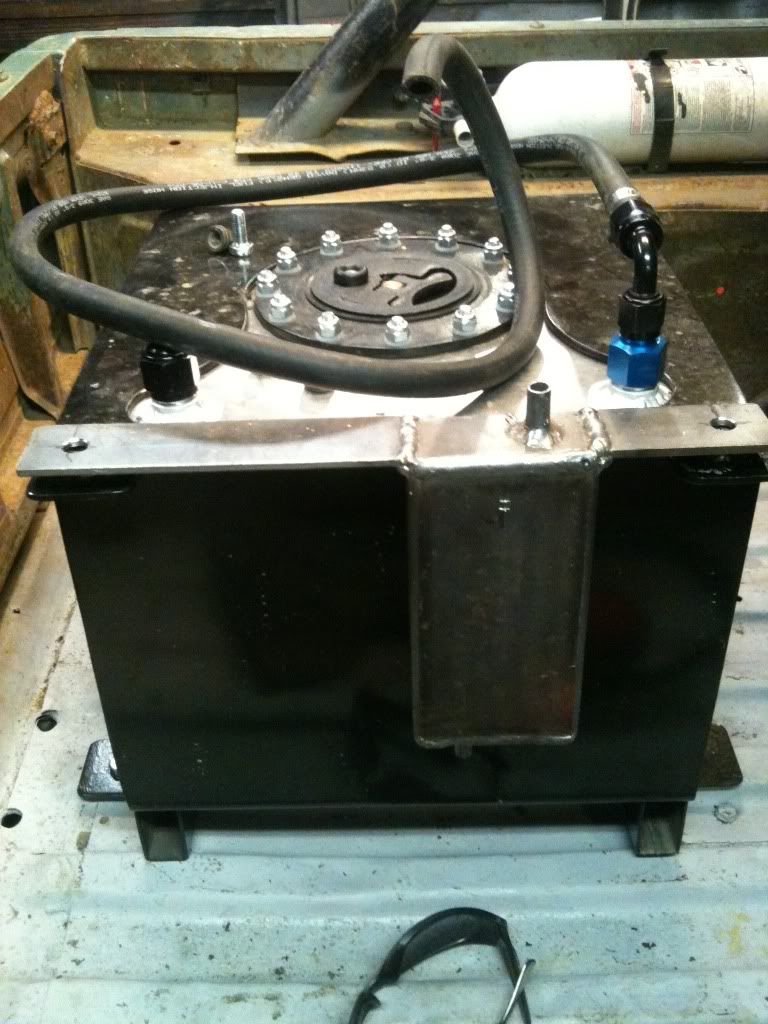
And the completed setup. I need to pick up some 1" tube to weld to the top plate of the cell hold down, to hold the hose, but it'll work for now.
The problem was I just had a 3 foot hose coiled up along the side, and after filling up the coils, it'd dump in the back..
So I came up with somewhat of a catchcan/evap can.
I used a piece of 1.5"x3" box tube, and made 11g caps for the ends. I used two pieces of 3/8" od tube, one cut the length of the box tube, and one cut at about 2". I offset some holes on both endcaps, and welded the tube in with an inch sticking out. The long tube is the overflow drain, and the short tube is the inlet. I am also running a "4 sides" routing with the hose from the cell to the evap can, so theoretically, whatever gas does make it's way to the canister, will drop in, and either evap back out, or collect there till it fills to within an inch of the top, and drain out the longer tube, which is connected to a hose running out through the floor.
Then I welded a couple tabs on to mount it to the side of the cell.
And the completed setup. I need to pick up some 1" tube to weld to the top plate of the cell hold down, to hold the hose, but it'll work for now.
Wouldn't a one way valve of some kind, have been easier?
Easier, yes, cheaper, no.
 I would like to add a lever valve at some point to make a positive shut-off, but the way I've got it set up should be better than a "rollover" ball valve for flops on the side...
leadfoot067
Well-Known Member
PCV valve works great:awesomework:
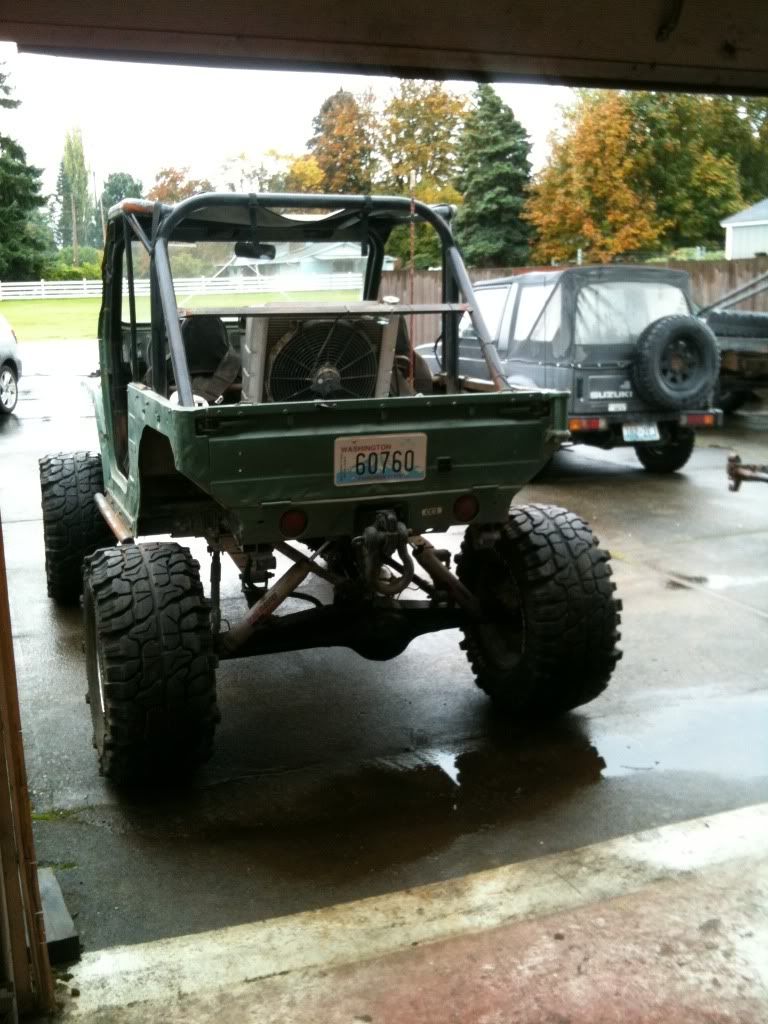
No real updates on the LJ, I've been eyeing some of the series 98 wheels in 2.5" backspace to solve the tire rub issue, rather than jump up to a 2" spacer. But it's ready to wheel for now...
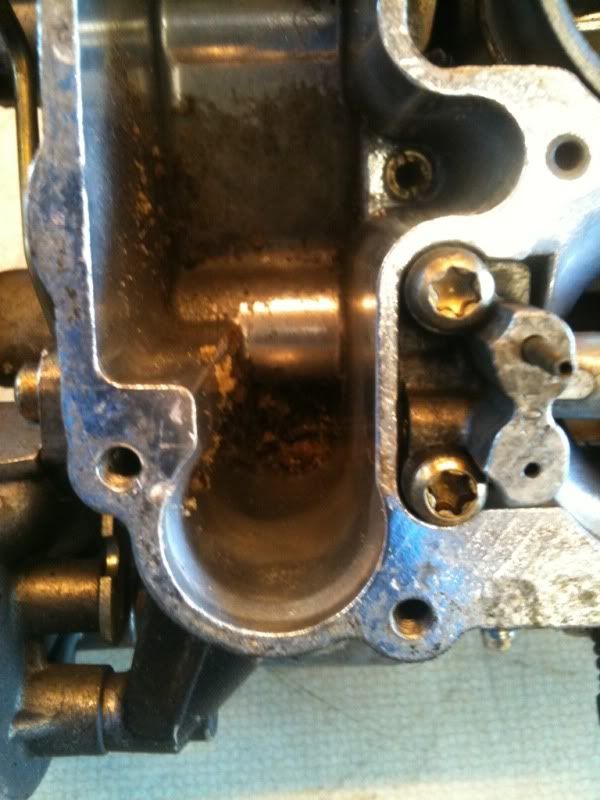
Instead, this is an update on the tow pig. I finally broke down and ordered a rebuild kit for the carb, and received it thursday, so I sat down today and rebuilt it and got it reinstalled and mostly dialed in. I'm not a carb guy at all, in fact this was the first rebuild I had attempted, and I'd say it went rather well. I drove it around a little today and plan to make a trip or two to work with it next week, possible once with the trailer/LJ in tow, just to make sure it's going to be reliable enough to head out to the woods. (and back :haha")
Some of the crud in one of the bowls. Cleaned alot of this out...:eeek:
Something else that has always bothered me about the bronco, is a previous repair that had literally collected water, and peeled a, **** you not, foot long, by 8" tall by 3/8"ish thick piece of bondo from the side of the rig, just behind the drivers door, under the top.
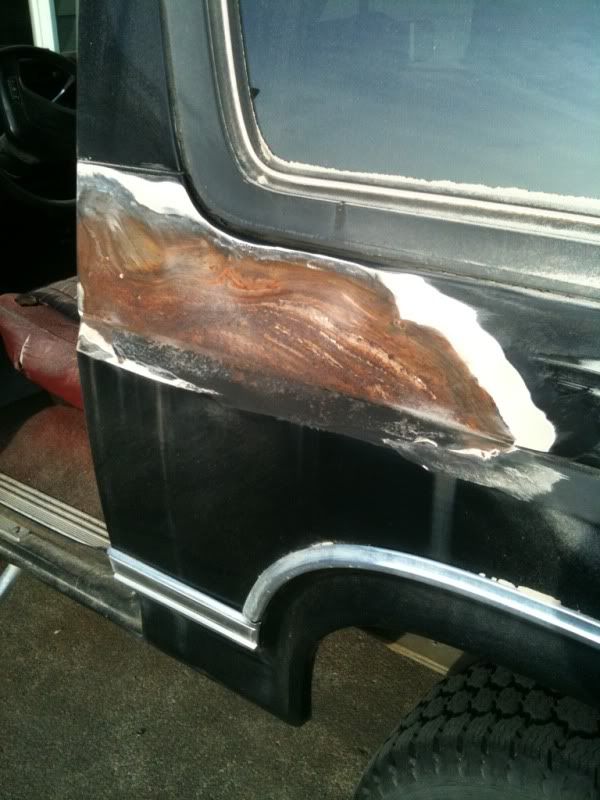
****'ll buff...:redneck:
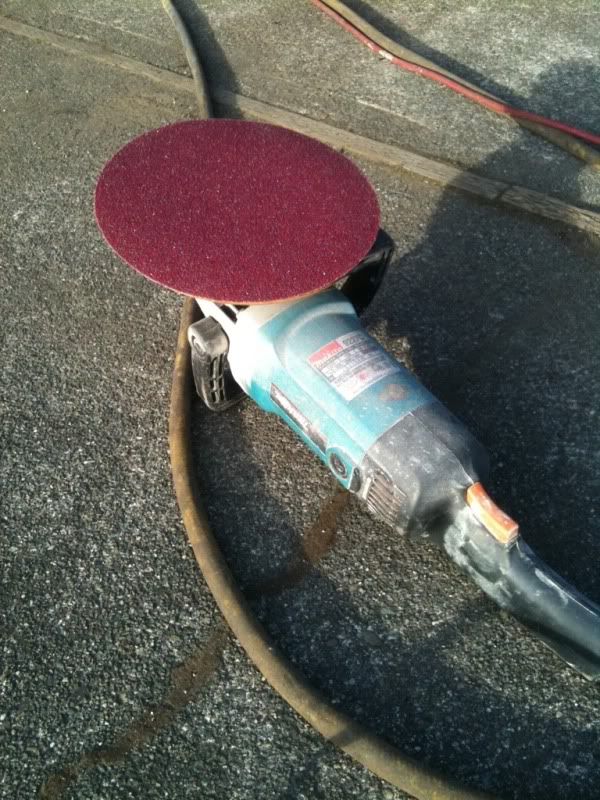
I don't have any finished pics, but I lazily redid the bodywork like it was my day off... and it definately shows, but I at least sandblasted the rust out, and only put 1 coat of mud on it. Primed it, prepped out the rest of the panel and shot it with topshelf, premium showcar quality, super glamour, rustoleum gloss brack. :redneck: It looks shiny in the yard light... :haha:
Instead, this is an update on the tow pig. I finally broke down and ordered a rebuild kit for the carb, and received it thursday, so I sat down today and rebuilt it and got it reinstalled and mostly dialed in. I'm not a carb guy at all, in fact this was the first rebuild I had attempted, and I'd say it went rather well. I drove it around a little today and plan to make a trip or two to work with it next week, possible once with the trailer/LJ in tow, just to make sure it's going to be reliable enough to head out to the woods. (and back :haha
Some of the crud in one of the bowls. Cleaned alot of this out...:eeek:
Something else that has always bothered me about the bronco, is a previous repair that had literally collected water, and peeled a, **** you not, foot long, by 8" tall by 3/8"ish thick piece of bondo from the side of the rig, just behind the drivers door, under the top.
****'ll buff...:redneck:
I don't have any finished pics, but I lazily redid the bodywork like it was my day off... and it definately shows, but I at least sandblasted the rust out, and only put 1 coat of mud on it.
Primed it, prepped out the rest of the panel and shot it with topshelf, premium showcar quality, super glamour, rustoleum gloss brack. :redneck: It looks shiny in the yard light... :haha: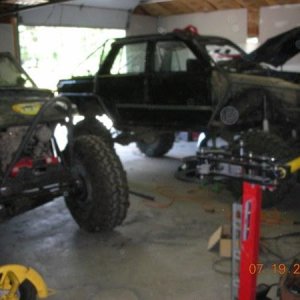
![IMG_3448[1].JPG](http://attachments.www.hardlinecrawlers.com/xfmg/thumbnail/4/4879-17f18b9835c9aff53472af91916fd571.jpg?1625928490)