Dad's Mach 1

Hardline Crawlers - Rock Bouncer Builds, Tech & Off-Road Trail Talk

Help Support Hardline Crawlers:

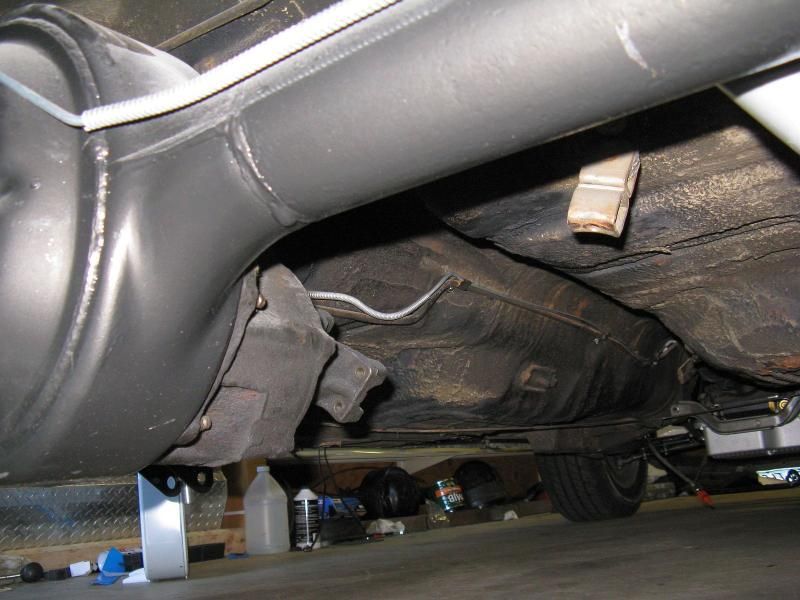
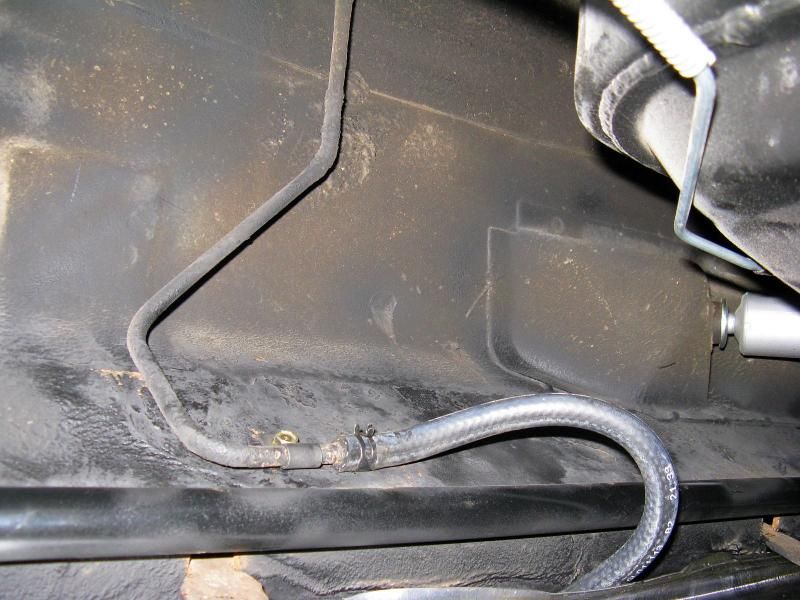
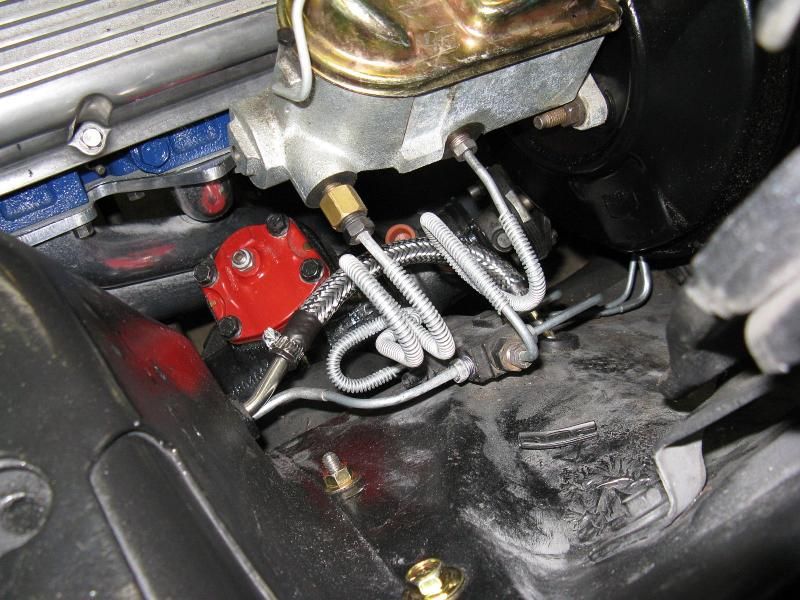
Spent today replacing the brake/fuel/vapor line clips and fasteners.. And sweating my ass off in a 90 degree shop...
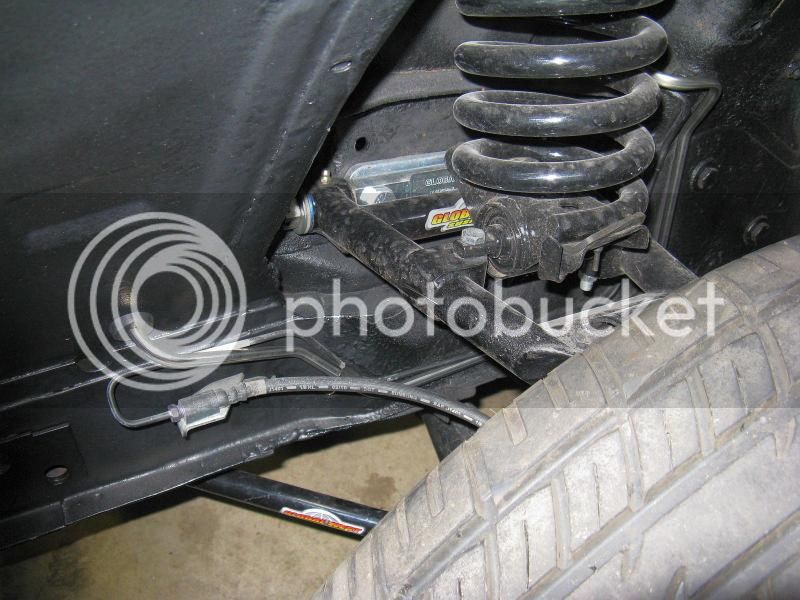
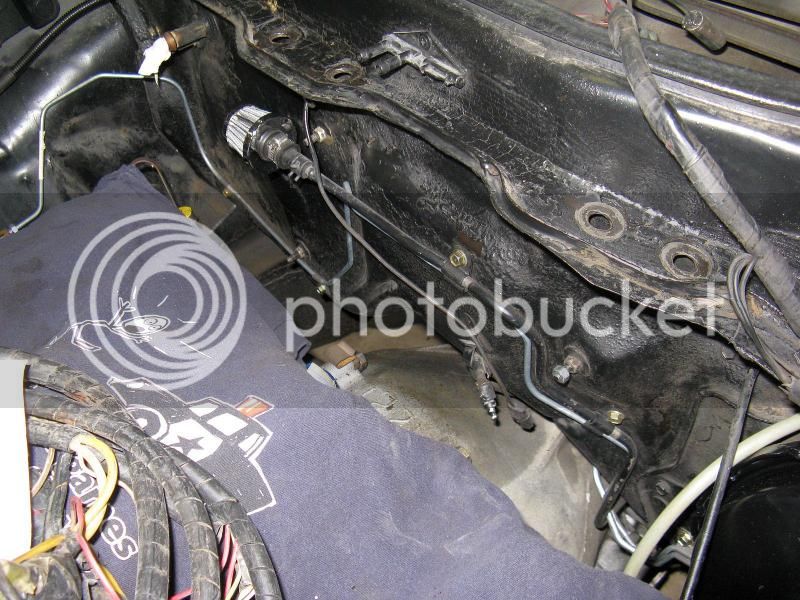
IMG_0709_zpsf2ff0716.jpg


IMG_0710_zps14dd1bb4.jpg


IMG_0711_zpsed96f6fc.jpg


IMG_0712_zps179f64b3.jpg


IMG_0713_zps93e89781.jpg
 
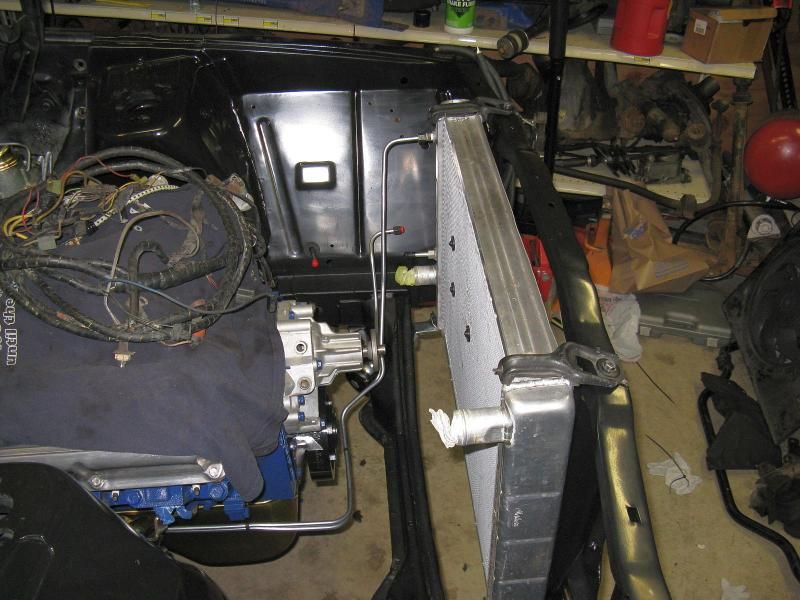
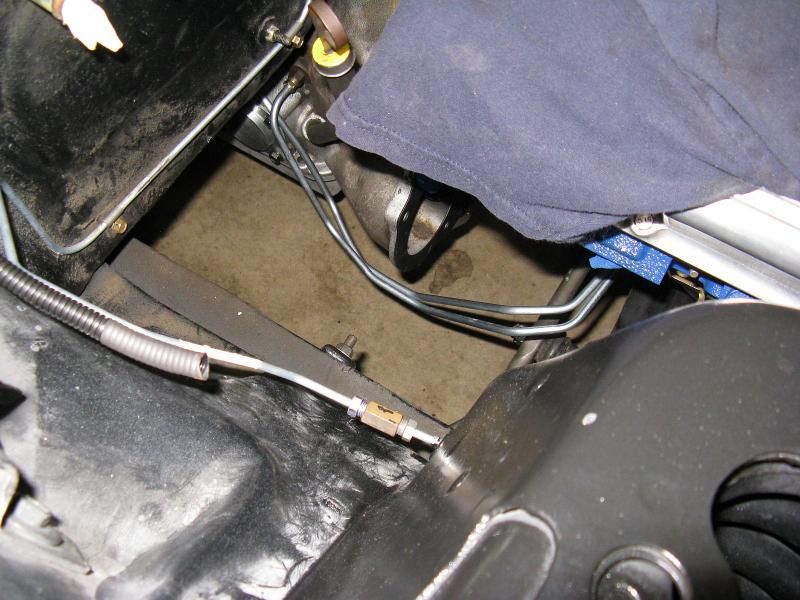
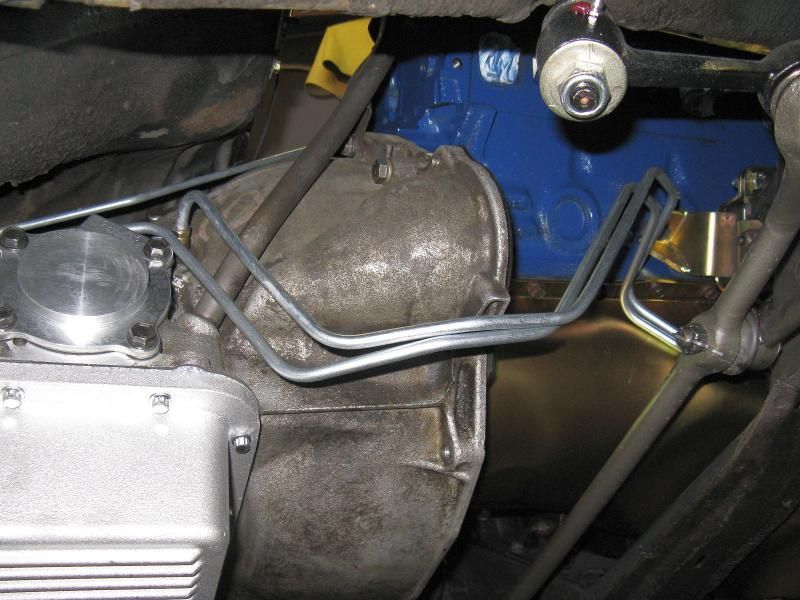
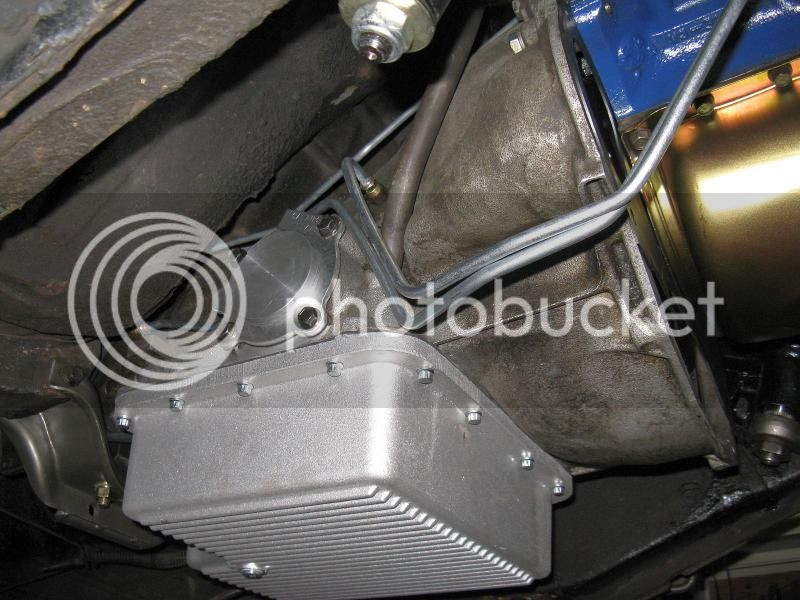
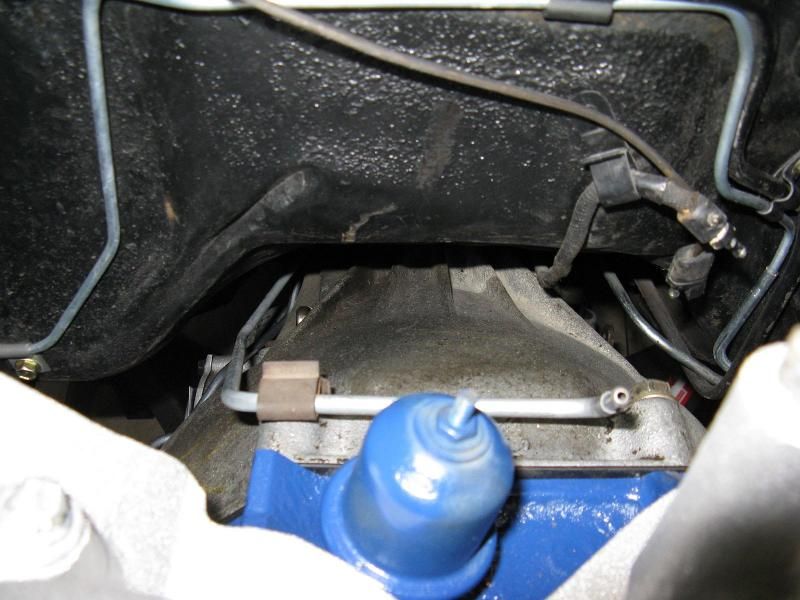
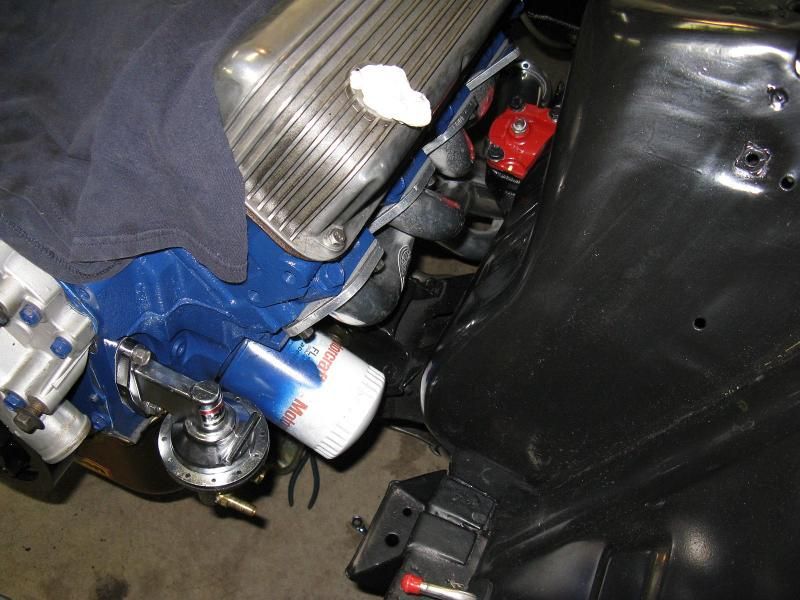
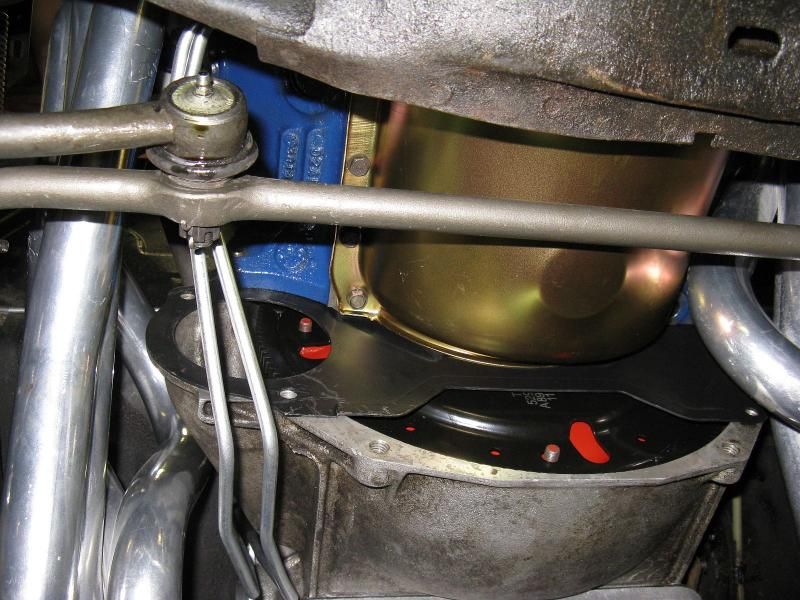
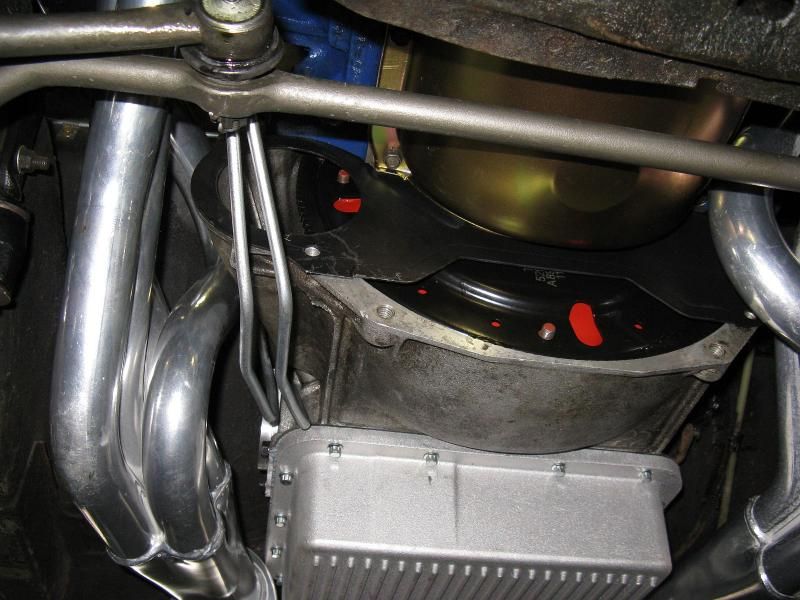
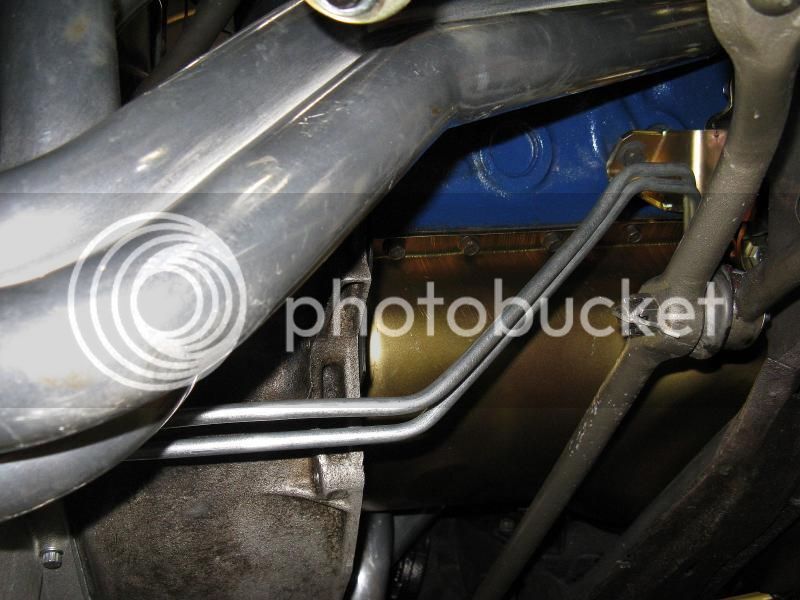
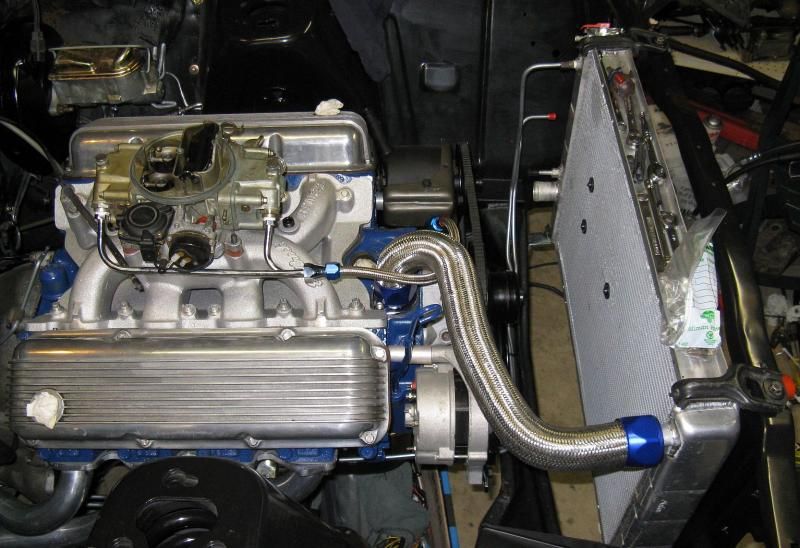
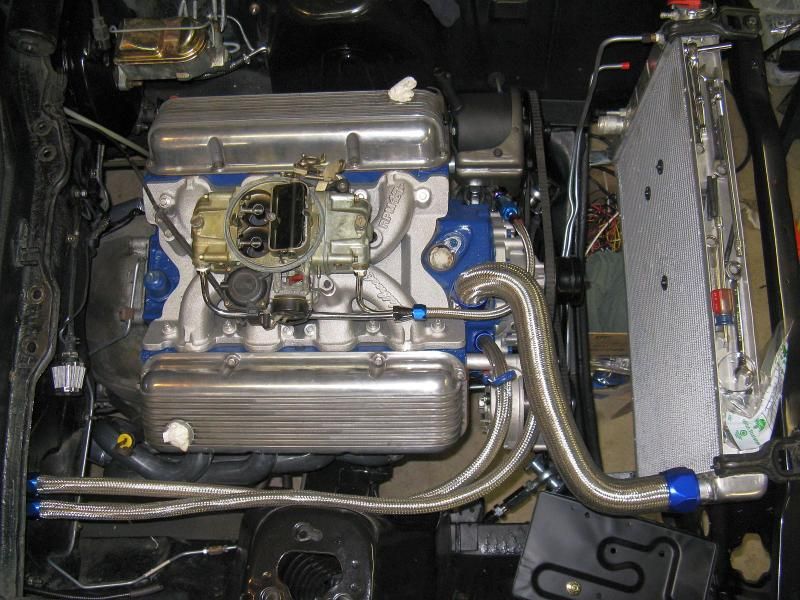
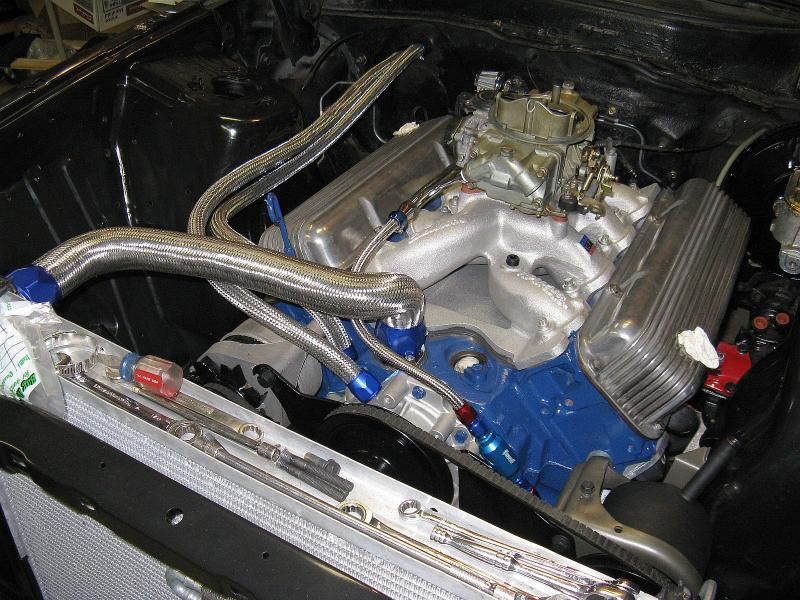
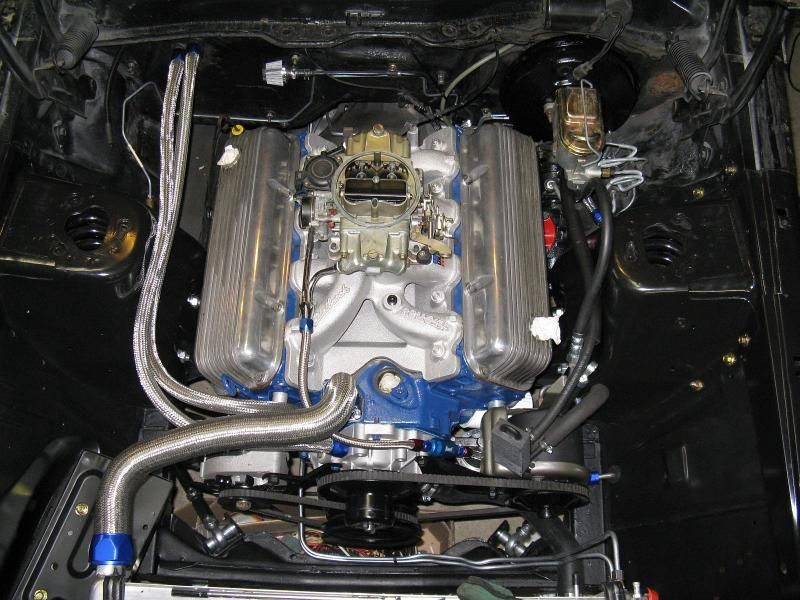
Spent most of today fighting with transmission cooler lines. I think these kinda poke out further and down more than stock. Guess we'll see how they clear the headers... or don't...

IMG_0720_zpsda897e84.jpg


IMG_0721_zpsc0dc4835.jpg


IMG_0722_zpsaaa4fdef.jpg


IMG_0723_zps64274090.jpg
[/

Also got the modulator line in.

IMG_0724_zps09f18fc7.jpg


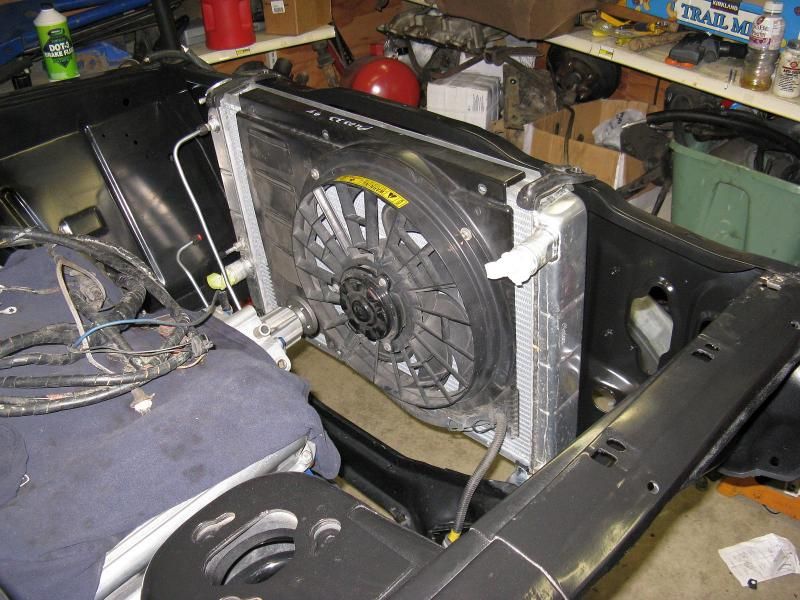
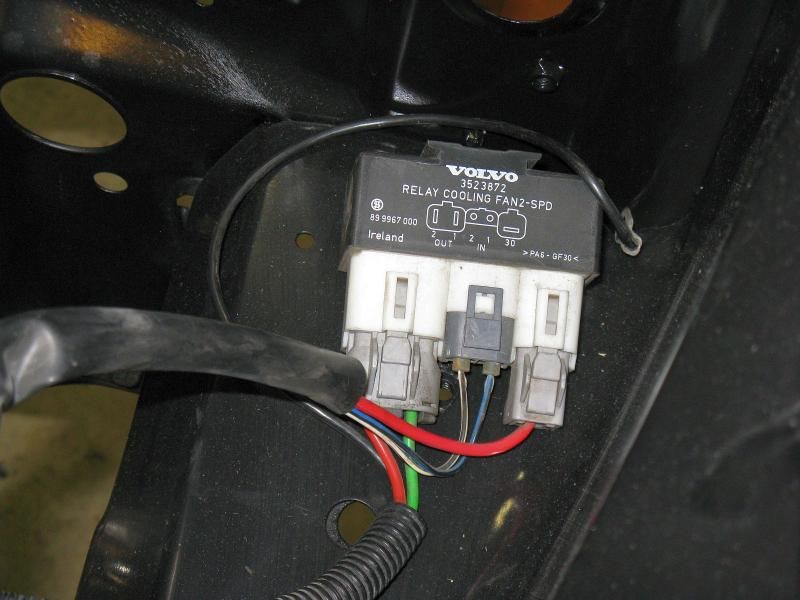
And... weighing my options for a cooling fan. Pretty sure I'm going electric. Just haven't decided on an aftermarket unit, or an adapted OEM one. These Volvo fans are starting to take the place of the "Taurus" fan. Tried a Mark8/T-bird fan, but there's not enough room without cutting its shroud.

IMG_0725_zps6b35af47.jpg


IMG_0726_zpsc641ec0b.jpg
 
Had an uncle come into town that I hadn't seen in 14 years... So, I got 6 hours today on the car.

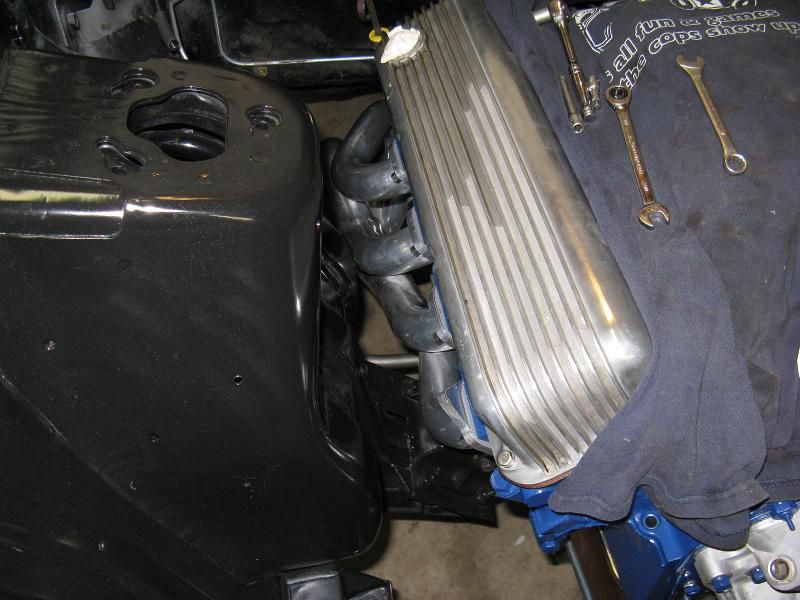
Put the headers back in,spent most of the day re-bending trans lines.

IMG_0727_zpsf1632753.jpg


IMG_0728_zpse76702b1.jpg


IMG_0729_zps57d45d9d.jpg


IMG_0730_zps80bf42a7.jpg


IMG_0731_zps1dcb9456.jpg


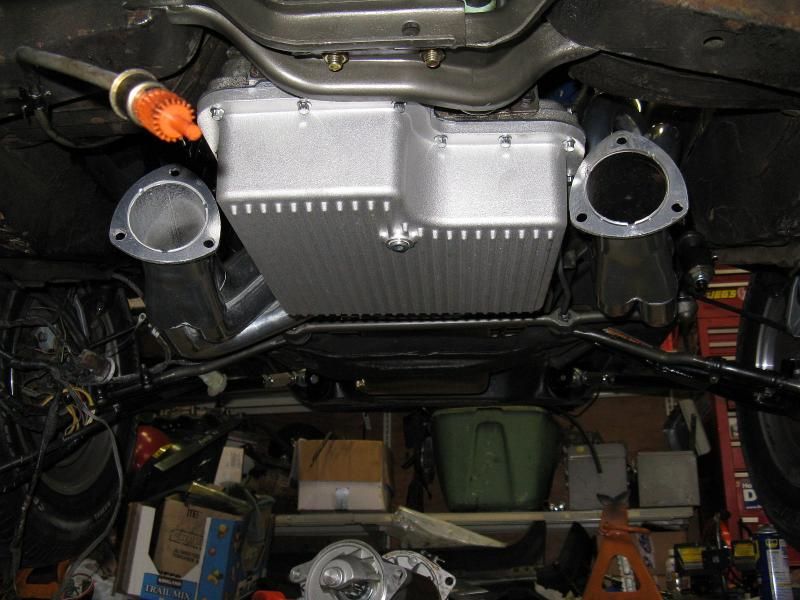
My favorite view:

IMG_0732_zps98ee0a03.jpg


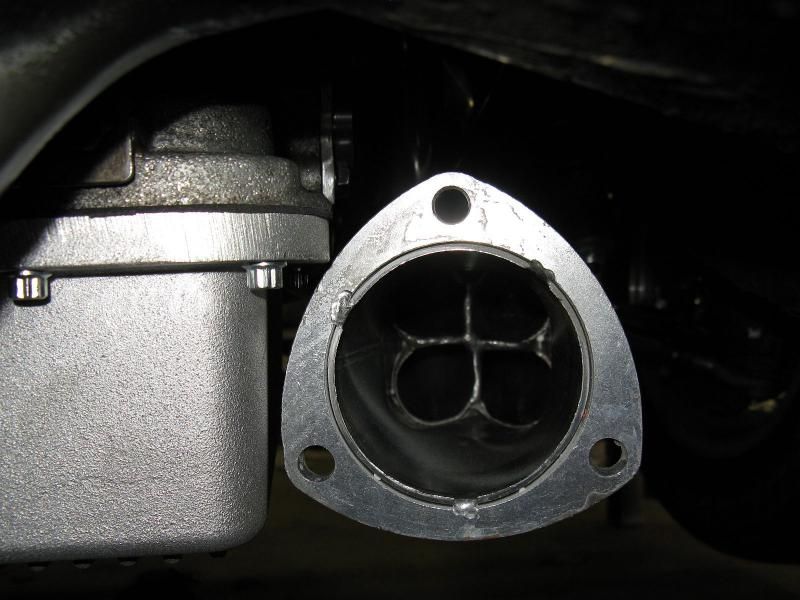
And the collector flange just clears... by a c-hair.

IMG_0733_zps655a982b.jpg
 
Are you planning on wrapping the header or the tranny line? You would be surprised how much heat will be passed onto that tranny line.
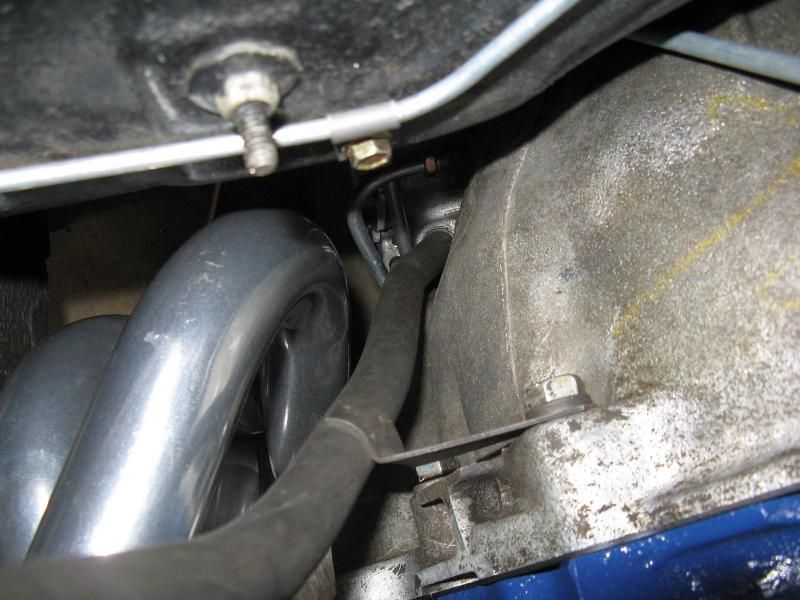
 
I wasn't as they are ceramic coated headers, but I have some DEI heat sleeve if needed. I also have room to tweak them away some more.
 
As an Amazon Associate we earn from qualifying purchases. Product prices and availability are accurate as of the date/time indicated and are subject to change.
Picked away at it again today. Not making as quick of progress as I would like. It seems the more I do to it, the more I find to correct, clean up, or replace. Oh well, the finished product will be nicer without a bunch of compromises.

Tweaked the trans cooler lines again. Now the closest spot is 1" away from the header.

IMG_0736_zps500e3d85.jpg


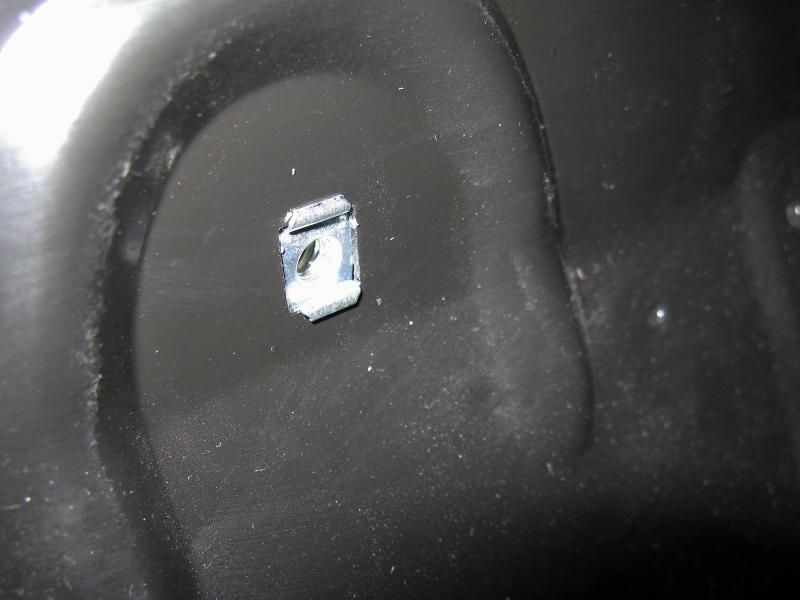
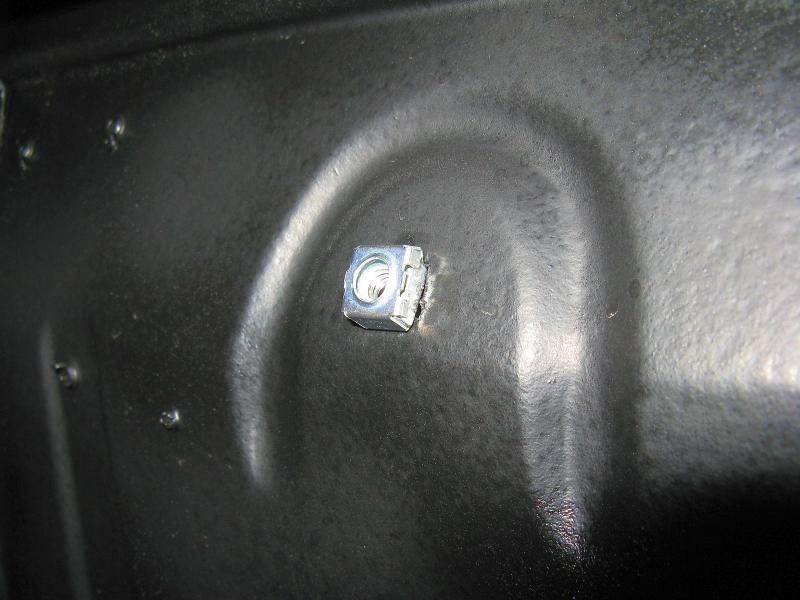
The body shop didn't replace the welded on nutsert in the inner fender for the battery L bracket, so I found this snap in caged nut at the hardware store today.

IMG_0734_zps545a5d57.jpg


IMG_0735_zps636787fa.jpg


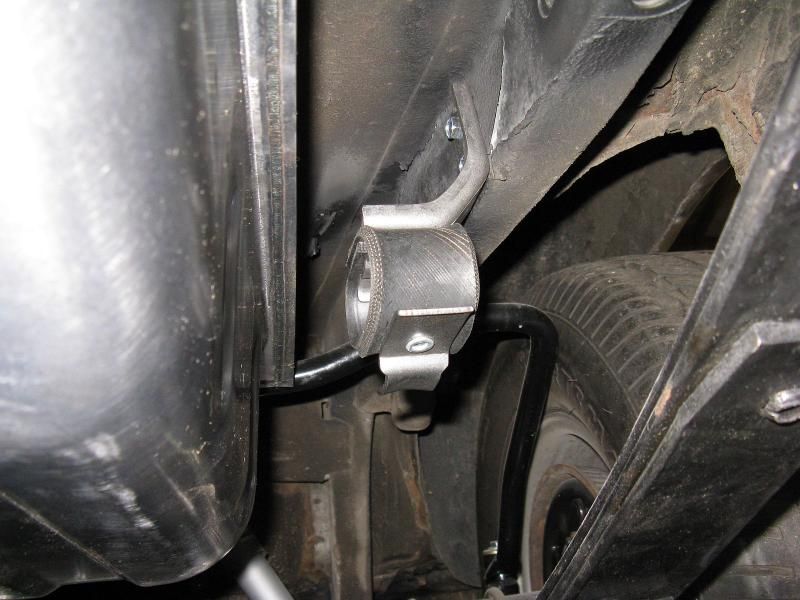
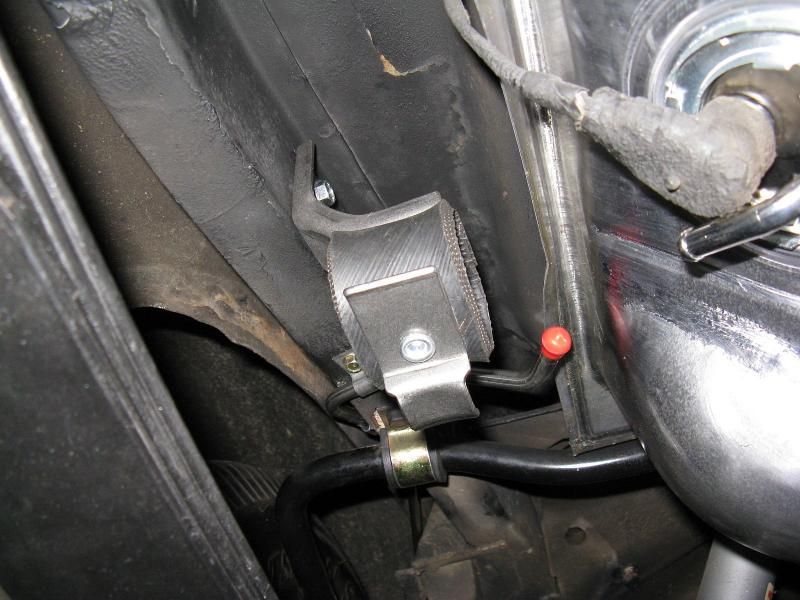
Installed the tail pipe hangers.

IMG_0737_zps13a48fe1.jpg


IMG_0738_zps6a4d82ca.jpg


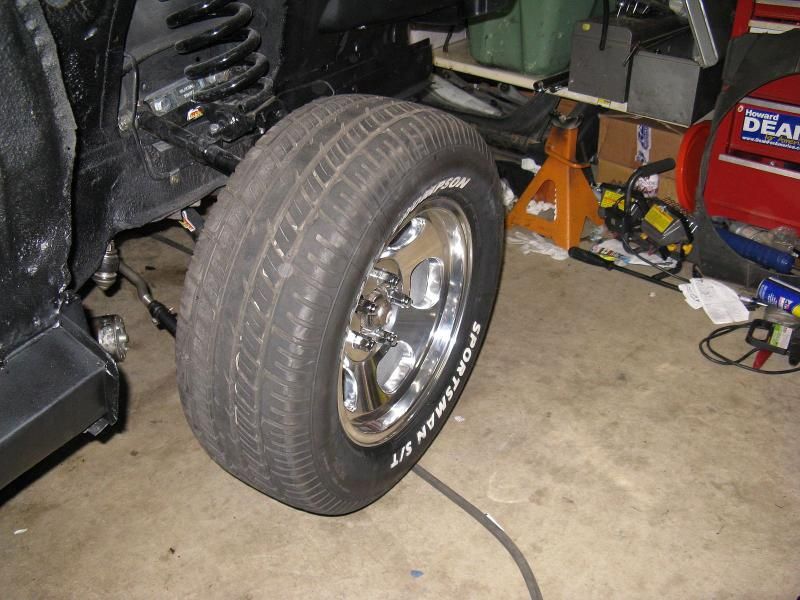
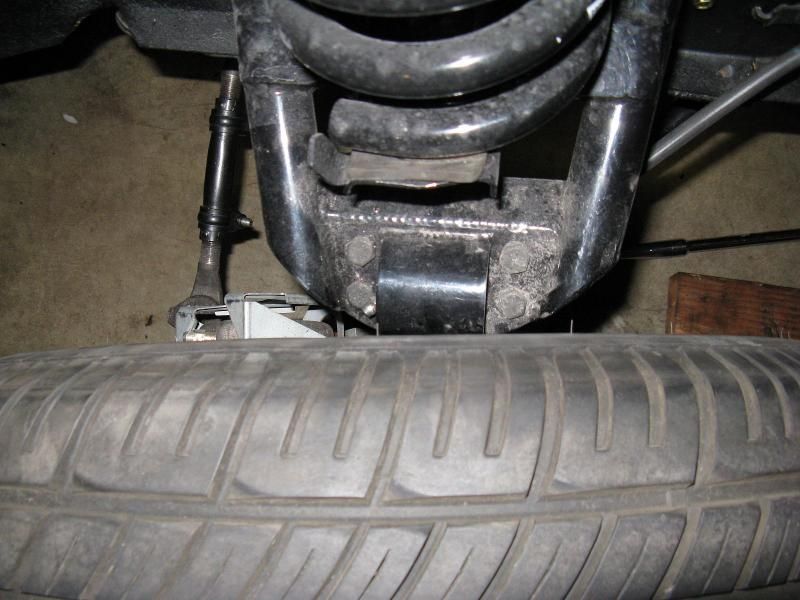
Swapped the front tires to 15x7 wheels today. I like the look allot more. Has a tucked look that matches the rear, and the original wheels with the old tires. It also gained clearance at the upper control arm. I'll see how it clears once the car is on the suspension again.

IMG_0739_zps7edd1ac5.jpg


IMG_0740_zps44e43549.jpg
 
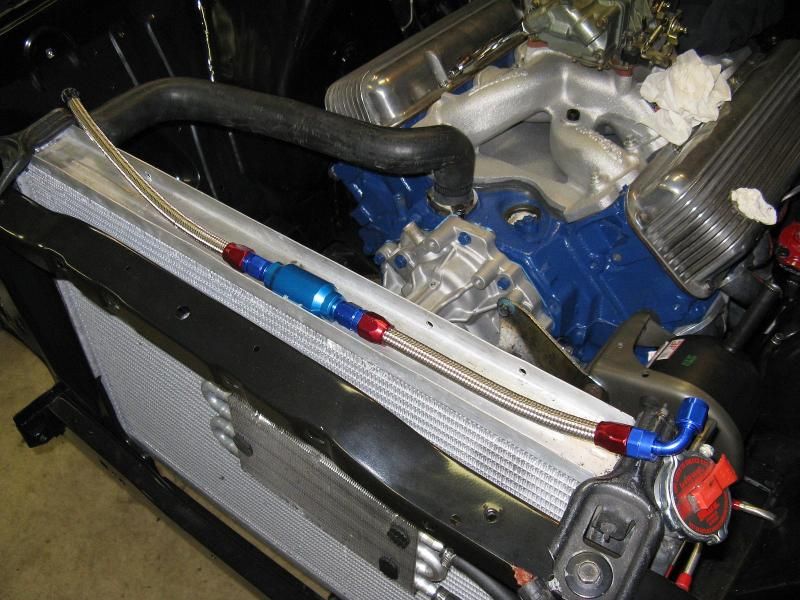
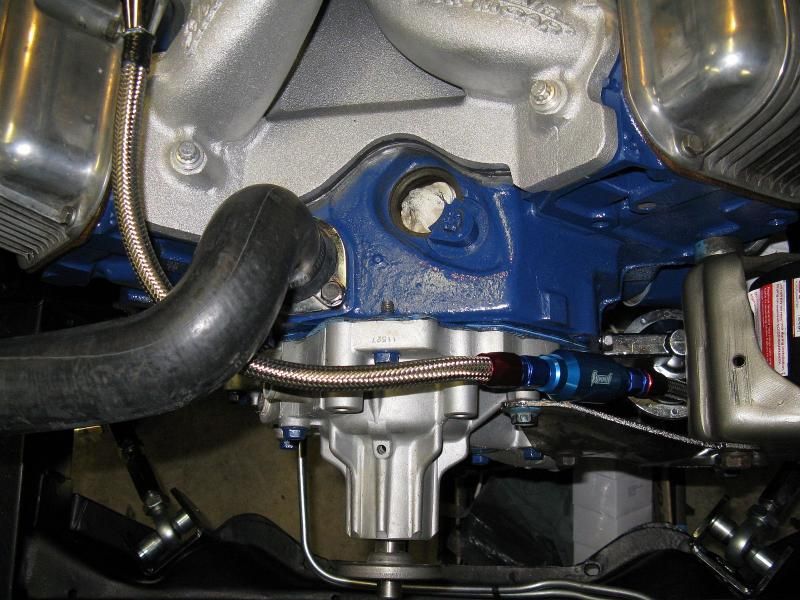
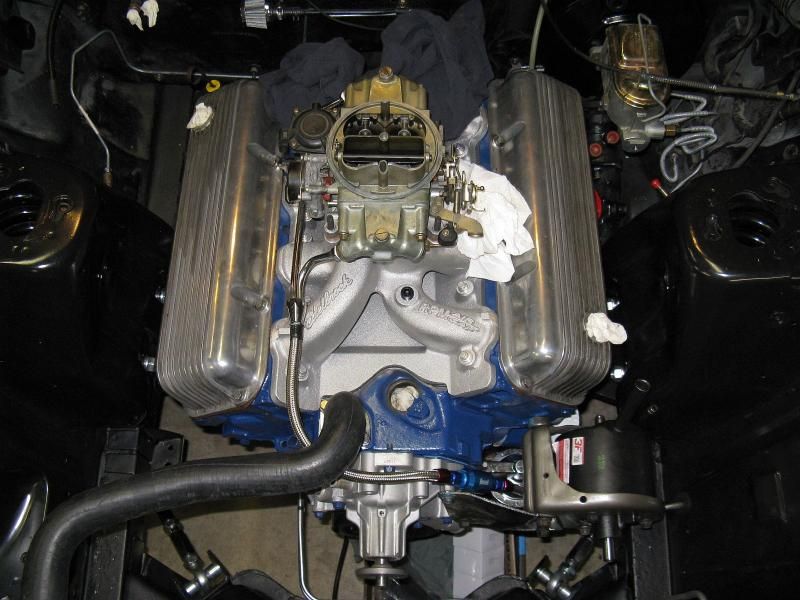
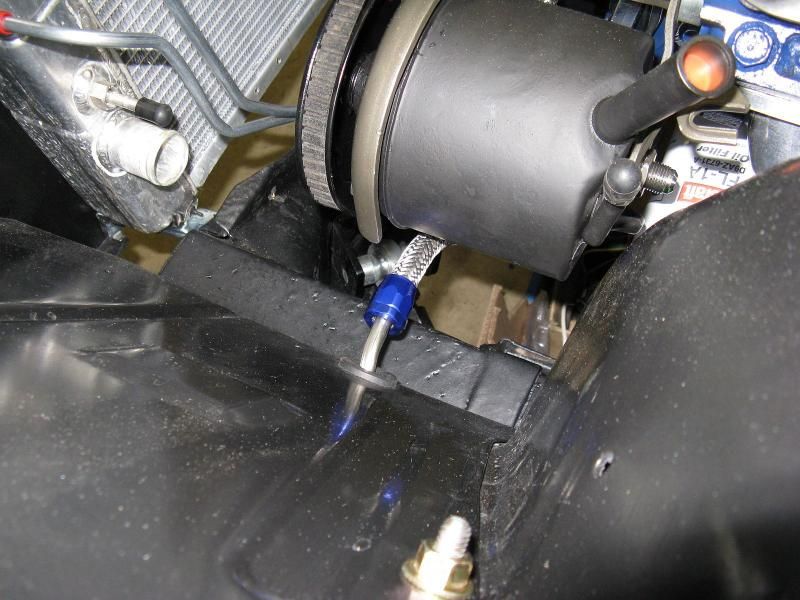
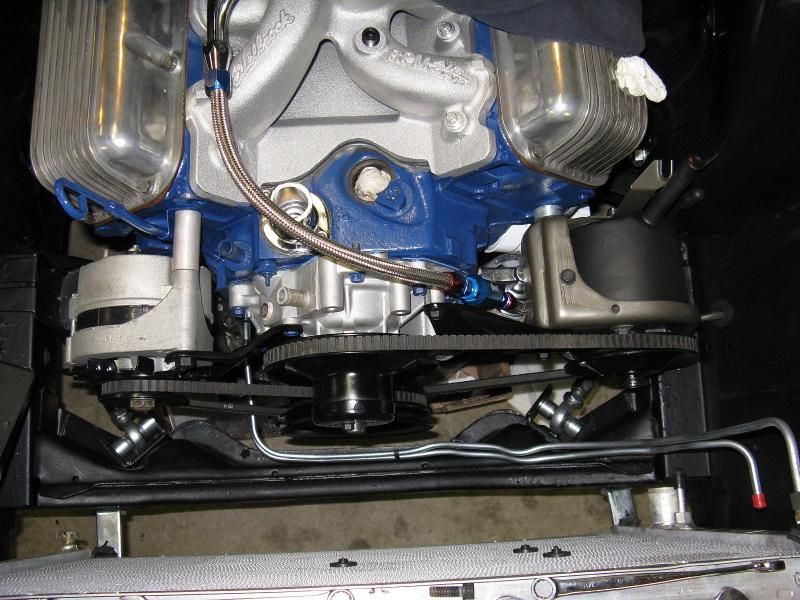
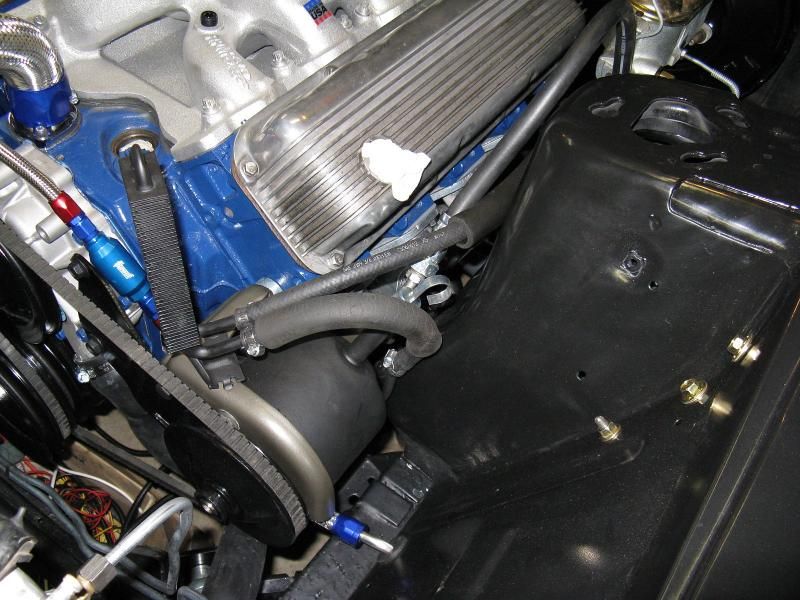
First time installing fittings on AN hose. Easy enough after watching a couple video's on it. Ended up having to mostly install the power steering pump so I could mock up the line and then route it. Got that done, lots more to go.

IMG_0747_zps74ac692e.jpg


IMG_0746_zps9626a0bb.jpg


IMG_0745_zps751512ae.jpg
 
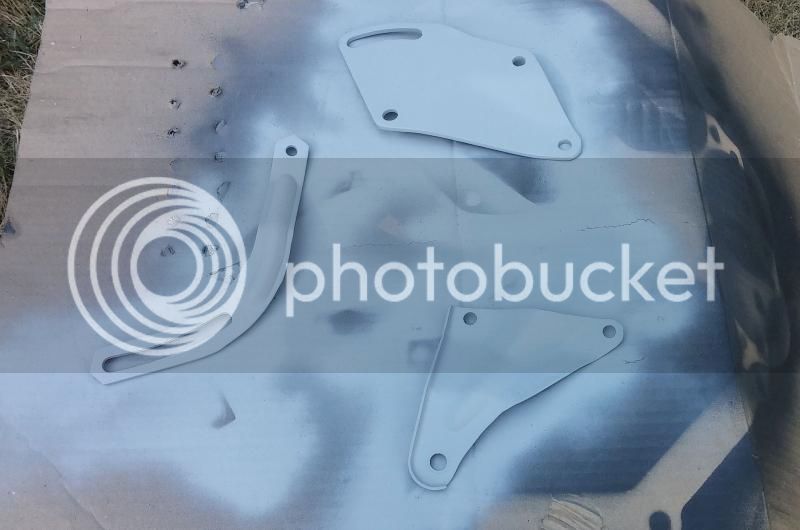
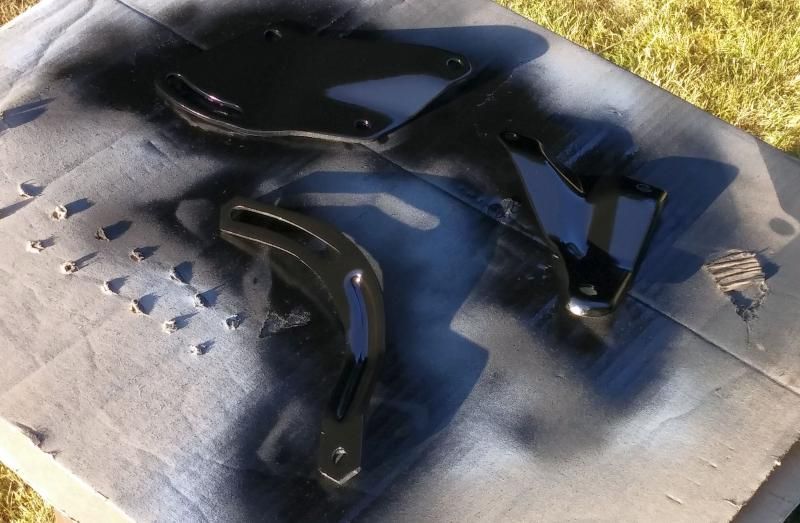
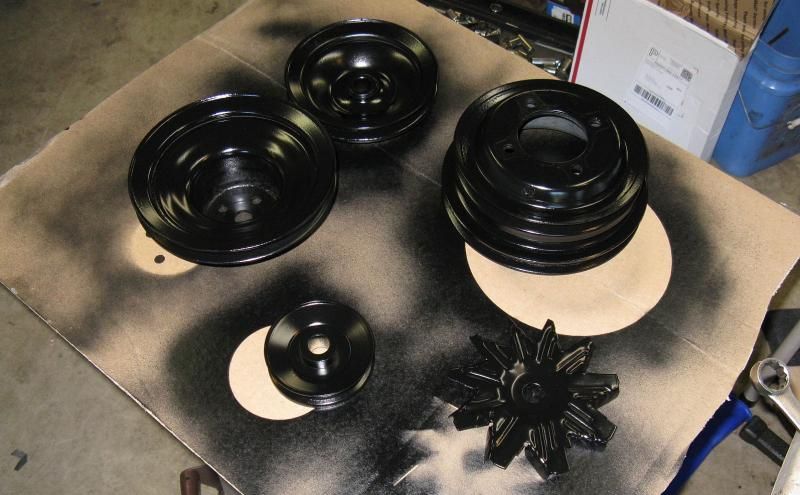
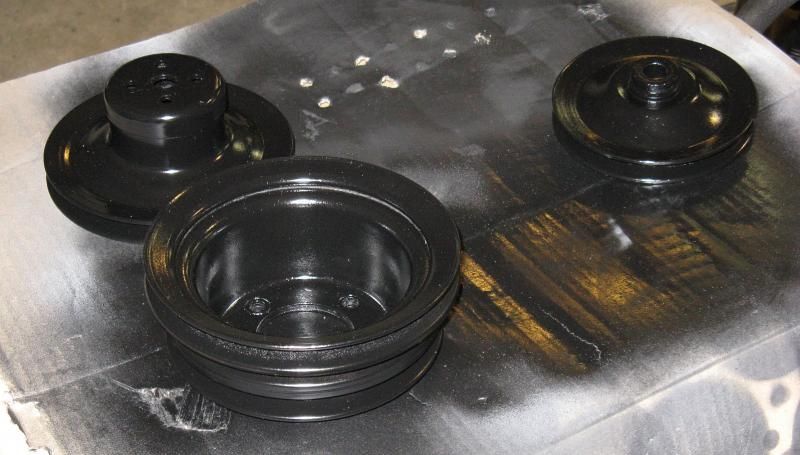
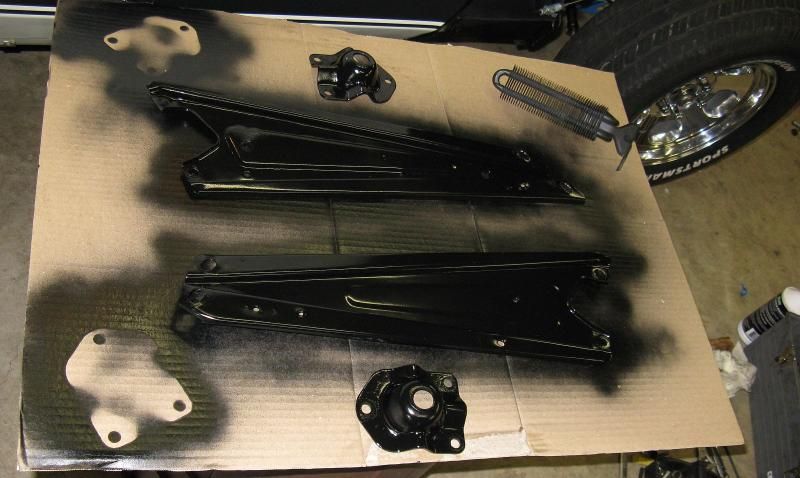
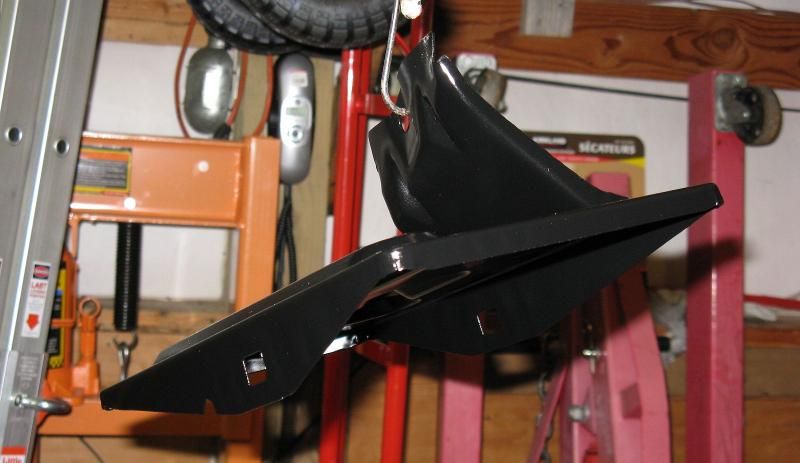
It ain't much, but it did take 5 hours... Pulled the brackets off the core engine, stripped them bare, and got some paint on them. Ended up stripping them because someone painted them (badly) with hammerite or another epoxy paint. Replacing my original brackets because they were chromed at some point and are rusting.

0803141618_zps986ac217.jpg


0803141855_zpscaae5734.jpg
 
Progress is progress. This thing is already cool. It'll be really sweet when your done!
Good looking out for those little problems and fixes.
cheers
 
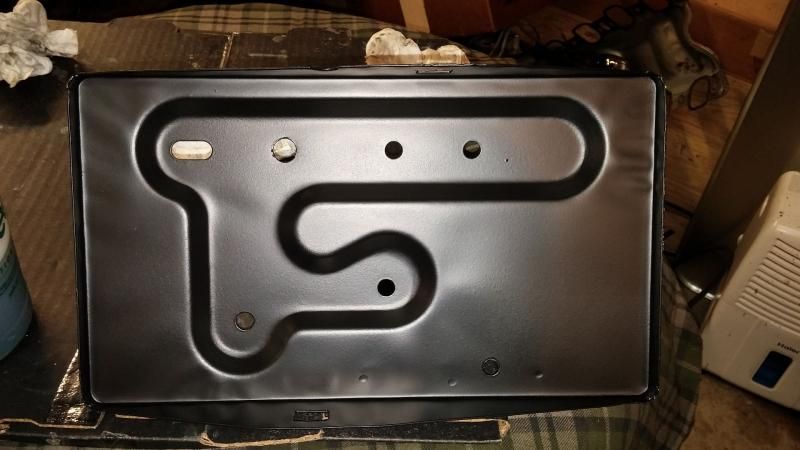
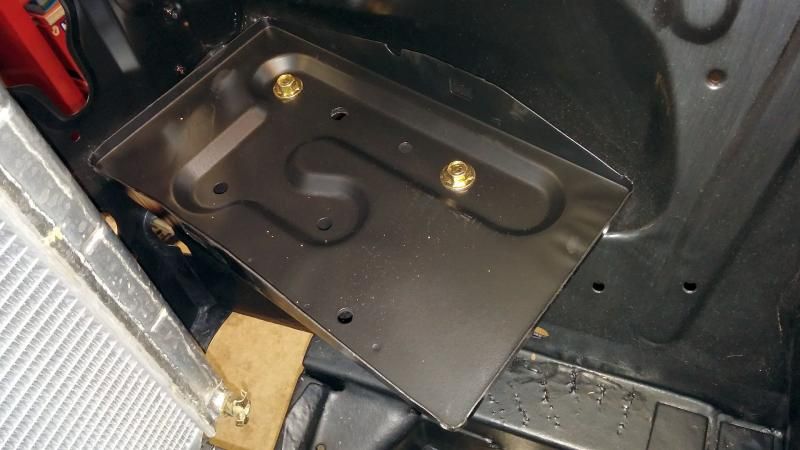
I painted the inside of the battery tray with plasti dip, in an attempt to protect from corrosion. Installed it tonight.

0812140658_zpscb711829.jpg


0812142006_zpsf10c20e2.jpg


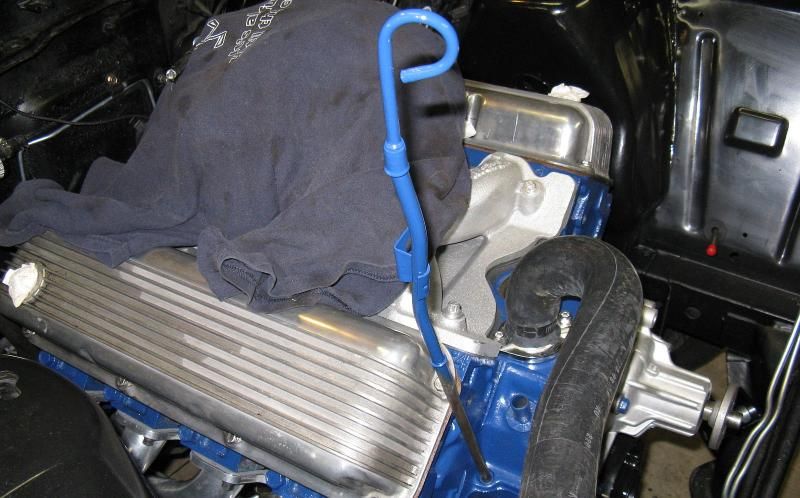
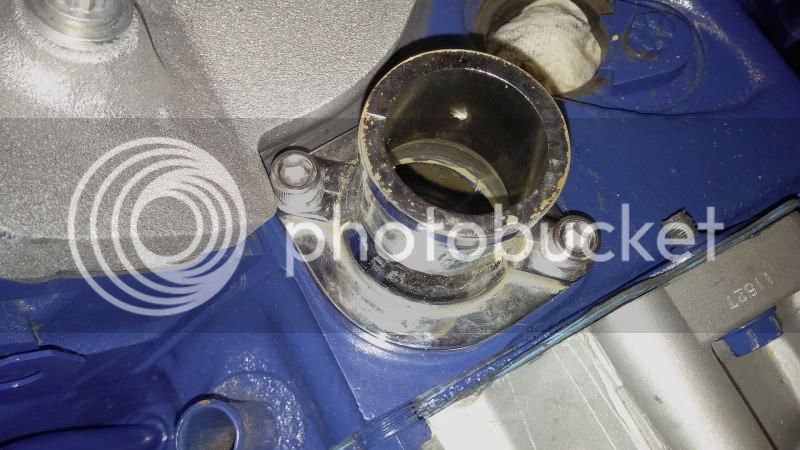
I had to use allen head cap screws to clear the intake for the water neck.

0812142007_zpsd1296b01.jpg
 
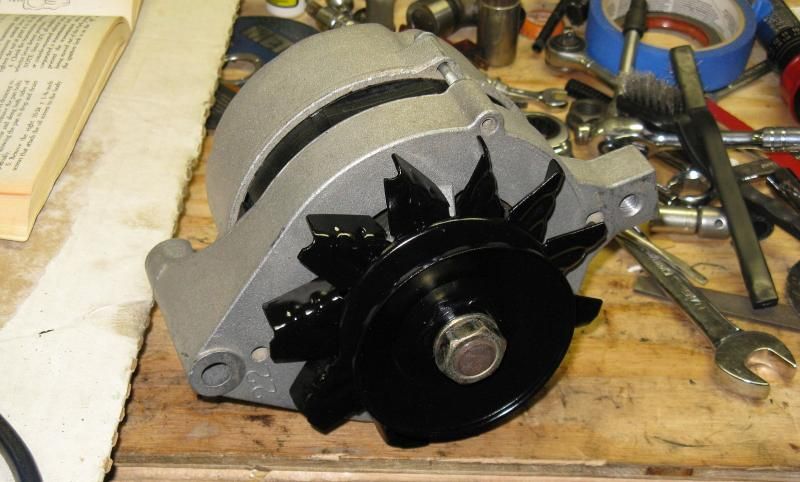
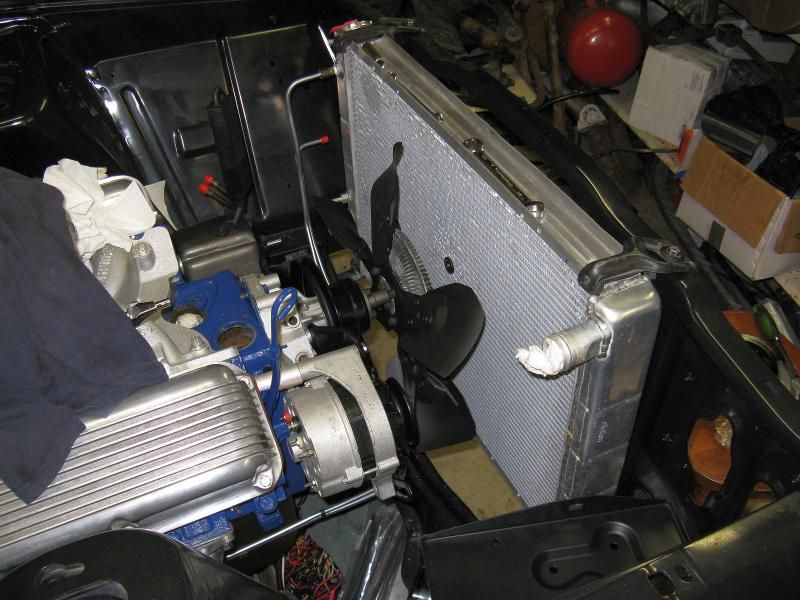
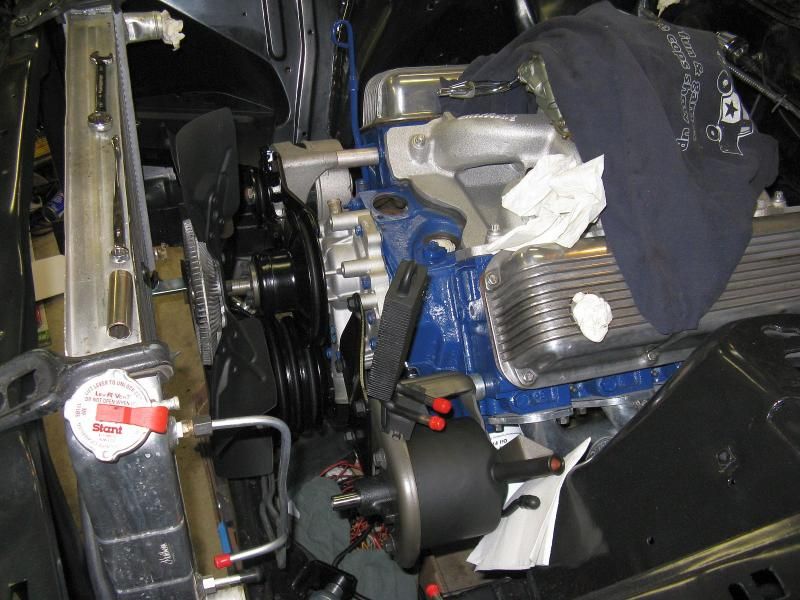
Took yesterday off. Went to a junkyard and harvested a clutch fan from a grand marquis. I'll go electric later. Today, I got the front accessories installed. Just need to press the power steering pump pulley on.

IMG_0764_zps5e1d9311.jpg


IMG_0763_zps983acb71.jpg
 
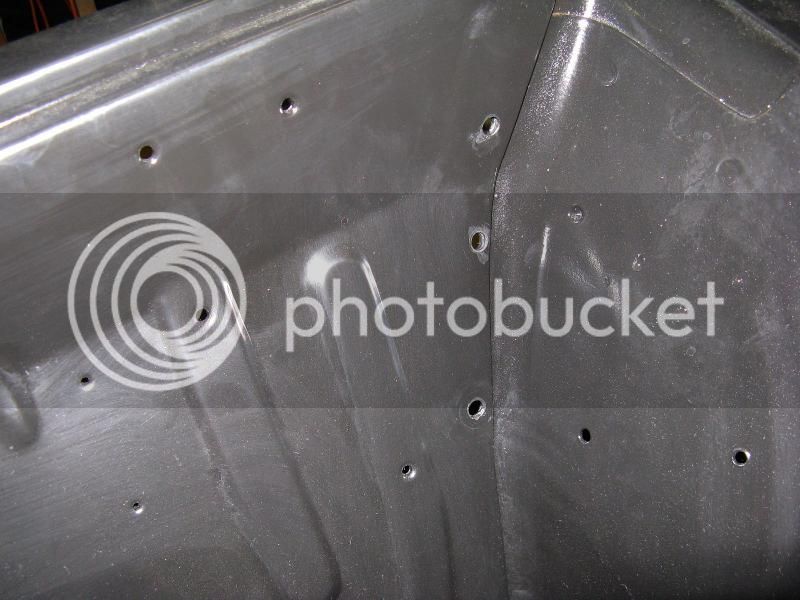
I had to drill the front side holes for the shock tower braces, because the body shop did not.

IMG_0781_zps1c97fc61.jpg


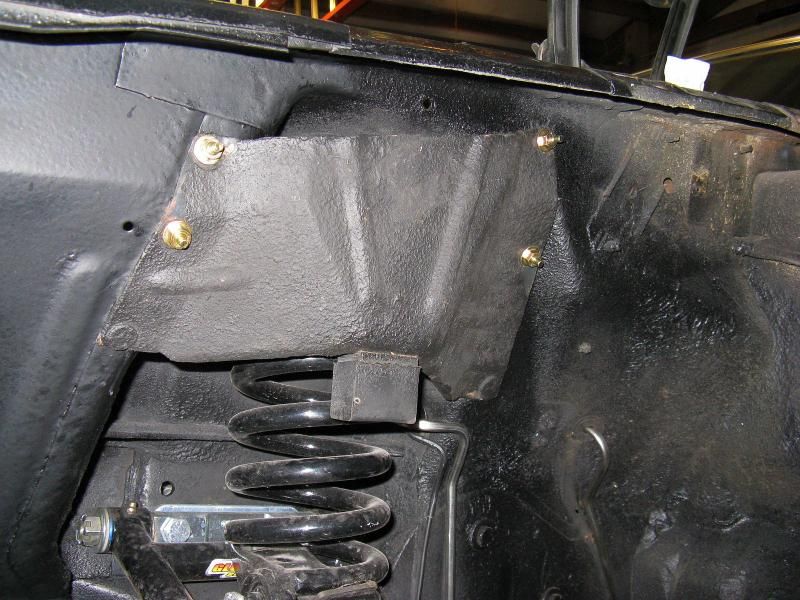
I got one side done and the coil cover/tower brace installed.

IMG_0779_zps6f6e5859.jpg


IMG_0780_zpsac0b7fb2.jpg


Unfortunately, the passenger side brace was bent and does not line up with all the holes. The bump stop is also bent in towards the spring. Probably from the prior collision damage.

I'll be ordering a repro brace unless someone has a good used one around.

So I turned my attention to the wiring harness...

How not to add an ammeter.

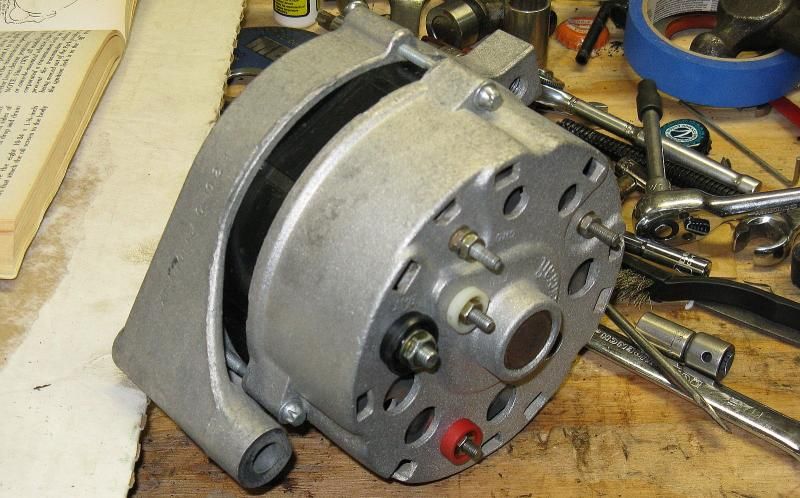
I knew that previous owner(s) added factory tach and gauges to my car. I never noticed the ammeter do much. (which isn't out of the ordinary for this vintage) I knew that wiring it wrong can burn your car down, so I had always planned on going through and checking out the wiring.

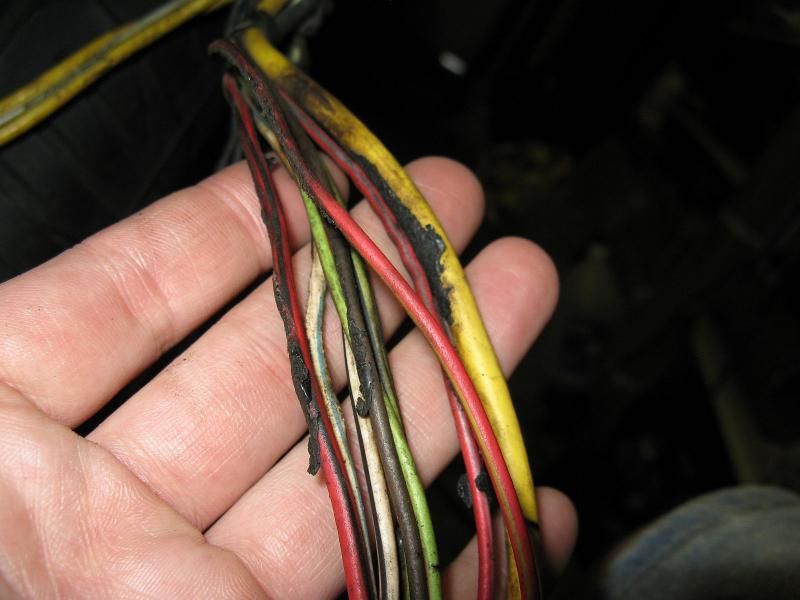
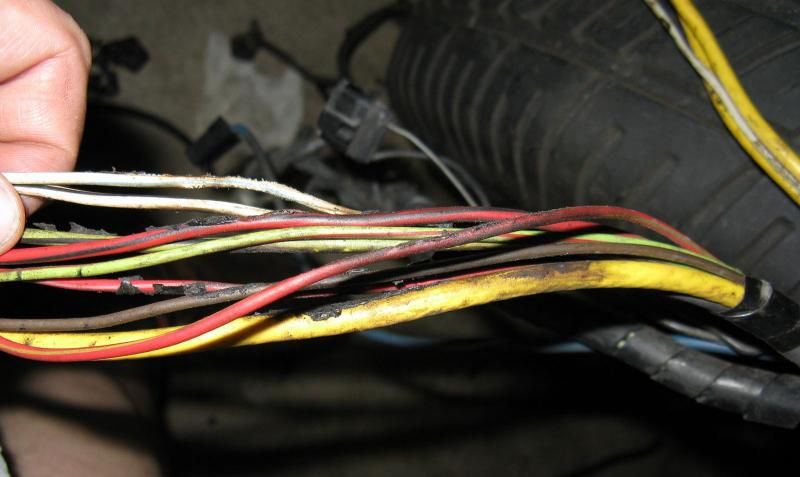
Yeah, they did it wrong, and looks like they were on their way to burning the car down.

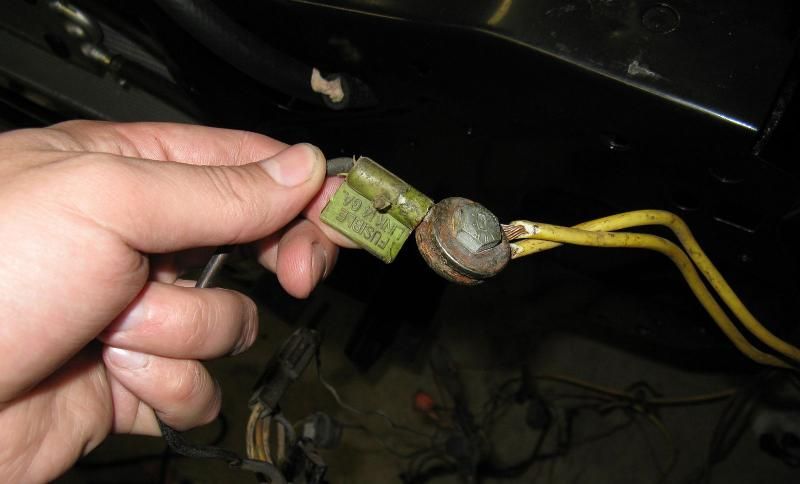
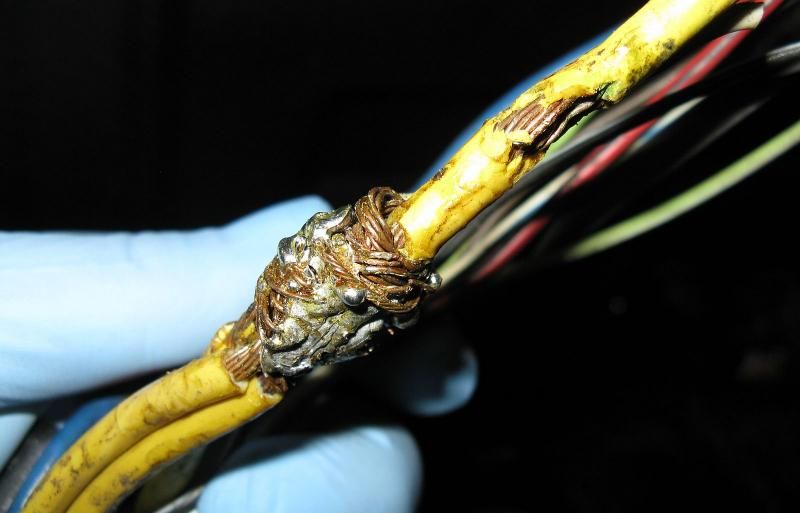
So, the alternator harness, voltage reg harness, and the fusible links were always kinda in a bundle that was intertwined... So I started buy unwrapping this lump. What. The. F!ck.

IMG_0767_zpsabe7f496.jpg


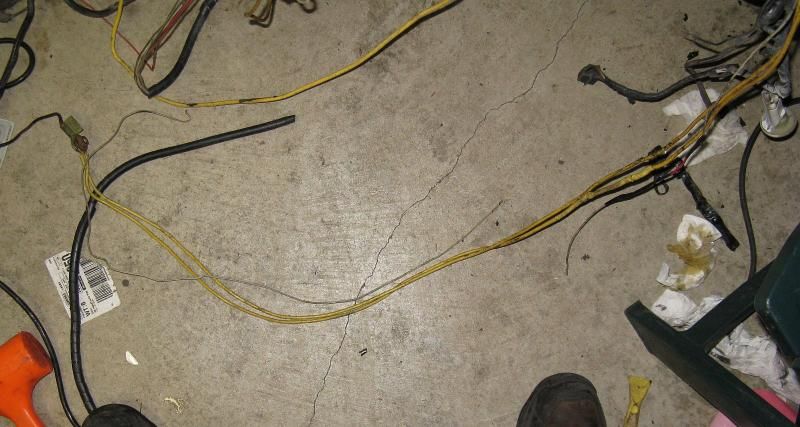
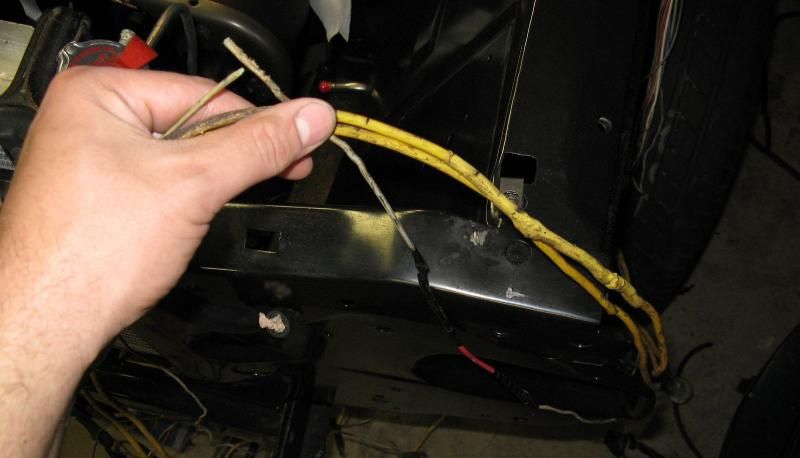
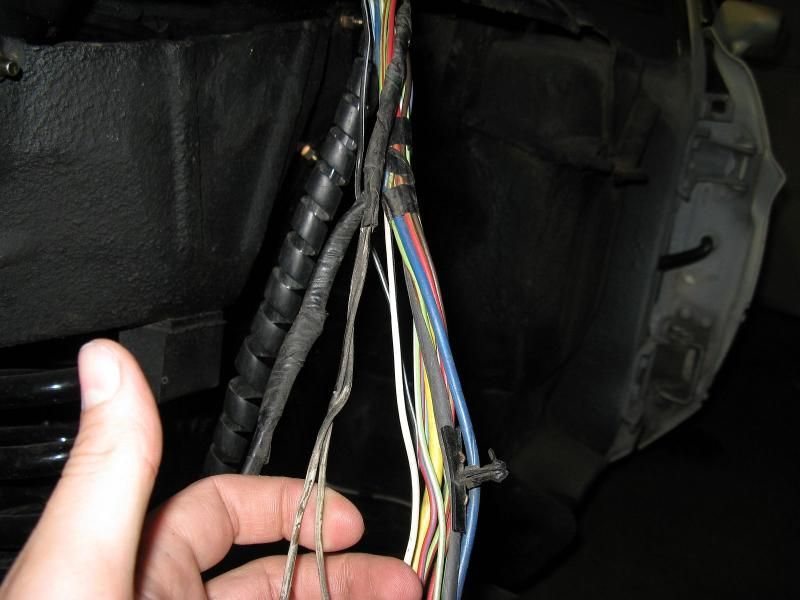
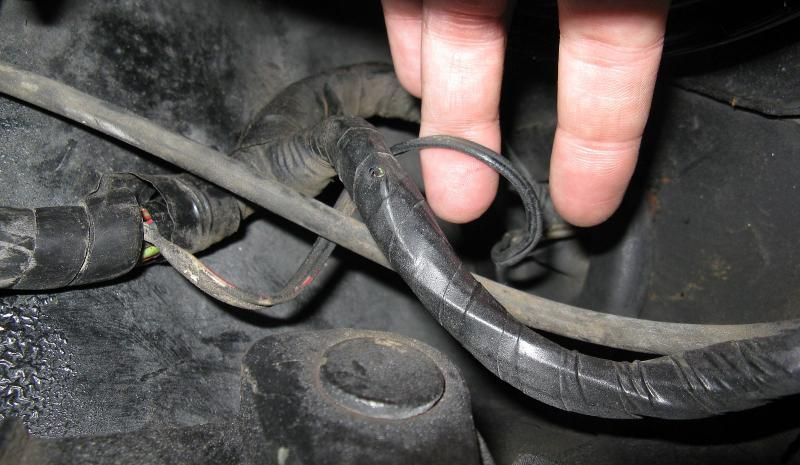
The small grey wire was taped at it's end, hanging amongst the cluster. Following it up the harness revealed it was broke, and burnt, and spliced.

IMG_0768_zpsaa215607.jpg


IMG_0769_zps5b8d5ba2.jpg


It followed along with the double heavy yellow wires that were bolted to the fusible link, up to the next lump in the harness.

IMG_0770_zpsa359c880.jpg


Where a second grey wire was spliced in, and joined the first in a twin lead, up the harness, and through the firewall grommet.

IMG_0771_zps862b5534.jpg


IMG_0772_zps7207fd0d.jpg


And over to the cluster where it was "plugged into the center gauge harness... (with half the plug missing)

IMG_0773_zps776b30e8.jpg


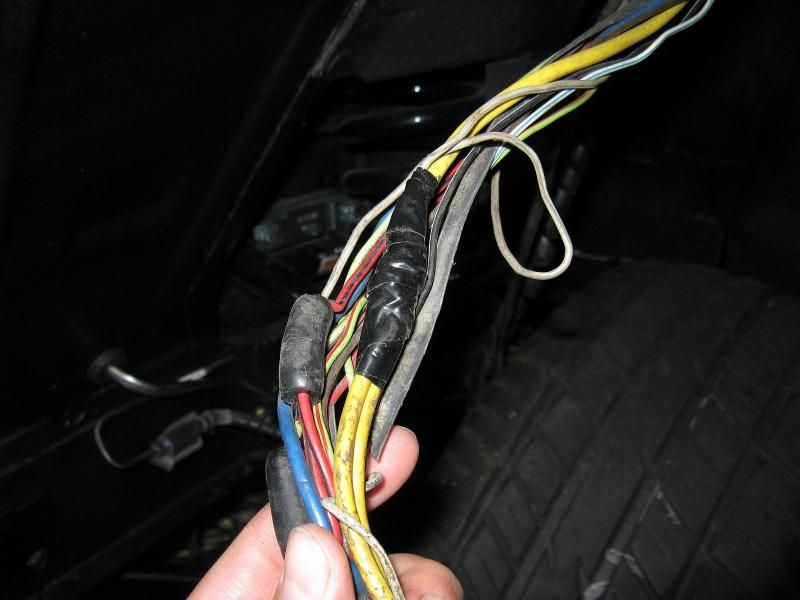
This made the harness unhappy.

IMG_0774_zpsfd804c66.jpg


IMG_0775_zps6809930a.jpg


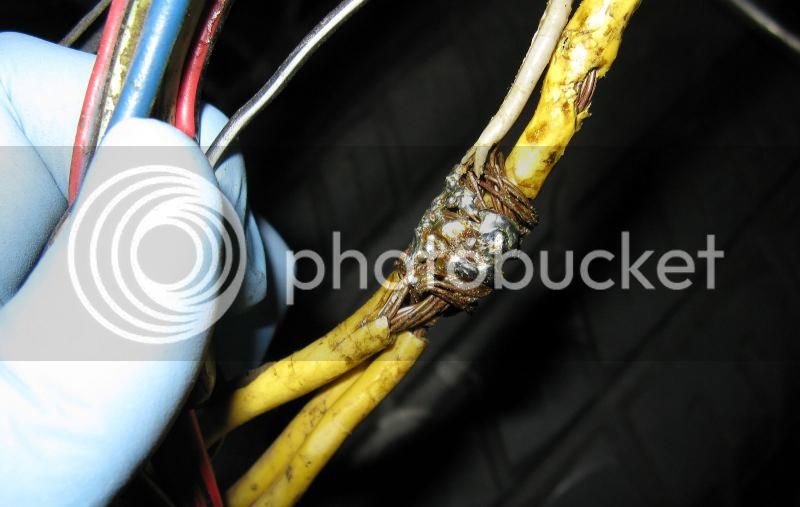
So I set about removing their attempt at ammeter wiring. This was the large lump under the tape.

IMG_0776_zpsf8de18c7.jpg


IMG_0777_zps231568de.jpg


I was able to melt the solder out and was left with the original main wire.

IMG_0778_zpsb1cb0388.jpg


Now.. to continue and unfuxor this harness. :rolleyes:
 
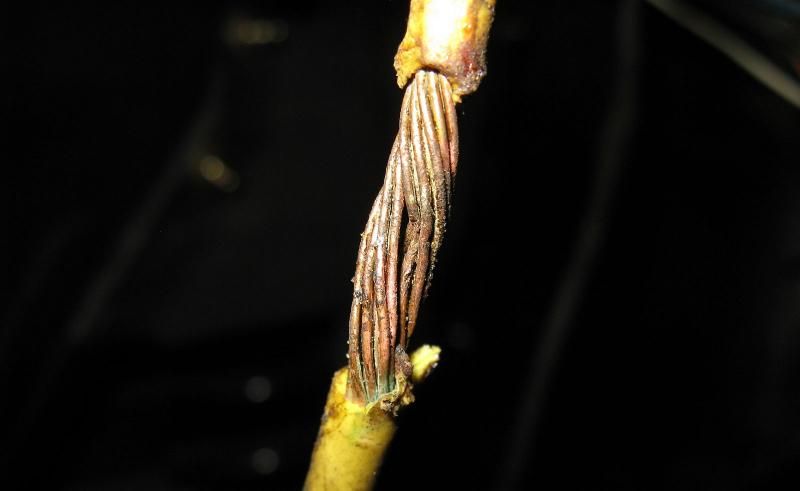
You might want to replace that wire.

Once the corrosion is in there, it tends to make the wires brittle over time.
 
I am kinda curious why you don't just buy a ready to go stock harness?
with those kinds of things being in the harness' past I wonder if it is really gonna be safe from now on?
Literally curious. not bashing at all.
cheers
 
I am kinda curious why you don't just buy a ready to go stock harness?
with those kinds of things being in the harness' past I wonder if it is really gonna be safe from now on?
Literally curious. not bashing at all.
cheers

They don't repop them yet. They do for '71s, and they're like, $399.95...

My harness is on its way to Midlife harness restoration, and I have a second stock used harness on its way to me.
 
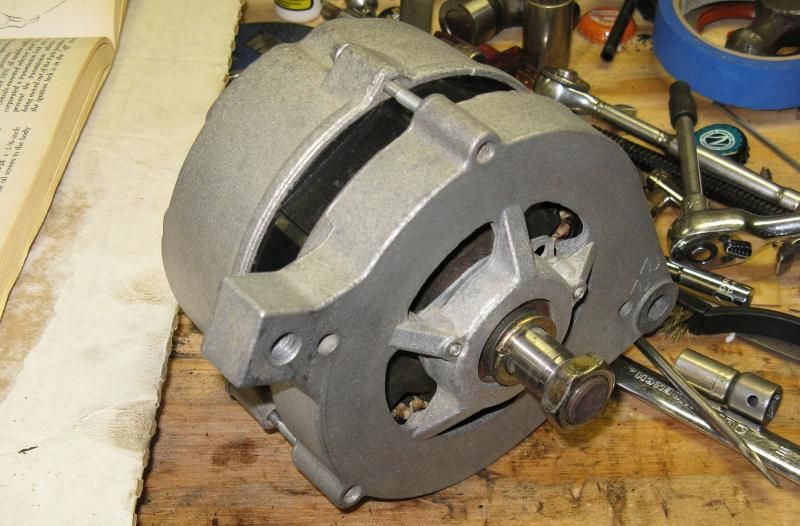
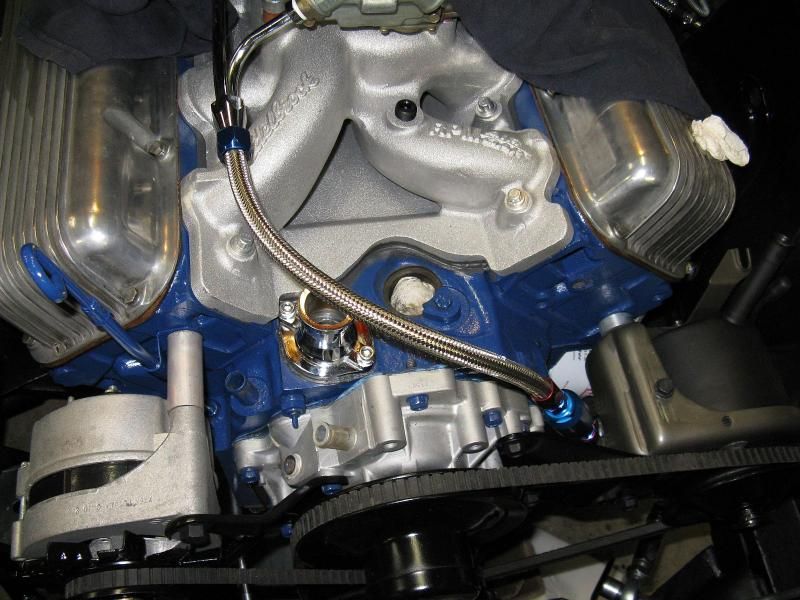
Pressed the power steering pulley on. Also started on the hoses. That stainless braid is a pain in the fingertips.. If it didn't look cool to me... forget it.

IMG_0785_zpsc15e3750.jpg


IMG_0786_zps26ea9829.jpg


IMG_0787_zpse221f2af.jpg


IMG_0788_zps1f96f245.jpg


IMG_0789_zps307a2494.jpg
 
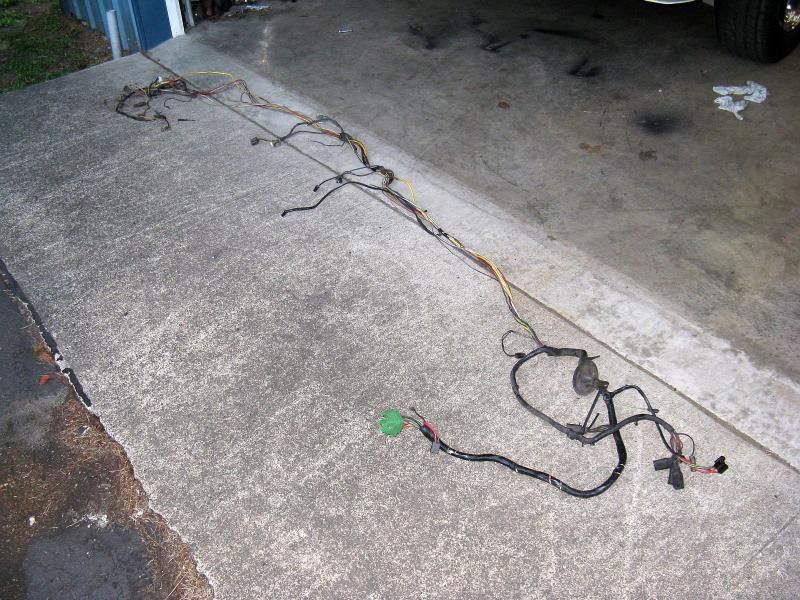
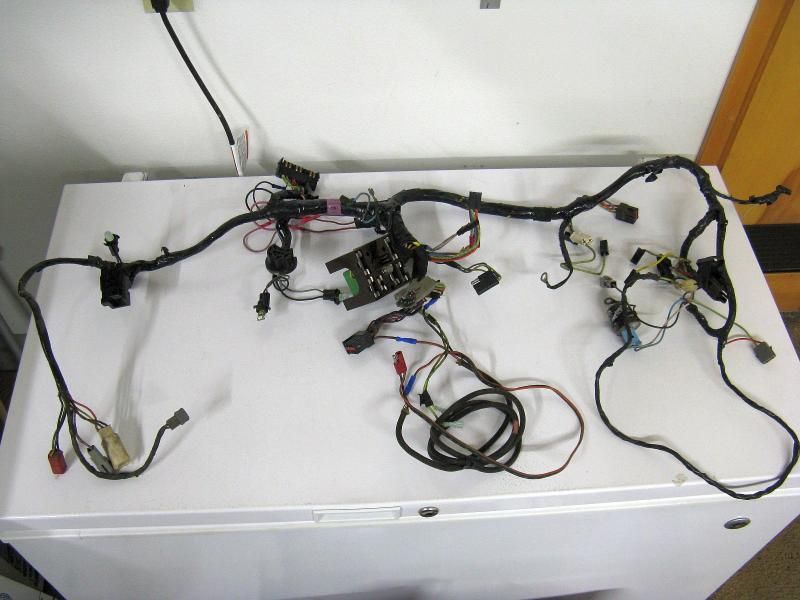
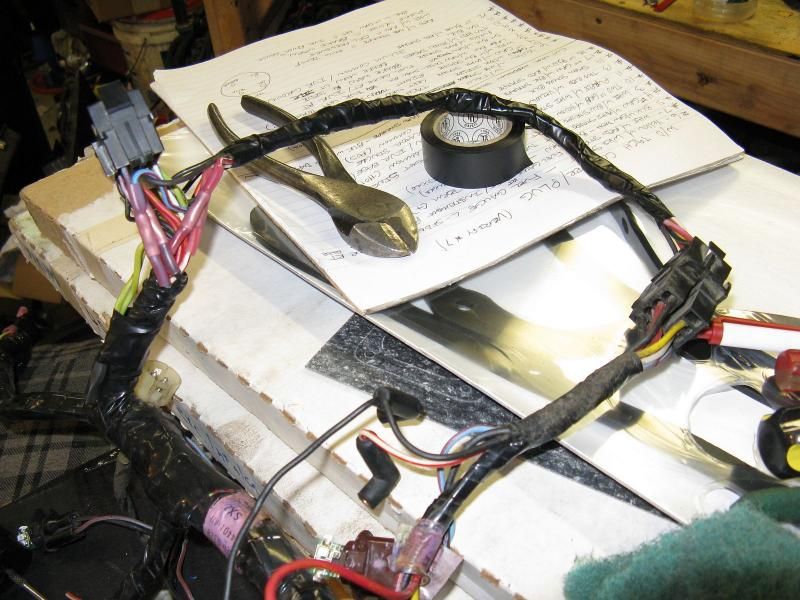
Tonight's progress... Got the dash harness out.

IMG_0797_zps8abc4757.jpg


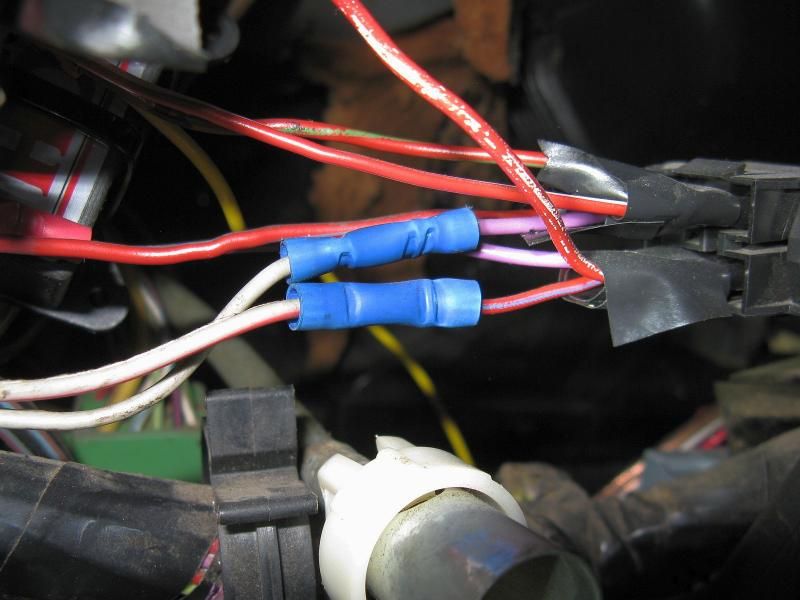
They were creative adding the tach feed. They spliced in a pink coil resistor wire... Maybe they were worried about burning it up...?

IMG_0798_zps9cbbb2d5.jpg
 
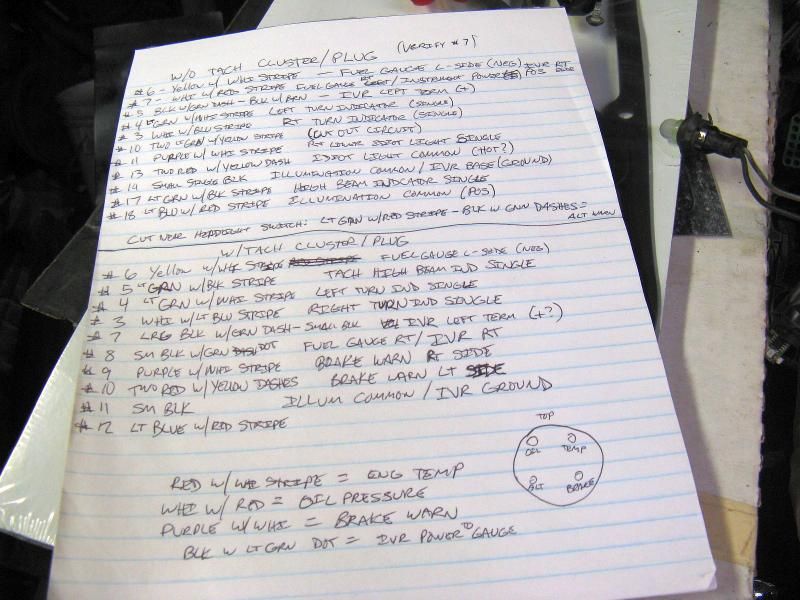
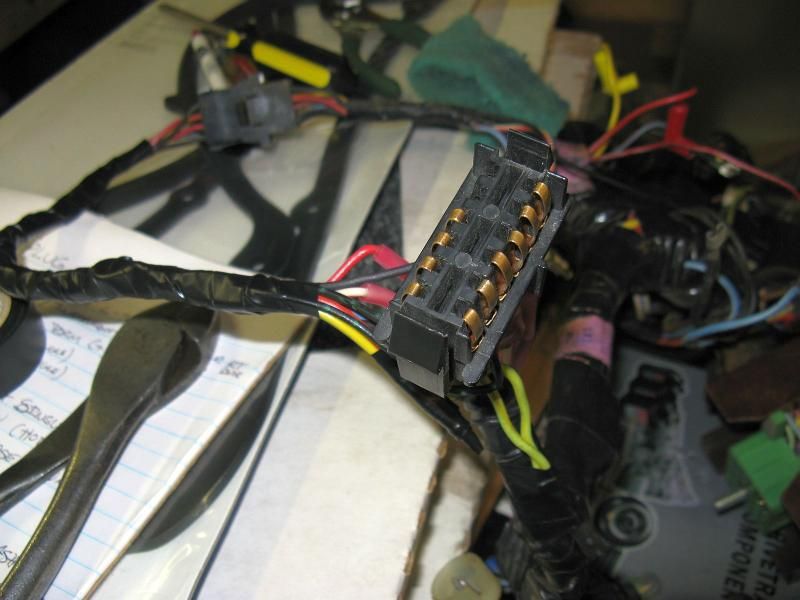
So today, I set about swapping the non tach cluster plug, for the tach instrument cluster plug, along with adding the plug and correct pigtail for the center gauges. The previous owner added the gauges by tapping into the cluster plug. I kept them tapped here so I wouldn't have to unwrap the whole harness, and re-pin the junction at the fuse block. I also cleaned up the splices.

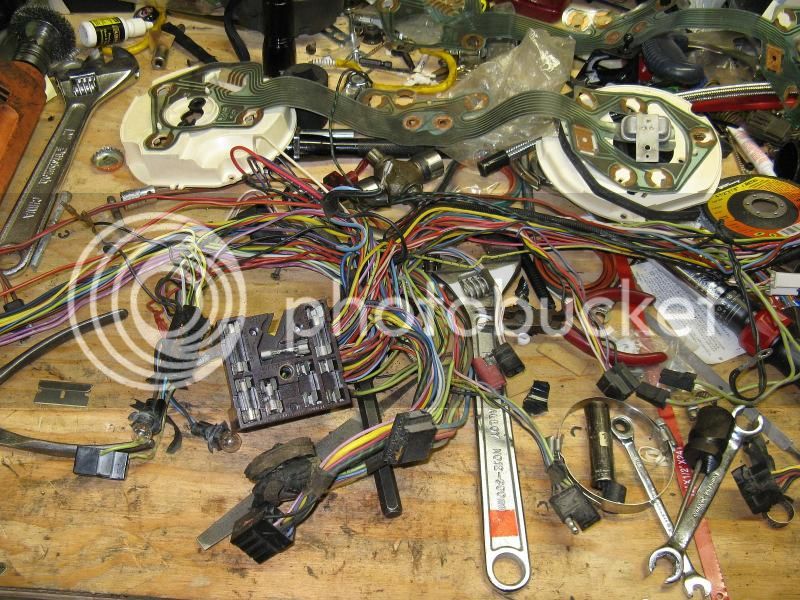
So, unwrapped tach/gauges harness:

IMG_0804_zps3b0d50ee.jpg


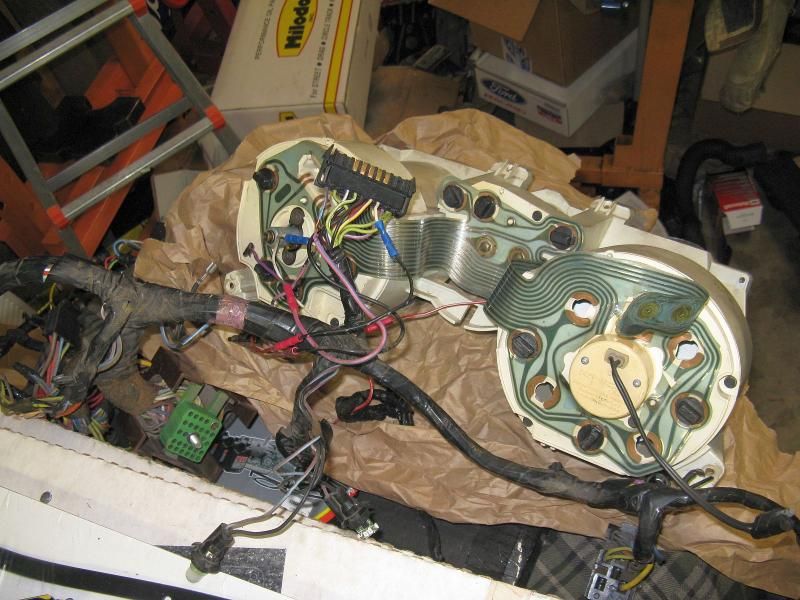
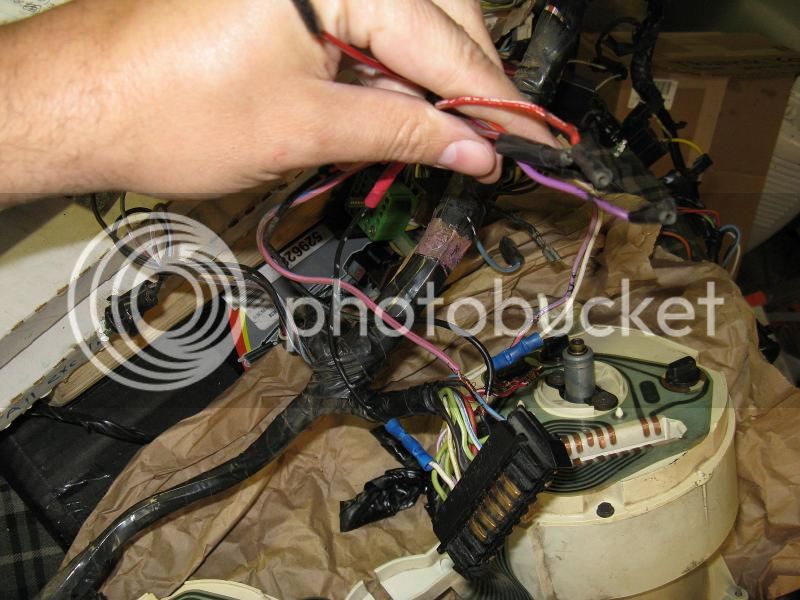
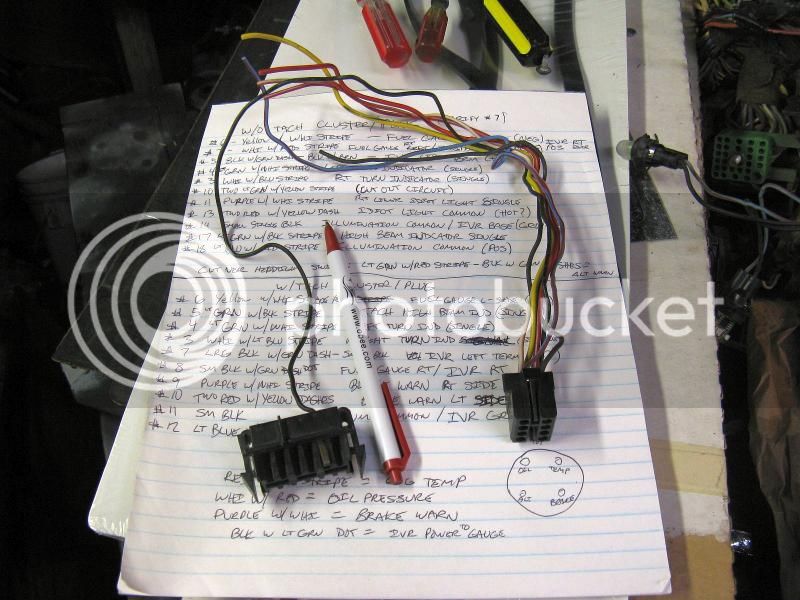
My hacked harness and cluster:

IMG_0805_zps5f00f859.jpg


I traced all the printed circuits and matched them up to the wire positions in the two plugs and clusters.

IMG_0806_zps8b596e20.jpg


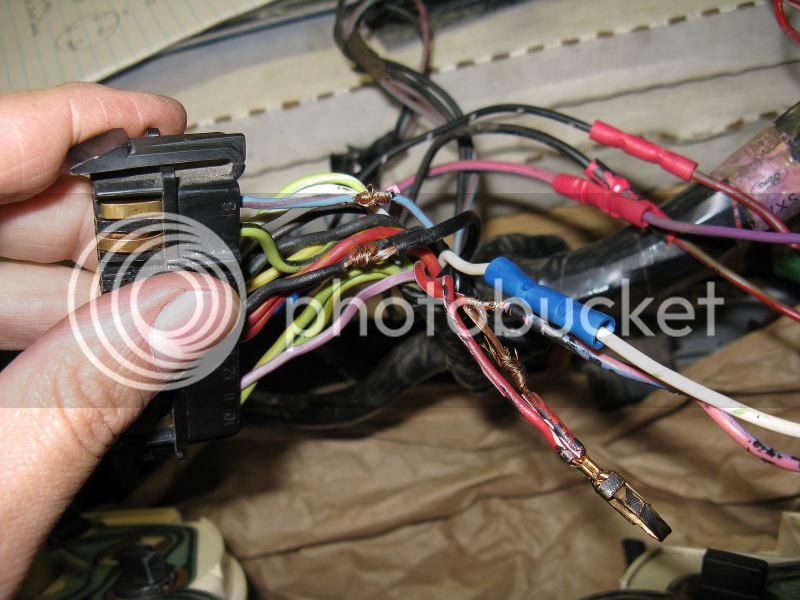
How they tapped into the harness at the cluster plug for the center gauges:

IMG_0807_zps23c015e3.jpg


IMG_0808_zpsb4585091.jpg


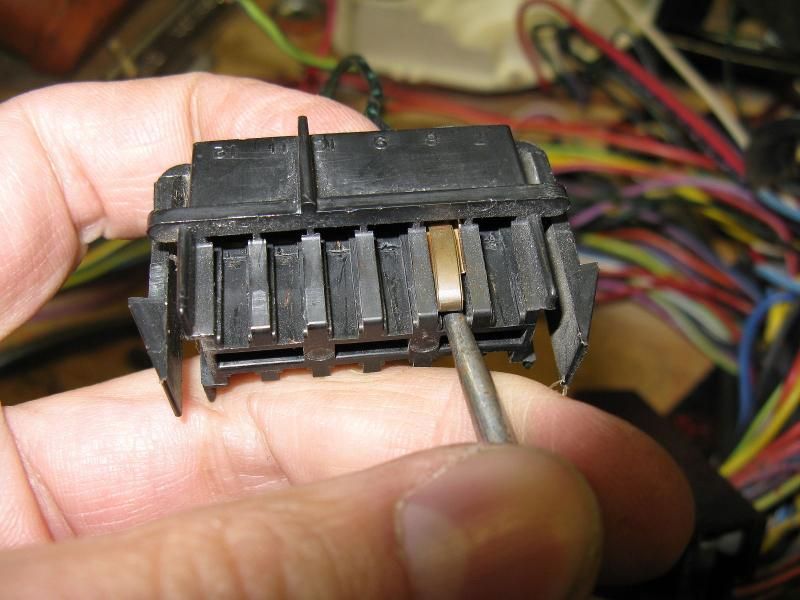
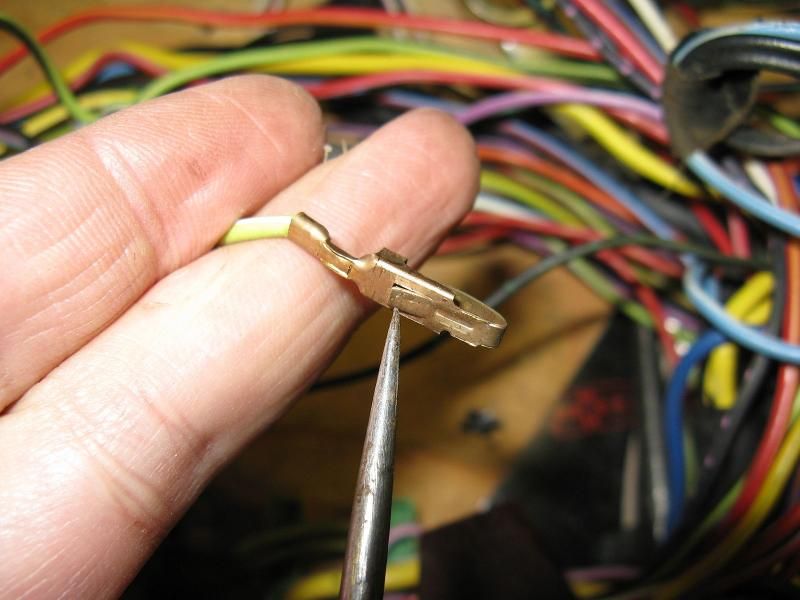
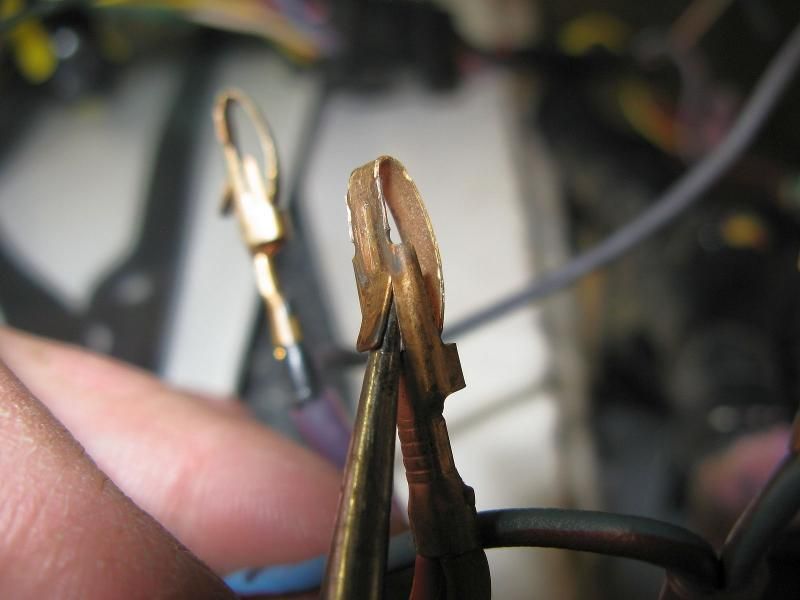
How to de-pin the cluster plugs. Shove a sharp pointed awl or thin/small flat blade screwdriver in like this to disengage the retaining tab for the contact.

IMG_0809_zps619f9bfe.jpg


This guy:

IMG_0810_zps791d1b72.jpg


Center gauge harness with the lone wire that originally went to the plug. (+ power for the gauges)

IMG_0811_zps0571fd48.jpg


Original non gauge plug removed.

IMG_0812_zps147b58c6.jpg


Splices done.
IMG_0817_zps669cbe94.jpg


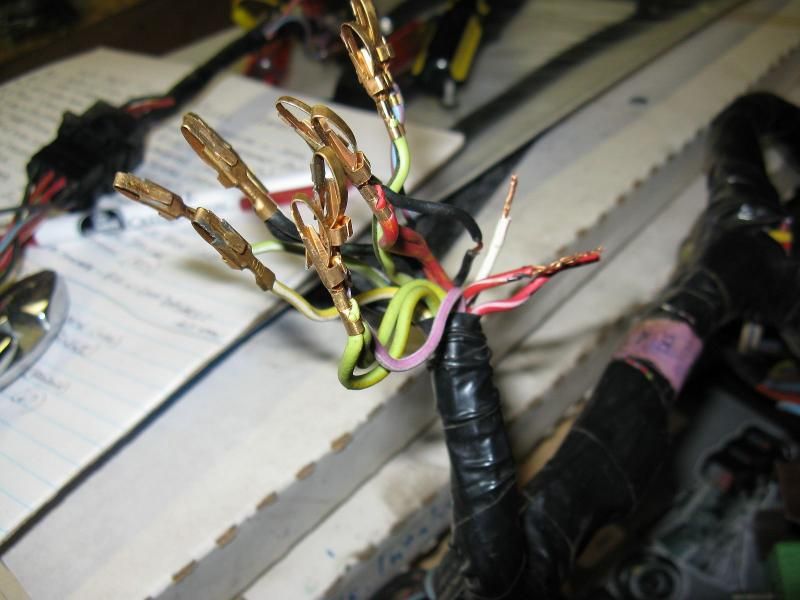
Bend the tabs back out, and start re-pinning the cluster plug.
IMG_0819_zps5c6c7704.jpg


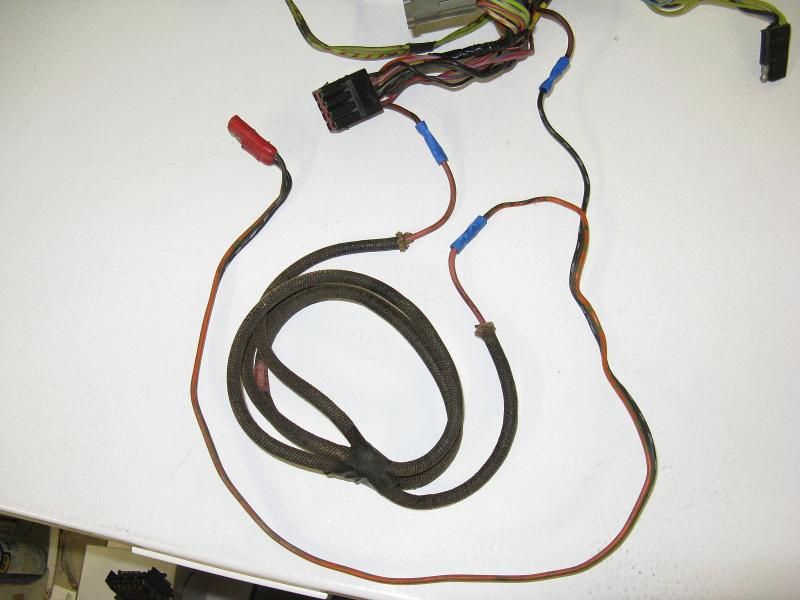
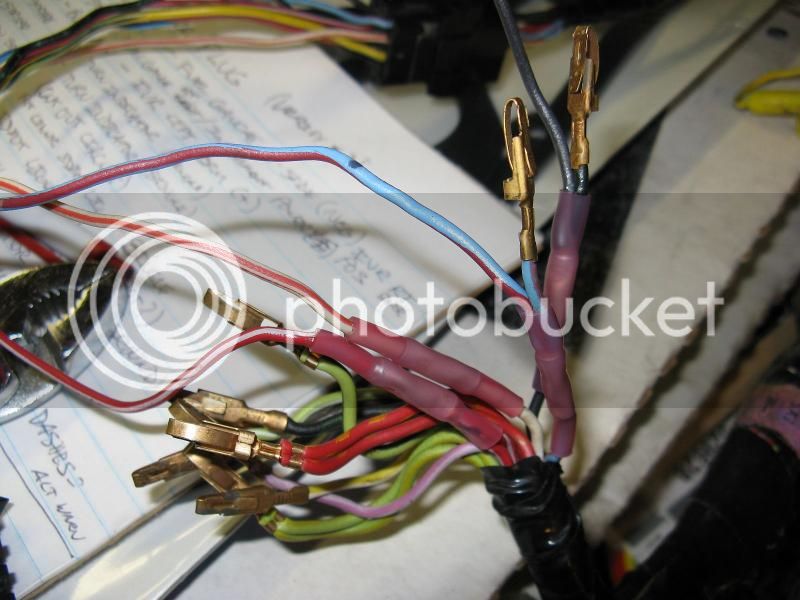
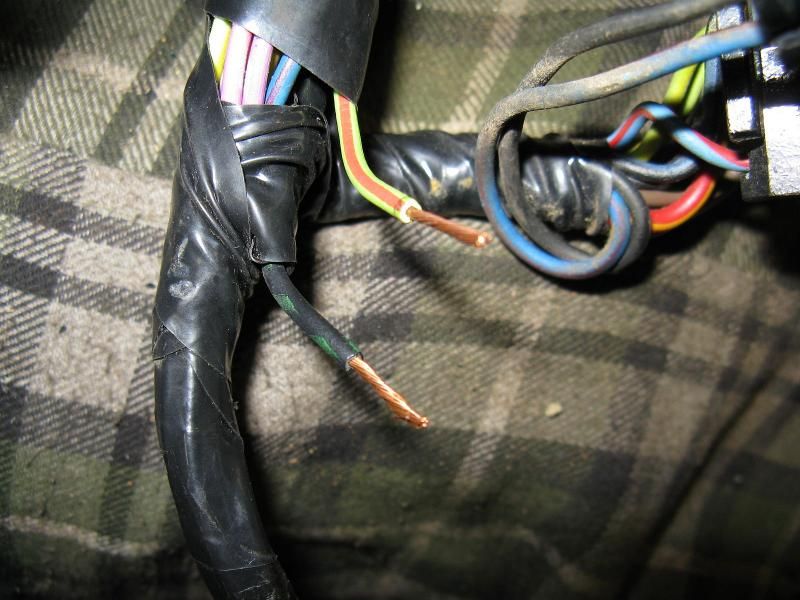
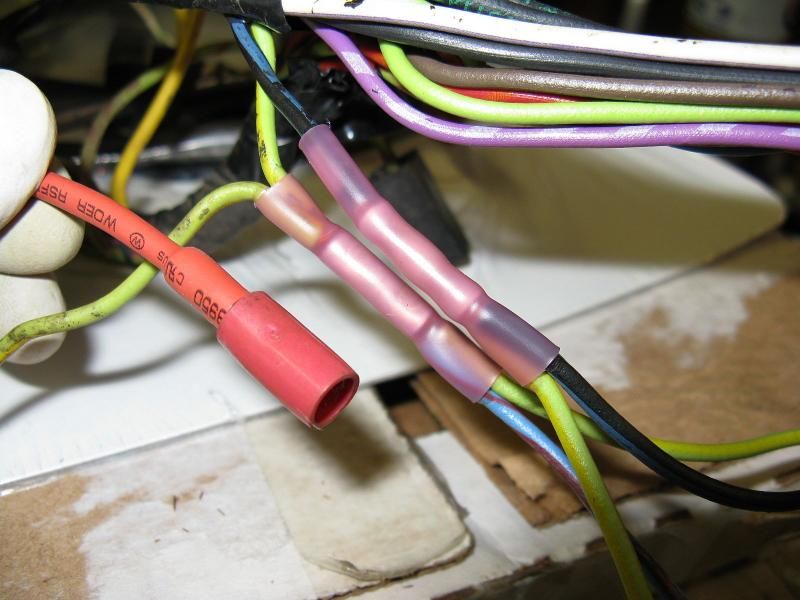
These two wires were cut off and taped up near the headlight switch plug. I think they were for the alternator warning light? Was that a separate feed/socked for the cluster and plug?

IMG_0822_zpsb89acebf.jpg


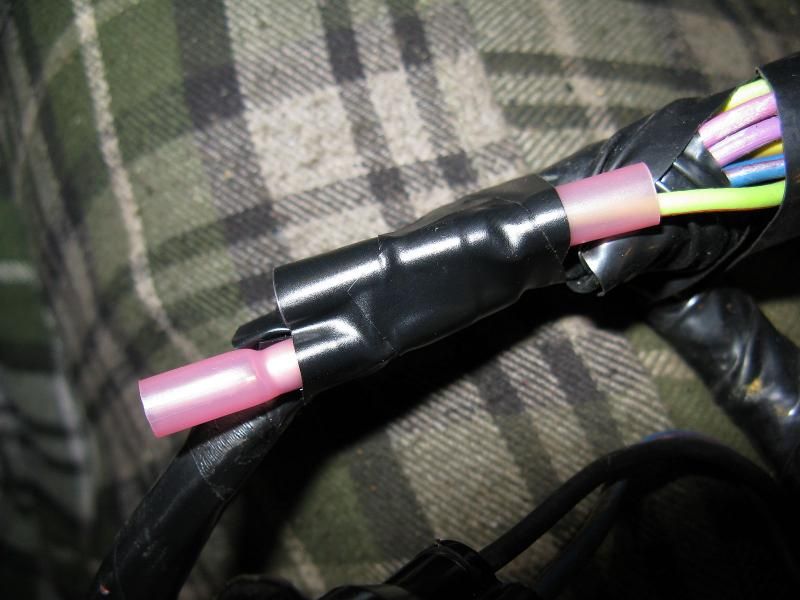
Anyway, I put butt connectors on to insulate them, and use them later if needed.

IMG_0824_zps55e81b8c.jpg


Also ended up with an extra terminal from the original cluster plug. Heat shrinked it and taped it out of the way.

IMG_0825_zpsbe652fc2.jpg


End result:

IMG_0826_zpse621ccc0.jpg


IMG_0827_zps880fe4eb.jpg
 
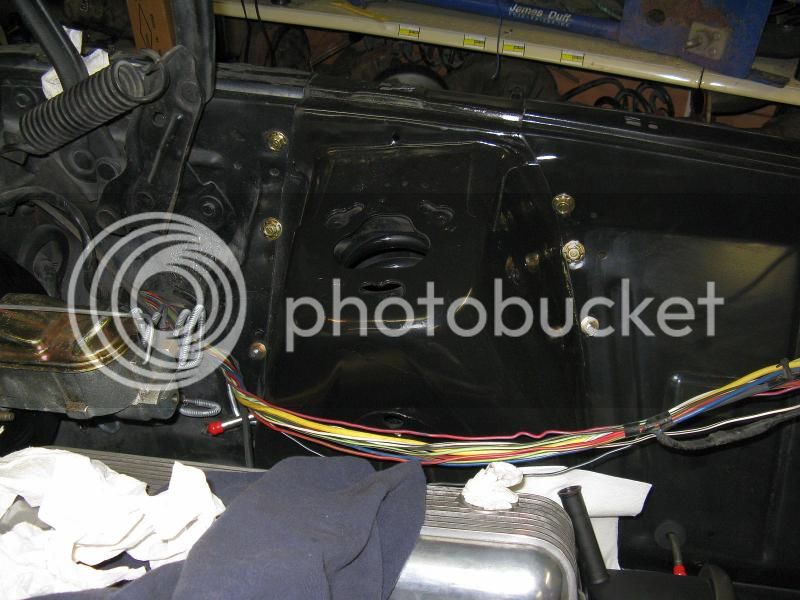
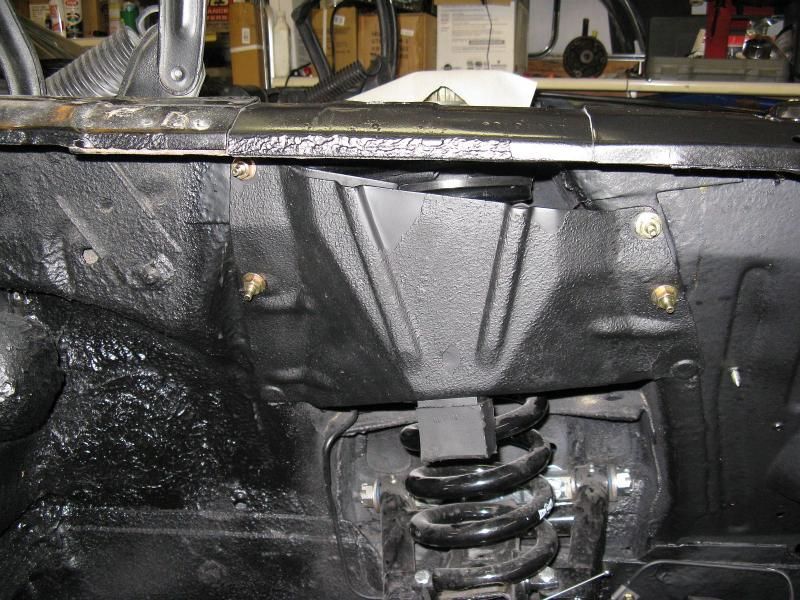
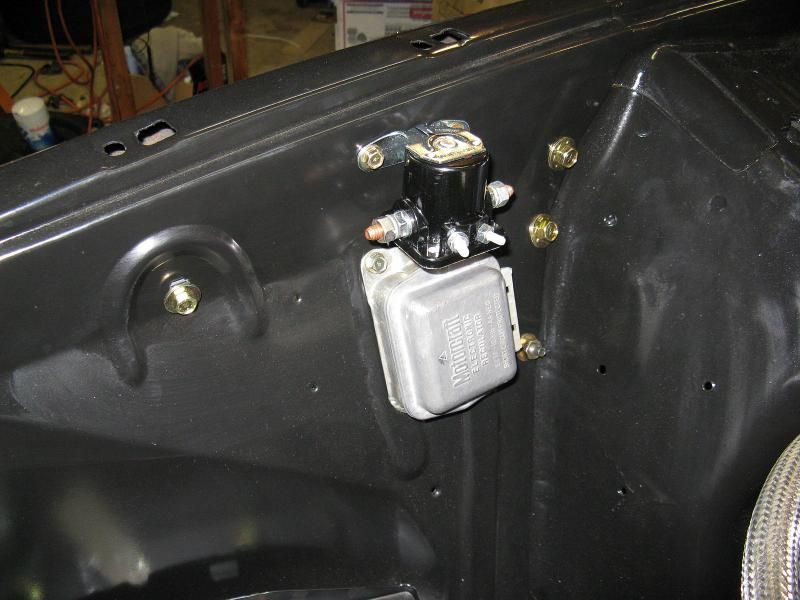
Well, today I painted and put in the spring cover/shock tower brace I got from California. Love those California parts. Also installed the voltage reg and starter solenoid.

IMG_0839_zps35af070d.jpg


IMG_0840_zps7f5353fb.jpg


Also found that the body shop did not transfer the plate and mounting nut for the horn on the LF apron, and that the holes punched in that repo for the washer bottle screws... are larger than the screws... :rolleyes:
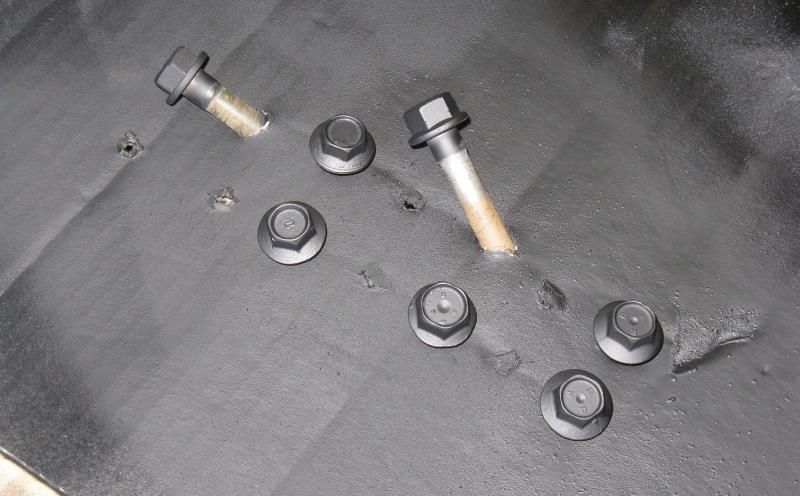
Also found that the shock tower cap hardware is not included in the master body fastener nor under hood detailing kits... So there's another order... Hardware store carriage bolts do not fit. The heads are too thick for them to slip in.

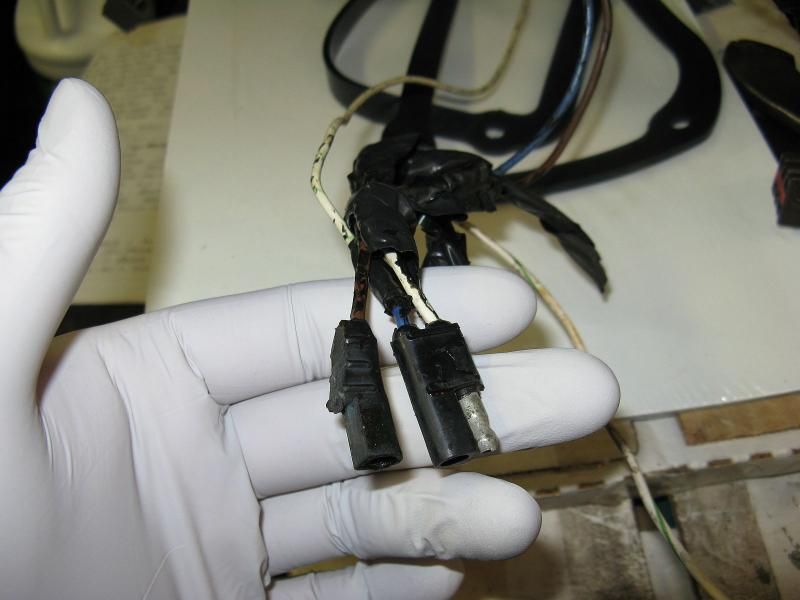
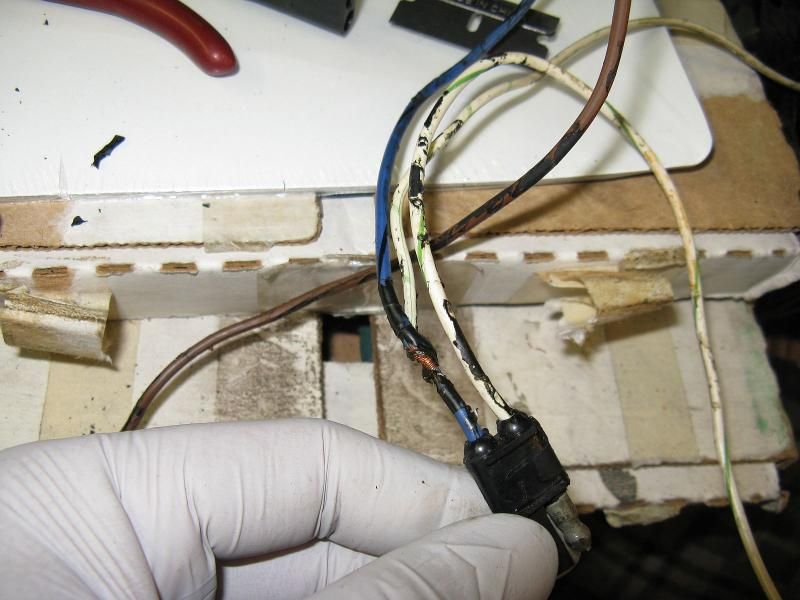
So, I hopped back onto the under dash harness. I decided to unwrap the plug/wires for the dash map light. Glad I did...

IMG_0828_zps52fe7d3b.jpg


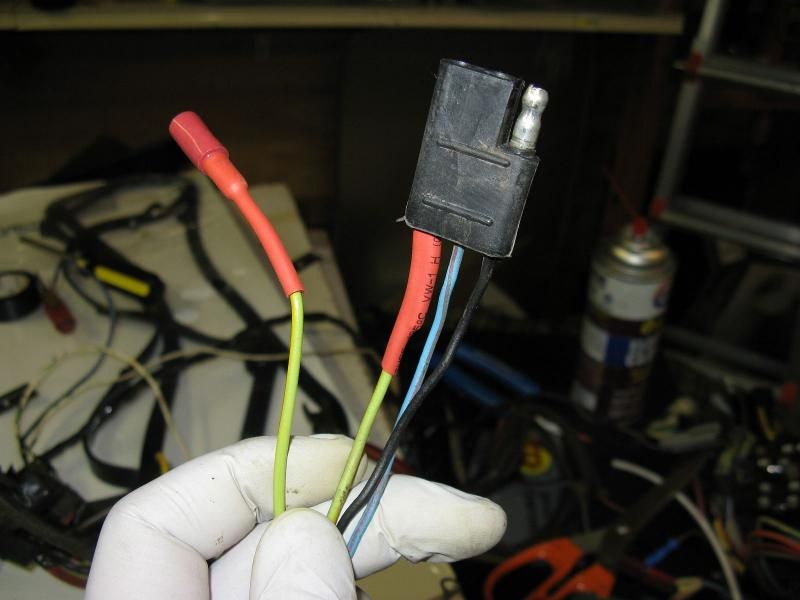
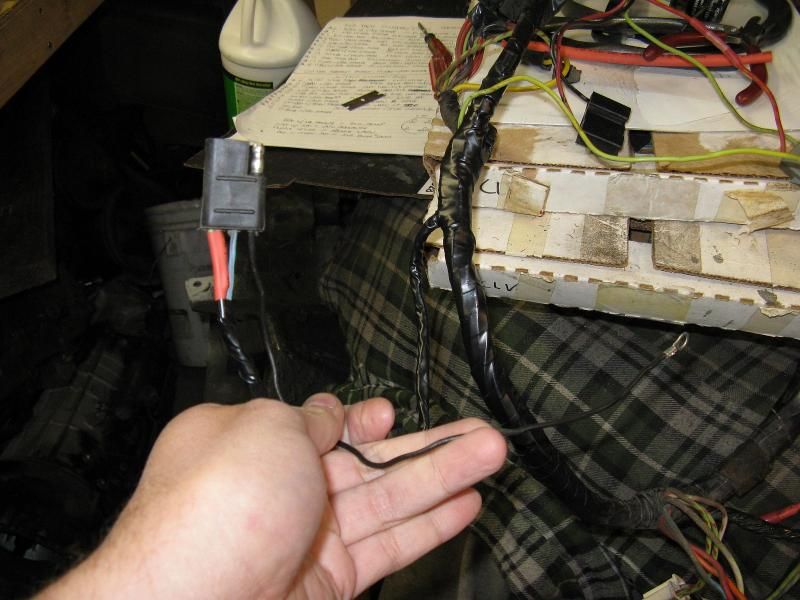
They made it out of two different plugs.. And had an awesome splice in it to feed the glove box light...

IMG_0829_zpsb4de5156.jpg


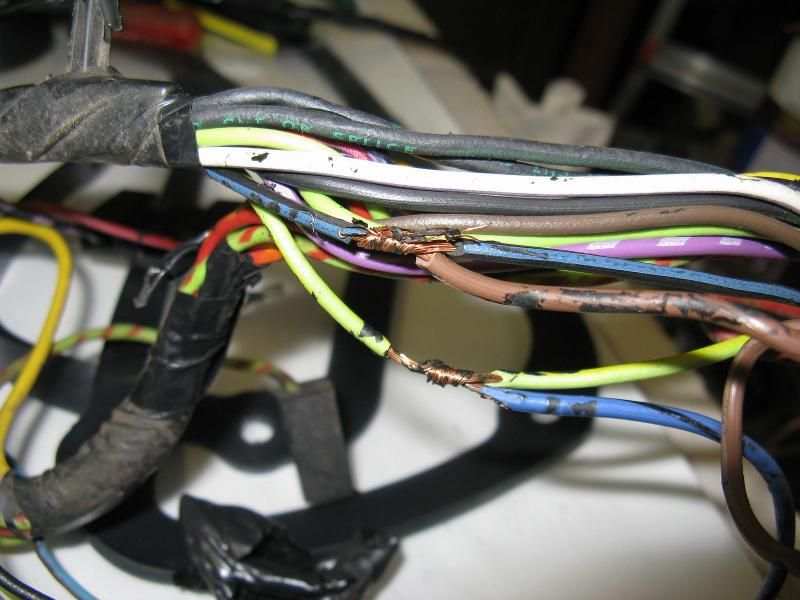
And of course, awesome splices in the main harness to power it...

IMG_0830_zpsbd5d5d57.jpg


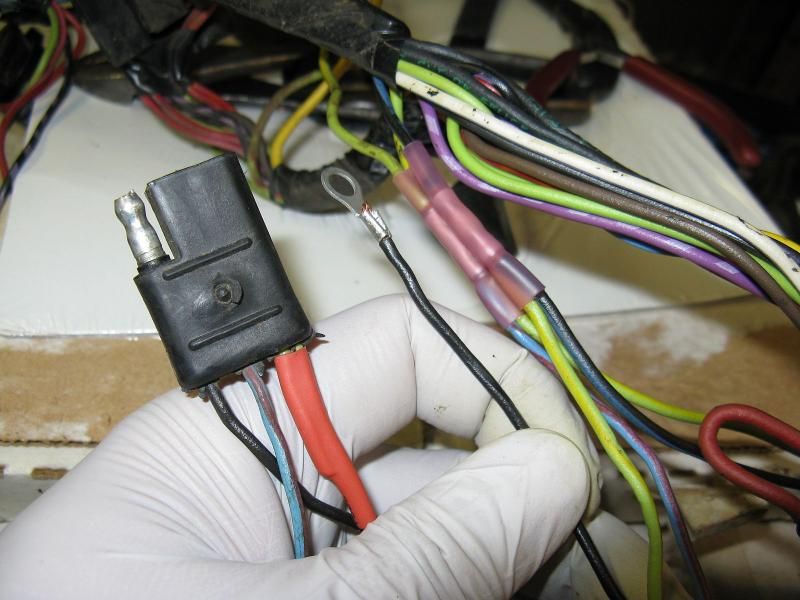
So I clipped the clock plug out of the tach, now donor harness to fix it. And ran a new wire/plug to feed the glove box light.

IMG_0831_zpsac86cb02.jpg


IMG_0832_zpsf931c7fc.jpg


IMG_0833_zps2f74daad.jpg


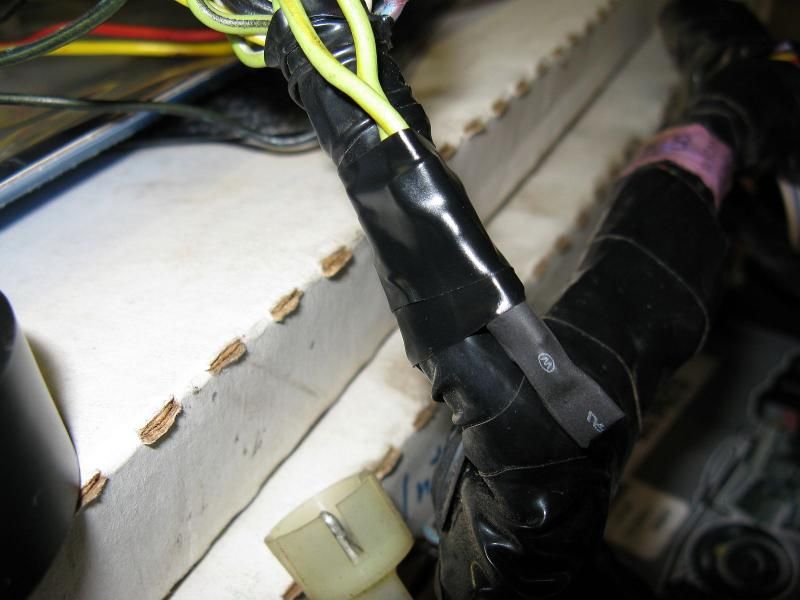
All wrapped up.

IMG_0841_zps692fd448.jpg


Ta-da. :D
 
Back
Top