Totalled
That Ford Guy
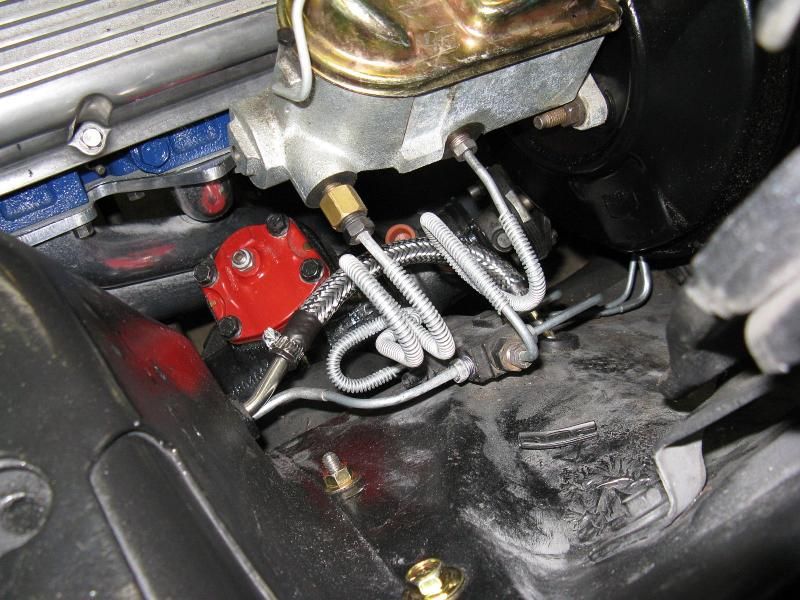
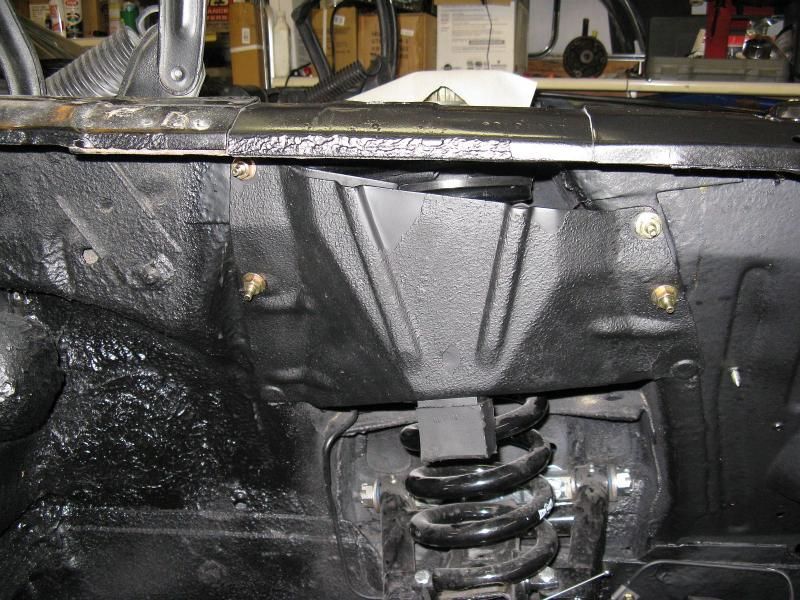
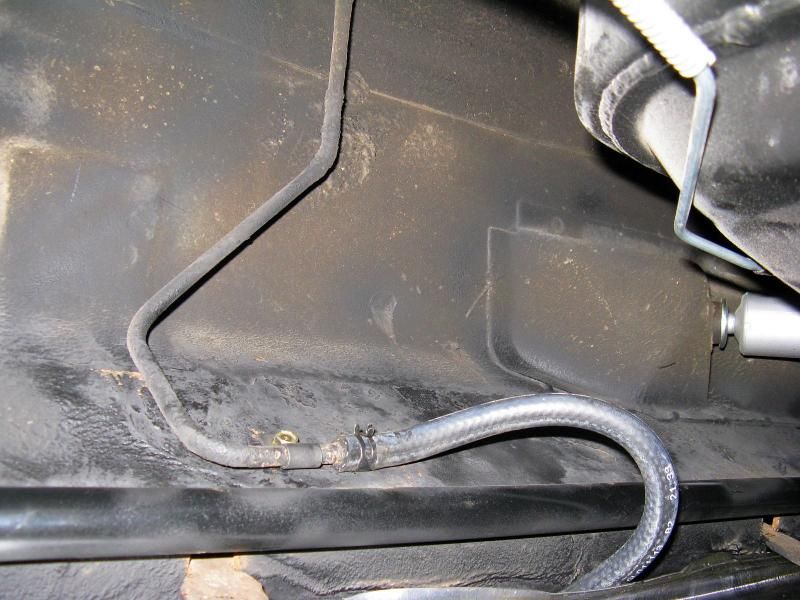
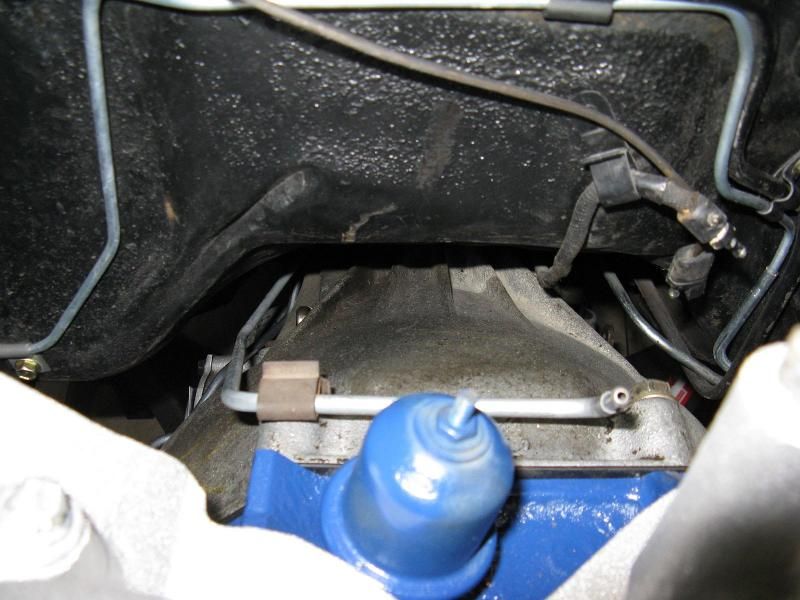
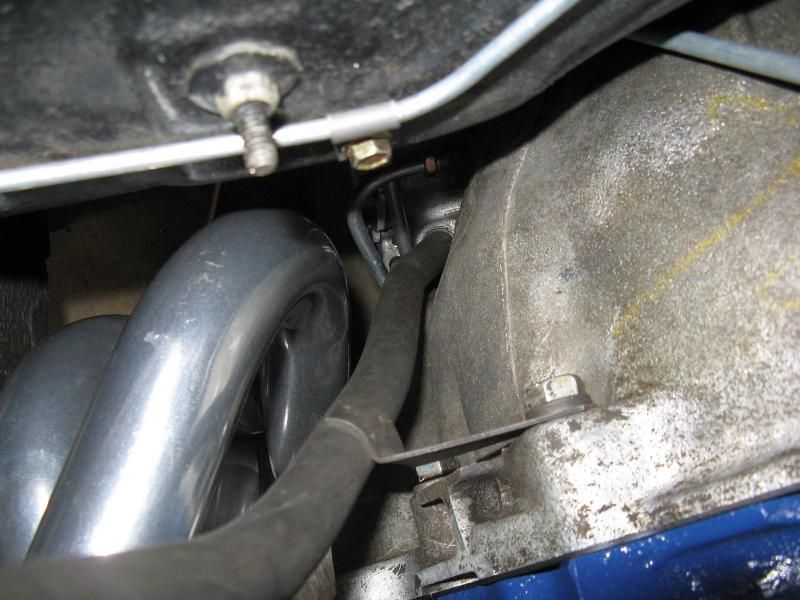
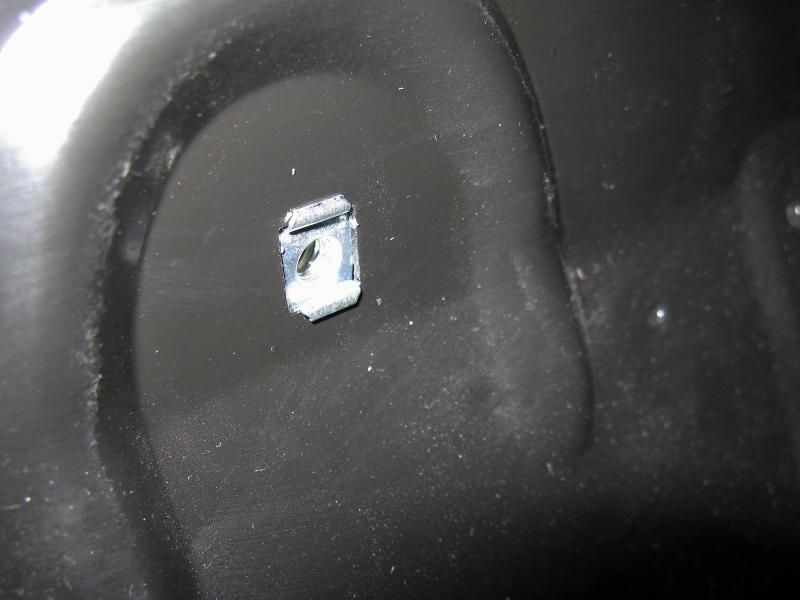
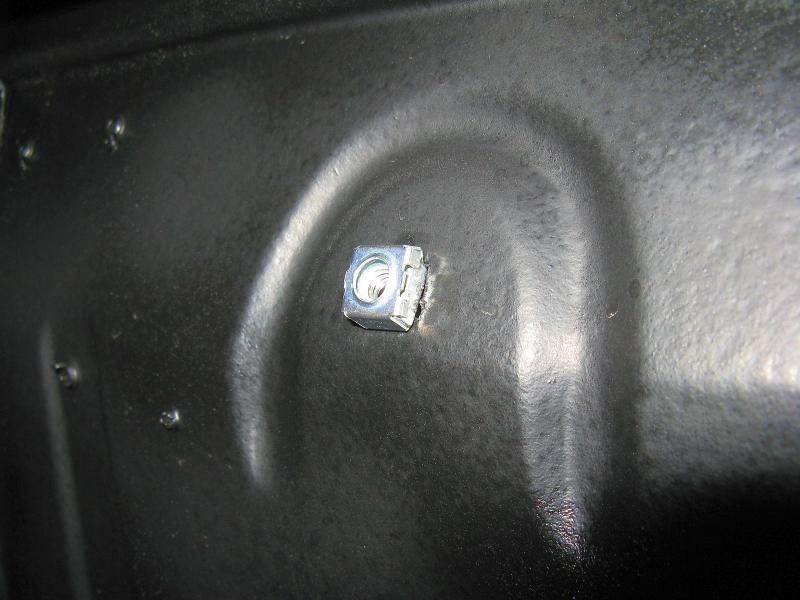
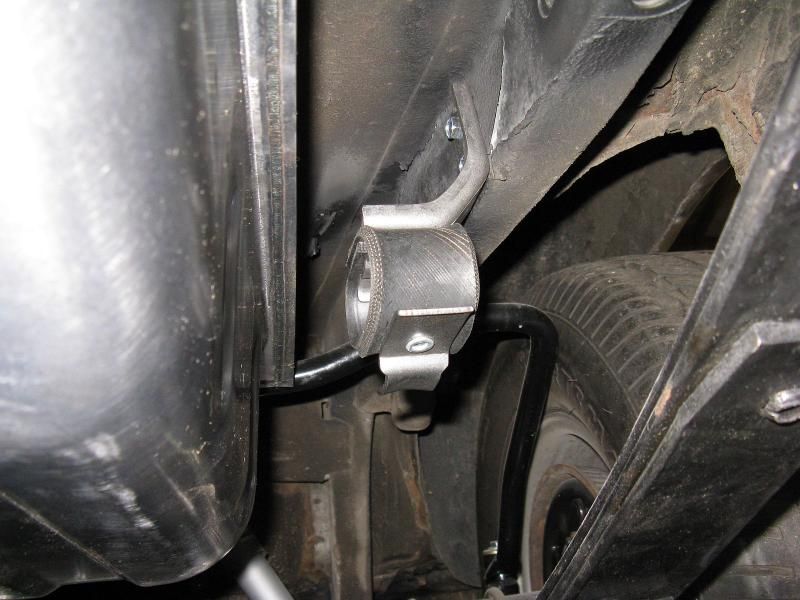
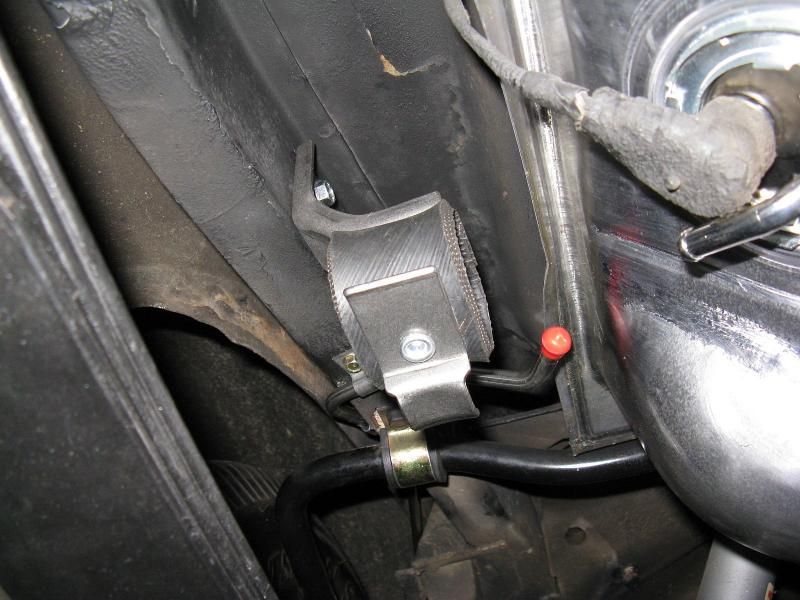
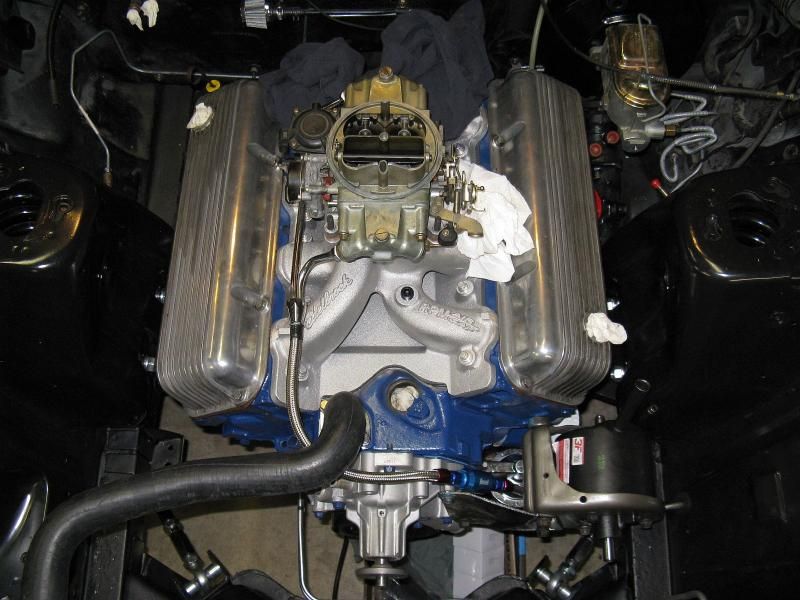
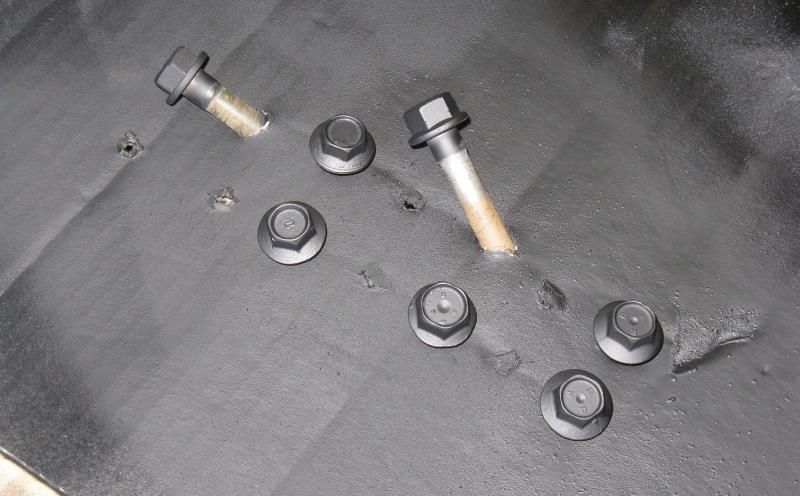
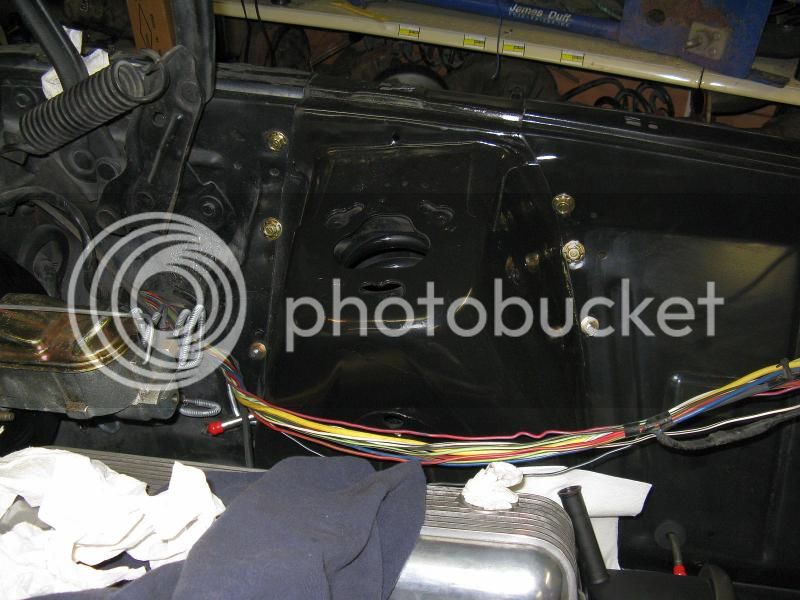
Spent today replacing the brake/fuel/vapor line clips and fasteners.. And sweating my ass off in a 90 degree shop...
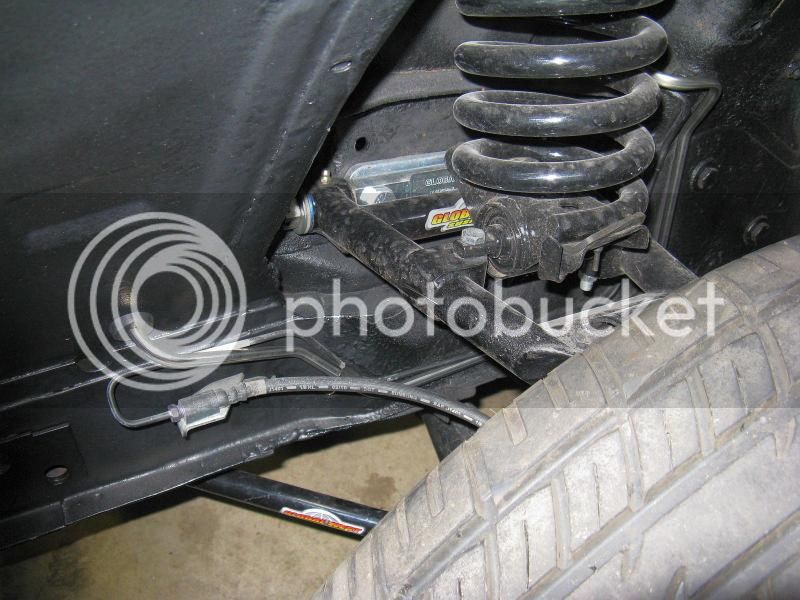
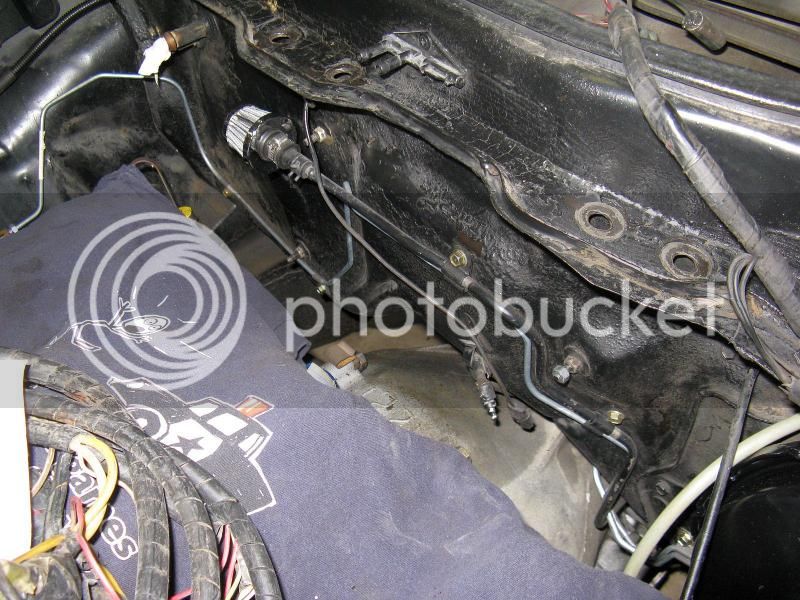
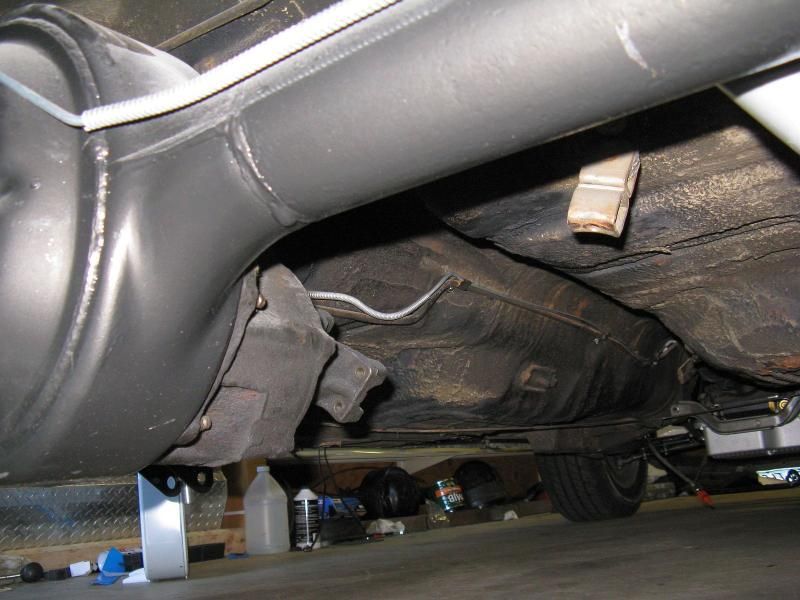

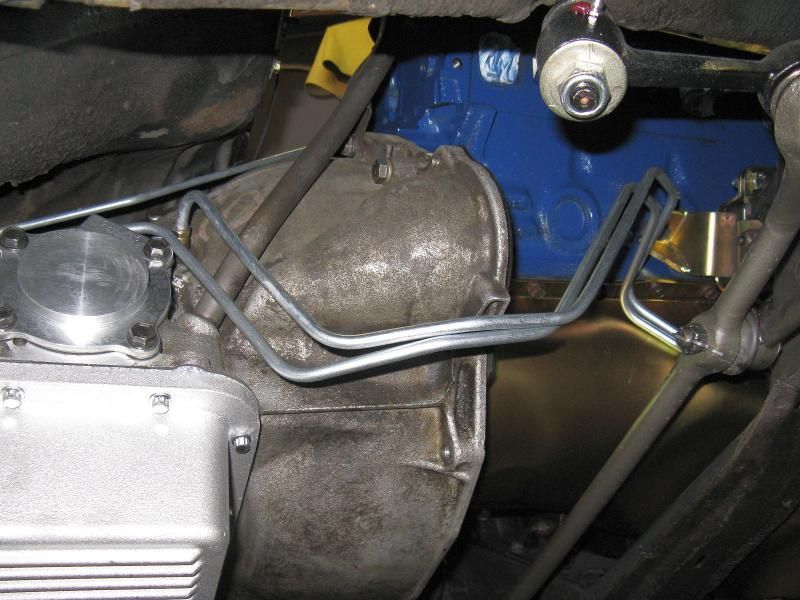
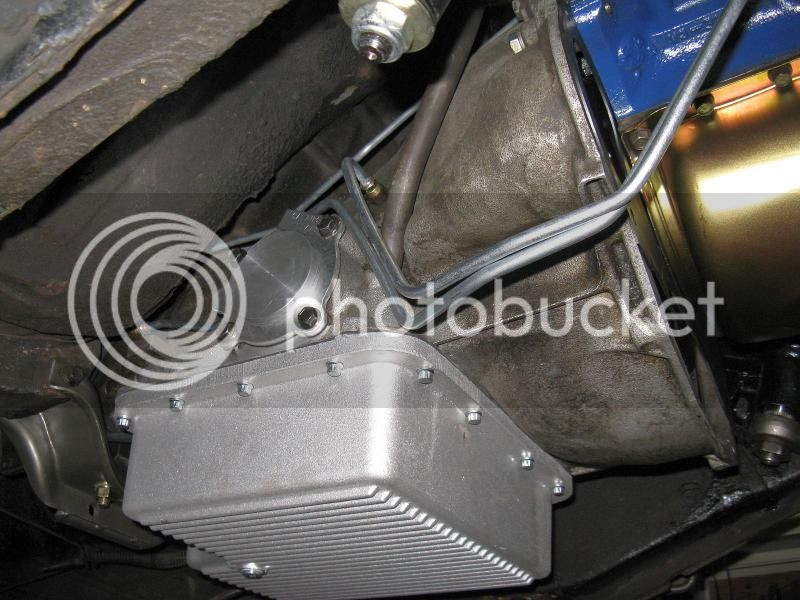
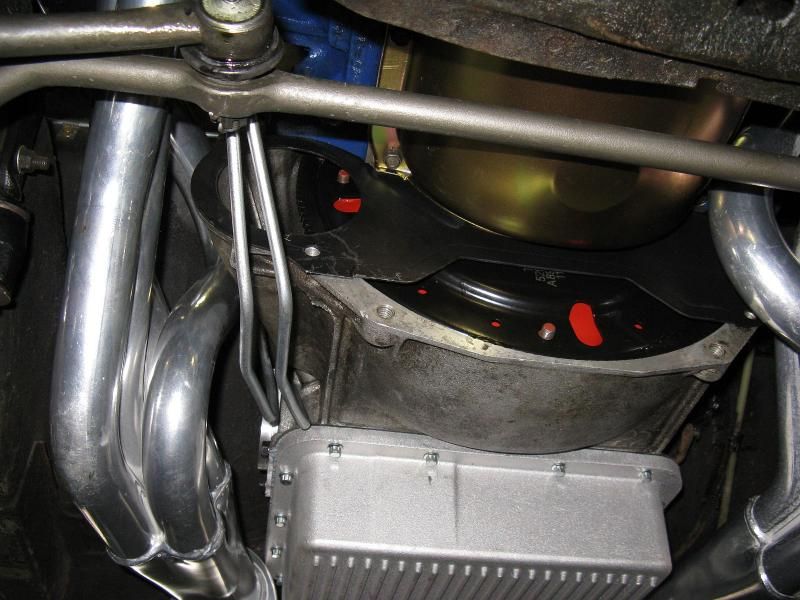
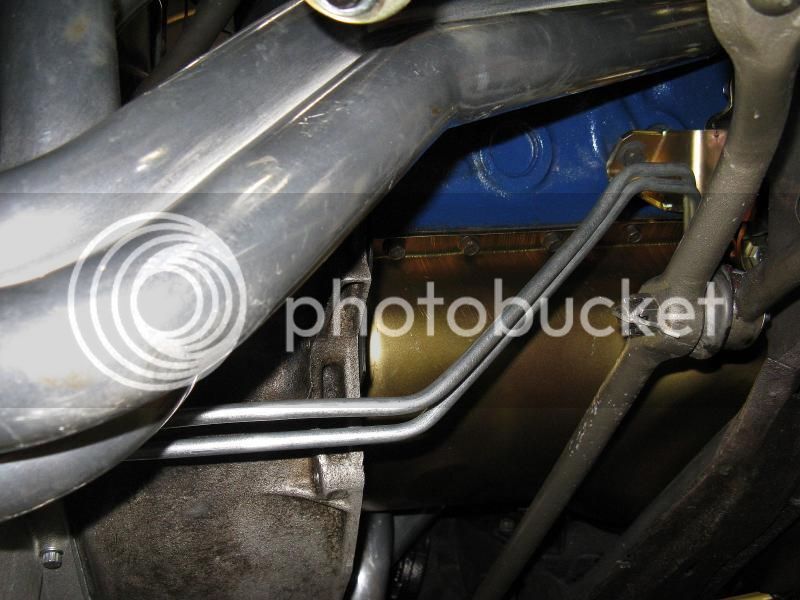
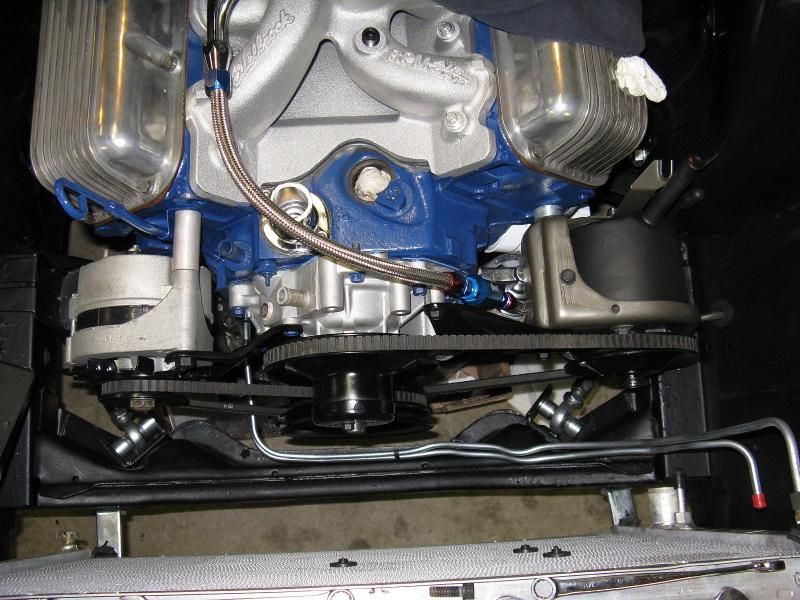
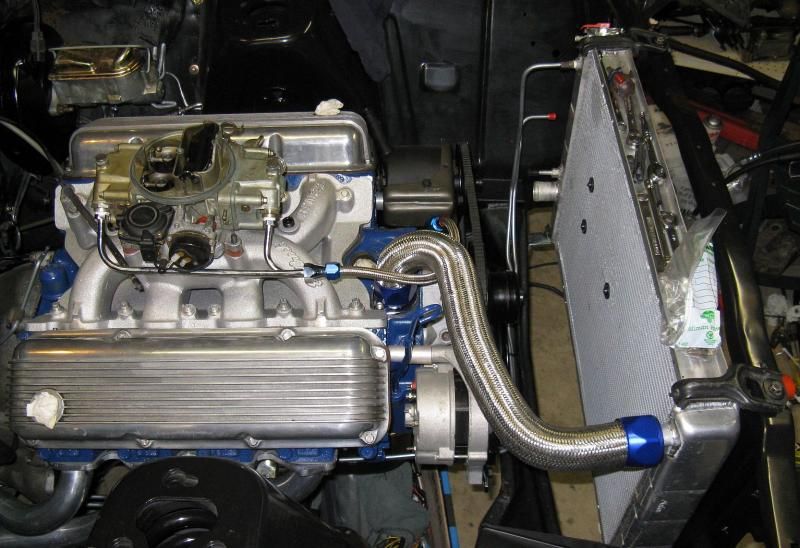
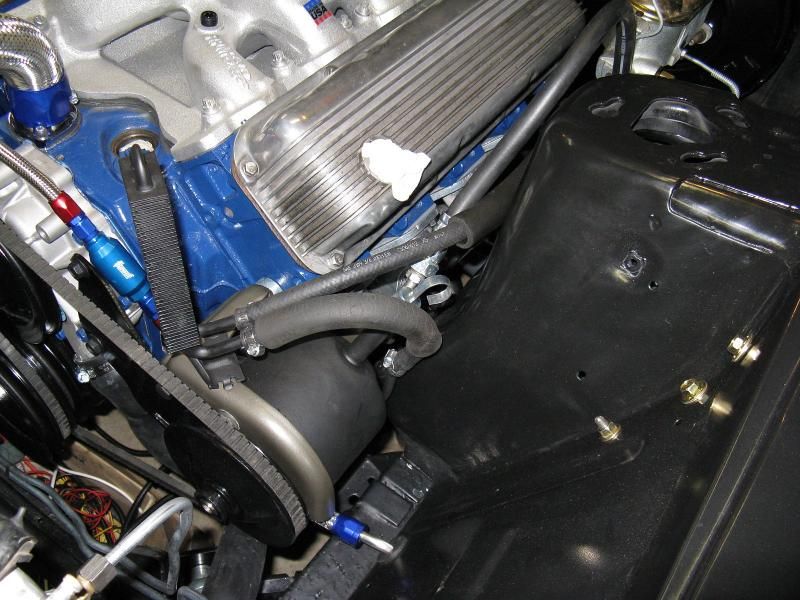
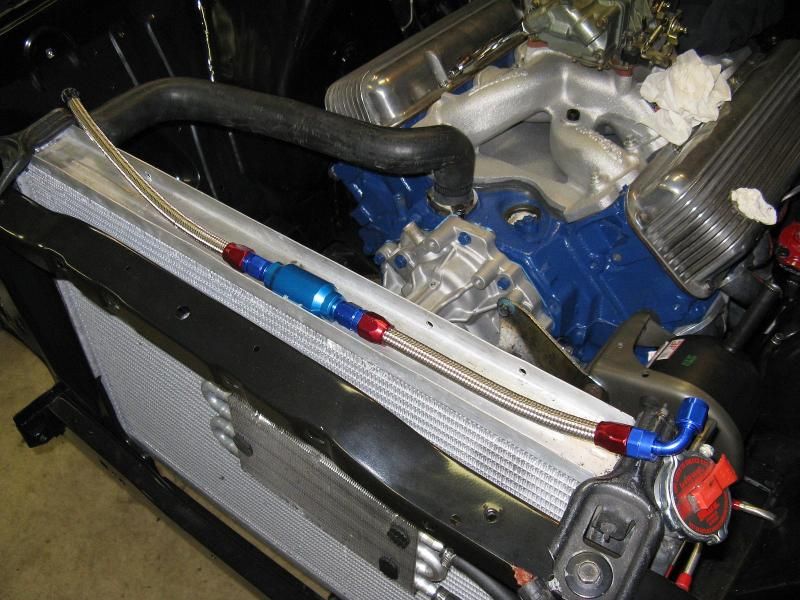
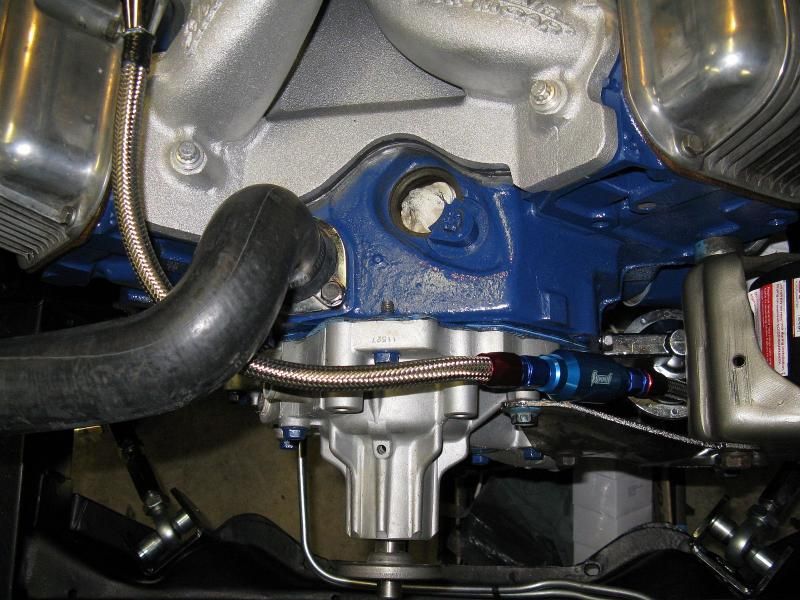
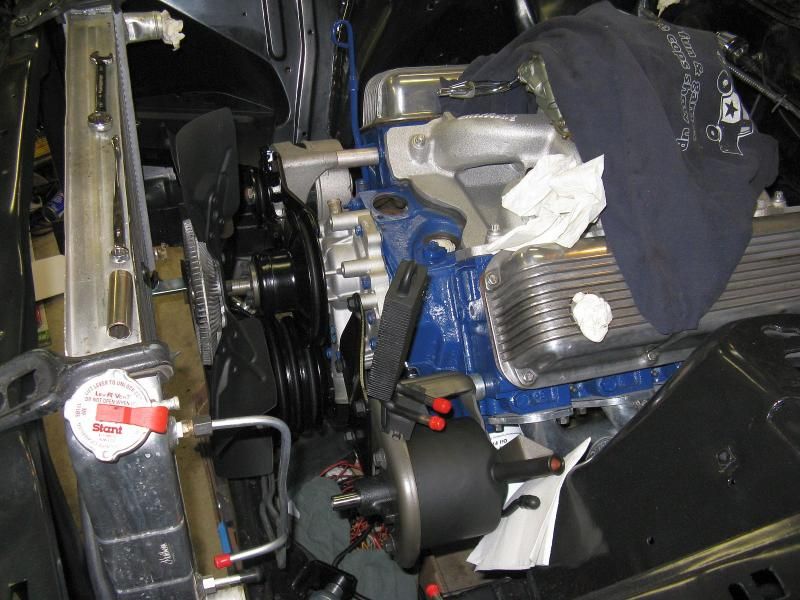
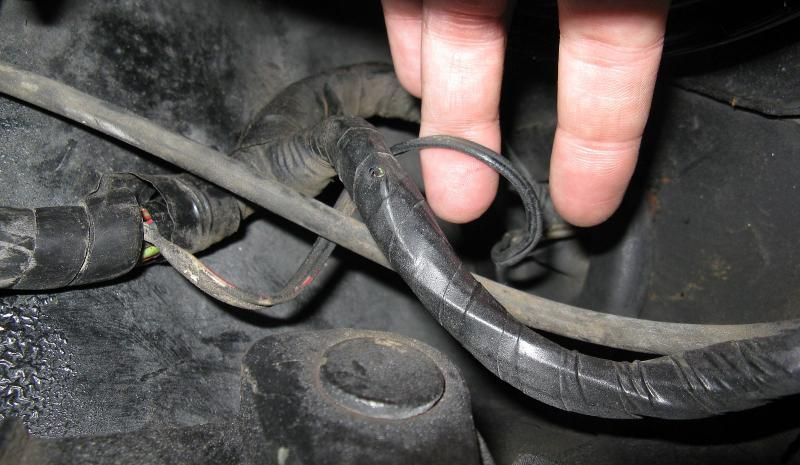
Are you planning on wrapping the header or the tranny line? You would be surprised how much heat will be passed onto that tranny line.


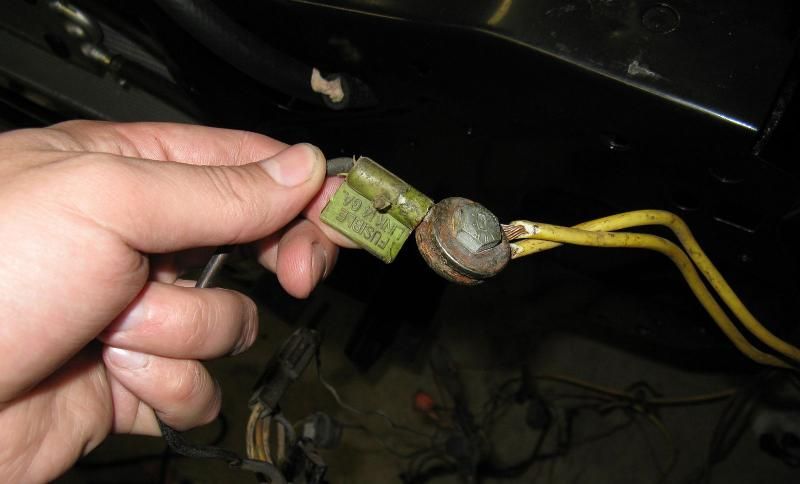
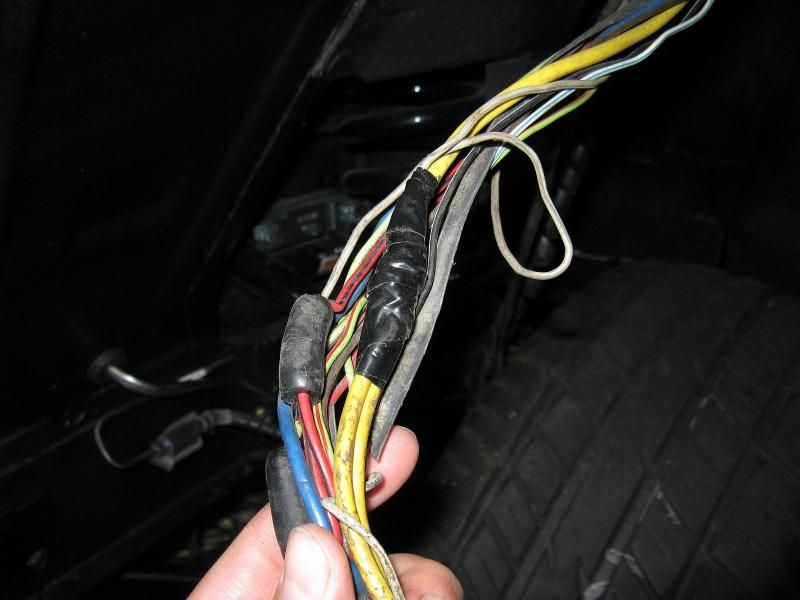
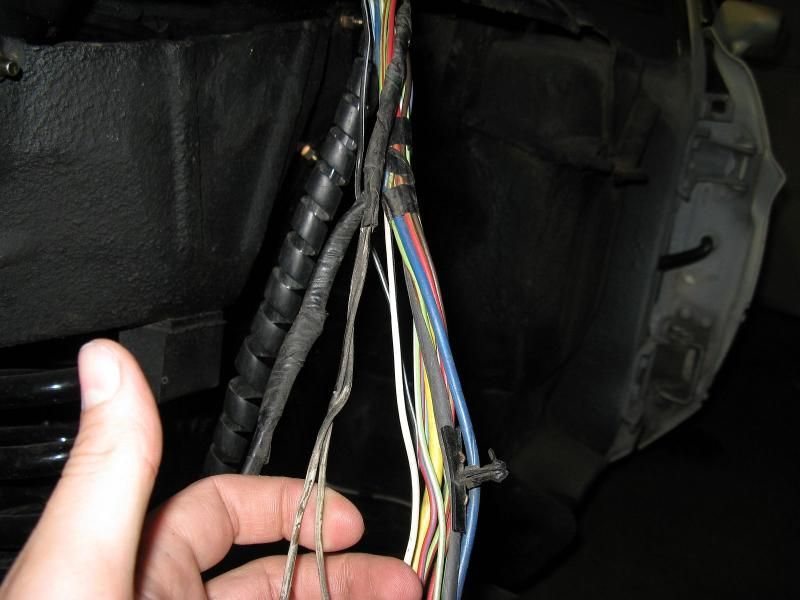
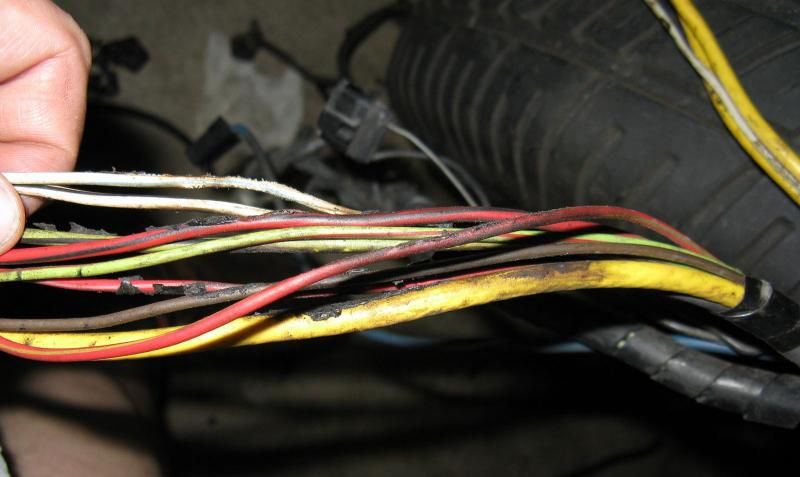
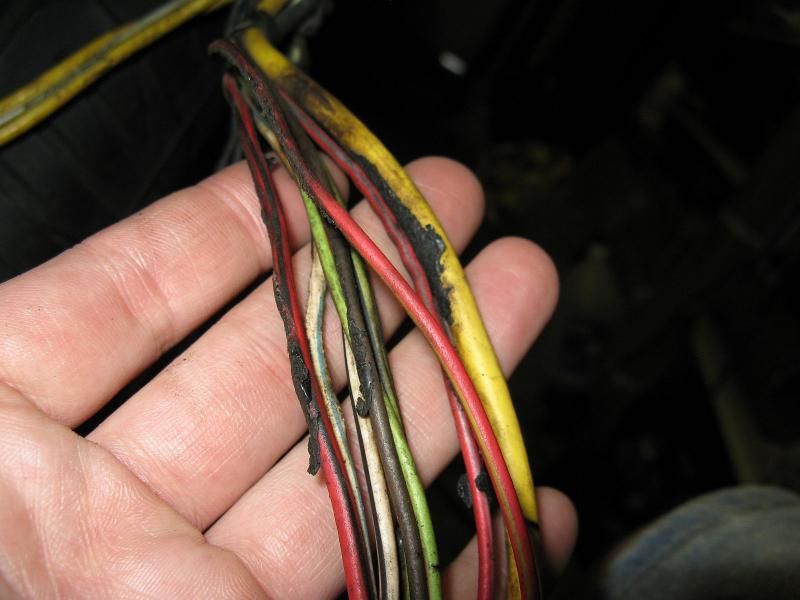

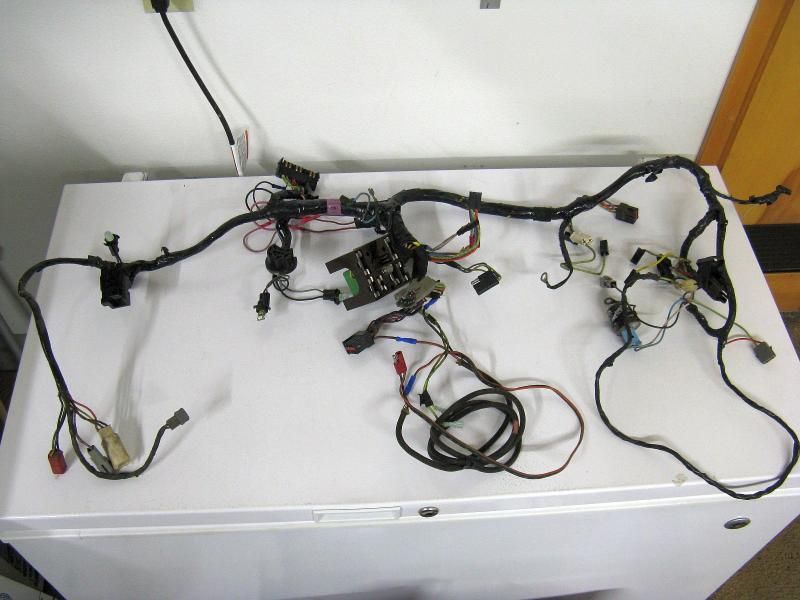
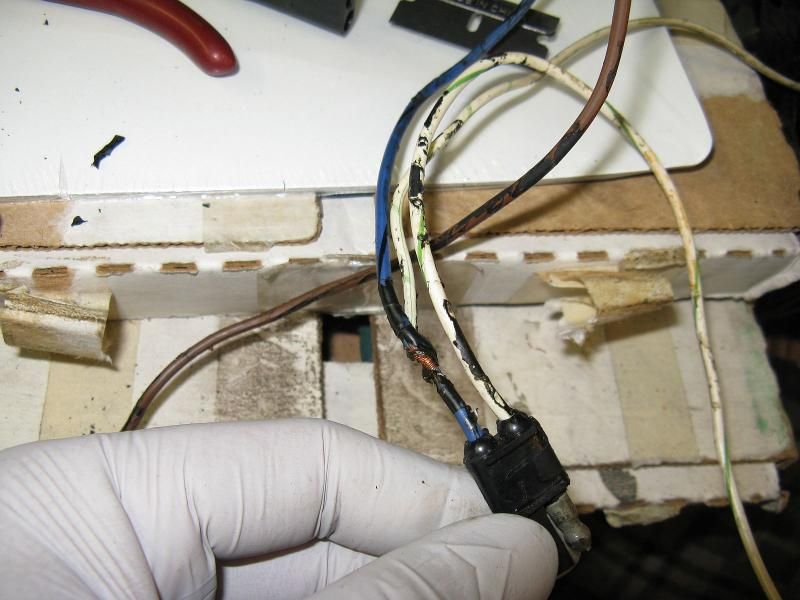
I am kinda curious why you don't just buy a ready to go stock harness?
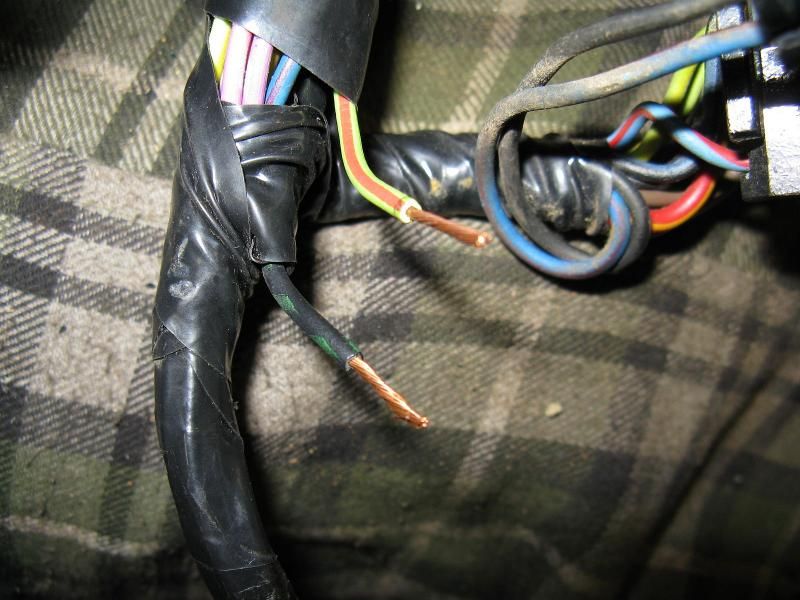
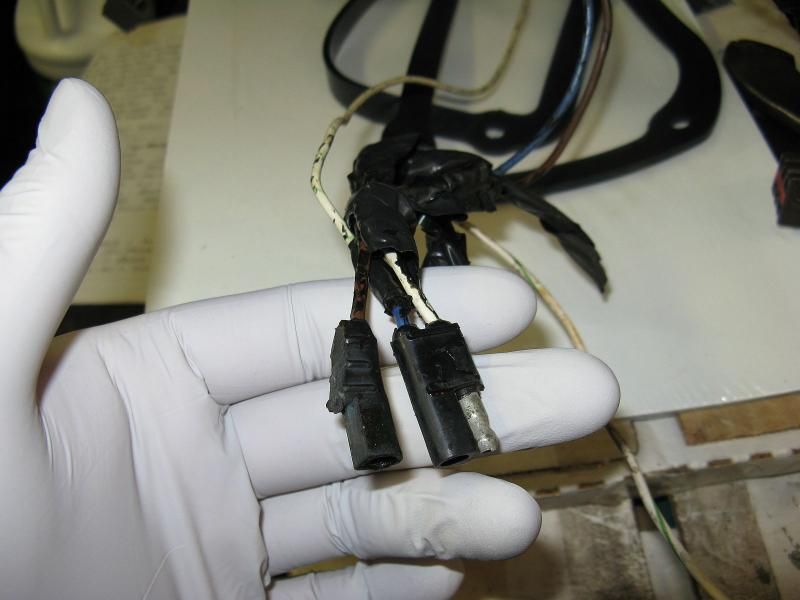
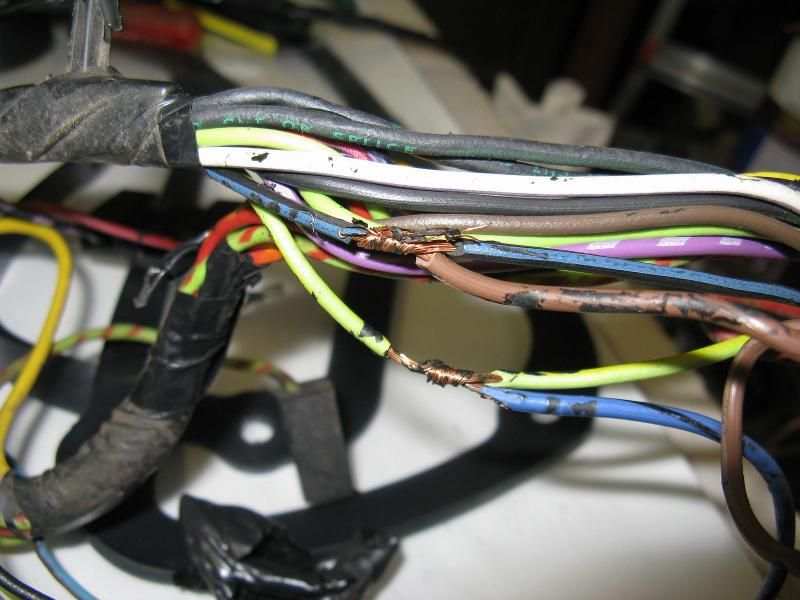
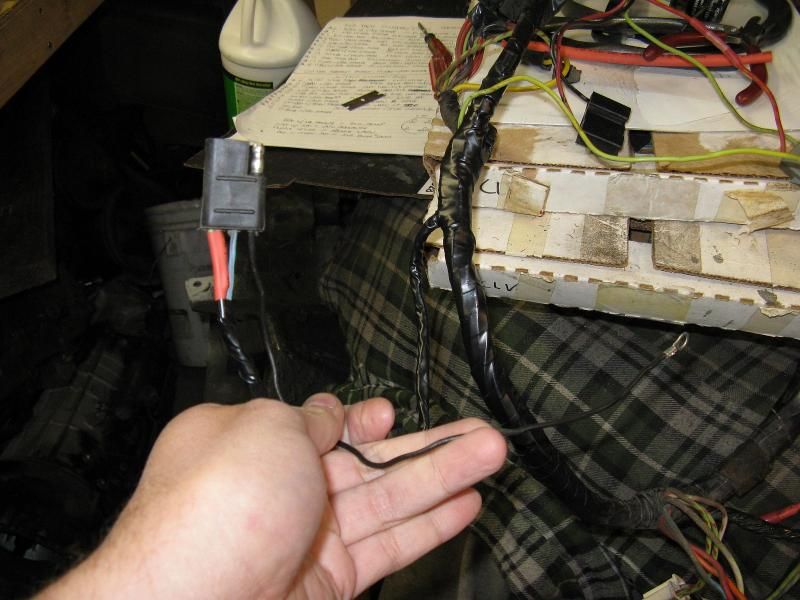
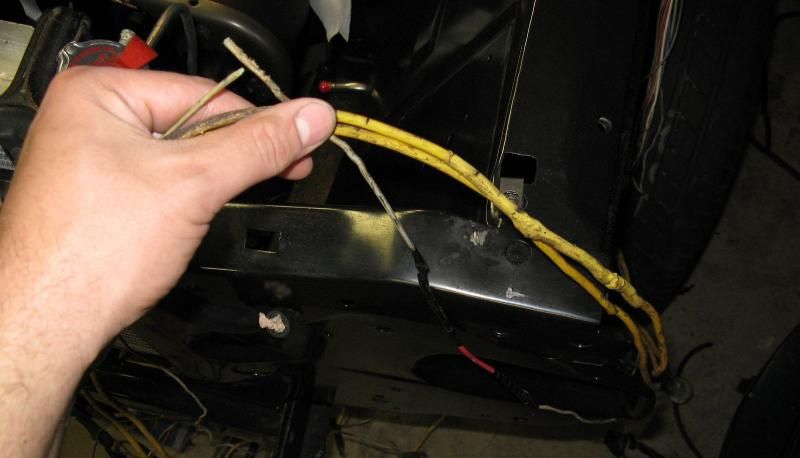
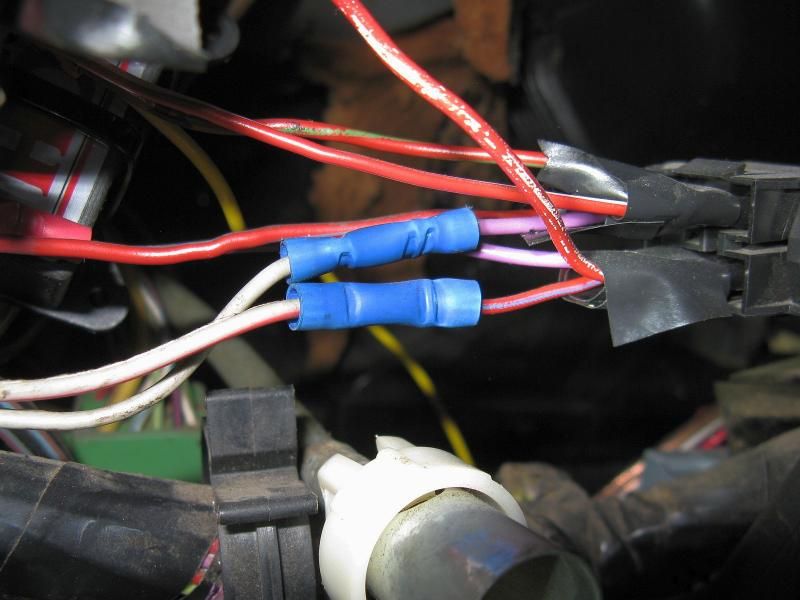
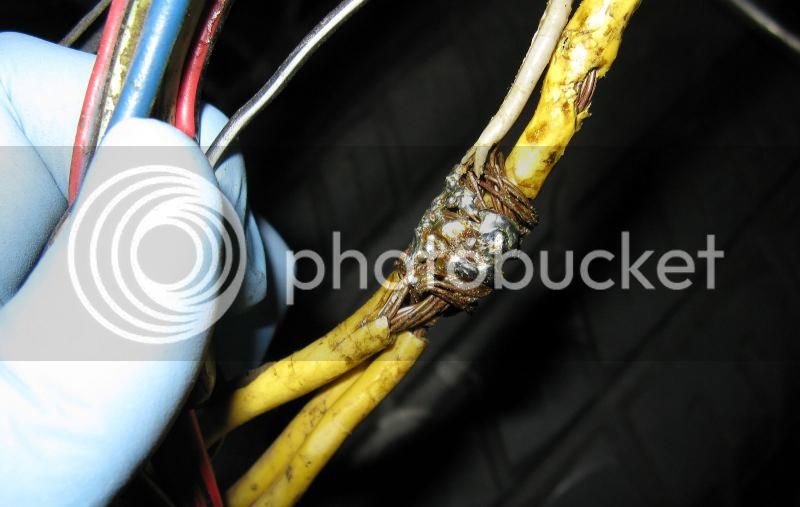
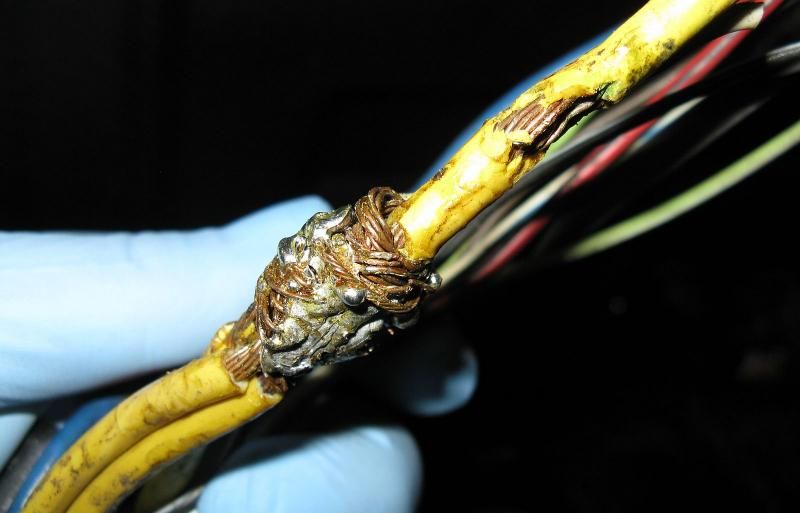
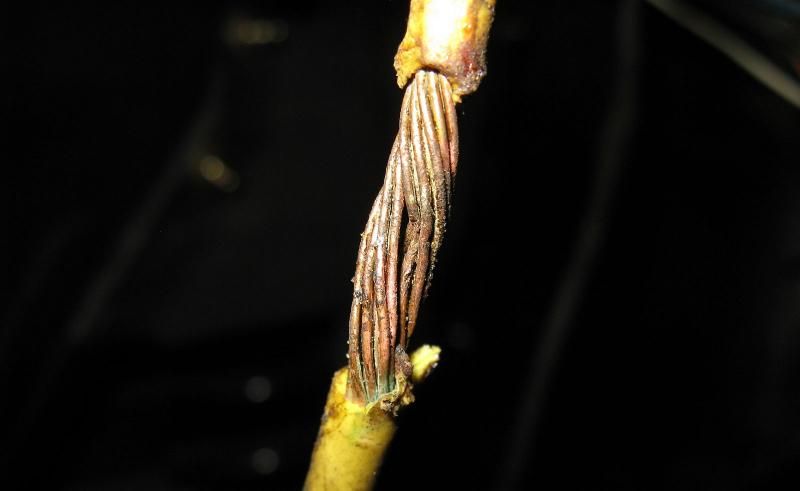
with those kinds of things being in the harness' past I wonder if it is really gonna be safe from now on?
Literally curious. not bashing at all.
cheers