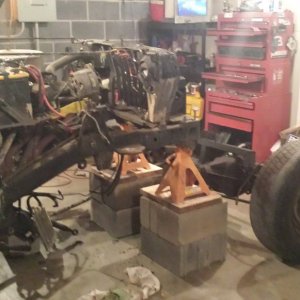
crash2
-Oh no I picked a side-
Thanks Brad I will try a heat gun. If anything I suspect I can add some material to the affected areas evenly on both sides to help push the cover out--as the cushion material may be flattened out from over time.
Thanks Brad I will try a heat gun. If anything I suspect I can add some material to the affected areas evenly on both sides to help push the cover out--as the cushion material may be flattened out from over time.
you would use cotton for fill padding.
I wouldnt tho. your cushions looked great and cotton is normally used as a sheet to flatten out a sagging or damaged cushion. Its like the trimmers bondo.
If you had a nasty hole chewed in the cushion you would patch/smooth it with cotton, then lay a thin cotton blanket over the whole seat cushion to cover any imperfections left after patching.
I think a heat gun will pull all those out just fine. :awesomework:
I have put on so many gm and ford muscle car seat covers. I have worked for my dad many times over the years. He hates putting on stock seat covers (he would rather do custom rigs) so if your working for him, YOU get to do them all!:redneck:
Mike it looks awesome, keep it going. Your dad has got to be very proud. :awesomework:
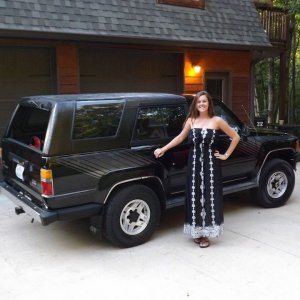
And hey someday that will make a sweet ride for Kyle to take a girl to Prom too as well...
What if the whobble/ruffle in the cover is due to a void behind the cover(nothing to push it outward) would you shove something behind it or still use the heat gun? I do allot of seat covers at work but those are simple remove/replace(J clips) and the replaced covers are made exactly to the ones being removed so this type of replacement I really have limited knowledge compared to what you probably know.
What if the whobble/ruffle in the cover is due to a void behind the cover(nothing to push it outward) would you shove something behind it or still use the heat gun?
http://seattle.craigslist.org/kit/pts/1955792657.html
If these parts are desireable, I'll go check 'em out for you.


For not being an upholstery man, it looks good!:awesomework: