84Toyota4x4
Well-Known Member
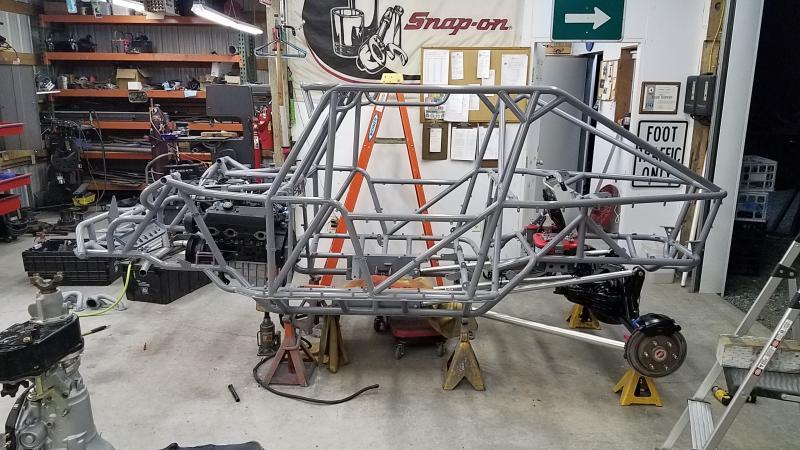
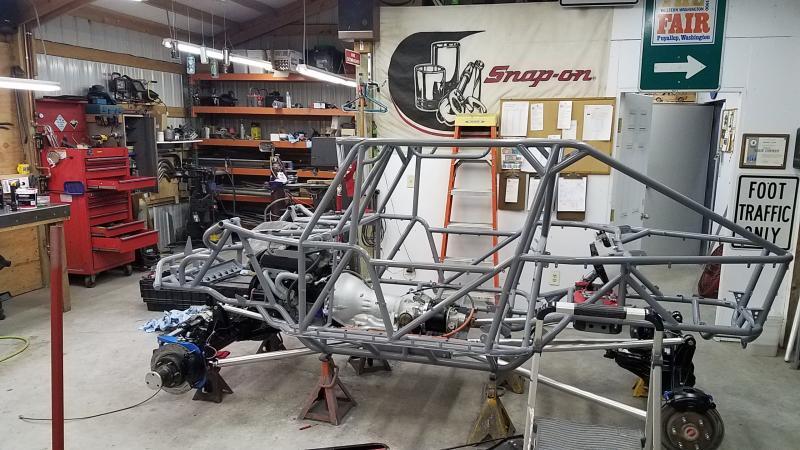
Man that thing looks killer! Love the buggies people have been building with all the style. Wish I could afford one, haha
~T.J.
~T.J.
Man that thing looks killer! Love the buggies people have been building with all the style. Wish I could afford one, haha
~T.J.
Looking great Crash!!!
I have been following along and you really made short work of this project!