You are using an out of date browser. It may not display this or other websites correctly.
You should upgrade or use an alternative browser.
You should upgrade or use an alternative browser.
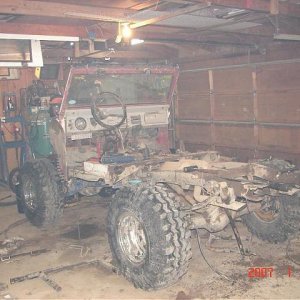
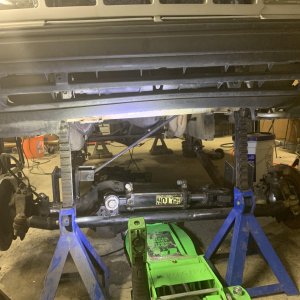
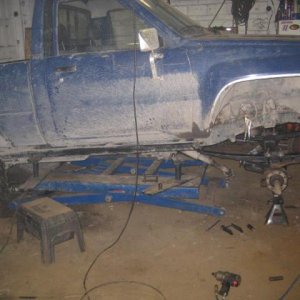
Finally....Da new rig..
- Thread starter crash2
- Start date

Help Support Hardline Crawlers:

KarlVP
Love that TOYOTA
***ty sprinkles. Glad to see this project gaining traction.

Zoediak
Well-Known Member
Great work so far Crash!! Looking forward to your progress!
on your donor truck, what xfer case is in that?? does it have the 4 buttons on the dash for the shift controls??
I ask, because I need one for my '01 blazer, that and the TCC module inside the kickpanel on the pass side...
just curious if it (xfer case etc) was up for sale so I could get mine back on the road...
need to do some much needed love to my truck, but need a rig to drive in the mean time...
on your donor truck, what xfer case is in that?? does it have the 4 buttons on the dash for the shift controls??
I ask, because I need one for my '01 blazer, that and the TCC module inside the kickpanel on the pass side...
just curious if it (xfer case etc) was up for sale so I could get mine back on the road...
need to do some much needed love to my truck, but need a rig to drive in the mean time...

crash2
-Oh no I picked a side-
Great work so far Crash!! Looking forward to your progress!
on your donor truck, what xfer case is in that?? does it have the 4 buttons on the dash for the shift controls??
I ask, because I need one for my '01 blazer, that and the TCC module inside the kickpanel on the pass side...
just curious if it (xfer case etc) was up for sale so I could get mine back on the road...
need to do some much needed love to my truck, but need a rig to drive in the mean time...
It left on saturday :D
So I made out pretty good. for what I sold my old tbi, cost of the truck and selling off the truck I am ahead $100 :D
crash2
-Oh no I picked a side-
crash2
-Oh no I picked a side-
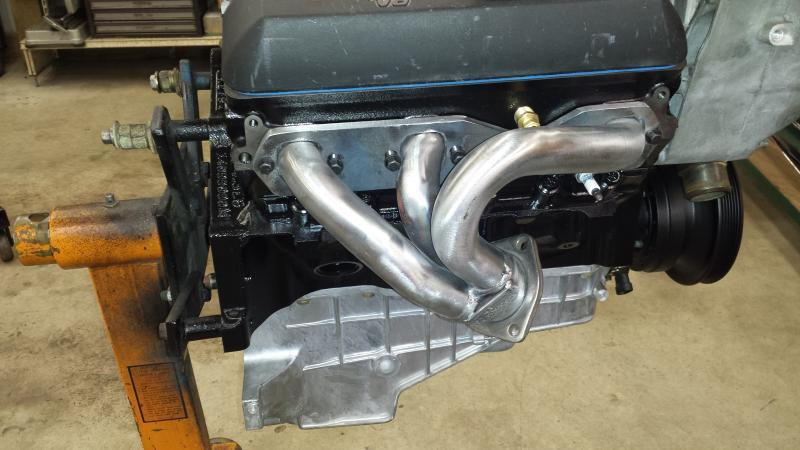
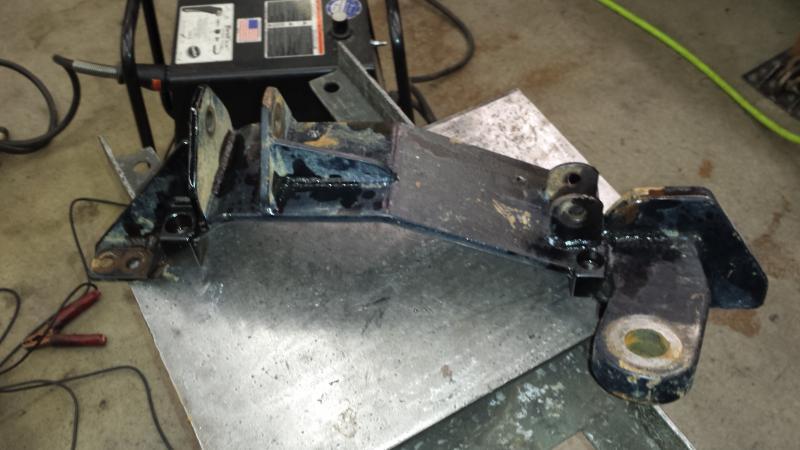
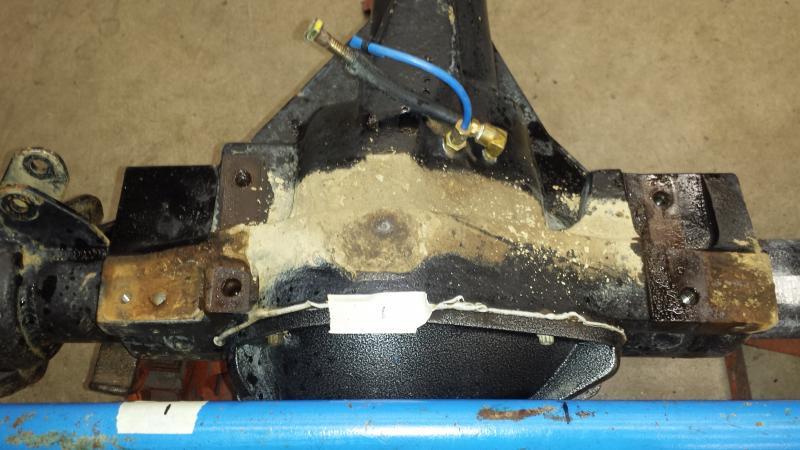
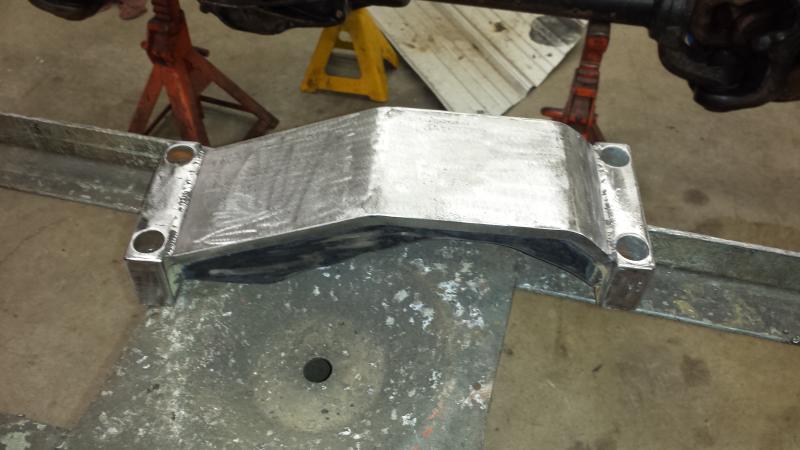
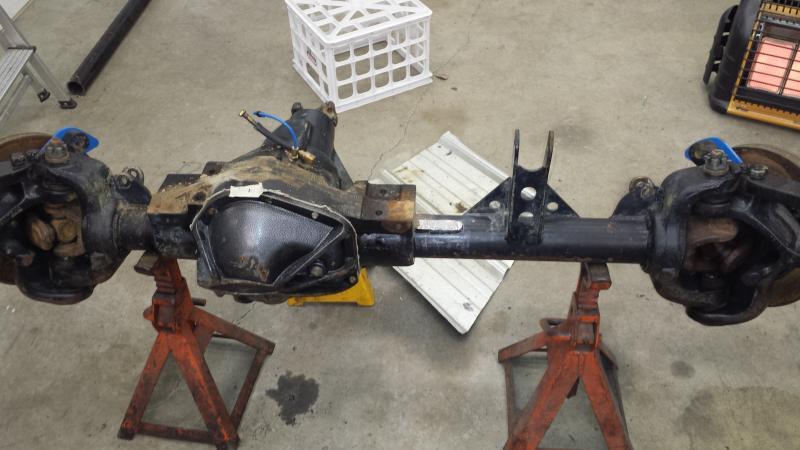
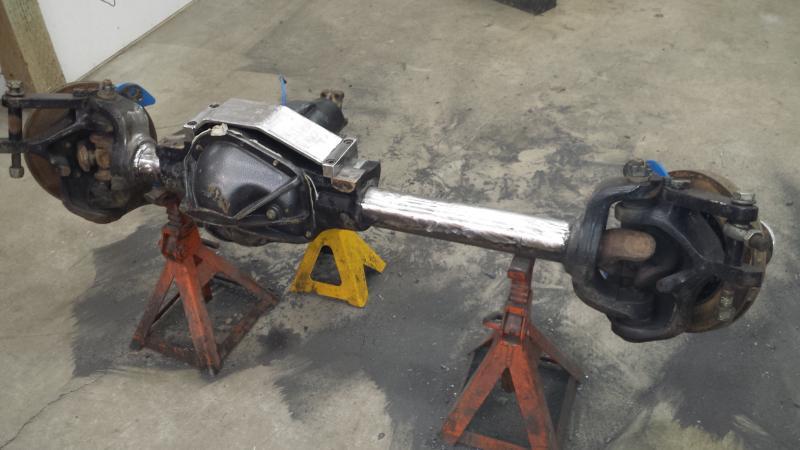
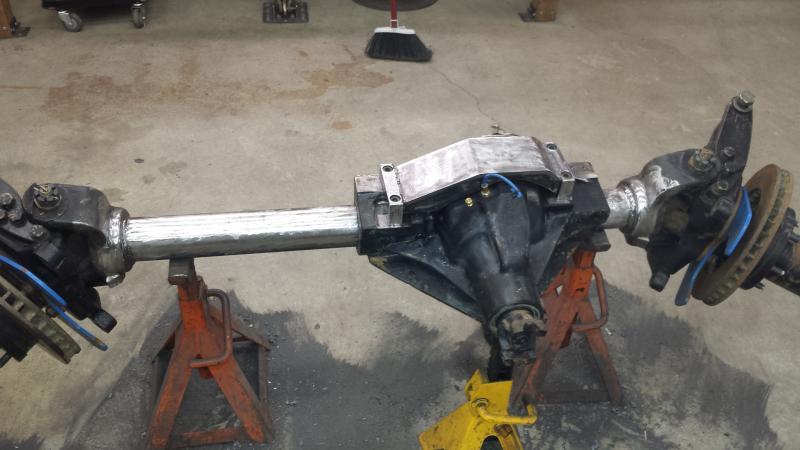
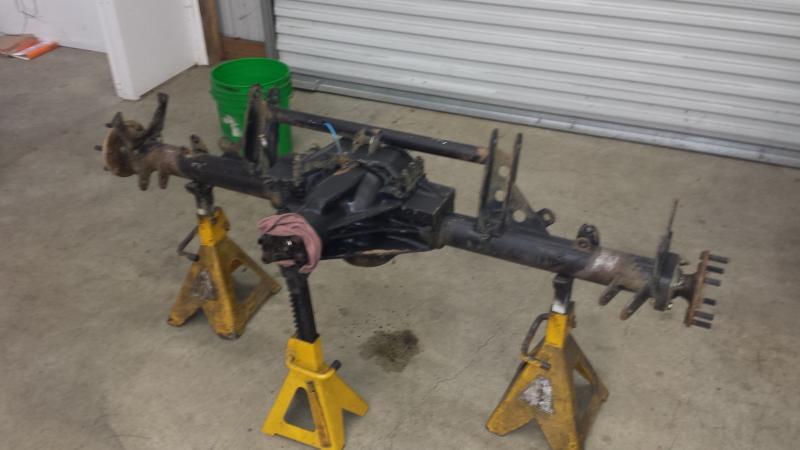
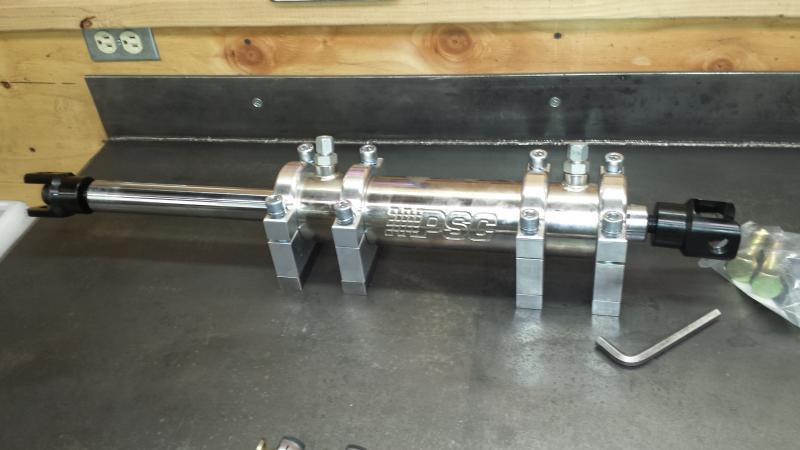
So next I decided to go ahead and get the housings prepped. My original plan was to strip both housings of the brackets since they were so hammered and I am really thinking of going double ended ram on the steering.
One thing I love about the Pro-rocks is the suspension bridge--noo welding needed to the cast. To remove the bridge I had to cut the 1/2" plate for the old steering ram.
One thing I love about the Pro-rocks is the suspension bridge--noo welding needed to the cast. To remove the bridge I had to cut the 1/2" plate for the old steering ram.
Attachments
crash2
-Oh no I picked a side-
crash2
-Oh no I picked a side-
crash2
-Oh no I picked a side-
crash2
-Oh no I picked a side-
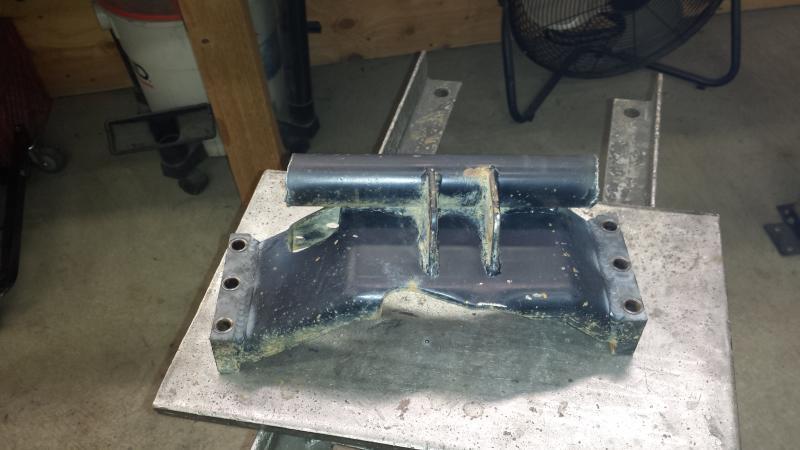
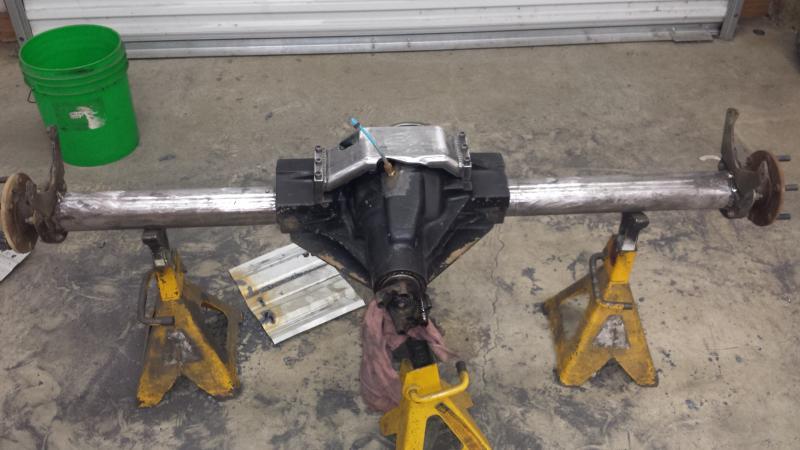
Like the front I cut the nec items to remove the bridge and again cleaned it and the whole rear housing of the brackets. I left the brake caliper brackets on for now and more than likely I will be redoing them to roll the caliper down.
Attachments
crash2
-Oh no I picked a side-
crash2
-Oh no I picked a side-
crash2
-Oh no I picked a side-
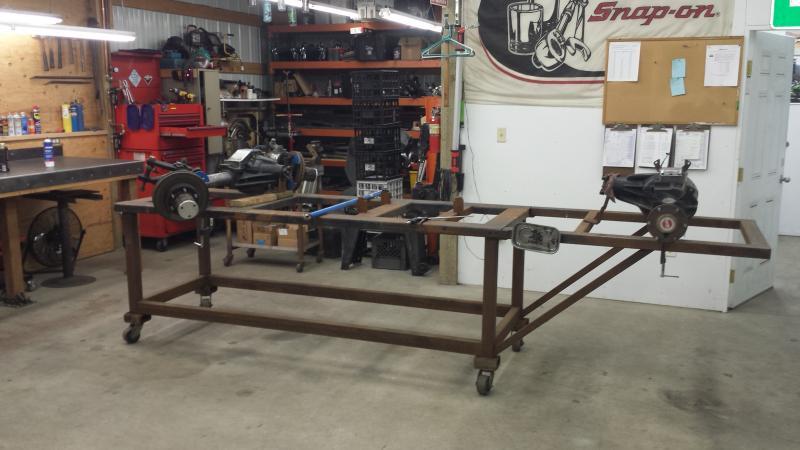
Time to get this show on the road.
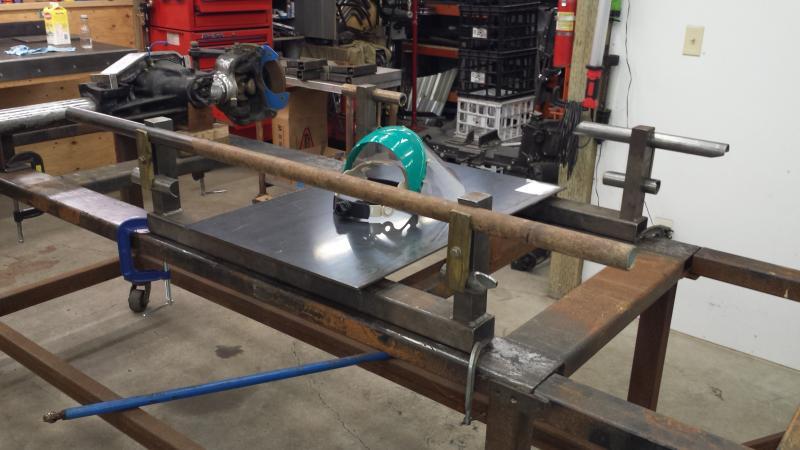
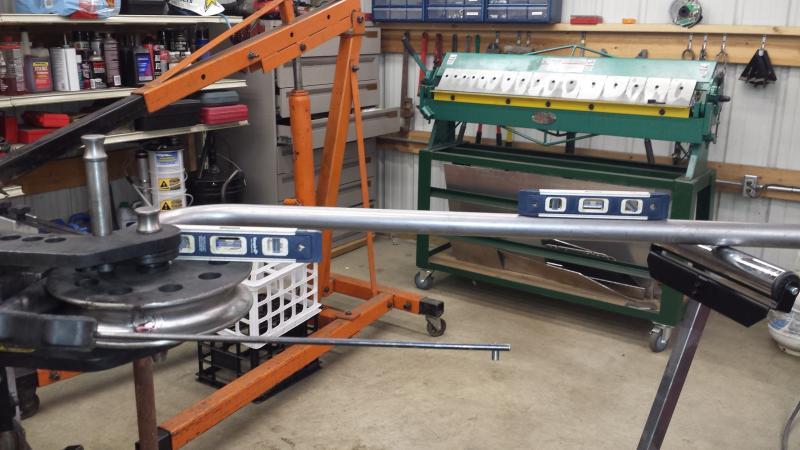
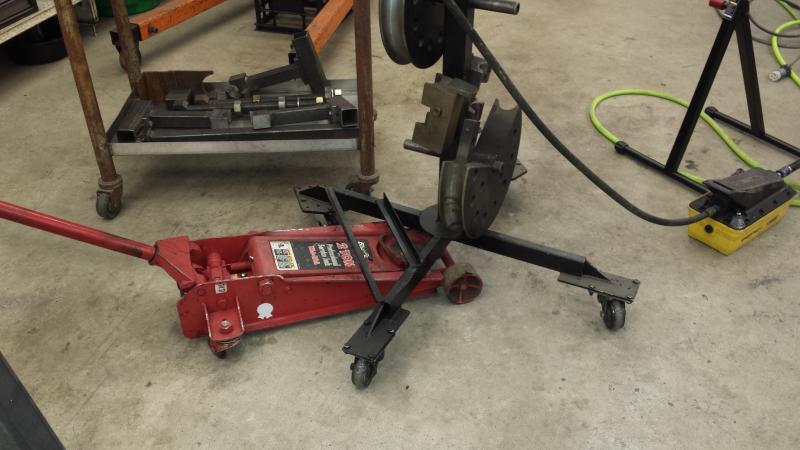
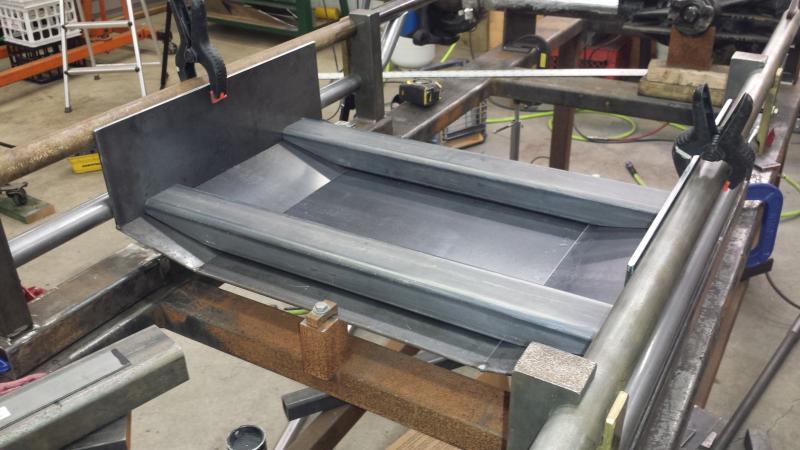
Like I had stated the bottom or "sled" was going to be strongly based off the S&N Bravo 2 chassis. First I had ALWAYS admired its design and the second awsome part is the fact I have all the jigs to aid me in doing so..
So after looking over man pictures and going up and measuring on it was time to jump into it.
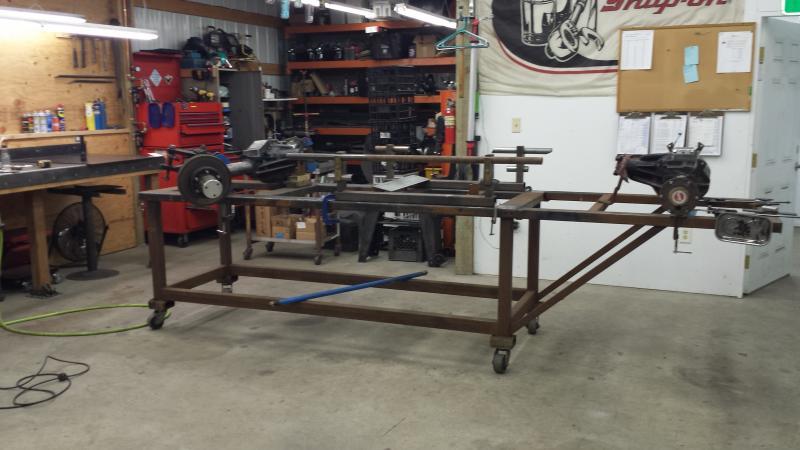
I simply started by getting the skid roughed into place and getting the side jigs in place. Over the course of from this picture to the down the road I think I moved them around like 14 times,lol...
Like I had stated the bottom or "sled" was going to be strongly based off the S&N Bravo 2 chassis. First I had ALWAYS admired its design and the second awsome part is the fact I have all the jigs to aid me in doing so..
So after looking over man pictures and going up and measuring on it was time to jump into it.
I simply started by getting the skid roughed into place and getting the side jigs in place. Over the course of from this picture to the down the road I think I moved them around like 14 times,lol...
Attachments
crash2
-Oh no I picked a side-
crash2
-Oh no I picked a side-
crash2
-Oh no I picked a side-
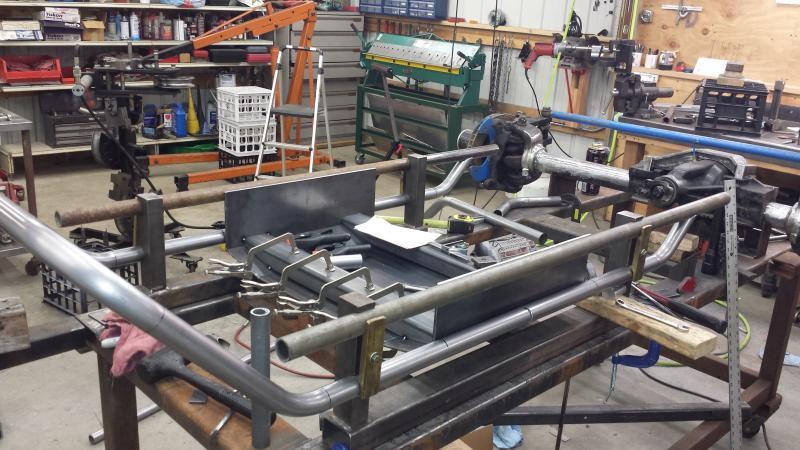
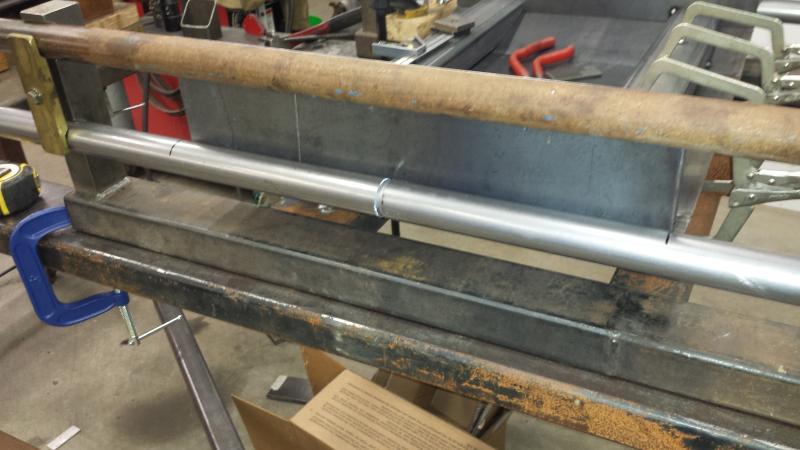
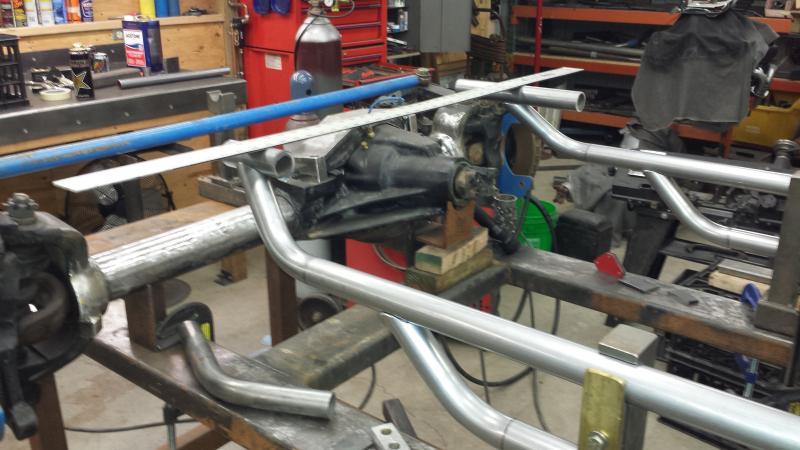
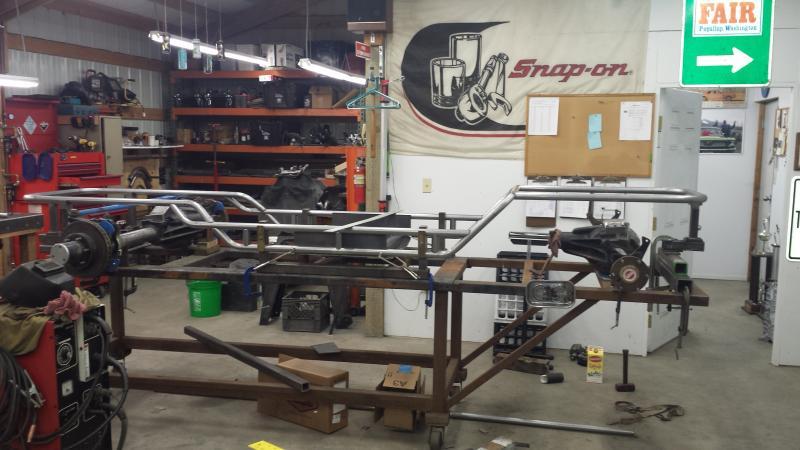
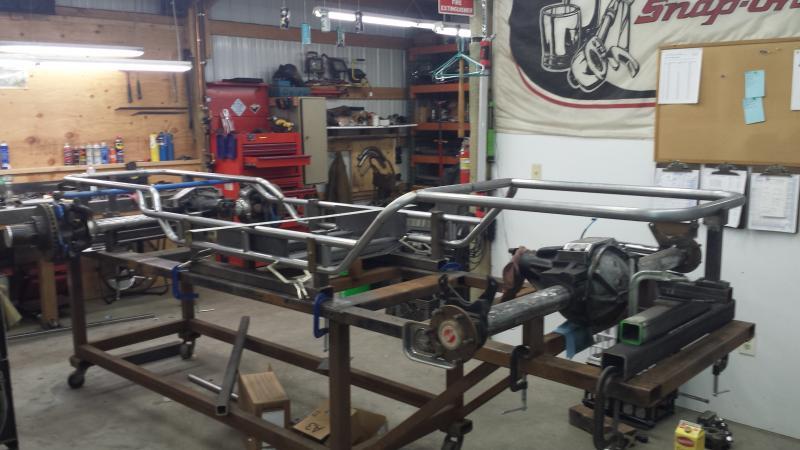
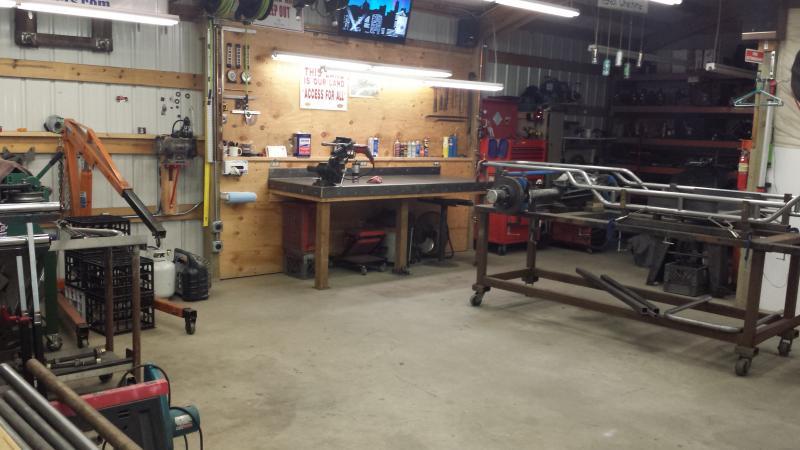
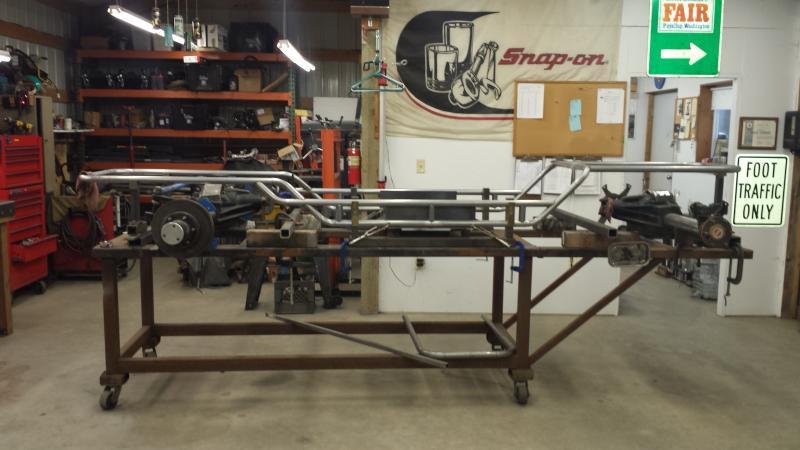
So one thing I found was the lower tube was too short which actually turned out to be a good thing. So I remade the front half of it and I sleeved the whole lower tube. Since that section of tube takes a good brunt of the beating I figured it wouldn't hurt to beef it up a bit.
Attachments
crash2
-Oh no I picked a side-
crash2
-Oh no I picked a side-

crash2
-Oh no I picked a side-
crash2
-Oh no I picked a side-
crash2
-Oh no I picked a side-
crash2
-Oh no I picked a side-
crash2
-Oh no I picked a side-
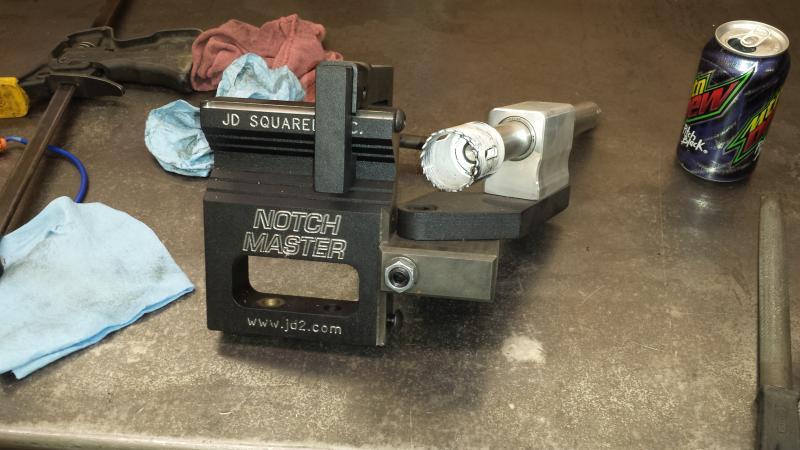
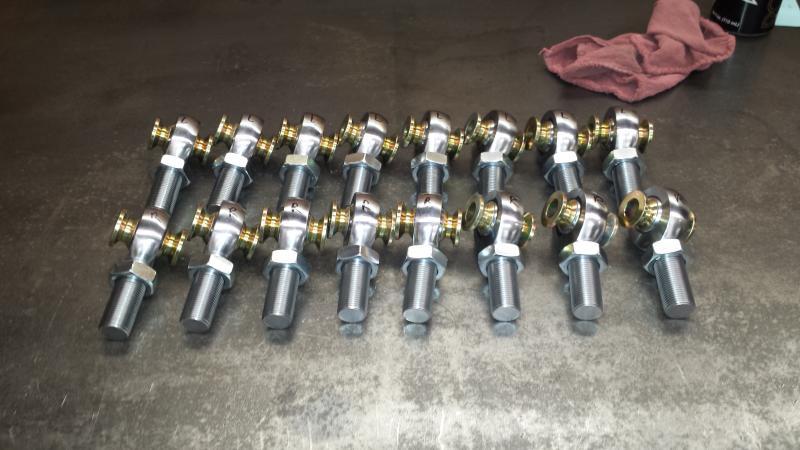
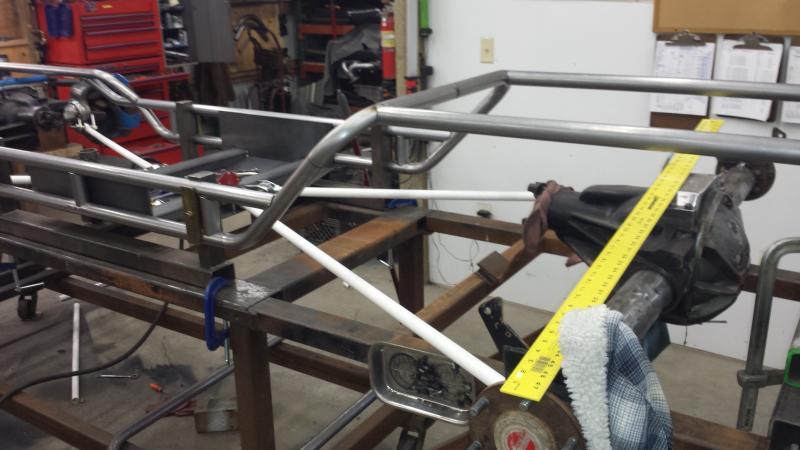
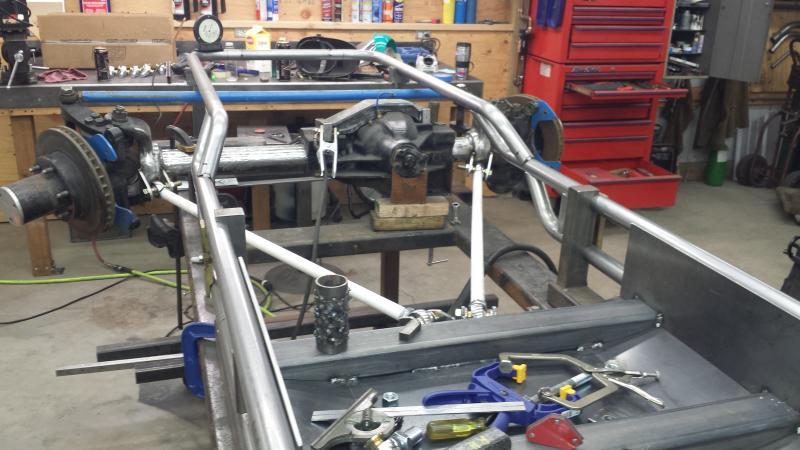
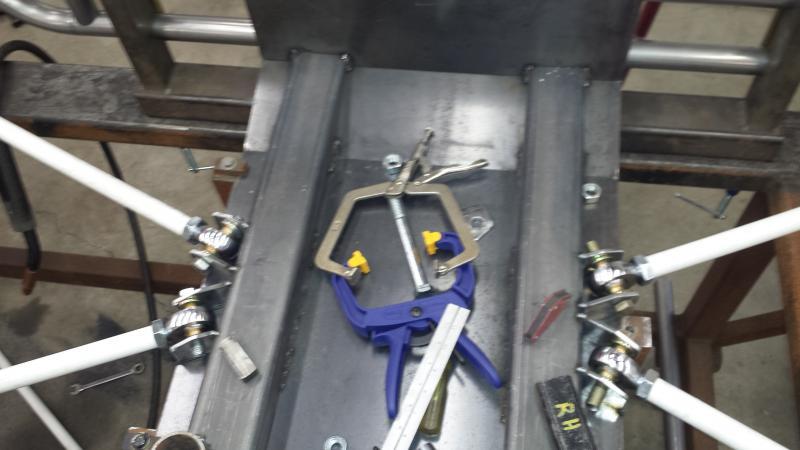
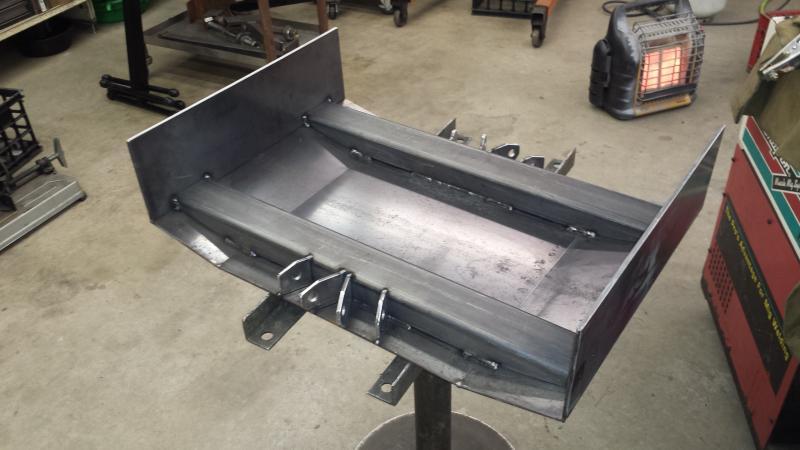
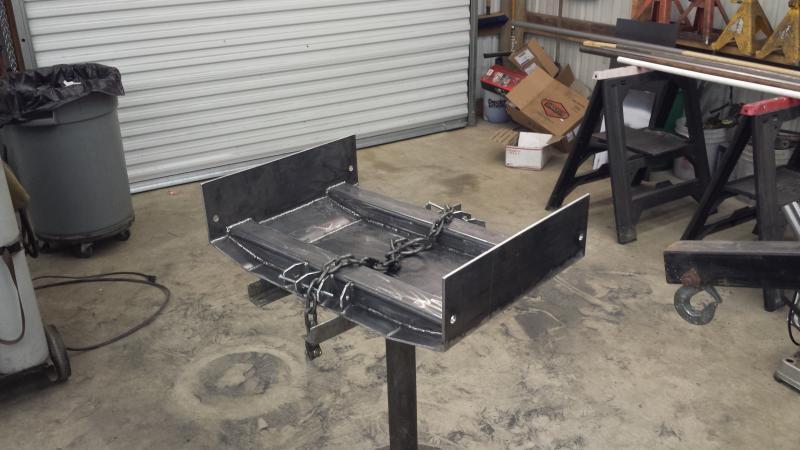
So I had a bunch of brackets cut but the ones at the skid I had to make for the links.
The links are my new line of ultra strong white aluminum---10x stronger than anything on the planet :redneck:
So I started with the lowers.
The links are my new line of ultra strong white aluminum---10x stronger than anything on the planet :redneck:
So I started with the lowers.
Attachments
crash2
-Oh no I picked a side-
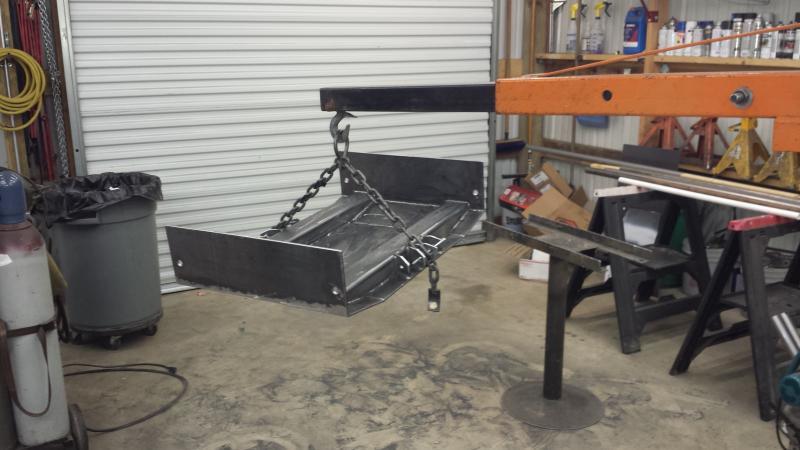
So with the tabs tacked in place I made a jig to mark the holes for the upper links. Once marked I pulled the skid. I pulled it by hand and barely got it out of the chassis due to weight and no foot holds.
So I burned everything together and got smart and used the engine hoist to place it back.
So I burned everything together and got smart and used the engine hoist to place it back.
Attachments
crash2
-Oh no I picked a side-
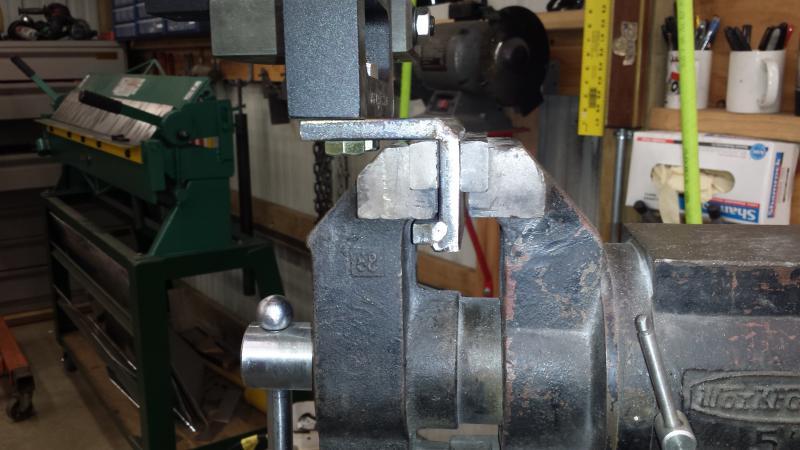
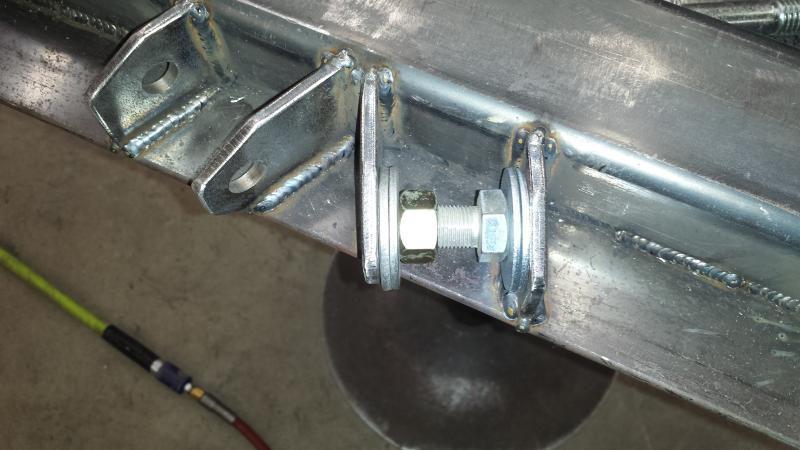
Here is a little trick I use when needed on the tabs. I always weld the outside on the tab and then the inside and typically pulls the tab out and bacck in and once in a while its in by 1/64" and when it is I use this trick. Sure you can beat it with a hammer but they tends to bend the outer edge where this trick pushes the whole tab--works really good.
Attachments
Clark
Well-Known Member
Looks awesome Mike! Bravo! :redneck:
Latest posts
-
-

-
-
-
-
-
-

-
-
-
For Sale First Generation 4Runner Rock Crawler for sale or trade
- Latest: FirstGenFunRunner
-
-
-
Withdrawn First Generation 4Runner Rock Crawler for sale or trade
- Latest: FirstGenFunRunner
-