landbruiser1
Well-Known Member
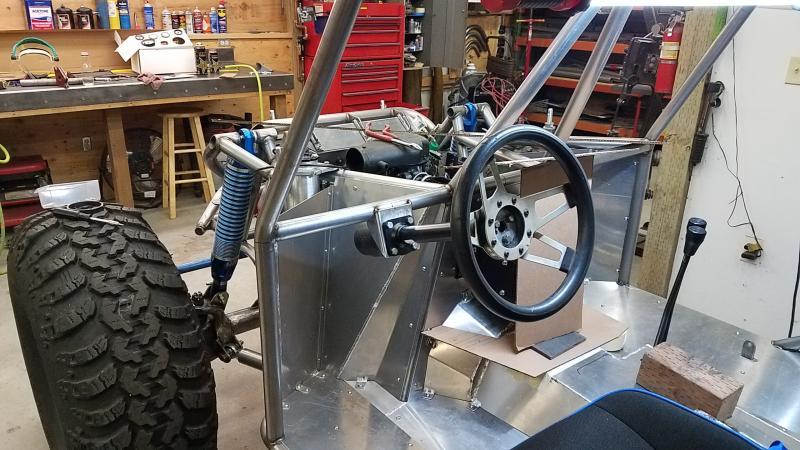
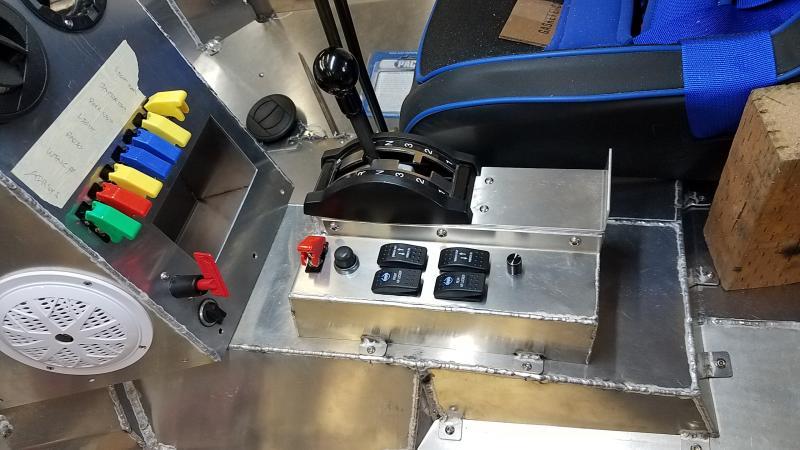
Thanks! That thing looks cool!
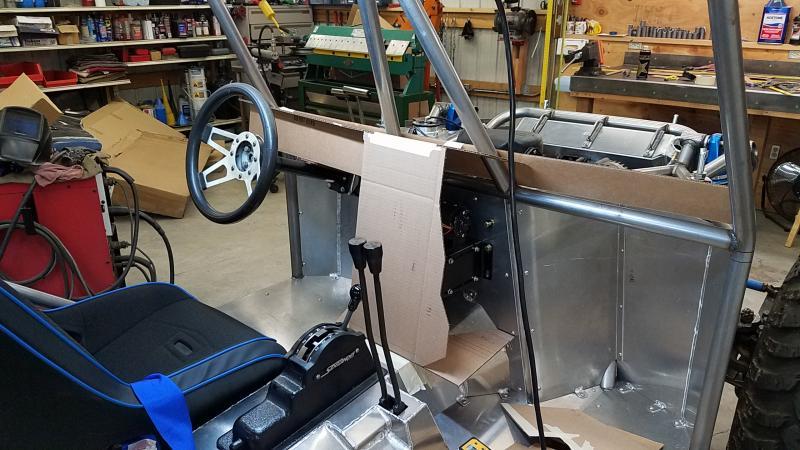
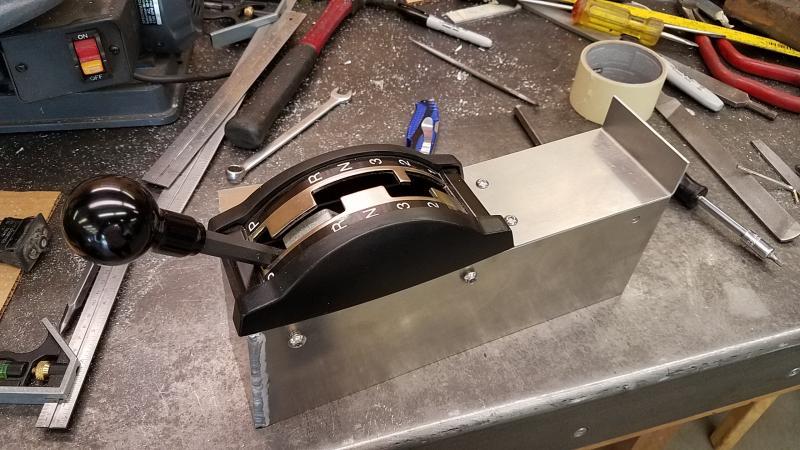
Do you use that pistol grip instead of a foot pedal?
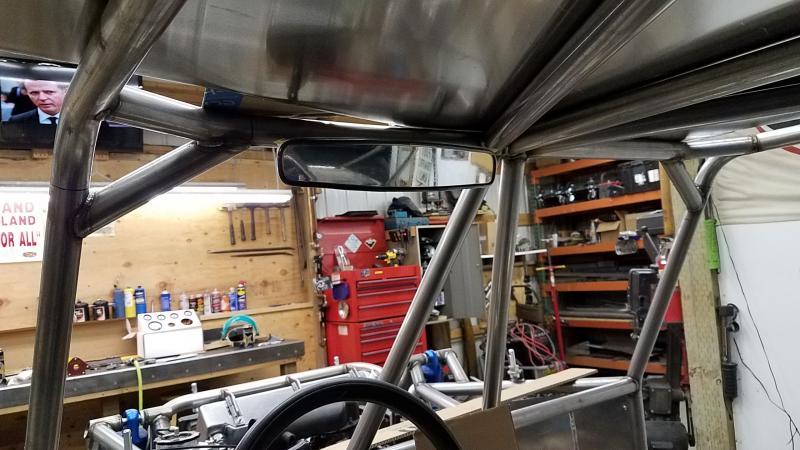
How did you mount the mirror?
Looking good!:awesomework:
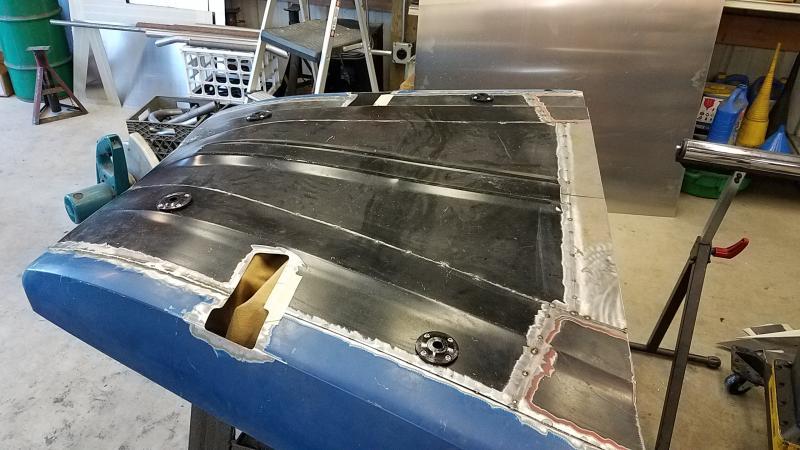
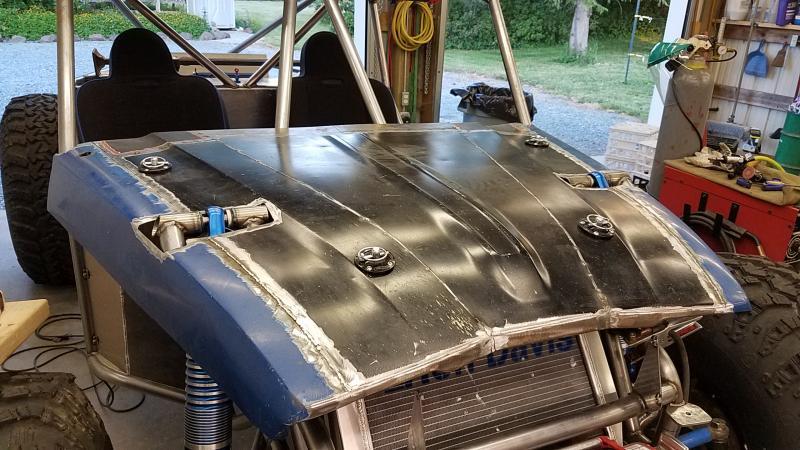
Why not hinge the back of the hood? It makes it easy with one person and your hood has a place to be when you open it. That was the first thing I changed on mine after checking fluids a million times on the maiden voyage.
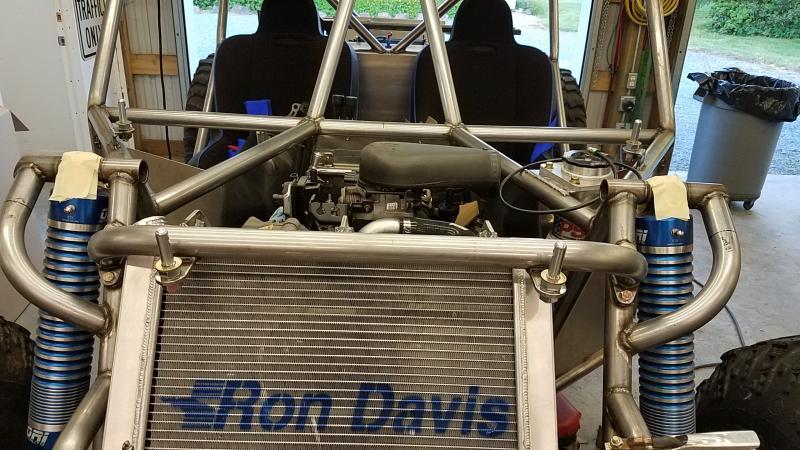
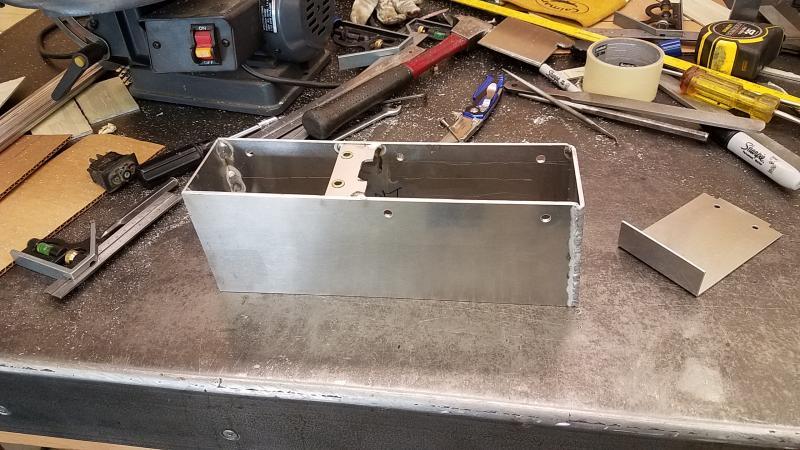
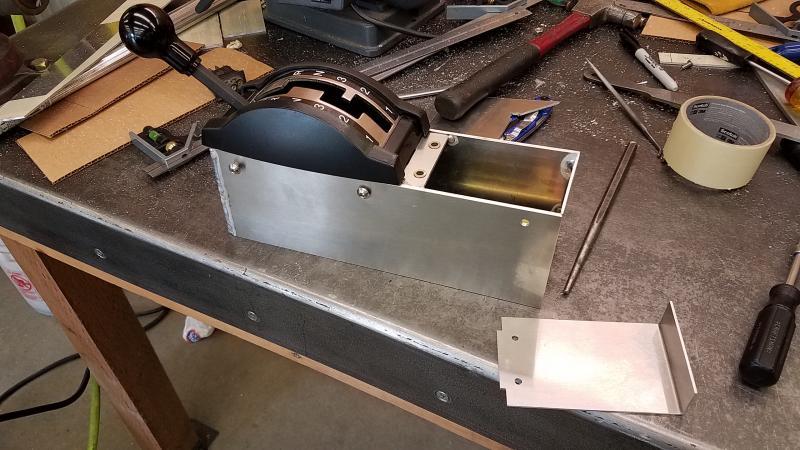
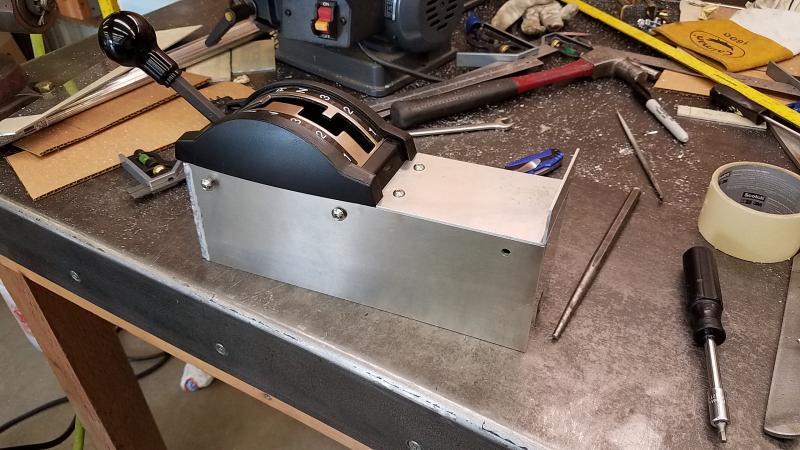
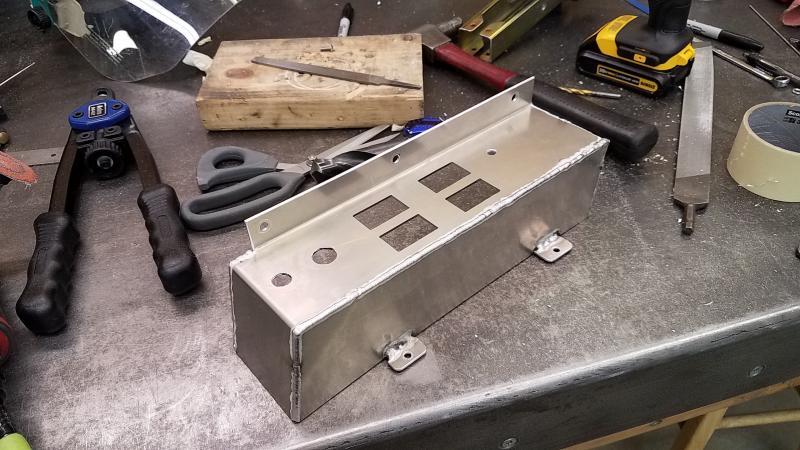
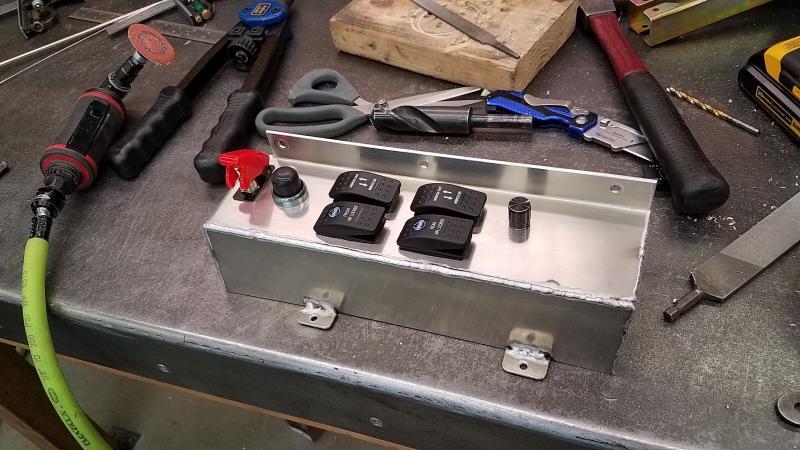
I aint done yet :redneck:
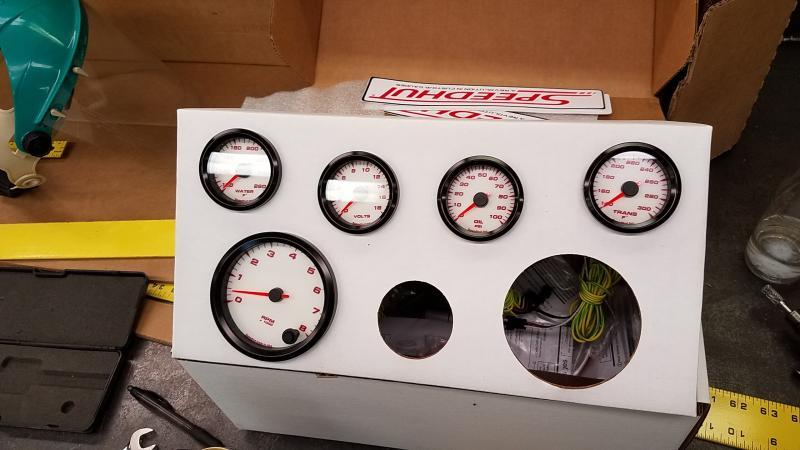
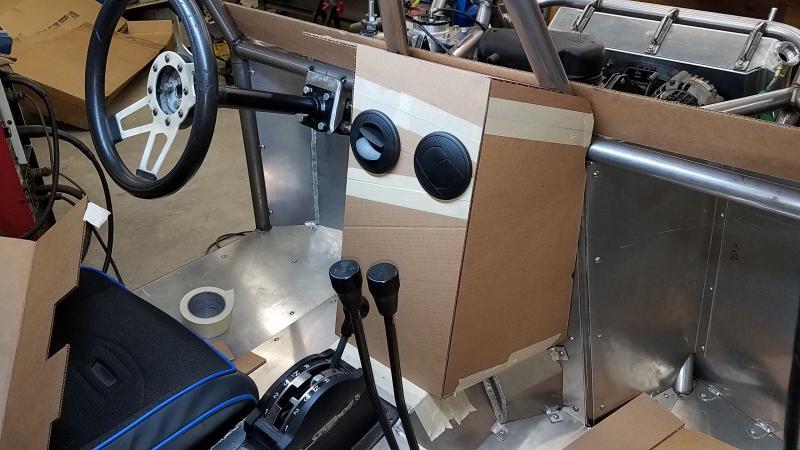
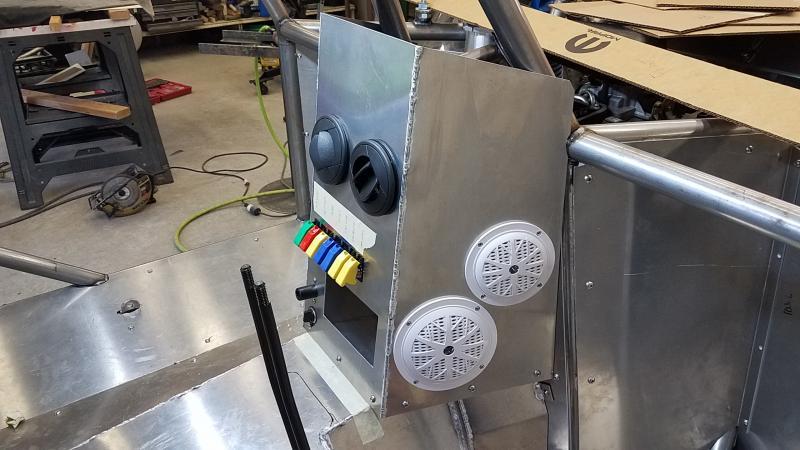
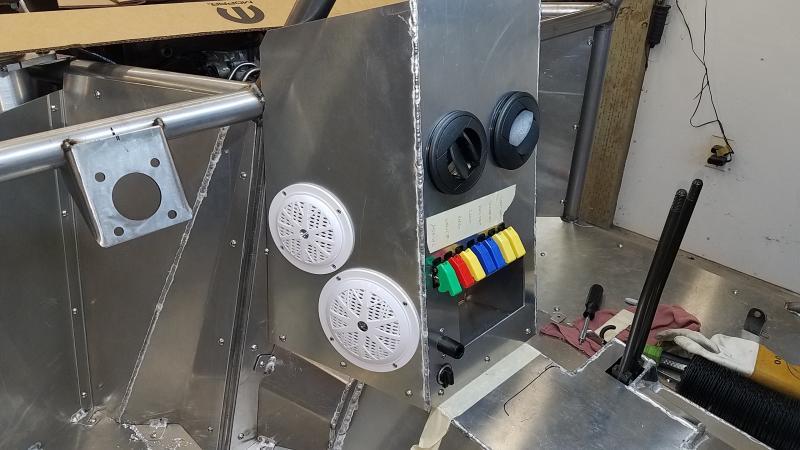
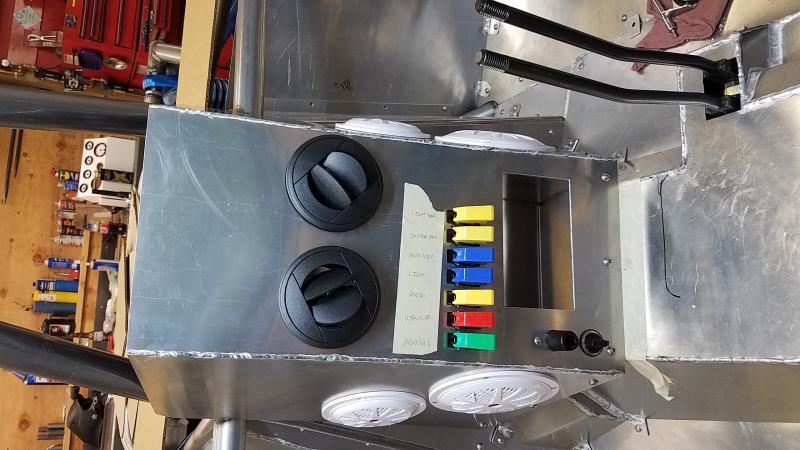
I see speakers, but no radio.
It seems tall and will block viability but then I don't know what your dash and hood heights are... but looking good!