

You are using an out of date browser. It may not display this or other websites correctly.
You should upgrade or use an alternative browser.
You should upgrade or use an alternative browser.
Finally....Da new rig..
- Thread starter crash2
- Start date

Help Support Hardline Crawlers:
crash2
-Oh no I picked a side-
crash2
-Oh no I picked a side-
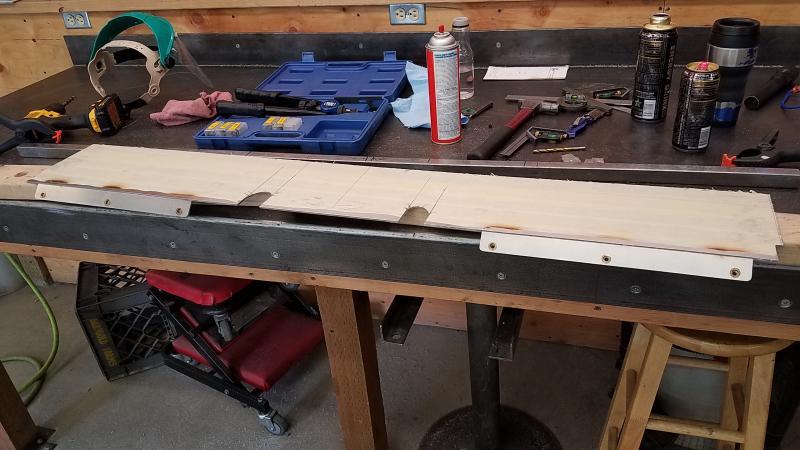
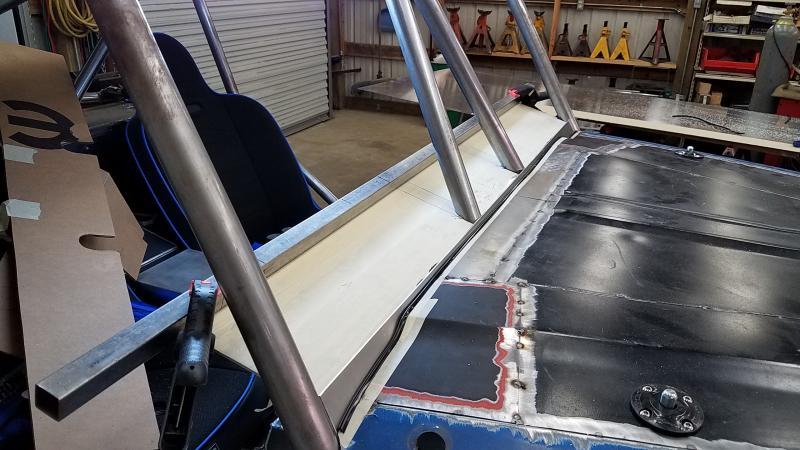
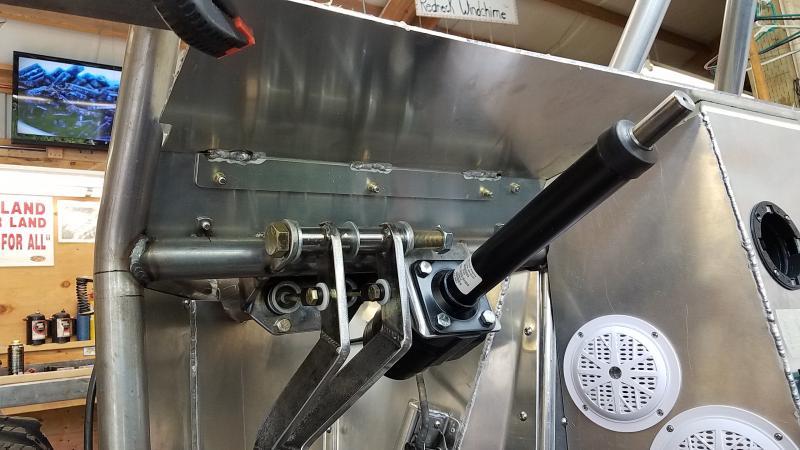
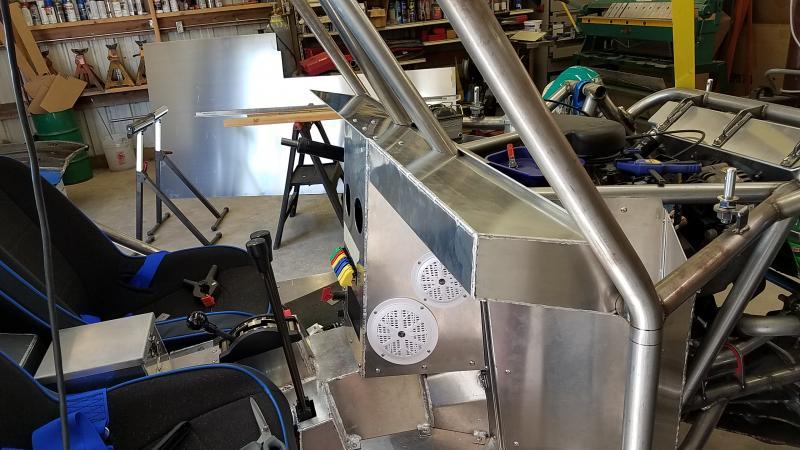
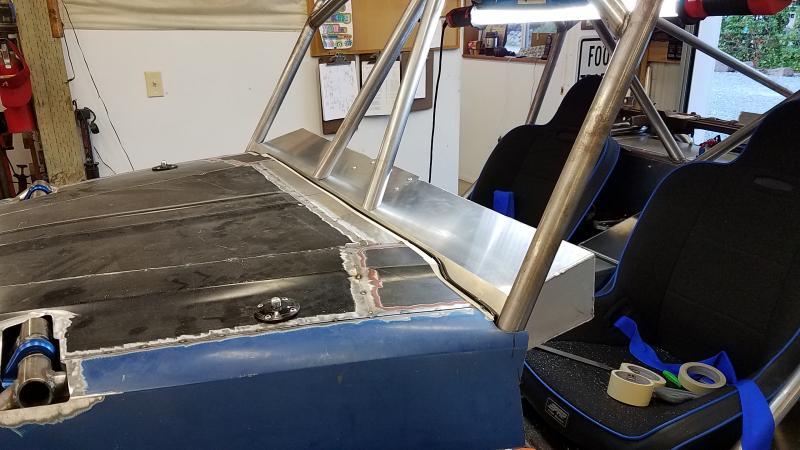
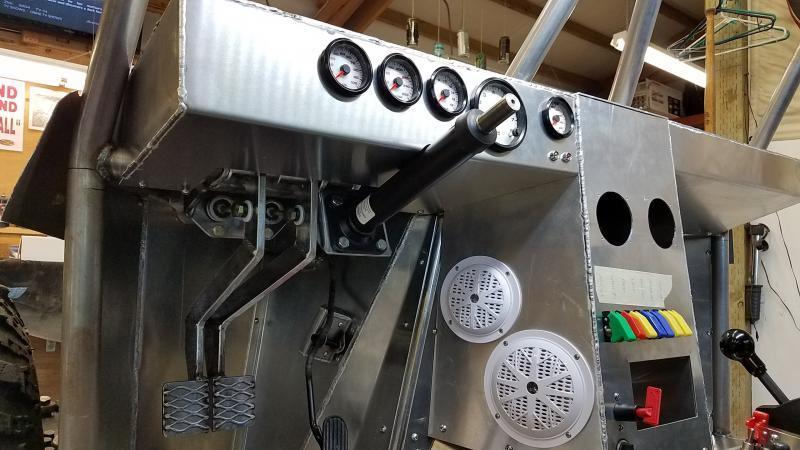
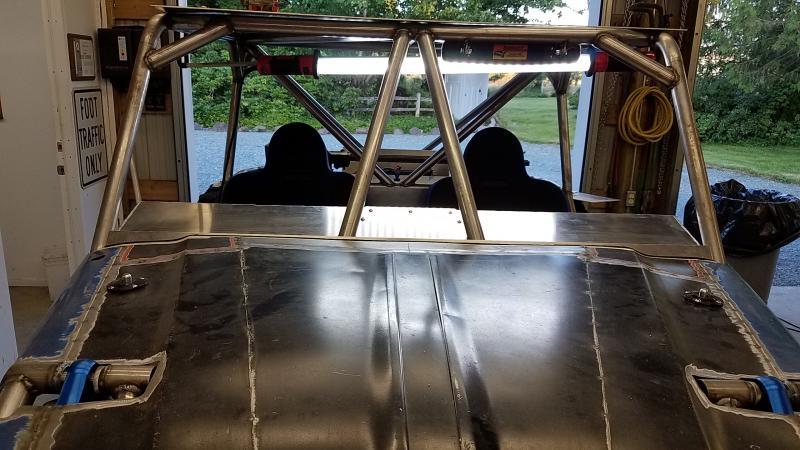
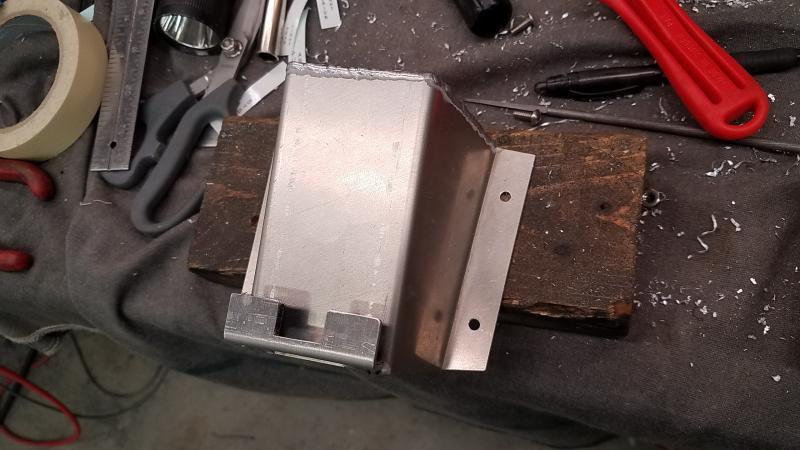
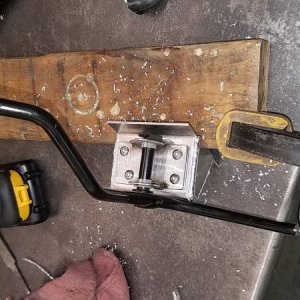
So my original intention was to make the dash part of the center console and removable as one unit and I had made sure the center console would have enough room to slide out when I built it. Well I changed that idea and made a plate thats welded to the top front edge of the center with inserts so the dash actually bolts down to it.
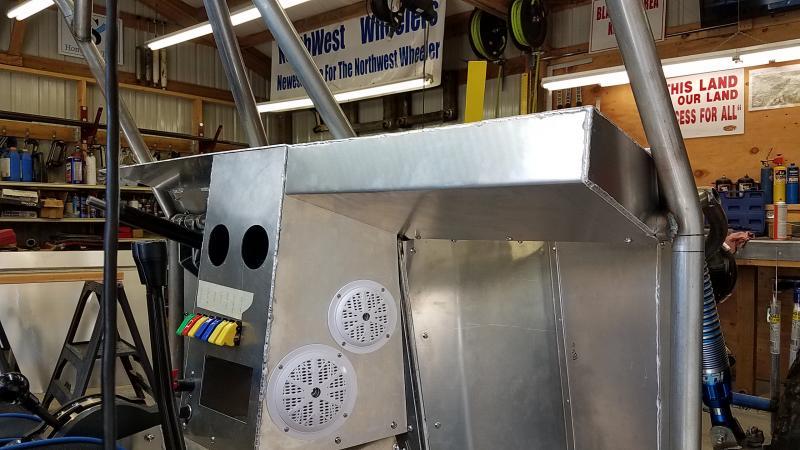
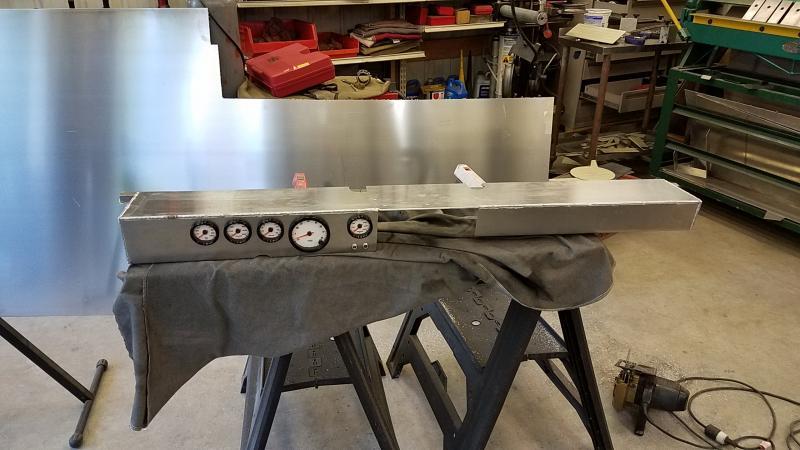
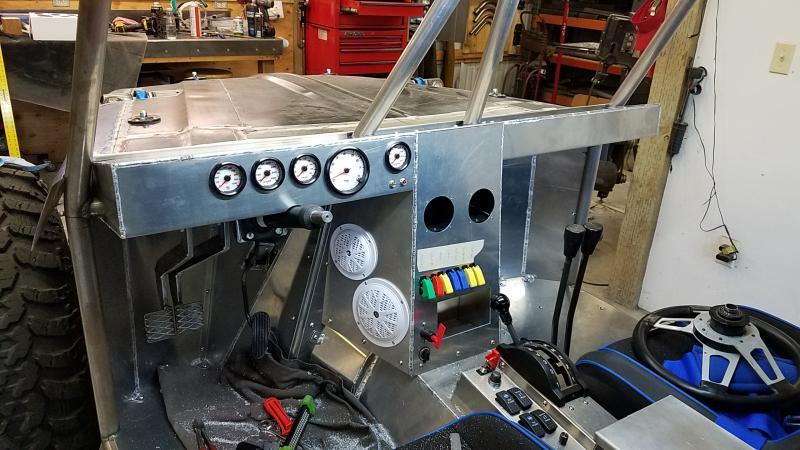
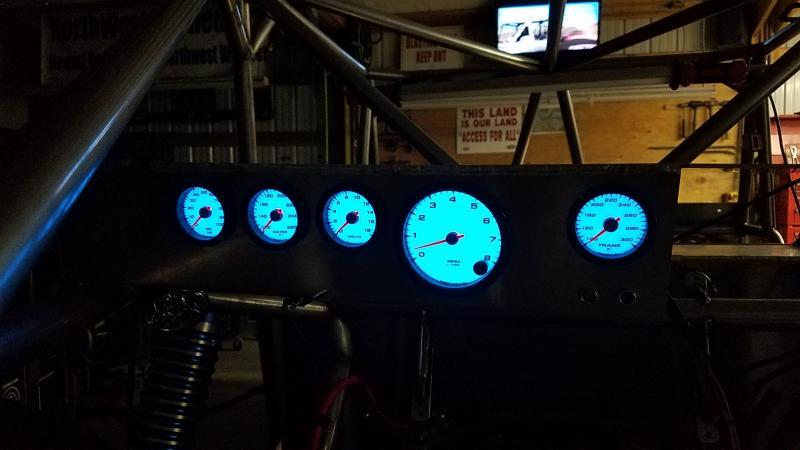
Well I was able to get the dash done and besides my not up to my standards tig welding I was happy with how it turned out.
I originally wanted to recess the gauges deeper into the dash but found I didn't like the very sharp edge that would be there by the dash top and I knew I would warp the dash top welding the assy to the underside of it...
But I can scratch that off the list and now onto the electrical center..
Well I was able to get the dash done and besides my not up to my standards tig welding I was happy with how it turned out.
I originally wanted to recess the gauges deeper into the dash but found I didn't like the very sharp edge that would be there by the dash top and I knew I would warp the dash top welding the assy to the underside of it...
But I can scratch that off the list and now onto the electrical center..
Attachments

Glenn
Well-Known Member
Nice work!
:cool:
:cool:
crash2
-Oh no I picked a side-
Nice work!
:cool:
Thanks Glenn
crash2
-Oh no I picked a side-
crash2
-Oh no I picked a side-
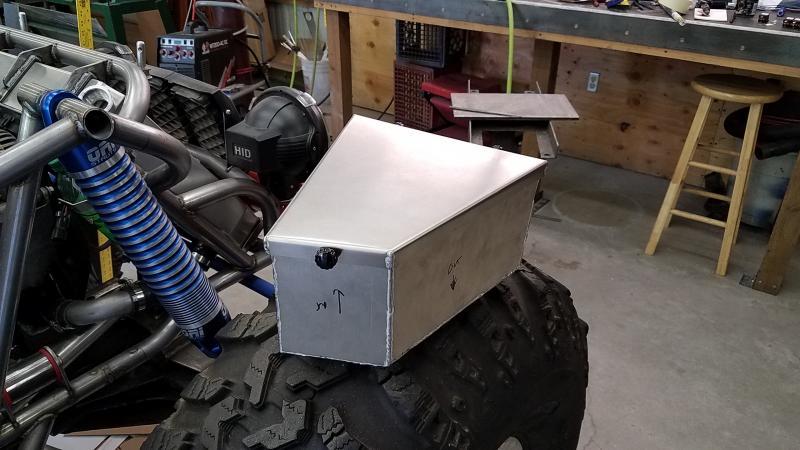
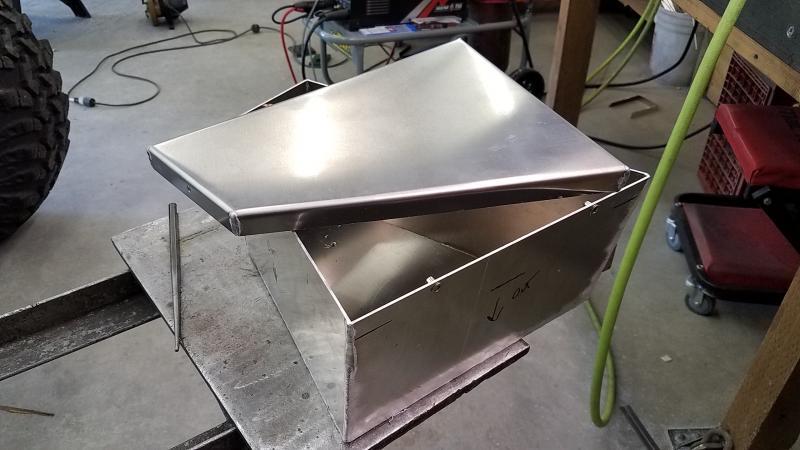
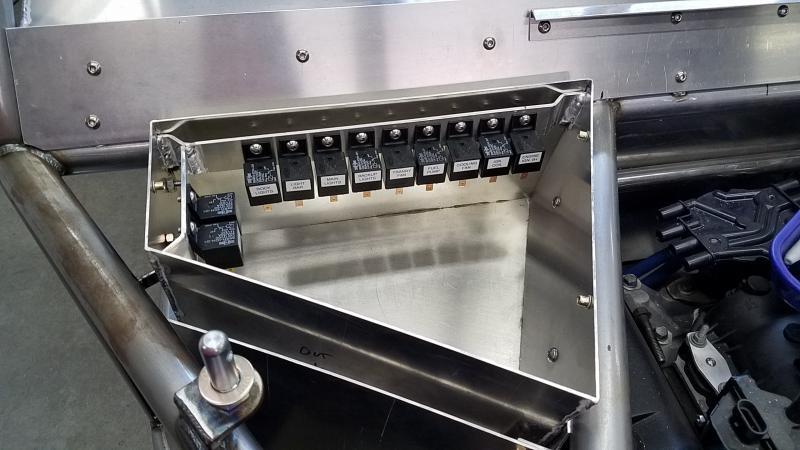
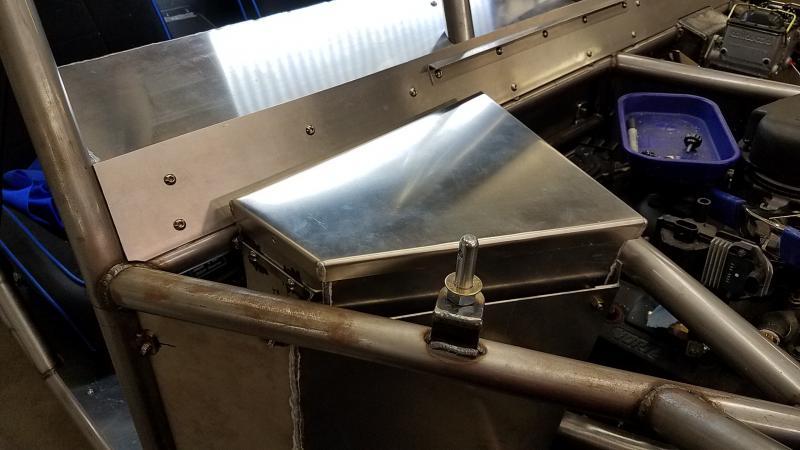
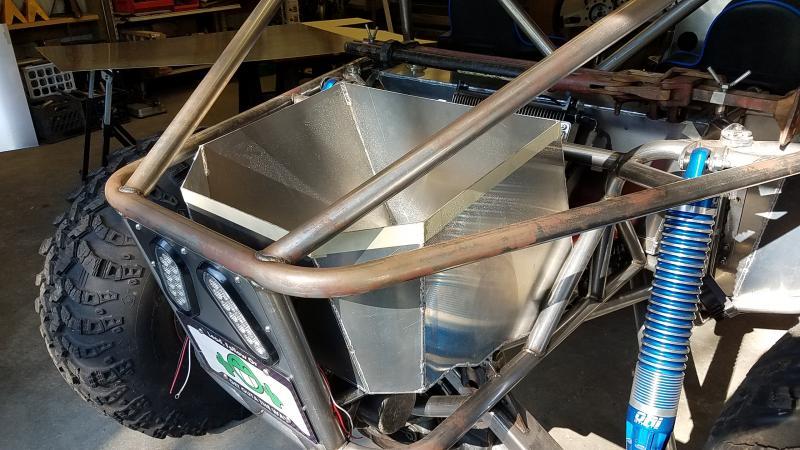
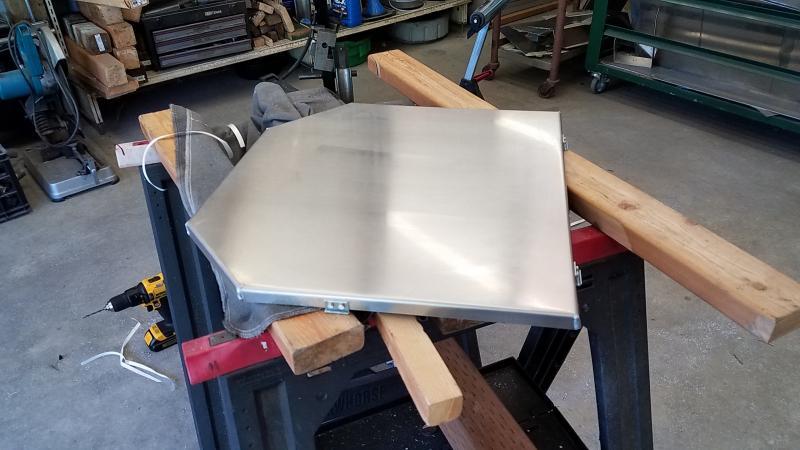
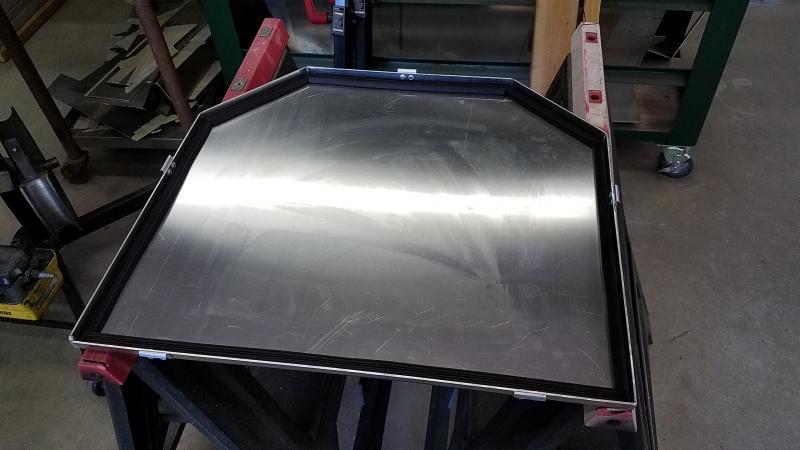
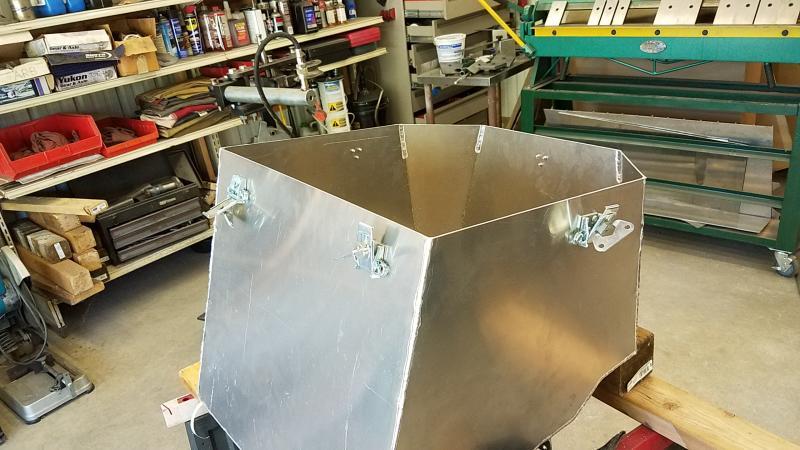
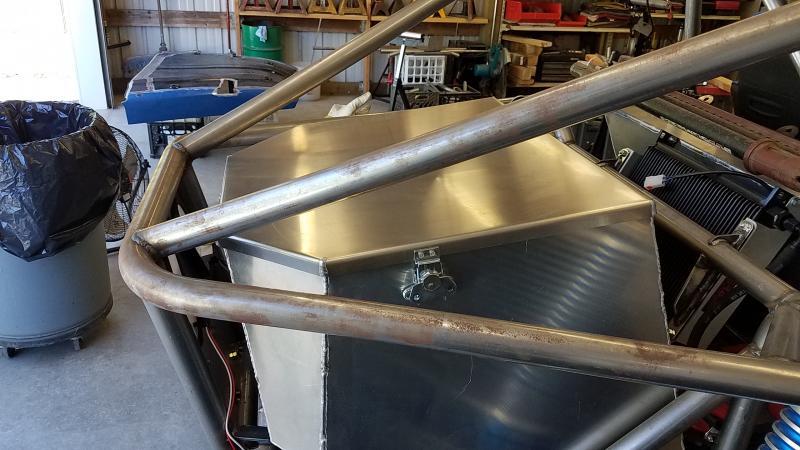
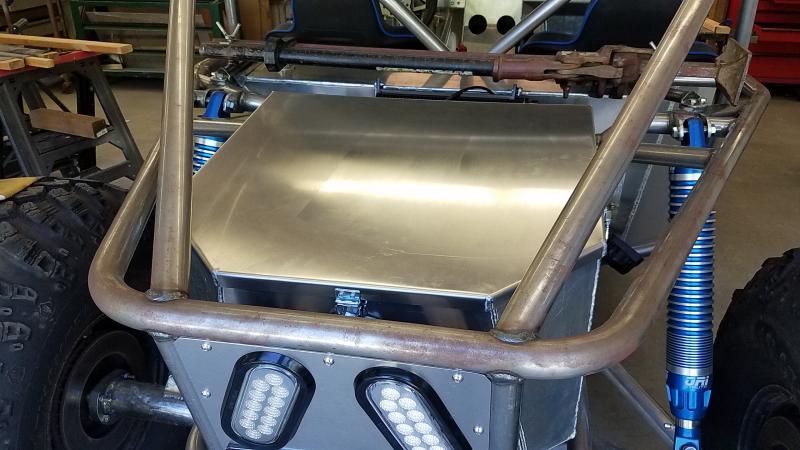
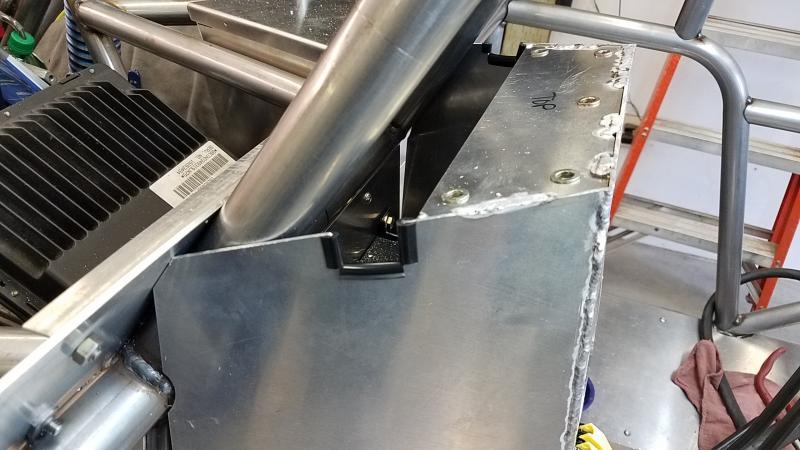
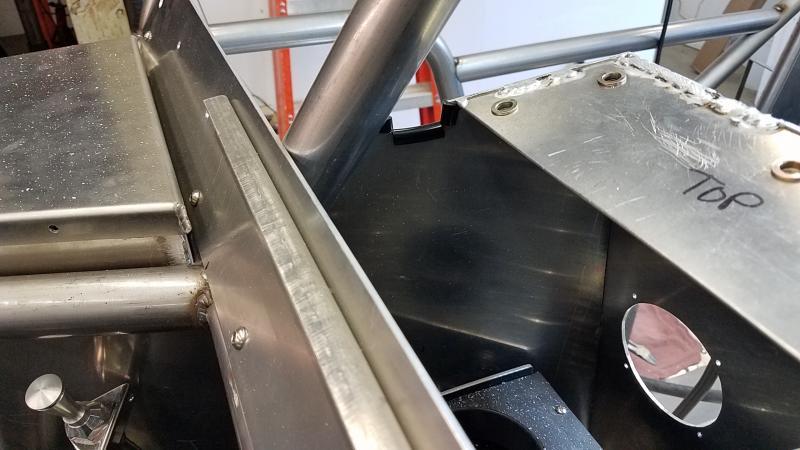
And it goes here. Its my electrical center and I always knew where I wanted it to go and wanted something that was as sealed as it could be because living in the PNW thats just what ya gotta do. I had to wait to get the dash done first...
Attachments
crash2
-Oh no I picked a side-
crash2
-Oh no I picked a side-
crash2
-Oh no I picked a side-
crash2
-Oh no I picked a side-
crash2
-Oh no I picked a side-
crash2
-Oh no I picked a side-
crash2
-Oh no I picked a side-
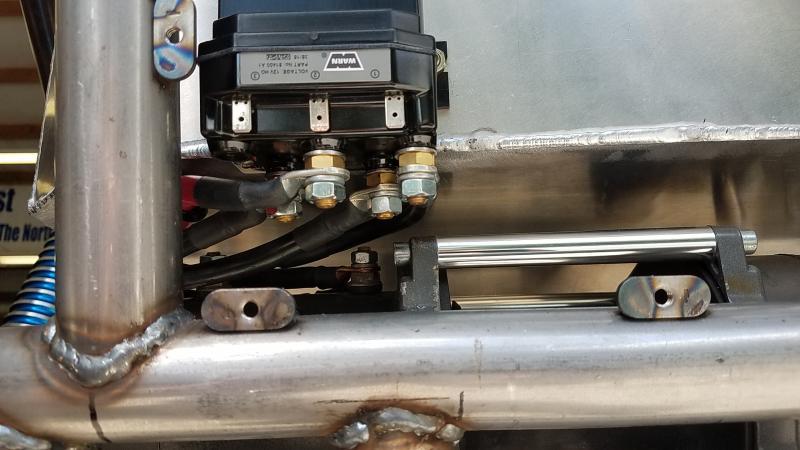
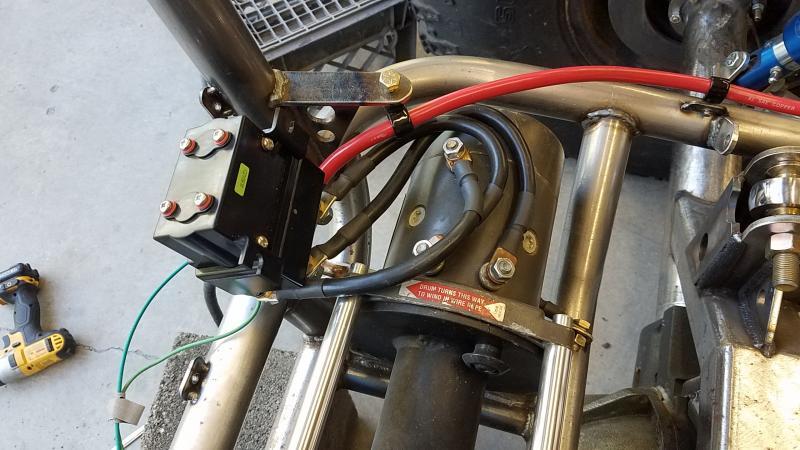
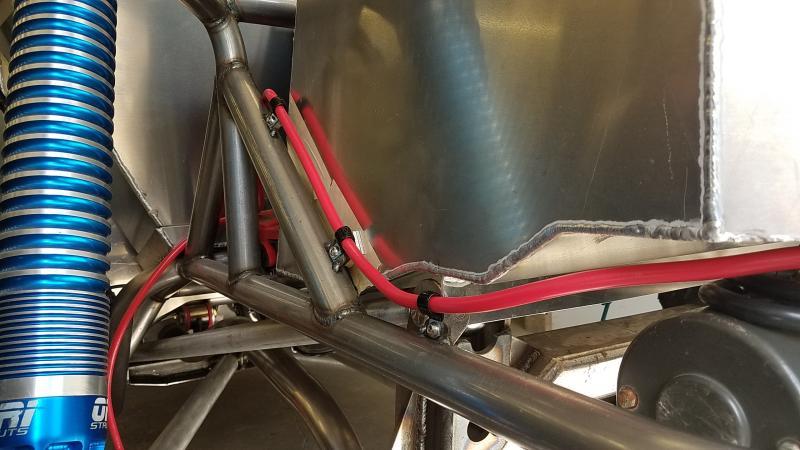
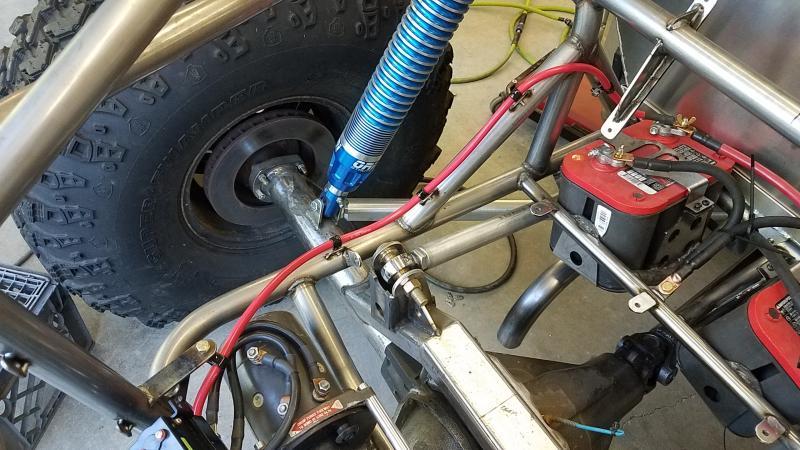
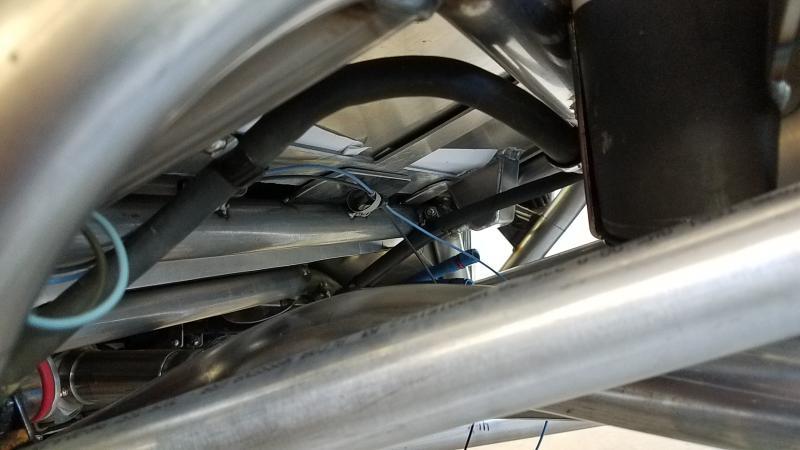
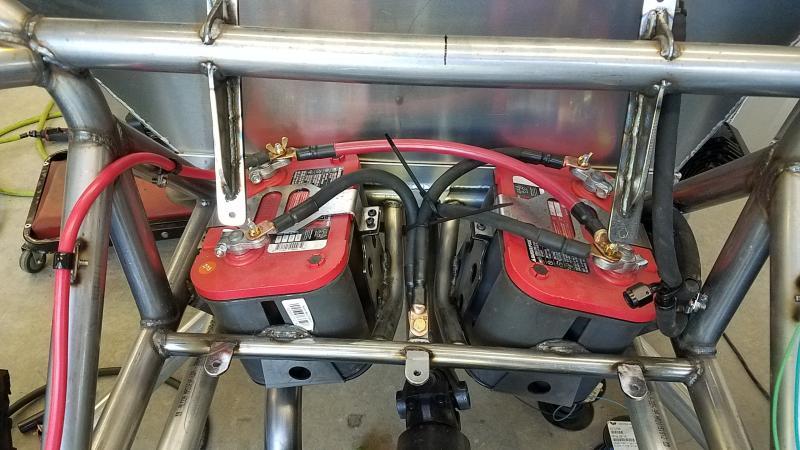
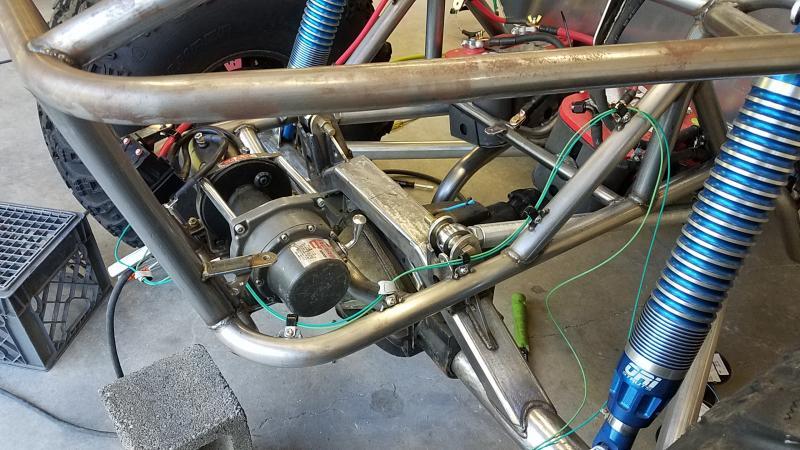
So I got all the tabs done for the rear to front harness. Once the harness meets the trans cooler lines it will just follow it to the fuel pump and I will figure it out from there when I hit that point.
So all the metal work is done on the rear except the tabs for the body panels.
So all the metal work is done on the rear except the tabs for the body panels.
Attachments
crash2
-Oh no I picked a side-
crash2
-Oh no I picked a side-
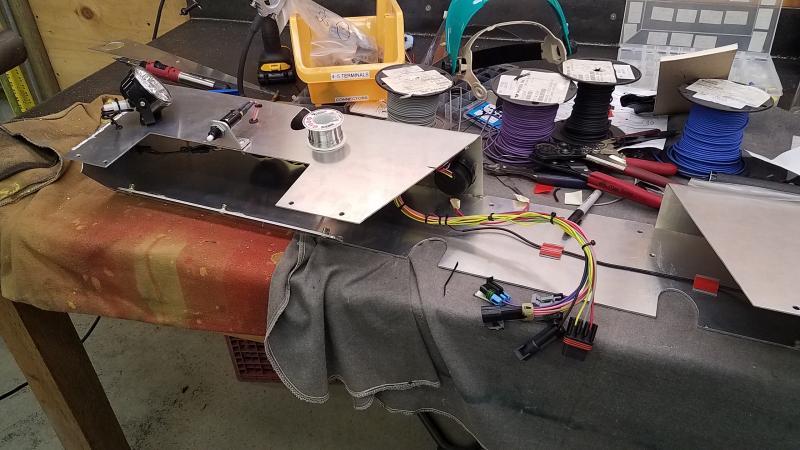
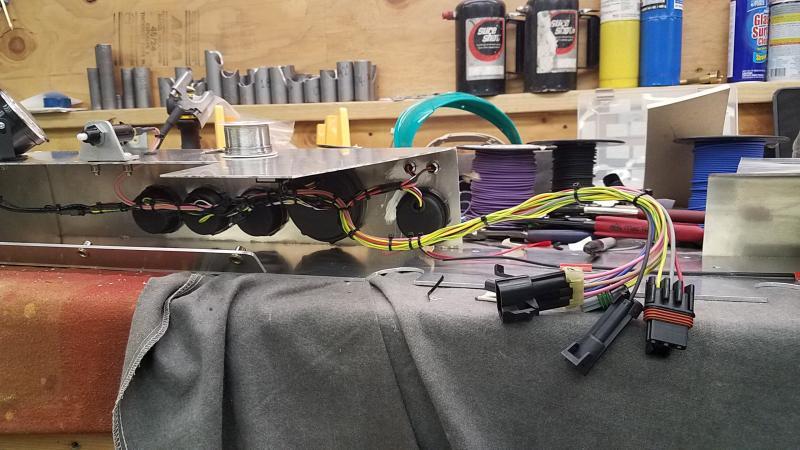
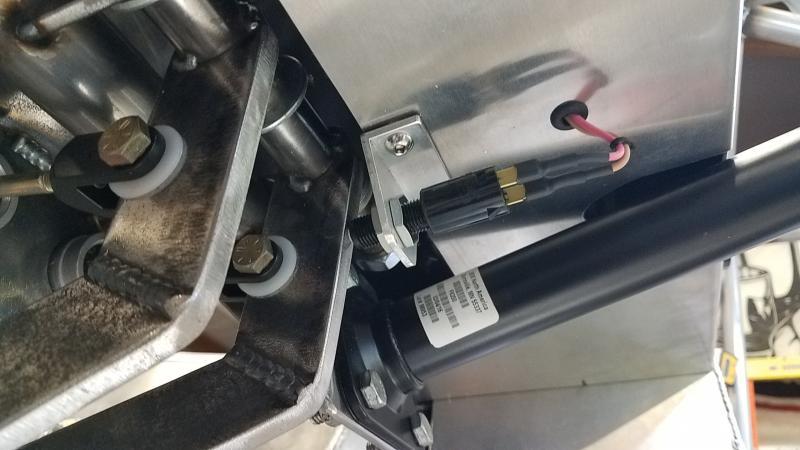
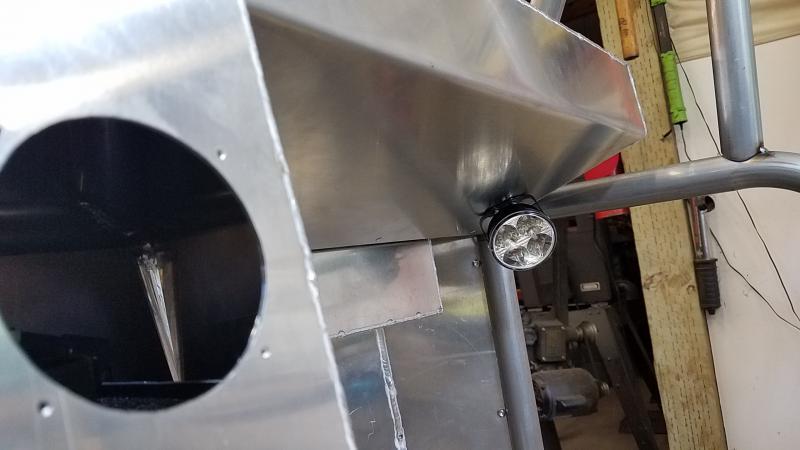
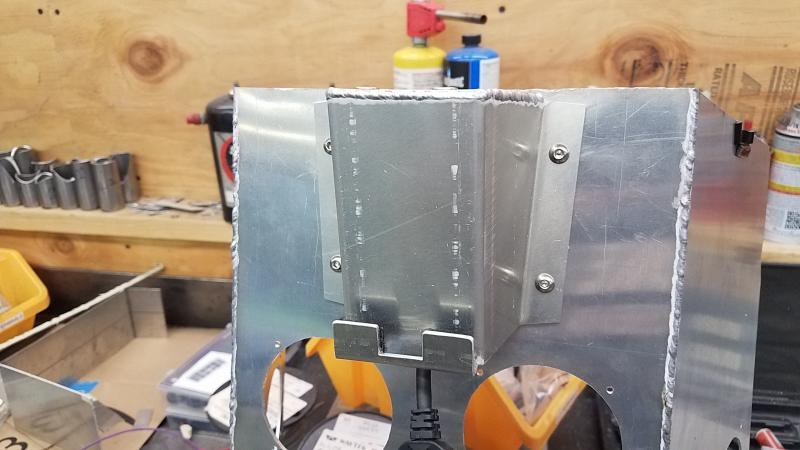
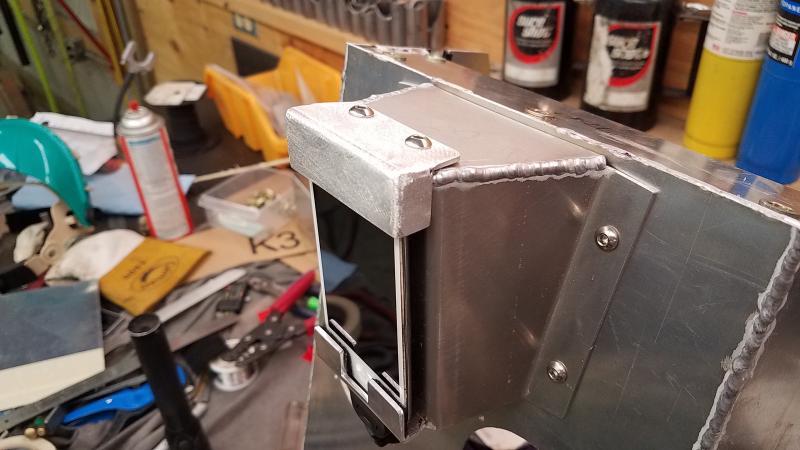
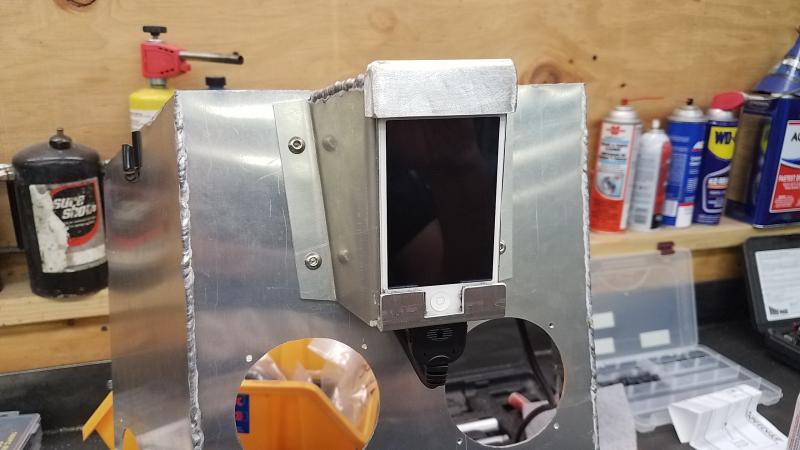
So time for a little fun and one thing I really do enjoy doing. Now my plan is to build the rig in a modular fashion as much as possible so I will be doing as much wiring as I can that can be torn apart for paint. I got the dash top wired up.
Attachments
crash2
-Oh no I picked a side-
crash2
-Oh no I picked a side-
crash2
-Oh no I picked a side-

crash2
-Oh no I picked a side-
Thanks Happy...:cheer:Great job. I always love seeing your work.
crash2
-Oh no I picked a side-
crash2
-Oh no I picked a side-
crash2
-Oh no I picked a side-
crash2
-Oh no I picked a side-
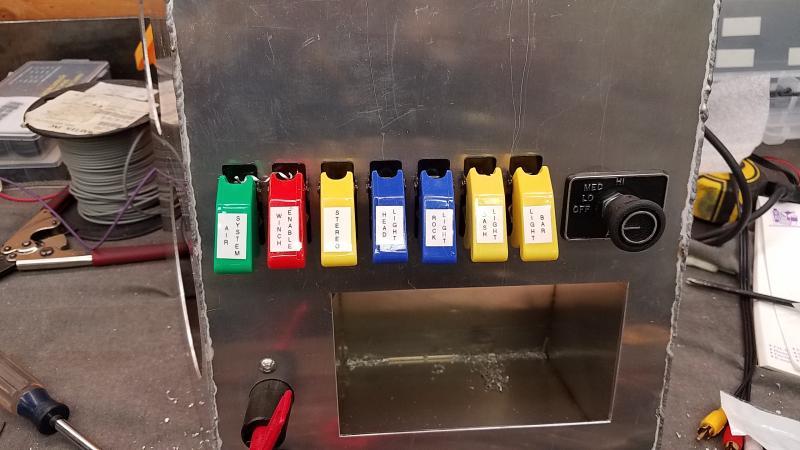
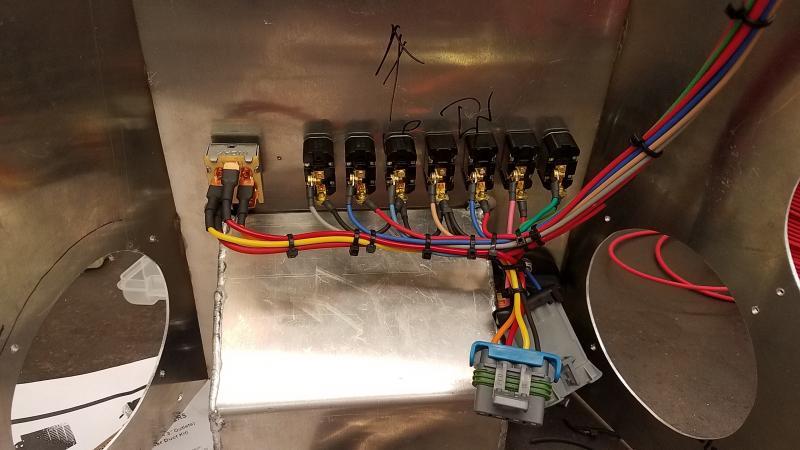
I figured it was a very wise idea to label the damn switch's because there is no way I will remember what is what,lol.. My toy had like 5 and I was always forgetting what was what.
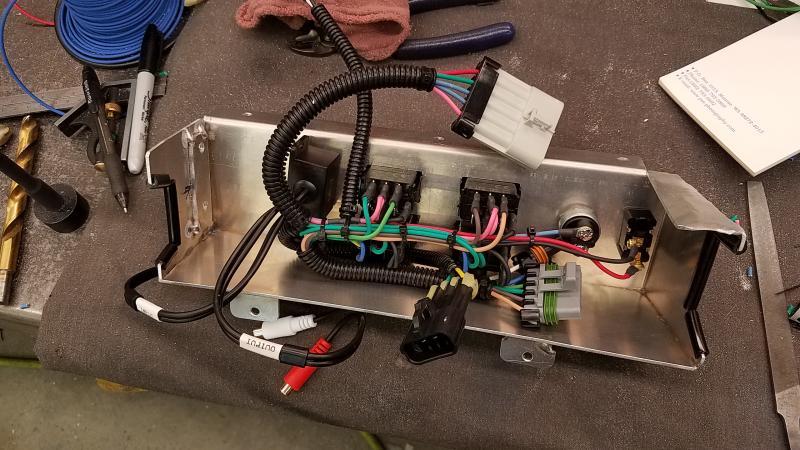
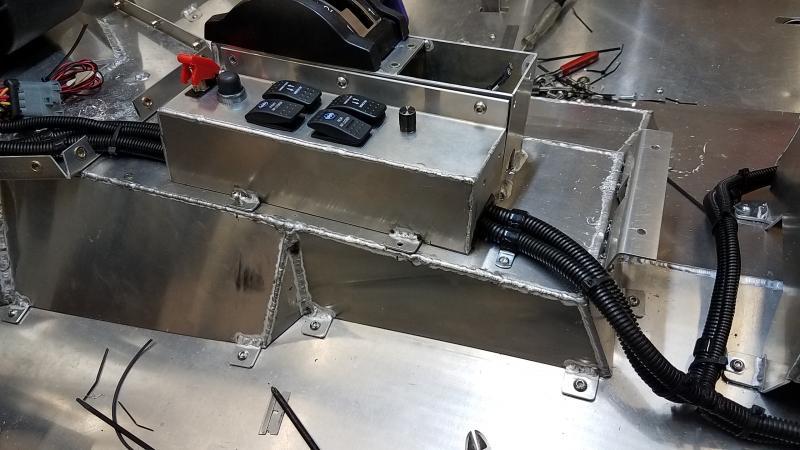
I also got the center console wired up. The feed wires to the master ignition switch will come from a separate loom.
I also got the center console wired up. The feed wires to the master ignition switch will come from a separate loom.
Attachments
crash2
-Oh no I picked a side-
crash2
-Oh no I picked a side-
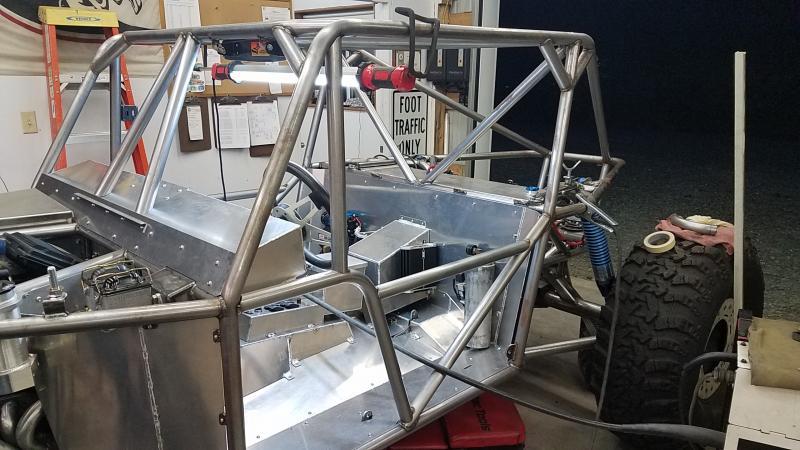
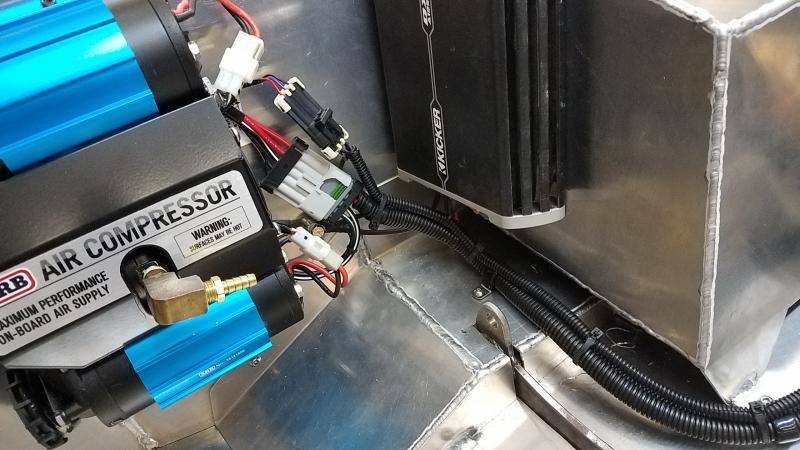
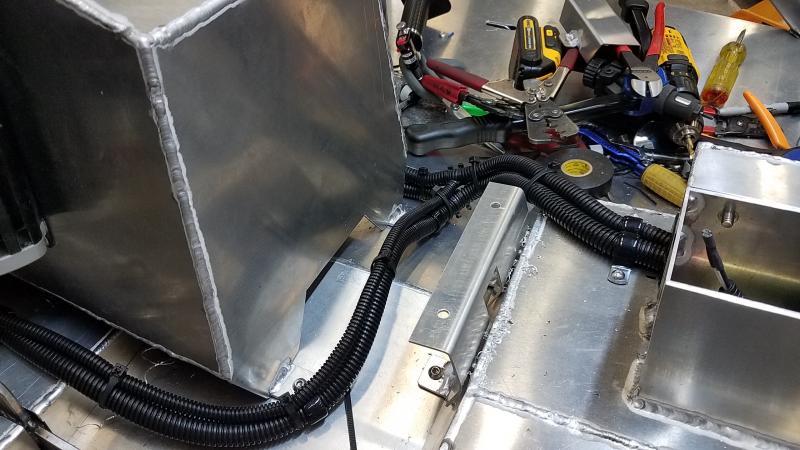
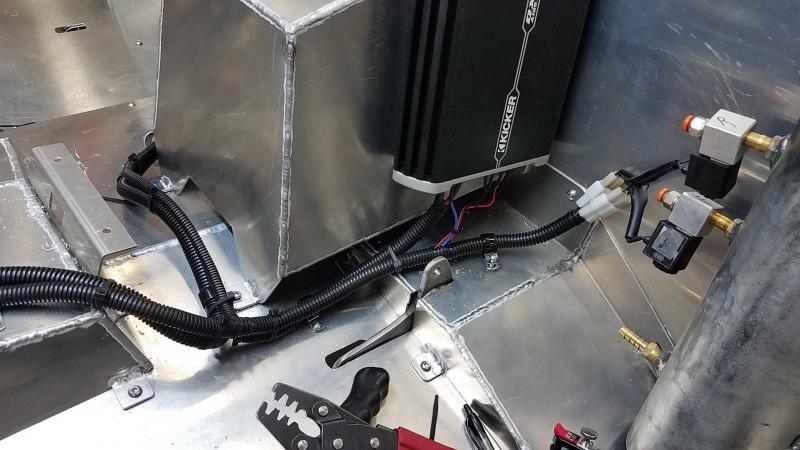
Now onto the cab wiring. I always prefer to start at the end and work my way forward so I started at the compressor and worked from there.
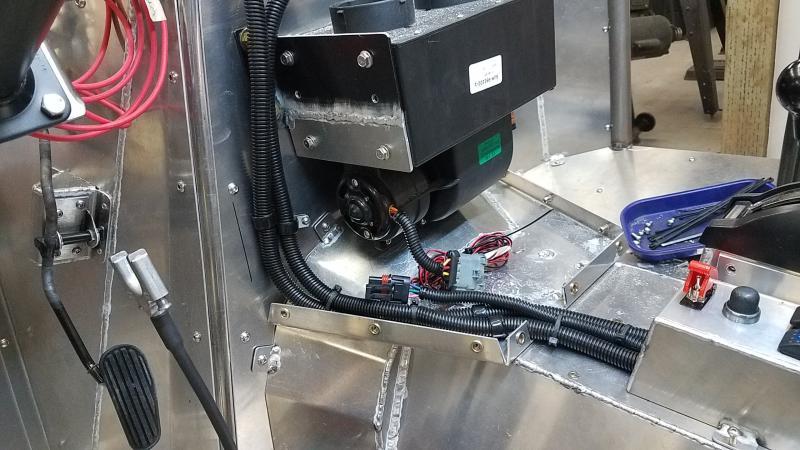
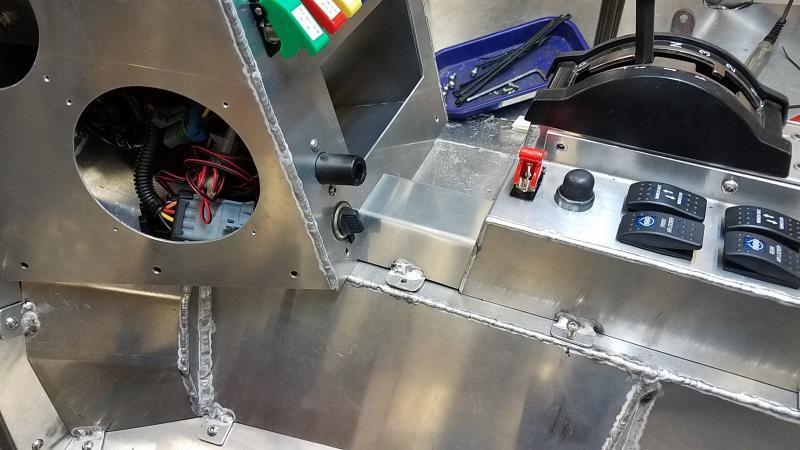
My plan is to totally complete the wiring in the cab so I can simply pull it out for paint.
My plan is to totally complete the wiring in the cab so I can simply pull it out for paint.
Attachments
crash2
-Oh no I picked a side-
crash2
-Oh no I picked a side-
crash2
-Oh no I picked a side-
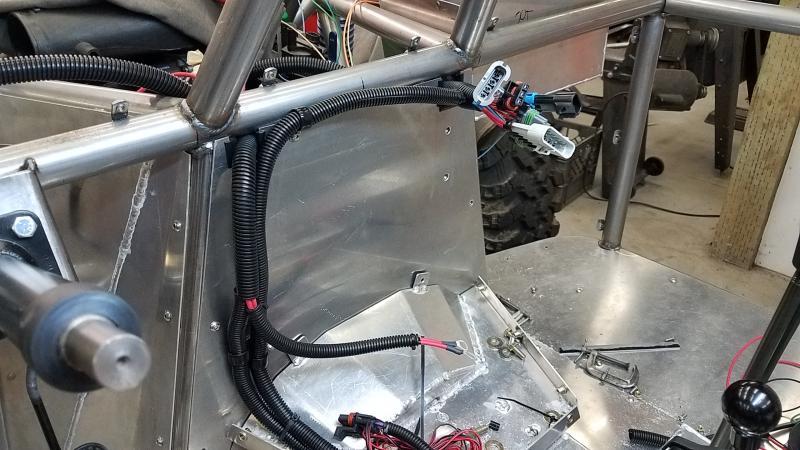
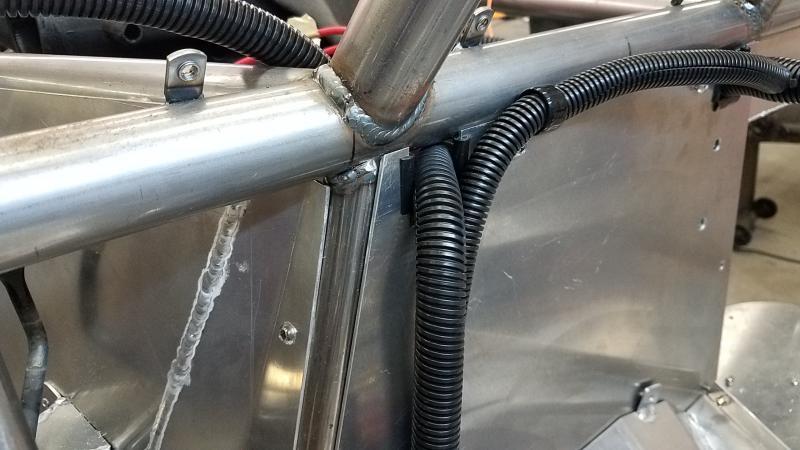
So I ran the wiring thru the firewall in 2 spots, one being the main feeds and other the rest of the wiring. I went and simply notched the top of the panel so the panel can be lowered (just enough room) and the wiring pulled forward.
Attachments
Latest posts
-
-

-
-
-
-
-
-

-
-
-
For Sale First Generation 4Runner Rock Crawler for sale or trade
- Latest: FirstGenFunRunner
-
-
-
Withdrawn First Generation 4Runner Rock Crawler for sale or trade
- Latest: FirstGenFunRunner
-



![IMG_3237[1].JPG](https://cdn.hardlinecrawlers.com/xfmg/thumbnail/4/4782-4ab5faeabd6c151f5a9237ef78b77ecb.jpg?1782967995)