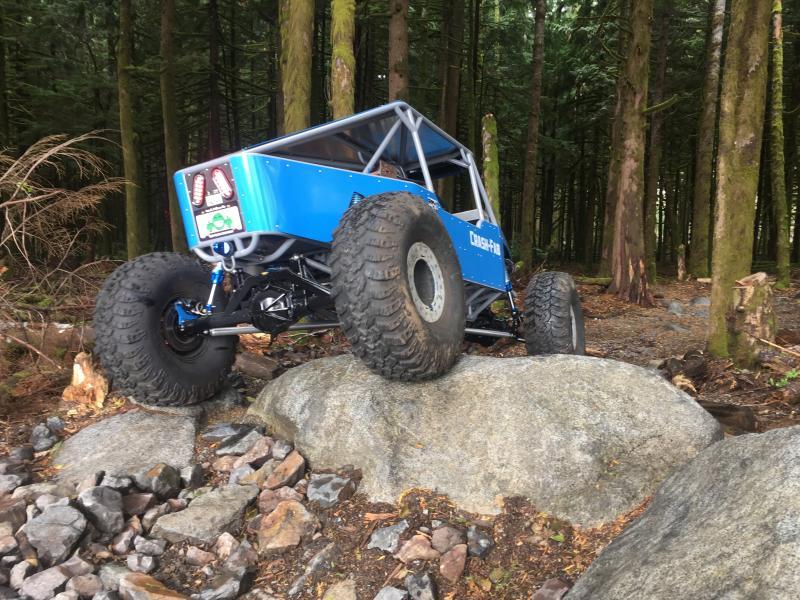
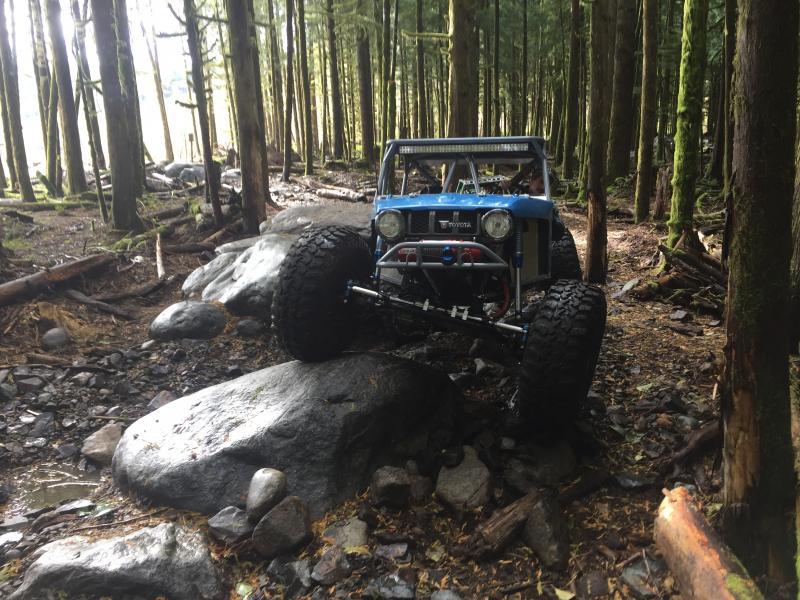
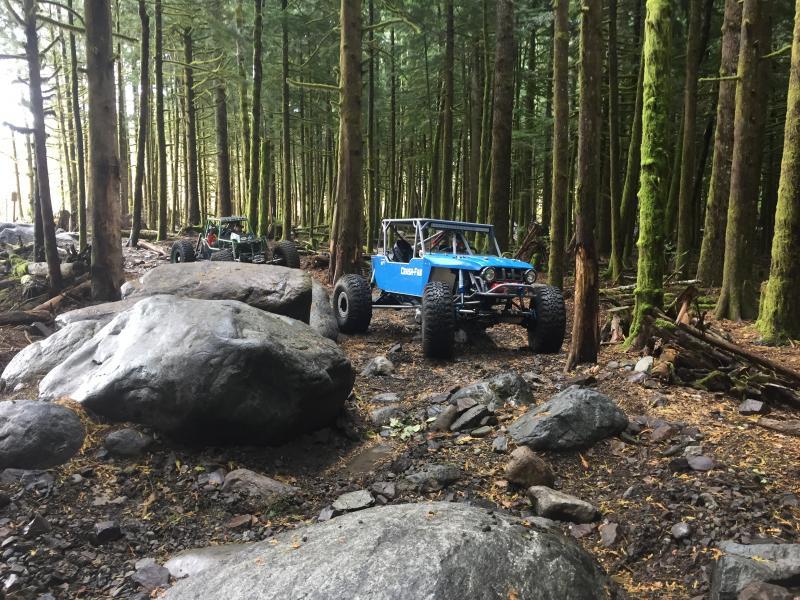
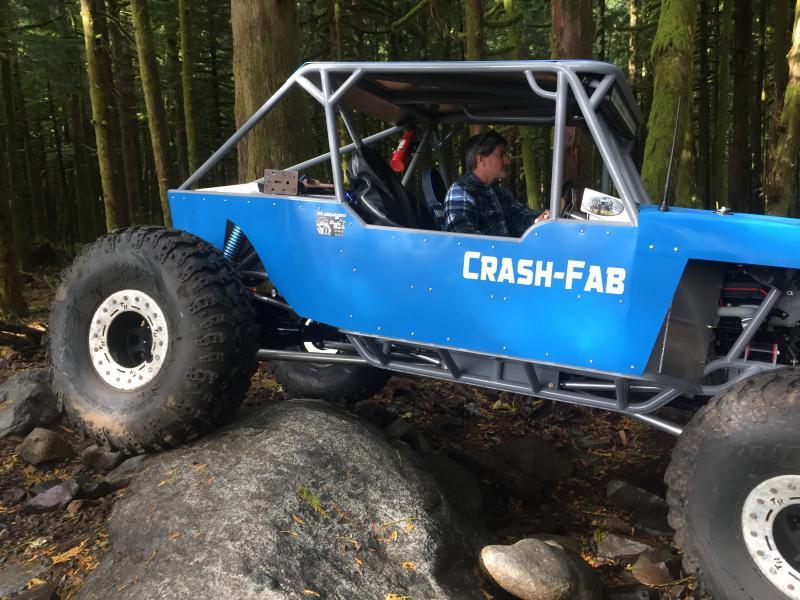
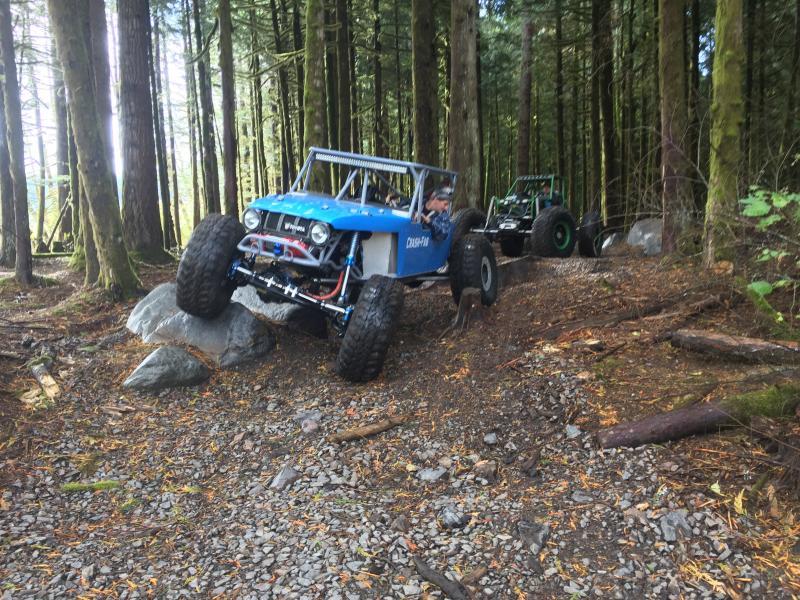
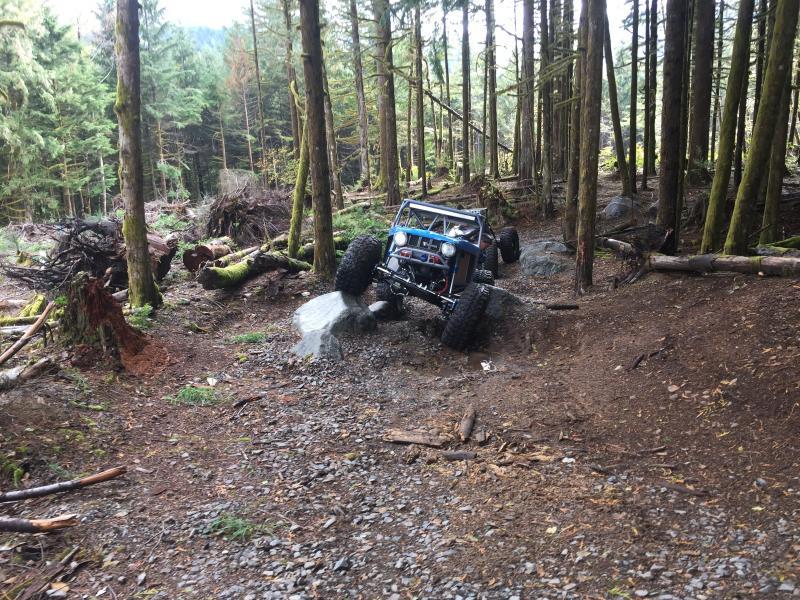
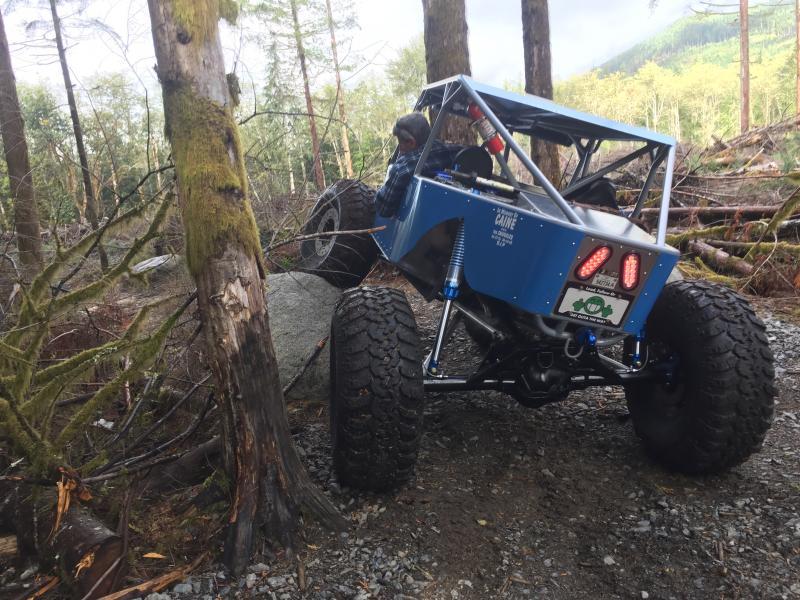
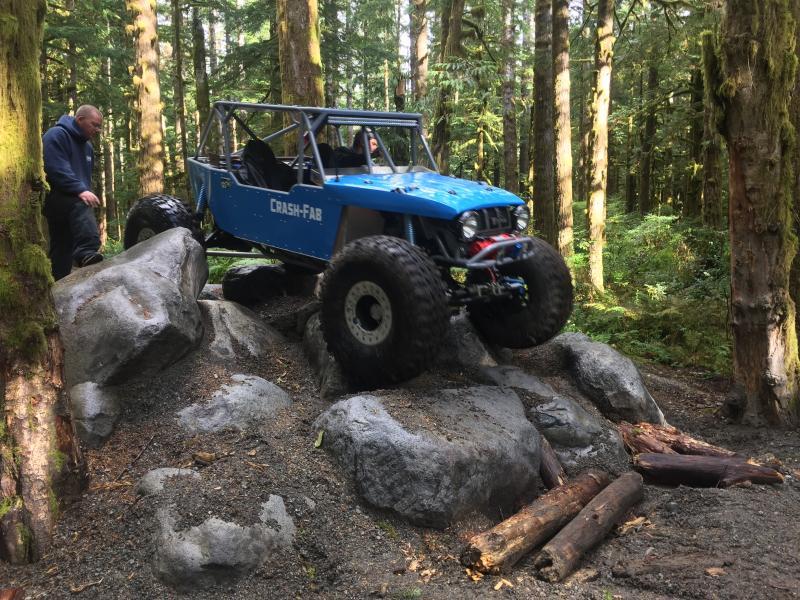
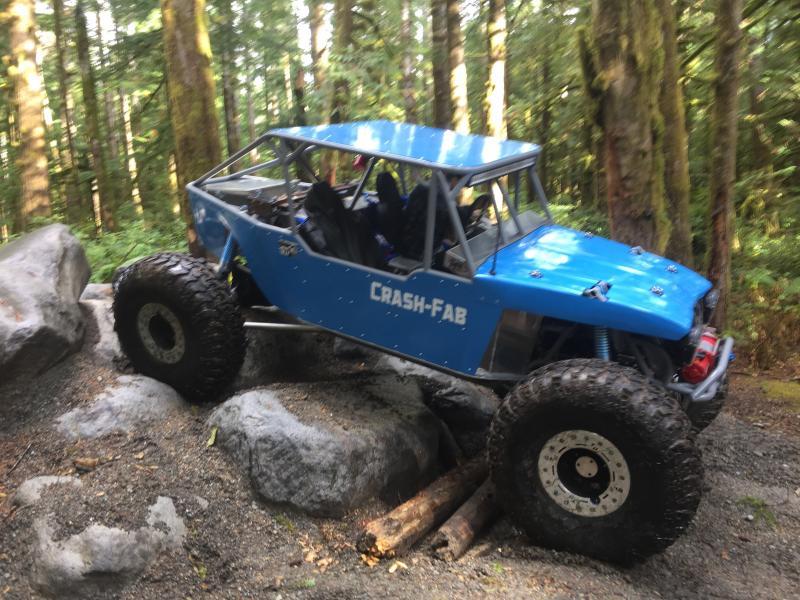
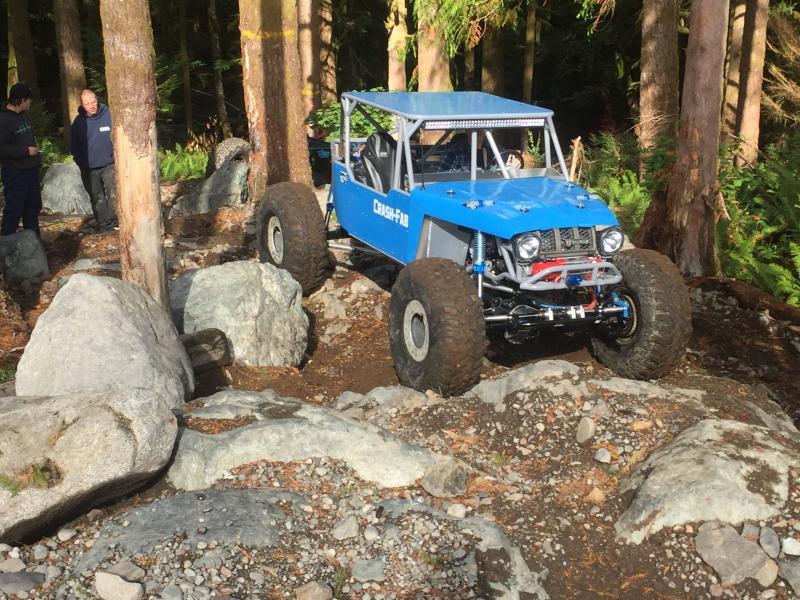
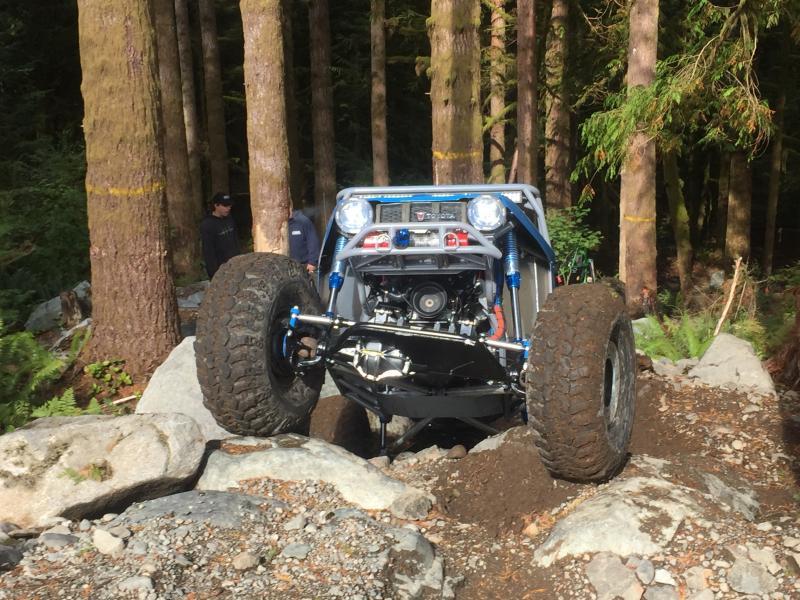
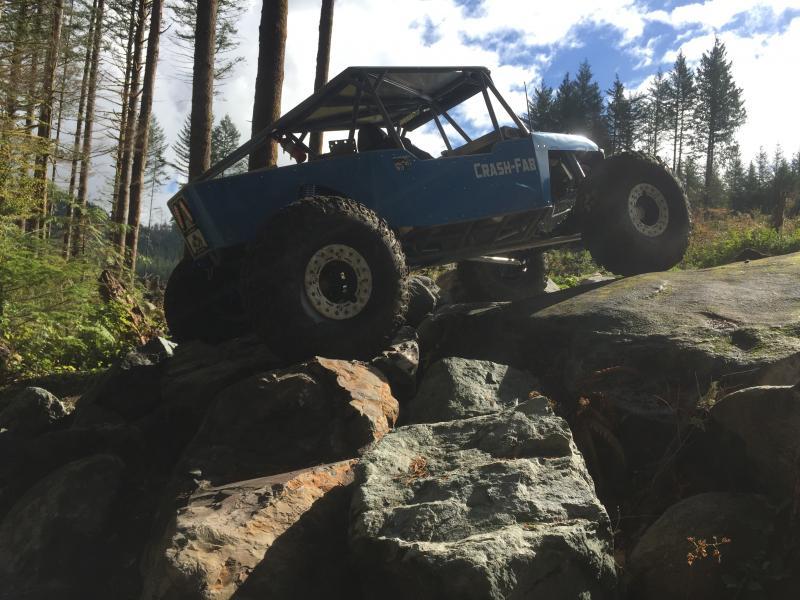
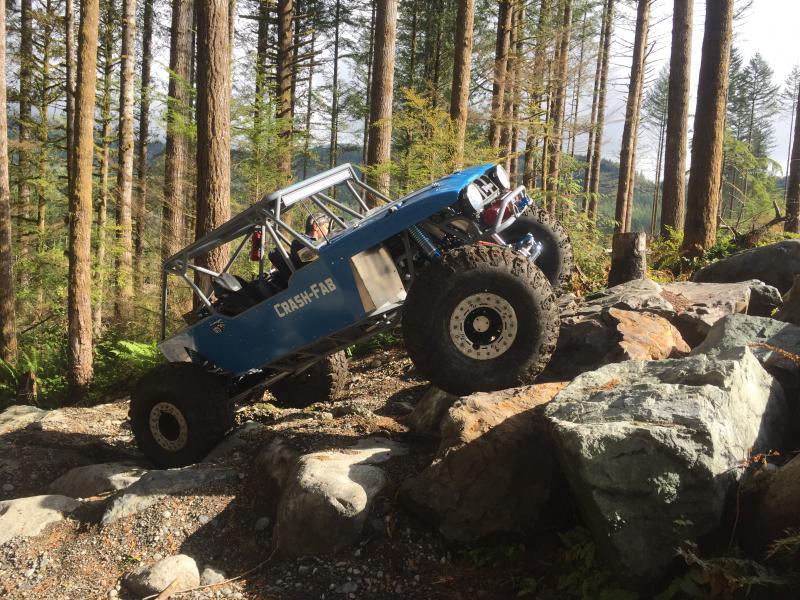
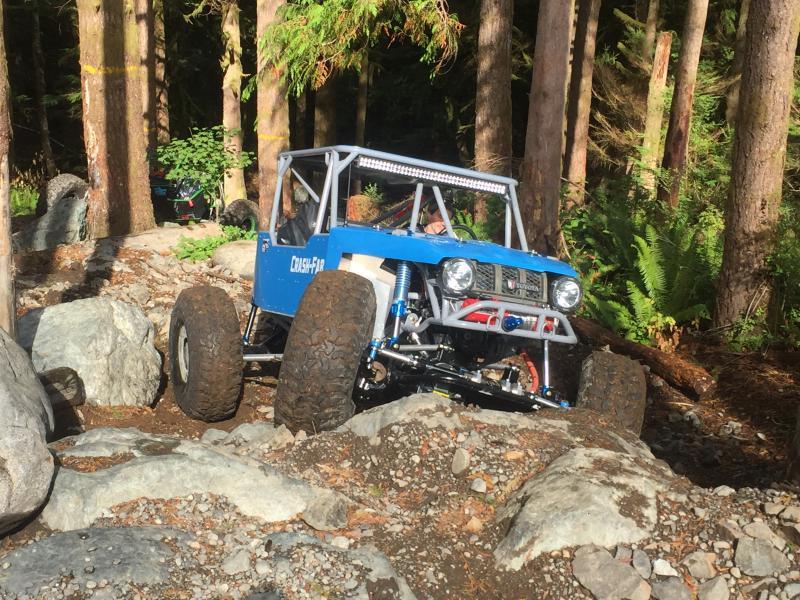
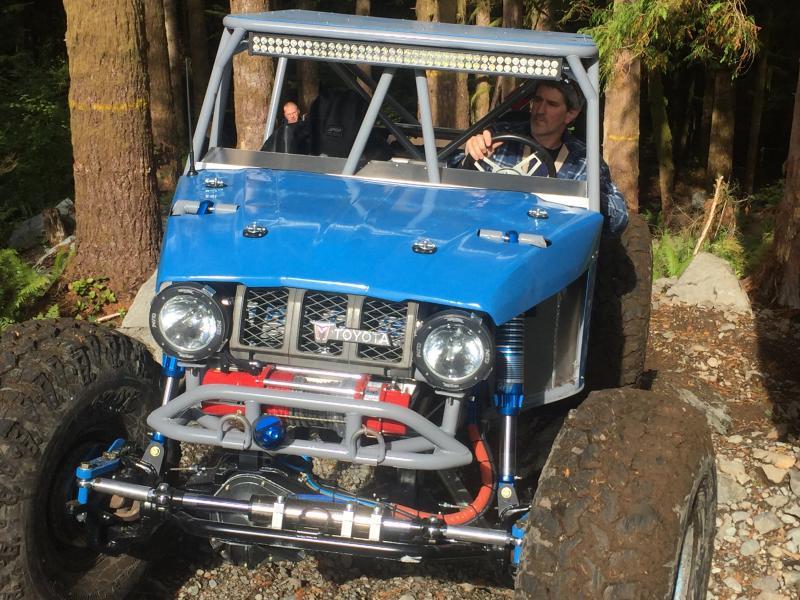
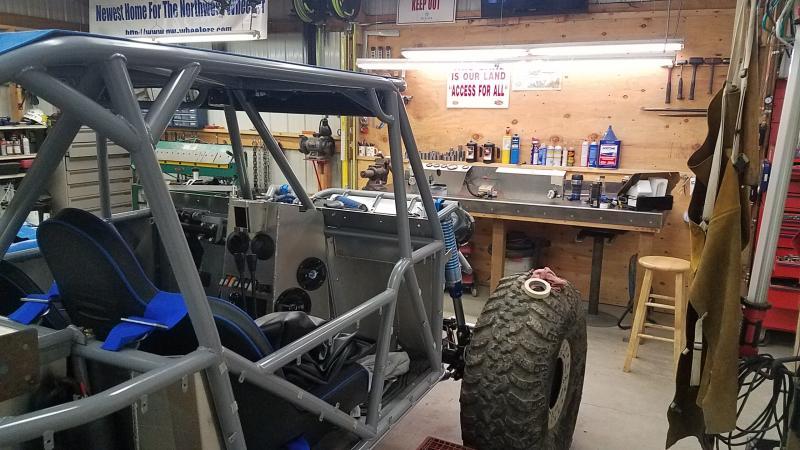
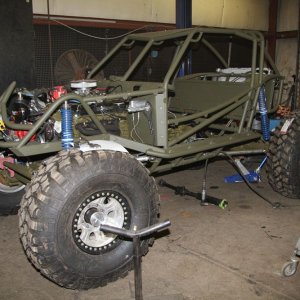
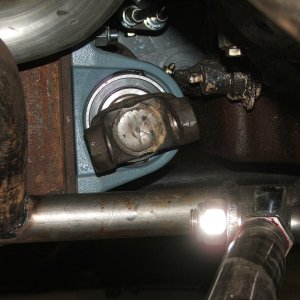
Finally....Da new rig..

Hardline Crawlers - Rock Bouncer Builds, Tech & Off-Road Trail Talk

Help Support Hardline Crawlers:

Awesome work Crash.... awesome work!!!!

Thanks :cool:

Check out poker table cup holder inserts. You should be able to mount them in a piece of aluminum wherever you want them in the cab.

I am playing with a couple ideas---started with an insert of sorts.

I've loved watching this thing come together from the beginning, looks badass! Awesome job dude. What kind of brackets did you use for the flashlight?

I looked for them and I don't know if they make them anymore. All I can find are the plastic ones and had these for a long time.

Looks amazing Crash! Awesome work as always!!

thanks :cool:
This build has been fun to watch!!! You made it look quick and easy!!! But we all know how smooth it really "doesn't" go...

No **** huh. But in reality it really wasn't hard, it just tool allot of thought and never got frustrated until doing the hood..
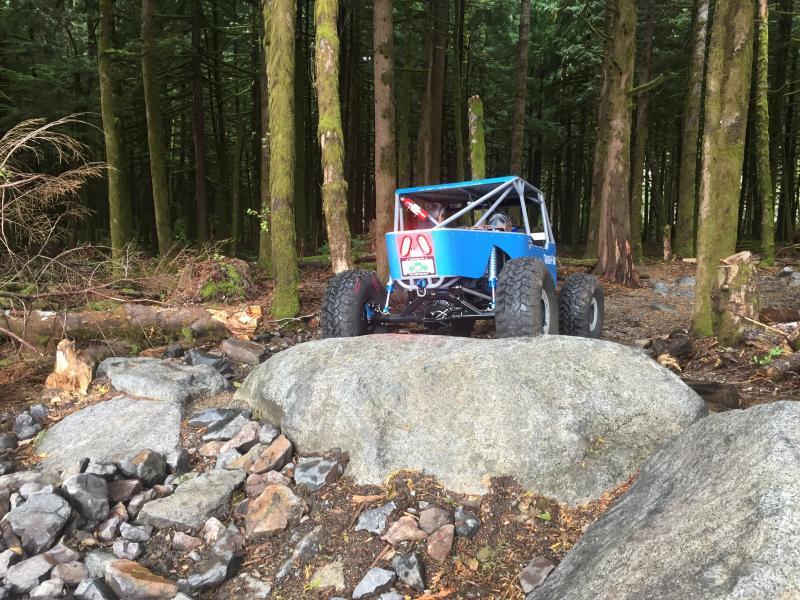
 
So sunday was the big day. Loaded it up and out we went.
 

Attachments

  • IMG_2928.jpg
    IMG_2928.jpg
    123.8 KB
  • IMG_2927.jpg
    IMG_2927.jpg
    108.8 KB
  • IMG_2937.jpg
    IMG_2937.jpg
    100.6 KB
  • IMG_2931.jpg
    IMG_2931.jpg
    124.8 KB
more...
 

Attachments

  • IMG_2941.jpg
    IMG_2941.jpg
    88.7 KB
  • IMG_2949.jpg
    IMG_2949.jpg
    130.7 KB
  • IMG_2952.jpg
    IMG_2952.jpg
    144.4 KB
  • IMG_2971.jpg
    IMG_2971.jpg
    99.8 KB
,,,,,,,,,,,
 

Attachments

  • IMG_3019.jpg
    IMG_3019.jpg
    104.5 KB
  • IMG_3029.jpg
    IMG_3029.jpg
    81.4 KB
  • IMG_3026.jpg
    IMG_3026.jpg
    122.5 KB
  • IMG_3015.jpg
    IMG_3015.jpg
    121.8 KB
So I won't lie I took it an easy--just to feel out the rig and its capabilities and any issues...
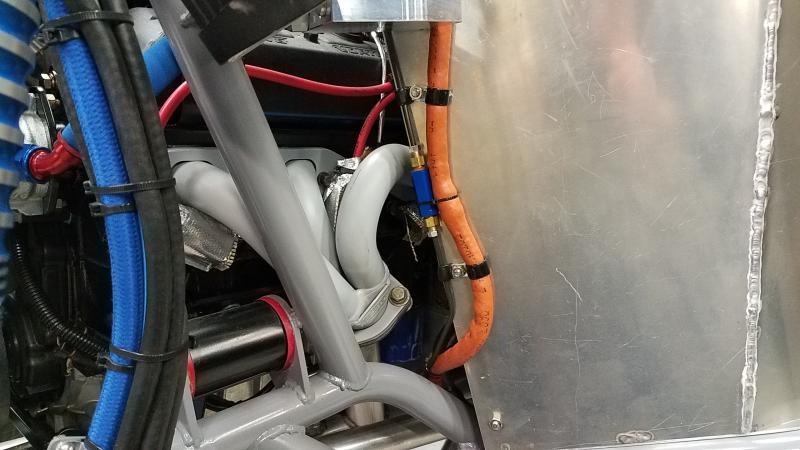
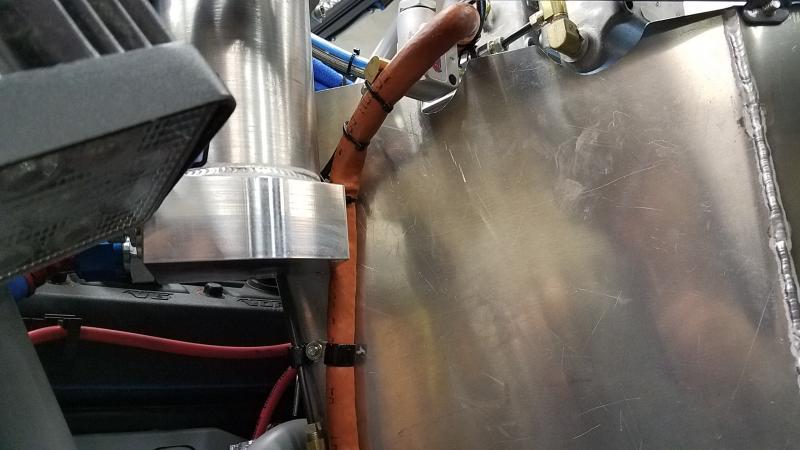
I gotta say it performed way above what I thought it would. I had zero clearance issues with only a couple small problems. The first failure was a dumb oversight and I blew and I blew the front arb line where it was close to the header. Second was a dumb brake fluid leak at the bleeder on the right rear caliper. The third I thought I had fixed but I guess I didn't and that was a small leak at the fitting on the feed line to the pump at the reservoir.

I would have sworn I was still running my coilovers with a sway bar--it drove like a dream...

So I have parts coming this week to finish it all up...
 

Attachments

  • IMG_3020.jpg
    IMG_3020.jpg
    104 KB
Nice vids, rig rolls smooth on the rocks. That part of g11 is no joke, tried crawling it on a dry 70° day and no Bueno. Second gear and launching the rig two feet in the air was the only way I could get up.
 
Nice vids, rig rolls smooth on the rocks. That part of g11 is no joke, tried crawling it on a dry 70° day and no Bueno. Second gear and launching the rig two feet in the air was the only way I could get up.

When its dry I usually could drive the passenger tire up the log...
 
Congrats on getting it out in the trail and only having a few minor issues. :cool:
 
So I have not slowed down and been super busy with getting a bunch of stuff done on my dodge and all new led lights/wiring on my trailer.

So I figured I would update the build since more has been done...

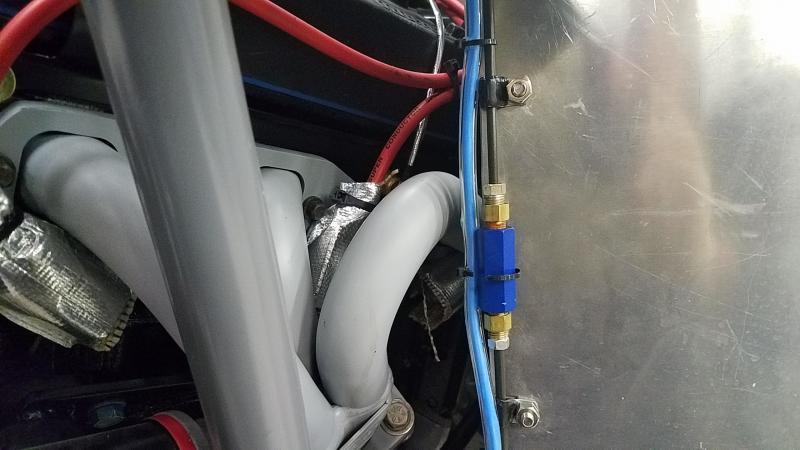
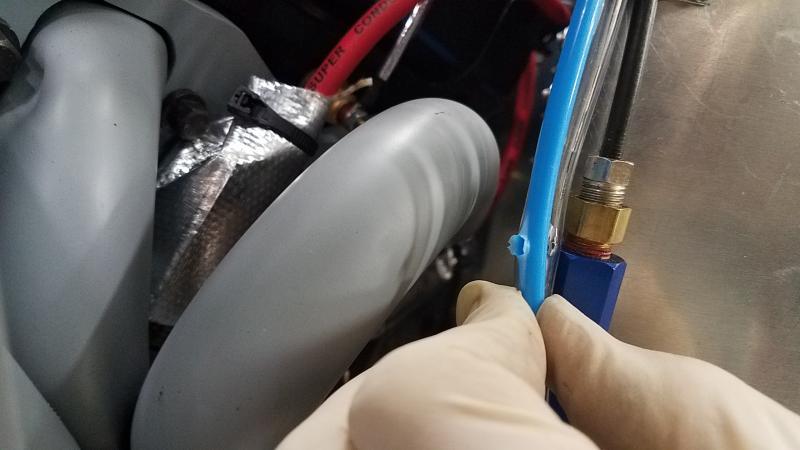
So here is my oops that caused my arb line to fail...
 

Attachments

  • 20171011_190611.jpg
    20171011_190611.jpg
    43.8 KB
  • 20171011_190752.jpg
    20171011_190752.jpg
    36.9 KB
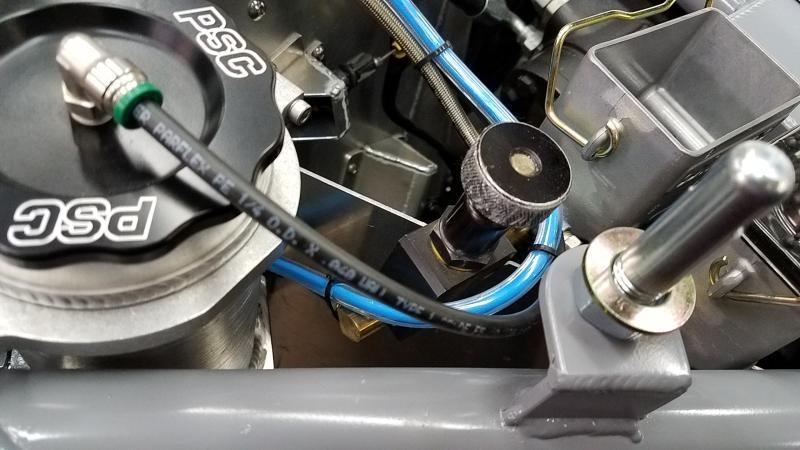
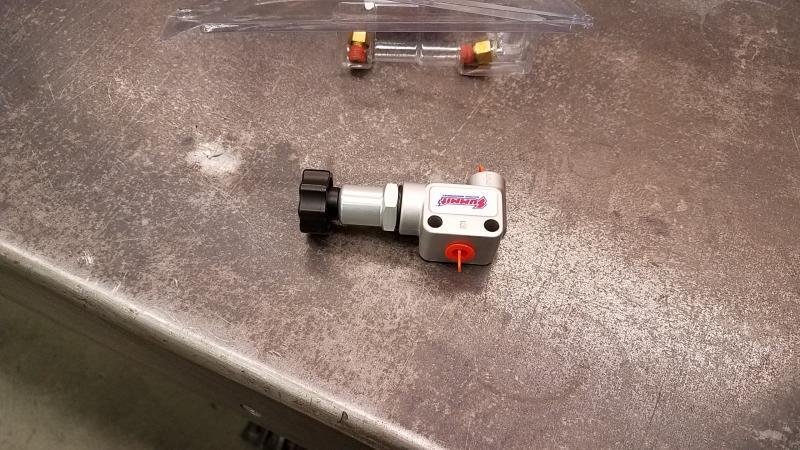
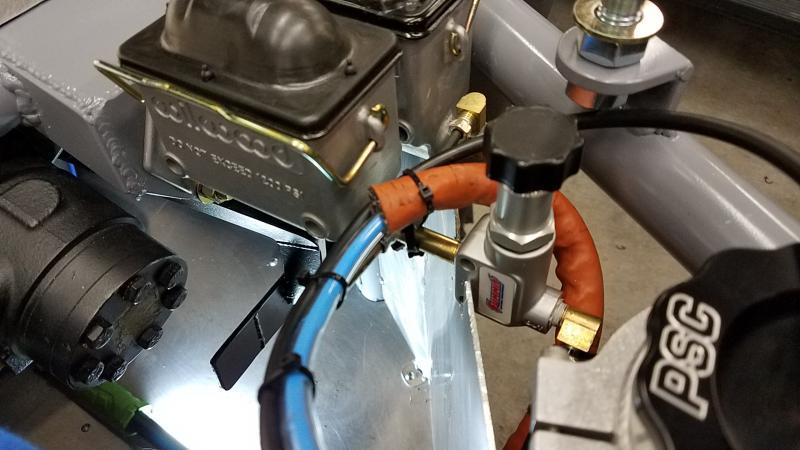
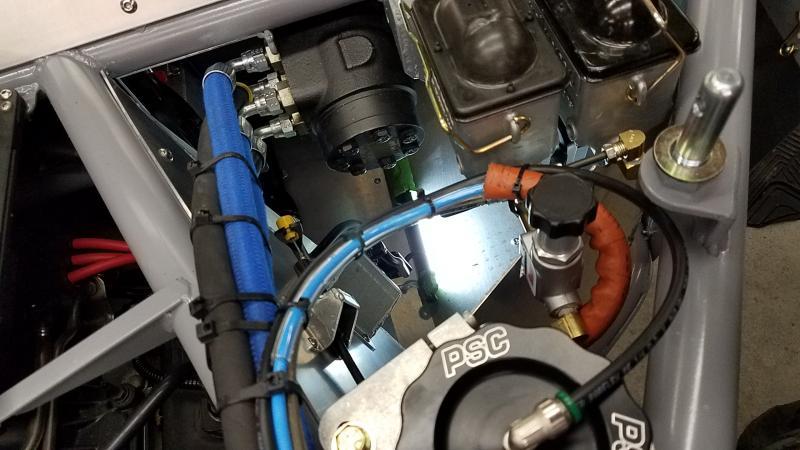
Also something else I should have done from the get go was get a new perportioning valve. I found the threaded shaft was stuck when I went to bleed the brakes for the first time so I ordered a new one.
 

Attachments

  • 20171013_193856.jpg
    20171013_193856.jpg
    56.6 KB
  • 20171013_193917.jpg
    20171013_193917.jpg
    78.1 KB
So arb makes these nice slip lock repair things that are quite handy so I ordered one of those so I wouldn't have to replace the whole line. I also got some more of that heat sock that I had used and not only encased the arb line but I also moved it to the other side of the brake line.
 

Attachments

  • 20171014_083555.jpg
    20171014_083555.jpg
    52.8 KB
  • 20171014_083515.jpg
    20171014_083515.jpg
    57 KB
  • 20171014_083456.jpg
    20171014_083456.jpg
    52.6 KB
  • 20171014_083506.jpg
    20171014_083506.jpg
    45.3 KB
Finally got my factor 55 prolinks...
 

Attachments

  • 20171016_112817.jpg
    20171016_112817.jpg
    59.1 KB
  • 20171016_112849.jpg
    20171016_112849.jpg
    50.7 KB
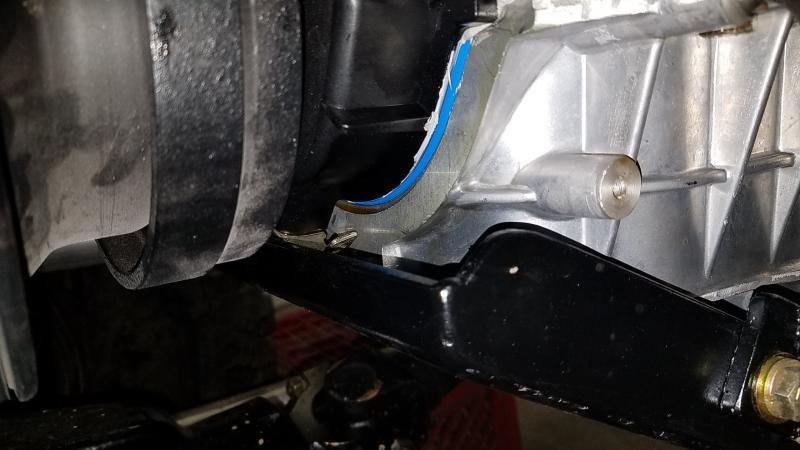
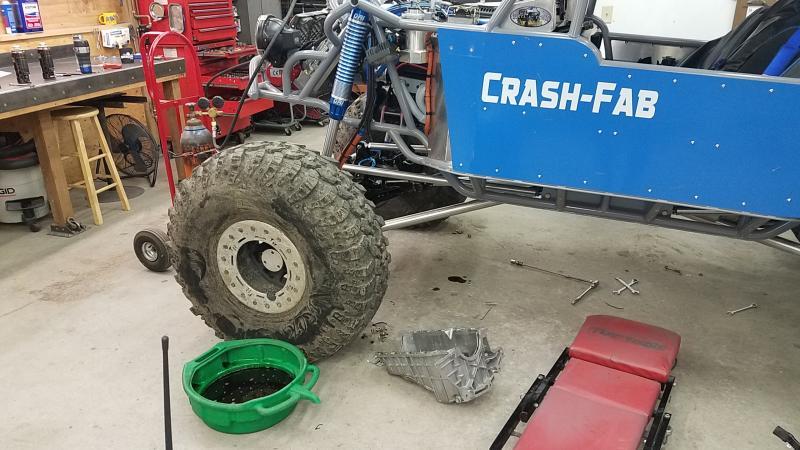
So after my second run with the rig I found a spot of oil on the ground--this did not make me too happy. One thing I was happy was with how I designed the engine skid. I was able to pull the pan with minimal work and just maxing out the struts to give some room. for some reason there was no adhesion on the sealer (gms) to the front cover. Even though I was working on my back it really wasn't too bad to replace the gasket--fingers crossed...
 

Attachments

  • 20171021_173210.jpg
    20171021_173210.jpg
    43.9 KB
  • 20171018_202521.jpg
    20171018_202521.jpg
    70.3 KB
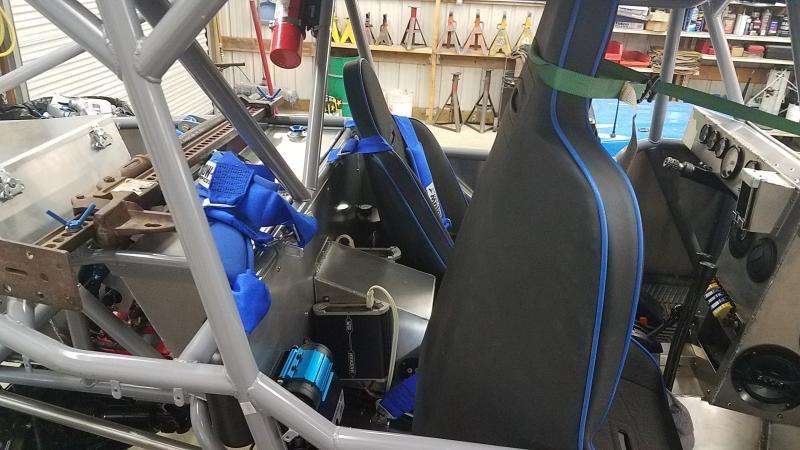
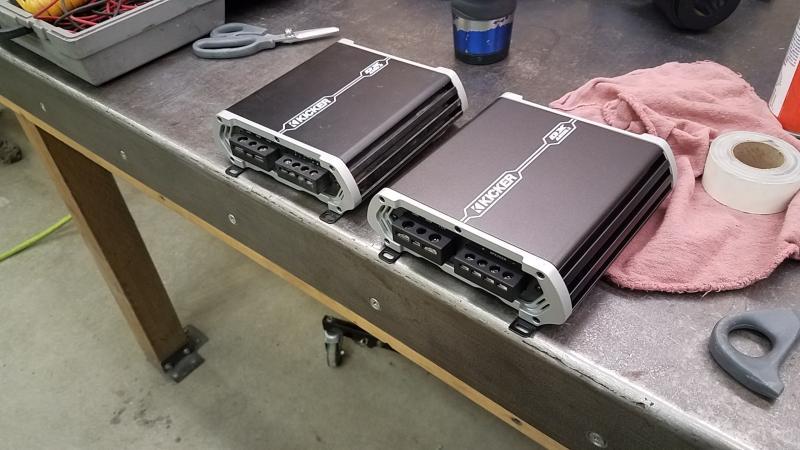
So something I found also on my first run was the sub amp kept shutting down and also seemed to get too hot (not in a restricted space). It was a reman unit from amazon so I went ahead and got the same series but it was a mono specific amp. Took a lil work and the hardest part was pulling the passenger body panel since thats the only way to get to the passenger inner rear sat mount bolt. I had no issues with on my second run...
 

Attachments

  • 20171021_173121.jpg
    20171021_173121.jpg
    74.4 KB
  • 20171021_084923.jpg
    20171021_084923.jpg
    67.1 KB
  • 20171021_091827.jpg
    20171021_091827.jpg
    38.5 KB
  • 20171021_091833.jpg
    20171021_091833.jpg
    57.3 KB
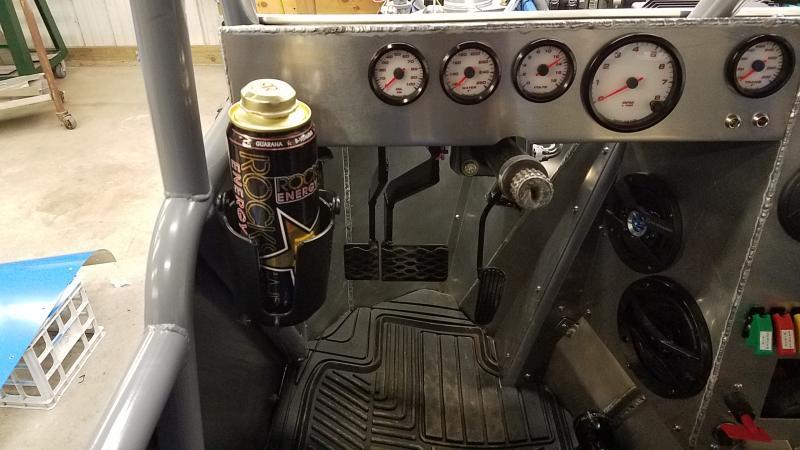
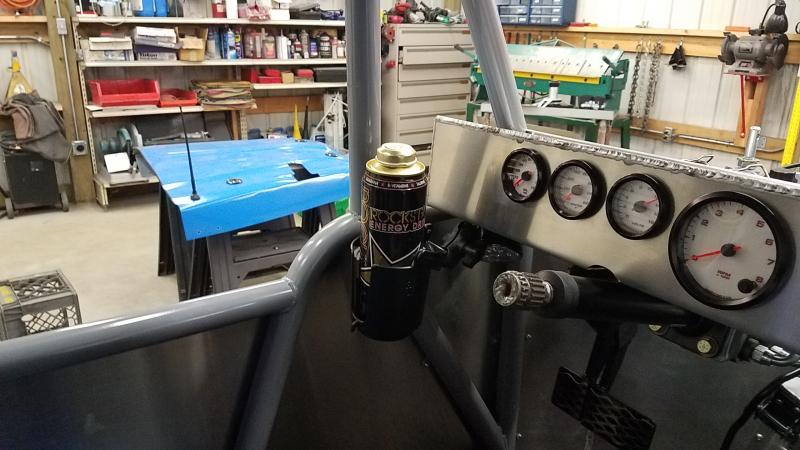
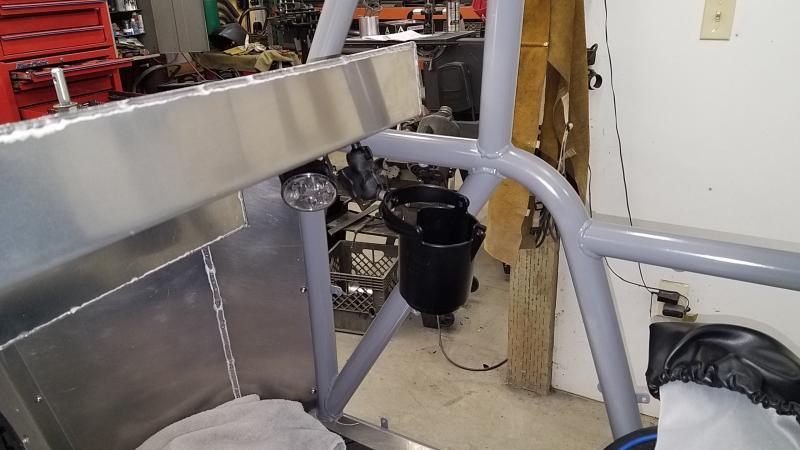
So the last thing I needed to figure out was a damn cup holder. I originally started with making some metal holders but was not happy with how they would mount. I did a bunch of looking online and I found the "ram" system--They were mainly made for bikes and such but I found the parts that would work and ordered a few parts. The hardest part was finding a location that was not only accessible but also out of the way. It took a while to find the happy place for them--and I hope they work out...
 

Attachments

  • 20171021_184127.jpg
    20171021_184127.jpg
    56.3 KB
  • 20171021_184138.jpg
    20171021_184138.jpg
    62.1 KB
  • 20171021_184120.jpg
    20171021_184120.jpg
    49.6 KB
Holy zip ties batman, Good job on securing your lines. I should have bought stock In zip ties prior to your Awesome build. Looks Great Crash!
 
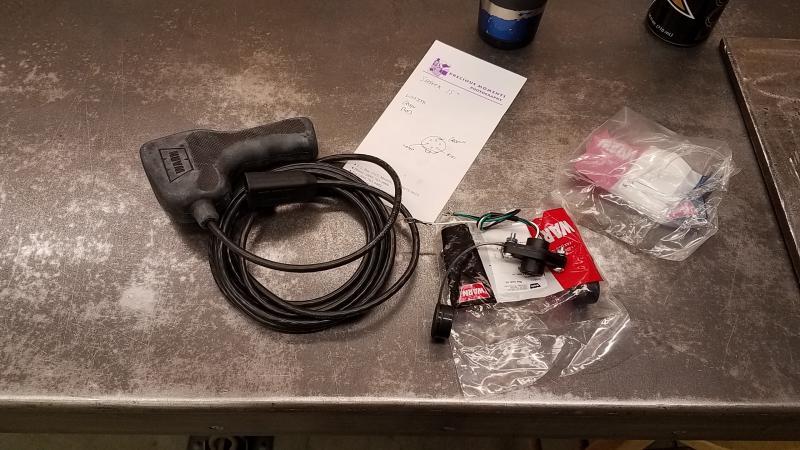
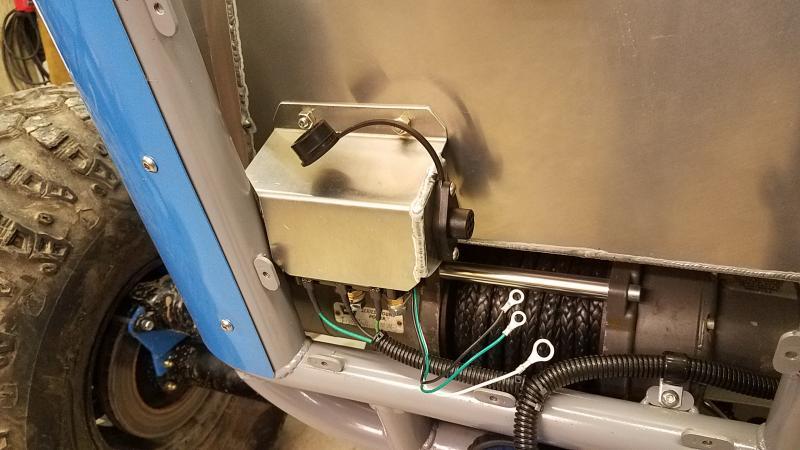
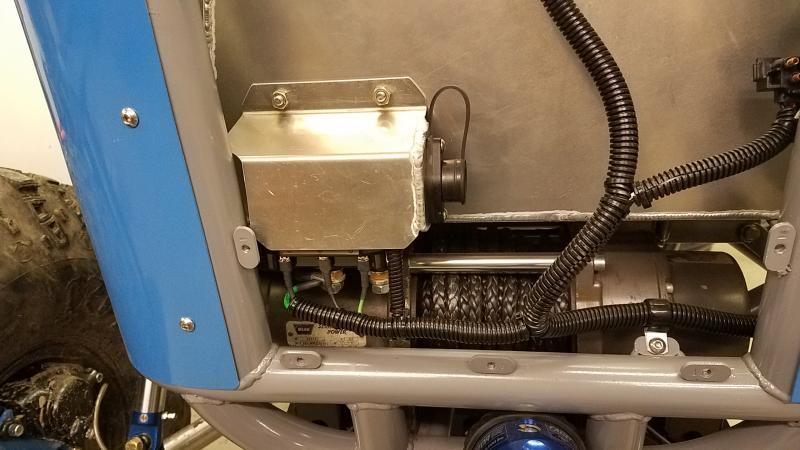
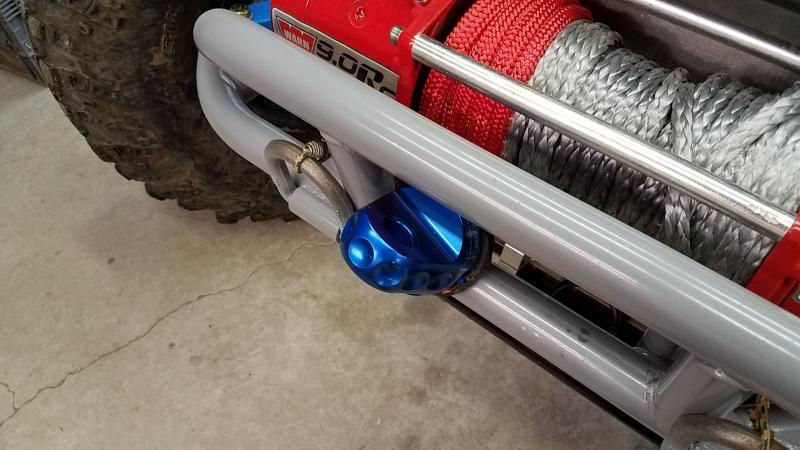
So one thing I really wish I had done during the build was a way to plug in a hand remote. I told myself "I will never need this"... well after some thought and not being able to re spool my rope by myself I came to the conclusion that was a dumb idea. I also like to go out solo and knew it could be very handy to be able to operate the winch's outside the rig. I had a couple buddies who said go wireless--I wanted to keep things as simple as possible..

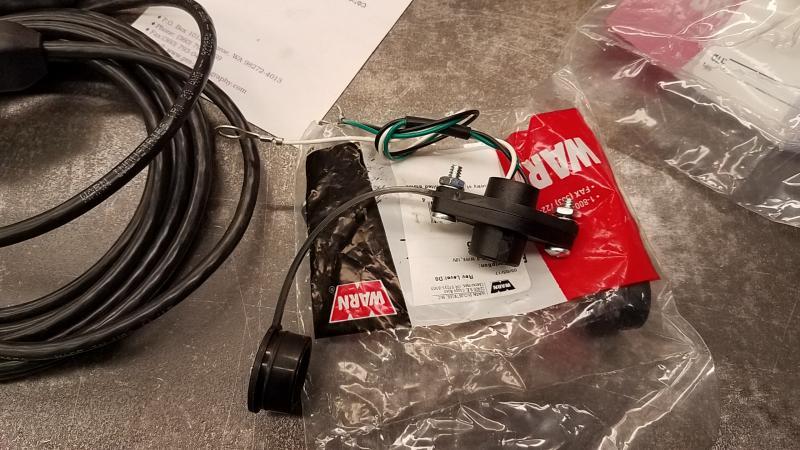
So I ordered 2 new plugs (WARN 16296 Three Wire Socket Kit ).
 

Attachments

  • 20171109_180738.jpg
    20171109_180738.jpg
    69.4 KB
  • 20171109_180741.jpg
    20171109_180741.jpg
    74.3 KB
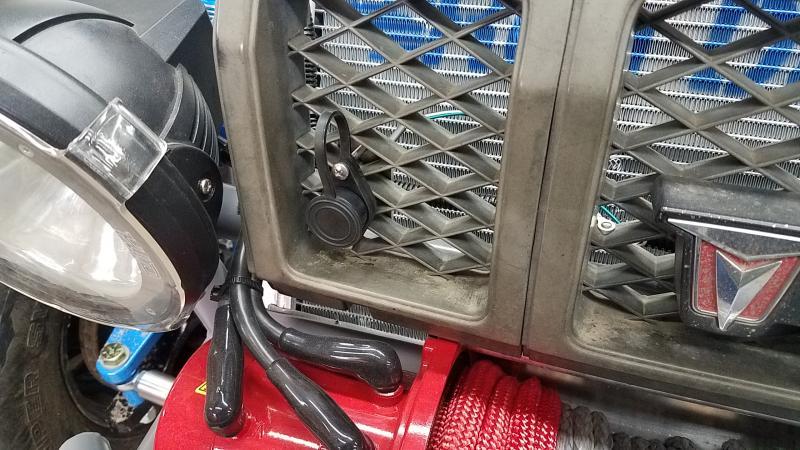
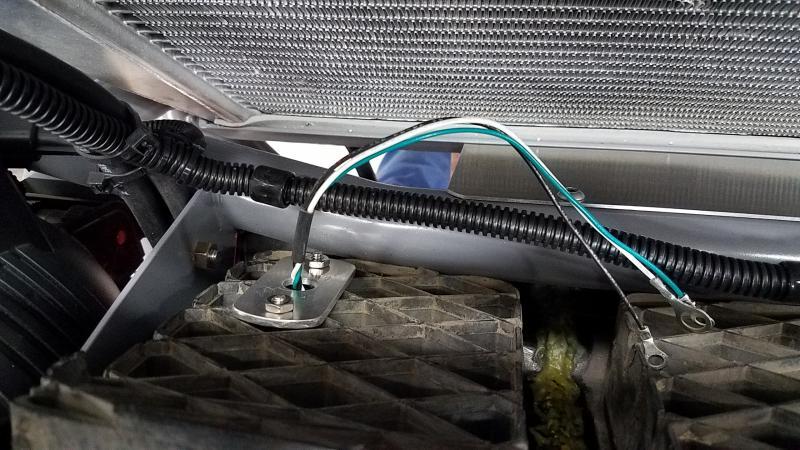
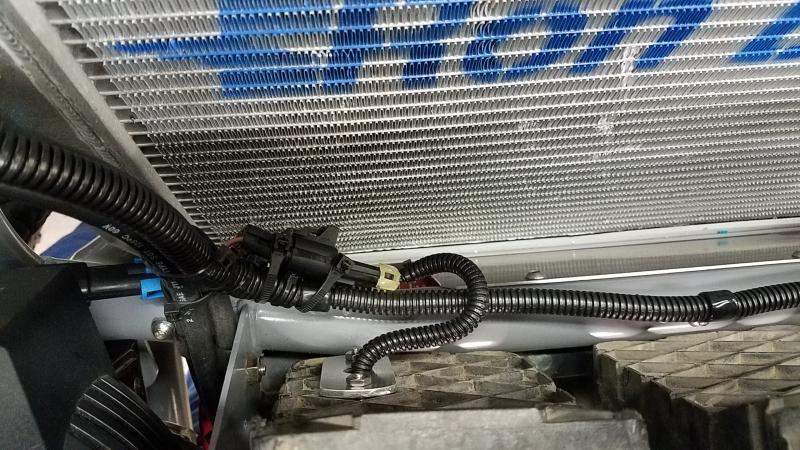
So I started with the front plug. I actually found a nice spot for it as the slats in the grill were the perfect size for the plug to go thru. I made a mount that sits on the back side and simply sandwiches against the grill and in a nice easy location.
 

Attachments

  • 20171109_201932.jpg
    20171109_201932.jpg
    80.7 KB
  • 20171109_201938.jpg
    20171109_201938.jpg
    79.7 KB
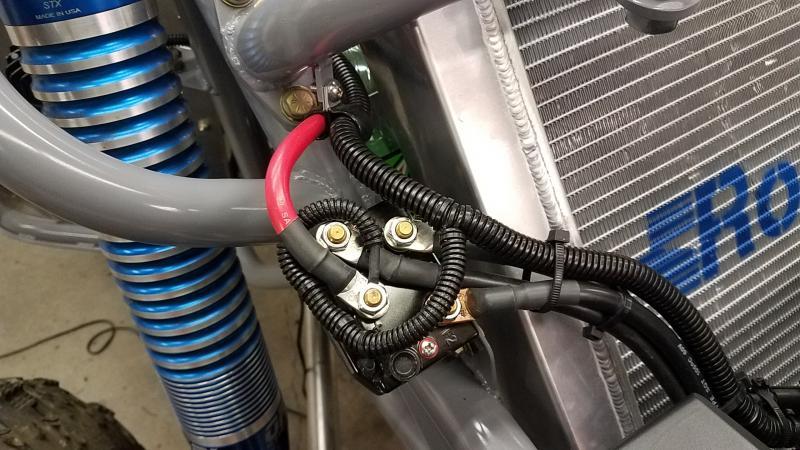
So the one thing that bummed me out about not doing it from the get go was having a dedicated fused circuit to the plug. So I pulled voltage from the relay power feed and protected it with a fuse able link. I got the plug fully wired and checked it out--that will be nice to have.
 

Attachments

  • 20171110_202153.jpg
    20171110_202153.jpg
    74.7 KB
  • 20171110_202159.jpg
    20171110_202159.jpg
    97.4 KB
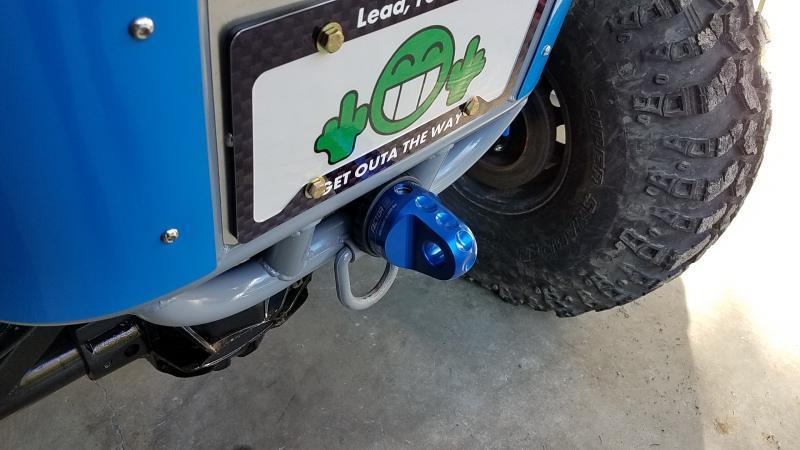
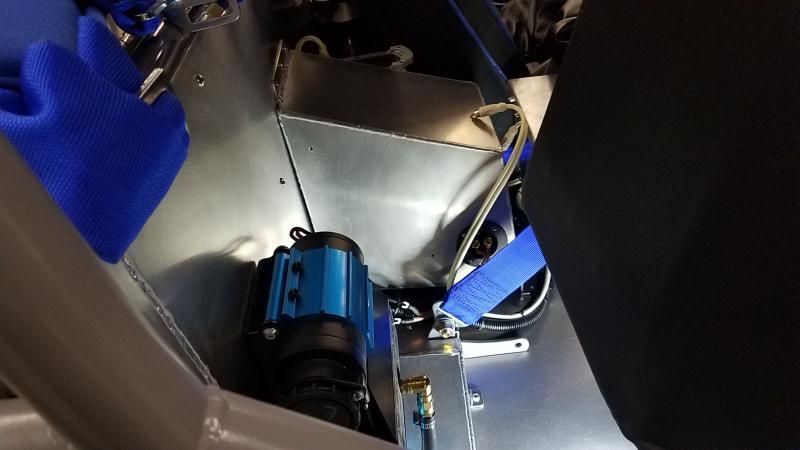
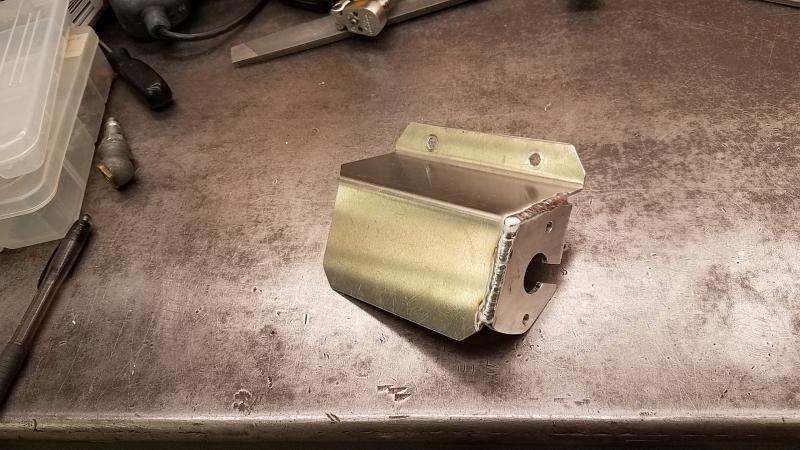
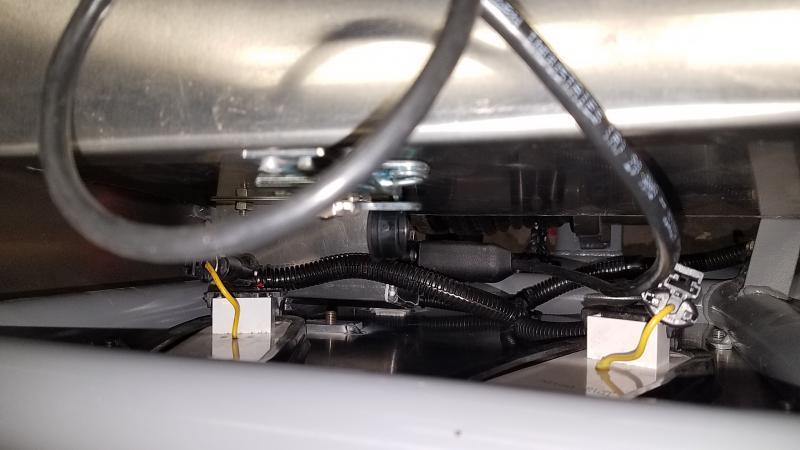
So the rear was a lil more work. I pulled the back panel that holds the lamps/lic plate and removed the cover I had made for the solenoid pack.

I made a mount for the plug and tig welded it to the inside of the cover.
 

Attachments

  • 20171111_164419.jpg
    20171111_164419.jpg
    66.1 KB
  • 20171111_165320.jpg
    20171111_165320.jpg
    53.8 KB
There isn't allot of room with the rear panel in place but really isn't too bad plugging the remote in.
 

Attachments

  • 20171111_192816.jpg
    20171111_192816.jpg
    40 KB
Back
Top