• Help Support Hardline Crawlers :

Garden tractor diesel repower

Nuzzy

Well-Known Member
Joined
Mar 27, 2006
Messages
8,070
Location
North Bend, WA
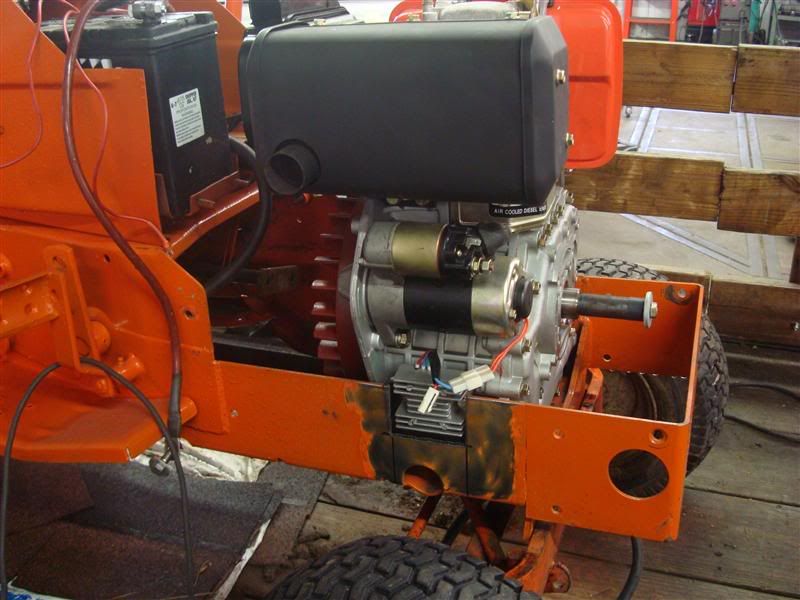
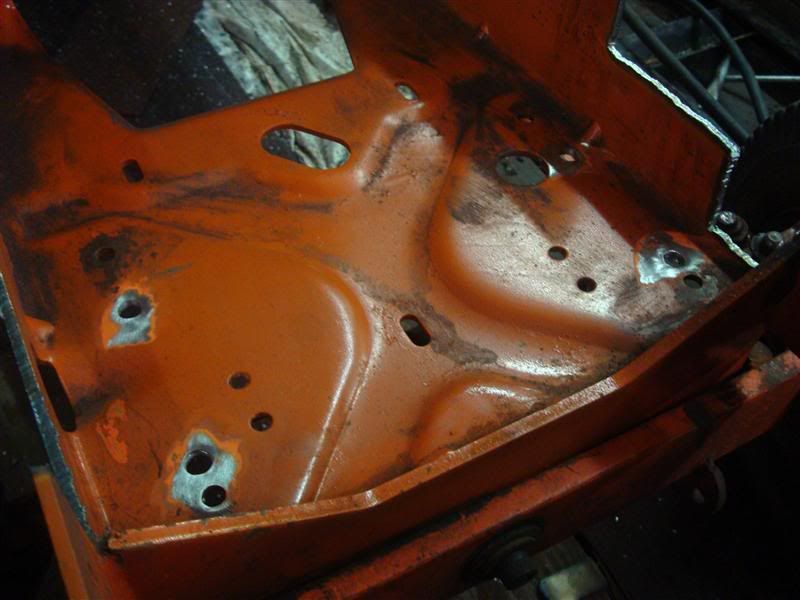
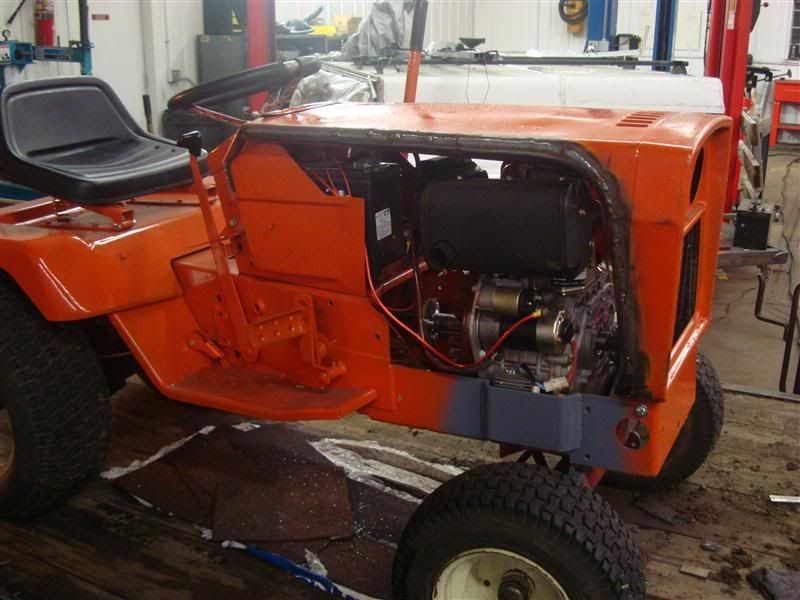
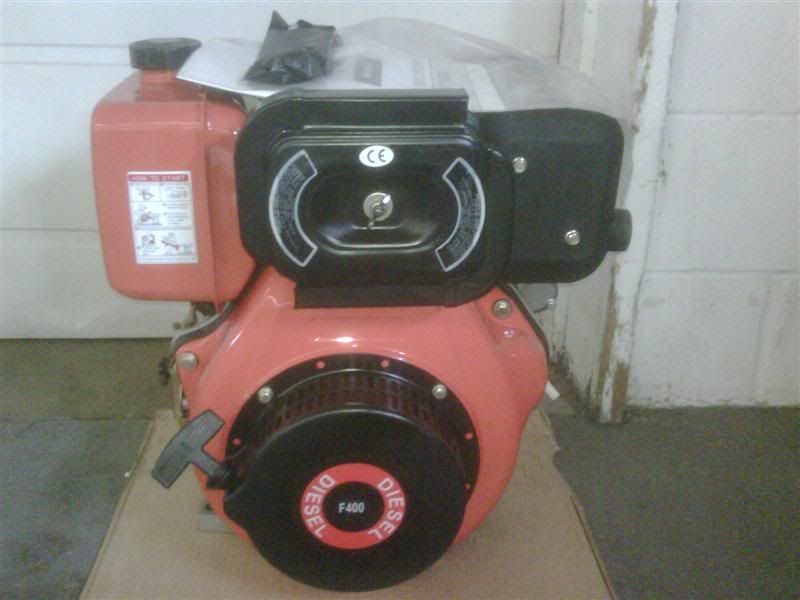
Had shitty luck with old gas motors and thought I'd try something different :D

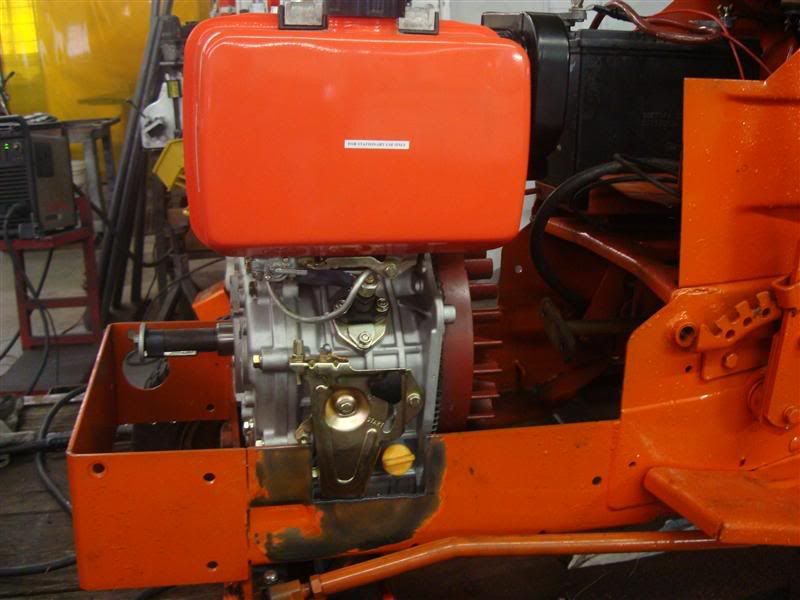
10 horse China diesel (yanmar knock off).

IMG00207-20100422-1235Medium.jpg


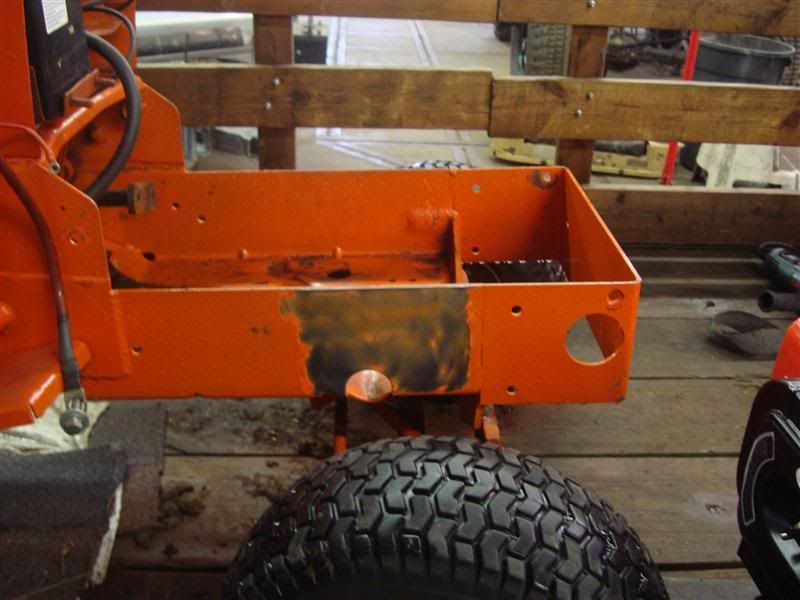
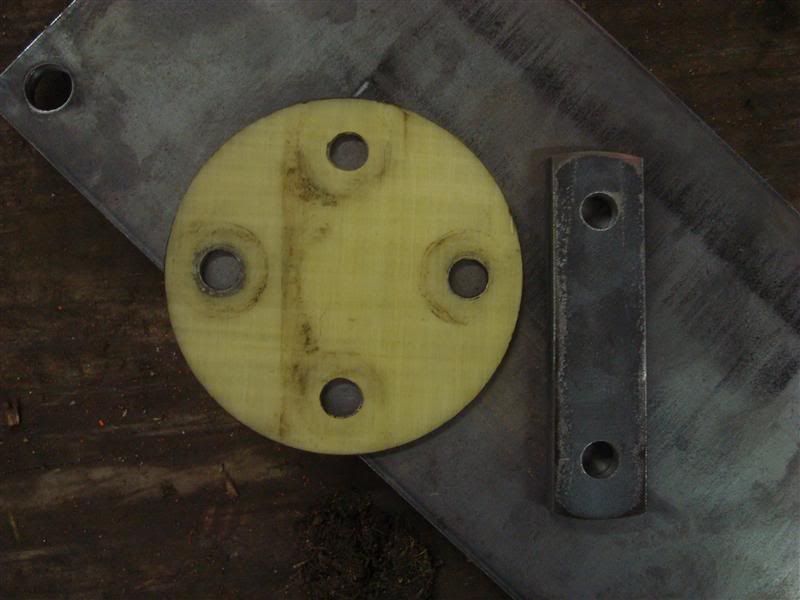
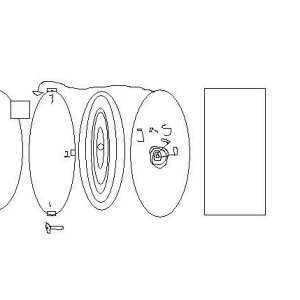
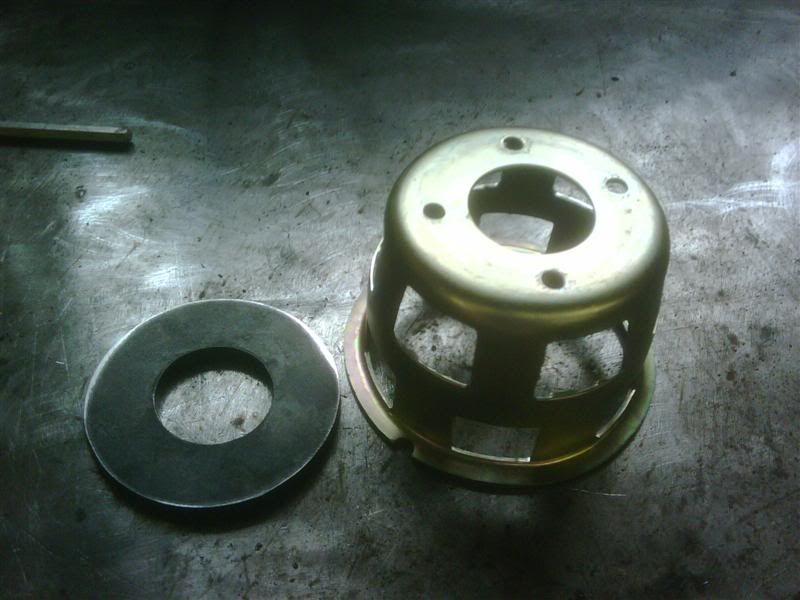
First was taking off the recoil assembly. Found out the threaded holes aren't exactly equidistant to each other. Won't be a problem, but made drawing them into the CAD software a bit trickier...

IMG00208-20100423-1705Medium.jpg


...So I just left them out of the plasma process. Instead I hand marked and drilled them in the bridgeport.

IMG00209-20100423-1736Medium.jpg


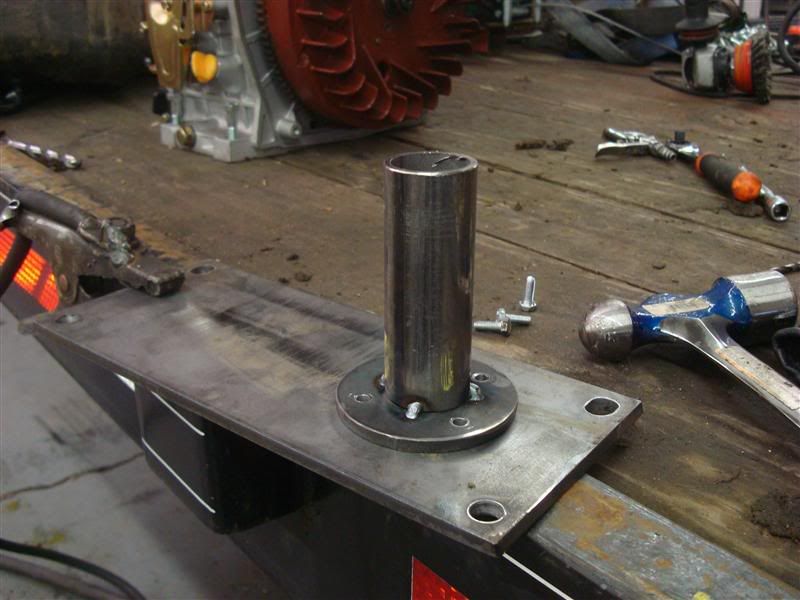
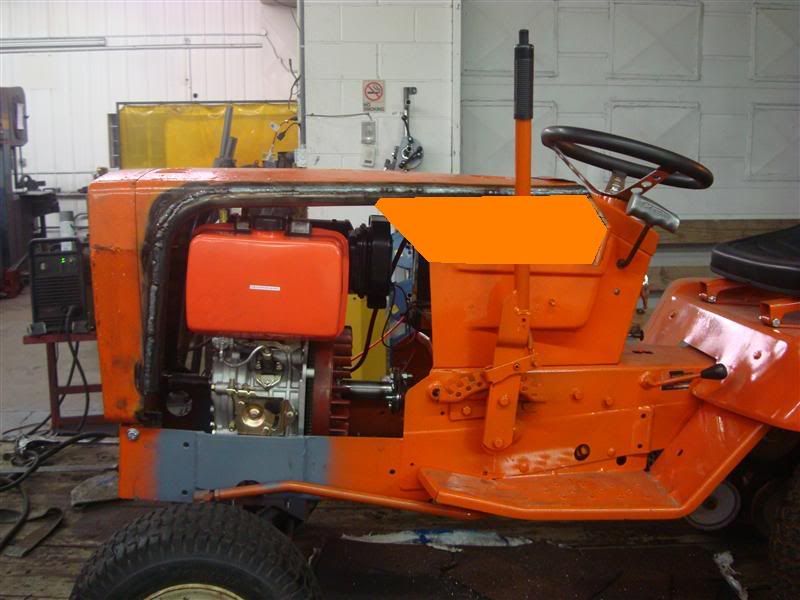
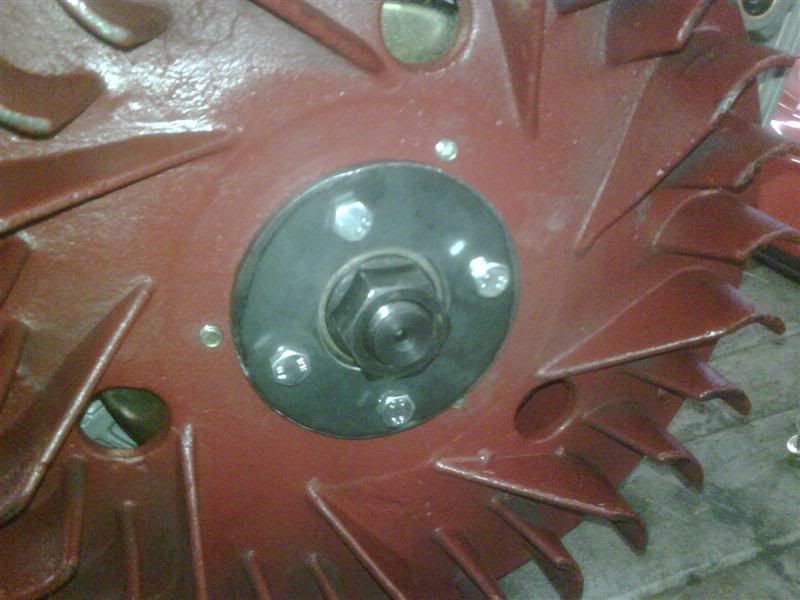
Test fitting looks good. Just need slightly shorter 6mm bolts.

IMG00210-20100423-1753Medium.jpg


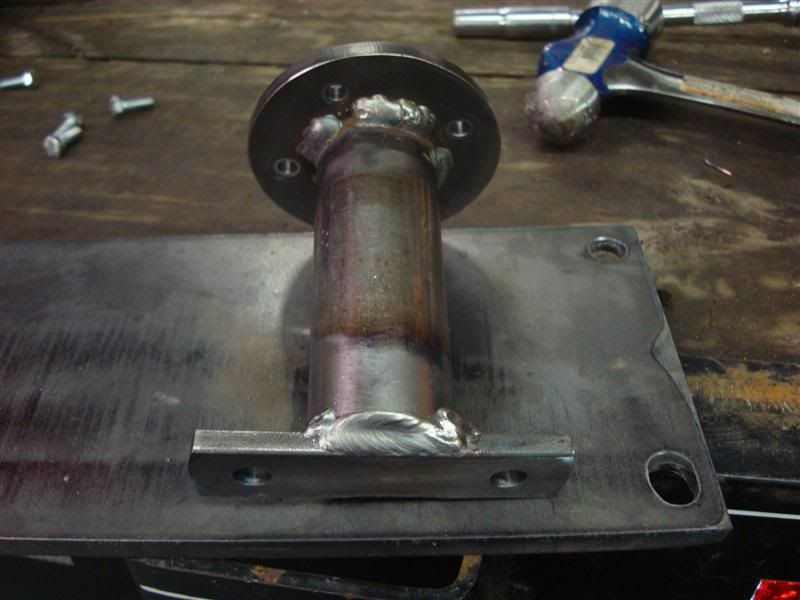
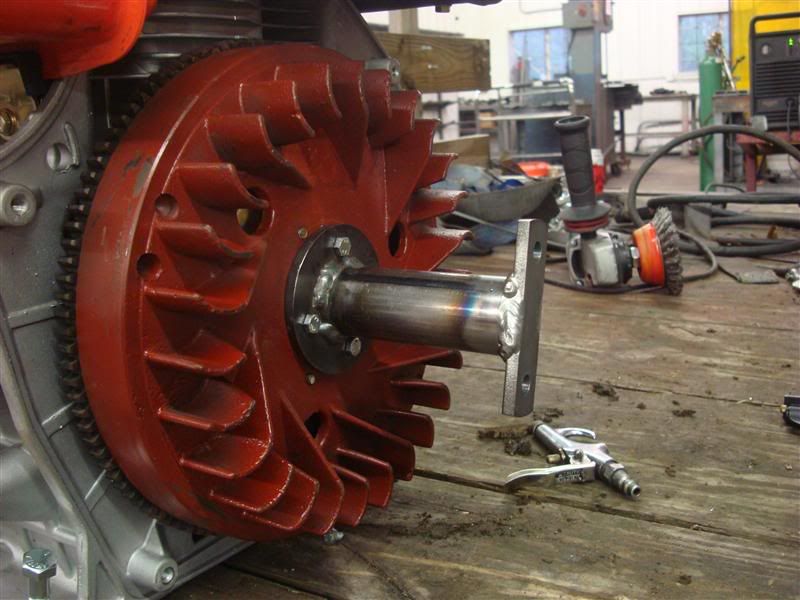
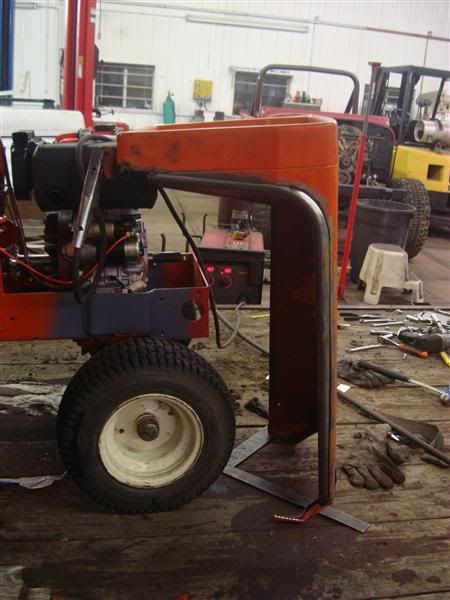
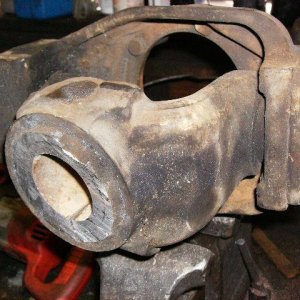
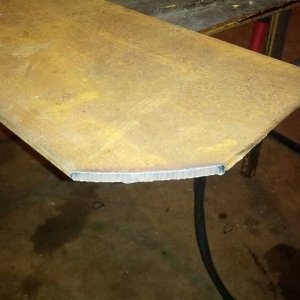
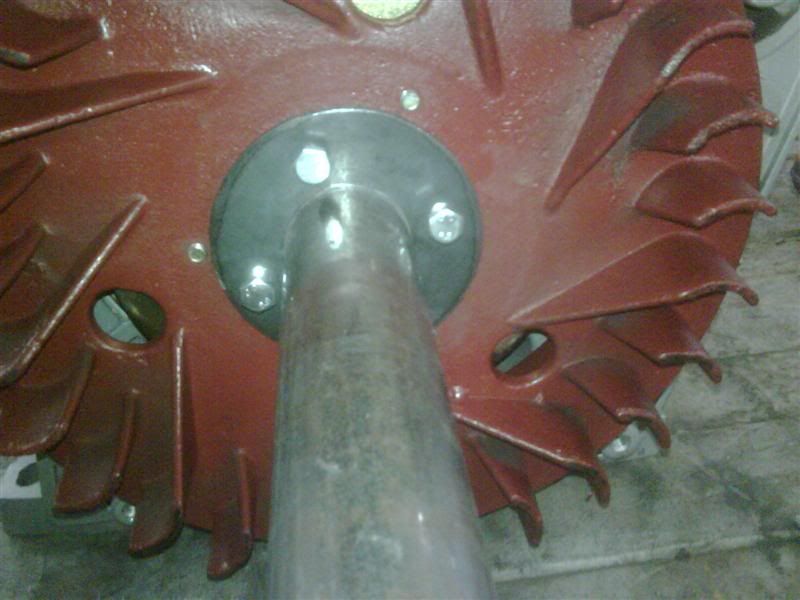
Current plan is to weld this tube in the center and then weld a piece onto the end which will bolt to the two holes in the fiber disc coupler. I'll just have to be careful to check and recheck before final welding to ensure it's as balanced as possible. After all, any noticeable wobble could have disastrous results.

IMG00217-20100423-1800Medium.jpg
 
That was yesterday. Tonight I got into the shop and decided I really didn't want to unload the tractor. So I just drove the whole shebang in and worked on it as it sat.


DSC08737Medium.jpg


I started taking some basic measurements to see where I'd need to clearance. Did I mention how painful it is to take a wire wheel to an area you recently painted...?


DSC08739Medium.jpg


I found out the centerline of the engine is surprisingly close to the original spec'd gas motors, so I didn't even need my base plate other than as a template to drill my holes. Grabbed the handheld plasma and was on my way.

DSC08743Medium.jpg


DSC08744Medium.jpg


DSC08748Medium.jpg


I had the motor in and out a few times cutting a little more each time until I was happy and everything that needed accessing was accessible (oil fill, oil drain, throttle linkage, etc.). Then I resumed work on my coupler/adapter. I tacked my tube in place, spun the fly wheel, and adjusted for wobbles.

DSC08750Medium.jpg


When I felt it was as good as it was gonna get, I made up the fiber disc end.

DSC08749Medium.jpg


And then burned it all together, leaving spaces for the bolt heads.


DSC08757Medium.jpg


DSC08758Medium.jpg


To reinforce what I had cut out, I grabbed some 4" x 1/4" flat stock and bent up the ends in the press to create bumps for clearance. Then burned them in, inside and out because I like overkill.

DSC08764Medium.jpg


DSC08769Medium.jpg


Finally, had to address the fuel tank and muffler as they both interfered with the hood. I could easily have made a new muffler and replumbed the fuel lines into the original tank... However, I really want to run a larger battery and am planning on utilizing the space where the stock tank sits. Thus, I decided to cut the hood. I like some things looking stock, but I think the whole modded rat rod thing can look interesting too! So I took some basic measurements, bent up some 1 1/4 .120 wall, and busted out the plasma again to cut into the hood. Then I did my best (which isn't very good because I HATE sheet metal work and our welders at work really aren't set up for it at all :puke: ) to weld the seam between the hood and the tube. Eventually I'll grind it all smooth and repaint the whole hood.

DSC08771Medium.jpg


DSC08774Medium.jpg


DSC08776Medium.jpg


DSC08779Medium.jpg


This is as it sits, right before I drove it back onto the trailer.

DSC08781Medium.jpg


I'm still going to cut out and weld in some panels to finish the back part of the hood where it crosses the tower section. Something (albeit smoother and more refined) like this so that it flows a little better...

DSC08776Mediumpanels.jpg
 
I still have to redo some wiring as well since parts are in different places on this motor. But overall, I'm stoked!!!

This thing has enough torque to pop mini wheelies :haha:
 
thats sweet.those little diesel motors ARE torquey as hell aren't they......i bet that was a fun first ride:haha:
gonna add wheelie bars?:redneck:cheers, brian
 
Tube fenders!!!:redneck: And those new re-enforcement plates need-----


SPEED HOLES!!!:redneck: (would also help with cooling....:awesomework:)
 
Am I the only one to notice, that you mounted the shaft on the pull start side of the engine, instead of the output side of the engine?? Why?
 
Still not a Farm-All:flipoff: Damn cool mod. Now will it pull lumber from the back 9?
 
Am I the only one to notice, that you mounted the shaft on the pull start side of the engine, instead of the output side of the engine?? Why?


Simplicity/Allis GTs back in the day were all shaft driven instead of pulley driven. They mounted their motors' output side toward the front (for a front PTO) and instead ran a coupler to the drive shaft off the flywheel. The motors they used were all CCW rotation when viewed from output side which meant CW rotation on flywheel side. Thus, their shafts to the BGB were built to run with the according rotation. This diesel motor is also CCW rotation when viewed from the output, so if I had run it as you say, it would be turning the drive shaft backwards. I know of at least one guy who tried to reverse the gears in his BGB to make up for it, but the unit died prematurely due to improper lubrication.

:awesomework:


Still not a Farm-All:flipoff: Damn cool mod. Now will it pull lumber from the back 9?


I know... :booo: Will get me a real tractor one of these days :gunz:


But yes, now it will be a good workhorse! Pulling logs and wood carts, plowing, tilling, discing, cultivating, pushing snow, blowing snow, putting a smile on my face. :D

Now I just need to start looking out for good attachments :clappy:
 
Top