LJ on Tons

Hardline Crawlers - Rock Bouncer Builds, Tech & Off-Road Trail Talk

Help Support Hardline Crawlers:

I hated having the gaping hole in the side of the jeep from where the fuel filler neck used to go so I do some trimming and filling with the help of some old fender sheet metal. Unfortunately, now with the shorter neck, the back pressure on the pump nozzle seems to get to great and cuts the pump off continuously making for one heck of a headache at the gas station :rolleyes: It's now on my list of things to fix.

I removed the neck, cut it down as shown and stuck it back into place and then added some sheet metal that didn't fill the gap, got mad, cut another piece from my other fender, warped it all with heat, got mad again, grinded it down and rattle canned it all....definitely a far cry from professional work but it matches most the rest of the LJ's wrinkled body panels. I see aluminum panels in the future.
IMG_6864[1].JPG
IMG_6865[1].JPG
IMG_6891[1].JPG
 
Last edited:
Still having issues with your steering? What is the distance from the center line of your BJ's to the TRE? A waggy pitman arm is long 7.5" IIRC? It worked to get my steering back on my old set up. Only thing you may run into is interference with axle due to the longer arm.
 
Another option with for your steering is to switch to the old ford box. They are mounted on the outside of the frame. They work well on the jeeps with narrow frames, and allow you to run a longer steering link which gets rid of bump steer etc, and with a pitman arm like 87TPIYJ mentioned you can get full lock to lock turns on the 60. They are also fairly easy to tap for hydro assist.
 
Here's a few more things that have taken place in the past few months that I have yet to show or mention. The steering box was tilted upward to move my pitman arm out away from the track bar. Doing so actually allowed me to move my axle forward another inch and still have plenty of clearance. Any further and I would have ran out of threads on my heims. Yes the box is seriously high, and I'm not the biggest fan of it. It will most likely interfere with a bumper when that time comes so I may relocate it downward and keep the angle and instead trim the frame behind the spring and shock tower to allow the steering linkage to spin freely without contact. Its current position minimized the amount of fab work needed. Slightly trimmed the grill to fit as well. Currently lots of ideas bouncing around in my head as far as the front half goes.
IMG_8078[1].JPG
IMG_8079[1].JPG


Took some advice from 87TPIYJ and got a hold of a 1" drop Waggy pitman arm. here it is side by side with the one I have been running since the time my 2.5" lift kit was brand new. Also some comparison shots of the linkage set up and my new turning radius. The waggy arm gets me the full turning radius back from the Superduty axle. So much so that I will need to make some hard stop extensions to keep from scrubbing my tires on the lower control arms. Easy enough. I took my time with a reamer drill bit and got the appropriate sizing for the new pitman arm. say bye bye to the band-aid of a tapered insert. Unfortunately now the steering is much stiffer and as a result I think hydro assist will be in the LJ's future.
IMG_8648[1].JPG

IMG_8647[1].JPG
IMG_8652[1].JPG

VFSR1437[1].JPG
ELCS5941[1].JPG
 
Wired up a few of my RockShot rock lights from Highbeam off road just before a winter trip to AOP. Felt it was time to be able to see under the LJ. I used existing holes in the tub over the wheels to do a little testing of positions to see what I like. Also, with the fog lights being long gone, I seemed that switch could temporarily be used for another set of lights. Found my switch for the fog lamps were being problematic and sensitive due to a worn down plastic tip inside the steering column housing. I grabbed a pen and used the ink tube cut to the correct length to fit over the tip and recreate the proper spacing. No more finicky switch!

I didnt go for a detailed write up as there are a handful of decent ones out there for anyone having a similar issue.
IMG_8443[1].JPG
IMG_8446[1].JPG
IMG_8447[1].JPG


I'd say, that's not bad for only 4 lights. Still have 5 more ready for install sitting on the tool bench.
 
In no particular order (prior to the rock lights and waggy arm) I managed to step away from my mechanical fan and install a Taurus dual speed fan. This little upgrade is all thanks to two back to back trips to Gulches where 1) the mechanical fan wiped out my overflow canister and 2) the radiator detonated from too much pressure.
IMG_E8620[1].JPG

IMG_7676[1].JPG


Problem. I now forget to turn the fan on.....a lot. Soooooo the low speed may get wired to the ignition. Otherwise this E fan rips and I love it for when I really start to beat on the LJ. Here's a couple shots and I will try to get a few more. I bought the fan new but picked up a spare fuse box and old Volvo fan relay from LKQ. Now I can add more to my stock box and quit using inline fuses(I feel much less like a rolling fire hazard).
NLHQ4840[1].JPG
XMCD5002[1].JPG

Managed to get enough space between the water pump and the fan shroud.

Finally covered the gaping hole in my passenger fender left from when I was running the york compressor. It's a quick fix until I can source some aftermarket inners. Got a 1'x1' piece of 16ga sheet from Home Depot. Cheap and quick for sure. Here's the cardboard mock up.
IMG_7960[1].JPG


Lastly, what's a trip to LKQ without a total impulse buy....
GZWE9765[1].JPG
IMG_7949[1].JPG
 
Got the hood back off finally and threw down a rattle can paint job. I got tired of looking at a grey hood. Now it matches...sorta. Just squint and turn your head sideways. Anyway, here's a few pictures from the process as well as my "spray booth"
IMG_8357[1].JPG
PMJY0959[1].JPG
IMG_8364[1].JPG
EHCT9062[1].JPG
 
Grabbed a set of stock TJ springs to test out what height I like. Here are the springs side by side with my Rancho 2.5" springs. Also some before and after pictures. May end up trying some 1.5" Old Man Emu springs out. I don't HAVE to go lower, the LJ is incredibly stable as is but low is what all the kids are doing these days. This also brought my attention to several interferences on the LJ that I plan to address regardless of the ride height. Some issues include the rear axle and tub floor interfering (move floor up?), steering is a little funny (sack up and go to a true crossover setup), and the upper front driver side CA gets a little too friendly with my lower radiator hose (may move the arm to passenger side to fix this). Any thoughts would be greatly appreciated.
IMG_8877[1].JPG
IMG_8878[1].JPG


Before
IMG_8876[1].JPG


After
IMG_8879[1].JPG


Before
IMG_8875[1].JPG


After
IMG_8880[1].JPG


Some of the issues I mentioned above
IMG_8885[1].JPG

FZNZ6839[1].JPG
 
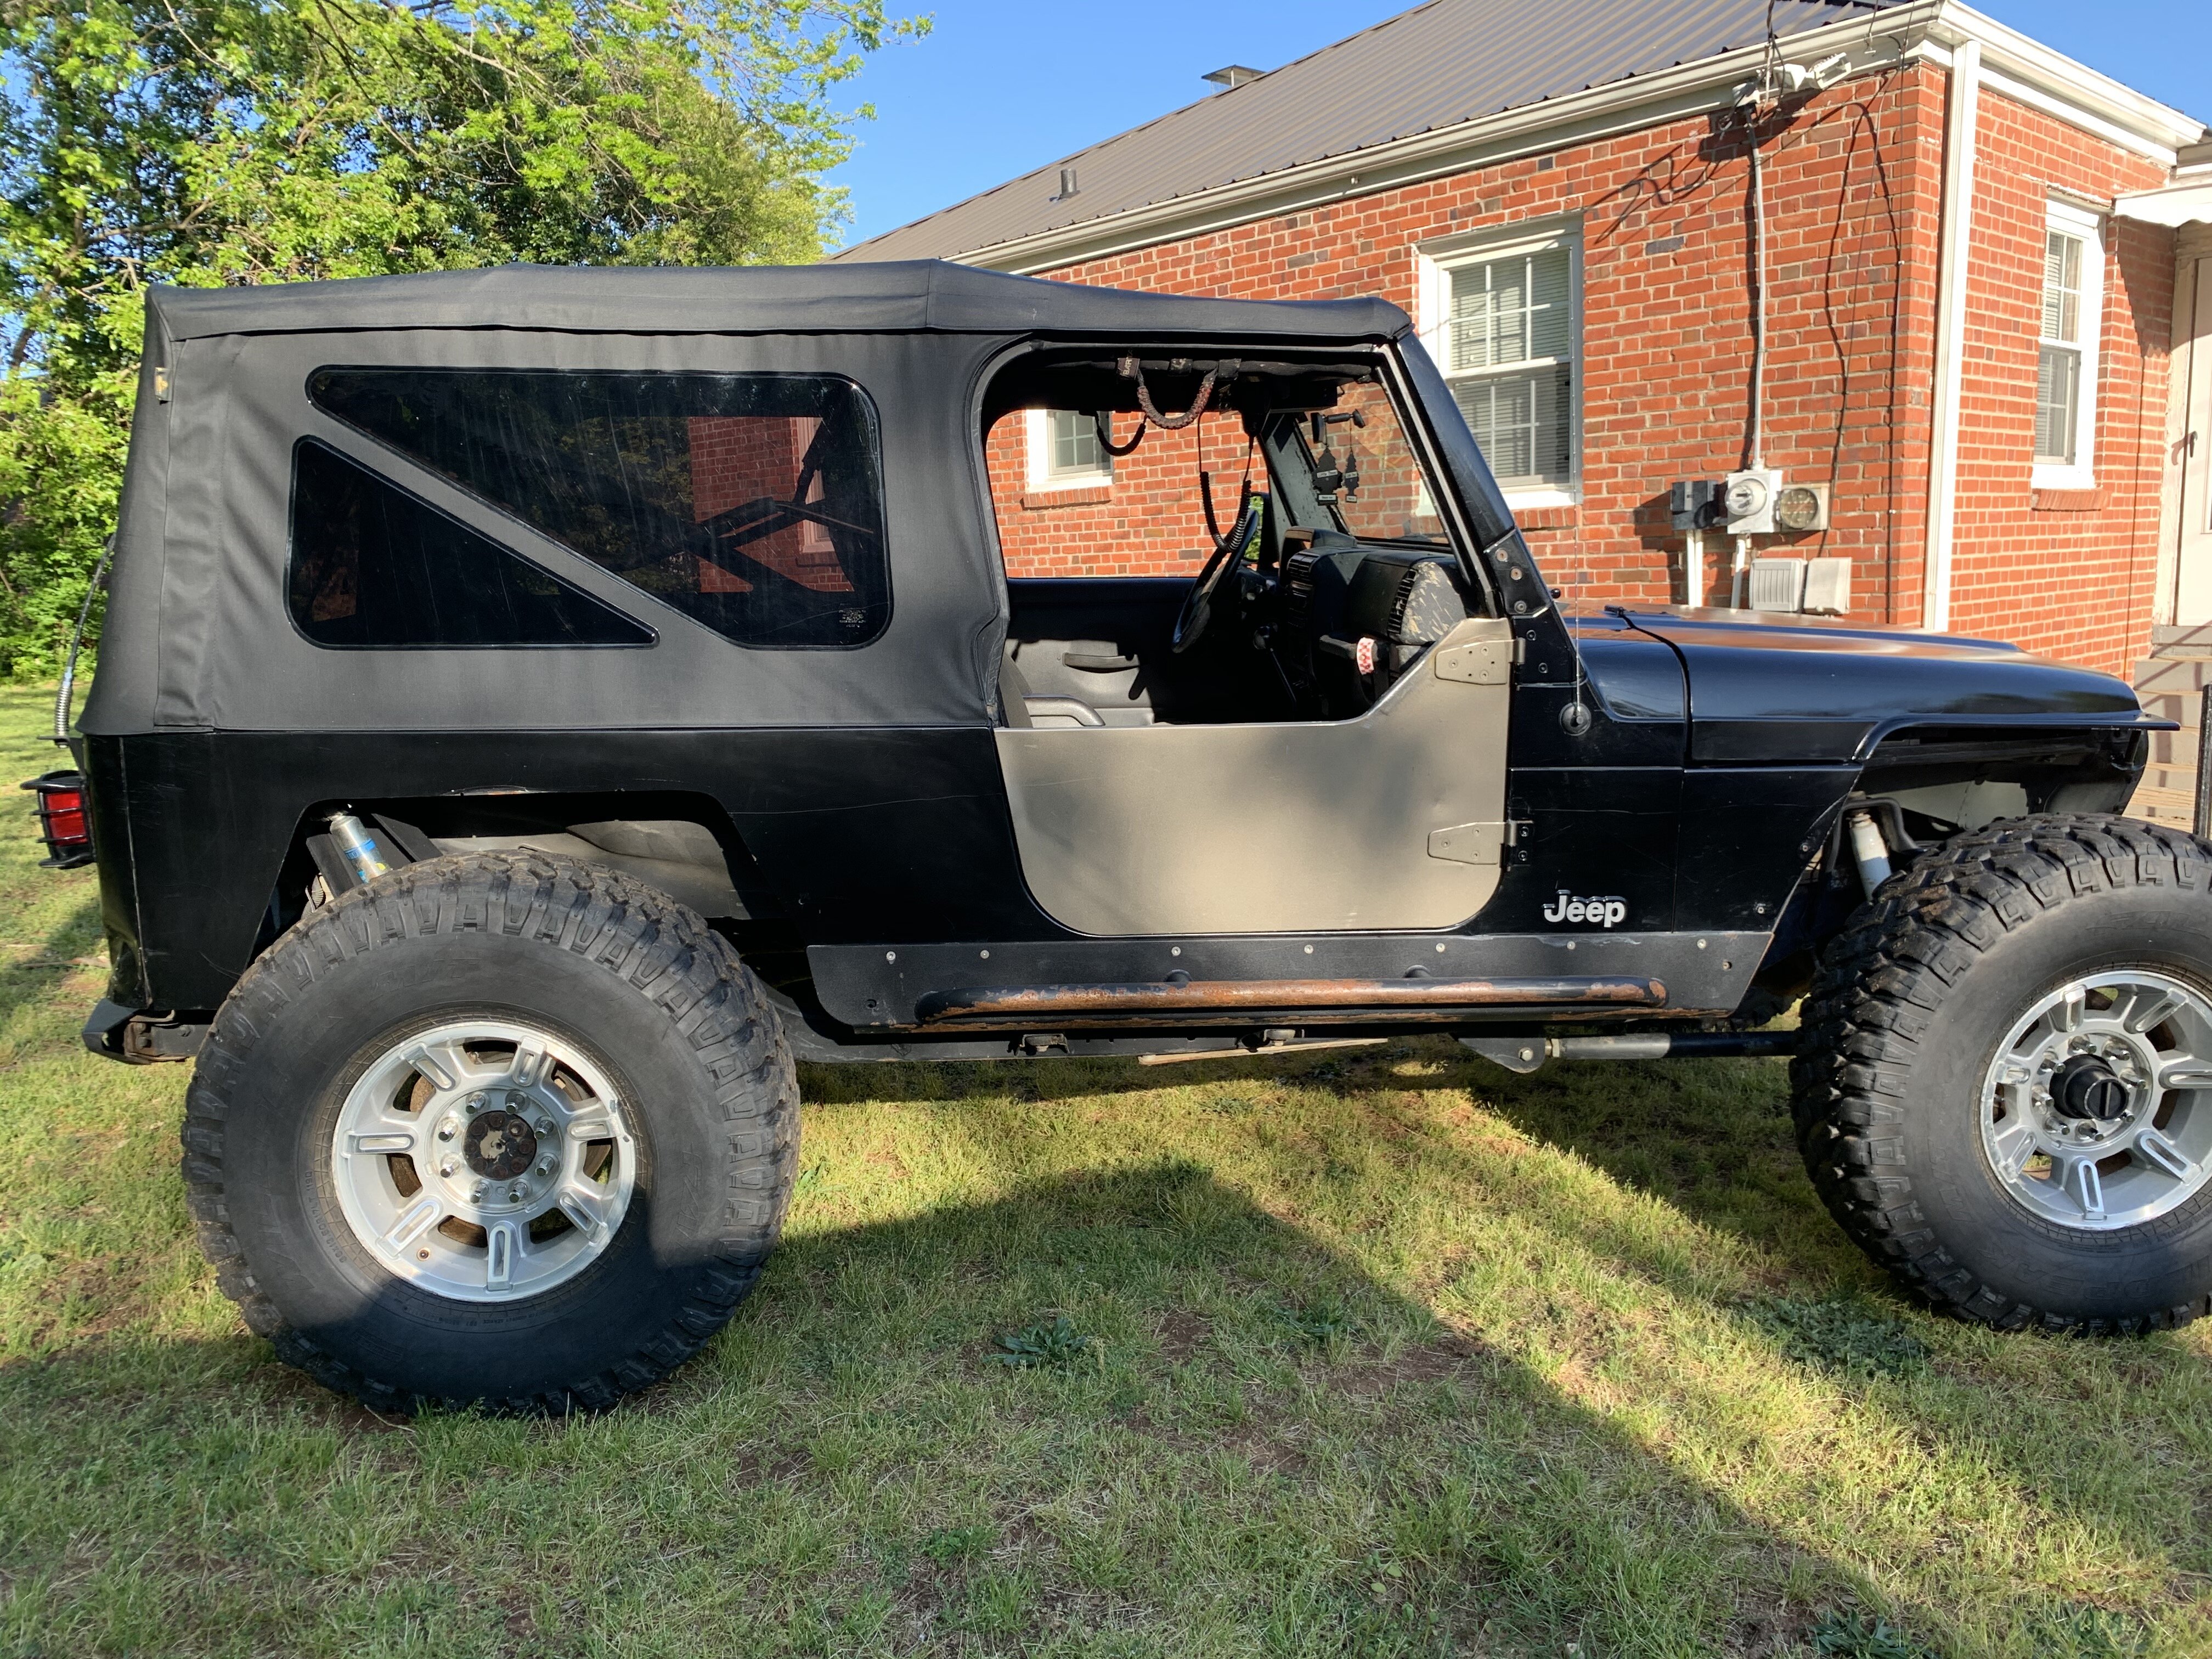
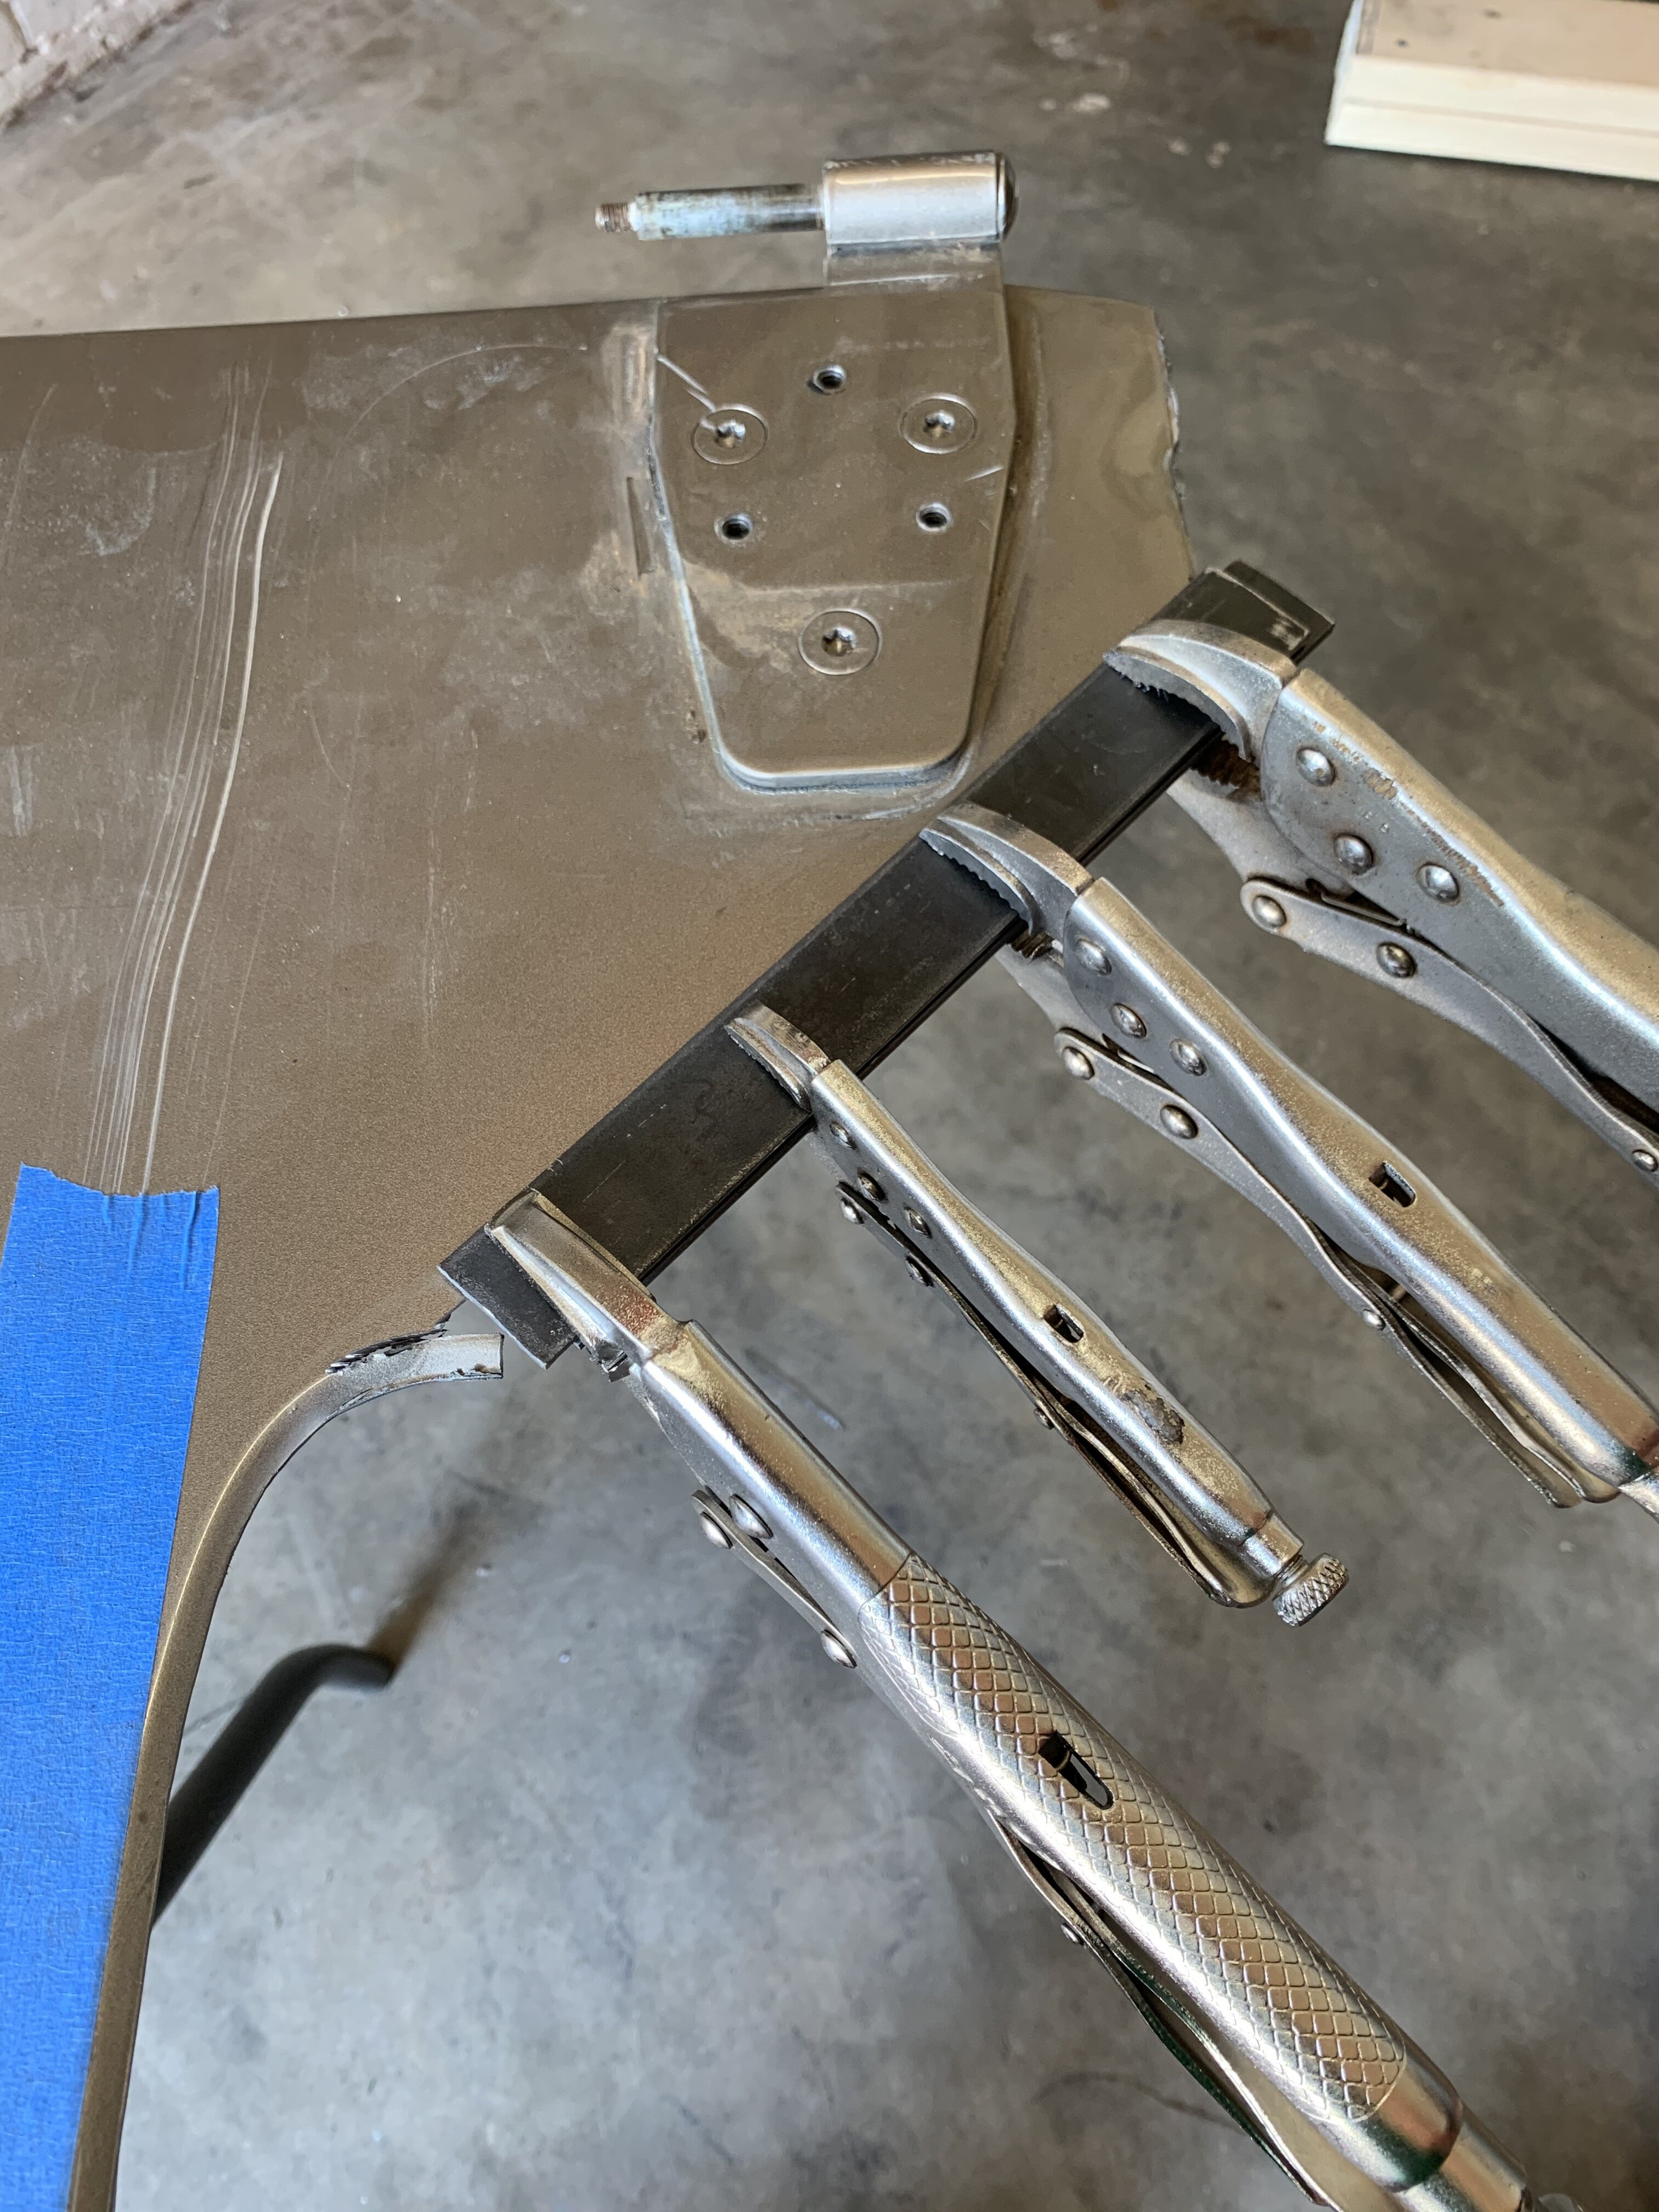
Decided to make a scrap yard run and before going felt it was finally time to gut these LKQ doors and haul that extra metal off as well. Should be a cool set of half doors without the door handle. Smooth paneling the whole length of the Jeep. I plan to add a latch on the inside to the exterior of the inside panel to open the door. Seeing as I'm gutting these doors and making them pretty much skins only (maybe 3/4" thick), they won't be able to accept upper halfs.
IMG_8909[1].JPG
IMG_8910[1].JPG
IMG_8907[1].JPG

IMG_8922[1].JPG


Opinions on the line chosen for the doors? I think the low part of the door is longer than a stock half door and this is because I wanted to try and avoid the stamped indentation of the full door for less work
 
Last edited:
Also remember the lower you the more trimming to the body will be required. I agree it didn't seem tall to begin with.
 
I think you want the half door cut so that you can rest your arm on it while in use. For keeping the lines etc you might make a hybrid door - cut the door as you plan then add some tube to the top so that you can use the door as an arm rest.

I would get rid of the y-link steering set up and go to full hiem joint cross over steering.
 
I think you want the half door cut so that you can rest your arm on it while in use. For keeping the lines etc you might make a hybrid door - cut the door as you plan then add some tube to the top so that you can use the door as an arm rest.

I would get rid of the y-link steering set up and go to full hiem joint cross over steering.

maybe put a piece of tube diagonal in that door too, to keep that perfect rock out of your lap.

x2 on the heim joint steering.
 
Also remember the lower you the more trimming to the body will be required. I agree it didn't seem tall to begin with.
Nothing a sawzall blade and a case of beer can't fix. I have the tendency to cut anything out of the way to make things fit and function properly :ROFLMAO:
 
Digging the LJ build. Which lights did you use from Highbeam?

https://www.highbeamoffroad.net/collections/rokshots
These highbeam lights I'm using for rock lights were a handful of their rock shots I believe. I only threw about 4 in for now to test them out in some locations and see what I liked and didn't like.

Pros:
They are insanely bright. even with only 4, my spotter was able to really see where tires and rocks were at night on obstacles. The ones out front were great for running and cutting headlights too so that my spotter had an easier time seeing the LJ. They can be put in so many spots too. Their versatility is nice.

Cons:
The wiring for them is delicate and can break away from the back of the threaded housing if not careful or if they are in spot your back seat puppy may reach over and paw when the LJ gets all sideways. The wires are also incredibly small gauge and that made it hard to hook them up onto a circuit.

Overall I love the lights and they are relatively cheap. You will probably see me reposition them in the near future to better protect the wiring and housings.
 
I think you want the half door cut so that you can rest your arm on it while in use. For keeping the lines etc you might make a hybrid door - cut the door as you plan then add some tube to the top so that you can use the door as an arm rest.

I would get rid of the y-link steering set up and go to full hiem joint cross over steering.
The cross over steering is in the works, unfortunately I just bought a new house so a lot of time has been dedicated to that and trying to get it to a more livable state. The LJ is currently on the backburner while I situate the house and the new two car garage!

adding a tube acutally sounds like what I may want. Originally I was planning to get some sheet metal and just create an 1" wide horizontal at the top of the half doors to lean on and then close in the interior of the door as well but a thin wall square tube along the tube edge with a diagonal inside like tcDawg suggested for rigidity may be exactly what I do.
 
So like I said above, the LJ had to get placed on the backburner over the last few months while I bought a house, prepped to move, and then disappeared to the Grand Canyon for a month. The new house is taking up tons of time but, some nice things is I now have more garage space to work. I'm hoping that I will get a sub panel and some electrical laid into the garage soon to start up welding again and get those doors done. For now, here's a few small updates for the LJ.

IMG_9062.JPG

IMG_9077.JPG
IMG_9061[1].JPG

I did manage to finish the cuts on the doors so they are officially skins as of right now. I really like how they came out and think they are fairly nice compared to stock doors. I elongated the lower portion of the door and made the kick up steeper. I was ok with this because I will never want to run uppers on these doors. If I want protection from the elements I will simply use the full doors. Here's a couple shots of the door on the LJ after and my not so great attempt at bending the kick up to match the lower portion of the door. There is also a shot here of the door I cut compared to a stock half door.
 
Last edited:
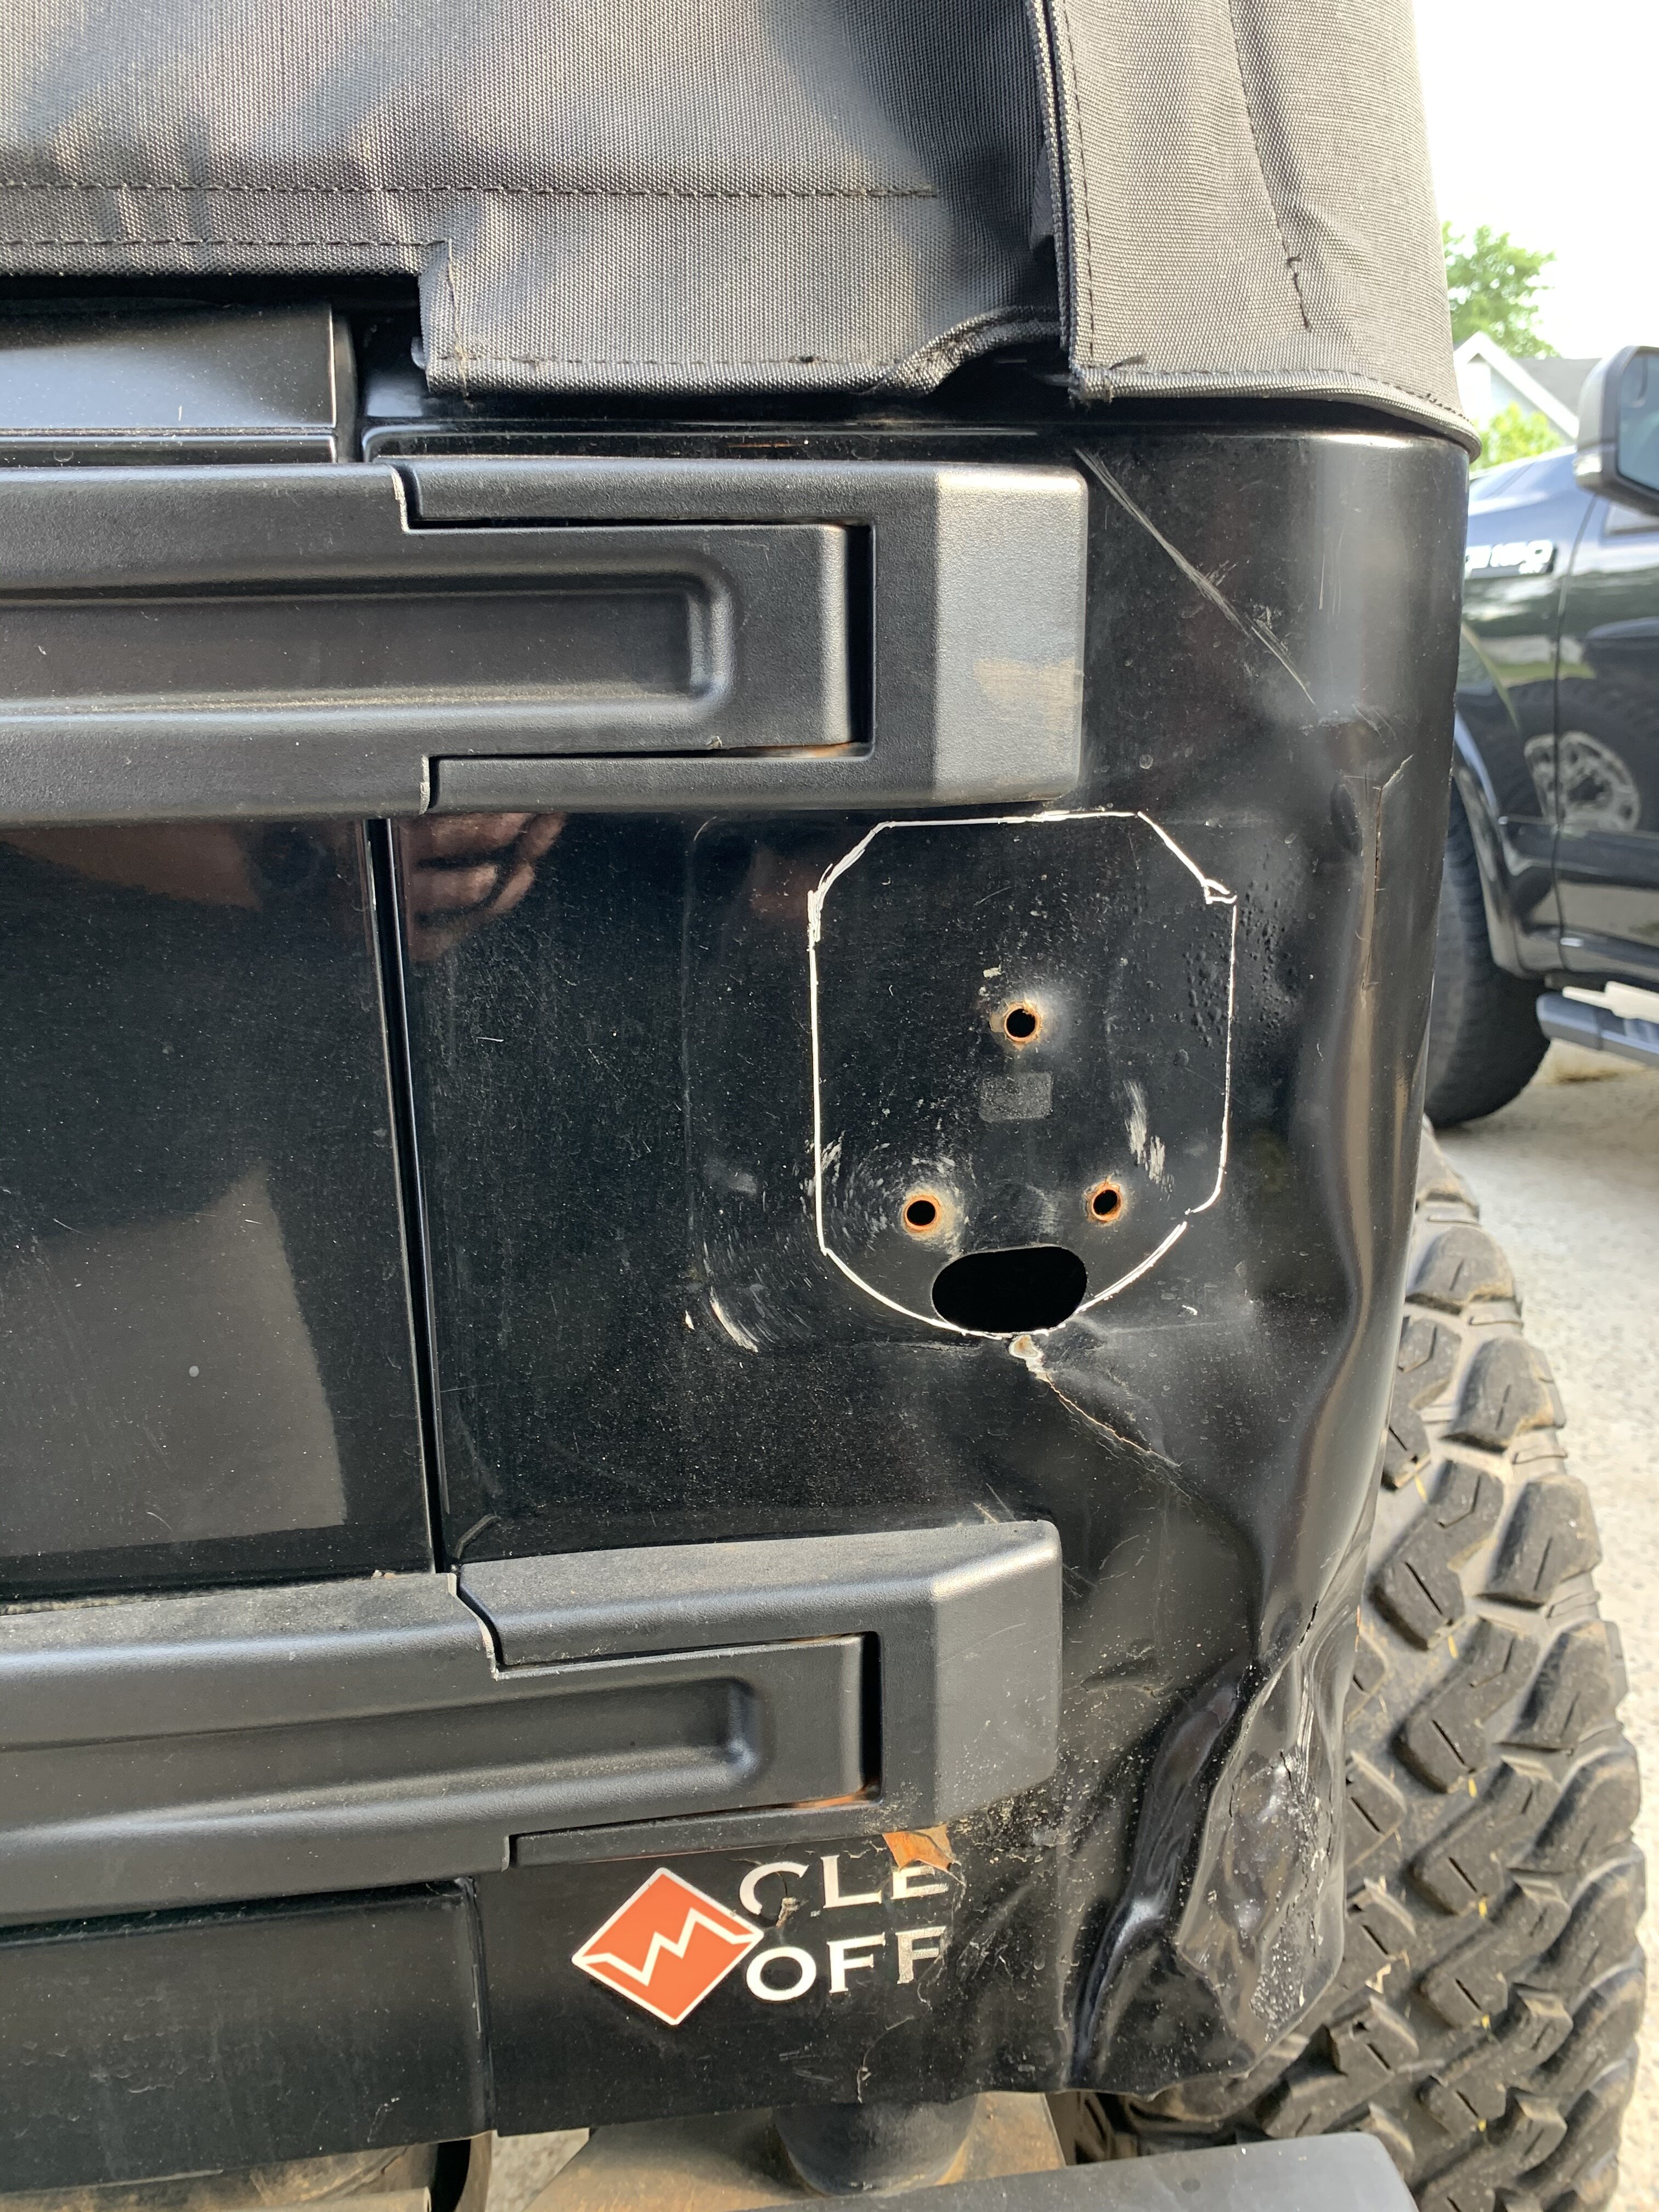
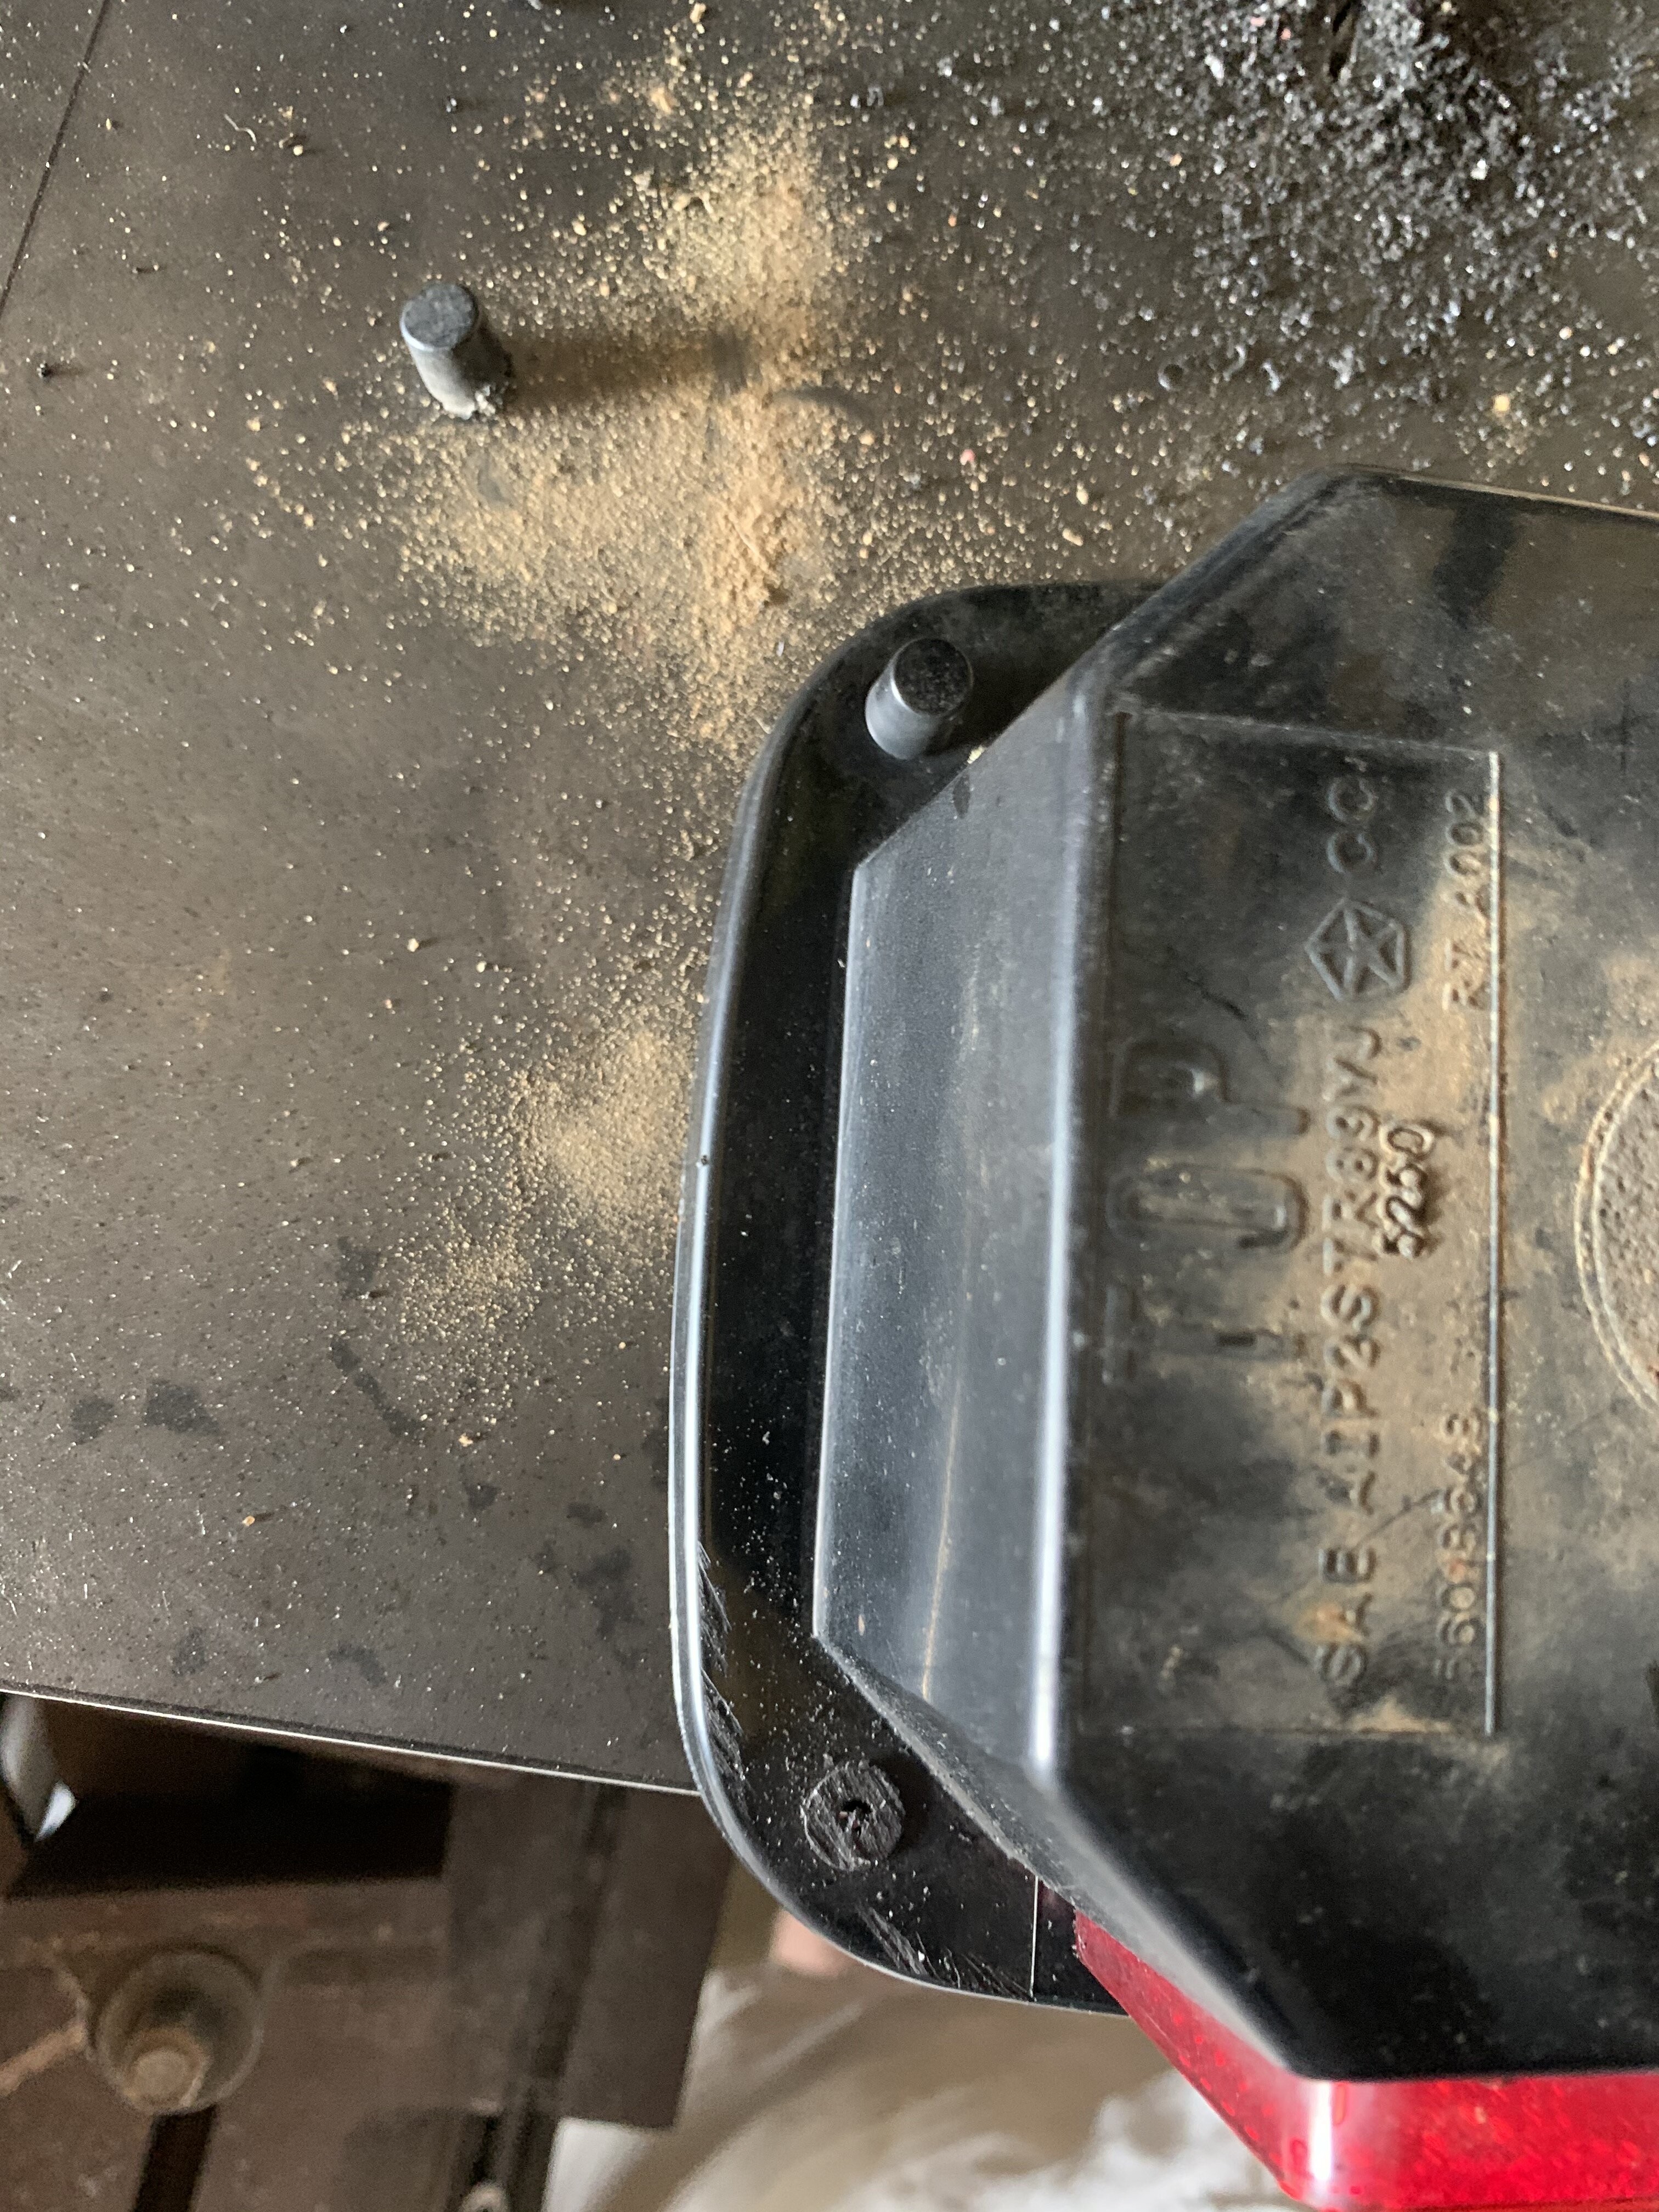
With the doors at a good stopping point, I decided to strip the roll cage of the stock padding to prep for some additions. I also finally ditched the terrible safari tail light guards. Yes they have kept me from smashing a tail light many times but they have dented my body panels in the process. So It was time for some recessed lighting. I took the stock tail lights and recessed them into the body by creating a template (I can scan the template and upload or share if anyone is interested) and marked out where to cut. I kept the opening tight as possible and cut the plastic nipples for the screws off the back of the tail lights with a bandsaw. I used some longer sheet metal screws to secure the light into place. At some point when it gets back on the road I will need to come up withe a way to illuminate my license plate again.
BXUT7104[1].JPG


IMG_9366.JPG
IMG_9413.JPG
OSGB9255[1].JPG
 
Last edited:
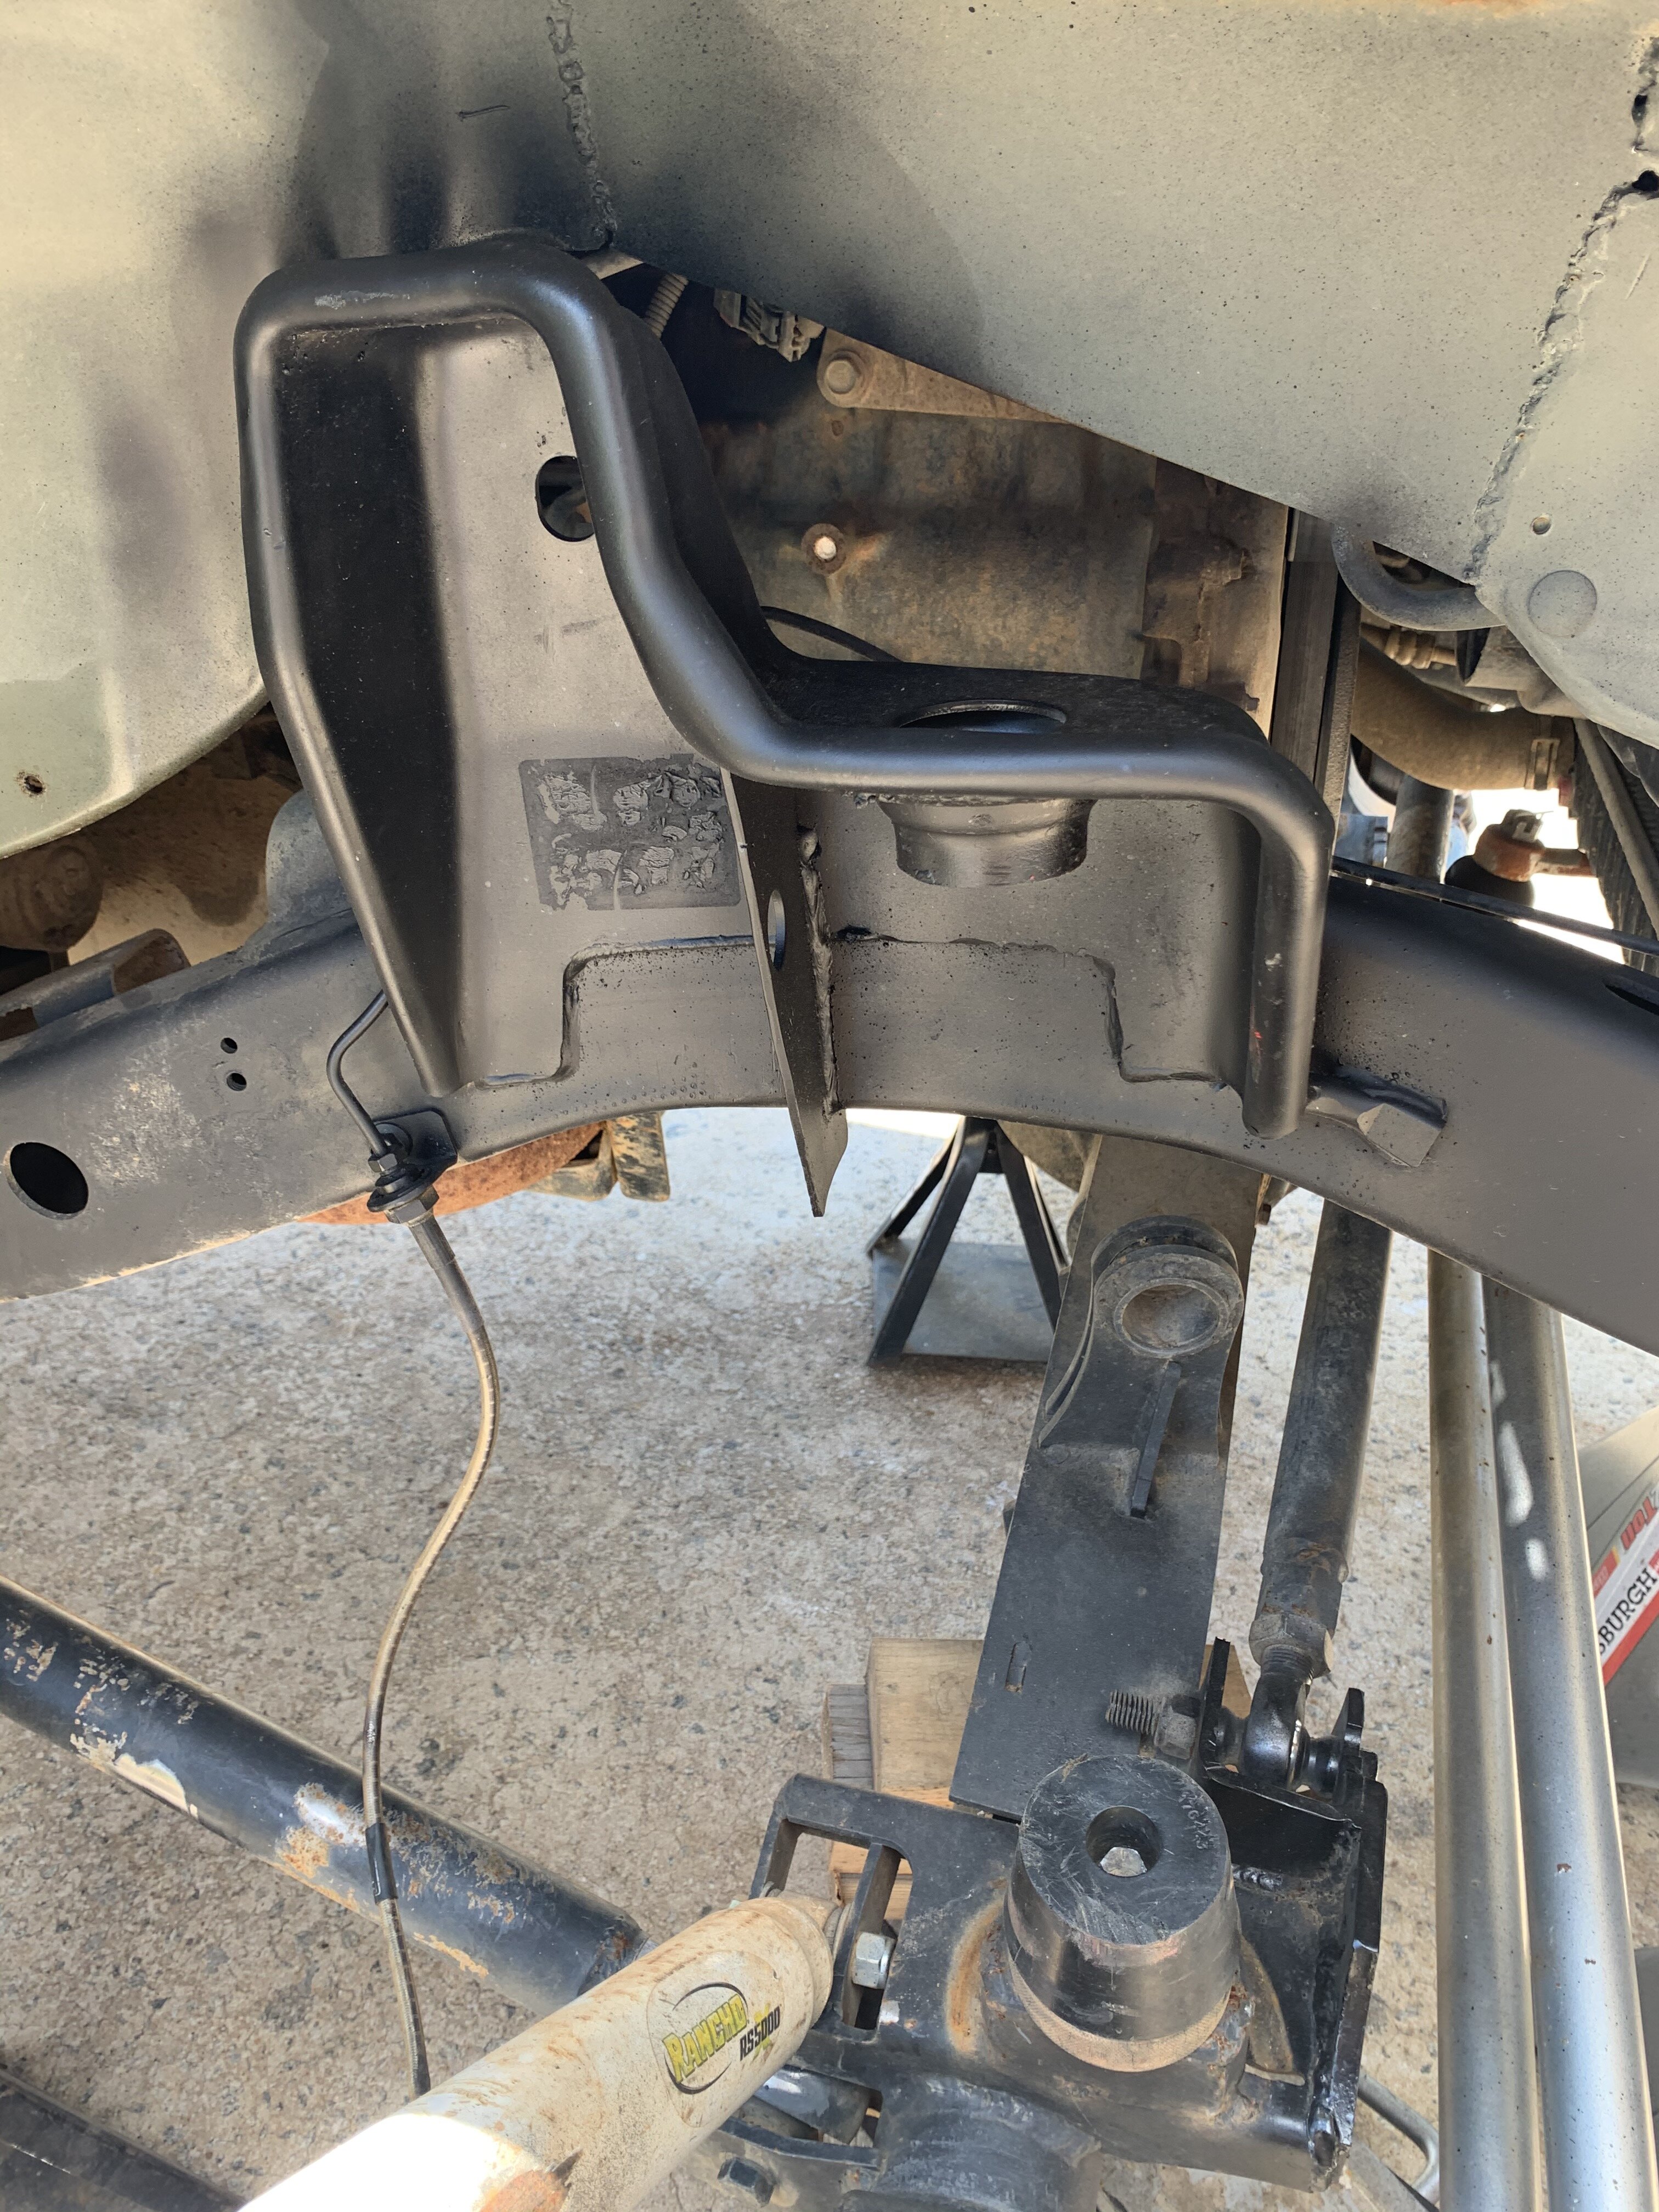
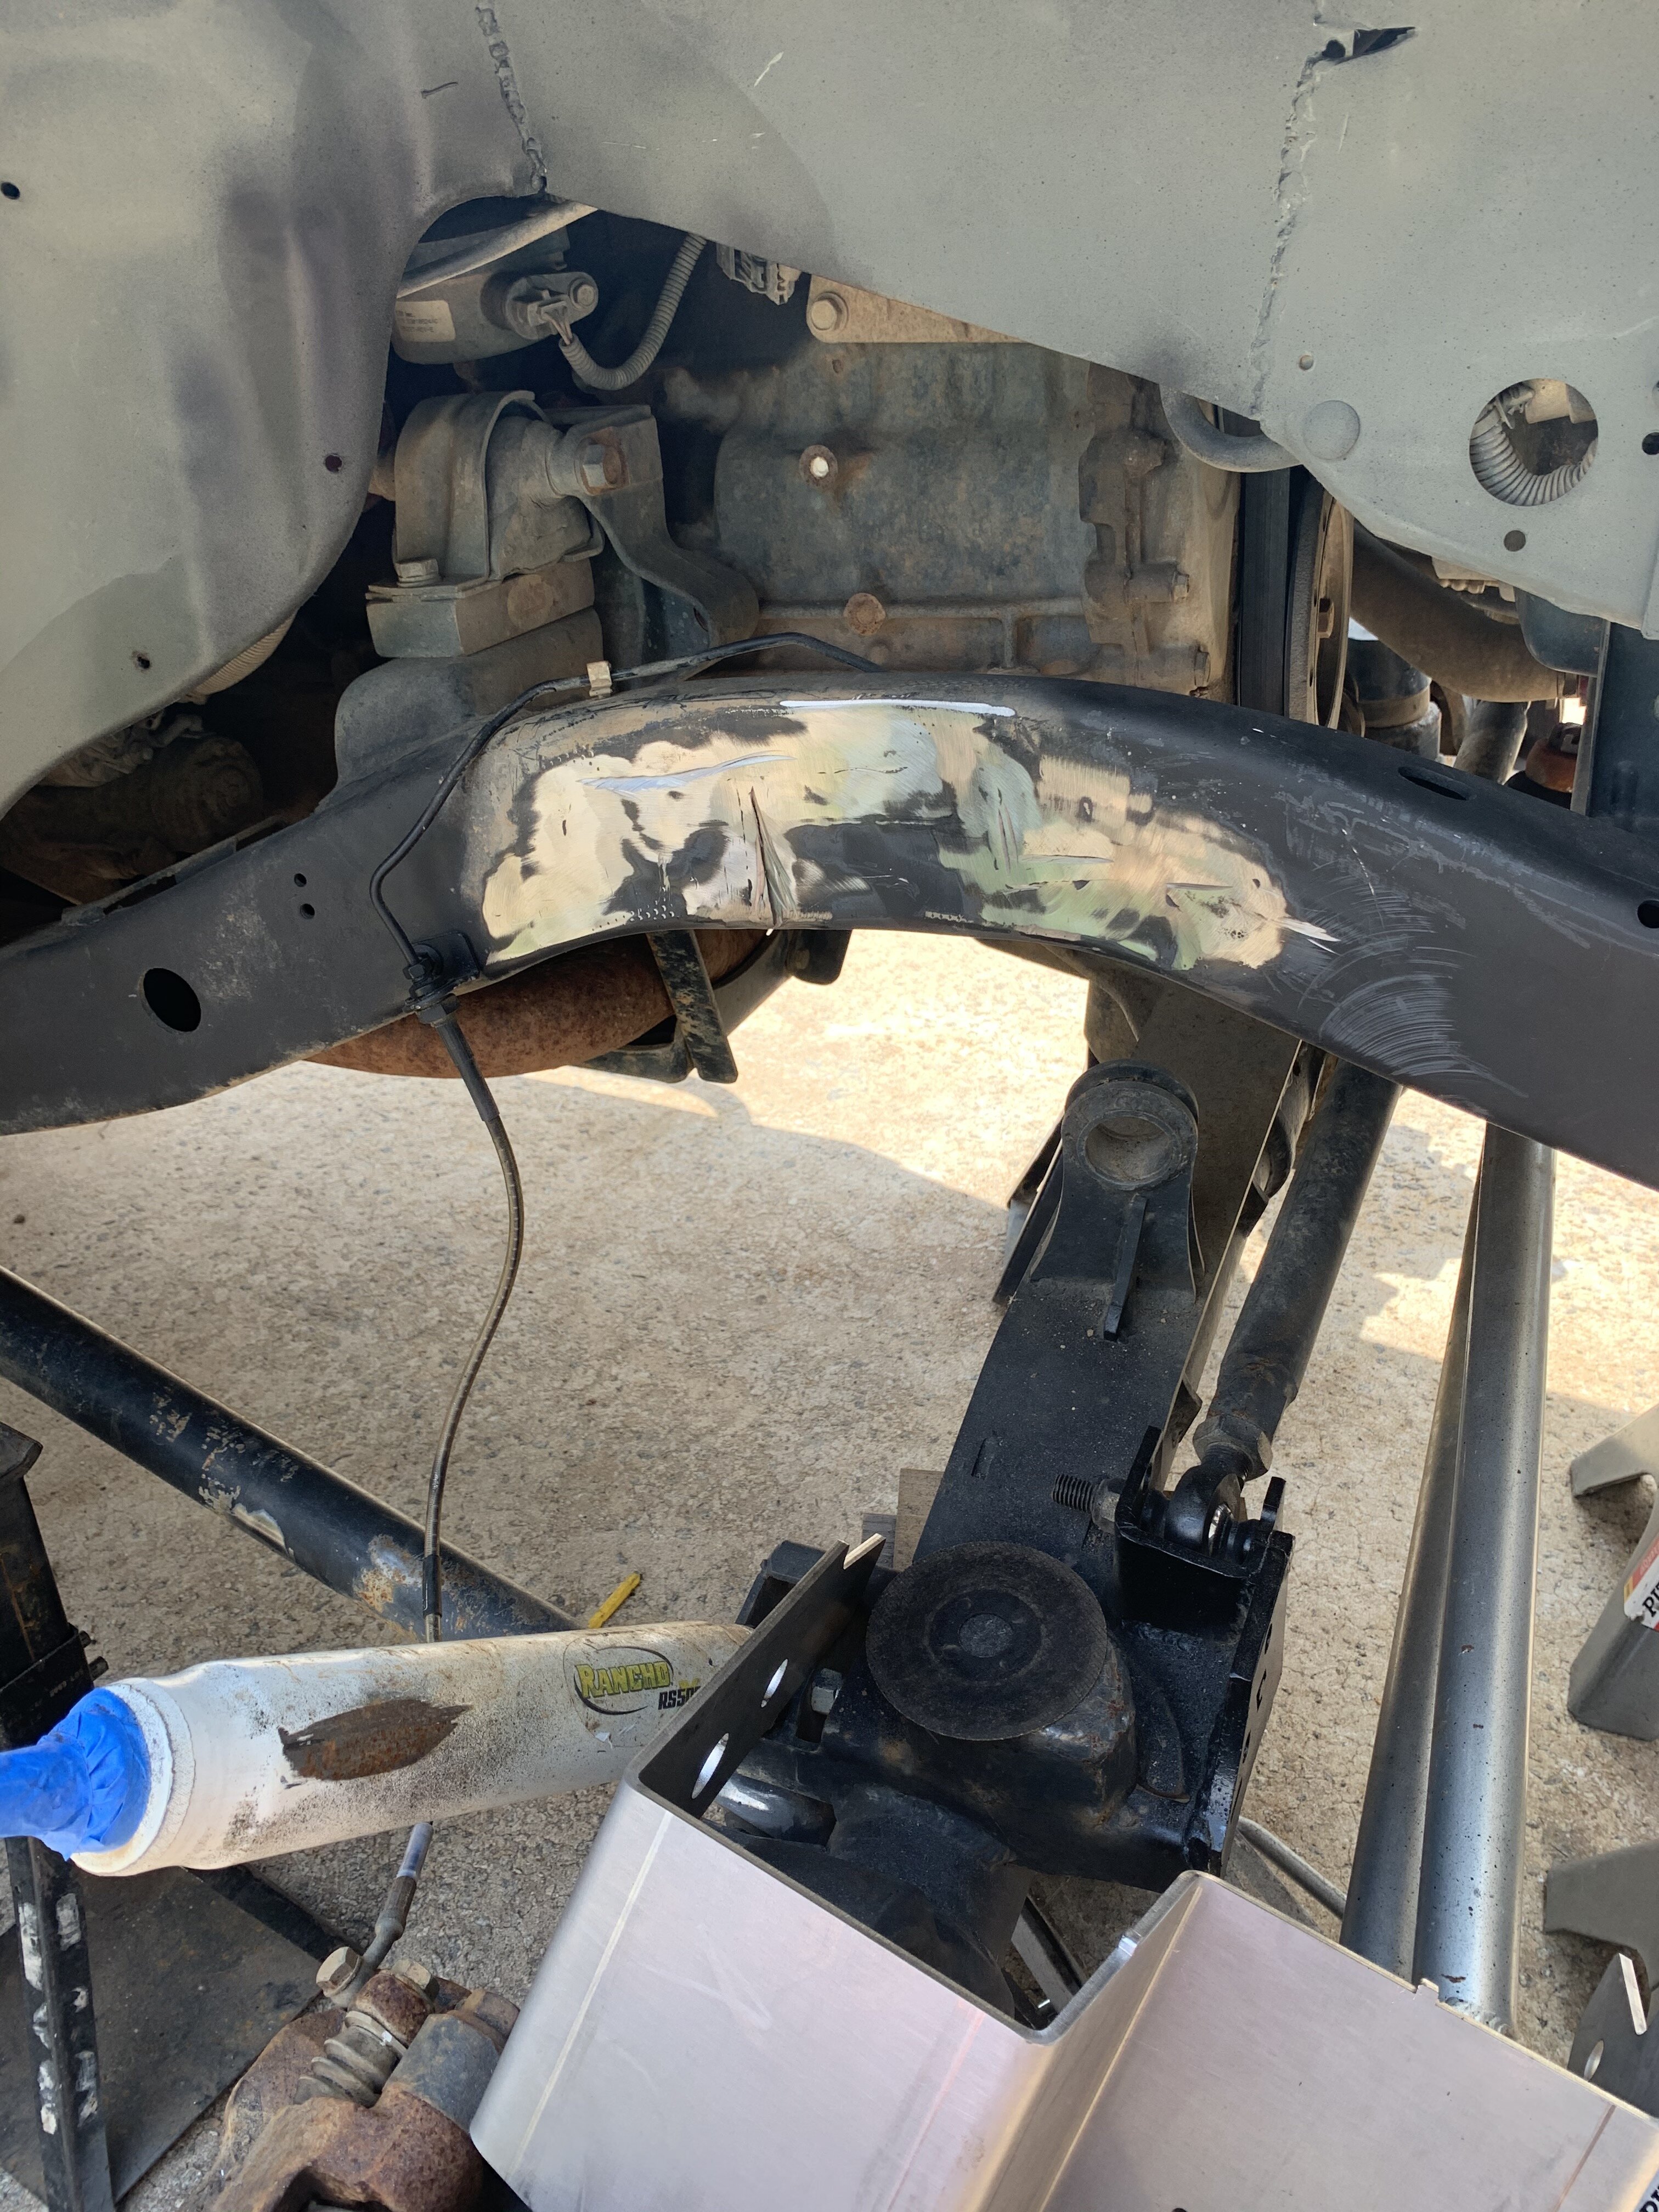
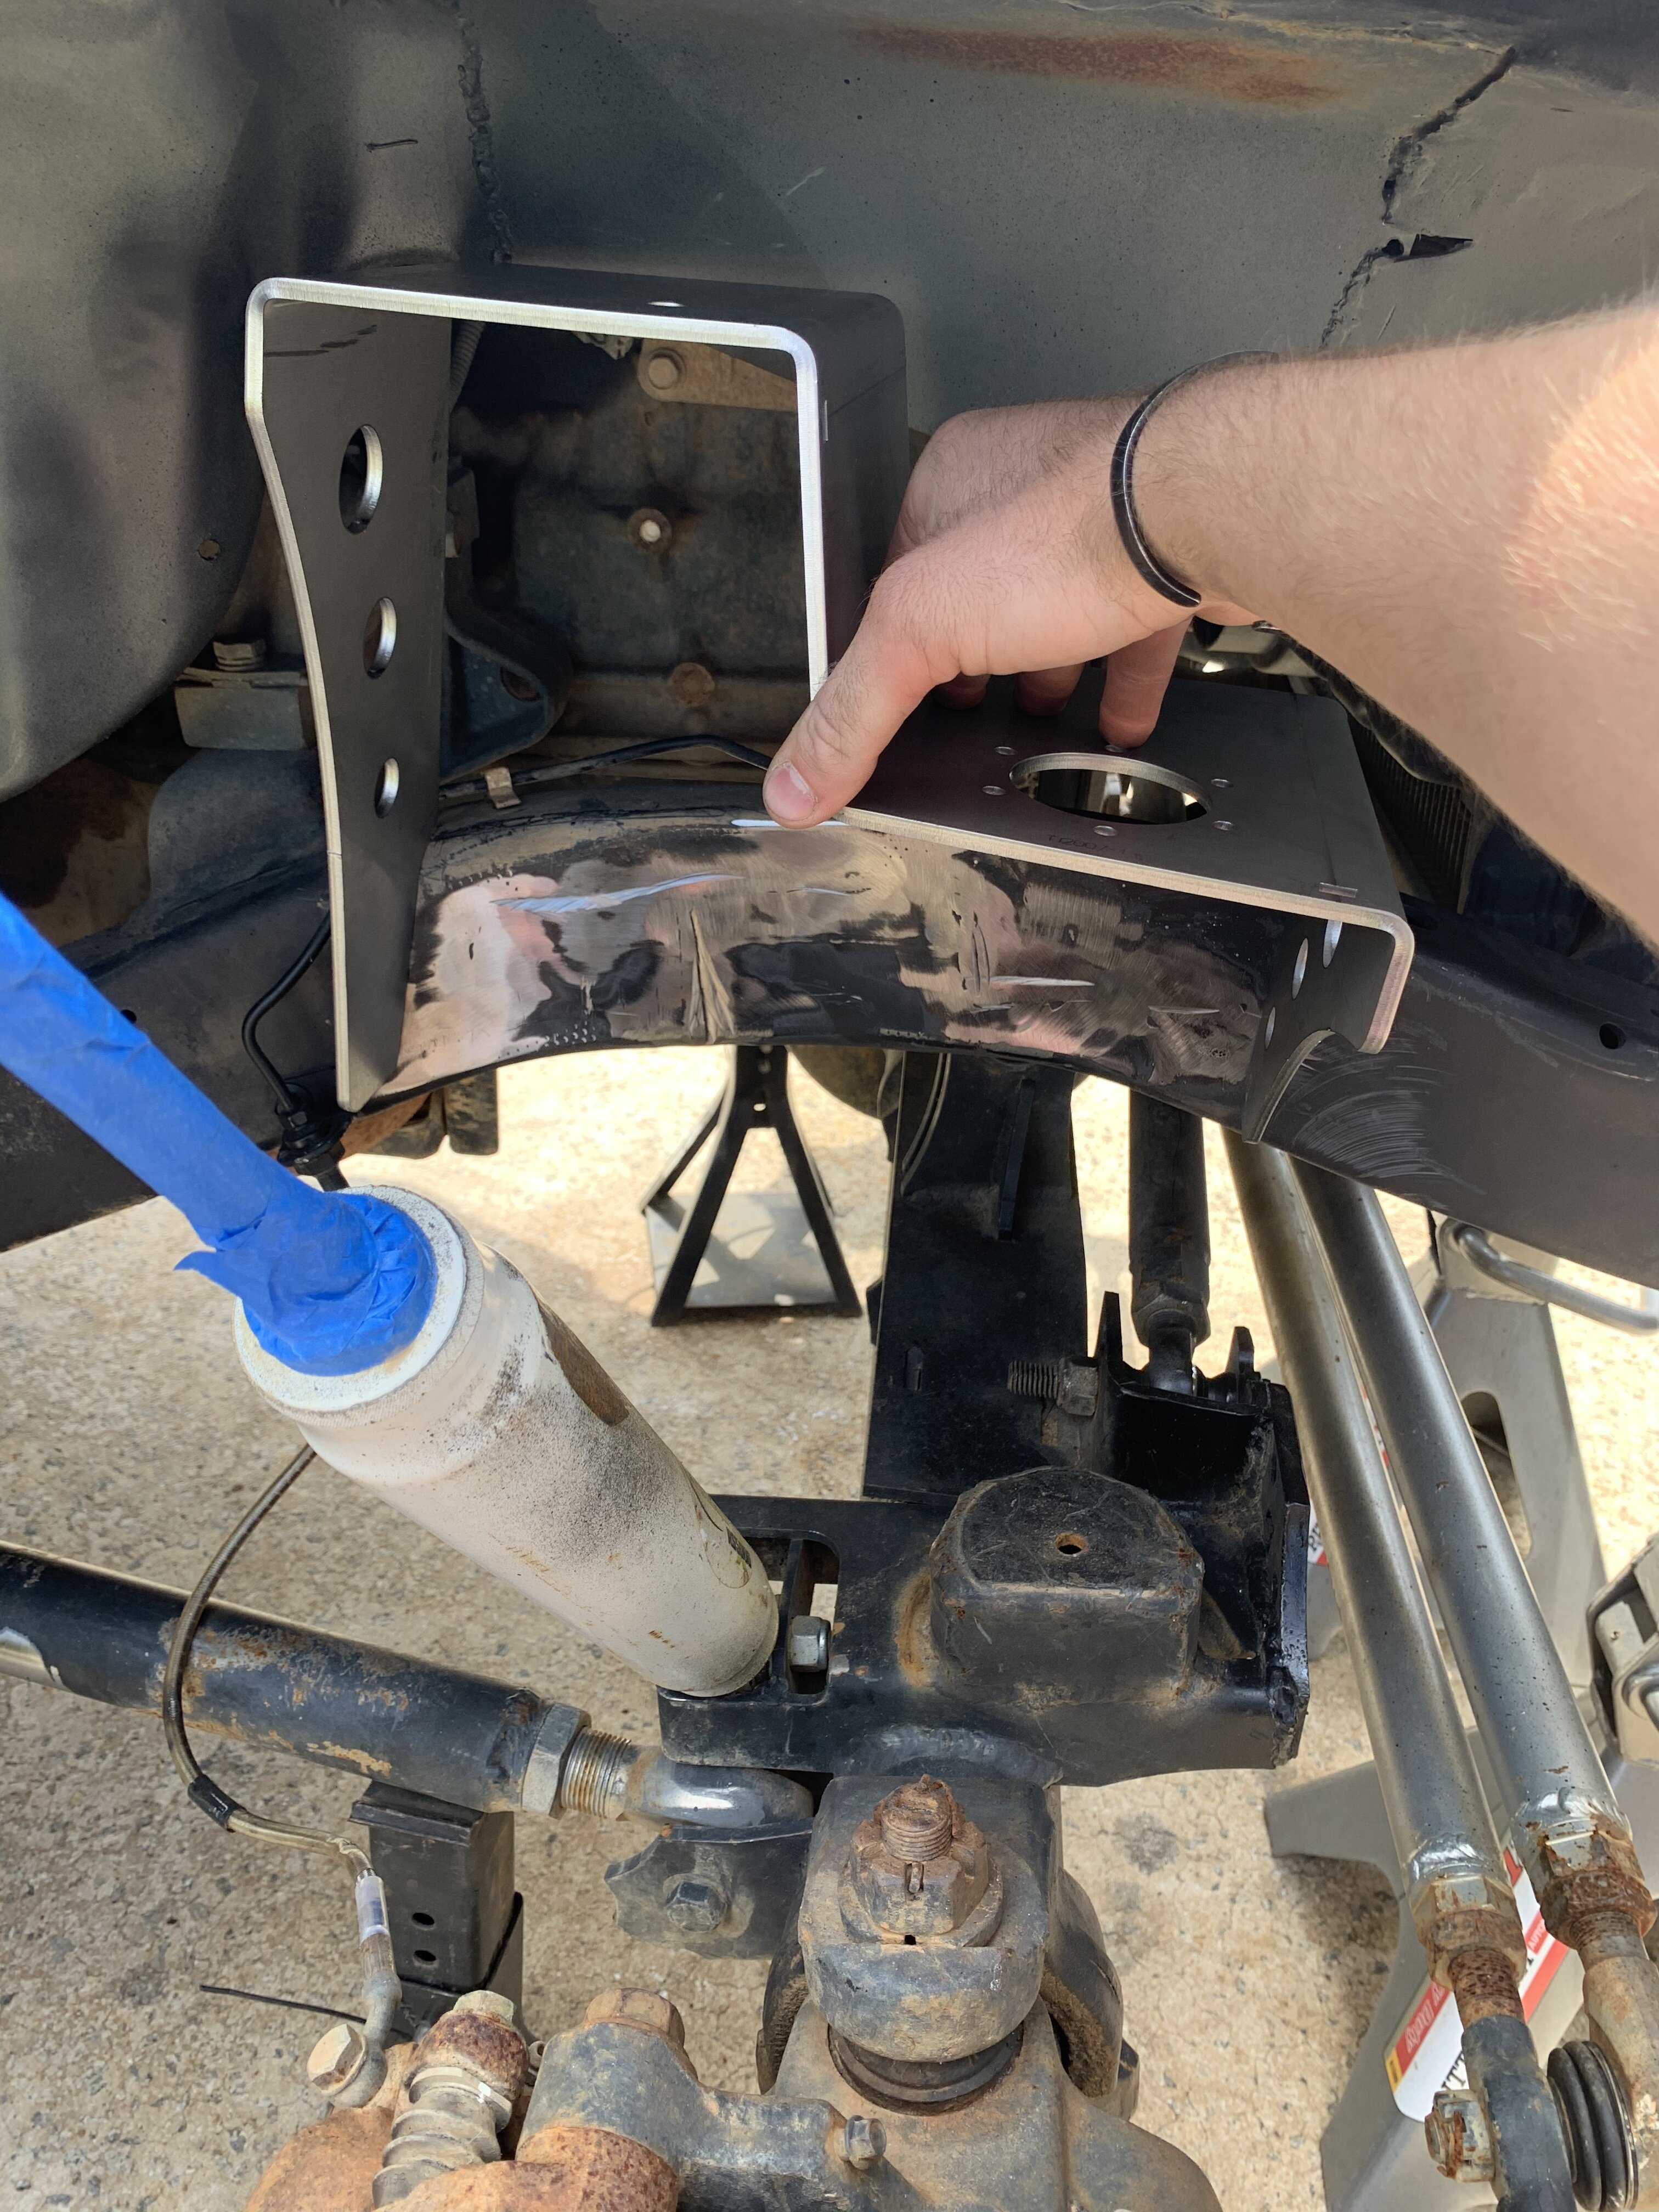
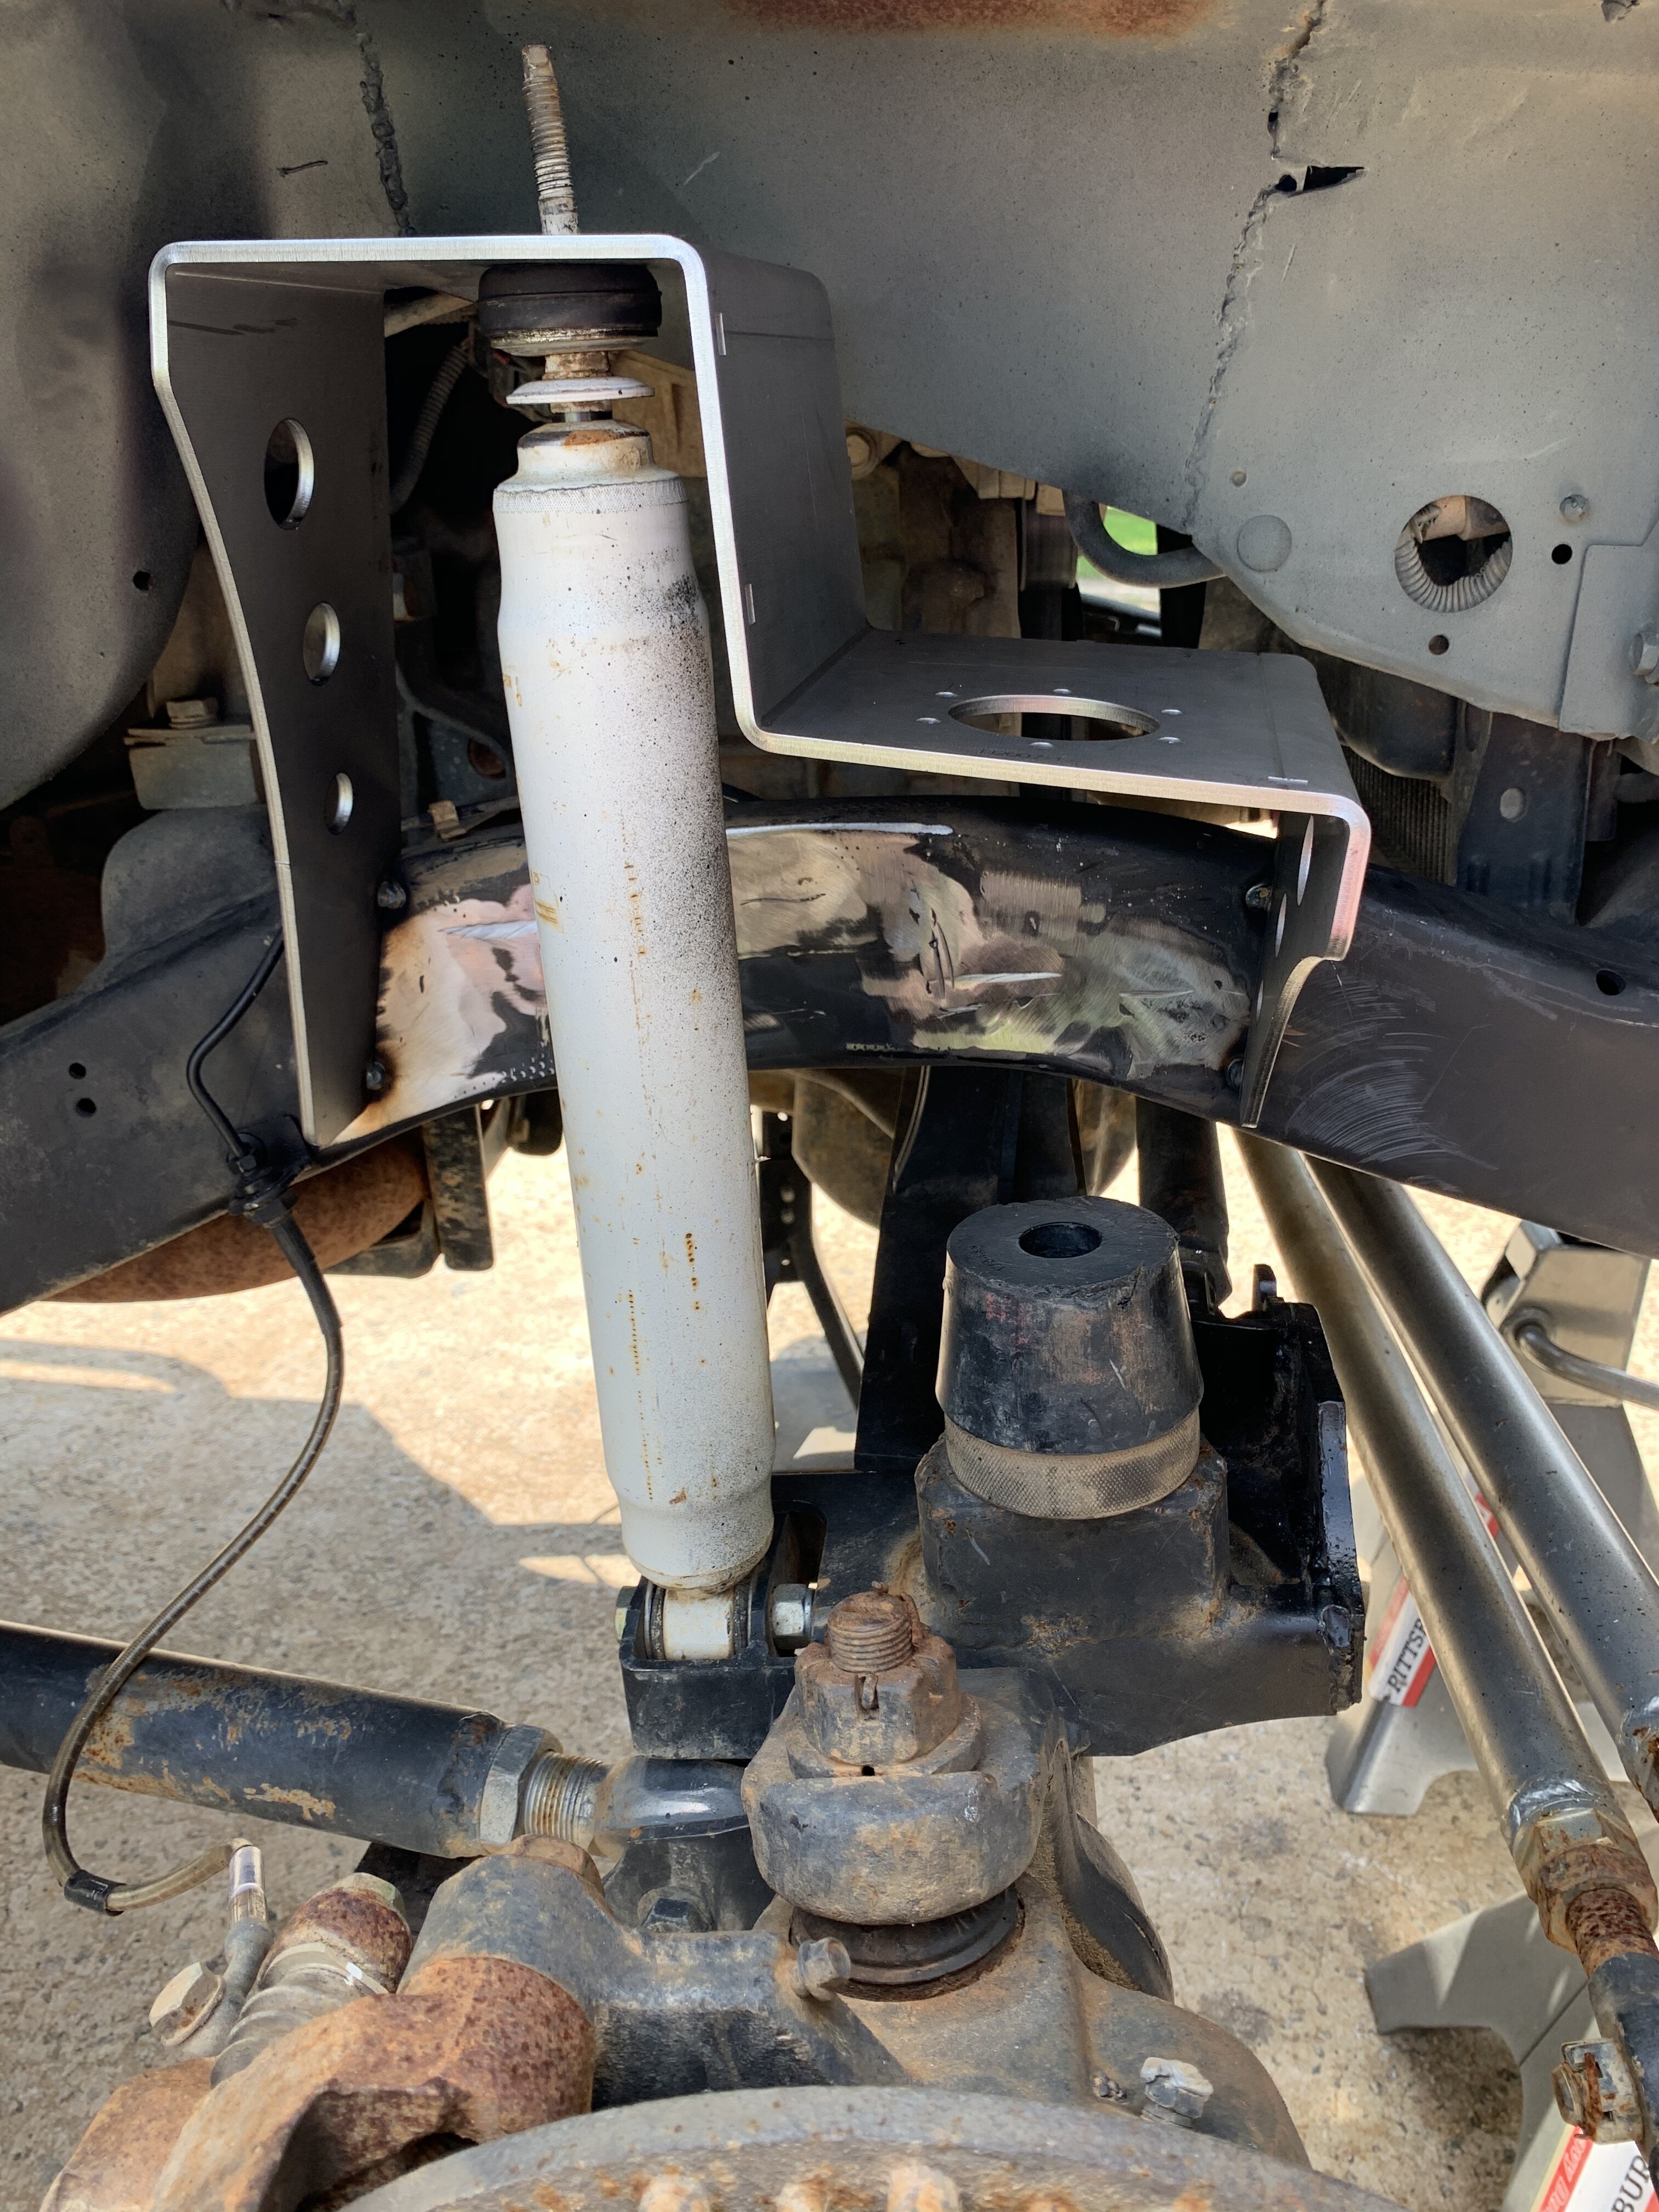
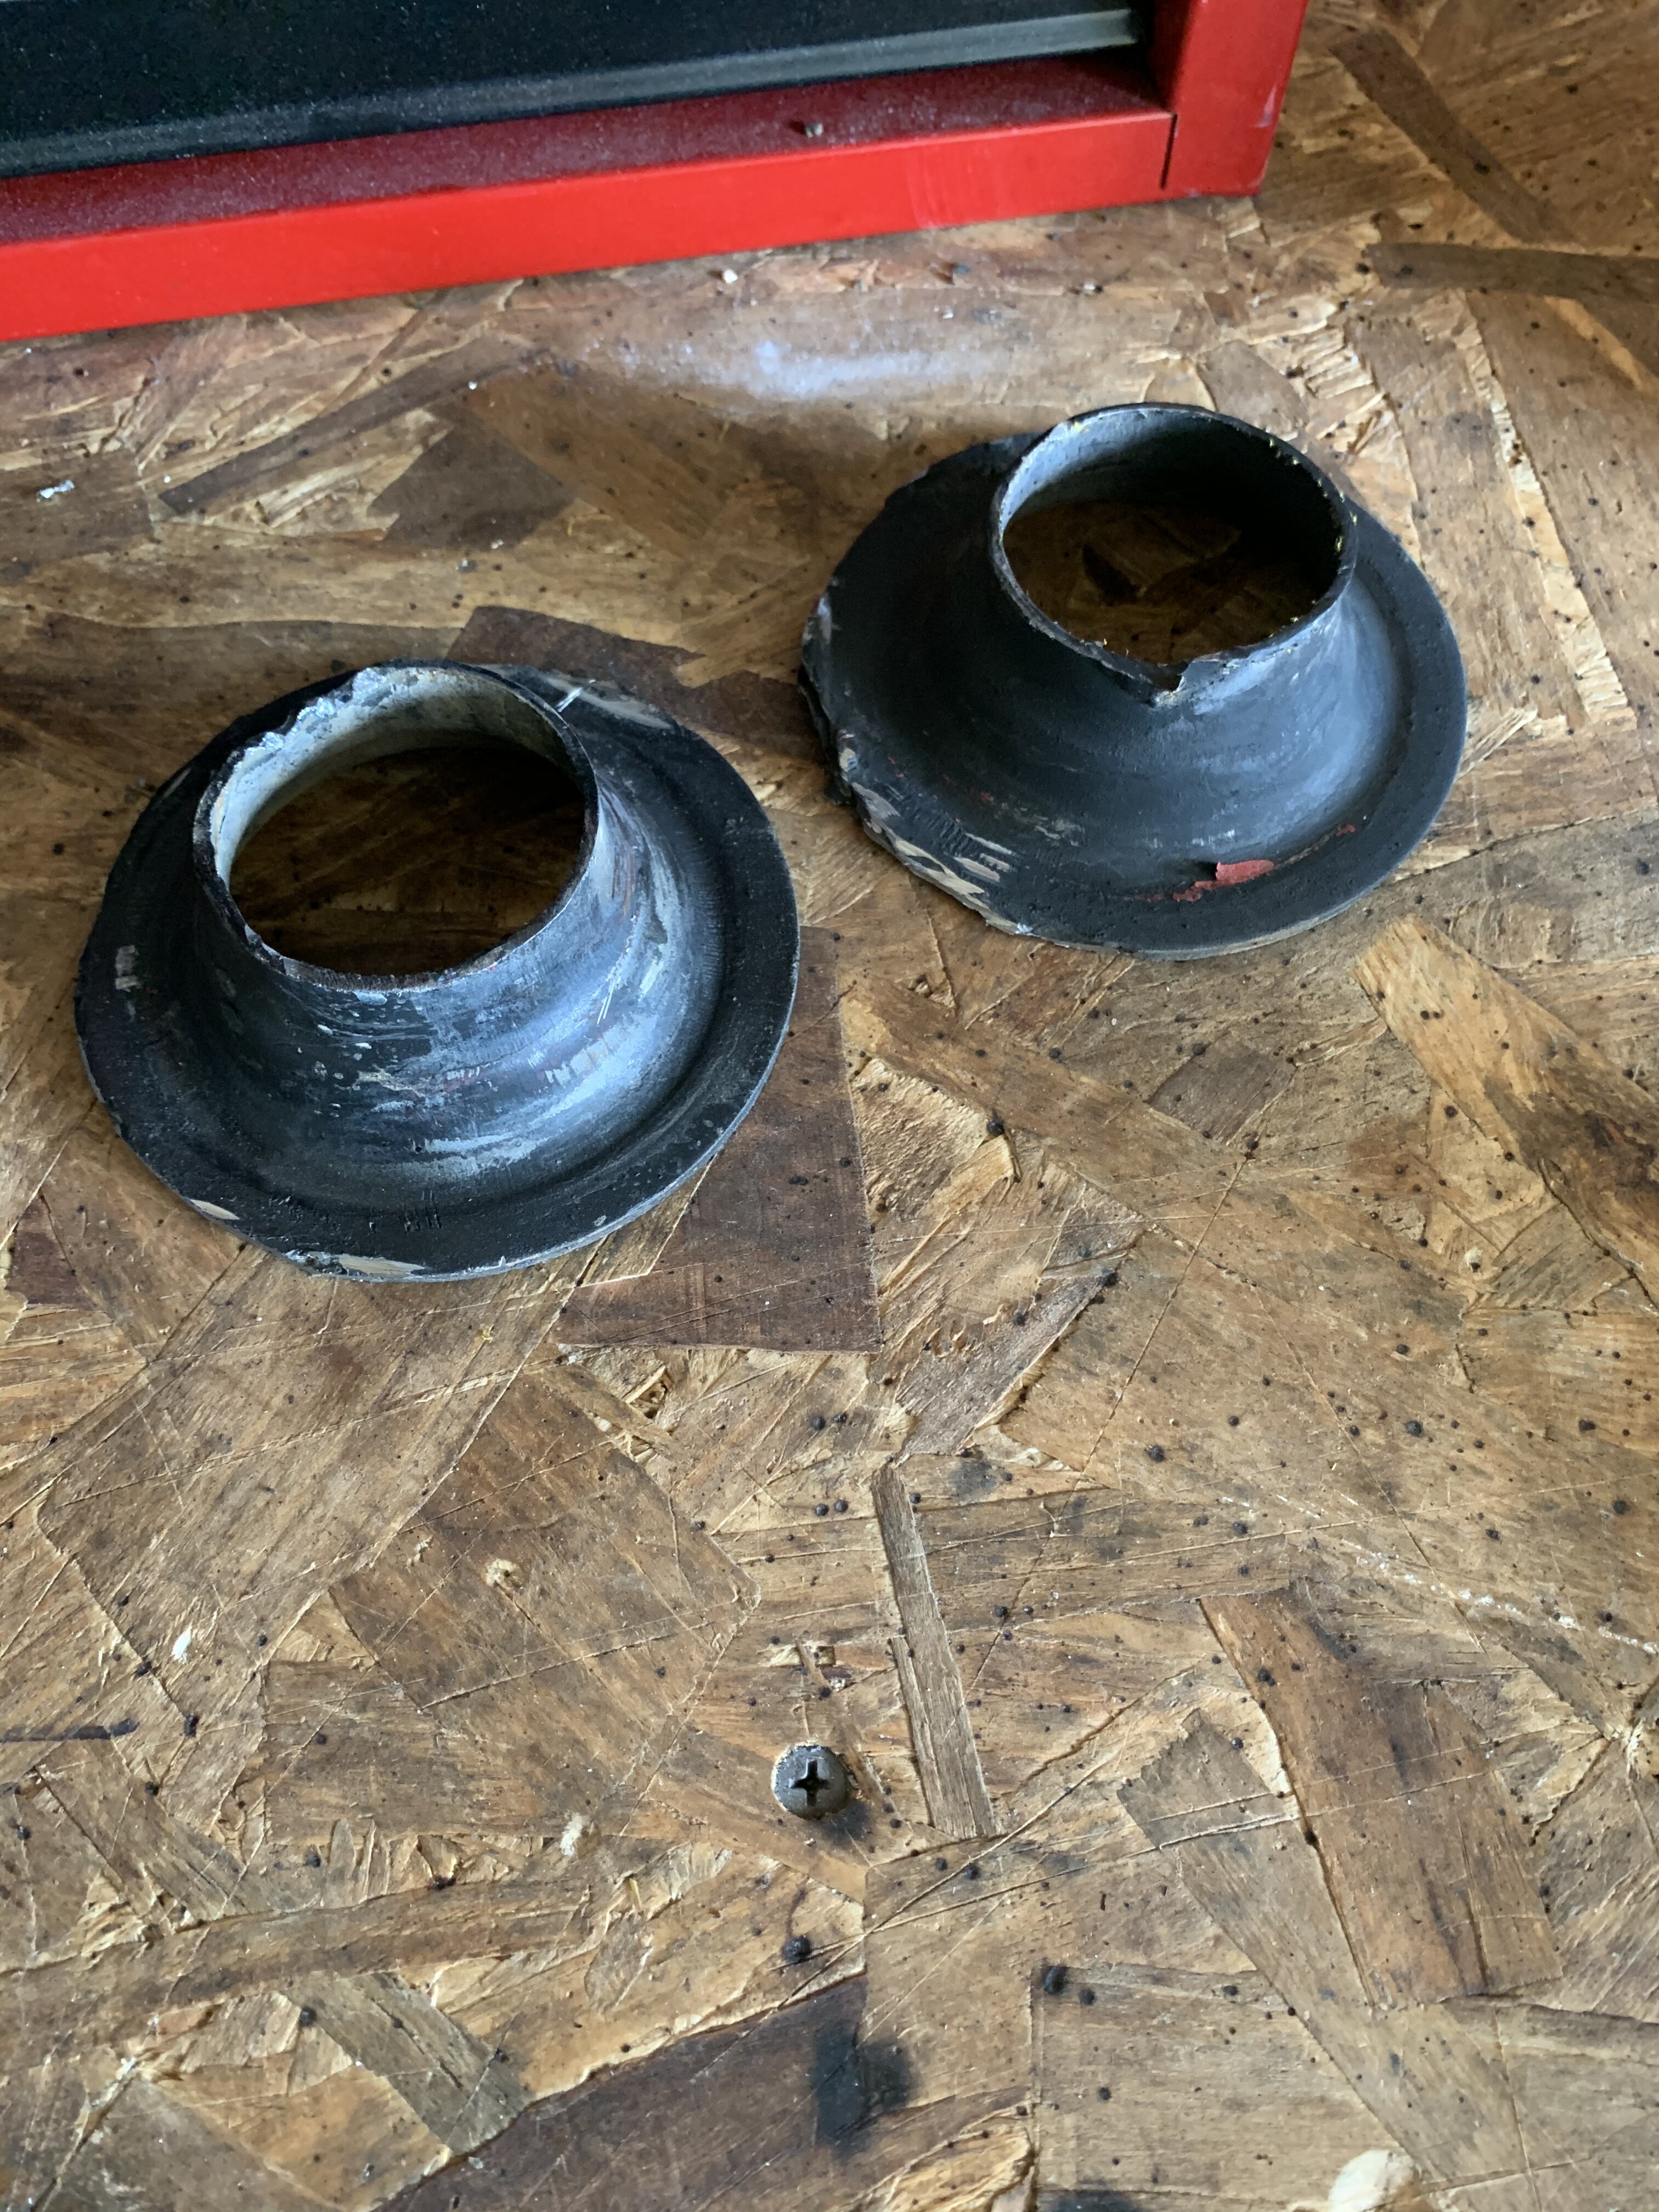
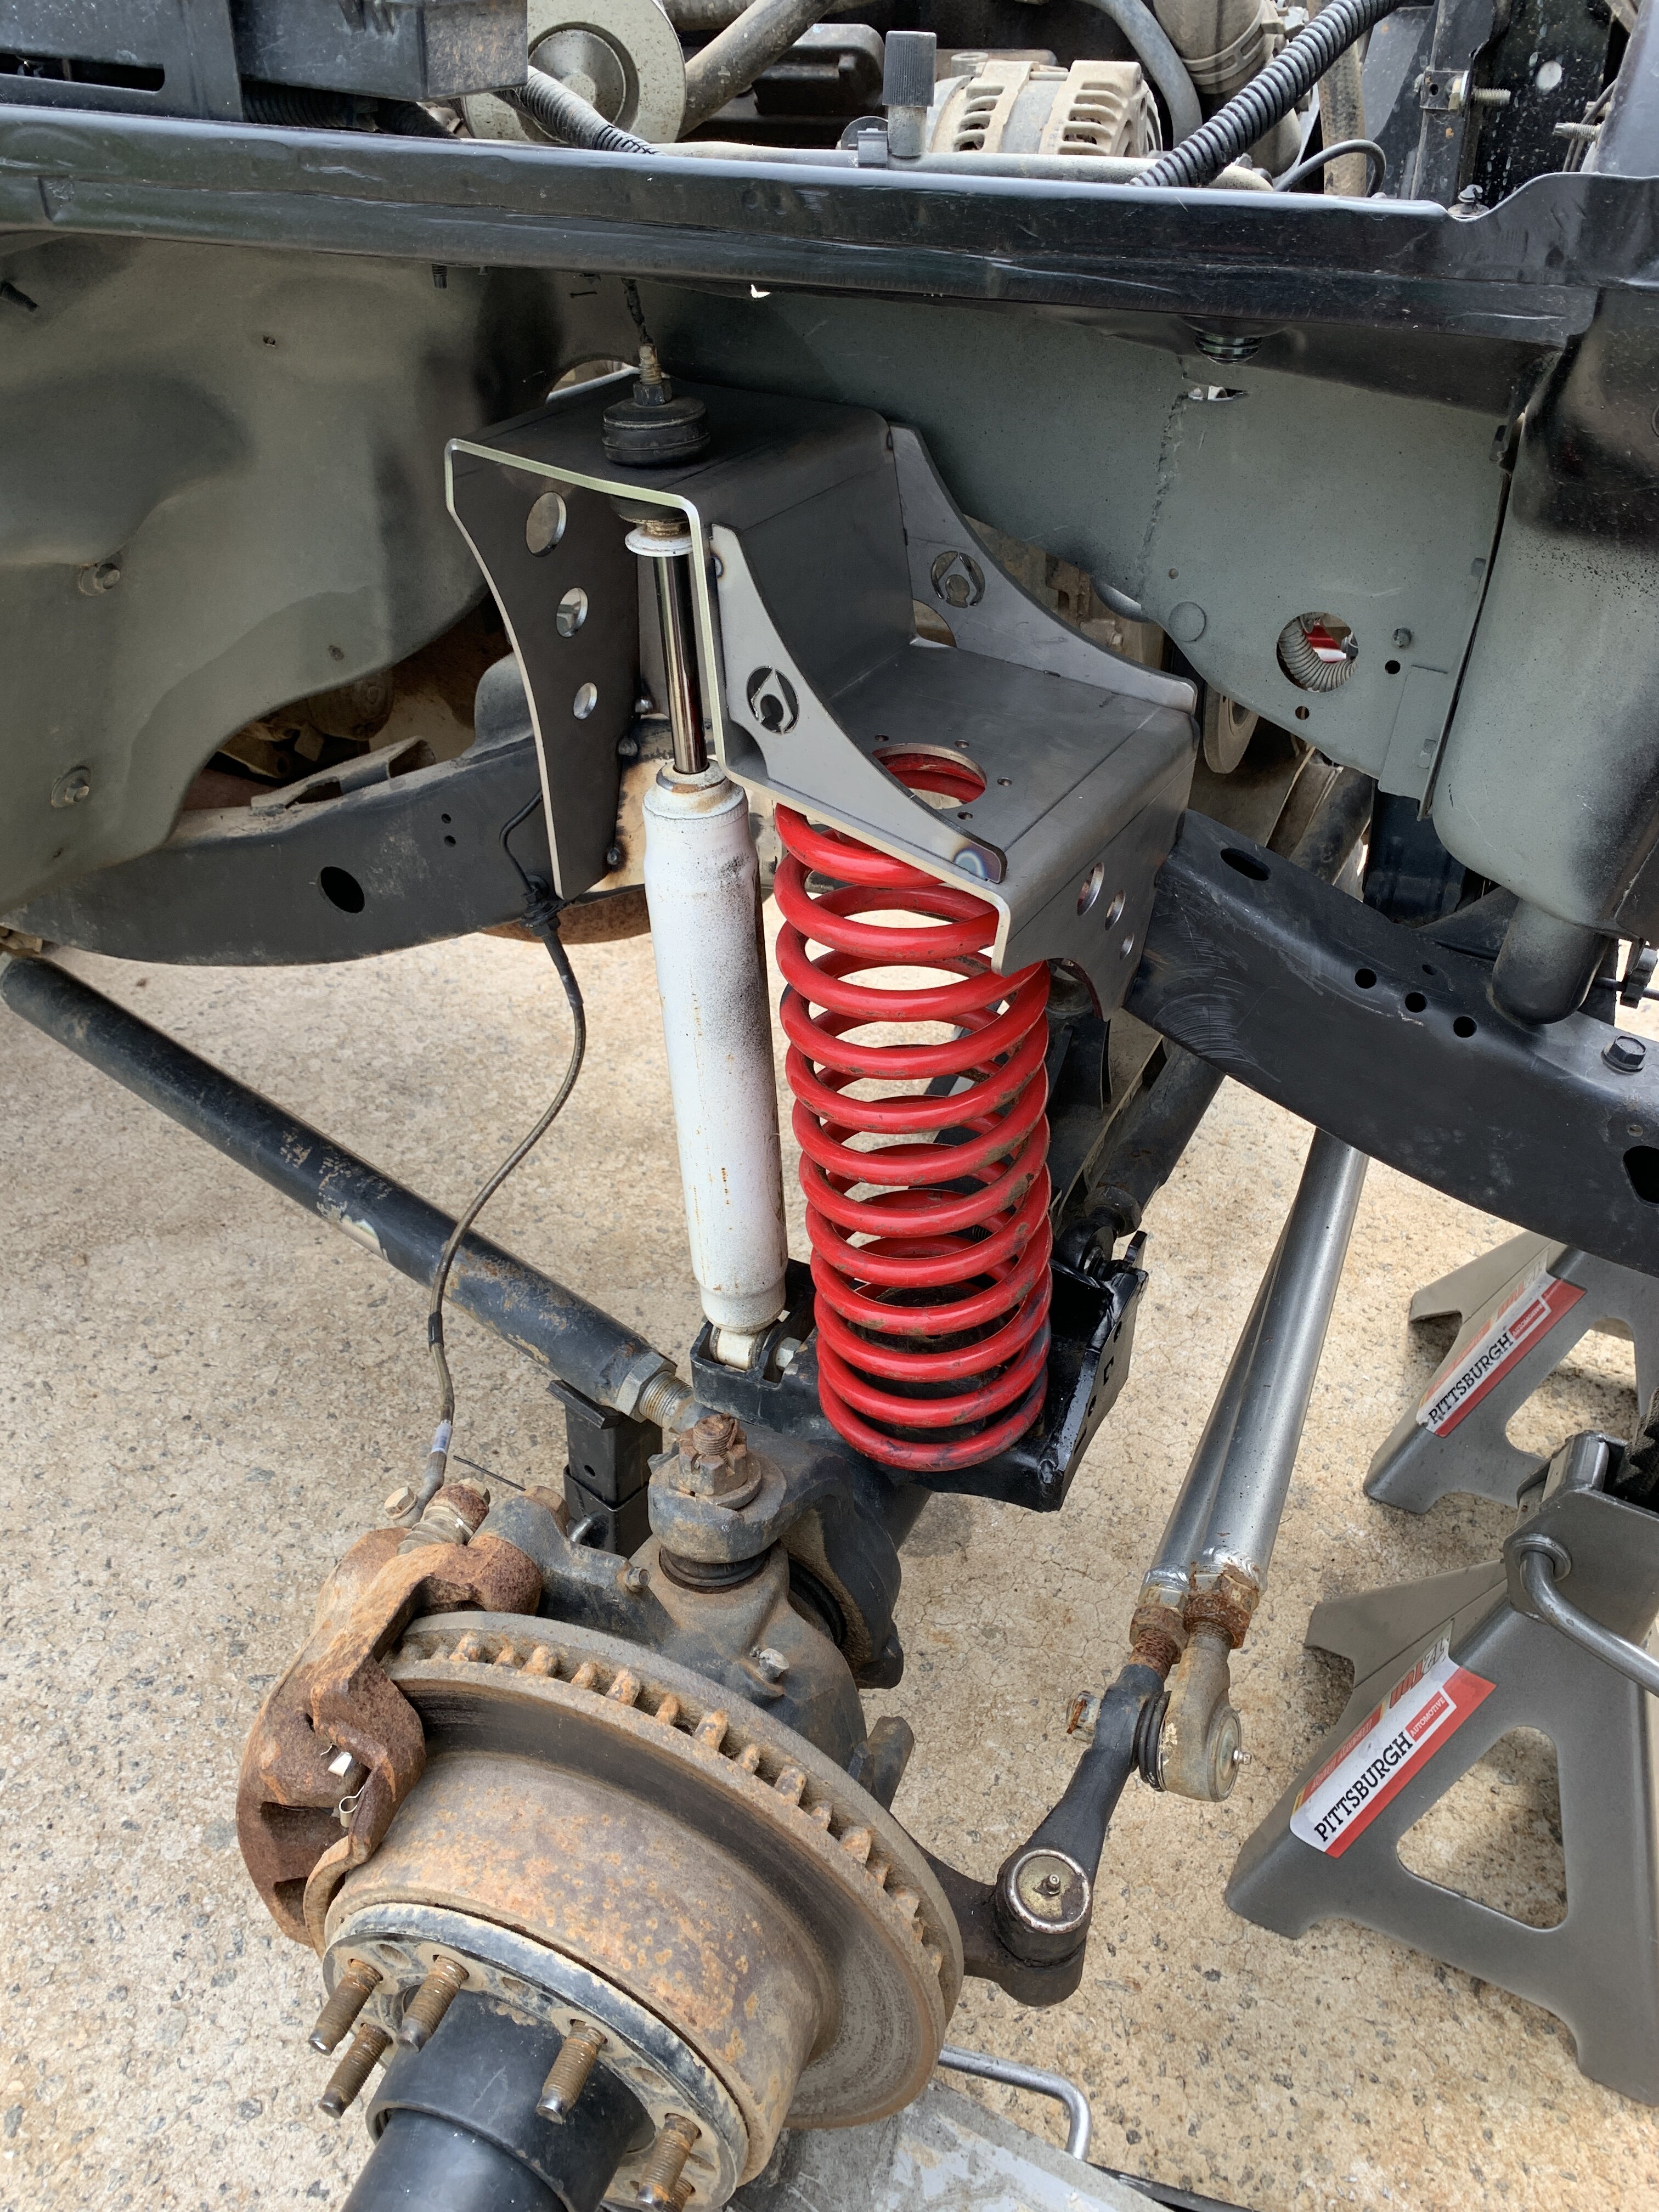
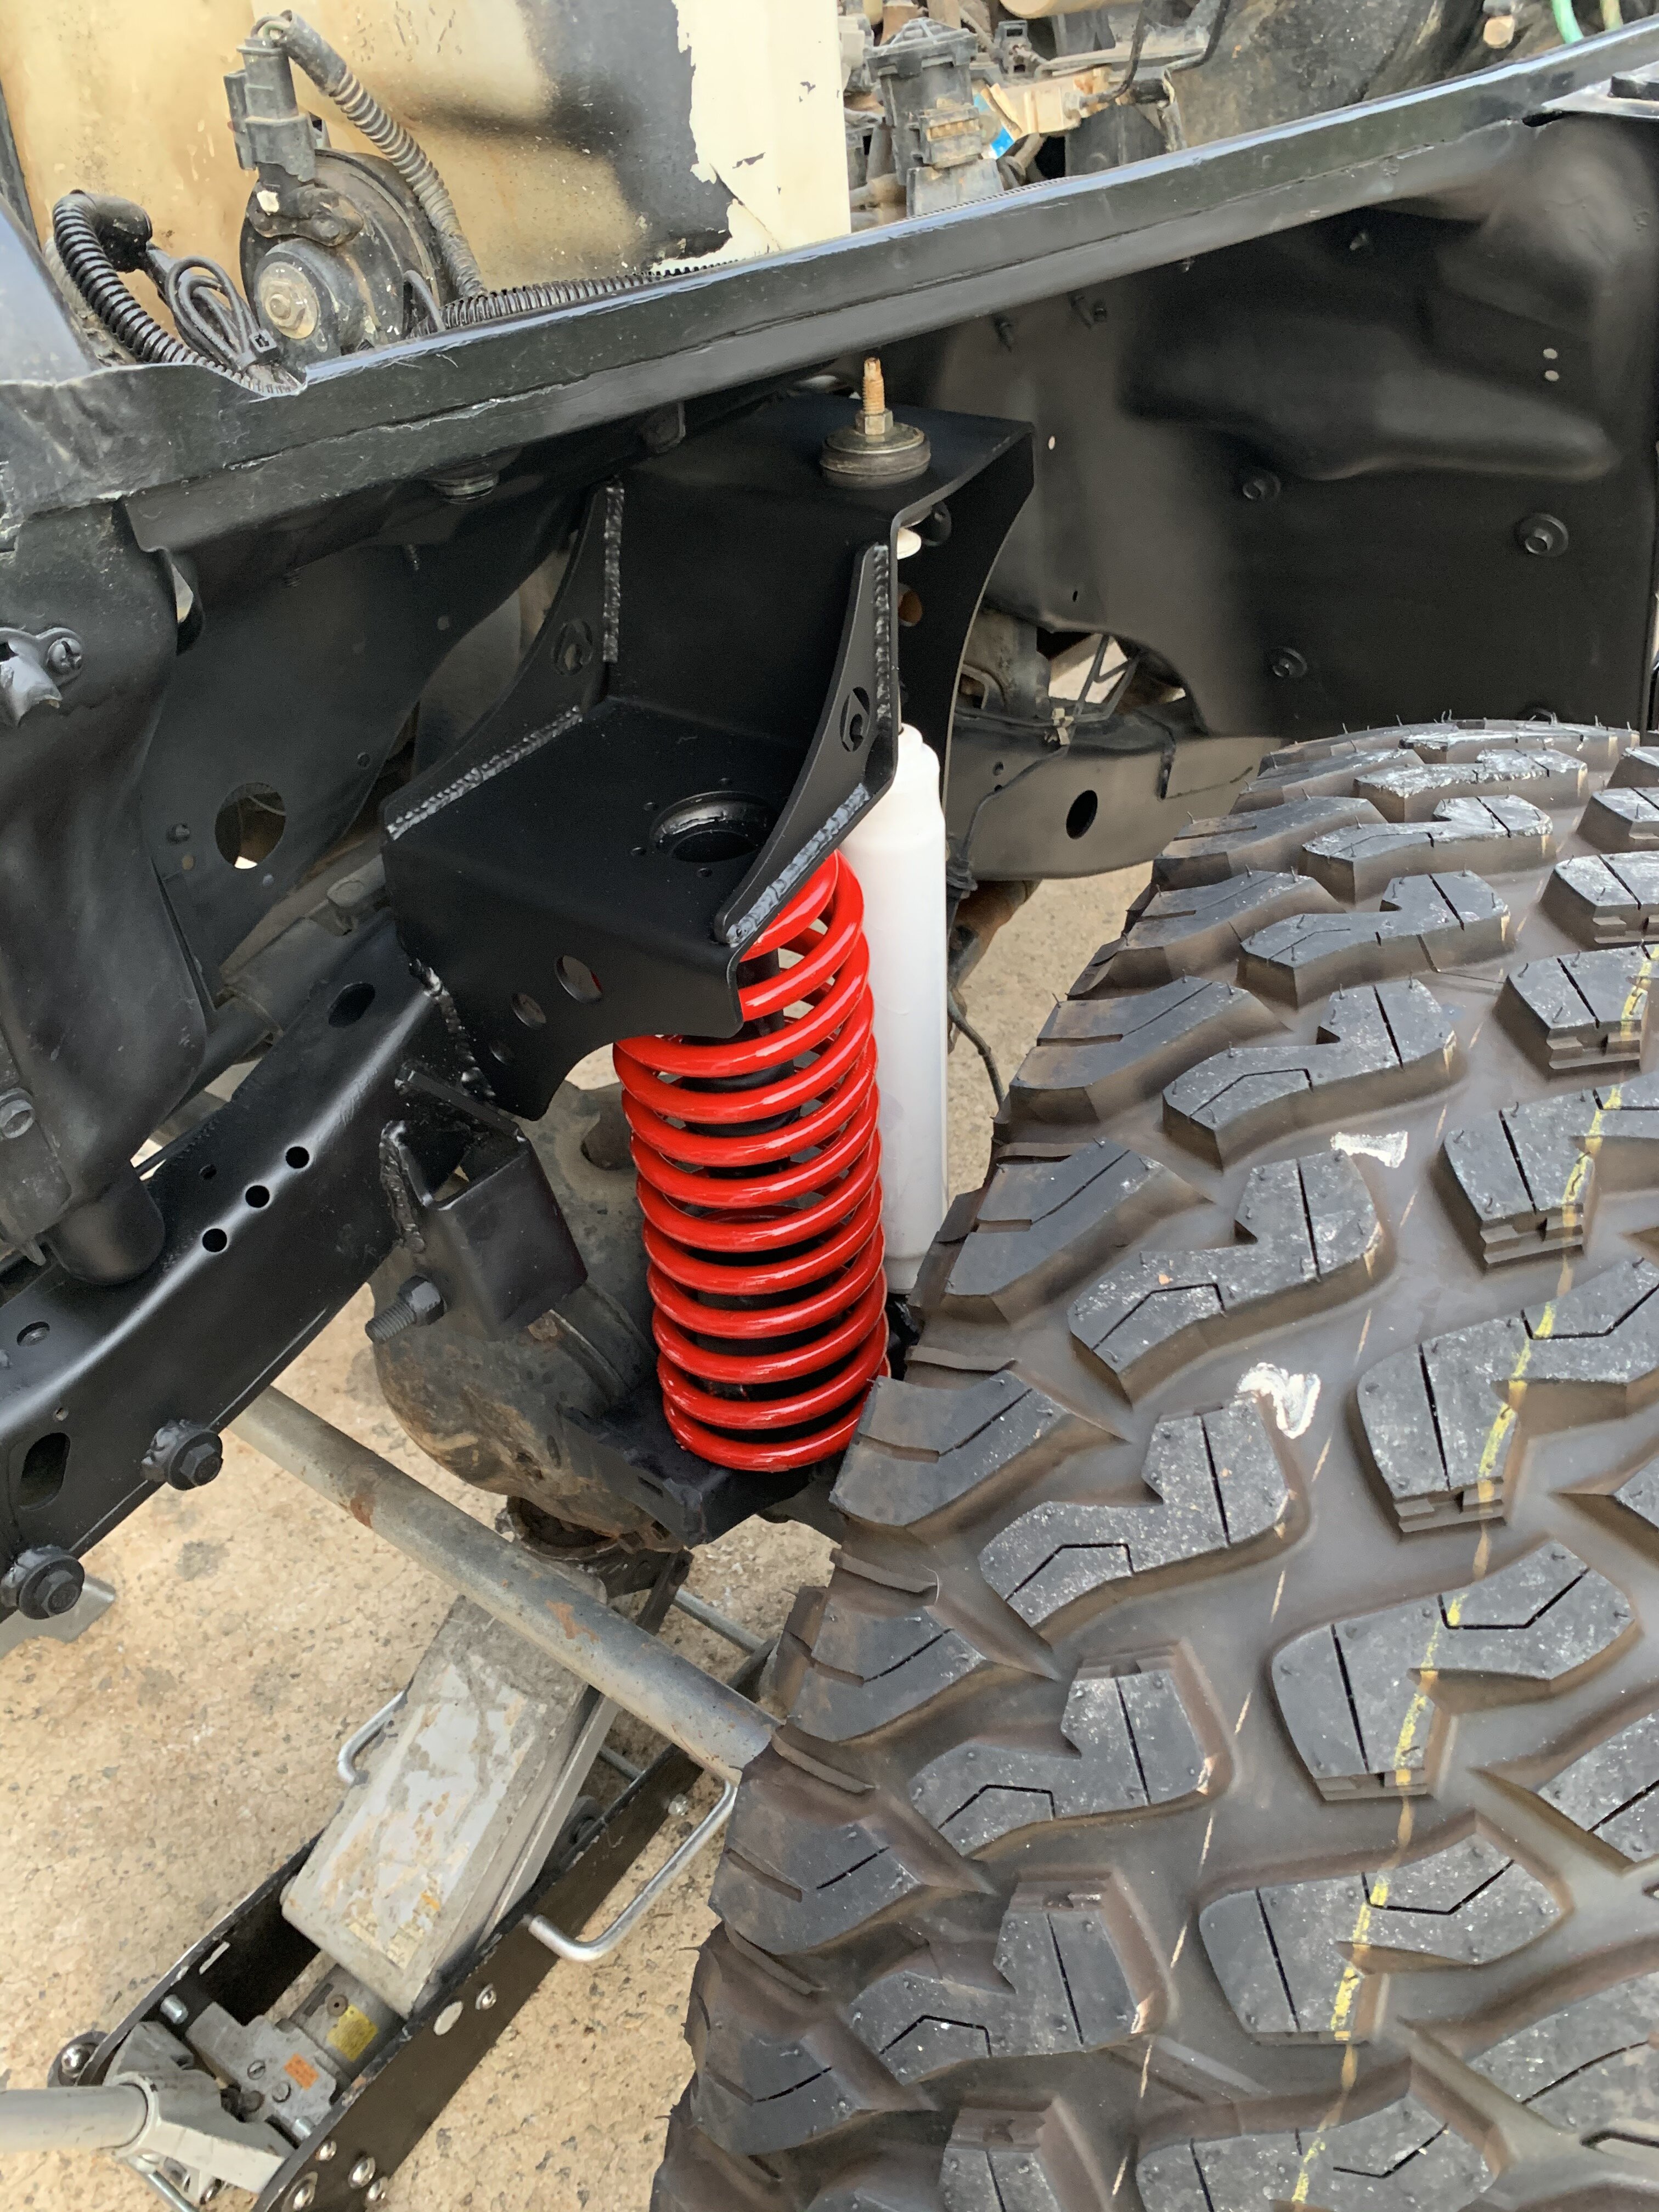
Crammed in this last minute project too before the move. I cut the front spring perches out and zipped in my new perches and towers. These are a set of Jeep TJ/LJ one ton swap, stock tower height perches from Artec. I bought them several months before and they sat on the shelf like all new parts do collecting dust. These perches are designed for one ton swaps with superduty axle truss kits from Artec. they push the perch and tower outboard further to eliminate the weird bow in the spring and angle in the shock caused by the differences in width. Unfortunately Artec stopped making these and I think they need to bring them back because they are the boom! I reused my bump stop collars and made some new bumpstops with thick wall tubing I had laying around. Shocks and springs also got a quick blast of rustoleum.

IMG_9661.JPG
IMG_9663.JPG
IMG_9664.JPG
IMG_9665.JPG
IMG_9676.JPG
HQLT9565.JPG
IMG_9719.JPG
IMG_9674[1].JPG
 
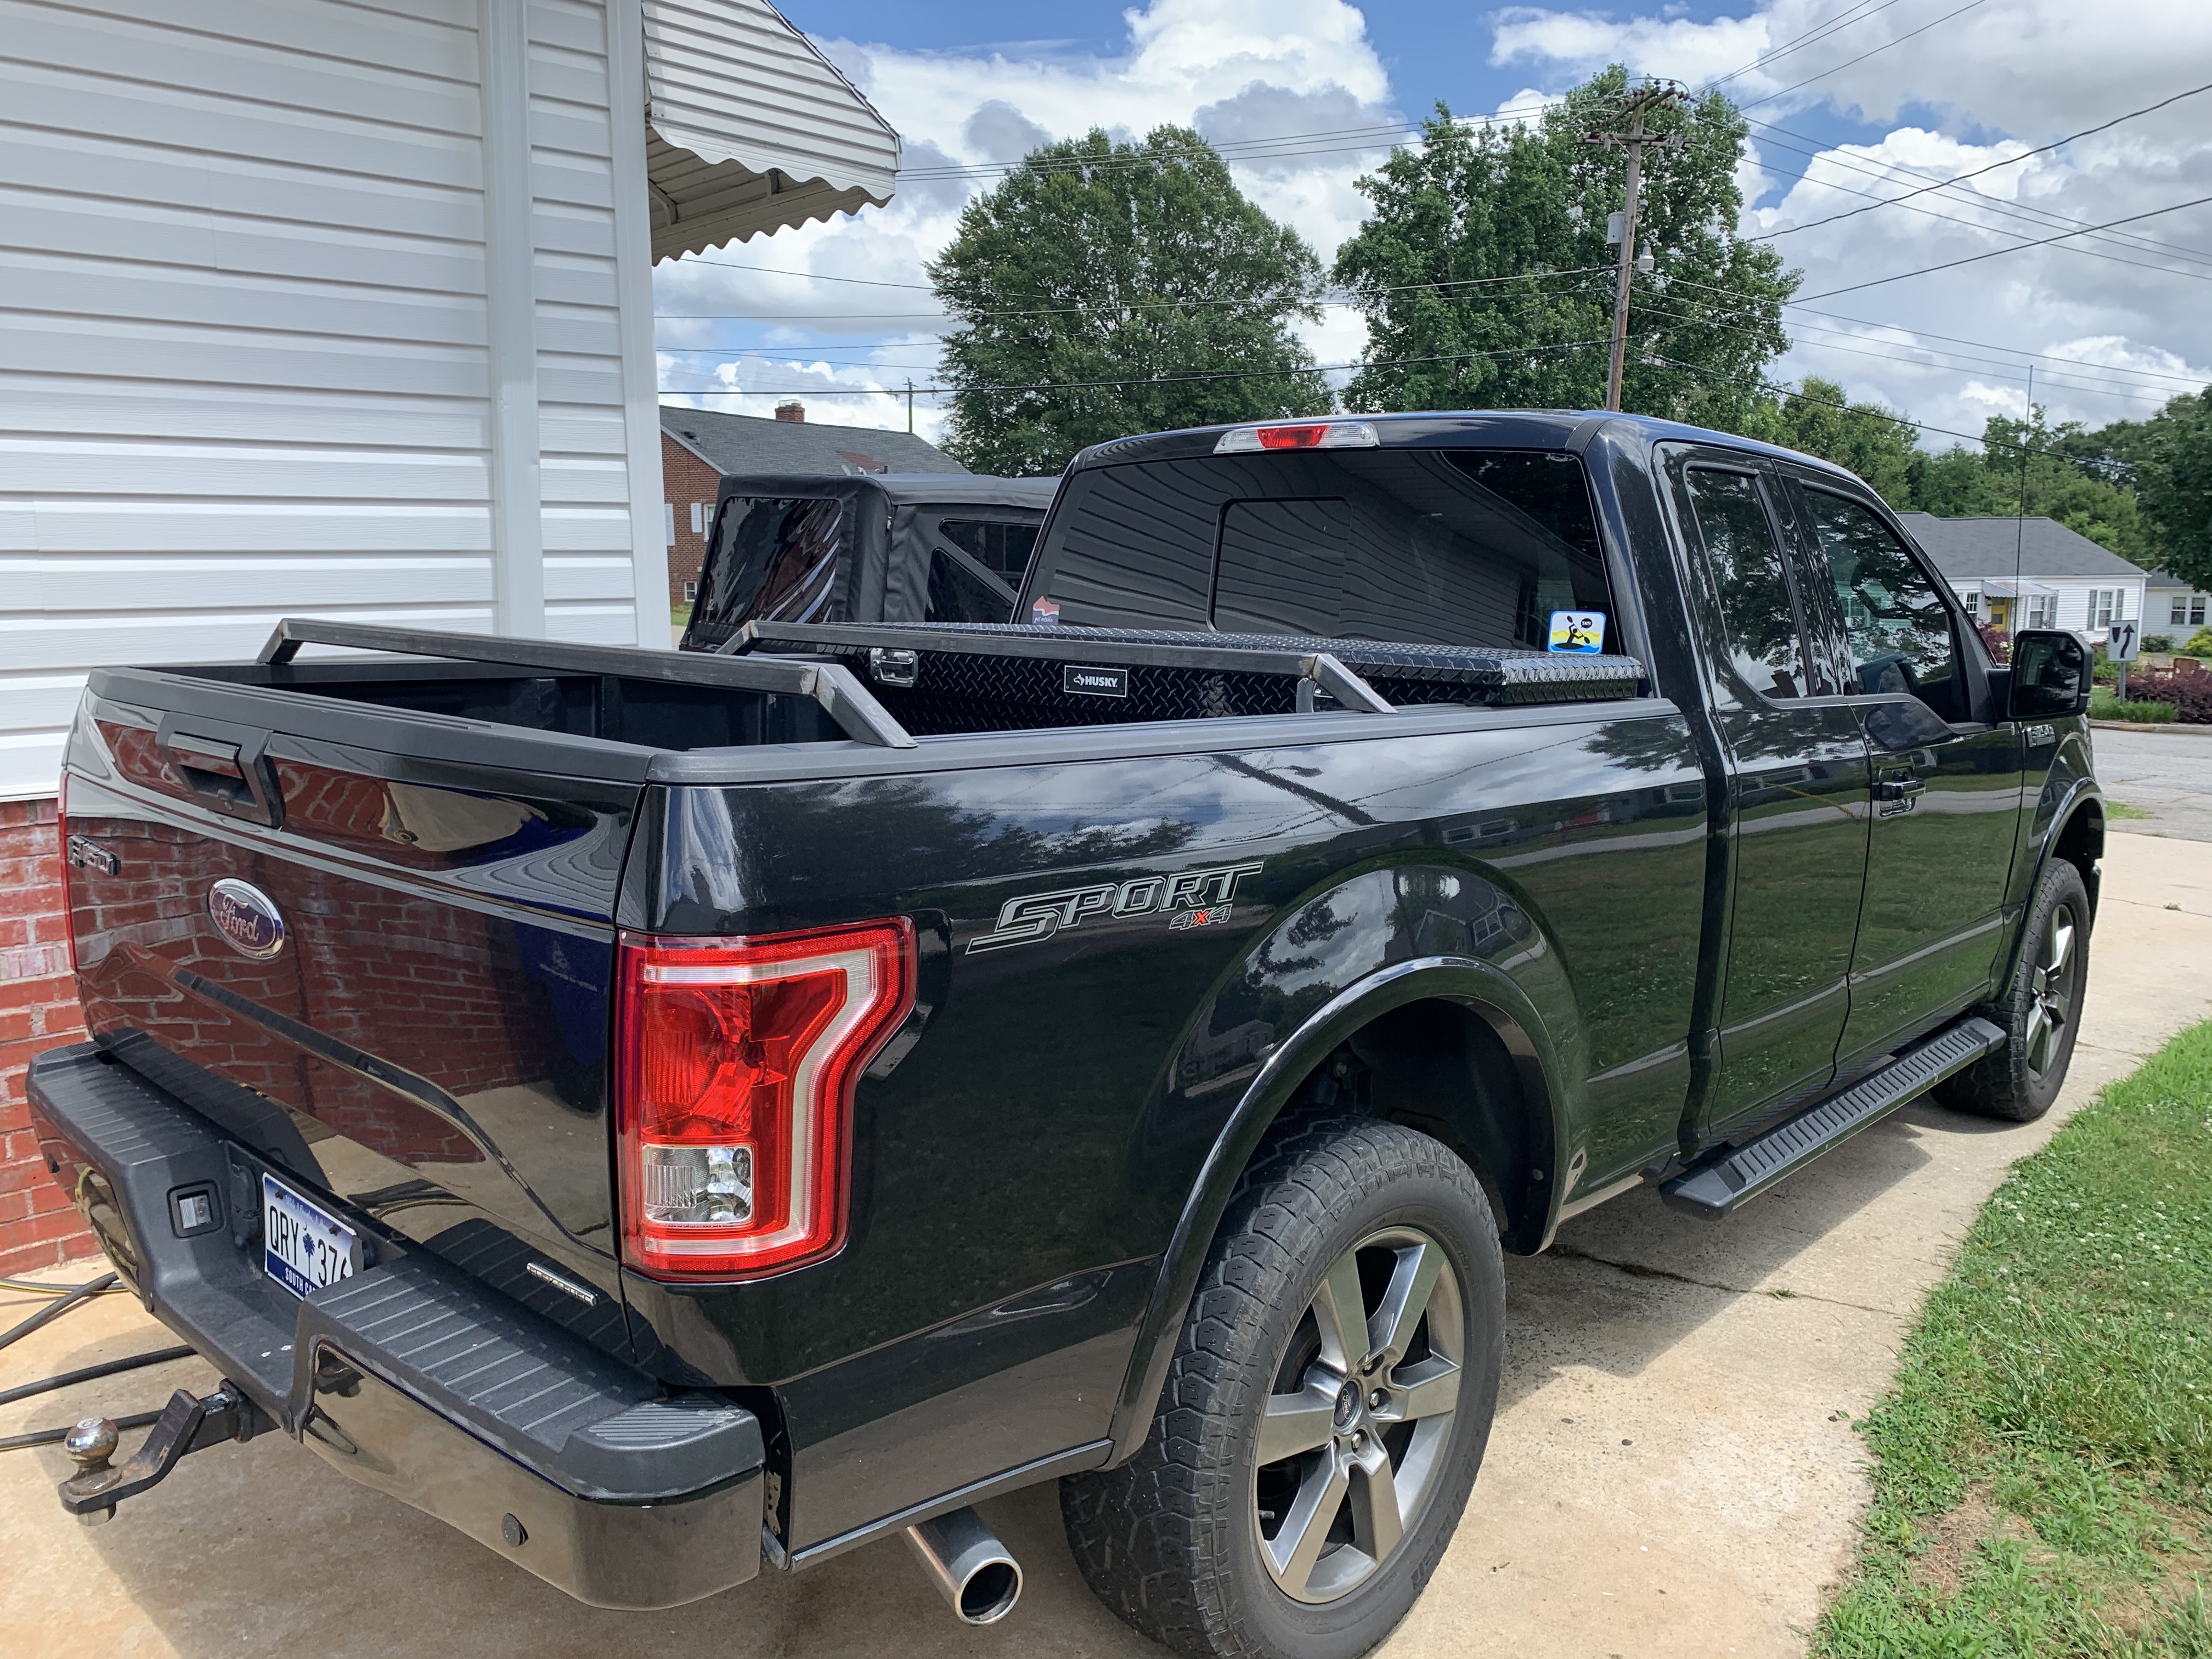
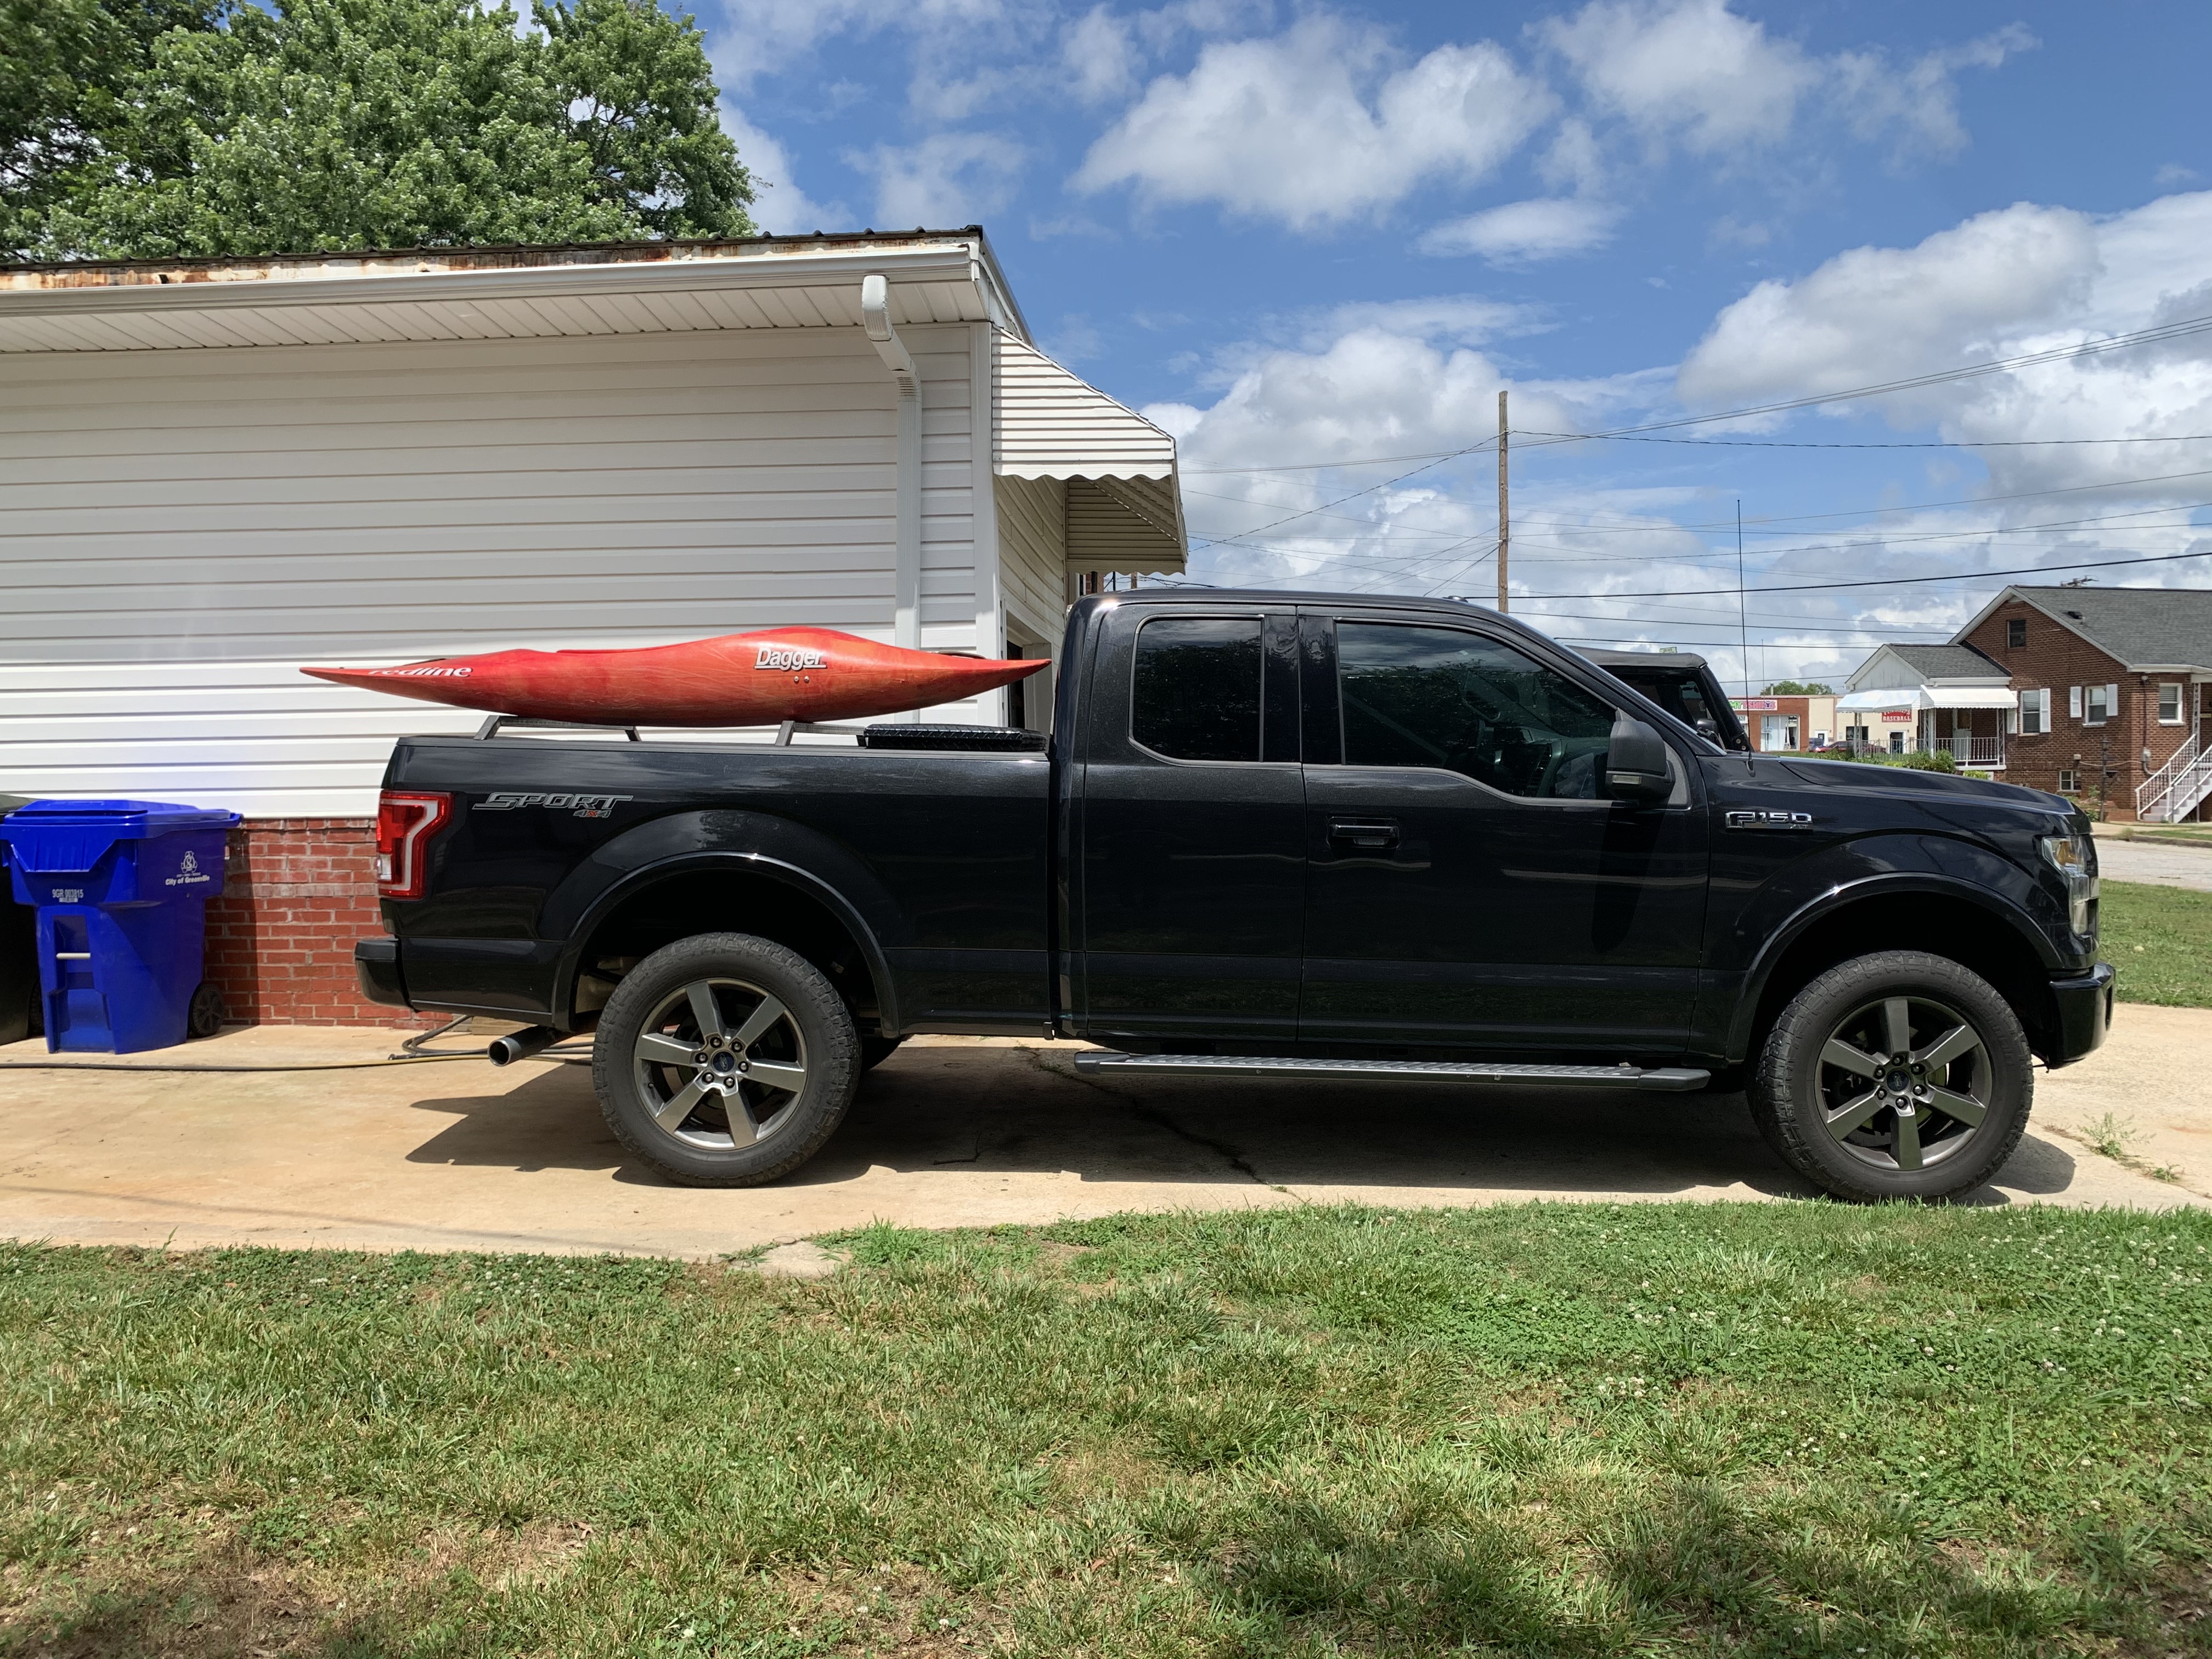
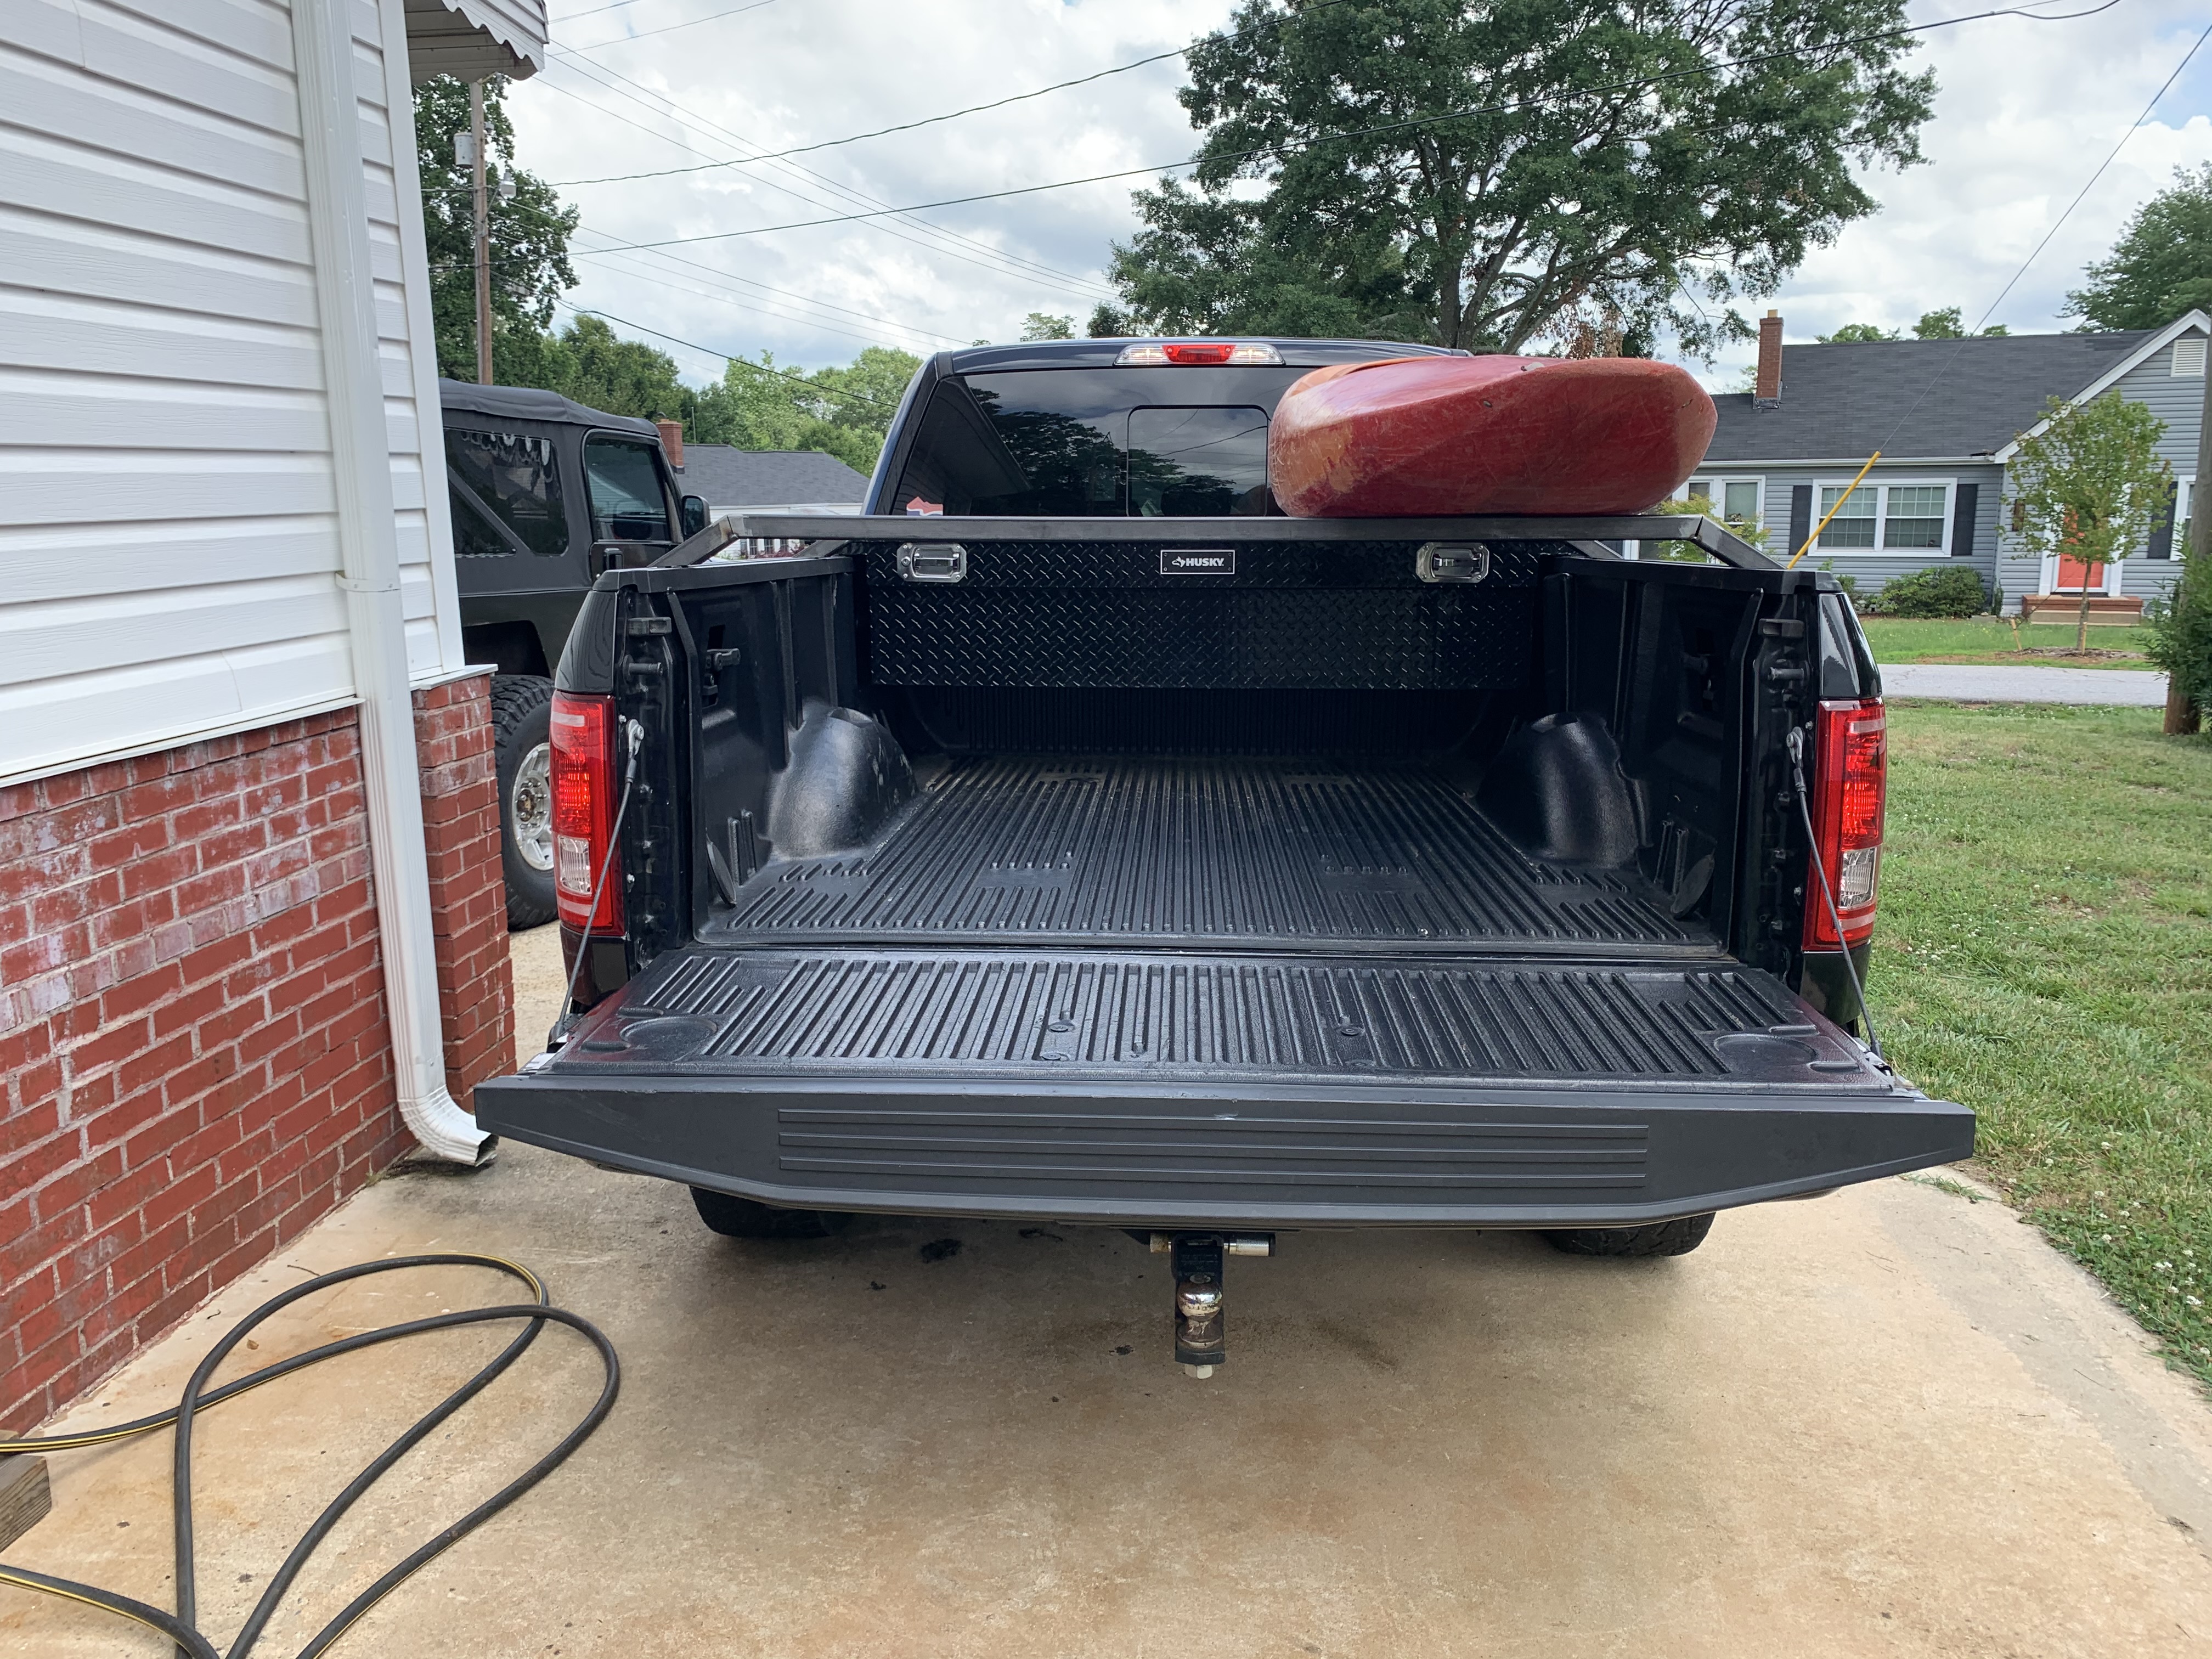
Just before the move, I whipped up one more side project but this time it was for the Grand Canyon trip and hopefully to use for a pop up truck tent down the road when wheeling. A couple of low Profile crossbars made from .120 wall 1.25" square DOM. Easily carried my kayaks across the country and back while still having all the bed space for camping gear.

IMG_9597.JPG
IMG_9599.JPG
IMG_9600.JPG
 
Last edited:
The week before move out my buddy talked me into getting a weekend of wheeling in. So the LJ hit the trails at Gulches and I was not disappointed with the new spring perches and shock towers.
IMG_9752[1].JPG
IMG_9744[1].JPG
IMG_9751[1].JPG
IMG_9818[1].JPG
IMG_9819[1].JPG
IMG_9801[1].JPG
IMG_9831[1].JPG
IMG_9811[1].JPG
IMG_9807[1].JPG
 
Last edited:
These highbeam lights I'm using for rock lights were a handful of their rock shots I believe. I only threw about 4 in for now to test them out in some locations and see what I liked and didn't like.

Pros:
They are insanely bright. even with only 4, my spotter was able to really see where tires and rocks were at night on obstacles. The ones out front were great for running and cutting headlights too so that my spotter had an easier time seeing the LJ. They can be put in so many spots too. Their versatility is nice.

Cons:
The wiring for them is delicate and can break away from the back of the threaded housing if not careful or if they are in spot your back seat puppy may reach over and paw when the LJ gets all sideways. The wires are also incredibly small gauge and that made it hard to hook them up onto a circuit.

Overall I love the lights and they are relatively cheap. You will probably see me reposition them in the near future to better protect the wiring and housings.

Thanks for all the info related to the RokShots and for the update on the LJ!
 
the motorcycle crowd uses bolts with LEDs in them for lighting up their license plates. I have used them on several tire carriers for that purpose and they work well. they are inexpensive and do double duty as a light and a bolt for holding the plate.
 
the motorcycle crowd uses bolts with LEDs in them for lighting up their license plates. I have used them on several tire carriers for that purpose and they work well. they are inexpensive and do double duty as a light and a bolt for holding the plate.
I had a couple of those license plate style lights on my bike but ultimately didn't like them because it was so difficult to set them up as a quick disconnect if I ever needed to remove the plate. When I sold the bike I ended up just cutting the wires to get the plate off.
 
Got any updates on the one ton LJ?
It's got a leaky rear right tire? lol. No, unfortunately, with most of my time and energy being directed toward the new house the LJ has been on hold. Once I get the garage more user friendly I think I will start back into it. Most use it got recently was I used it to pull a tree of he roof of my house that had fallen during one of the tropical storms.
 
It's got a leaky rear right tire? lol. No, unfortunately, with most of my time and energy being directed toward the new house the LJ has been on hold. Once I get the garage more user friendly I think I will start back into it. Most use it got recently was I used it to pull a tree of he roof of my house that had fallen during one of the tropical storms.

Ah gotcha. Least it got put to use other than as a yard ornament.
 
Back
Top