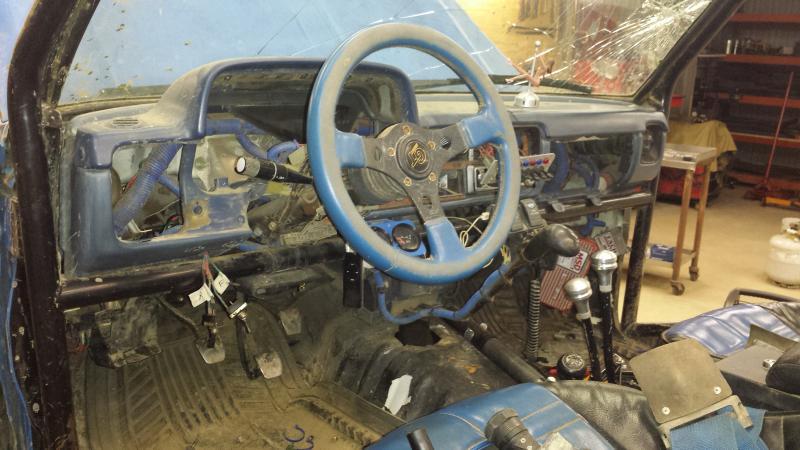
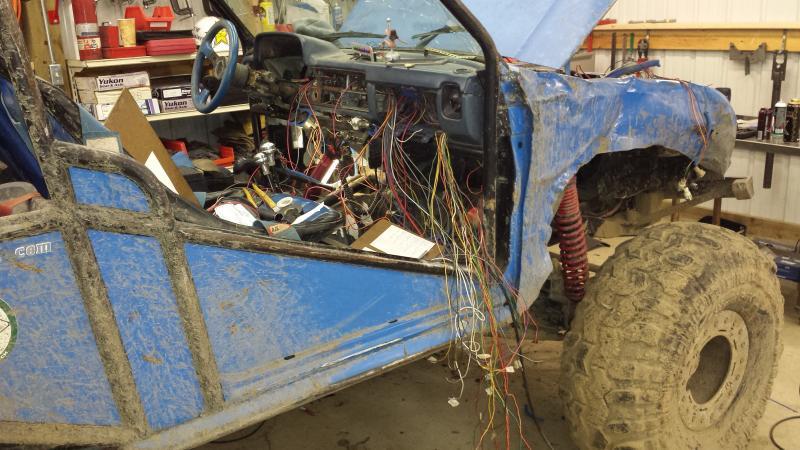
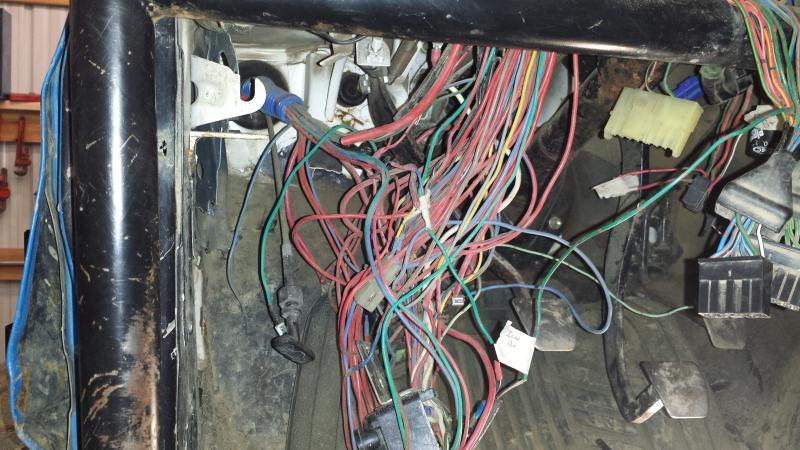
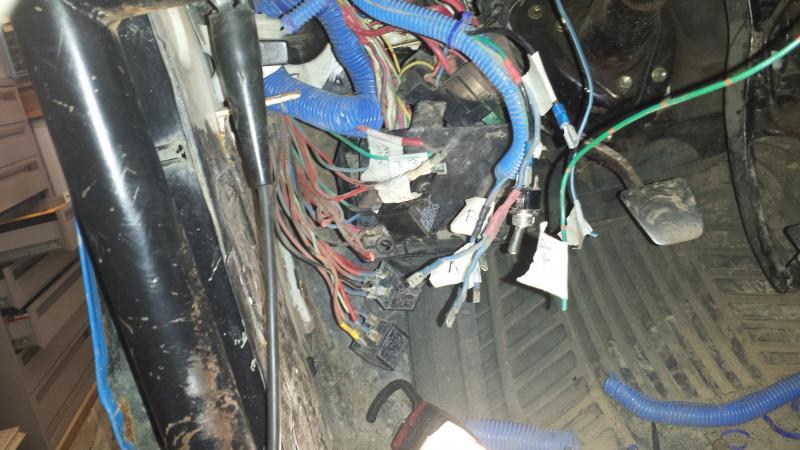
My own toy thang.....

Hardline Crawlers - Rock Bouncer Builds, Tech & Off-Road Trail Talk

Help Support Hardline Crawlers:

crash2

-Oh no I picked a side-
Joined
Mar 26, 2001
Messages
39,839
Reaction score
13
City & State/Province
Da gold bar
So this was the aftermath of our annual hangover run and this was the 3rd time breaking on this run and all withing a 1/4 mile area :haha:

boom-1.jpg


boom-2.jpg


boom-3.jpg
 
Ordered some goodies. Randy waranteed the stub and I had planned on tossing the hubs for some drive flanges so I figured this was the perfect time. I also ordered spindle bushings from longfield.

n-crashfab-1.jpg
 
This took some love and some patience.

n-crashfab-2.jpg


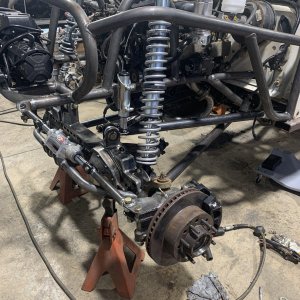
With the bearing cage still in the spindle it saved from any damage in that area and thats the area needed for the bushing to fit properly. All of the damage was where the stub seal rides against the spindle and thrust washer. Once I got the cage out (after cutting it) it was a matter of cleaning the damage up.

It turned out perfect with only one nick where the stub shaft outer seal rides.

n-crashfab-3.jpg
 
Why replace when ya can upgrade---seems like a good term and something MANY of us live by. So I finally tossed the them warn hubs since my orgional idea back when I built the front diff never panned out (unlock when I didn't need them--only did it a couple times).

New Yukon hardcore drive flanges installed.

n-crashfab-4.jpg


The U-joint looked perfect but I felt better throwing a new one in plus one of the clips was damaged due to the yoke splitting.

n-crashfab-5.jpg


Oh and I had planned on replacing a leaking passenger inner axle seal since it was leaking--so I also pulled the carrier and replaced both of those. I forgot how tight of a fit those pro-rock center are for ring gear clearance.
 
So I went thru the steering to make sure all was good. I was planning on flipping the tie rod/ram but I want to do some research and replace the ram with one thats setup with hiems on both ends plus I want to replace all the hiems on the steering.

So for now I just went thru everything. So some reason and I have no idea how but I needed to reshim the ram(de-stroke) a tad. The end of the ram with the pin was also bent and has been for a while so I replaced that and built a new pin. The old one was able to slide up/down which more than likely cause it to bend. Once a new pin was built thats tight and not able to float I also made some nylon shims that go between the ram and mount at the pin.

So the front is back together and got the hydro bled out and seems to steer great.

n-crashfab-6.jpg


n-crashfab-7.jpg


I also have new arms on order so I can finally get my rear sway bar back in and should be here in a few days.
 
Sway bar psh you dont need that anyway :redneck:

Looks good as always Mike!

So for your ram did you have play at either end where it mounts like turning back and forth just a slight amount of movement?
 
As an Amazon Associate we earn from qualifying purchases. Product prices and availability are accurate as of the date/time indicated and are subject to change.
Sway bar psh you dont need that anyway :redneck:

Looks good as always Mike!

So for your ram did you have play at either end where it mounts like turning back and forth just a slight amount of movement?

I have to shim it internally for extension and I can adjust the compression length at the hiem. Its a little tricky and takes some time to get it right on but well worth the effort.

I hate having no resistance in the rear and acts kinda funny at times.
 
I have to shim it internally for extension and I can adjust the compression length at the hiem. Its a little tricky and takes some time to get it right on but well worth the effort.

I hate having no resistance in the rear and acts kinda funny at times.

Im talkin play in the point where its attached itself, the peice welded to the diff and at the hi-steer arm?

Wheres your sense of adventure lol :redneck:
 
Oh that kind. I have a very slight about at the hiem and pin. More at the hiem since its kinda wore out.
 
Oh that kind. I have a very slight about at the hiem and pin. More at the hiem since its kinda wore out.

Mine is the brackets themselves, but there made out of like 1/2" plate and the bolts going through them are 1 1/4" diameter so im not overly worried about it other than it wanders a bit
 
are you running spicer u-joints? I still cant believe you have not ripped your ram off with it exposed like that. looks good:awesomework:
 
are you running spicer u-joints? I still cant believe you have not ripped your ram off with it exposed like that. looks good:awesomework:

Just spicers...

Its been beat but has never failed...
 
My new arms finally arrived...

n-crashfab-8.jpg


So I gotta drill a couple holes and the hard part I need to put a small kink in them so they clear the back tube on my chassis--that will be the tough part.
 
I got the new arms drilled and cut.

I needed a lil kink in them to clear the back of the chassis. I thought this 3/4 steel would have been harder to kink--but ended up being easier than I thought it would have.

n-crashfab-9.jpg


So they are done and ready for paint.

n-crashfab-10.jpg
 
Harbor freight press ftw. Ive had one of their press anvils.or.whatever you wanna call it break.under pressure turns out its like a.hot.rolled cast.crappy steel.
 
Well now that your rig is good and the tow rig has a new tranny....Get your a** down to KOH and after for some fun!!!!:redneck::corn:
 
Harbor freight press ftw. Ive had one of their press anvils.or.whatever you wanna call it break.under pressure turns out its like a.hot.rolled cast.crappy steel.

Its a better quality version from tool town and I have had it for like 10 years now..

Well now that your rig is good and the tow rig has a new tranny....Get your a** down to KOH and after for some fun!!!!:redneck::corn:

Well I just gotta get the funds,,,,
 
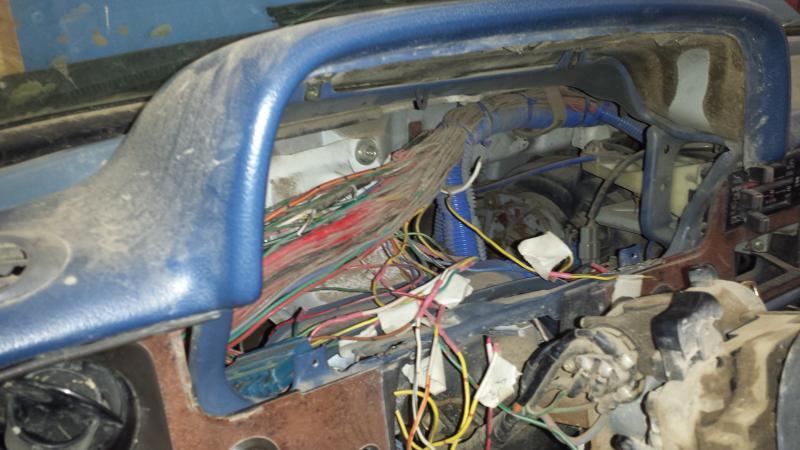
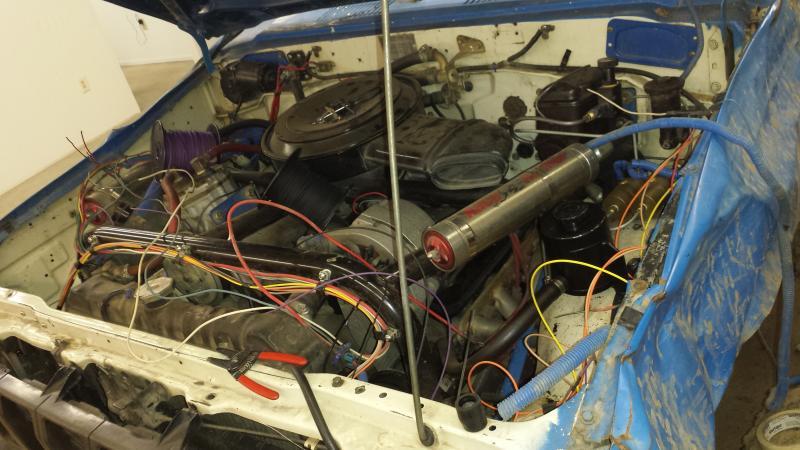
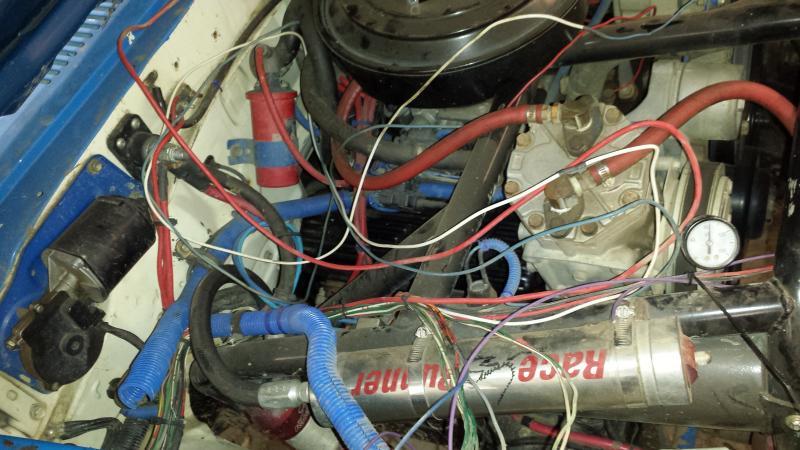
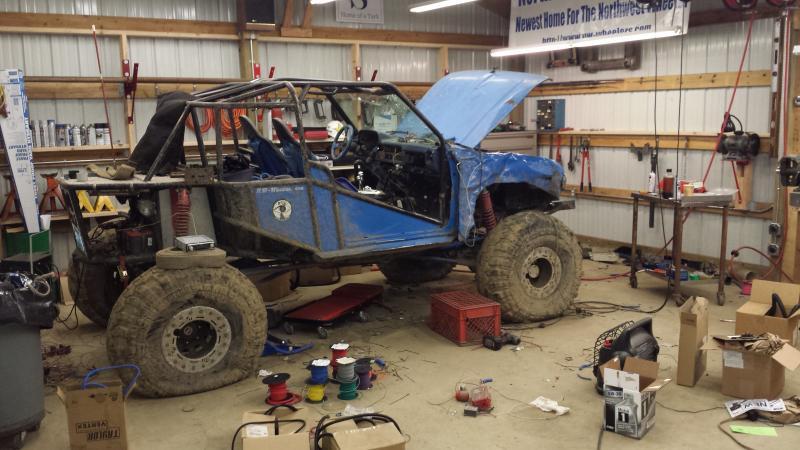
Well it was time to give my rig some luvin and DE-virginlyze my new shop... It had been used and abused for some years and it was time to simplify it and just change it up...

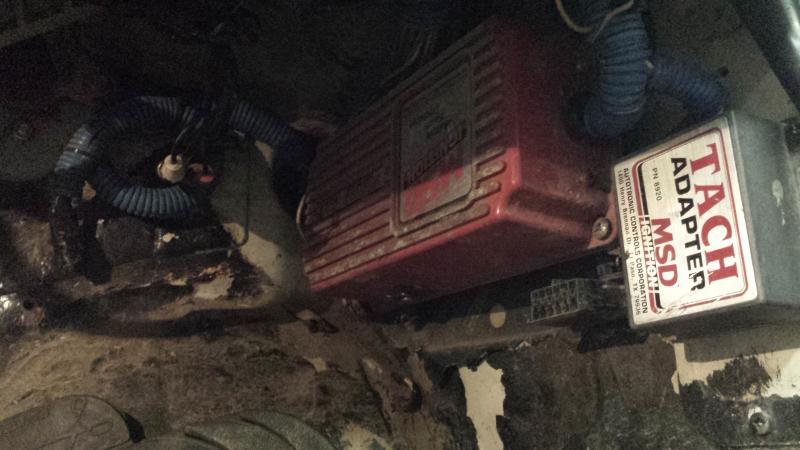
What sparked it was it was time to get rid of the msd--I felt it was giving no real benefit and just simply eating up secondary ignition parts.
 

Attachments

  • 20150130_183518.jpg
    20150130_183518.jpg
    49.9 KB
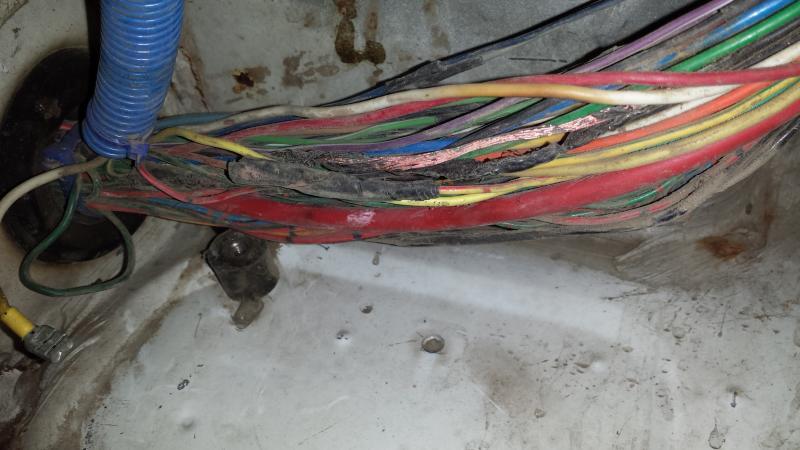
Once I started pulling it out I found this and man did I catch it in time..
 

Attachments

  • 20150131_210327.jpg
    20150131_210327.jpg
    53.2 KB
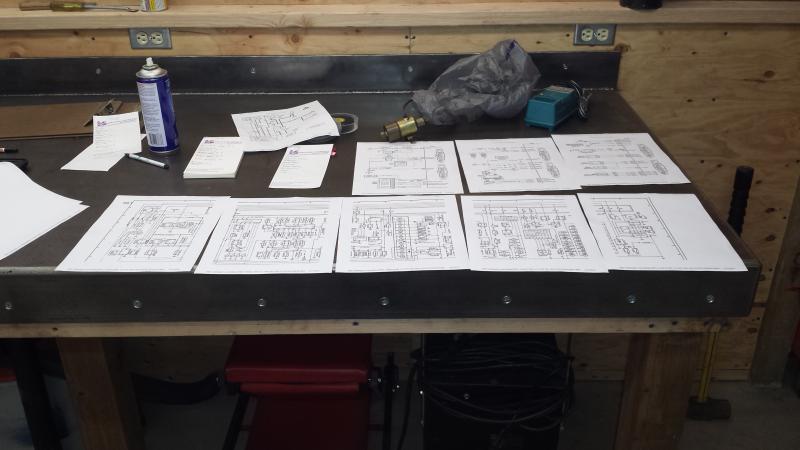
Like any of my wire up projects--always have all your ducks in a row and ALWAYS know what your looking... So i always like to have a game plan and that starts with schematics.
 

Attachments

  • 20150201_214358.jpg
    20150201_214358.jpg
    42 KB
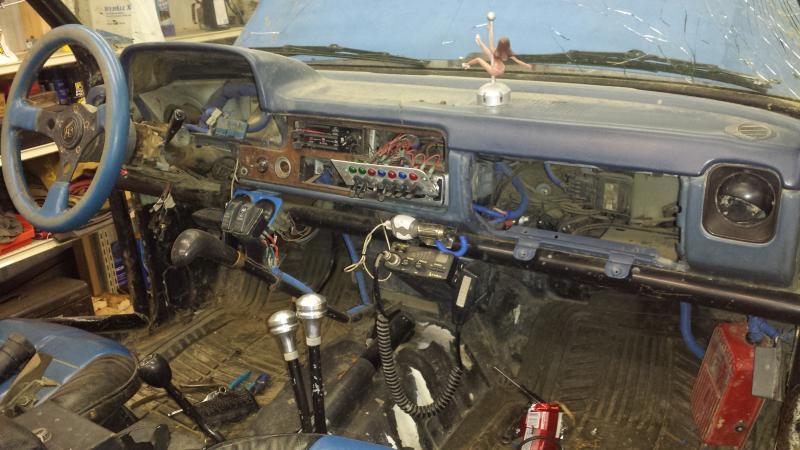
Step one--get all the crap outa your way..
 

Attachments

  • 20150201_200359.jpg
    20150201_200359.jpg
    65.1 KB
  • 20150201_200409.jpg
    20150201_200409.jpg
    63.5 KB
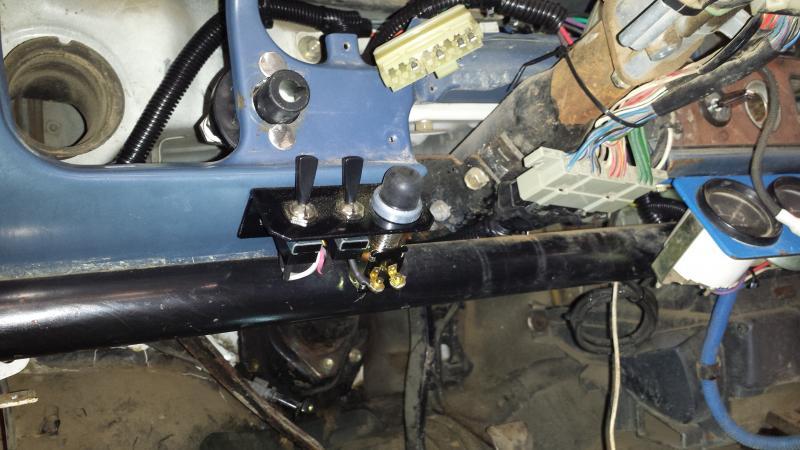
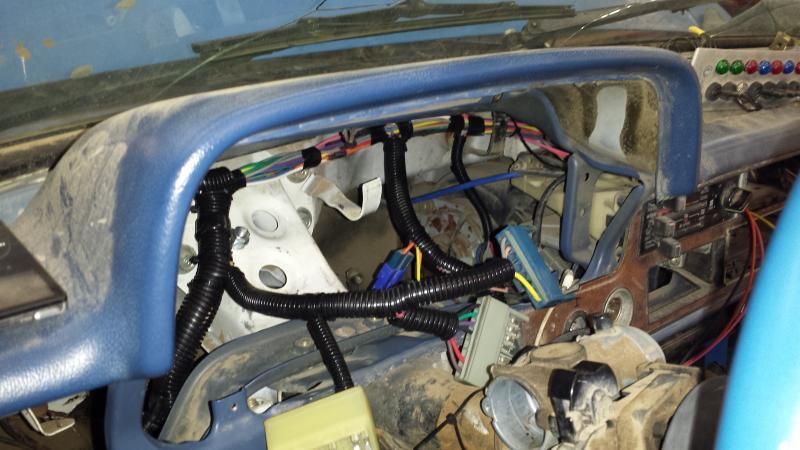
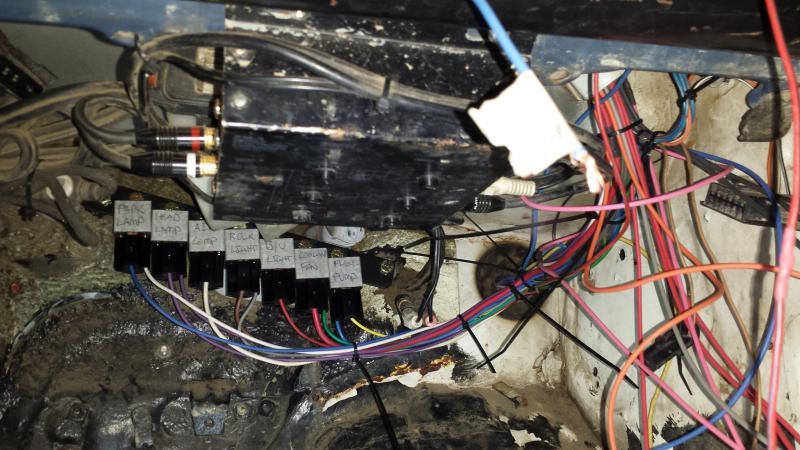
So in a nutshell I am going with push button start and master ignition switch. I am going to toss the factory fuse panel and move all the fused circuits to the passenger side along with relays and such.

Next step--start pulling wire and try to identify circuits for later..
 

Attachments

  • 20150207_105812.jpg
    20150207_105812.jpg
    77.1 KB
  • 20150202_103434.jpg
    20150202_103434.jpg
    80 KB
  • 20150202_094927.jpg
    20150202_094927.jpg
    63.6 KB
  • 20150202_094923.jpg
    20150202_094923.jpg
    58 KB
I also dove under the hood since when I redid it years ago I retained a bunch of the factory routing. Since i am tossing the factory relays and moving the fuse center I can simplify it.
 

Attachments

  • 20150202_155012.jpg
    20150202_155012.jpg
    67.3 KB
I modified the line lock bracket and added the push start and found a sweet spot for the ignition switch. I also got behind the cluster roughed it.
 

Attachments

  • 20150208_162951.jpg
    20150208_162951.jpg
    61.9 KB
  • 20150208_162940.jpg
    20150208_162940.jpg
    60.9 KB
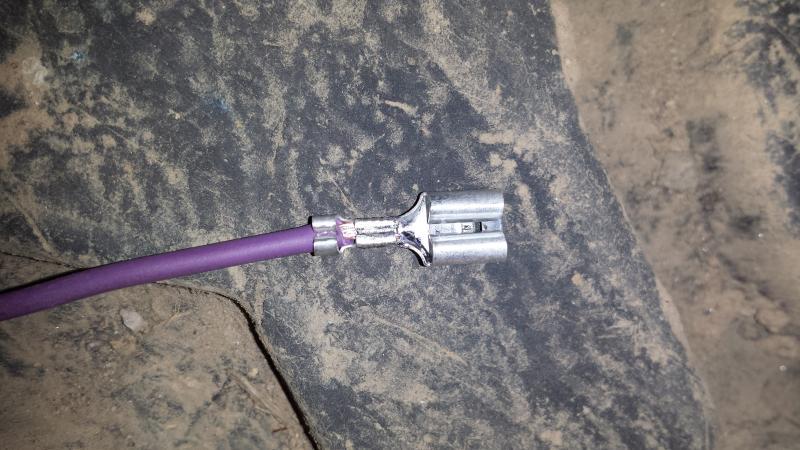
Pulling more wires on the passenger side under the hood and you can't beat a good F crimp tool.....
 

Attachments

  • 20150209_074557.jpg
    20150209_074557.jpg
    71.6 KB
  • 20150215_070426.jpg
    20150215_070426.jpg
    67.5 KB
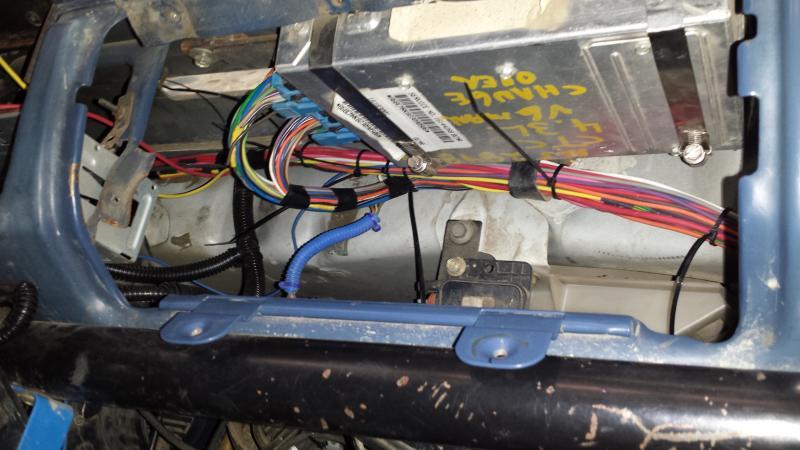
Passenger side behind the glove box wire loom got roughed in and new relay spot found and mounted.
 

Attachments

  • 20150210_220036.jpg
    20150210_220036.jpg
    57.8 KB
  • 20150213_213416.jpg
    20150213_213416.jpg
    75 KB
You have no idea how good it felt to pop my shops cherry--so much time and effort went into getting the new shop to this point--never felt so good to make such a mess :cool:
 

Attachments

  • 20150216_082902.jpg
    20150216_082902.jpg
    66.8 KB
Back
Top