• Help Support Hardline Crawlers :

Project "Just another yota"

Ok, I finaly manageed to get back on this this weekend. Working 10hr days building things out of steel makes it hard to come home and do it for another 4, but hey, at least it's fun, right?

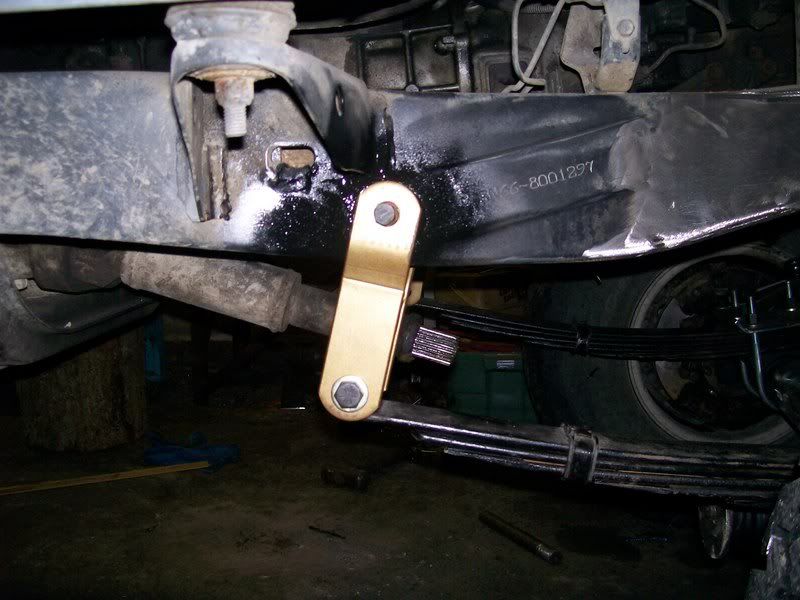
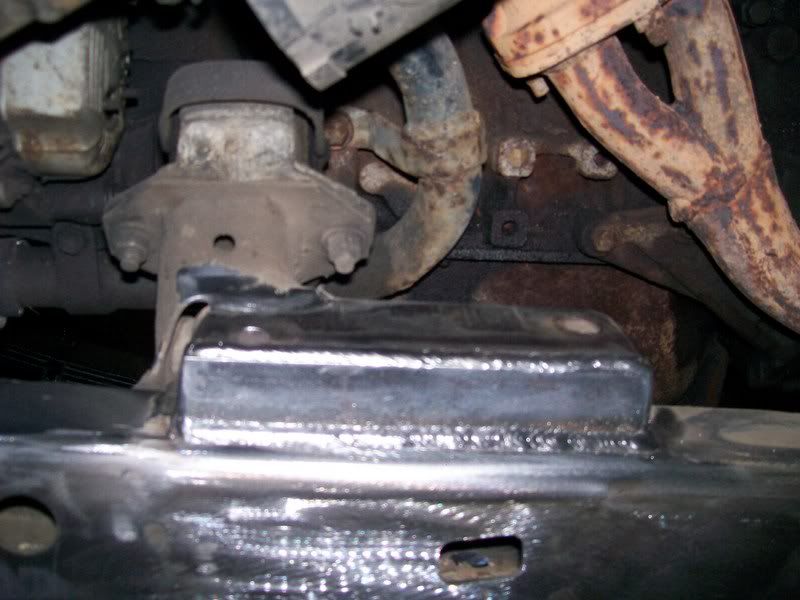
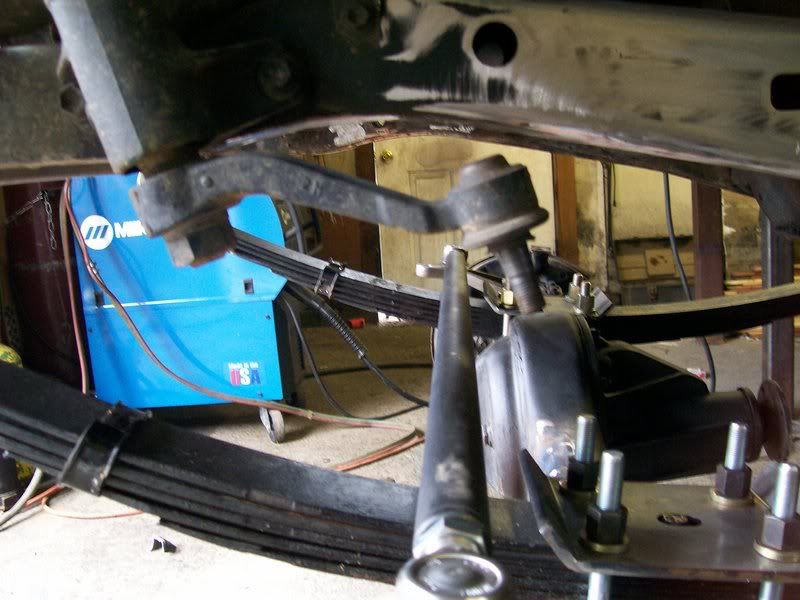
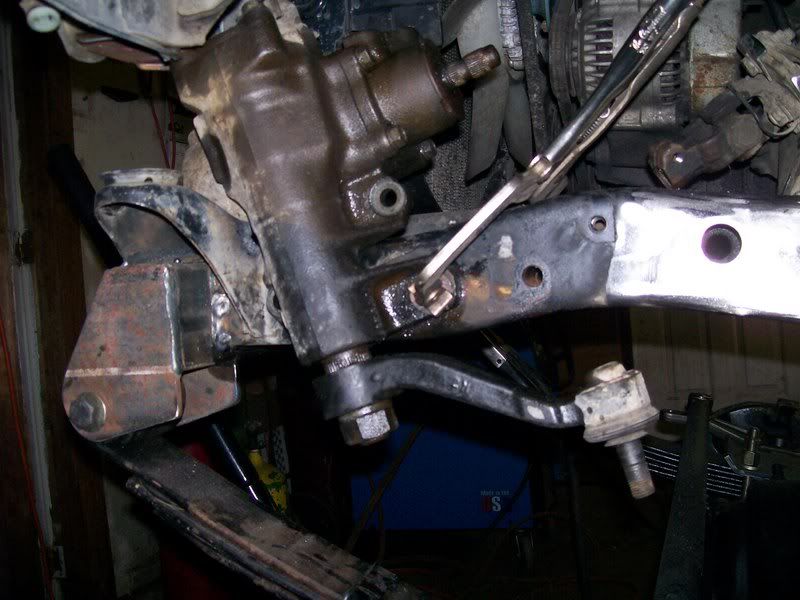
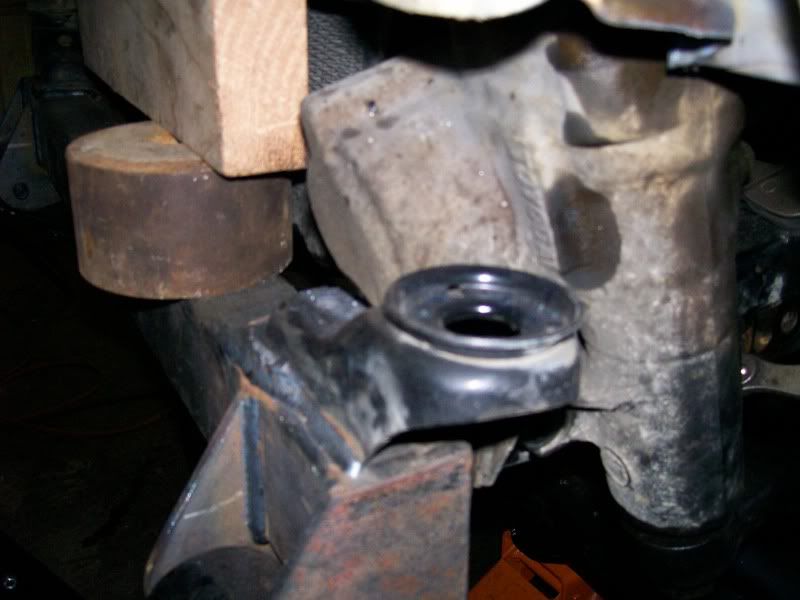
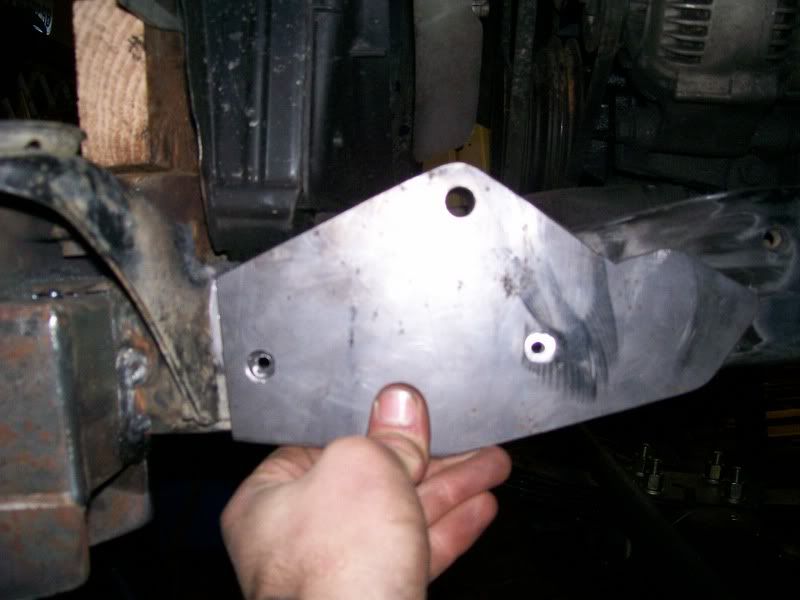
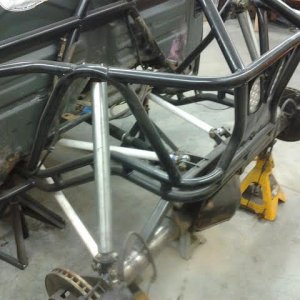
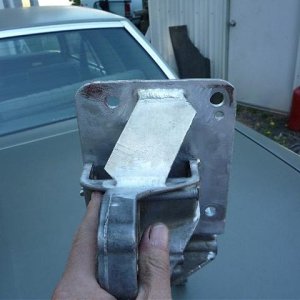
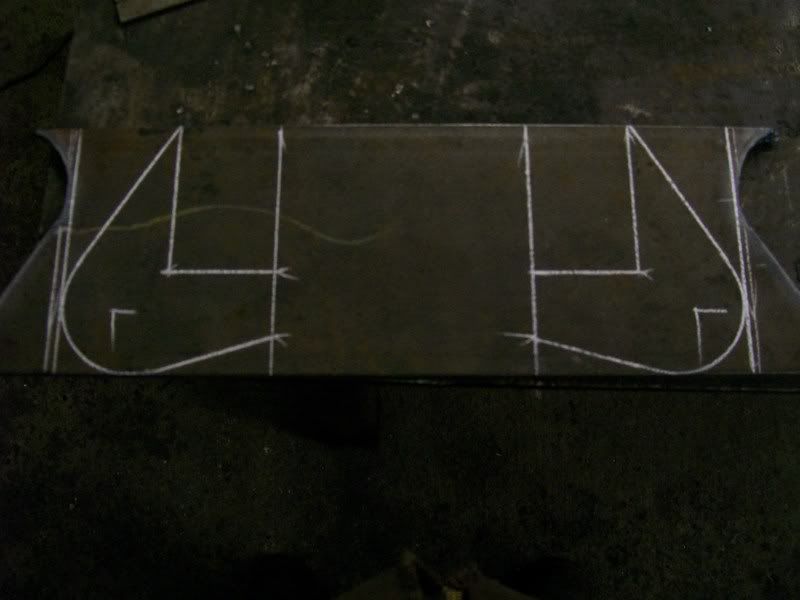
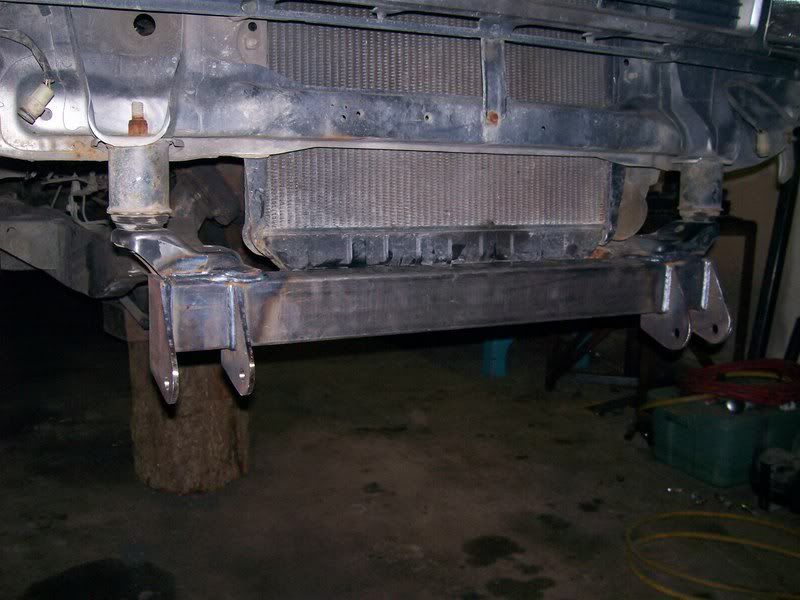
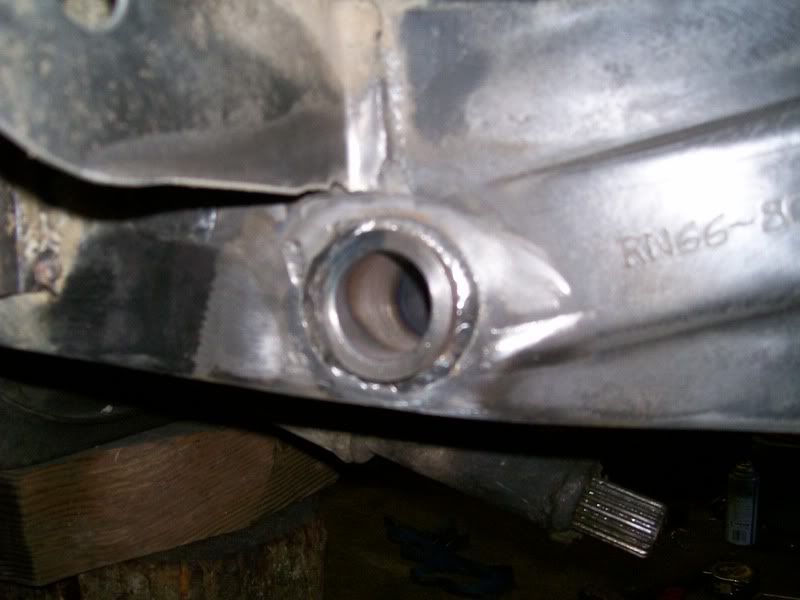
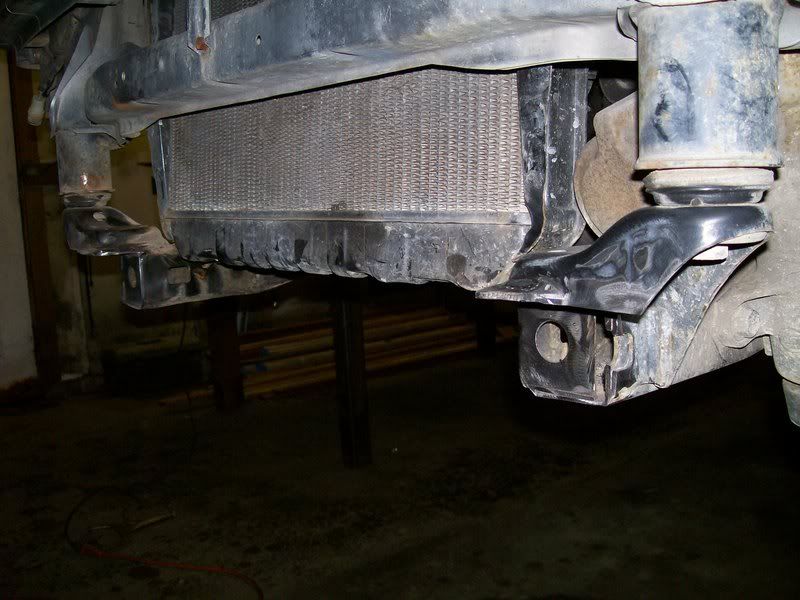
Finished a little cleaning of the frame and notched the front for the new spring hanger. I like to replace the front crosmember, it looks way cleaner than welding mounts under the old one and makes for a more sturdy place to mount a winch, etc...
100_0127-1.jpg
 
I never managed to get drawings to the laser cutter for my front hanger parts so I built it the old fashoned way.

100_0130.jpg


Wada' ya' think? can I pass off my flame cutting for CNC?
100_0133.jpg
 
Time to roll the axle underneath. This is how the axle showed up. Ewww, brackety.
100_0137.jpg


Ahhhh... much better
100_0138.jpg
 
I bolted the springs in to the new hanger and tied them to the frame so I could roll the axle underneath, then jacked the axle up to the springs and bolted her up.

I like to lift the weight of the vehicle up with the springs just on the frame in the rear so I can get measurments for shackles. The springs that are being used are 5 leaf waggys with 1 new leaf added in, dont ask me why, that's just what I was brought.

Here it is with the axle underneath ready for shackle measurments
100_0140.jpg
 
So you measure from where the spring lays on the frame to the spot on the frame you are going to cut for the hangers? Do you cut the frame in the "typical" spot all the jigs have you cut it? Whats the advantage to doing it like this, simply being sure the shackles dont limit compression travel?

~T.J.
 
Curious, Did ya hack the mount underneath the pass side spring mount? It sorta holds the inside u-bolt there but it does a better job augering into stumps/rocks.
 
84Toyota4x4 said:
So you measure from where the spring lays on the frame to the spot on the frame you are going to cut for the hangers? Do you cut the frame in the "typical" spot all the jigs have you cut it? Whats the advantage to doing it like this, simply being sure the shackles dont limit compression travel?

~T.J.

I dont have any specific Jig seeing as I do so many diferent springs on toys. I do it just to get a mesurment of the springs under normal ride compresion, then I figure how much forward the mount needs to go for the drop of the shackles, mark one side, the mesure off the front hanger for the other, then corner to corner check it for square before blowing holes.
 
Bunk said:
Curious, Did ya hack the mount underneath the pass side spring mount? It sorta holds the inside u-bolt there but it does a better job augering into stumps/rocks.

No, it's still there. I sharpen the leading edge with a diamond file to smoothly carve thru logs/stumps.:haha:
 
With the shackle layout figured I needed some sleves to go thru the frame. I didnt have any tube laying around that fit the bushings so I just hoged out some 2"x 1/2 wall tube I had laying around

100_0144.jpg


Perfect:D
100_0145.jpg
 
Here's the new sleves weded in to the frame. They were realy close to the frame but the bushings have about a 3/8 thick lip on them so it should be fine

100_0147.jpg
 
TTF Fabrication said:
the sway bar mount there? the one that no one cuts off because its too much of a pain in the arse to grind down once you cut it off?

In the scrap pile:D I debated leaving it because you'r right, it is a pain in the arse.
 
Boy, the ol' lathe chuck looks like hell :mad: 
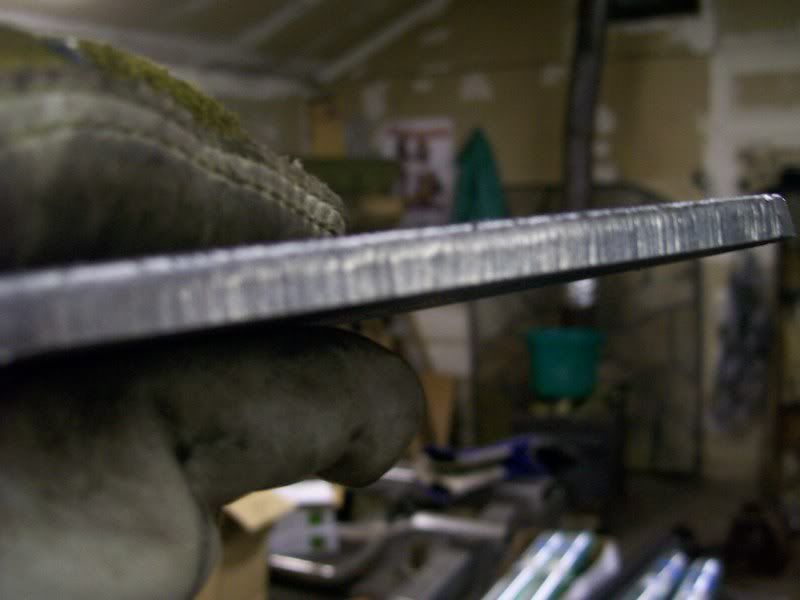
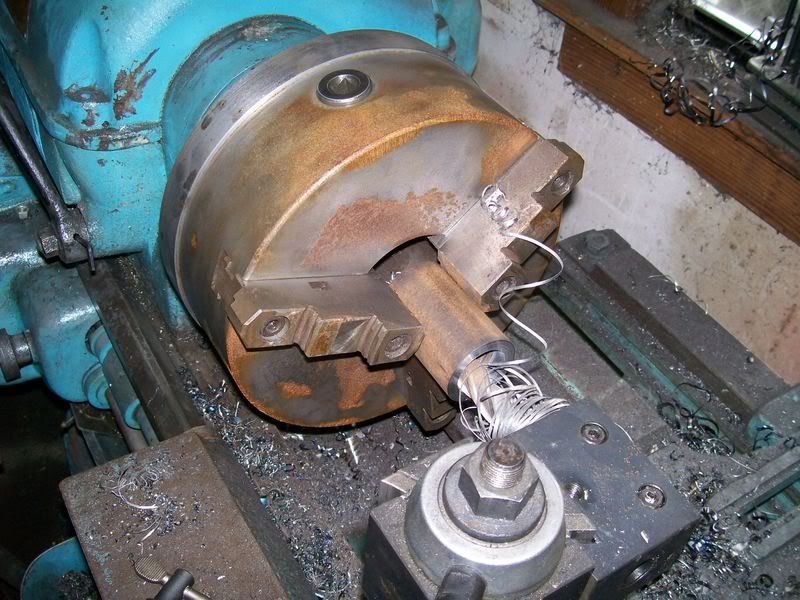
Everythin in my shop that's metal (everything) had a way heavy layer of condensation on it from the severe humidity.....allways makes my chuck rust up.:booo:
 
Final shackle mounting. Perfect! shackles angled back just slightly, should be a little more after the new leaf in the pack flatnes out a bit.

100_0150.jpg
 
I threw the tires on her just to see how it sits. Good thing the body lift is coming off, way high! Note how forward the axle is

100_0149.jpg
 
Here is the major problem with moving the axle that far forward when people just absolutley HAVE to have hysteer

Major interferince problem
100_0143.jpg


So the only solution is to.... MOVE the steering box!:cheer: oh, wait, it's a PITA.

Here is where the box needs to go. It's about 3" forward from stock.
100_0156.jpg


Here you can see why it is a pain to move, everything is in the damn way. Have to cut out most of the body mount and a good portion of the core suport around the body mount.
100_0159.jpg


I whipped up a doubler plate and drilled the pilot holes for where the frame will be sleved for the new box location. Proly get back on it wednesday.

100_0160.jpg
 
Top