Bateman
Well-Known Member
Man, you do some quality fab work and with a quickness. I like it.
Thanks man. Still feels like it's taking forever though.Man, you do some quality fab work and with a quickness. I like it.
Thanks dude!Sounds and looks good!
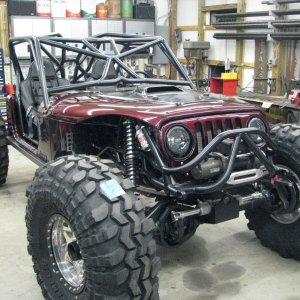
Good call. And depending on how monday goes, might be even more fitting.Imma call it "Bane"
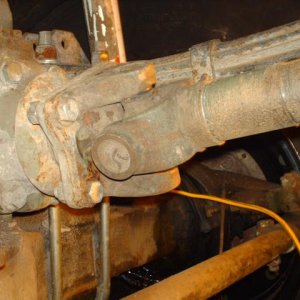
Thanks man. There's at least a part of me that's not looking forward to fighting with that bolt either coming out or going back in. I've got 2 days to think about it.Looks great flexed out and was fixing to say the same thing about flipping that bolt around.
Understandable there for sure!Thanks man. There's at least a part of me that's not looking forward to fighting with that bolt either coming out or going back in. I've got 2 days to think about it.
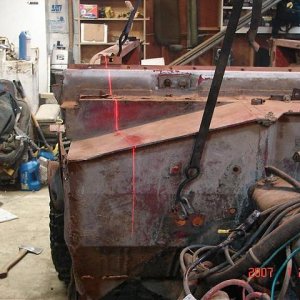
Can you not use the lower holes in the axle side upper link mounts?Also, anti-squat seems to be through the roof. She fit out the garage door, but rubbed going back in. Unfortunately, I'm already maxed out on reducing AS without changing the brackets.
Lol, good call. I remembered I didn't have 2 sets on the front axle. Completely forgot I had 2 on the rear. Thanks!Can you not use the lower holes in the axle side upper link mounts?