• Help Support Hardline Crawlers :

The Apocalypse Redux: Nuzzy's return to the trail...

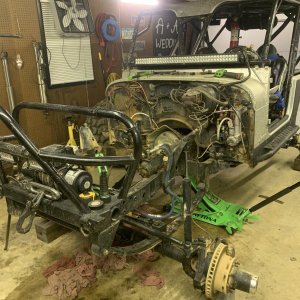
Rewind a few years to your dread of anything wiring. Dood, What is left? Belly pan is all i see.


No **** huh!! :haha::haha:


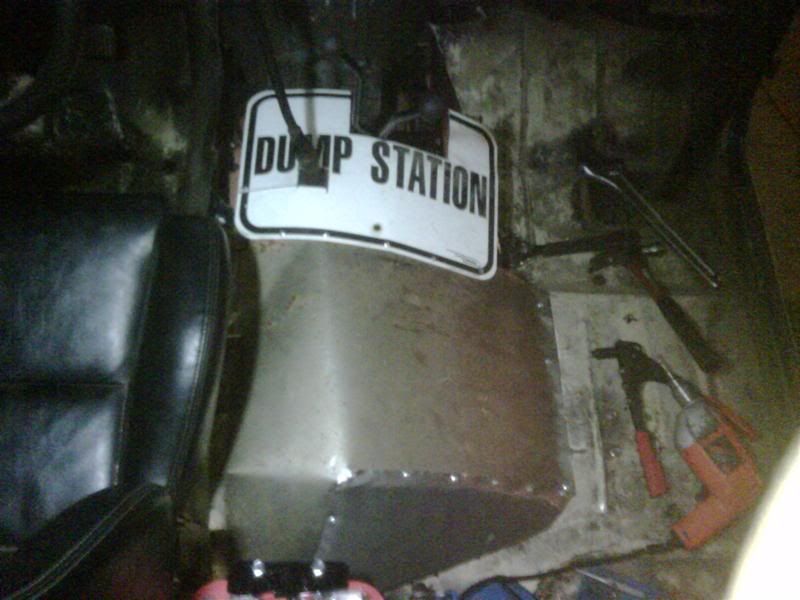
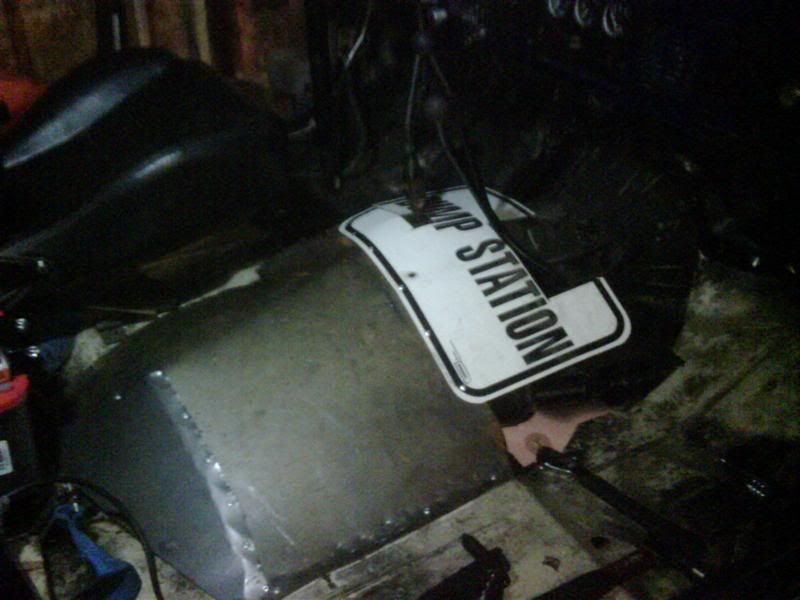
-Belly skid (although not required structurally so I could wheel most places here without it)
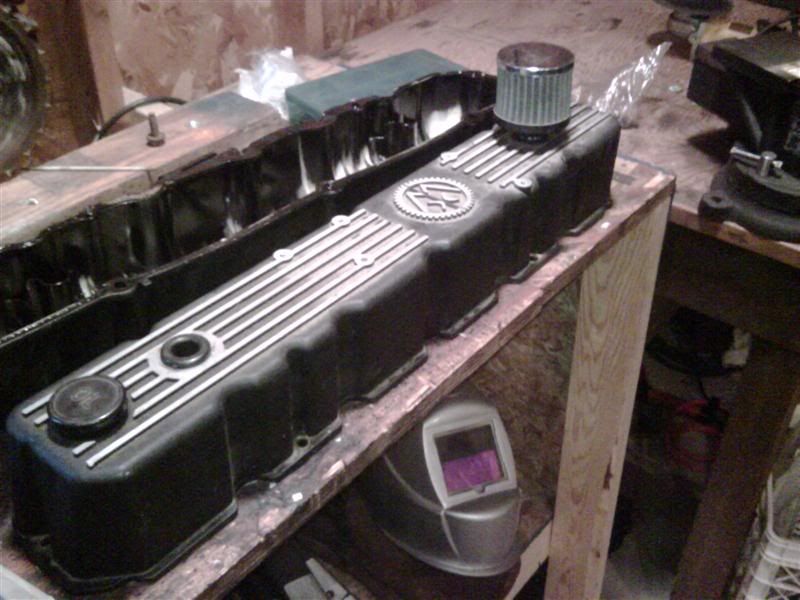
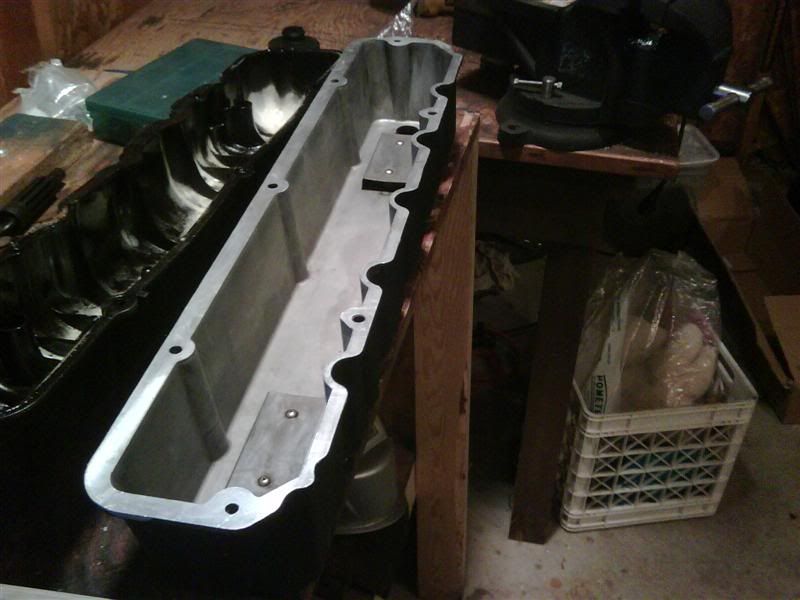
-Aluminum valve cover should be here next week (a dude is giving it to me for the cost of shipping :cool:)
-Figure out the still problematic non disengaging clutch


Then wheel :clappy::clappy::clappy:


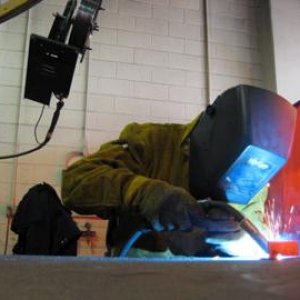
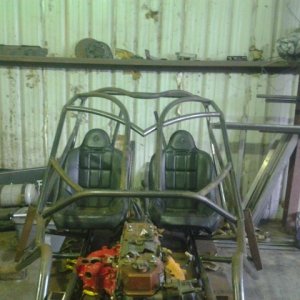
I was doing some under the table work turning wrenches for my buddies' off road shop last week and they just offered to have me work for a new cage :cool: So for weeks worth of work (wouldn't be doing anything else anyways), I'll get a full cage to my specs solidly mounted to frame :redneck: While there, we'll finish off my anti-wrap bar and weld a few cracks on the frame just to finish things off.
 
First off, Crash said he hated this way back when I first got it...


If you ever plan on getting the BTF Optima battery holder... DON'T!!! It's sucks balls! I've actually have it arc to itself during wheeling :mad:

So, I cut off most of the top and welded on a strip of 1/8th inch thick bar.

IMG00451-20090418-2142Medium.jpg


IMG00452-20090418-2143Medium.jpg


Then started in remaking my floor since i cut so much to fit the raised drivetrain. After I ran out of sheet metal, I found the perfect addition!! The Dump Station sign is one I *borrowed* from the Slickrock Campground "Where the Fun Pigs Stay" in Moab back in 1999. It was on my bathroom door for years and has a special place in my heart :D

IMG00445-20090418-2129Medium.jpg


IMG00446-20090418-2129Medium.jpg


Much of the rest of the floor is getting old license plates. The rivets between panels will stay but the rivets holding the panels to the existing floor are only for bending/forming during installation. Then I will be drilling them out and putting in 1/4" bolts so that the floor is easily removable.
 
Not sure what to say about the JB weld but let us know how well it works.:awesomework:

I been thinking that I may do something simillar to this as well. Nuzzy did you do any research on this and how electrolysis may or may not be a factor with the dissimillar metals? If I do it, it would probably be copper on a aluminum radiator....Maybe radiator epoxy rather than JB weld..


Well Rick, your expressed concern was validated tonight :redneck:


I was putting it through its paces out back climbing some trees and putting a load on. After about 15 mins, I heard that wonderful sound of hot water hitting hot engine.

IMG00473-20090426-2120Medium.jpg


IMG00476-20090426-2120Medium.jpg


So back to the drawing board on mounting the temp sender for the fan in the rad...
 
Good news as far as progress goes though... I got the clutch issue (wasn't fully disengaging) resolved.

After thinking more about my floor, I realized I wanted to avoid a future problem. I wanted the floor removable, and with how I'd made it I would not be able to maneuver it out once the new cage was done and the seat bars were in place. So I reworked it into two pieces and made the back part out of a heavier vinyl. It lays over a reinforced metal strap to keep it off the rear tcase yoke and ujoint).

IMG00478-20090426-2130Medium.jpg


IMG00479-20090426-2130Medium.jpg


Depending on how hot it gets, I made add some heat shielding mat to the underside later on.


Oh yeah, I scratched my newly painted front end sliding off a tree :redneck:

IMG00477-20090426-2121Medium.jpg
 
Hope temp sender bung version 2.0 works out better. I used some solid core silver solder and flux specifically for copper and cleaned/dried the area as well as I could. Picked up a cheap copper fitting and a section of thin flat stock. Then laid down a solder layer covering the area on the rad to build up a good thick platform. I tried to be as careful as possible to avoid over heating other areas of the rad.

Unfortunately I don't really have a great way to pressure test so I'll just have to test it the hard way. But it looks to have pretty thick even coverage.


IMG00481-20090427-2019Medium.jpg


IMG00484-20090427-2112Medium.jpg


IMG00486-20090427-2112Medium.jpg


IMG00490-20090427-2116Medium.jpg
 
Jesus Nuzzy...all this for a temp sensor that could be replaced with a switch or relay.

All the chainsaws must be dull or something :fawkdancesmiley:
 
Jesus Nuzzy...all this for a temp sensor that could be replaced with a switch or relay.

All the chainsaws must be dull or something :fawkdancesmiley:


But when I'm drunk and tearing up endangered meadows while dragging burning tires and dumping trash, I don't want to have to remember to turn on my fan :D

And the fan currently has TWO switches and a relay :fawkdancesmiley:


Now... To start building that chainsaw mount... :redneck:
 
But when I'm drunk and tearing up endangered meadows while dragging burning tires and dumping trash, I don't want to have to remember to turn on my fan :D

And the fan currently has TWO switches and a relay :fawkdancesmiley:


Now... To start building that chainsaw mount... :redneck:


You...... drunk:eeek: who ever heard of such a thing :fawkdancesmiley:
 
Finally got the last major piece of the puzzle done :cool:


My old plastic valve cover was so warped it'd literally dump oil out without restriction. I couldn't drive the backyard for more than 10 mins without getting face fulls of smoke from oil puddling all over the block. Well, a local guy hooked me up with an aluminum jobby for the cost of shipping. Suffice it to say, I was stoked.


IMG00500-20090430-1924Medium.jpg


IMG00501-20090430-1925Medium.jpg


Found this covering the inside of my old one :eeek: But the drained oil doesn't show any signs of water/coolant...

IMG00503-20090430-1925Medium.jpg


Fought a bit to get the new one on. The pass side studs pulled out so I had to reset them. Had to modify the driver side hold down cap thingies. And had to cut out the old studs that went through the top of the plastic cover since the aluminum one doesn't have holes there. But I'm ecstatic to finally be rid of that plastic piece of failed abortion engineering bullshit they called a valve cover :011:


IMG00513-20090504-2120Medium.jpg
 
Last edited:
Now just gotta check and adj the rear drums and re-bleed the master and all brakelines.

Sometime prolly in June it'll go down to my friends' offroad shop to get the new full cage, antiwrap bar, and a few frame cracks welded up. None of which is costing me anything since I've been doing some under the table work for them. :gunz:


And that'll pretty much wrap er up :cool: I have some other things in mind I'll be adding and changing, but it'll be fully wheelable in the meantime.
 
Found this covering the inside of my old one :eeek: But the drained oil doesn't show any signs of water/coolant...

IMG00503-20090430-1925Medium.jpg

Condensation. my 4.3 does that in the winter because I take short trips and it doesn't get up to operating temp long enough to burn out the water.

Or maybe you got a little too "excited" putting the new cover on :masturbanana[1]:
 
Condensation. my 4.3 does that in the winter because I take short trips and it doesn't get up to operating temp long enough to burn out the water.

Or maybe you got a little too "excited" putting the new cover on :masturbanana[1]:


Beautiful. That would make sense since it's been getting nothing longer than 10 min test drives recently. :cool:
 
Yup he's right just good old fashioned condensation. Now that you have the majority of the issues fixed let the rig warm up for awhile then take it out and flog it for awhile and all the moisture will go away. :D
 
Backyard wheelin on flat land rules :haha: (however, camera phone pics in dim light bring the suck)


IMG00524-20090507-2049Medium.jpg


Then I flexed on a pretty hard kore stump

IMG00526-20090507-2055Medium.jpg


IMG00529-20090507-2056Medium.jpg


IMG00532-20090507-2058Medium.jpg


Prolly should consider some grinding and a real bump stop :redneck:

IMG00533-20090507-2058Medium.jpg


But I certainly romped 'er good based on what I had to work with. Shifting feels good, motor sounds decent, coolant system works within the parameters I wanted, twin sticks pull smoothly into and out of front digs without any binding or fighting. All in all, I'm pretty happy.

Only found small issues to fix: The wiring to my relays comes loose so those will get real plugs. Theres a leak between the tranny and t-case around the clocking ring so that'll come out and get RTV'd. And the spring plate/frame contact issue will get addressed with the grinder and moving the stock bump. But all else is golden :cool:


And as always, this build has been powered by the almighty Dog

IMG00528-20090507-2056Medium.jpg
 

Latest posts

Top