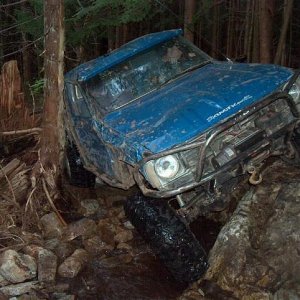
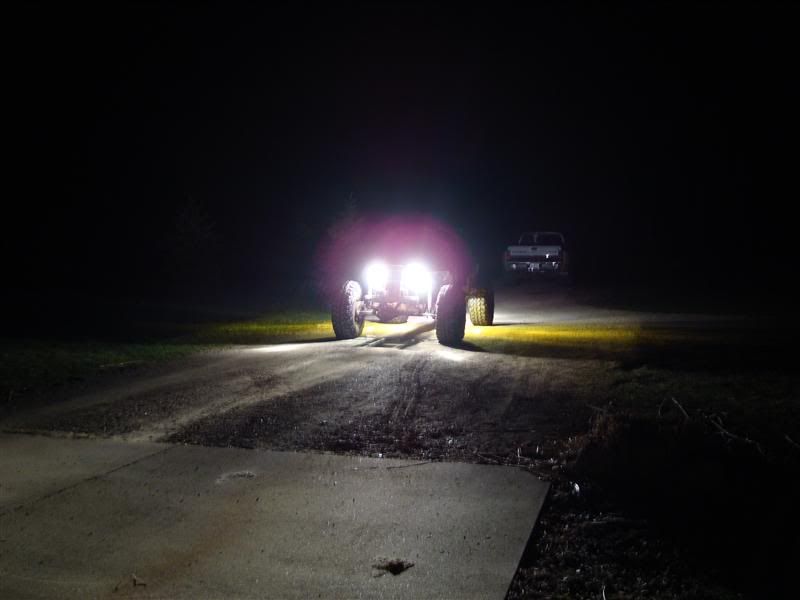
Well, it drove out there under it's own power...
Congrats dude....my rig actually made it around the block this past weekend. No needs to remove the t-case any time soon!!
Well, it drove out there under it's own power...
Congrats dude....my rig actually made it around the block this past weekend. No needs to remove the t-case any time soon!!

:clappy:
What you still got left to do??


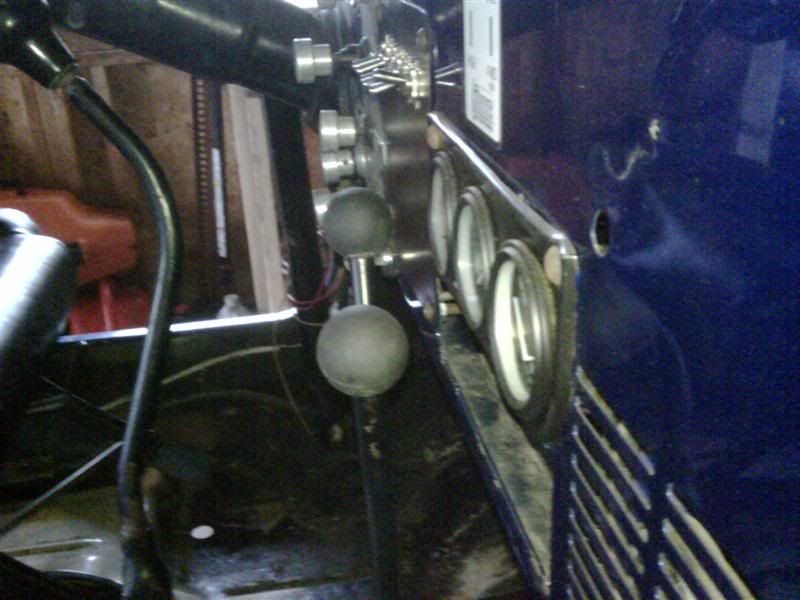
Looks like you know how to handle your stick.
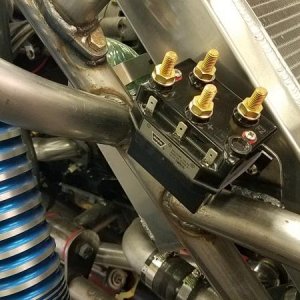
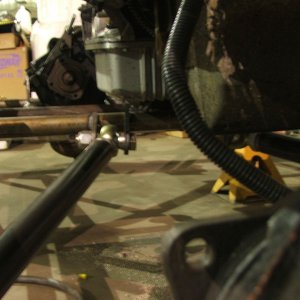
I like the mod for the bell crank. I am going the other route and ditching it for a hydraulic. I am tired of losing the clutch at the most inopportune time.
Where's the chainsaw mounts on the cage :redneck:
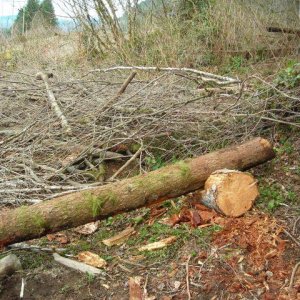
It's gonna be built into the detachable rear boom/winch assembly for skidding logs. And I'm actually serious :haha: If I can't have a tractor yet, I'ma make the jeep into one :redneck:
It's gonna be built into the detachable rear boom/winch assembly for skidding logs. And I'm actually serious :haha: If I can't have a tractor yet, I'ma make the jeep into one :redneck:
. At this rate I'll be needing another winch by next weekend :redneck:
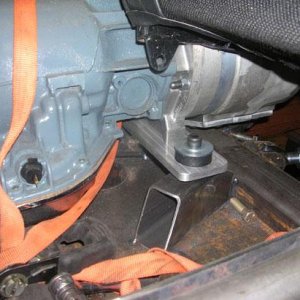
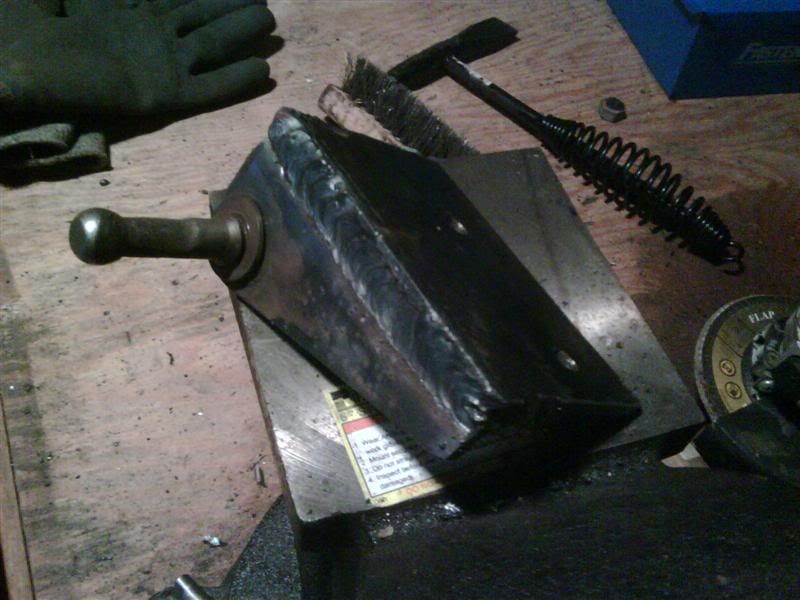
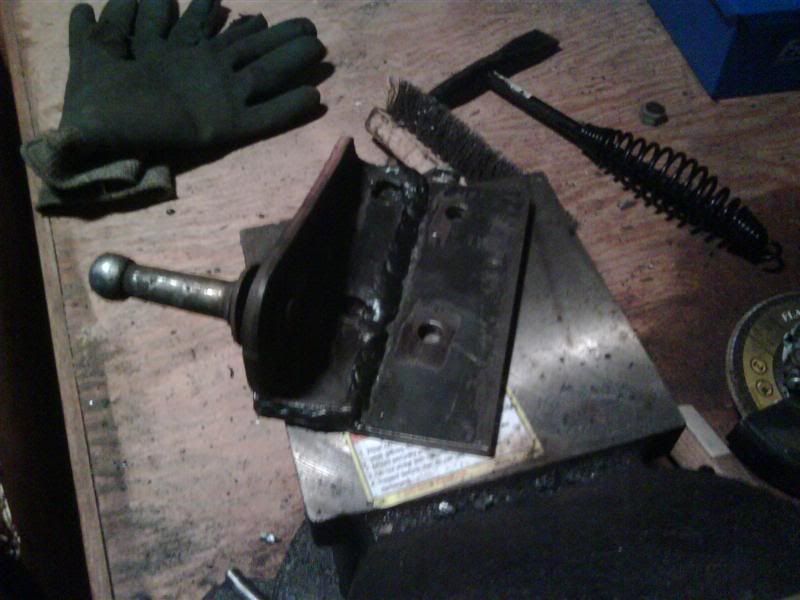
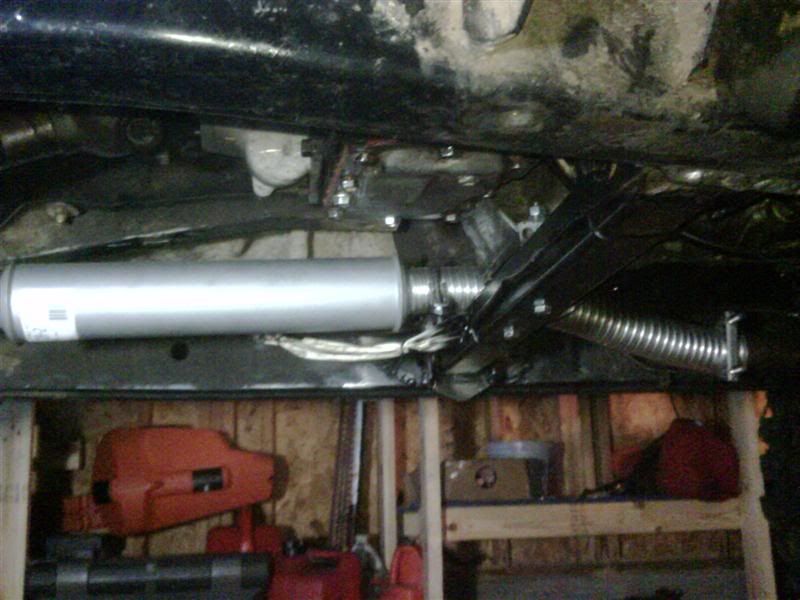
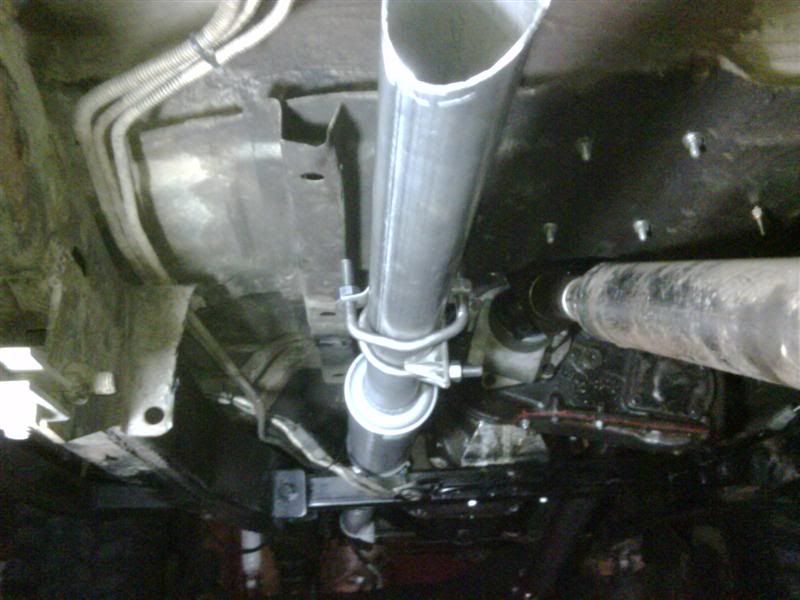
 It was measured for distance from pinion to assumed raised/rotated t-case output and thus was too long until now. With the assumptions Lincolnlock had to make when he originally gave me the length, I gotta say he was dead nuts on! It fits perfectly
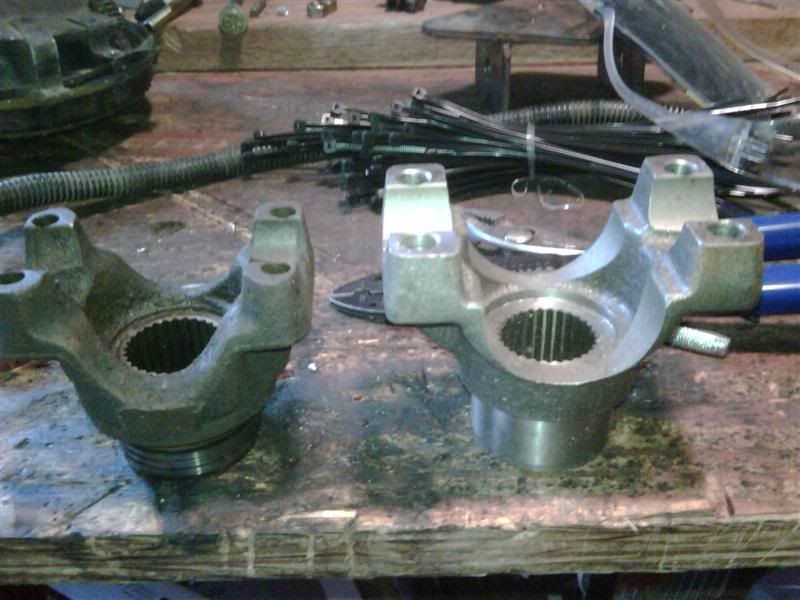
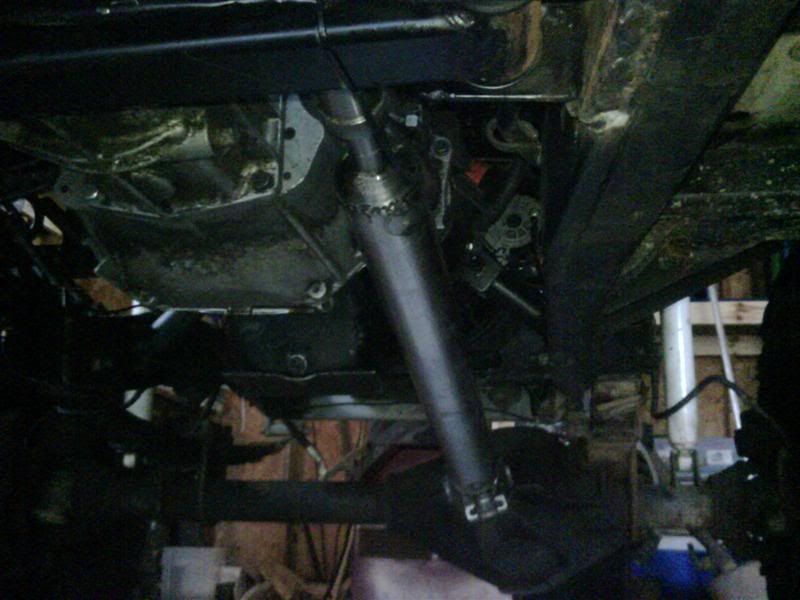
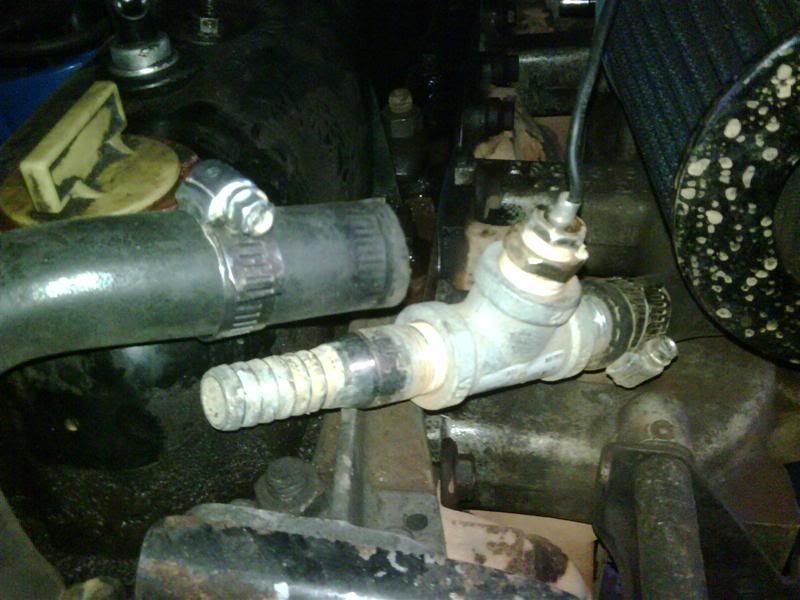
 uke: straps... An even redneckier couple dollar length of flex pipe was all I needed to clear the crossmember.
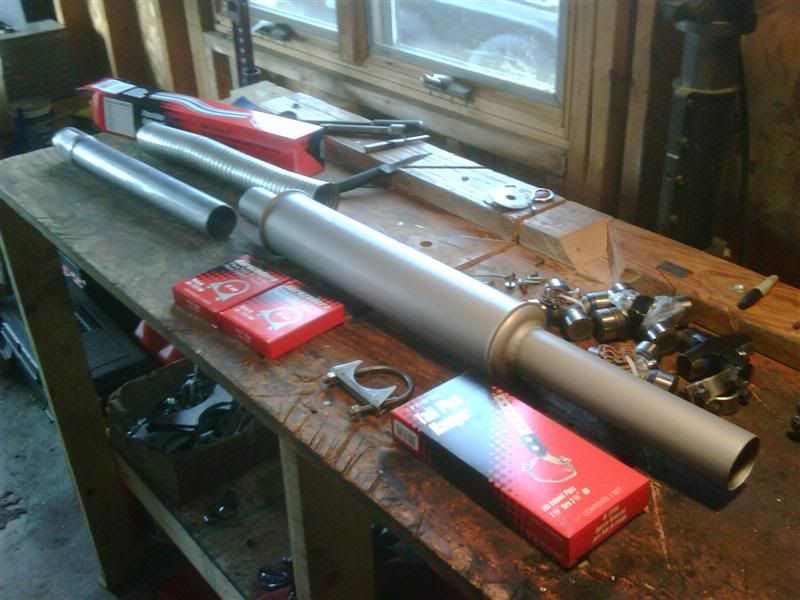

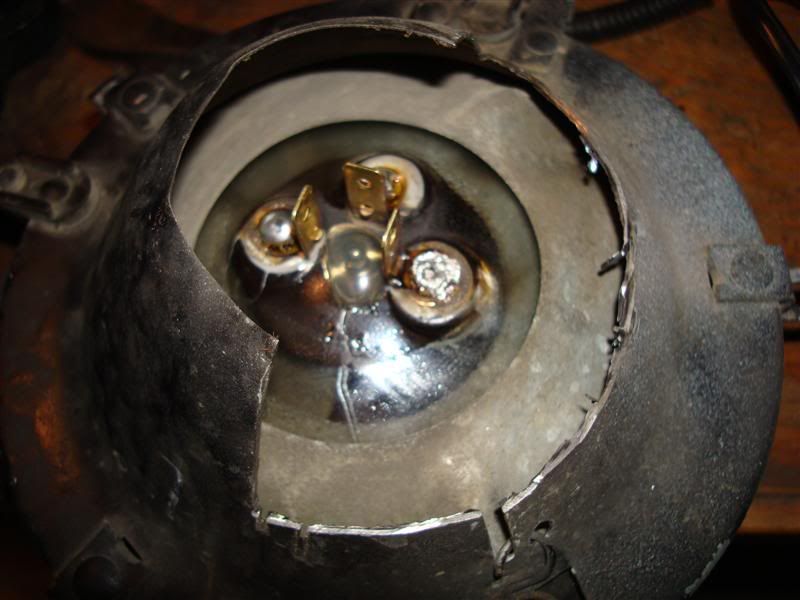
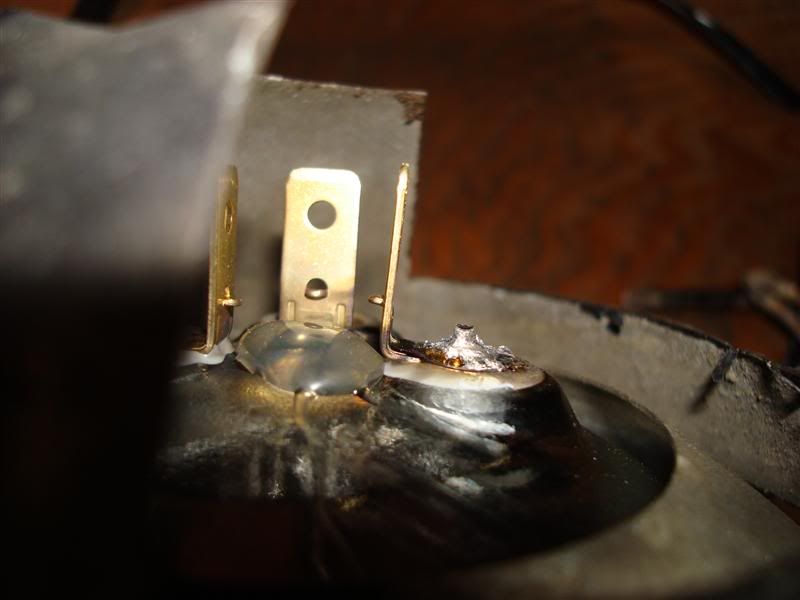
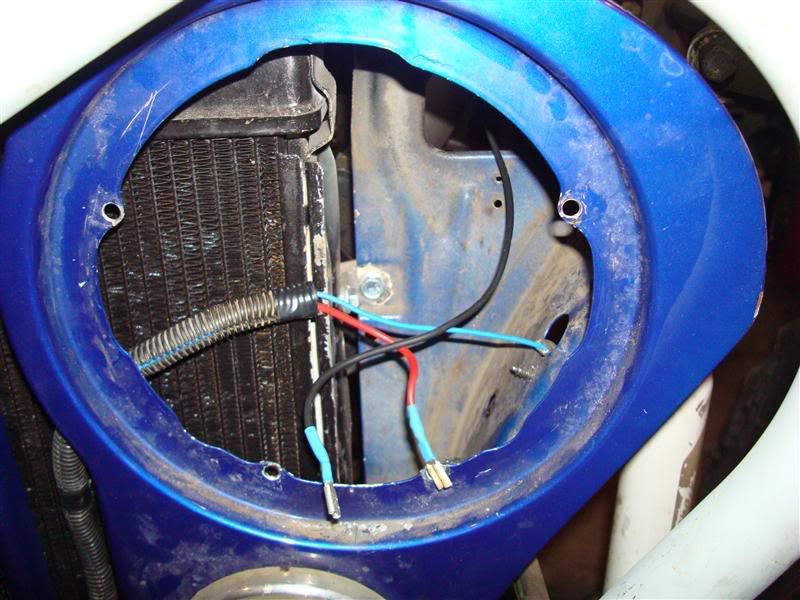
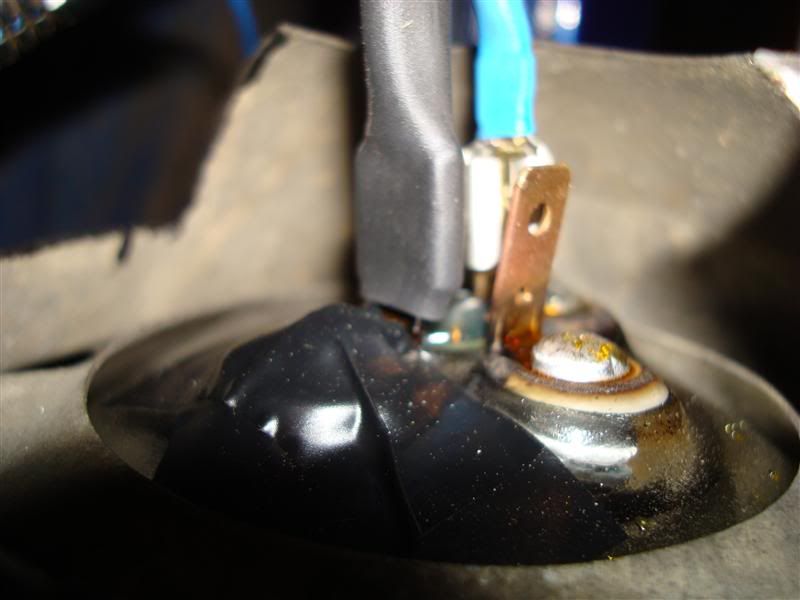
 Go here if you want to help me solve the mystery.