• Help Support Hardline Crawlers :

"The mistress"

I need to fall back and weld that stuff up.I was about to do that...then an idea came to me on the dash,so I went ahead and fabbed up the dash instead.
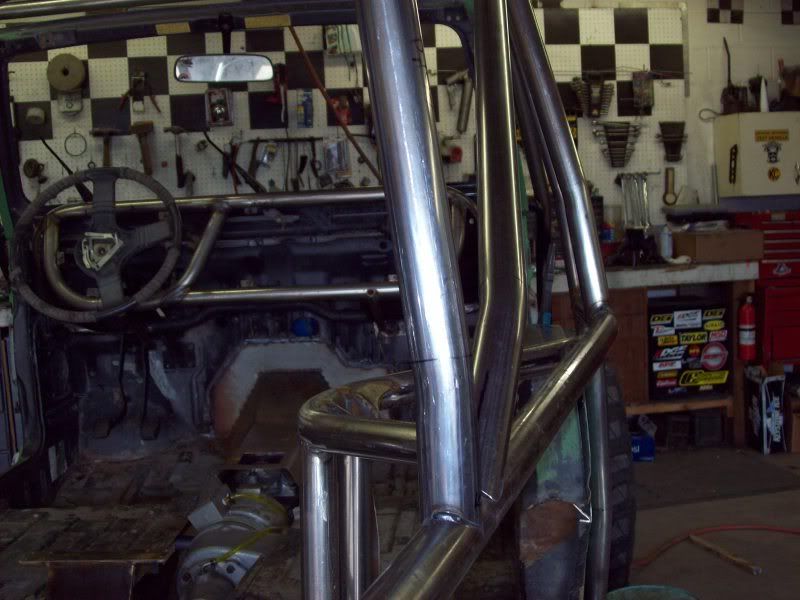
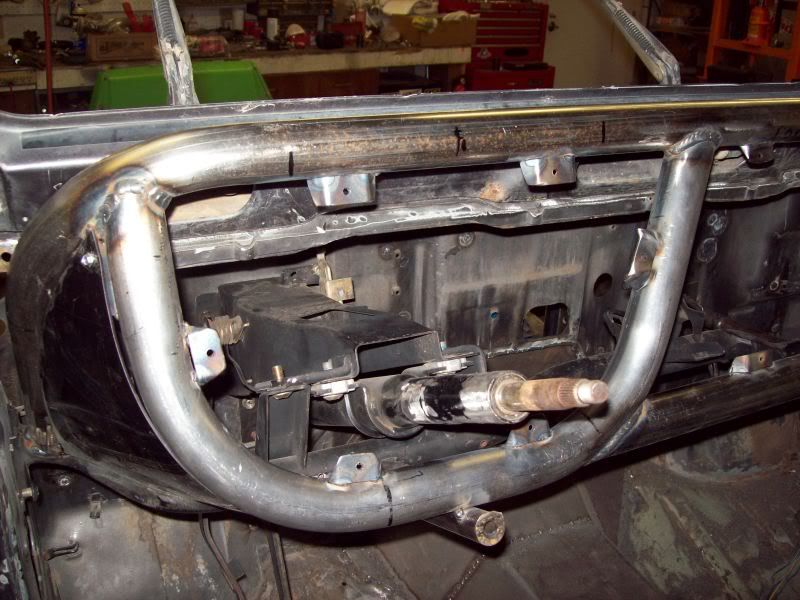
driver side
zukbuild282.jpg

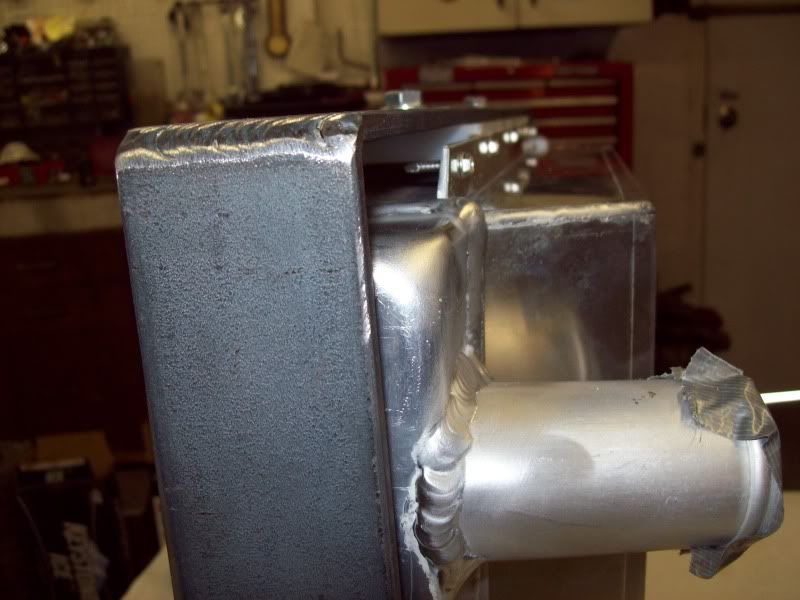
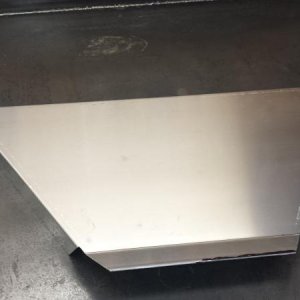
I rooled that outer side with some lexan and painted the back side of it,kinda sleek looking and cool.
pass side
zukbuild281.jpg

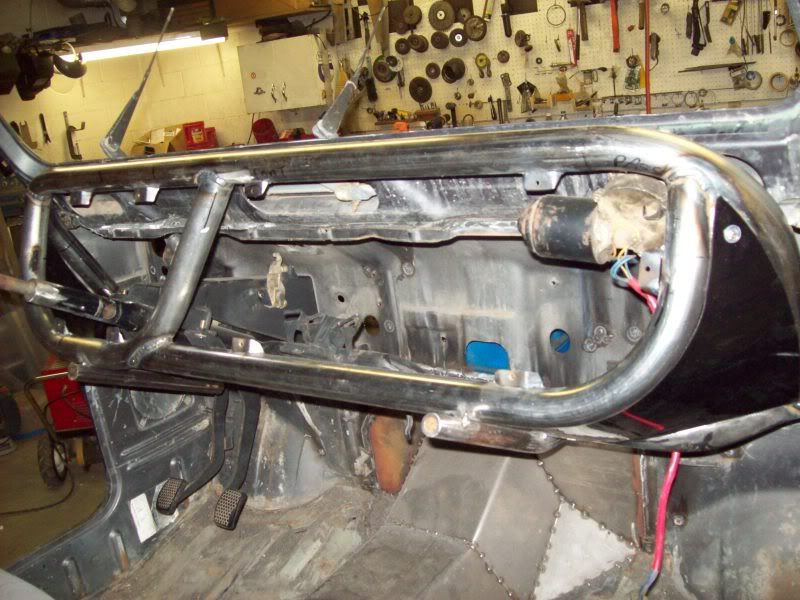
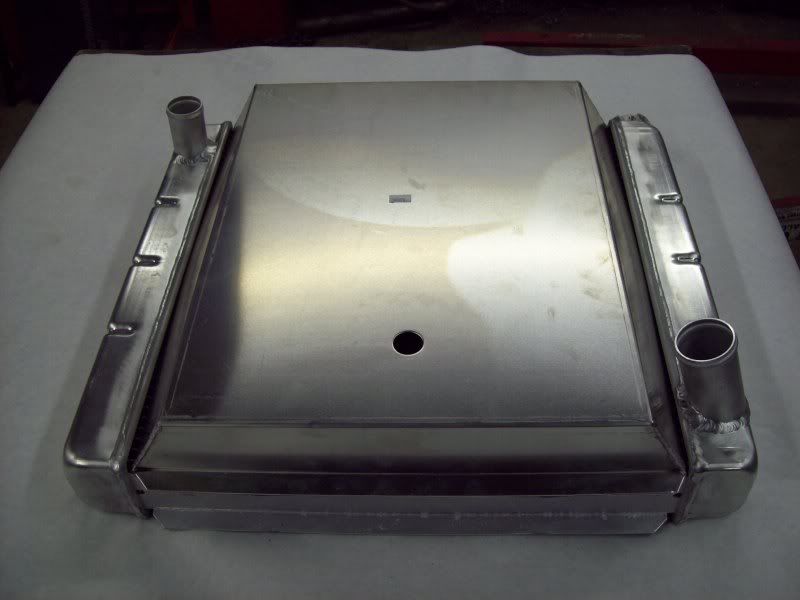
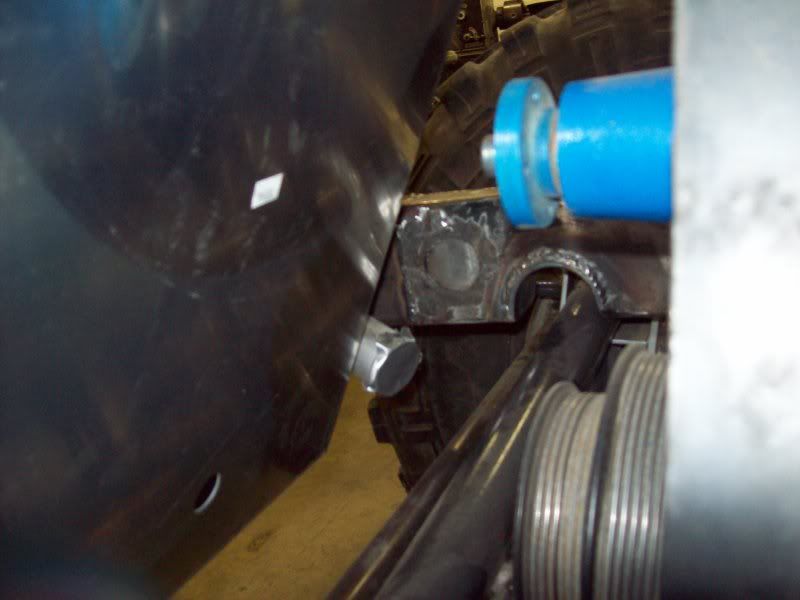
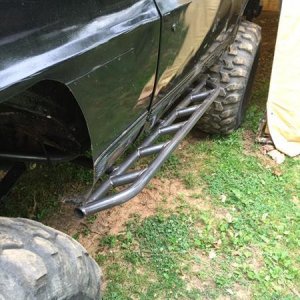
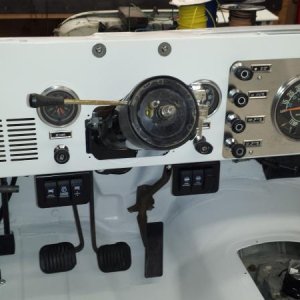
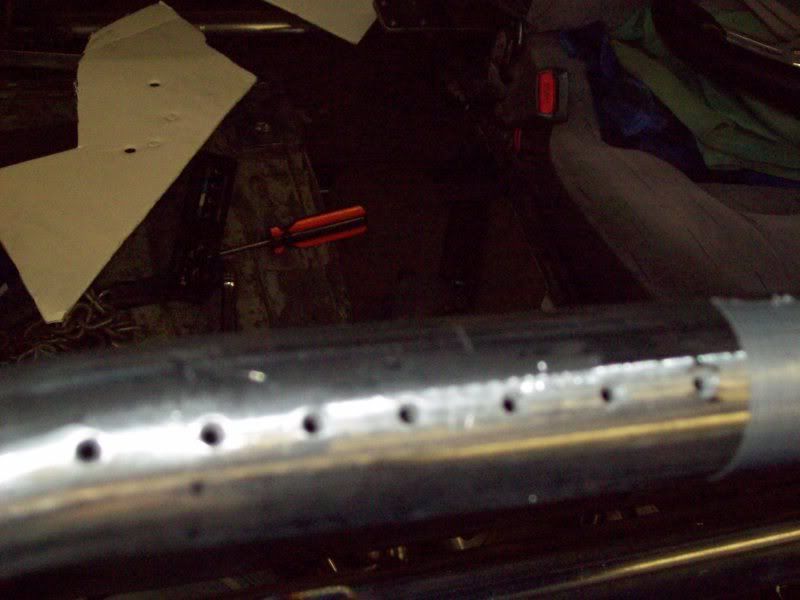
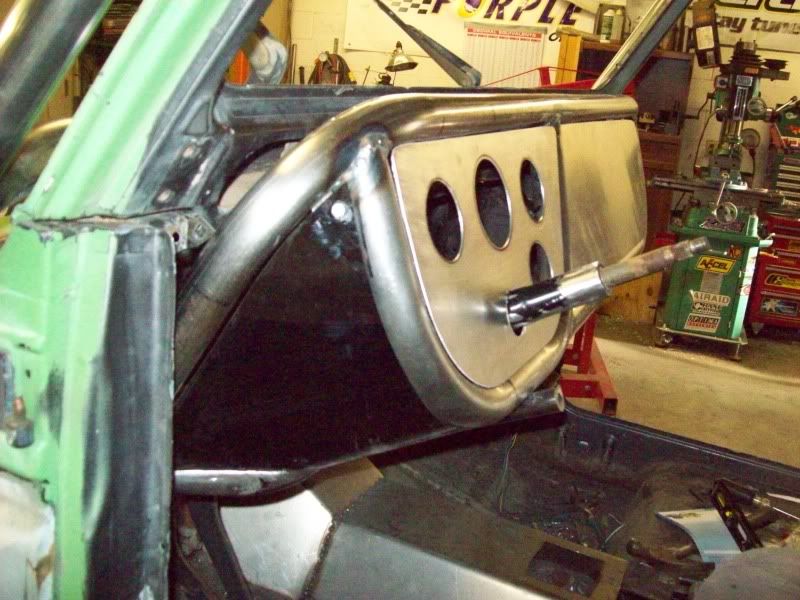
I drilled ouit the upper tube and made some points at the bottom of the tube to hook up the defrost lines to it...this will be my new defroster set up.The hole dash is attached to the stock crash bar that the steering column bolts to.So it is removable if I feel the need.
zukbuild280.jpg

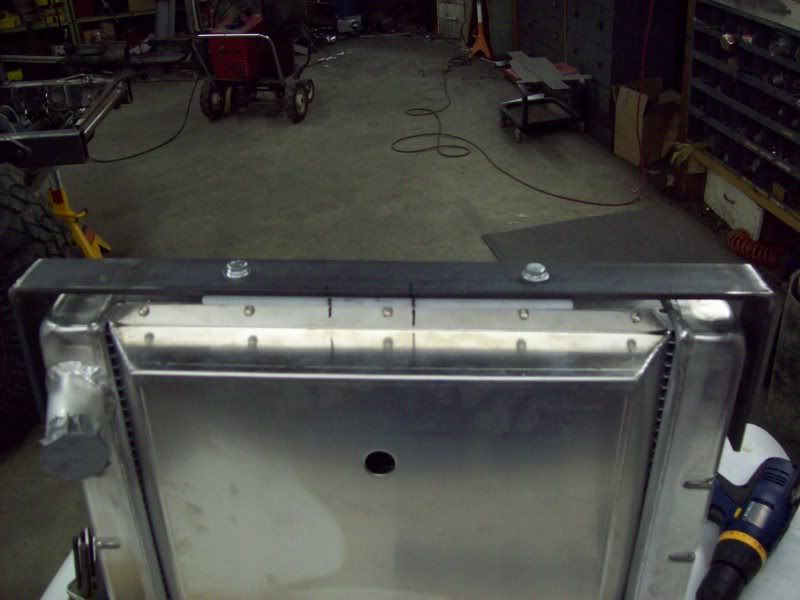
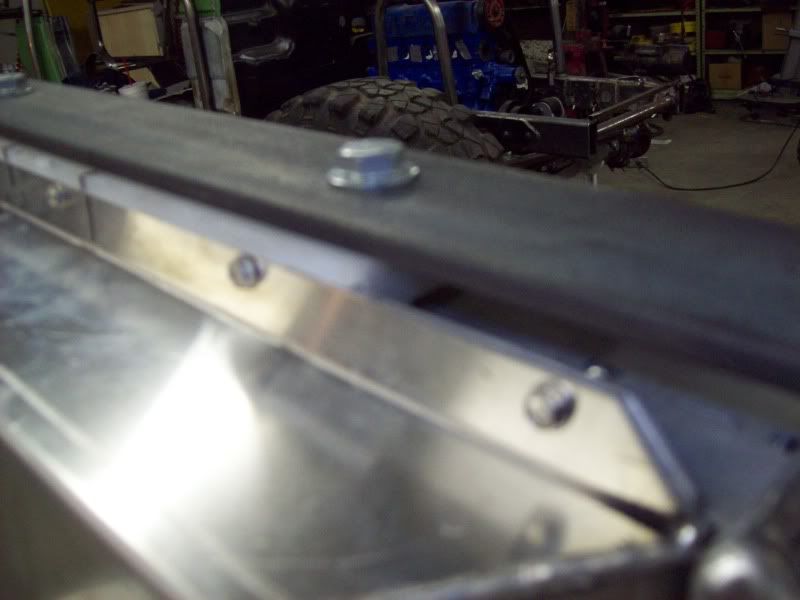
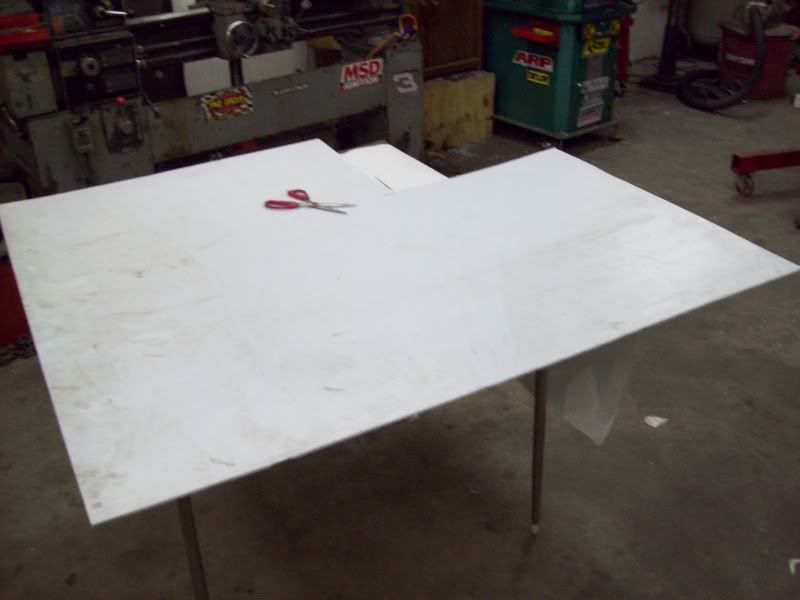
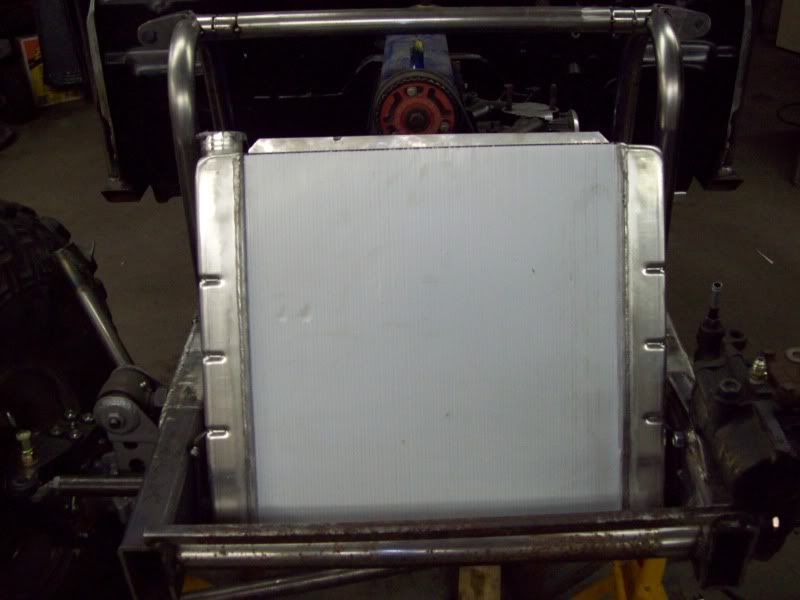
built some panels for it.
zukbuild279.jpg

zukbuild278.jpg


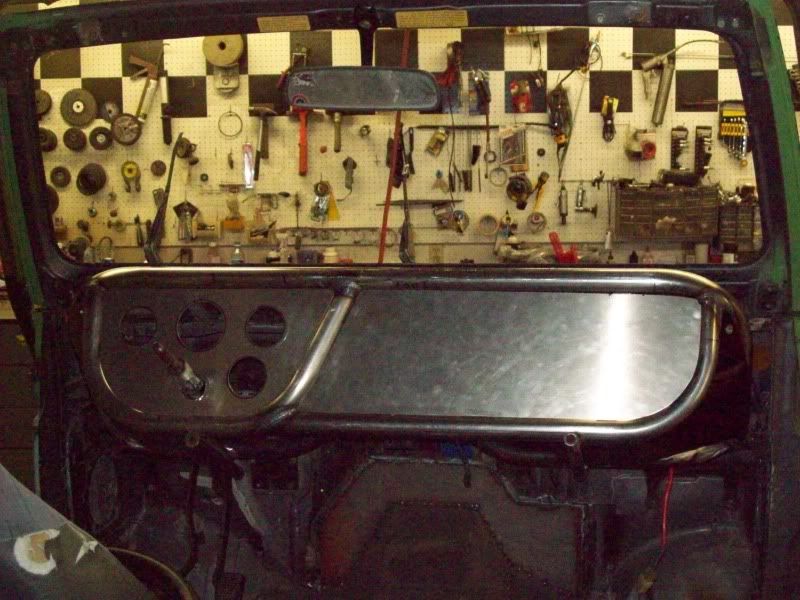
then I took the pieces inside to start laying out all the stuff that goes into the dash.
zukbuild285.jpg

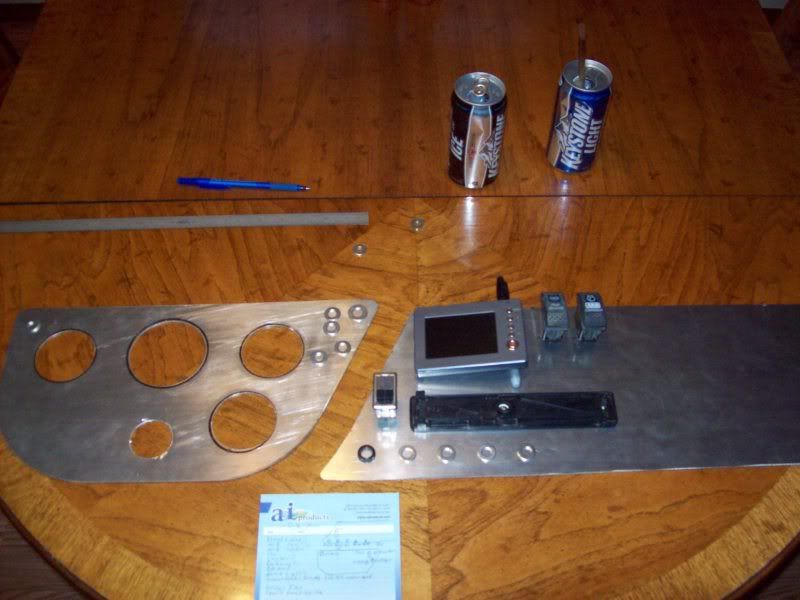
shoul;d have plenty of room to have a lil glove box on the pass side:awesomework:
 
Mistress

Lookin good. That dash turned out real clean. Your gettin pretty handy with that tube bender. Like the lexan touch too, might have to highjack that idea at some point.:awesomework:
 
Use pvc for your deforst instead of the pipe, it is just a huge heat sink. I learned that from my willys. Looks good though!

Ya know I had somthing similiar to this in my 53 high hood and it worked great! 1 1/2x.120 wall tube.

Besides I cant build nothing out of pvc dude, I cant weld that lol

Im learning how to build **** out of metal,damn good at building **** out of masonry products,no wood,no plastic hehe
 
I took yesterday off and got some zuk progress.:happy

The ram assist was a nightmare to fit in there,must have moved it around like 6 differant times.I finally found a spot where it doesnt hit anywhere when its all flexed out and steering both ways.sigh

Damn theres a bunch of bars up front lol
zukbuild288.jpg


close up
zukbuild287.jpg


Then I desided I would try to mount up the radiator.Drilled and mounted the shroud...ready for some fitment.
zukbuild289.jpg

This rad had a mounting flange on the top and bottom so thats where Ill do my mounting.
I had a piece of delrin laying around off of some project a while back.So I used it and milled it into a shape that would press down inbetween the monting flanges,then drilled 3 holes on each side and screw it down to the rad.Then bent a piece of 1/4 strap to wrap around the rad and its held to the piece of delrin with 2 10mmx1.25 bolts( I may add a 3rd)
So at this point Ive got this( the bottom rad mount)
zukbuild290.jpg

zukbuild291.jpg

On the strap I just cut a slot on the back side of it with a skinny wheel and bent the 90* on both sides and welded them up.
zukbuild292.jpg


Ill get ya some more pics...I took a bunch.lol
 
So now I put it in and find out what dont fit right(nothing ever fits easilly on this thing)

My big thing is I want my hood LOW!!!! I want to see what im climbing not my hood.smokin

So i go to fitting and of coarse **** dont fit where I want it :funny: The lower hose outlet hits the draglink...

In the pic I ve removed the draglink so I can get a measurement for the upper rad mount.
zukbuild296.jpg


Like I said I want the hood as low as it can be,so I will not compromise on this.:mrgreen:Ill pull the rad back out and have the lower outlet modified...I got a buddy that can tig weld for me.

At this point im worried about ruining my new fancy rad,so I took a few minutes and built me a cover for the front of it.
some plastic coragated board I had laying around.
zukbuild298.jpg


more better:mrgreen:
zukbuild299.jpg

Top mount:
For the top mount,more of the same...with a twist.

At some point there will be some stress on this upper mount(bad landings,etc,etc) so i want it real strong but yet removable.

So I pulled out another piece of delrin(wow this stuff machines nice!)and widdled on it.:mrgreen:
zukbuild300.jpg


This one got a lil extra attention,I machined a 1/2 notch down the middle of it.
zukbuild301.jpg

There no words to describe how much fun im having building this ****.:jumping:
Then I took a pice of 1 1/2x1/4" strap and a piece of 1/4"x1/2 strap.I took the smaller piece and made it a "T" shape and welded it to the bigger piece.Then I put it on the mill and machined off the weld area so I could have a true 1/2" raised slot down the center of the part.
zukbuild303.jpg

more.......
 
So the delrin is machined and the strap is machined and they fit together like this.
zukbuild304.jpg

Nice!
zukbuild305.jpg

So now I gots to make this solid,this was my big idea around all the rest of this crap for maounting this up and beeing able to remove it easy.
I tied it into the removable bar for the front coilover mounts.
zukbuild306.jpg

side view
zukbuild307.jpg

I havnt drilled the holes in top mount yet(I was tired and went to bed)

Ill drill 4 smaller holes and tap them into the delrin so this mount cant move,the bolts and the groove that the metal piece slides into should make this bomb proof.
So when i want to remove the rad I just have to remove a few bolts and take that shock mount brace off and the upper rad mount will come off with it.:happy
almost done other than those holes that need to be drilled and tapped.
zukbuild309.jpg

Nice and low hood,almost looks kinda wierd...
zukbuild302.jpg


This deal has completlly screwed me for my idea on the grill and headlights lol Ohwell Ill come up with somthing else for that grill and headlights.

I had a very productive day and night yesterday...smokin
 
To tell ya the truth Mike I'm not 100% sure what that fraze means either. Heard it befor and it sounded funny so I used it. :fawkdancesmiley:

lol Righton ....More cowbell it is!! :haha::beer:

I may have youre 38's sold in a few weeks,a differant guy says he wants them now.But has to waite a few weeks to save up the $$

Idunno I may need them I might not have the coin for the mtr 40's now that i bought this yesterday hehehe
zukbuild327.jpg

zukbuild328.jpg


shes a beauty!!! nice 93 cummins:cheer:

and these
zukbuild324.jpg

zukbuild325.jpg


Im a broke fawker now:redneck:
 
***:fawkdancesmiley:UPDATES?:fawkdancesmiley:***

Sorry I got nothing,I havnt touched the zuk in a few weeks.Been working on my new to me cummins.Ive never had a diesel rig before,I know nothing about them so Ive been takin it apart and playing around with it.:redneck:
 
I wrestled tube sunday.

zukbuild333.jpg


zukbuild334.jpg


zukbuild335.jpg


This should keep the 3rd pass safe.
zukbuild336.jpg

zukbuild337.jpg

zukbuild338.jpg


needsa few more bars back there,but this is all I could get down in one day.I just havnt got this tube bending thing down yet...it tends to kick my arse,and take longer than I think it should,keep in mind I did all this with just my 2 hands,another set of hands to help hold a tube would have been nice...some day Ill get effecient at it...maybe lol
 
Last edited:
tear it down

zzzzzzzzzzzzzzzzzzzzz thud clang!!

I didnt like the looks of that C hoop,so I redid it.

zukbuild342.jpg


I think this has better lines.Lowered the C hoop 1 1/2"s and took that center kick out of it....more better?

zukbuild343.jpg


mounted up the seats.
First I had to modify the shifter cover,put a lil step in it so the pass. seat could slide over the top of it.
zukbuild351.jpg


seat bars
zukbuild355.jpg

zukbuild356.jpg


Got the removable hood bar on.
zukbuild358.jpg


ballistic couplers on the front hoop
zukbuild359.jpg


used bushings on the frame mount.
zukbuild360.jpg

zukbuild361.jpg


zukbuild362.jpg


getting close...:redneck:
 
Top