crash2
-Oh no I picked a side-
I think you pretty much nailed it in your previous post when you said "turd" :fawkdancesmiley:
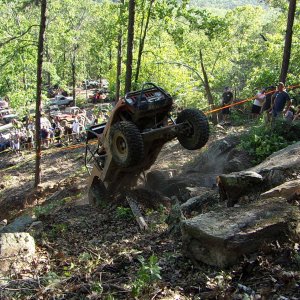
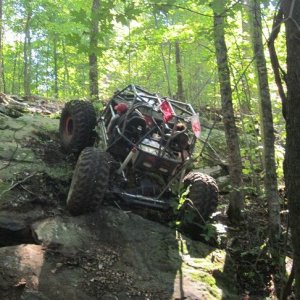
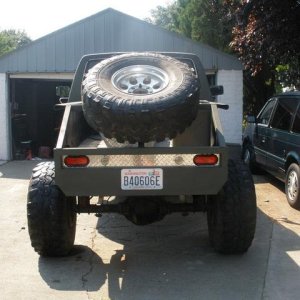
Where do you wheel something that big?
Mud pits......
I think you pretty much nailed it in your previous post when you said "turd" :fawkdancesmiley:
Where do you wheel something that big?
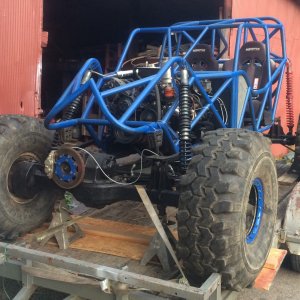
"The hyper-wobble rust bucket rod knocking turd of Puyallup"
It will renamed after you put $10,000 of parts on a $500 truck

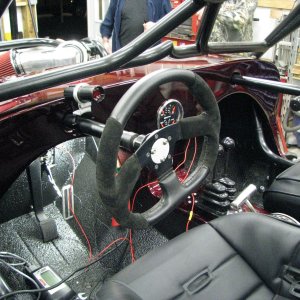
1.push for starter
2.ignition
3. radiatior fan
4. P/S coolers
5. Trans cooler
6. rear winch
7. front winch
and all of them with enough extra wire to move them around if I feel the need.
Just remember--you will be playing with your winchs more than you fan switchs/reaching for them won't be any fun :redneck:
Everything should be ok to move except the push button--its a much larger hole for mounting...


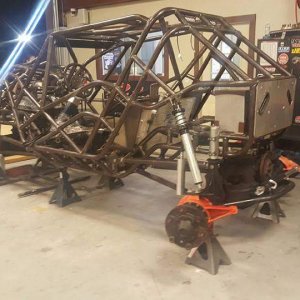
Wow. Very nice.
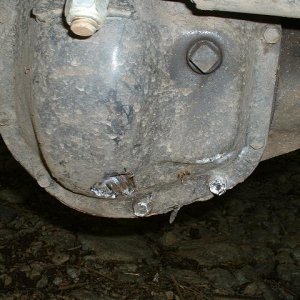
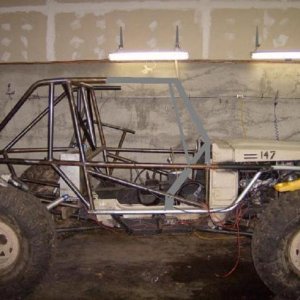
.Just don't look at the welds :haha:
I need alot more practice time with the spool gun...
Just don't look at the welds :haha:
I need alot more practice time with the spool gun...


Looks good Crash. Are you pulling the puddle? If so thats why the welds are funky and you get that black crap all over the place....
You have run Aluminium MIG before right mike?