slednecks1124
Well-Known Member
- Joined
- Aug 16, 2006
- Messages
- 1,544
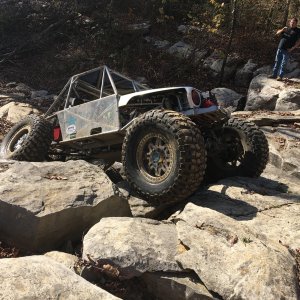
Looks pretty sick Brad, definately not something you see every day in the build section:awesomework:

First I was sadden when I saw you cut it up. Now Im:cheer: Keep it up
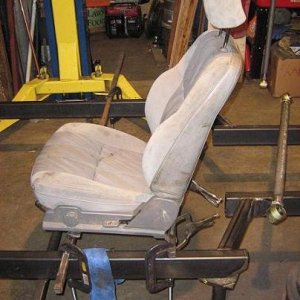
Those *****in' camaro seats fit perfect in the zuk, thanks. Will be nice to get the welder burnt soggy Celica seats out. Might as well be comfy while I'm wheelin jack stands.


man you sure know how to **** up a good looking rig :redneck:
One question, how'd the importation process go?
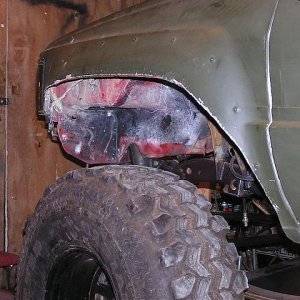
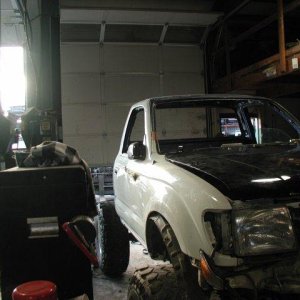
A couple of the inside so far.