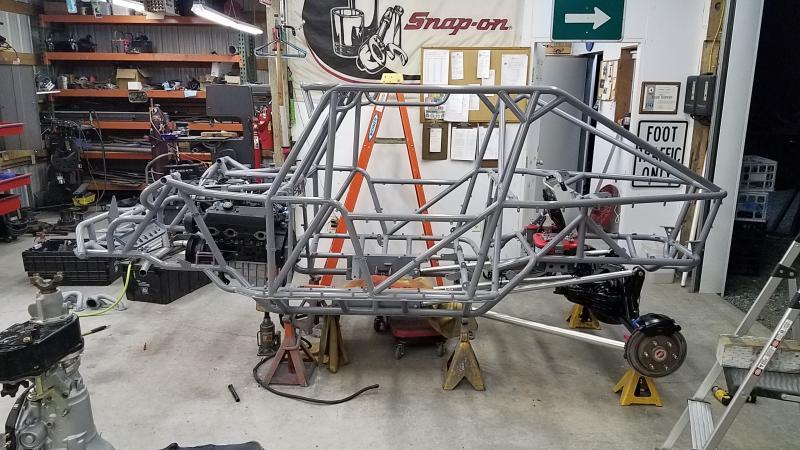
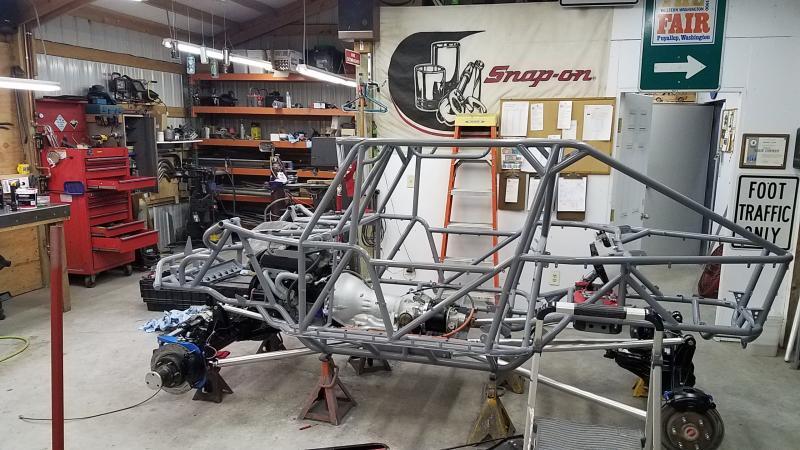
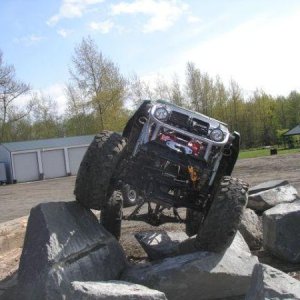
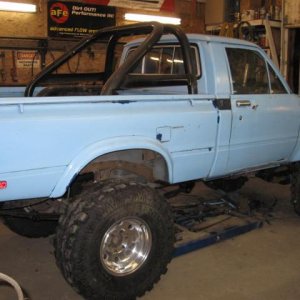
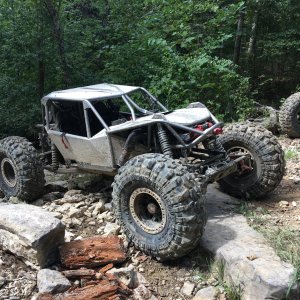
Finally....Da new rig..

Hardline Crawlers - Rock Bouncer Builds, Tech & Off-Road Trail Talk

Help Support Hardline Crawlers:

Man that thing looks killer! Love the buggies people have been building with all the style. Wish I could afford one, haha

~T.J.
 
Man that thing looks killer! Love the buggies people have been building with all the style. Wish I could afford one, haha

~T.J.

Thanks TJ--its just a progressive step and determination will get ya there :awesomework:
 
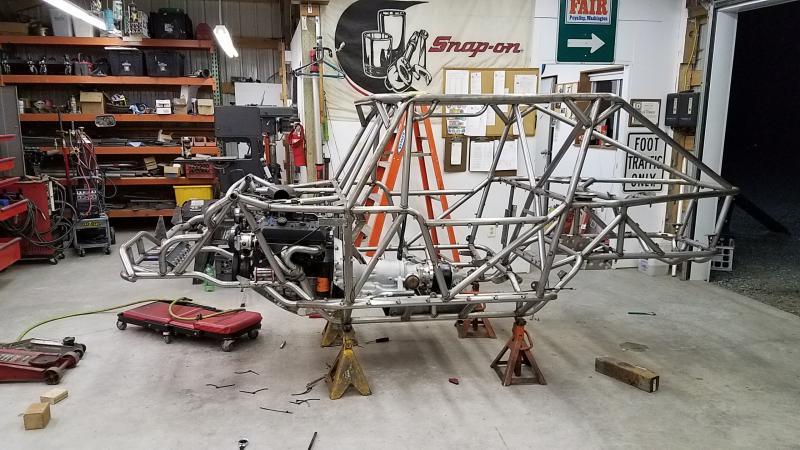
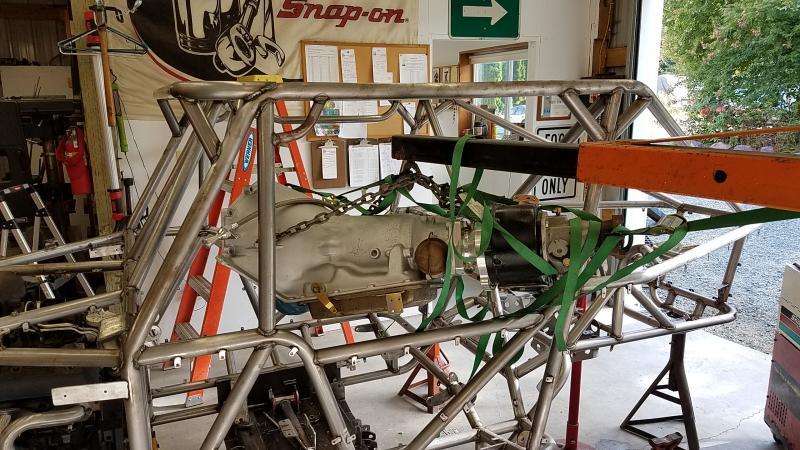
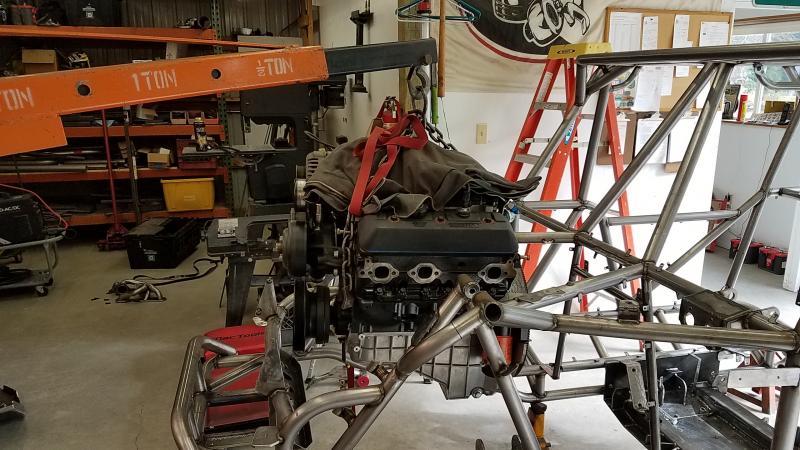
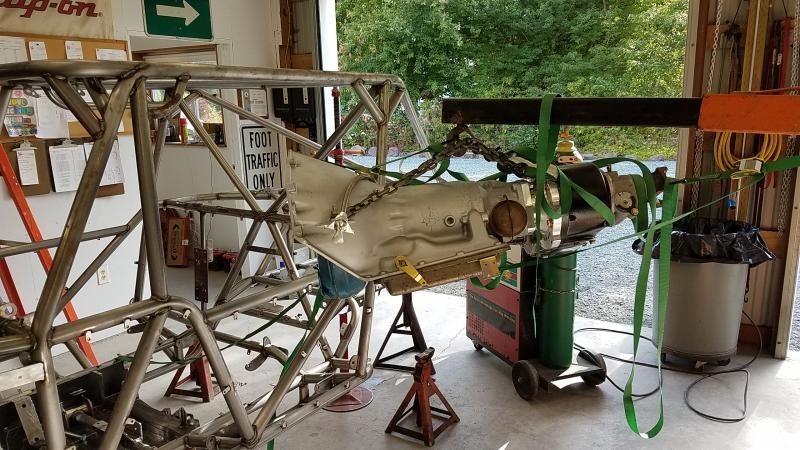
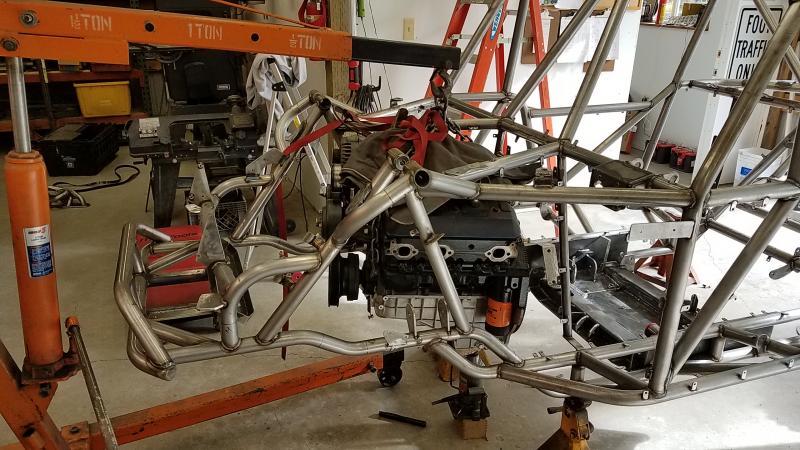
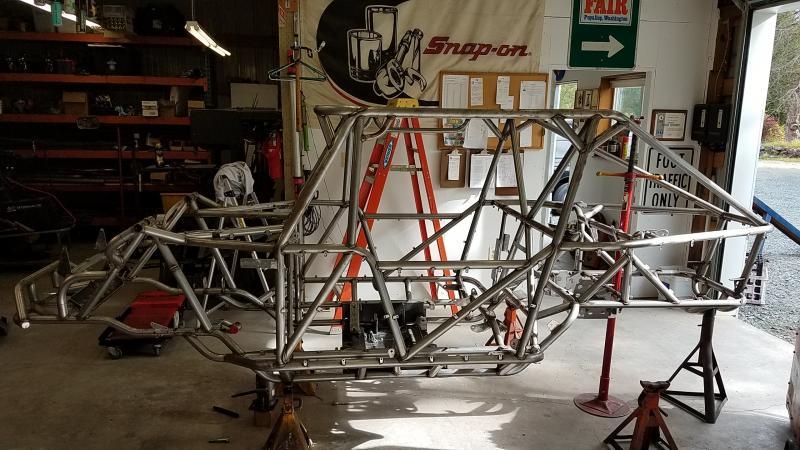
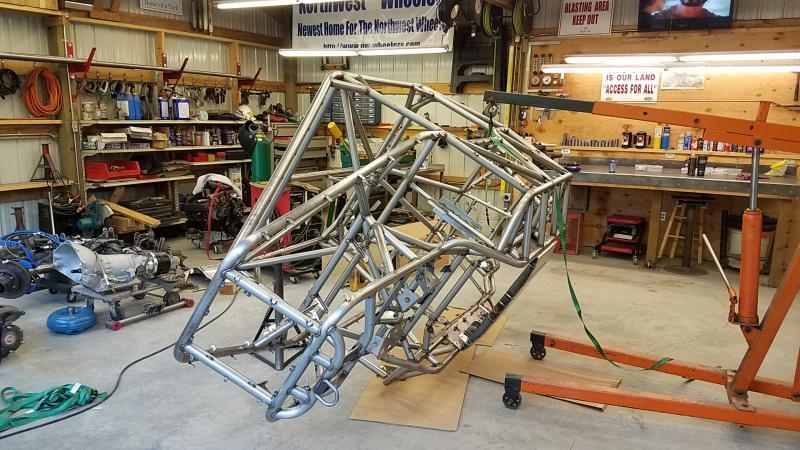
So I got what I needed done to start the tear down and finish the needed stuff before paint. Got everything pulled off except the 2 big items.
 

Attachments

  • 20170824_230421.jpg
    20170824_230421.jpg
    82 KB
Things were certainly tighter coming out then when I put them in but everything cleared nicely so I was pretty happy about that. One thing I really tried to pay attention to was the serviceability factor.
 

Attachments

  • 20170825_085650.jpg
    20170825_085650.jpg
    94.9 KB
  • 20170825_092853.jpg
    20170825_092853.jpg
    80.2 KB
  • 20170825_085737.jpg
    20170825_085737.jpg
    91.3 KB
  • 20170825_092630.jpg
    20170825_092630.jpg
    83.1 KB
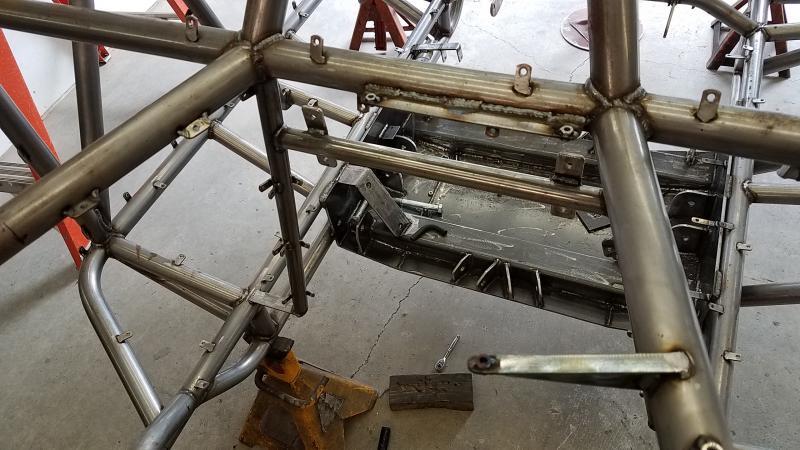
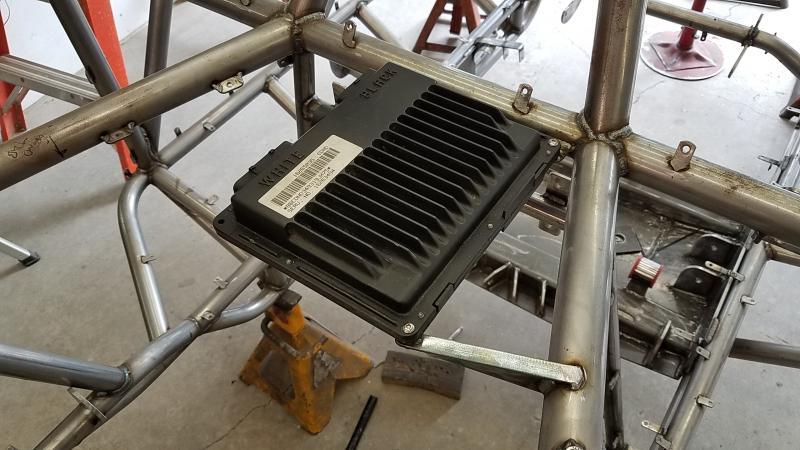
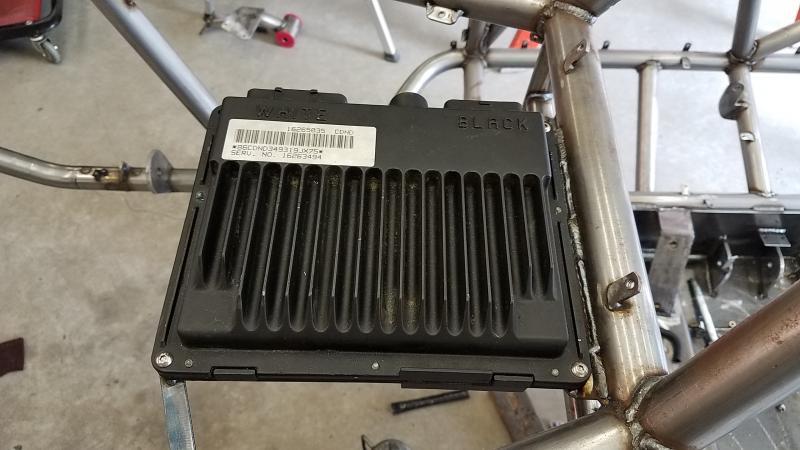
So I had one portion of the pcm mount made but I could not make the other portion until I knew how much room was needed to pull the motor out. I took some measurements and while the motor was coming out I was able to determine how the other portion could be made. So I got that all done...
 

Attachments

  • 20170825_111355.jpg
    20170825_111355.jpg
    69 KB
  • 20170825_111448.jpg
    20170825_111448.jpg
    66.5 KB
  • 20170825_111453.jpg
    20170825_111453.jpg
    52.6 KB
As an Amazon Associate we earn from qualifying purchases. Product prices and availability are accurate as of the date/time indicated and are subject to change.
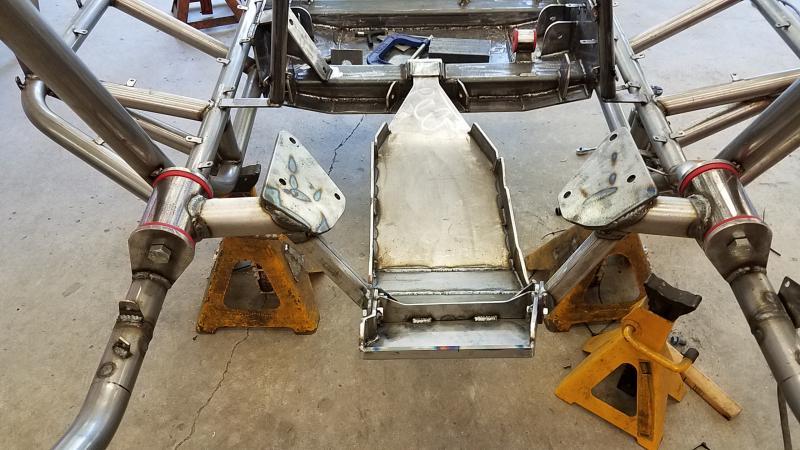
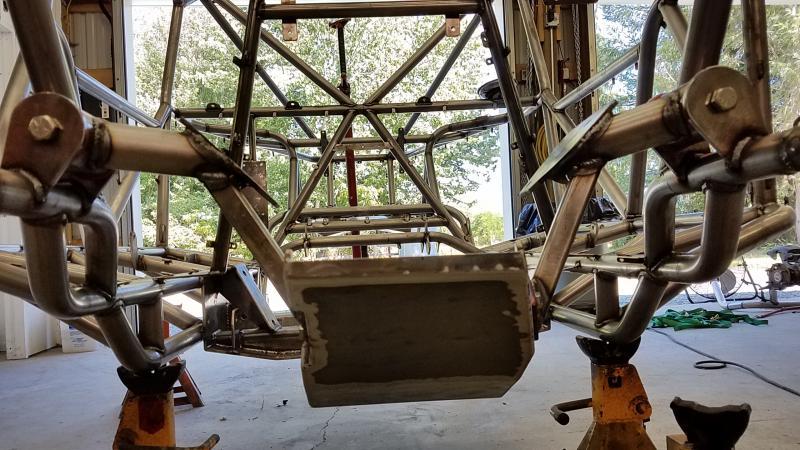
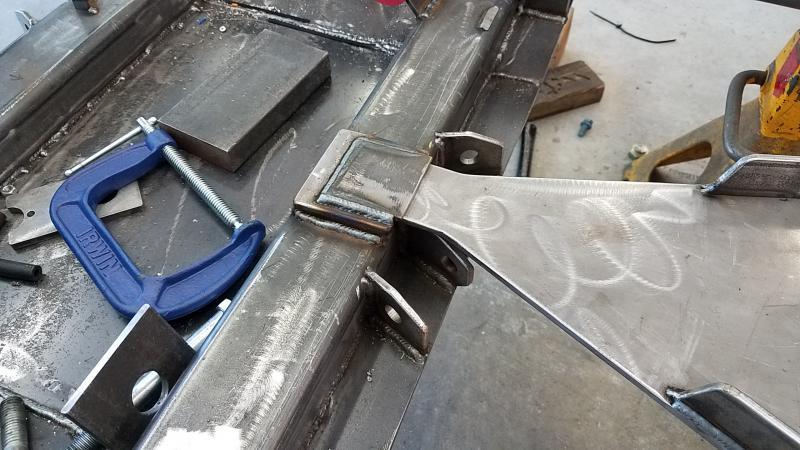
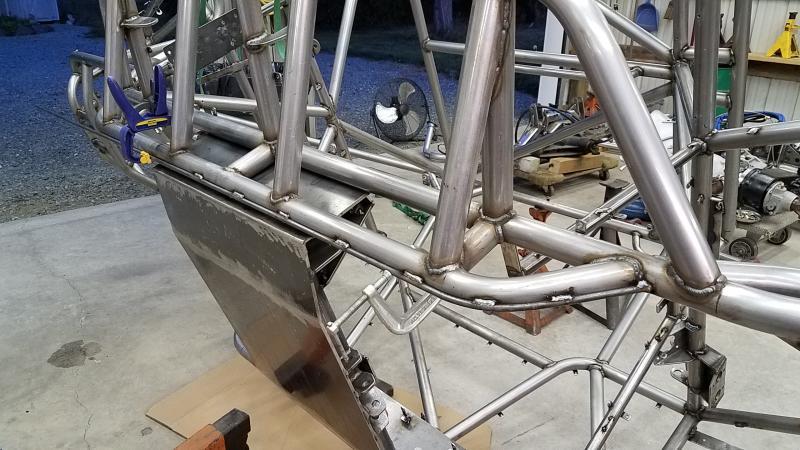
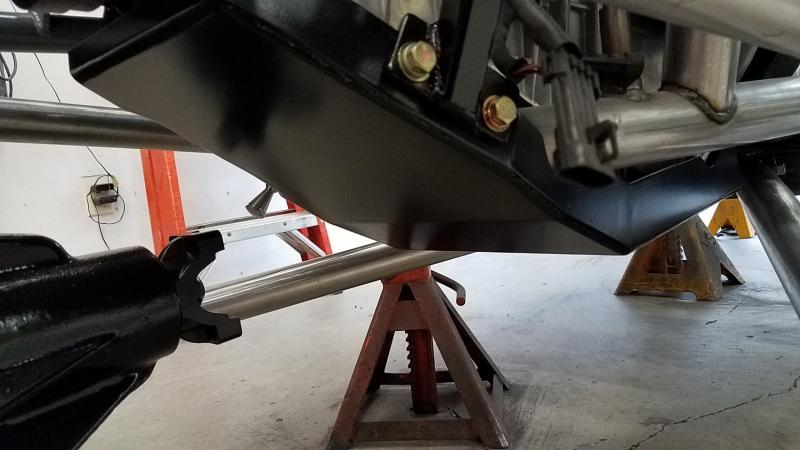
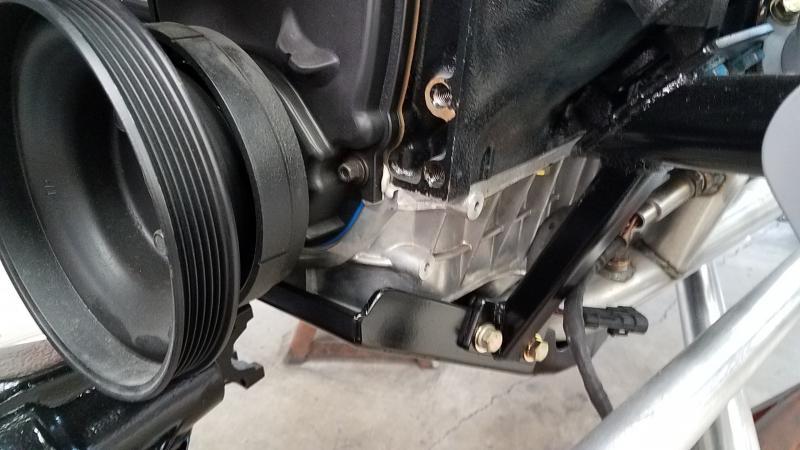
So another thing that needed to be finished was the motor skid and I had an idea how I was going to do the rear mount. Since the front unbolts the rear I made was a simple slide in. Will it work once it gets whacked a few good times? I dunno but I thought it was a cool idea to try. Its also under a bit of pressure to keep it from rattling granted I think the body panels will make a bit more racket than the skid ever can.
 

Attachments

  • 20170825_145936.jpg
    20170825_145936.jpg
    63.1 KB
  • 20170825_150140.jpg
    20170825_150140.jpg
    72.4 KB
  • 20170825_150144.jpg
    20170825_150144.jpg
    84.8 KB
  • 20170825_150150.jpg
    20170825_150150.jpg
    67.8 KB
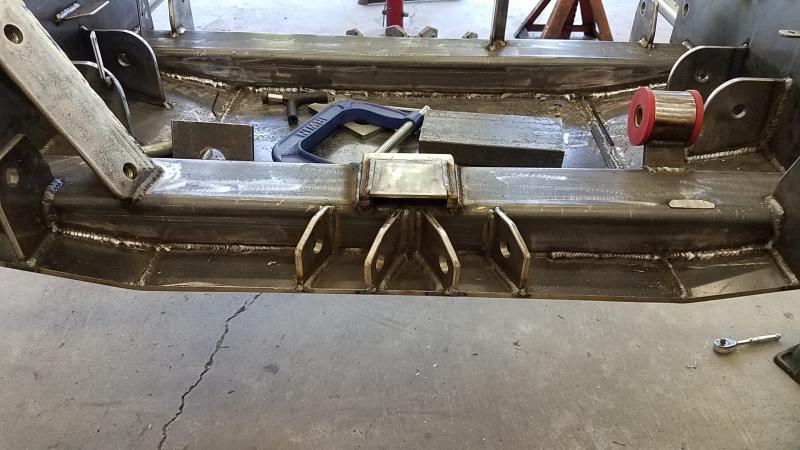
So that only left one thing to be done. Finish welding up a few spots on the belly and do the rub bars on the bottom and side of the chassis. 6 times back and forth and got it all finished up.
 

Attachments

  • 20170825_191751.jpg
    20170825_191751.jpg
    91.8 KB
  • 20170825_201452.jpg
    20170825_201452.jpg
    75.3 KB
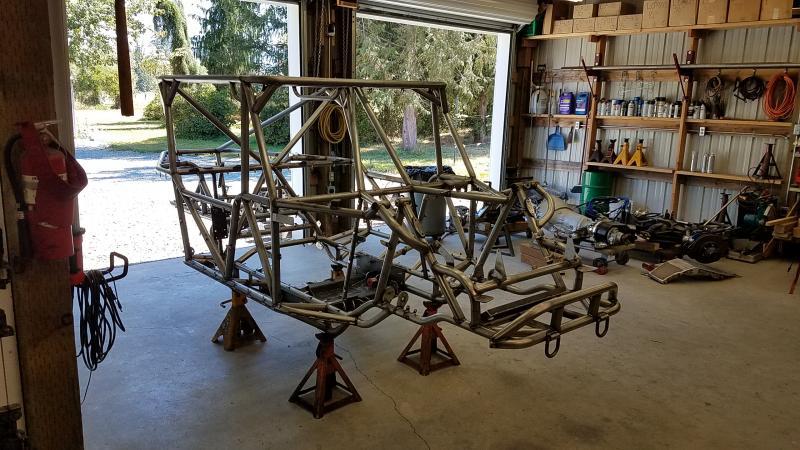
Was a good way to spend 5 hours knocking off dingle berries and any surface rust that had formed. But it was now fully prepped and ready!
 

Attachments

  • 20170826_105716.jpg
    20170826_105716.jpg
    77.6 KB
  • 20170826_131931.jpg
    20170826_131931.jpg
    83.3 KB
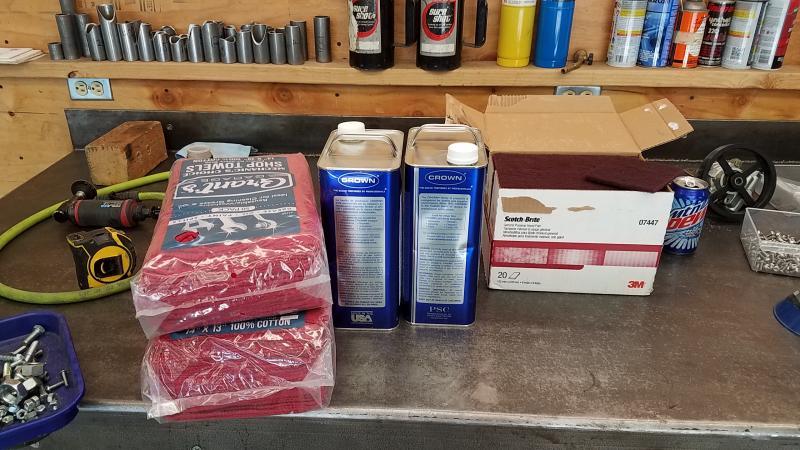
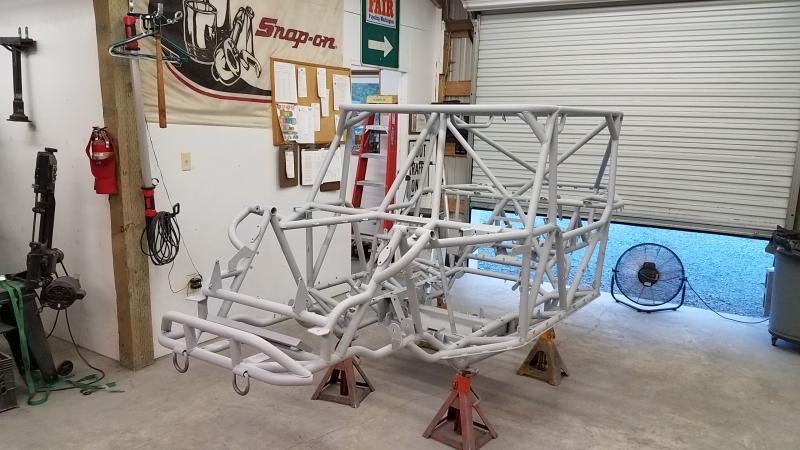
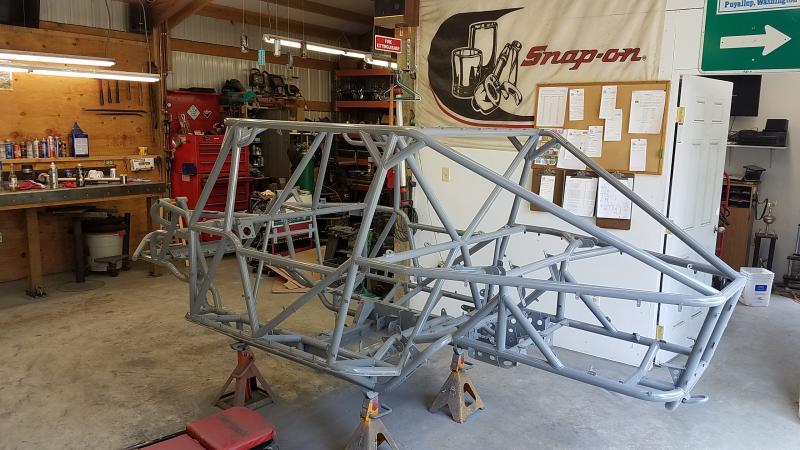
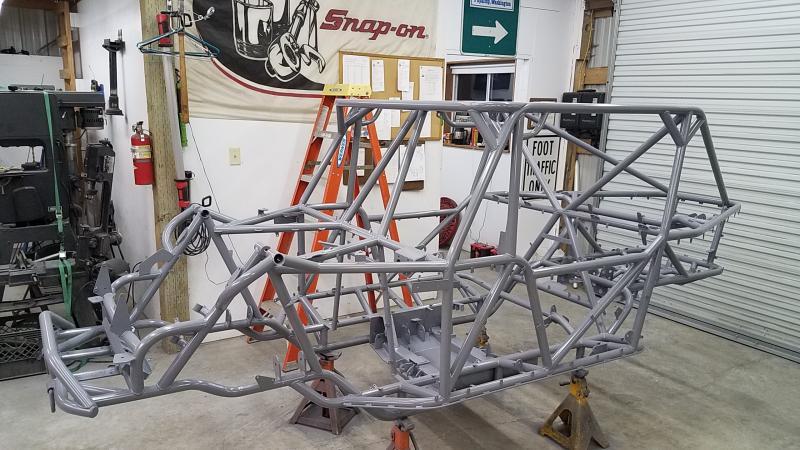
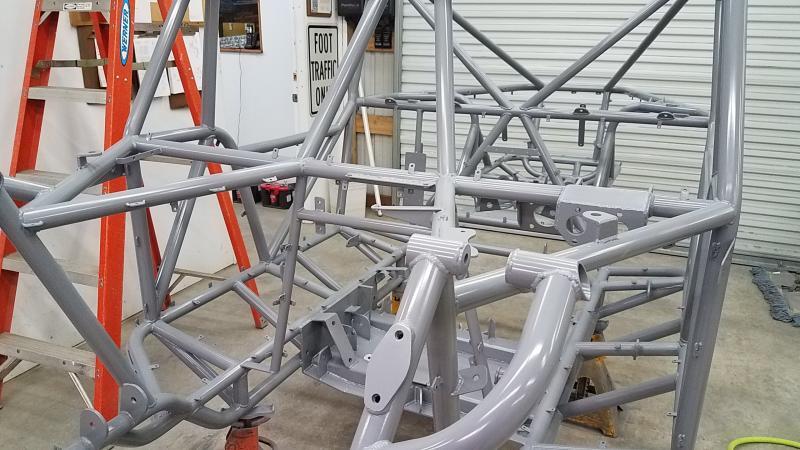
Got it all primed up and then painted.

Painting this type of thing was probably the hardest thing I have ever painted and if I was to do this every day--I would go mad!!!!
 

Attachments

  • 20170826_193046.jpg
    20170826_193046.jpg
    67.8 KB
  • 20170827_145156.jpg
    20170827_145156.jpg
    75.3 KB
  • 20170827_215048.jpg
    20170827_215048.jpg
    82.4 KB
  • 20170827_215052.jpg
    20170827_215052.jpg
    74.1 KB
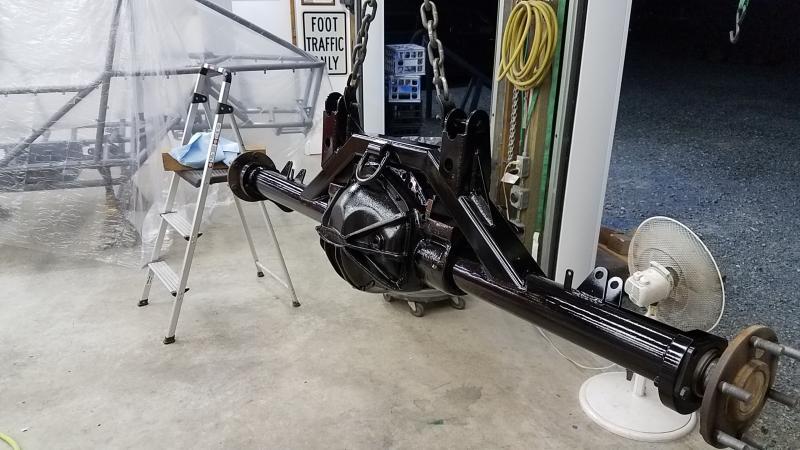
Next onto the diffs. I got the rear all cleaned up and painted....
 

Attachments

  • 20170828_225415.jpg
    20170828_225415.jpg
    64.5 KB
I also got about 90% of all the misc stuff painted and hung from the rafters....
 

Attachments

  • 20170827_211800.jpg
    20170827_211800.jpg
    62.4 KB
Looking great Crash!!!
I have been following along and you really made short work of this project!
 
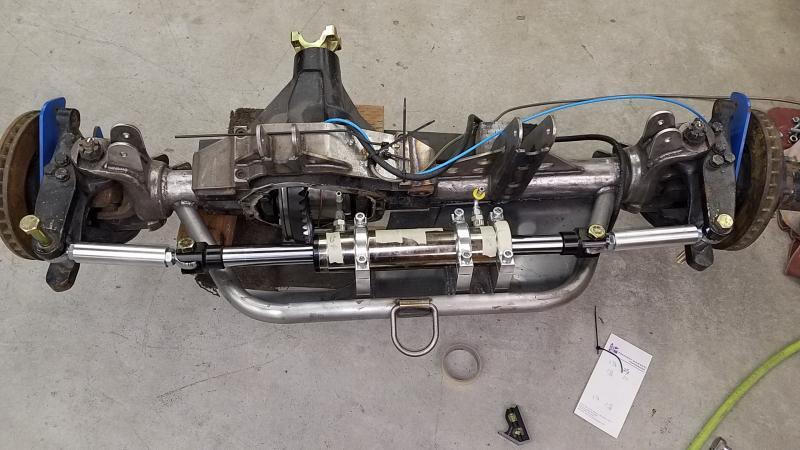
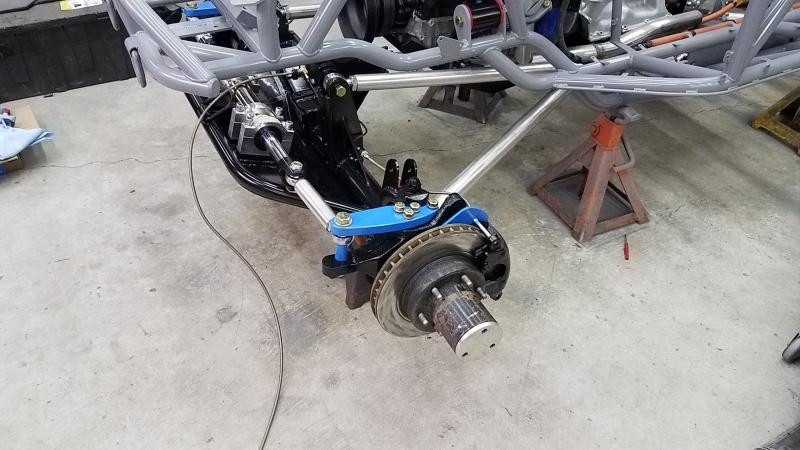
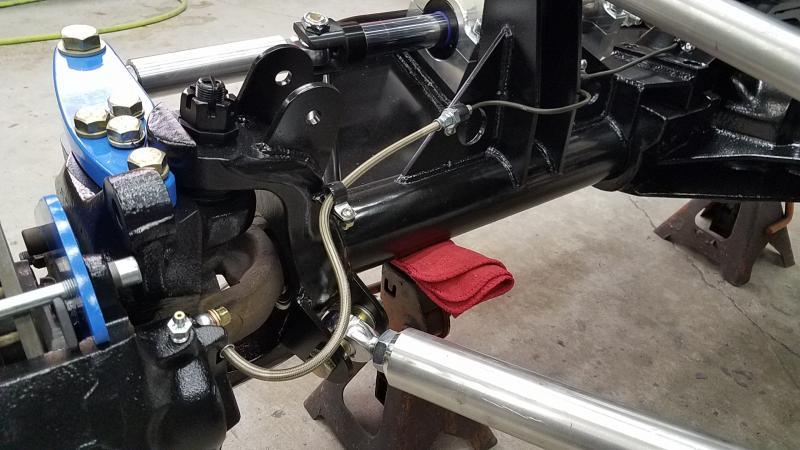
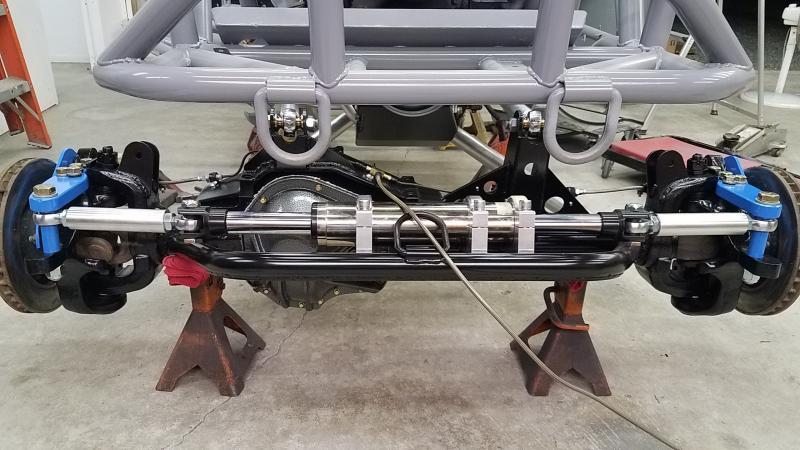
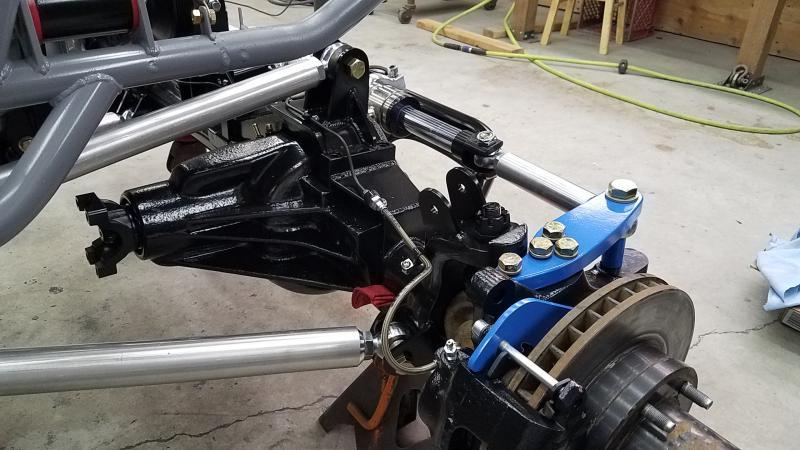
So I got the tie rods on and got the ram de-stroked and brake lines are made up...
 

Attachments

  • 20170829_215307.jpg
    20170829_215307.jpg
    60.3 KB
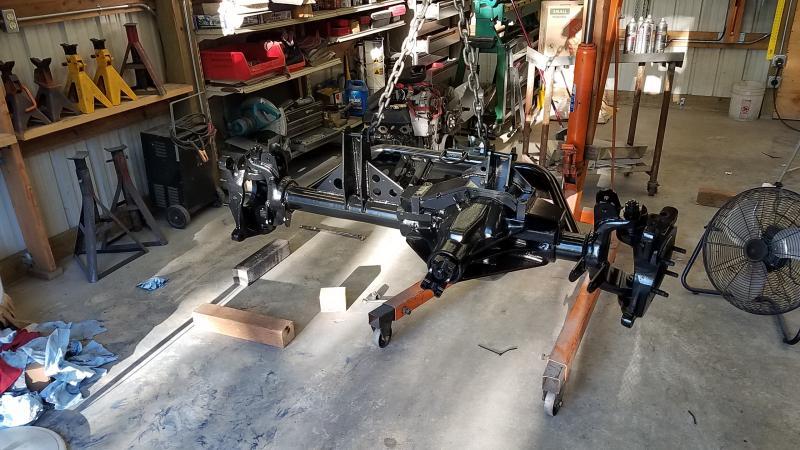
Got the front all stripped and cleaned and painted up. Been many years since these diffs have seen a fresh coat of paint...
 

Attachments

  • 20170901_074321.jpg
    20170901_074321.jpg
    79.3 KB
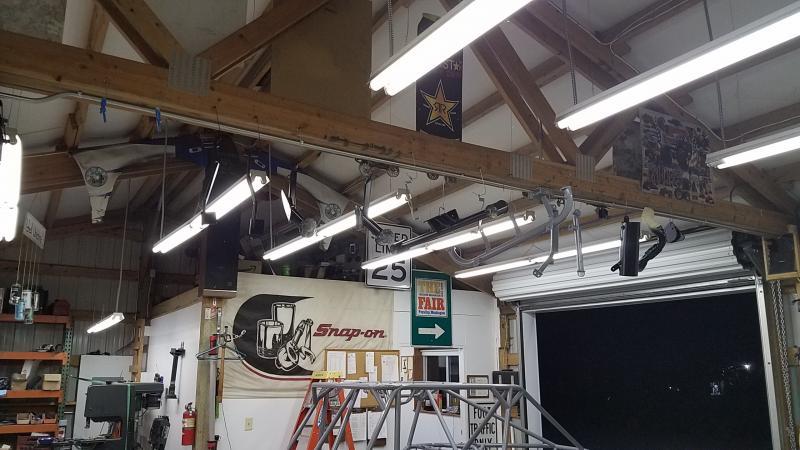
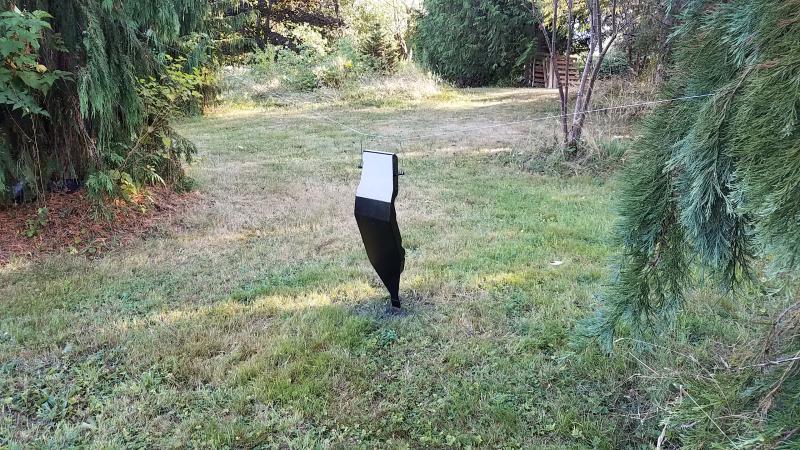
When both your shops are full and you have lots of property ya find a spot to hang and paint parts,lol...
 

Attachments

  • 20170830_180025.jpg
    20170830_180025.jpg
    124.8 KB
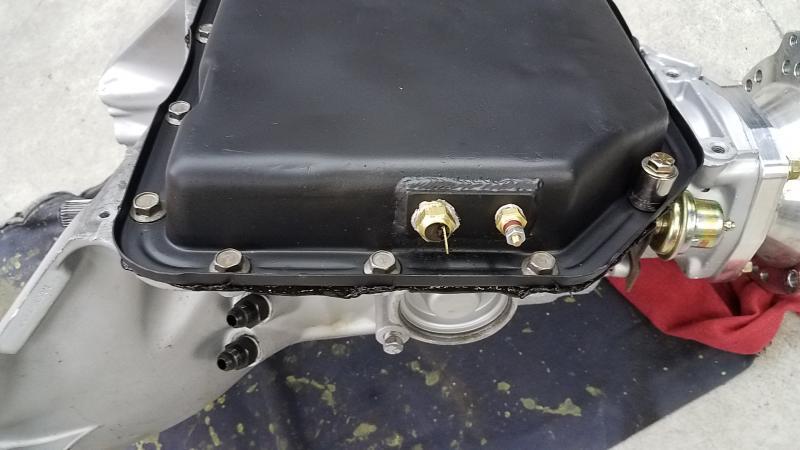
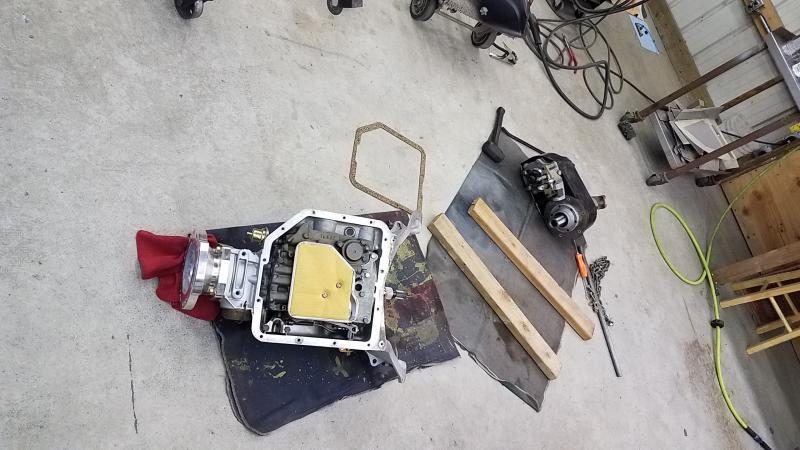
Was time to get the tranny/t-case finalized and ready. Separated them to not only made it easier to work with but I had not sealed the one side of the adapter. Pulled the pan so I could make a bung plate for the 2 sensors(temp gauge and fan control) I needed in the pan. I originally planned on them on the back side of the pan but didn't realize there was not enough depth due to the valve body. So I opted for my second choice. I also used pan sealant we use on the newer dodge's with no pan gasket...
 

Attachments

  • 20170901_210139.jpg
    20170901_210139.jpg
    44.7 KB
  • 20170901_194536.jpg
    20170901_194536.jpg
    63.1 KB
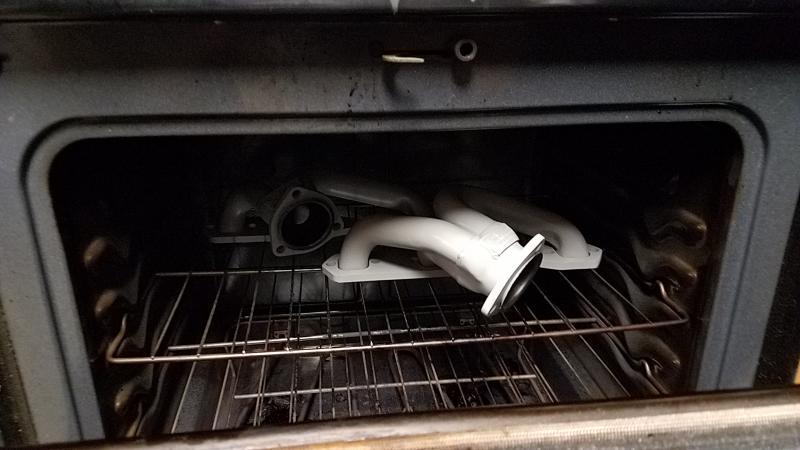
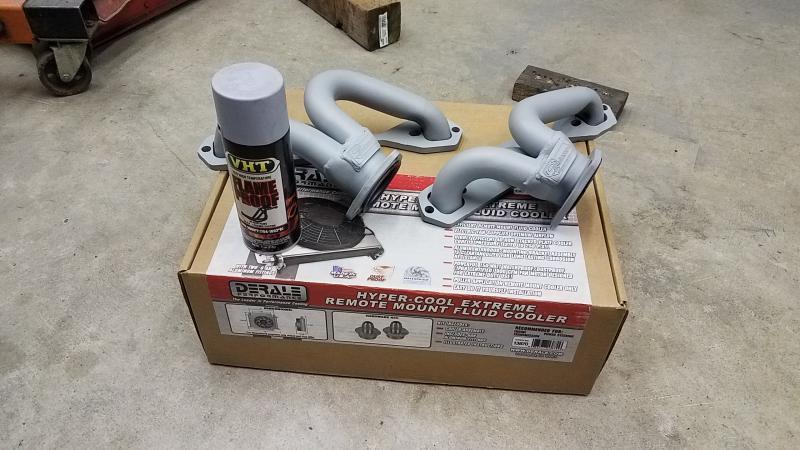
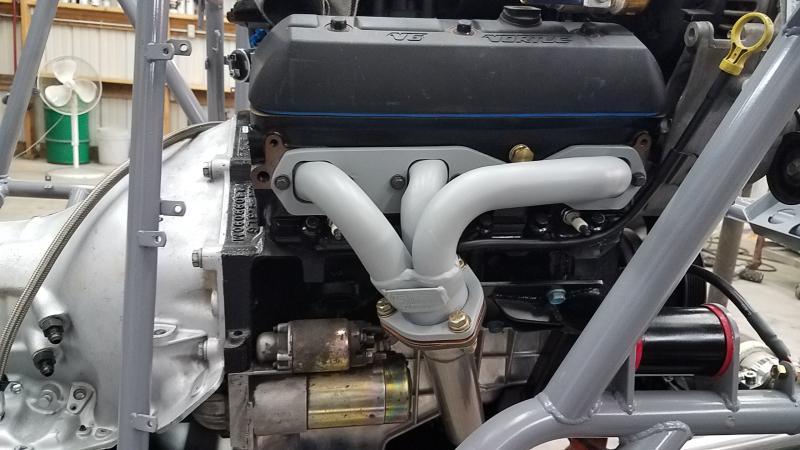
So I decided to try this VHT exhaust paint that has to be backed on. I am glad my wife loves me--the smell actually want that bad... So the headers are done and had my oven been bigger I would have tried to make my y-pipe fit...
 

Attachments

  • 20170901_201140.jpg
    20170901_201140.jpg
    44.5 KB
  • 20170901_214740.jpg
    20170901_214740.jpg
    61.7 KB
So the assembly has officially began. Got the motor in and the rear links cleaned and rear housing in...
 

Attachments

  • 20170901_213529.jpg
    20170901_213529.jpg
    84.8 KB
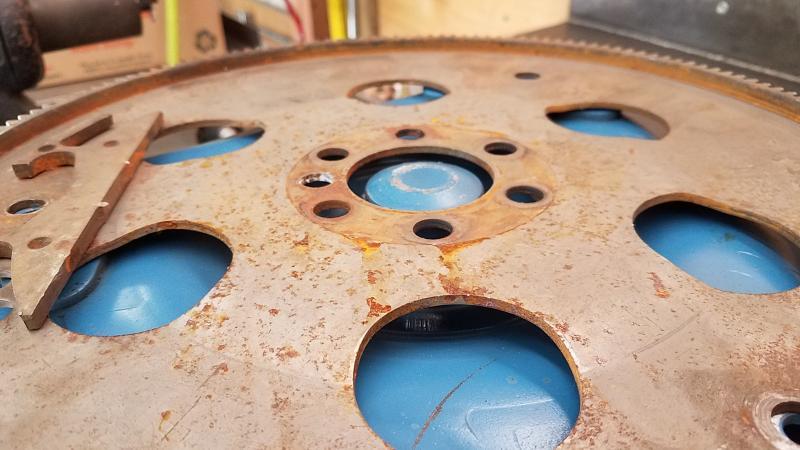
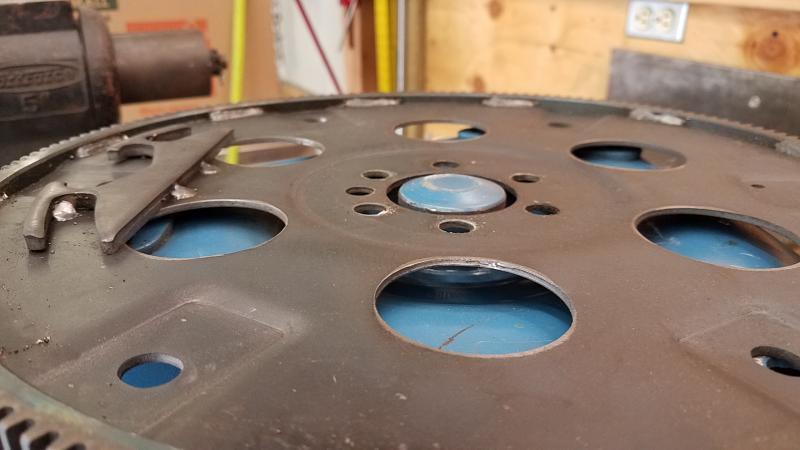
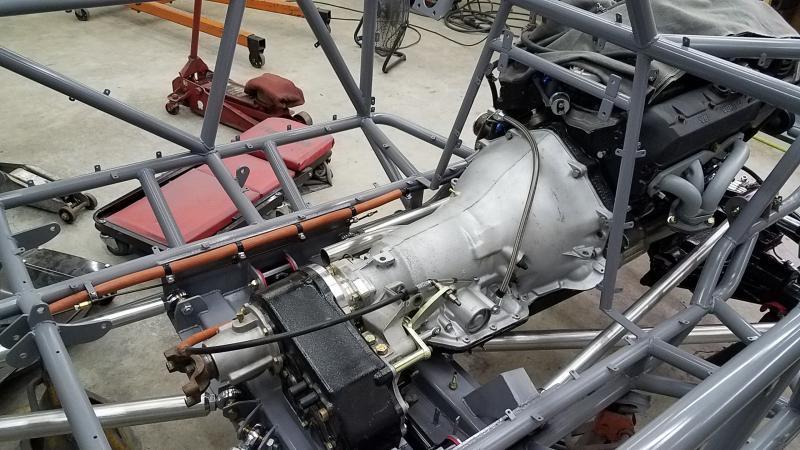
So when I got the motor I thought it would be a good idea to replace the flex plate so I ordered one and threw it on when I originally put the motor/trans in the car. When I went to bolt the converter up it felt like the converter had to move too far to reach the flex plate. So before I slap the tranny back in I figured I would check it and glad I did. The new flex plate certainly wasn't 100% correct and threw the old one back in since there isn't anything wrong with it.
 

Attachments

  • 20170902_094254.jpg
    20170902_094254.jpg
    54.4 KB
  • 20170902_094311.jpg
    20170902_094311.jpg
    38.1 KB
So I got the front end fully assembled and under the rig and the tranny/t-case in.
 

Attachments

  • 20170902_212948.jpg
    20170902_212948.jpg
    83.7 KB
  • 20170902_212953.jpg
    20170902_212953.jpg
    60.4 KB
  • 20170902_213000.jpg
    20170902_213000.jpg
    62.2 KB
  • 20170902_213007.jpg
    20170902_213007.jpg
    67.2 KB
  • 20170902_213015.jpg
    20170902_213015.jpg
    65.5 KB
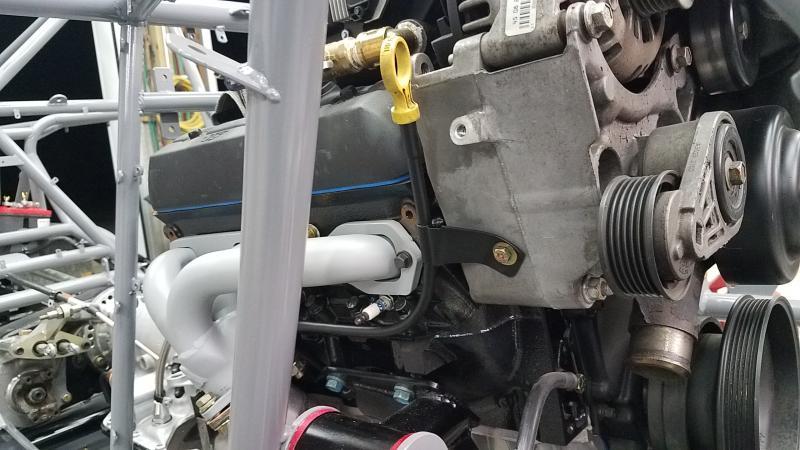
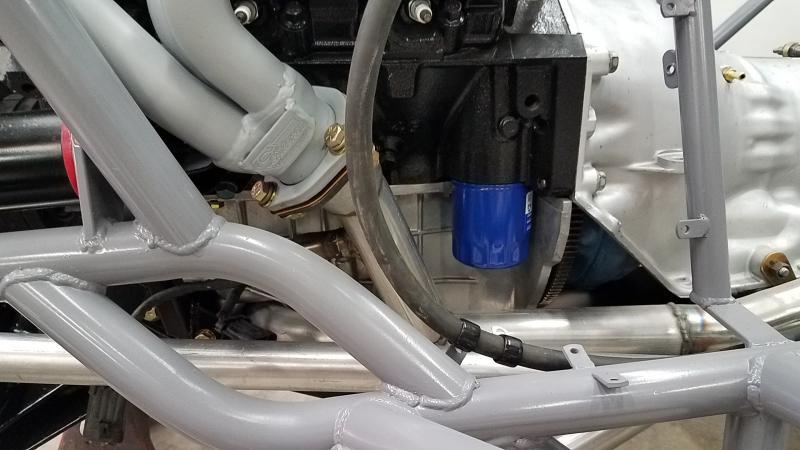
I got the headers mounted along with the Y-pipe. My first attempt to make the stock dipstick tube fit with the headers failed so I ordered a replacement and was able to make this one fit to a tee thanks to my prior mistakes,lol.. Once the y-pipe was in I was able to get the motor skid in and it went in far better than I was expecting.....
 

Attachments

  • 20170905_172733.jpg
    20170905_172733.jpg
    46.1 KB
  • 20170905_172727.jpg
    20170905_172727.jpg
    52.2 KB
  • 20170902_213023.jpg
    20170902_213023.jpg
    63.1 KB
  • 20170902_213018.jpg
    20170902_213018.jpg
    58.4 KB
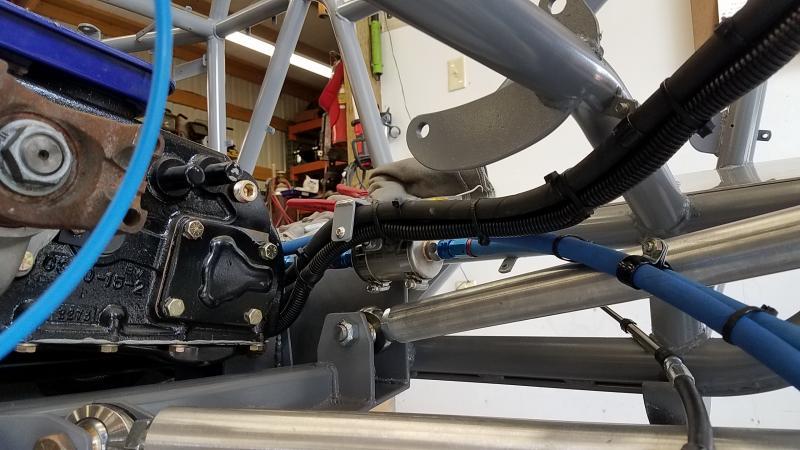
I got the main power feed and brake lines ran. Only thing left on the driver side to run is the arb line.
 

Attachments

  • 20170902_213030.jpg
    20170902_213030.jpg
    79.9 KB
I swapped the oil filter for the shorter version. In the a/c delco line the pf52 is what the motor calls for but the pf47 is the shorter version and will work just fine.
 

Attachments

  • 20170902_213042.jpg
    20170902_213042.jpg
    51.5 KB
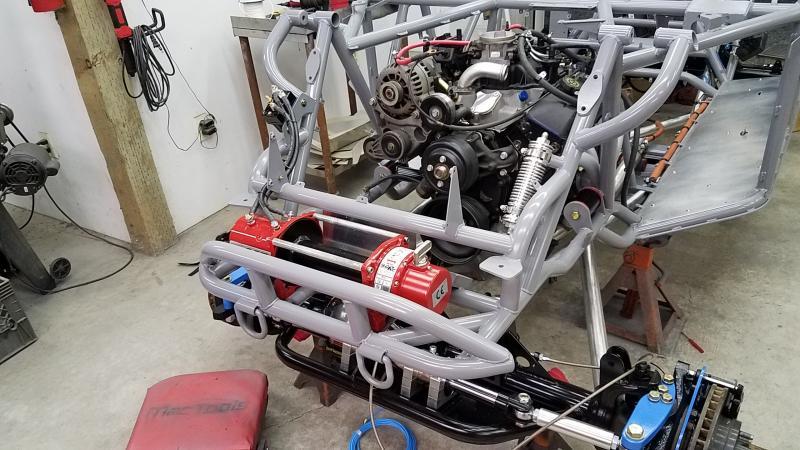
Got the front winch and p/s cooler installed....
 

Attachments

  • 20170903_213023.jpg
    20170903_213023.jpg
    78.3 KB
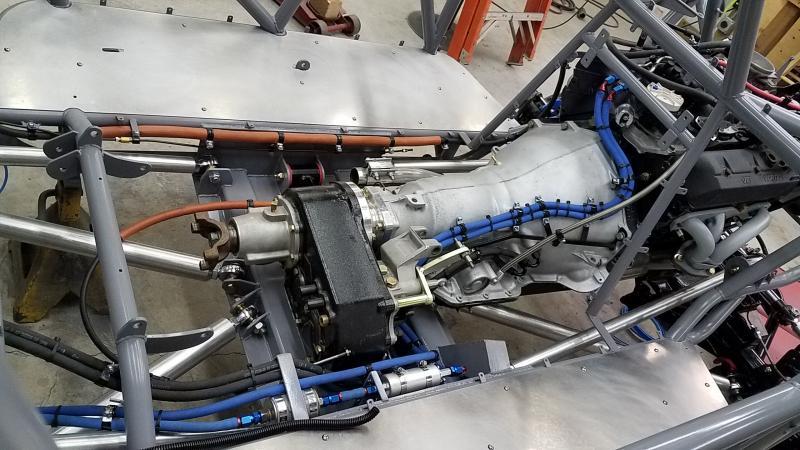
This took a bit of time to pull the fuel lines off the cradle and get it painted and then got the tranny and fuel lines/pump back into the rig. Ya know how it is when ya build something complex and remove it and back in and happy with how it fit right back into its proper spot..
 

Attachments

  • 20170903_213036.jpg
    20170903_213036.jpg
    75.3 KB
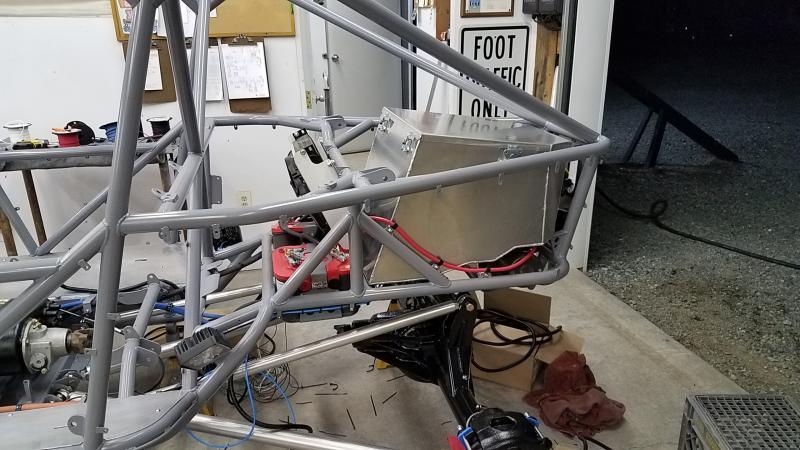
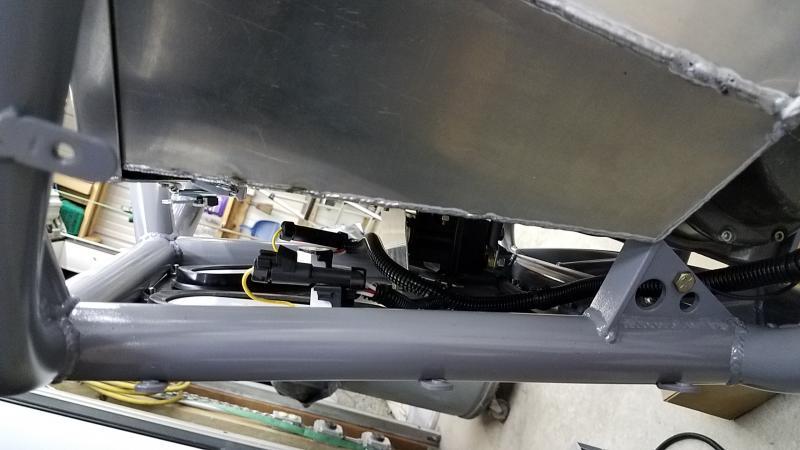
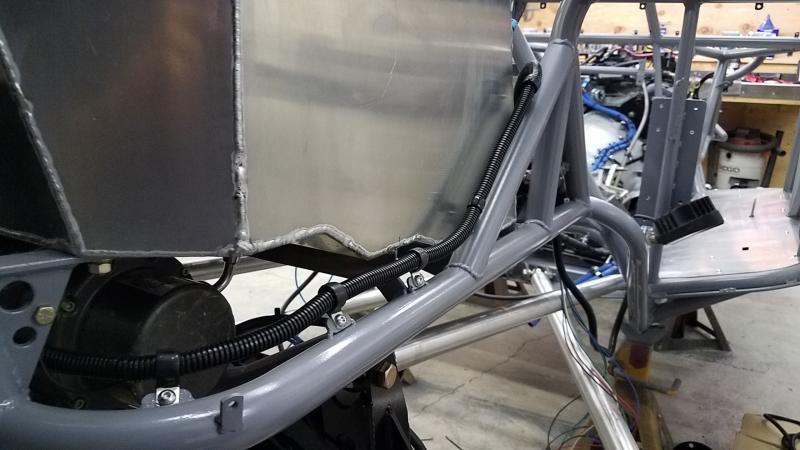
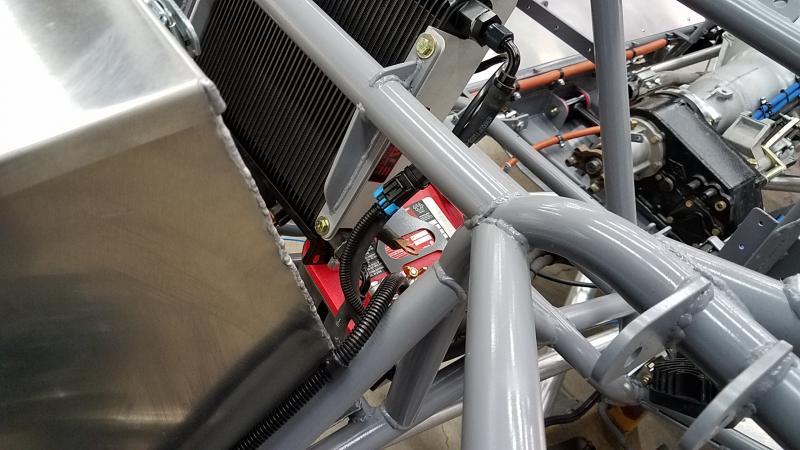
So I am going to concentrate on getting the back of the car done. Started by getting all the big parts in (batteries,trans cooler and winch) and then onto getting the rear wiring harness built and ran forward.
 

Attachments

  • 20170903_213055.jpg
    20170903_213055.jpg
    71.1 KB
  • 20170903_213107.jpg
    20170903_213107.jpg
    44.7 KB
  • 20170903_213110.jpg
    20170903_213110.jpg
    51.8 KB
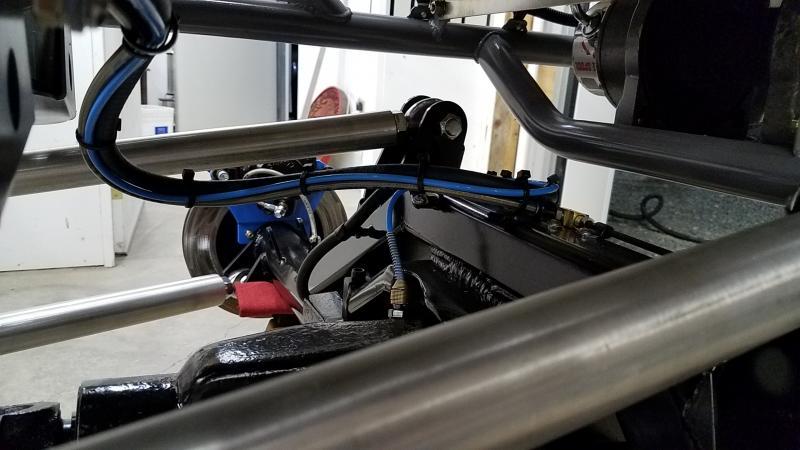
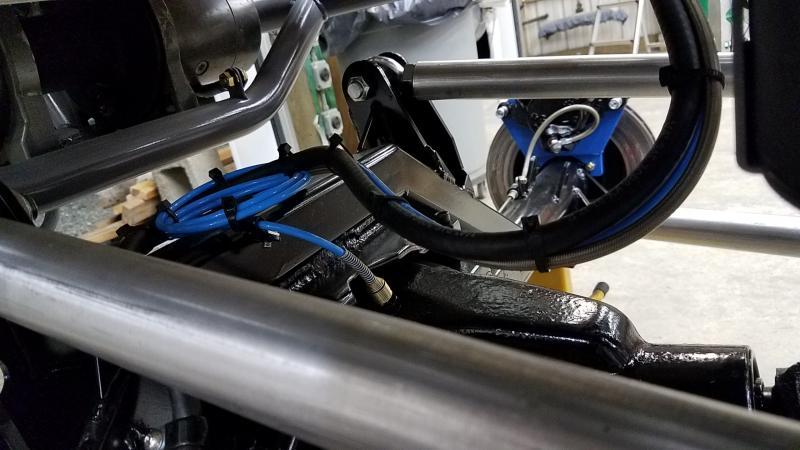
I got the rear arb line and vent hose ran. I always leave extra line at the diffs in case of a needed repair.
 

Attachments

  • 20170903_213201.jpg
    20170903_213201.jpg
    51 KB
  • 20170903_213215.jpg
    20170903_213215.jpg
    53.4 KB
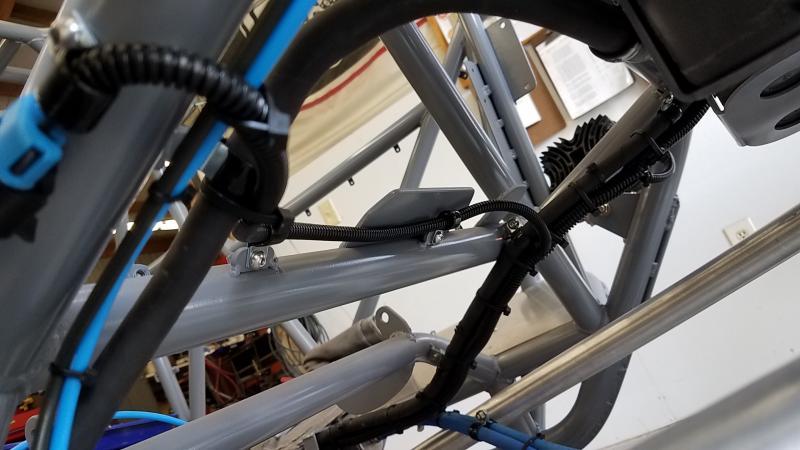
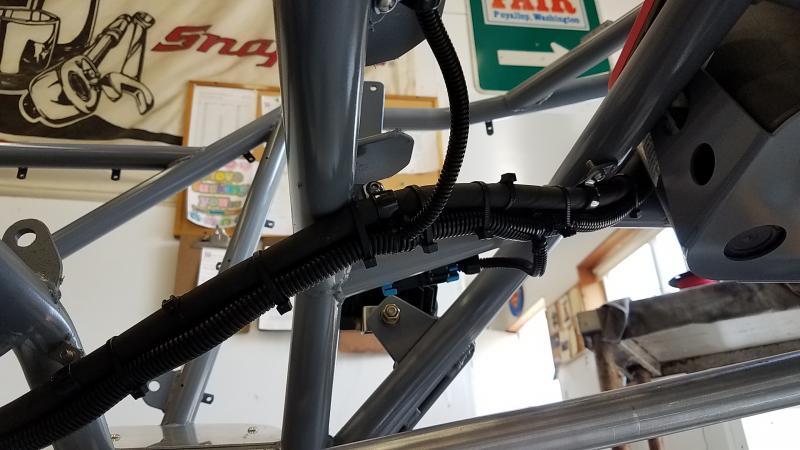
Harness going forward...
 

Attachments

  • 20170903_213123.jpg
    20170903_213123.jpg
    61.4 KB
  • 20170904_125641.jpg
    20170904_125641.jpg
    51.9 KB
  • 20170904_125649.jpg
    20170904_125649.jpg
    53.4 KB
  • 20170904_125652.jpg
    20170904_125652.jpg
    62.8 KB
Back
Top