CRAZYS
Well-Known Member
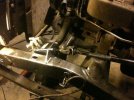
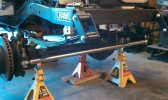
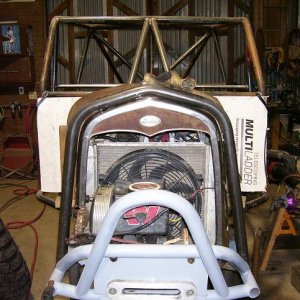
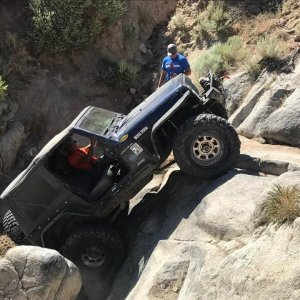
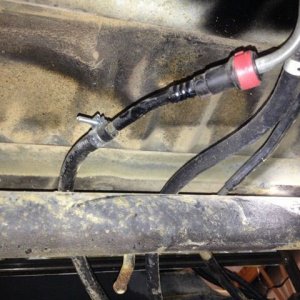
Make sure that your pick up line is not directly next to your return line where it enters and exits the tank. Even put your return line at the top of the tank. You will get some aeration to your pump on off angle obstacles if they are right next to each other.
Not sure if you did this already. Looking good man. Start saving for a real fuel cell in a few months of wheeling. Everyone is correct. Those tanks blow for wheelin and the welds will blow out regardless of how it is mounted. But you can always keep band-aiding an injury if you know what I mean.
Not sure if you did this already. Looking good man. Start saving for a real fuel cell in a few months of wheeling. Everyone is correct. Those tanks blow for wheelin and the welds will blow out regardless of how it is mounted. But you can always keep band-aiding an injury if you know what I mean.