Word.
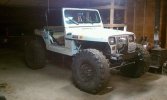
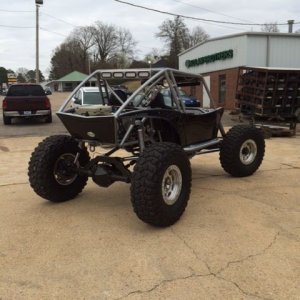
Why not run it above the arm, instead of below the arm? (pic makes it look like it will fit)
Matt, let me know if the high steer arms make the tie rod too long. I could shorten it up.:awesomework:
Word.
Why not run it above the arm, instead of below the arm? (pic makes it look like it will fit)
Any word?

Word.
Why not run it above the arm, instead of below the arm? (pic makes it look like it will fit)
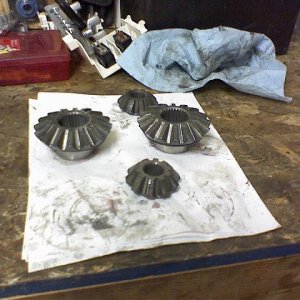
Please tell me you are making or buying a tube calmp instead of welding to that piece of art tie rod...
Take a visual, to see if clocking it down one bolt pattern (3 or 4*, can't remember) will give you the necessary clearance for a more standardized front driveshaft.
I've got TH400s in both my rigs, both with Atlas's. One's a lefthand drop, one's a righthand drop. Both have plenty of driveshaft clearance, and although they aren't clocked flat, they are clocked at a minimal angle.
The secondary benefit of a slight down-angle on the Atlas, is that they have better lubrication volume, and in my case, they spit less 90wt out the breather hole.
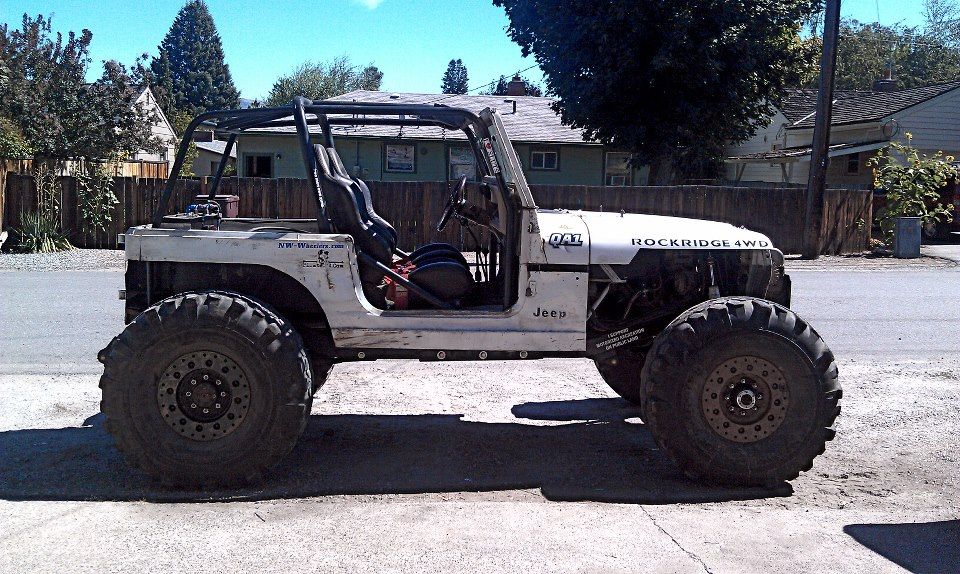
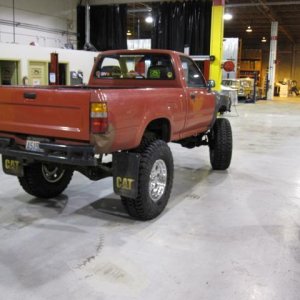
Man, I give it to you for sticking with the project as long as you have. There are very few people on here that would have done that. I know I would have probably sold it off a long time ago.
Looks good, have fun:awesomework::beer:
Yeah, it's definitely taken some time. When I started this project I swore I was never going to spend money on a credit card to buy parts again like I've done in the past... which is why it has taken me so long. It's paid for, top to bottom... which is a nice feeling.
Gotta be a good feeling gettin' 'er dirty after all these yrs...:awesomework: