Zoediak
Well-Known Member
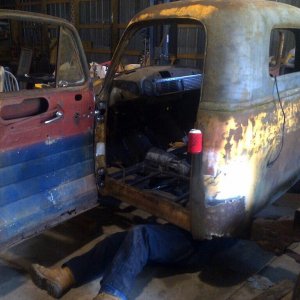
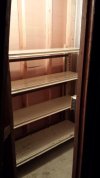
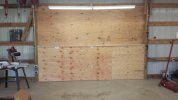
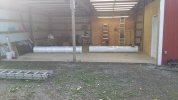
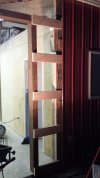
I thought about that too but my other shed is almost 19 years old and still good and strong...
:awesomework:
I thought about that too but my other shed is almost 19 years old and still good and strong...
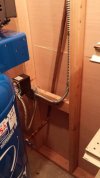
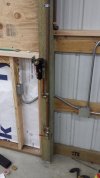
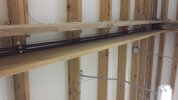
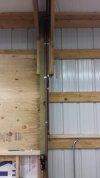
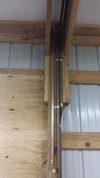
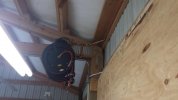
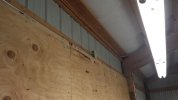
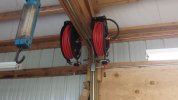
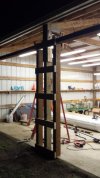
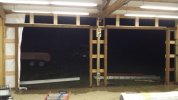
Are you putting Romex inside conduit? I am not sure if you are doing any of this on a permit from the county/L&I but.... 99% of the time romex violates the fill capacity of the conduit per the NEC. I guess what I am trying to say is you have to size the conduit for the romex if you chose to not use THHN.
Also, some guys say romex inside conduit can cause excess heat in the wires.
If you are just running romex inside conduit for short runs up and down walls I would not get excited about anything.
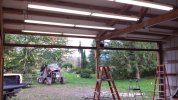
You probably know all this already... This shop is looking nice man.
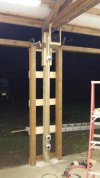
Are you putting Romex inside conduit? I am not sure if you are doing any of this on a permit from the county/L&I but.... 99% of the time romex violates the fill capacity of the conduit per the NEC. I guess what I am trying to say is you have to size the conduit for the romex if you chose to not use THHN.
Also, some guys say romex inside conduit can cause excess heat in the wires.
If you are just running romex inside conduit for short runs up and down walls I would not get excited about anything.
You probably know all this already... This shop is looking nice man.


![IMG_1503[1] - Copy.JPG](http://attachments.www.hardlinecrawlers.com/xfmg/thumbnail/9/9930-356a925785e4b46537cca7edbd8e7c55.jpg?1625928984)