-
Help Support Hardline Crawlers :
You are using an out of date browser. It may not display this or other websites correctly.
You should upgrade or use an alternative browser.
You should upgrade or use an alternative browser.
The new "Crashfab"
- Thread starter crash2
- Start date
crash2
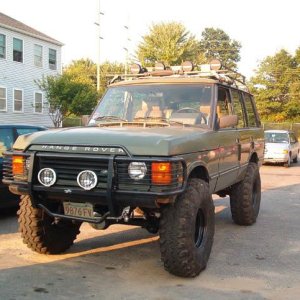
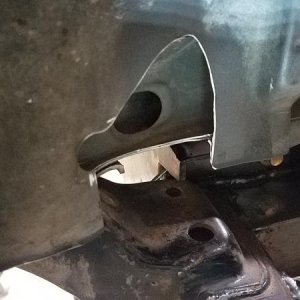
-Oh no I picked a side-
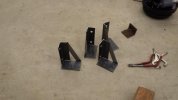
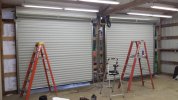
Let the door fun begin--this is the nerve racking part of it all for me. I spent a good hour reading the "what to do" info and once I took some measurements and clamped the rails into place it started to make sense. As soon as I know the rails are right I need to make some upper support brackets and then the door will be ready to hang...
Attachments
crash2
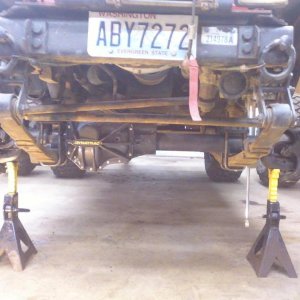
-Oh no I picked a side-
crash2
-Oh no I picked a side-
crash2
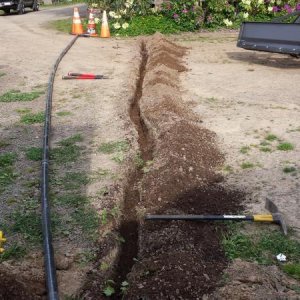
-Oh no I picked a side-
crash2
-Oh no I picked a side-
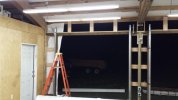
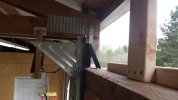
So thanks to help from nowires and a couple other buddies we got them in place. It took me a few hours to get them adjusted but they are finally up.
It amazing how much different the building looks now after 6 years of just a open front of the shop..
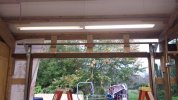
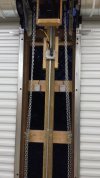
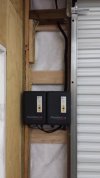
So up early again and work on getting them wired and make them 100% function able...
really getting excited as its starting to get close to being ready to use...
It amazing how much different the building looks now after 6 years of just a open front of the shop..
So up early again and work on getting them wired and make them 100% function able...
really getting excited as its starting to get close to being ready to use...
Attachments
junkyard jim
Well-Known Member
Are they ready for the windstorm coming tonight/tomorrow?
crash2
-Oh no I picked a side-
crash2
-Oh no I picked a side-
crash2
-Oh no I picked a side-
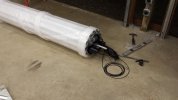
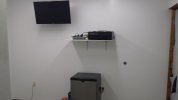
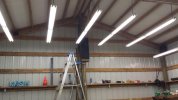
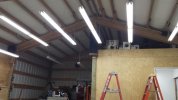
Time for some creature comforts. My phone wasn't cutting it for music anymore. I dug out some stuff I had stored away for the shop and got it setup. 6 speakers up in the ceiling and man I can really fill the place with sound--nice not having anybody remotely close...
Attachments
crash2
-Oh no I picked a side-
crash2
-Oh no I picked a side-
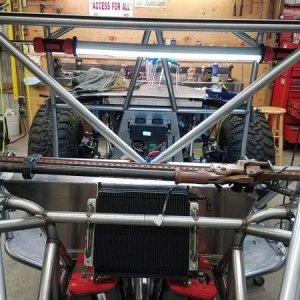
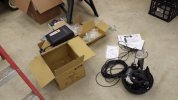
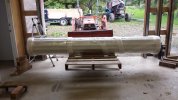
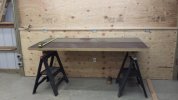
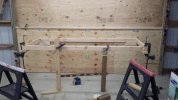
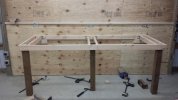
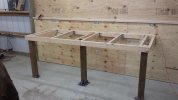
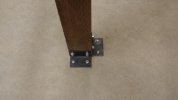
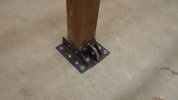
So tonight I got the frame all done. All 3 legs are mounted to the floor with the center leg mount doing double duty. Since I do allot of solo work I often drag rigs in/out of the shop so I made the center leg mount double as a winch mount.
Attachments
crash2
-Oh no I picked a side-
Thanks Anthony its really starting to shape up...
ain'tstuckjustresting
RIP Mister 12/5/12
On the plus side, you have a tractor avail. full time now which should cut down on the winching significantly. :awesomework: