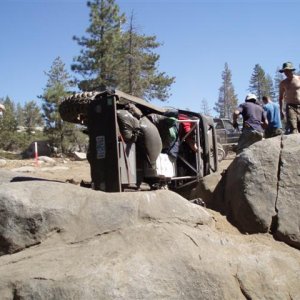
• Help Support Hardline Crawlers :

Revive Retro

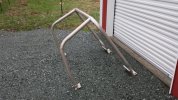
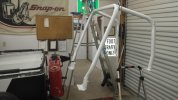
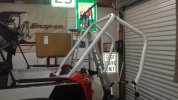
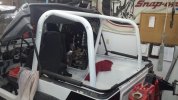
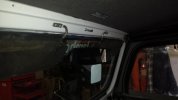
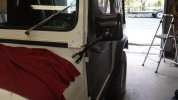
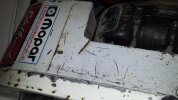
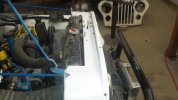
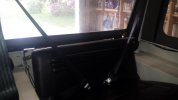
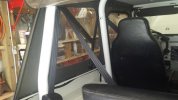
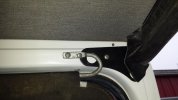
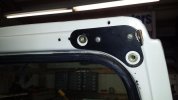
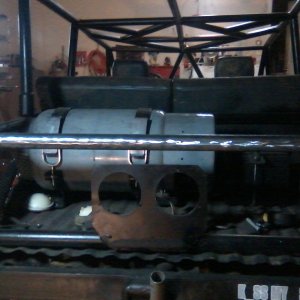
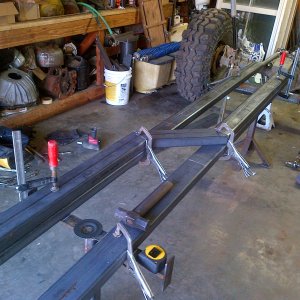
Years ago bill had bought a front hoop kit for the cage. Well it was badly rusted/pitted and I did not feel good about using it. So we talked and choose to put the yj bar in it. Once the rig is all done and bill decides what he wants to do with the rig then we can talk doing a full cage in it like I have done a few times.

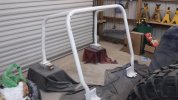
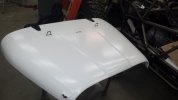
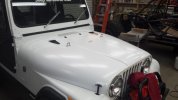
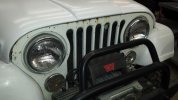
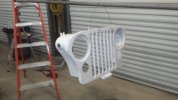
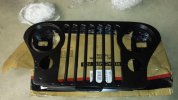
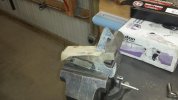
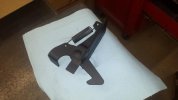
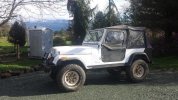
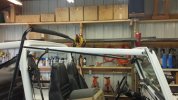
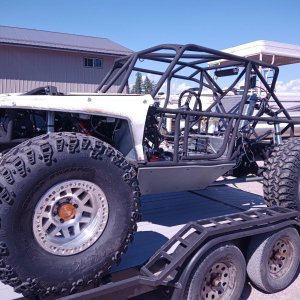
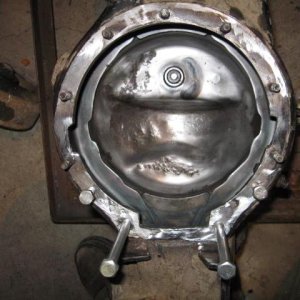
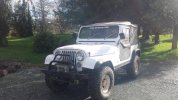
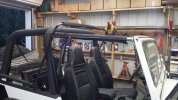
So cleaned/prepped and now is the right color :cheer:
 

Attachments

  • 20160116_154153.jpg
    20160116_154153.jpg
    81 KB · Views: 232
  • 20160118_205248.jpg
    20160118_205248.jpg
    50.9 KB · Views: 236
The rear cage is in without a scratch and solo :redneck:
 

Attachments

  • 20160123_190425.jpg
    20160123_190425.jpg
    50 KB · Views: 183
  • 20160123_191022.jpg
    20160123_191022.jpg
    49.9 KB · Views: 180
  • 20160123_191736.jpg
    20160123_191736.jpg
    47.9 KB · Views: 182
  • 20160123_193014.jpg
    20160123_193014.jpg
    43.1 KB · Views: 182
  • 20160123_195243.jpg
    20160123_195243.jpg
    44.7 KB · Views: 181
  • 20160123_200259.jpg
    20160123_200259.jpg
    52.7 KB · Views: 179
All new mirrors. The tricky part was not wanting to remove the hinges and drill/tap them for the mirror. I had to custom cut a tap to get it done.

Its over 90% done now...
 

Attachments

  • 20160124_123216.jpg
    20160124_123216.jpg
    17.2 KB · Views: 187
  • 20160124_124701.jpg
    20160124_124701.jpg
    27.2 KB · Views: 185
  • 20160124_124735.jpg
    20160124_124735.jpg
    40 KB · Views: 186
I didn't even know this piece was missing until bill got a new one :D
 

Attachments

  • 20160127_194819.jpg
    20160127_194819.jpg
    35.4 KB · Views: 135
So with the hood and fenders with nice fresh color it really made the grill look like complete ass and I was able to convince Bill we needed to address it. The nose had lots of rust, was cracking in multiple areas and the safety latch are was bent up also.
 

Attachments

  • 20160125_191354.jpg
    20160125_191354.jpg
    41.7 KB · Views: 133
  • 20160125_191439.jpg
    20160125_191439.jpg
    51 KB · Views: 135
Some more prep and inhaling of fumes....:cheer:
 

Attachments

  • 20160128_201435.jpg
    20160128_201435.jpg
    39.9 KB · Views: 136
  • 20160127_194929.jpg
    20160127_194929.jpg
    39.5 KB · Views: 132
  • 20160125_191448.jpg
    20160125_191448.jpg
    43.9 KB · Views: 143
So after 26 years of use the safety latch was pretty twisted up. I looked and looked and nobody makes a new replacement---just off used bent/rusty ones on CL and Ebay. So took some time and reworked it back into shape.
 

Attachments

  • 20160129_205340.jpg
    20160129_205340.jpg
    40.4 KB · Views: 140
  • 20160130_120528.jpg
    20160130_120528.jpg
    29.5 KB · Views: 134
Got the nose all back together. I am still waiting for the rubber bumpers that the hood rests on before I can fully check the hood to grill alignment but it does look far better.
 

Attachments

  • 20160130_124514.jpg
    20160130_124514.jpg
    46.6 KB · Views: 257
  • 20160130_124526.jpg
    20160130_124526.jpg
    42.1 KB · Views: 257
Pulled the rear seat out of the loft and cleaned the old girl up. At some point bill lost the mounts so he found some that were is great shape. So the rear seat is also installed...
 

Attachments

  • 20160130_182628.jpg
    20160130_182628.jpg
    32.9 KB · Views: 260
  • 20160130_182615.jpg
    20160130_182615.jpg
    26 KB · Views: 261
  • 20160130_182546.jpg
    20160130_182546.jpg
    25 KB · Views: 254
Pulled the rear tires and got the rear brakes bled out.
 

Attachments

  • 20160306_093105.jpg
    20160306_093105.jpg
    47.1 KB · Views: 202
The rear seat belts showed up so I got them installed...
 

Attachments

  • 20160306_123420.jpg
    20160306_123420.jpg
    26.8 KB · Views: 202
  • 20160306_123043.jpg
    20160306_123043.jpg
    42.6 KB · Views: 204
So I pulled it out of the shop and it looks really good.

Bill had gotten the bars that go from the roll cage to the windshield(YJ) and they won't fit the cj window frame. So all thats left is the new wheels and some badges....
 

Attachments

  • 20160306_145336.jpg
    20160306_145336.jpg
    77.3 KB · Views: 200
  • 20160306_145344.jpg
    20160306_145344.jpg
    66.4 KB · Views: 198
So bill had found the crossbars for the Yj cage.
 

Attachments

  • tmp_29014-20160410_082022-1744648472.jpg
    tmp_29014-20160410_082022-1744648472.jpg
    74.6 KB · Views: 143
From what i am finding the Cj sunshades will need to go.
 

Attachments

  • tmp_29014-20160410_082110-1645083868.jpg
    tmp_29014-20160410_082110-1645083868.jpg
    51.9 KB · Views: 159
I found the holes in the cj soft top mounts were pretty close to where the mounts for the crossbars needed to be. Drilled and installed nutserts.
 

Attachments

  • tmp_29014-20160503_1843341201291437.jpg
    tmp_29014-20160503_1843341201291437.jpg
    32.1 KB · Views: 142
  • tmp_29014-20160502_210956-117826190.jpg
    tmp_29014-20160502_210956-117826190.jpg
    29 KB · Views: 147
Had to do a little modification to the bars and got them painted up and installed.
 

Attachments

  • tmp_29014-20160503_1906301373193032.jpg
    tmp_29014-20160503_1906301373193032.jpg
    53.5 KB · Views: 145
And the last piece of the puzzle. The besttop yj cage cover kit was kind of a pain to install.
 

Attachments

  • tmp_29014-20160503_201556715993439.jpg
    tmp_29014-20160503_201556715993439.jpg
    56.5 KB · Views: 149
  • tmp_29014-20160503_2016041411279474.jpg
    tmp_29014-20160503_2016041411279474.jpg
    56.3 KB · Views: 144
Top