-
Help Support Hardline Crawlers :
You are using an out of date browser. It may not display this or other websites correctly.
You should upgrade or use an alternative browser.
You should upgrade or use an alternative browser.
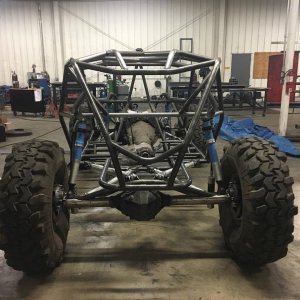
Finally....Da new rig..
- Thread starter crash2
- Start date
crash2
-Oh no I picked a side-
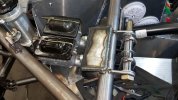
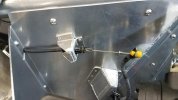
I got the mount burned in (have not burned in the pedal mount as of yet until I am 100% sure on my steering mount) and got the pedals finished up.
I won't be shocked if I have to rework the pedals after I get the rig drive able because its just hard to find where ya think you will be comfortable without driving it..
I won't be shocked if I have to rework the pedals after I get the rig drive able because its just hard to find where ya think you will be comfortable without driving it..
Attachments
crash2
-Oh no I picked a side-
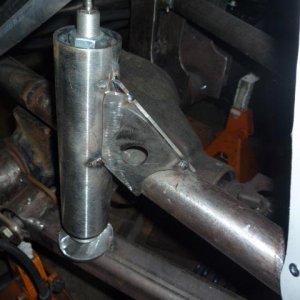
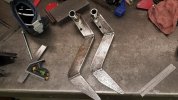
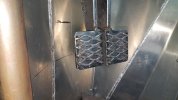
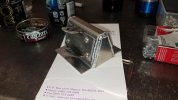
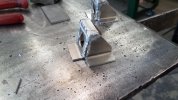
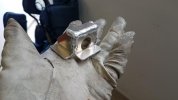
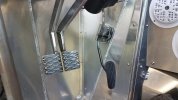
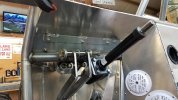
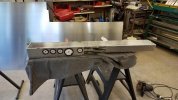
So next onto the gas pedal. for this I will be using all factory parts. The accel cable will be the oem for the 4.3 and the gas pedal I wanna say off a 3rd gen truck? I can't recall as it was in a box of stuff I had for some time but the pedal was removable from the base with plastic bushings. So I tossed the stock base on the pedal and made a new one then I made a riser for the pedal to mount to.
Attachments
crash2
-Oh no I picked a side-
crash2
-Oh no I picked a side-
crash2
-Oh no I picked a side-
crash2
-Oh no I picked a side-
crash2
-Oh no I picked a side-
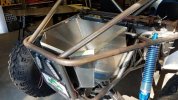
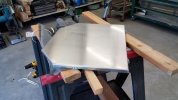
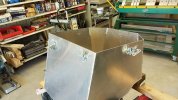
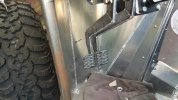
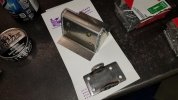
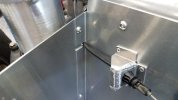
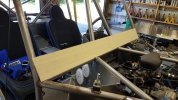
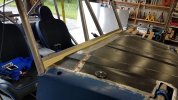
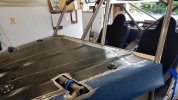
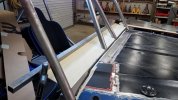
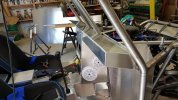
So next I started what I am going to call the backbone panel and the reason behind that is its the panel that the hood and dash butt up against.
So I cut the panel and then worked on mounting it. Once that was done I trimmed the back of the hood.
So I cut the panel and then worked on mounting it. Once that was done I trimmed the back of the hood.
Attachments
crash2
-Oh no I picked a side-
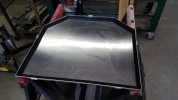
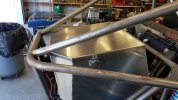
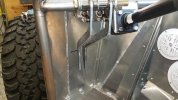
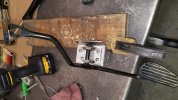
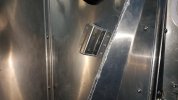
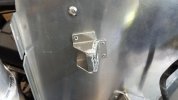
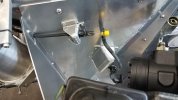
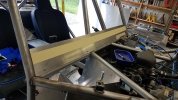
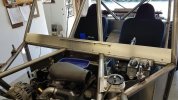
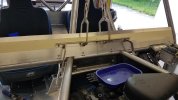
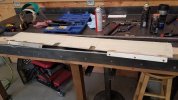
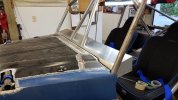
So I needed some way to support the center of the hood at the backbone. This is what I came up with. Once that was all set and knew where the hood was going to sit I then cut the backbone down to the needed height...
Attachments
crash2
-Oh no I picked a side-
crash2
-Oh no I picked a side-
crash2
-Oh no I picked a side-
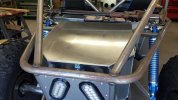
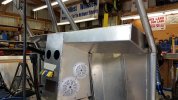
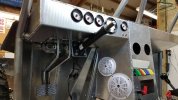
So my original intention was to make the dash part of the center console and removable as one unit and I had made sure the center console would have enough room to slide out when I built it. Well I changed that idea and made a plate thats welded to the top front edge of the center with inserts so the dash actually bolts down to it.
Well I was able to get the dash done and besides my not up to my standards tig welding I was happy with how it turned out.
I originally wanted to recess the gauges deeper into the dash but found I didn't like the very sharp edge that would be there by the dash top and I knew I would warp the dash top welding the assy to the underside of it...
But I can scratch that off the list and now onto the electrical center..
Attachments


Glenn
Well-Known Member
Nice work!

crash2
-Oh no I picked a side-
Nice work!
Thanks Glenn
crash2
-Oh no I picked a side-
crash2
-Oh no I picked a side-
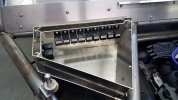
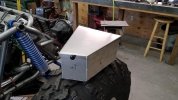
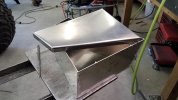
And it goes here. Its my electrical center and I always knew where I wanted it to go and wanted something that was as sealed as it could be because living in the PNW thats just what ya gotta do. I had to wait to get the dash done first...