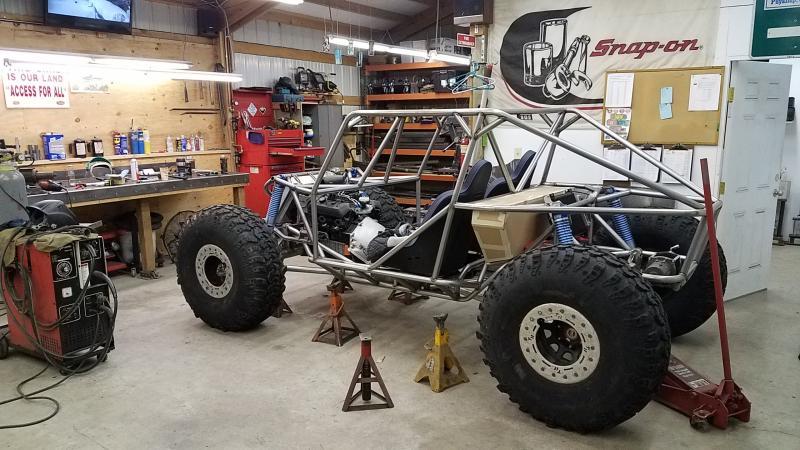
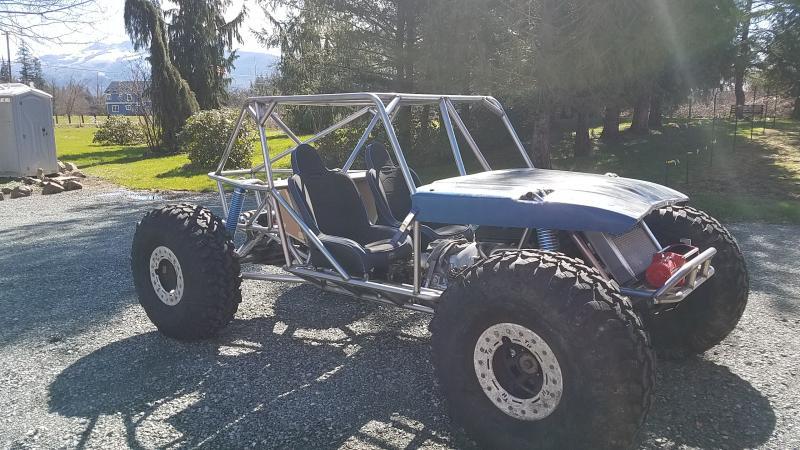
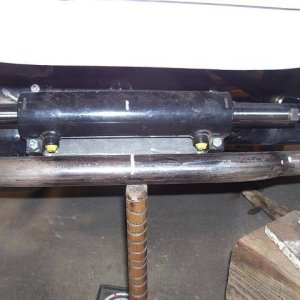
Finally....Da new rig..

Hardline Crawlers - Rock Bouncer Builds, Tech & Off-Road Trail Talk

Help Support Hardline Crawlers:

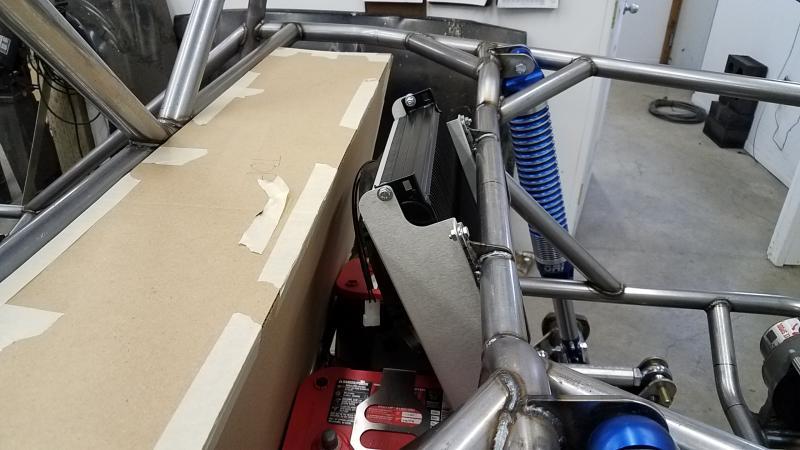
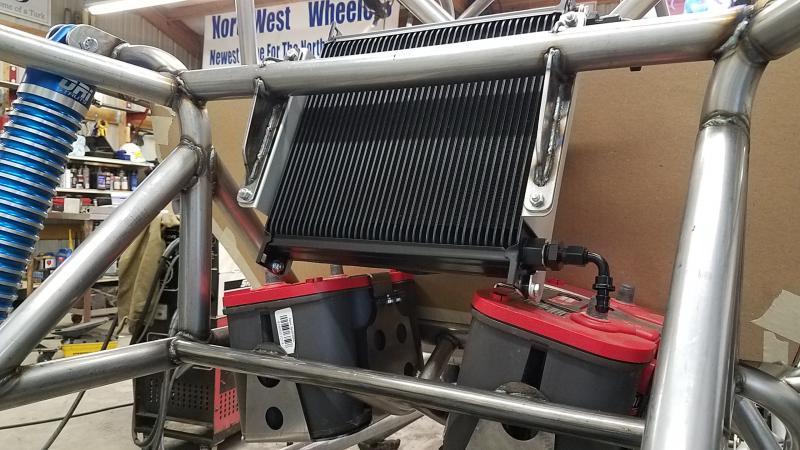
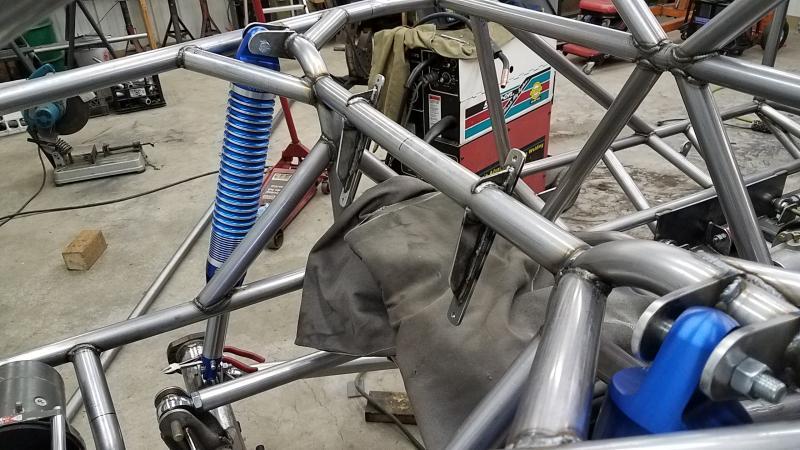
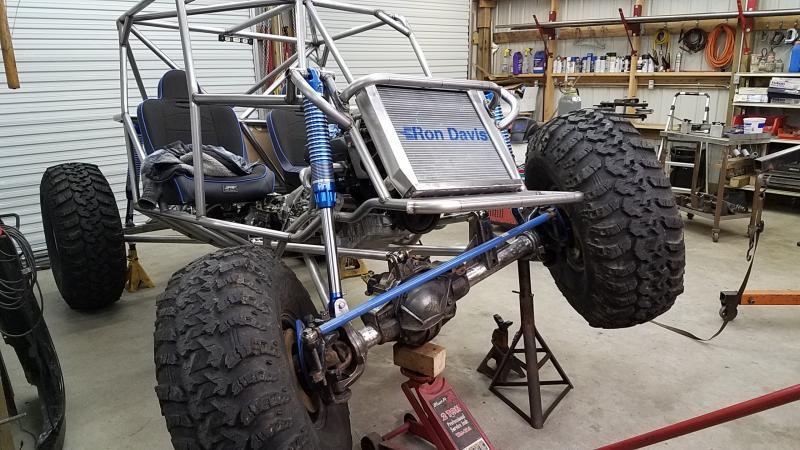
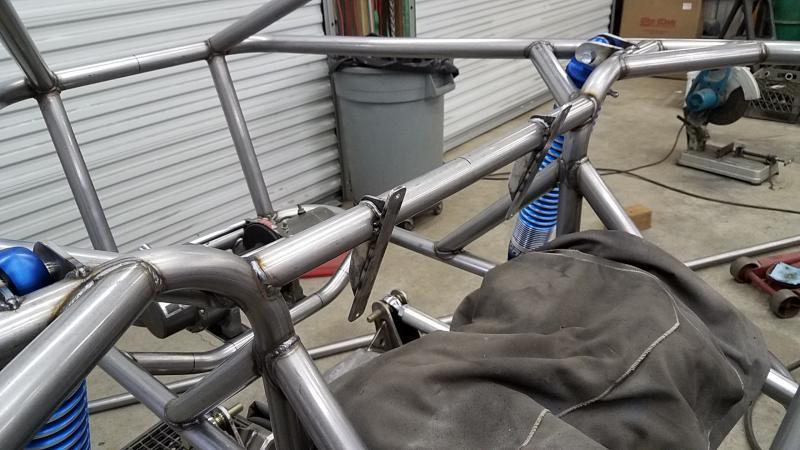
So next onto the trans cooler. I found a sweet spot for it. I had wanted to tie both rear shock hoops together and the piece of tube was in the perfect spot. So I made mounts and walla the trans cooler. The fan will be reversed as a pusher as to not blow hot air onto the fuel cell and it still give me good access to the battery posts with it in that spot.
 

Attachments

  • 20170311_092645.jpg
    20170311_092645.jpg
    63.9 KB
  • 20170311_092948.jpg
    20170311_092948.jpg
    53.9 KB
  • 20170311_092956.jpg
    20170311_092956.jpg
    74.2 KB
  • 20170311_092640.jpg
    20170311_092640.jpg
    77.5 KB
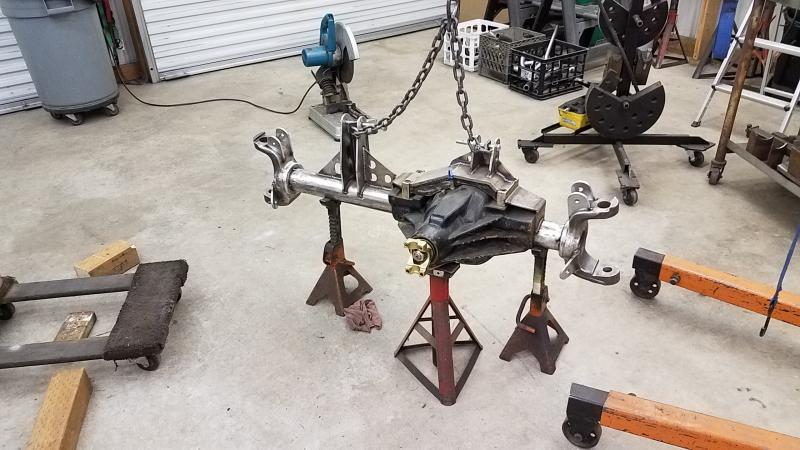
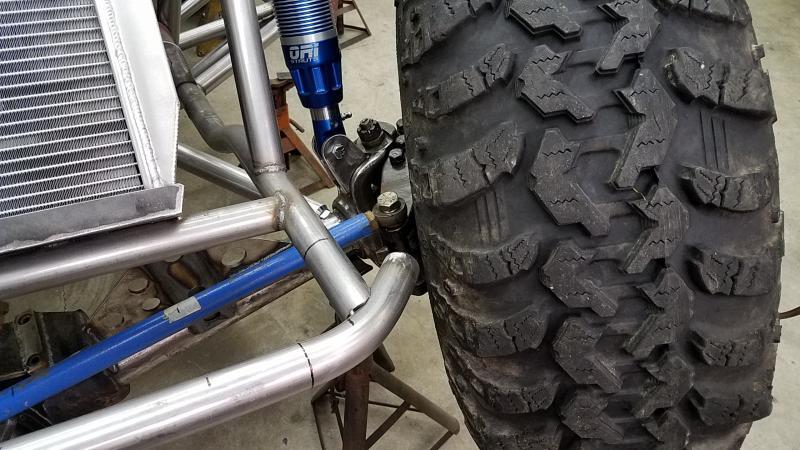
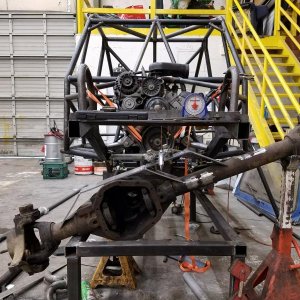
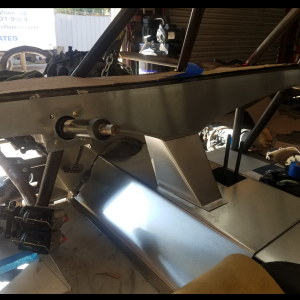
So the rear is really taking shape and now onto the front so I can get the front drive shaft figured out. I found where I think I wanted the front pinion angle to be so I pulled it out and changed the caster since the lower mounts are on the knuckle I wanted everything spot on.
 

Attachments

  • 20170311_122341.jpg
    20170311_122341.jpg
    67.1 KB
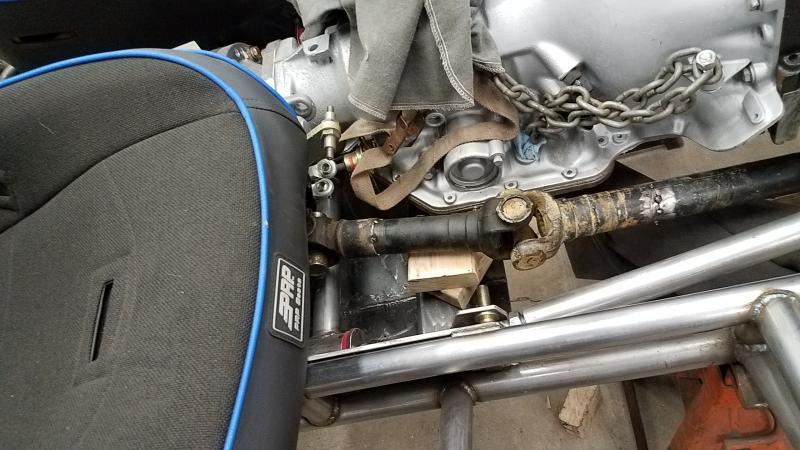
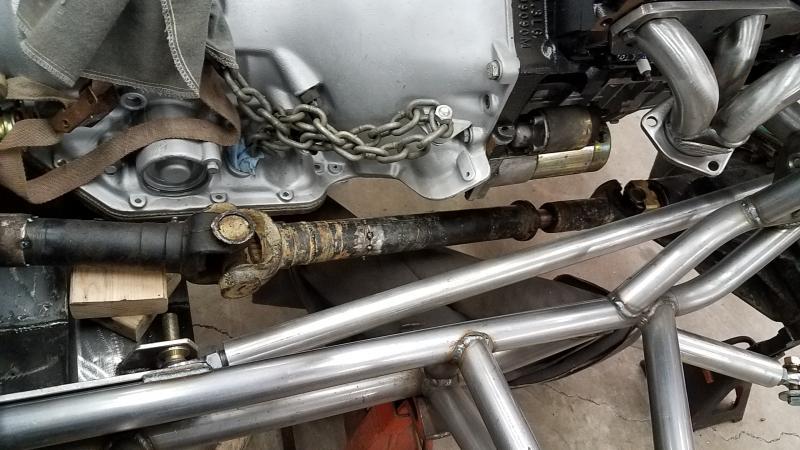
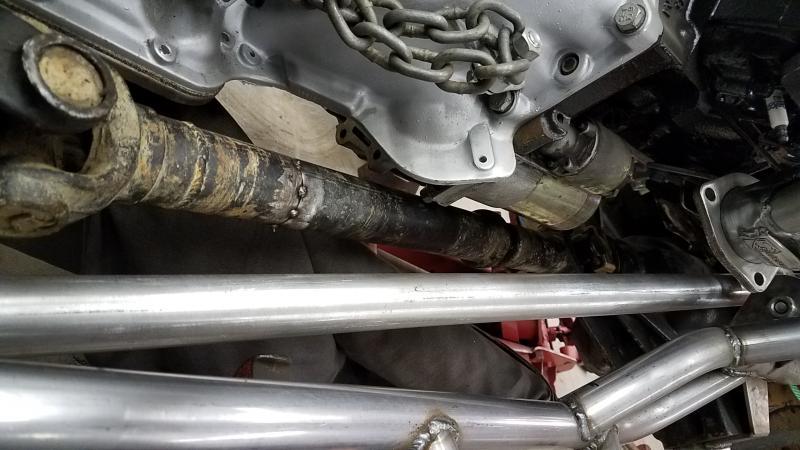
So I talked with brian who is building my shafts and got some insight on the front shaft. So I took my old shafts and luckily I have a pile of parts and mocked up a front shaft. I am happy to say its going to work beautifully and tight as it might be her should be able to build me a front shaft thats going to be strong and fit nicely.
 

Attachments

  • 20170311_143209.jpg
    20170311_143209.jpg
    65.2 KB
  • 20170311_143212.jpg
    20170311_143212.jpg
    67 KB
  • 20170311_144340.jpg
    20170311_144340.jpg
    57.2 KB
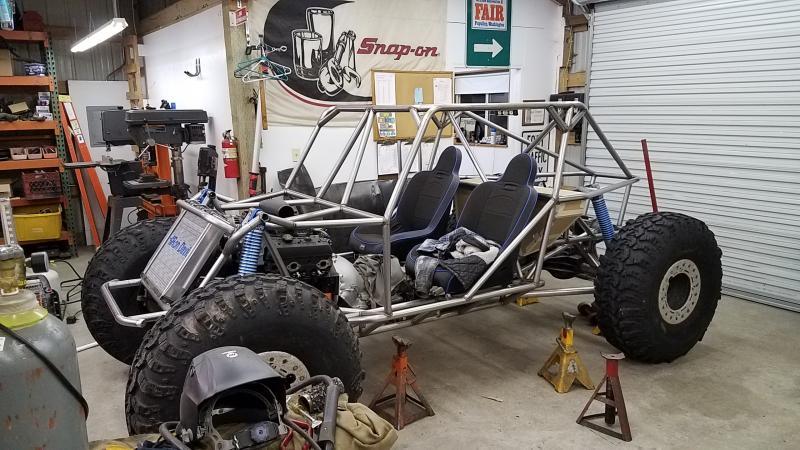
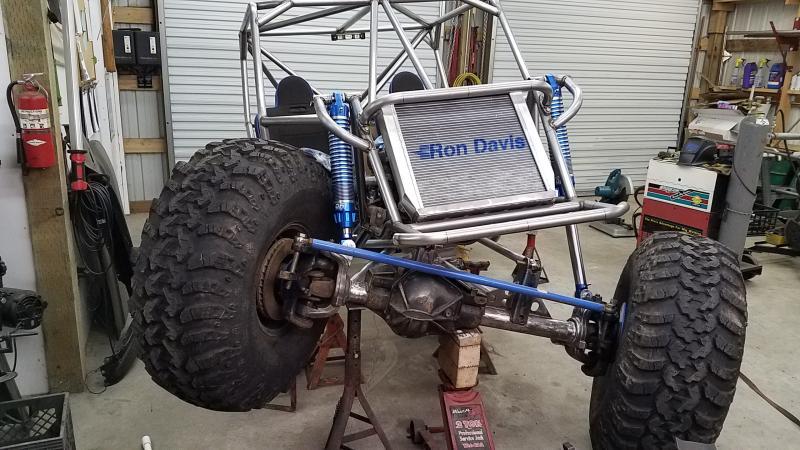
This part totally excited me--crazy how much more it looks like a rig with tires on it. Its now sitting on its own on full compression.

The reason for doing the tires is to check clearance on the front.

But damn I am loving the fact its to this point...
 

Attachments

  • 20170311_213235.jpg
    20170311_213235.jpg
    81.6 KB
  • 20170311_213228.jpg
    20170311_213228.jpg
    78.2 KB
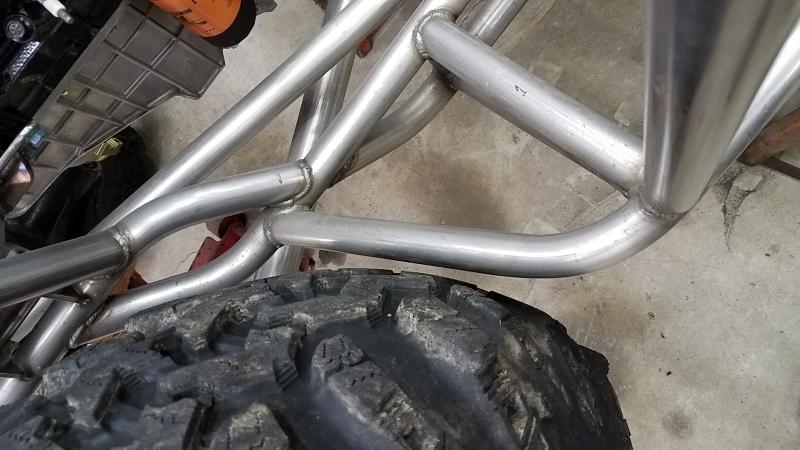
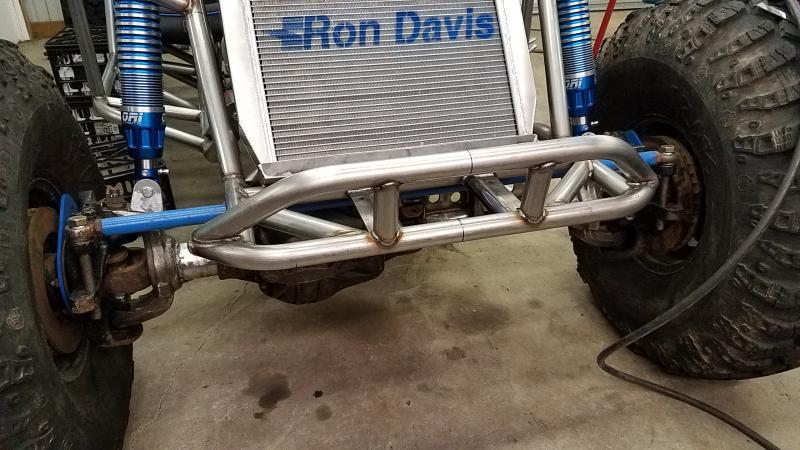
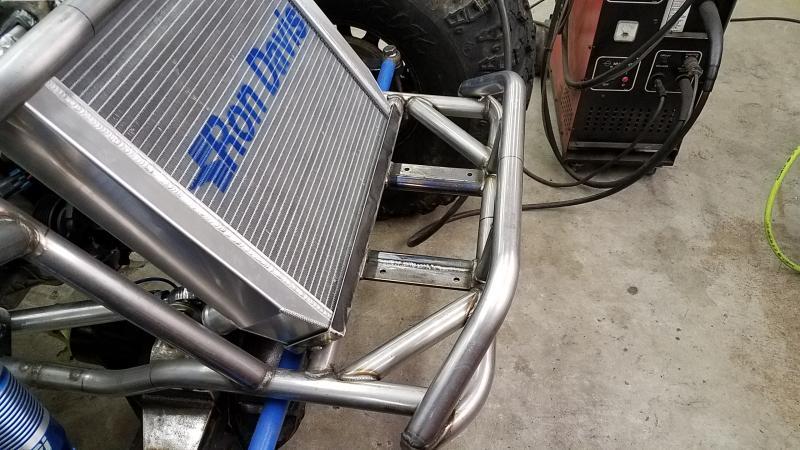
So I flexed the front and nothing hits. The front bumper pic is a bad one as I should have taken it looking down--but plenty of room. The rear is kinda close and might scrub the paint off but I was happy with the checked both sides and both are identical...

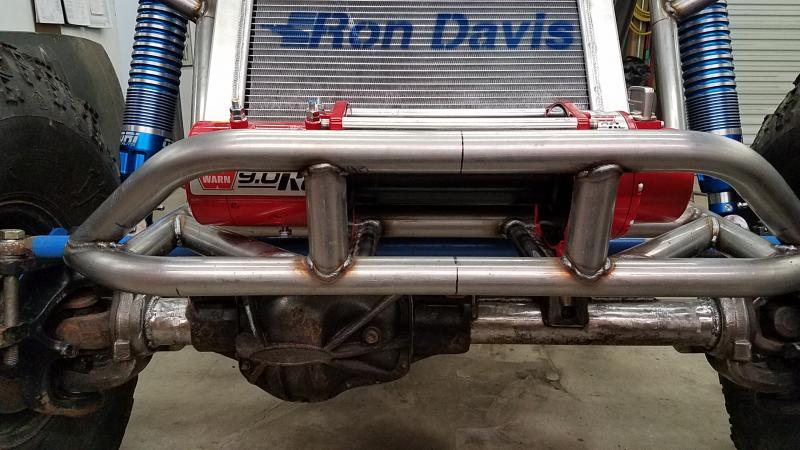
Now with knowing the front doesn't hit now I am onto the front and winch mount.
 

Attachments

  • 20170312_180931.jpg
    20170312_180931.jpg
    73.4 KB
  • 20170312_181629.jpg
    20170312_181629.jpg
    57.3 KB
  • 20170312_180922.jpg
    20170312_180922.jpg
    83.2 KB
  • 20170312_182636.jpg
    20170312_182636.jpg
    79.9 KB
This looks SO good. It's a big change from the old one, but I think it's well deserved! You excited or nervous to learn to wheel a new rig?

~T.J.
 
Nice work Mike, If you need more clearance between the drive line and starter let me know and I can send you link to a powermaster starter that will give you another inch of clearance. (See post 68 in my build thread if so)Got it off amazon, was very reasonable in price also.
 
Last edited:
This looks SO good. It's a big change from the old one, but I think it's well deserved! You excited or nervous to learn to wheel a new rig?

~T.J.

Ya Iain was looking it over when he stopped by on saturday and was in aw over it,lol.. Ya its a whole different beast for sure. Oh crap--I gotta drive it huh,lol.

Nice work Mike, If you need more clearance between the drive line and starter let me know and I can send you link to a powermaster starter that will give you another inch of clearance. Got it off amazon, was very reasonable in price also.


I should be ok mike and I recall that starter you used. My mock up was with 1 3/4" tube with 1/4" clearance on the link and my new one will be 1.5" so I should have wiggle room.
 
The corner of that man bulge looks like a low pressure flex sidewall cutter. Looking great Mike...now on with the vroom vroom noises :).
 
The corner of that man bulge looks like a low pressure flex sidewall cutter. Looking great Mike...now on with the vroom vroom noises :).

The pic doesn't really show the room that it actually has--It should be aok.. Plus its all rounded at the end.
 
A series parallel switch with quick connects would be cool but just added weight and cost for as you said, something rarely used. On an overland rig it would probably be worth it.
 
Ya Iain was looking it over when he stopped by on saturday and was in aw over it,lol.. Ya its a whole different beast for sure. Oh crap--I gotta drive it huh,lol.
Yeah, he talked on the phone with me after he was there. He invited me to go with him, but I had other commitments at the time. I want to stop by and check it out myself at some point. Maybe when he picks his stuff up I can tag along.

~T.J.
 
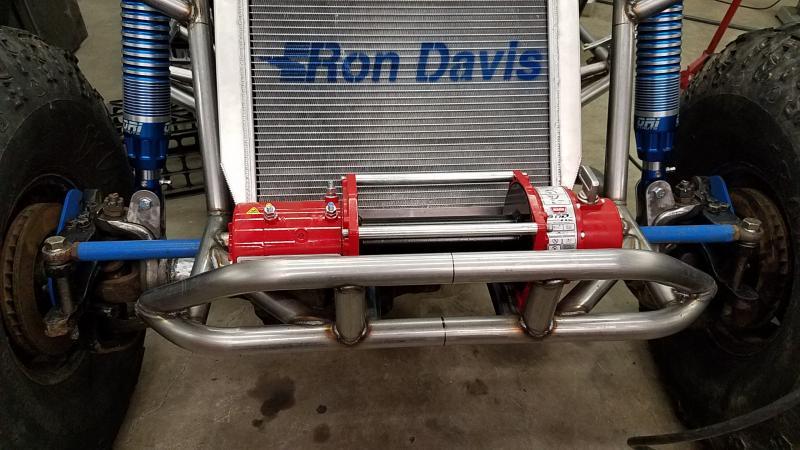
So the rig now has a nose and one of those winch things,lol.
 

Attachments

  • 20170314_193110.jpg
    20170314_193110.jpg
    69.3 KB
  • 20170314_193115.jpg
    20170314_193115.jpg
    74.5 KB
  • 20170314_193222.jpg
    20170314_193222.jpg
    67.4 KB
  • 20170314_193227.jpg
    20170314_193227.jpg
    67.8 KB
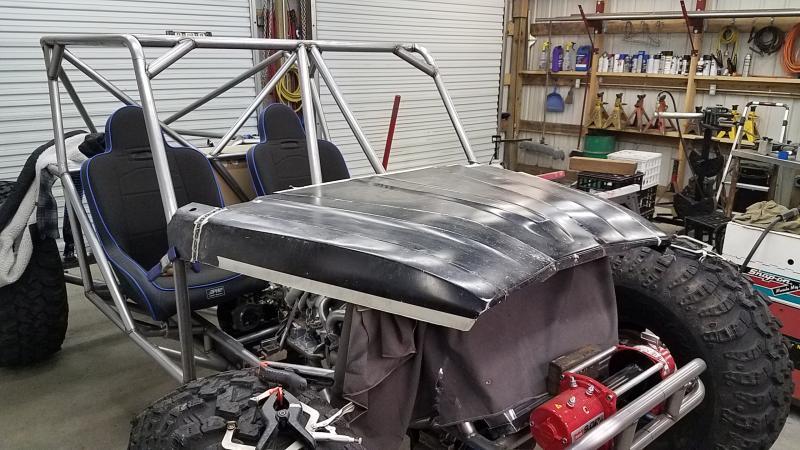
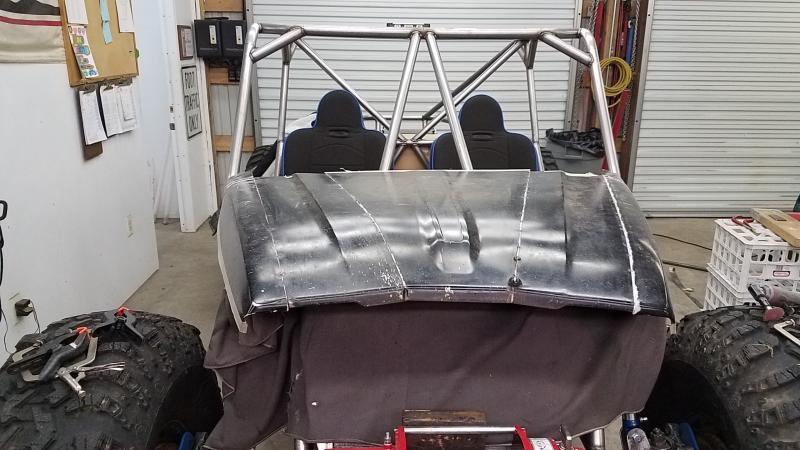
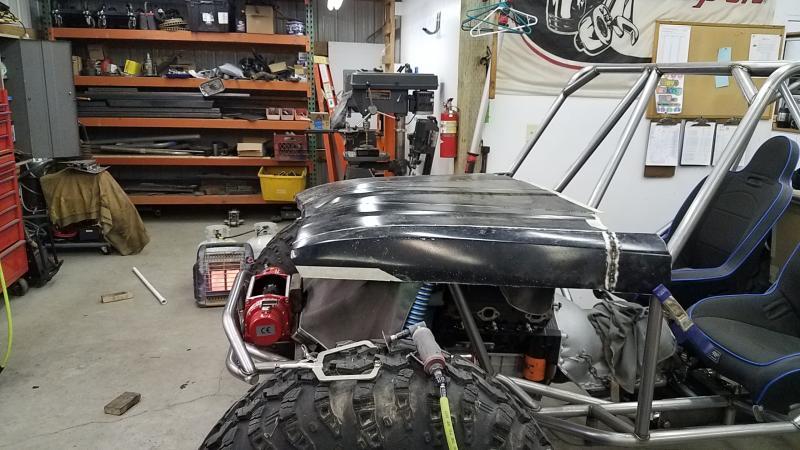
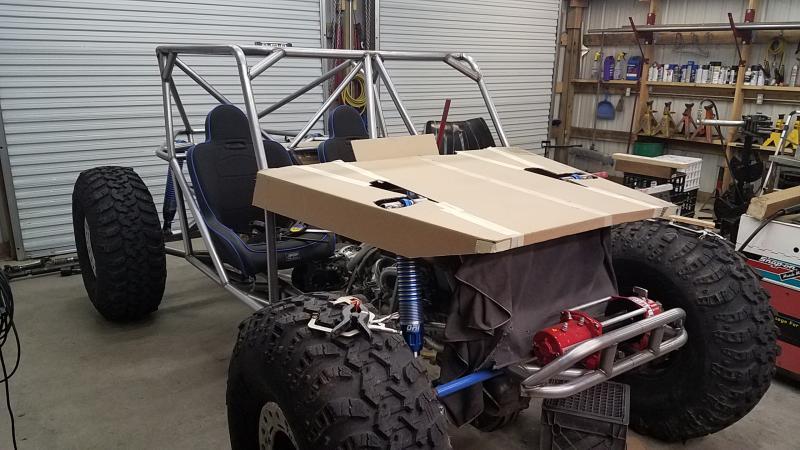
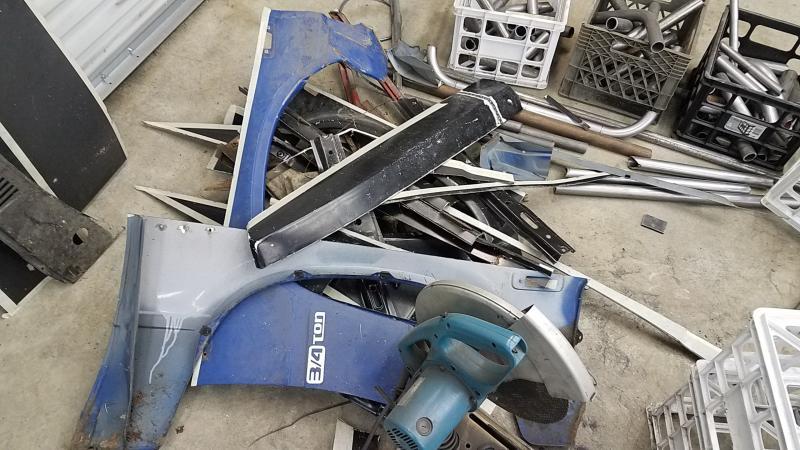
So I have a few sets of 1st gen toy hoods/fenders and decided to play with a set to see what I could come up with. Now body panels have ALWAYS been my nemesis so no matter what I do there is no way in hell I can make something thats going to be absolutely perfect--its one of those things that I simply DO NOT have the nack for.
 

Attachments

  • 20170316_221435.jpg
    20170316_221435.jpg
    80.7 KB
  • 20170316_221441.jpg
    20170316_221441.jpg
    63.5 KB
  • 20170316_221448.jpg
    20170316_221448.jpg
    74.2 KB
Here was V2.0....

Damn it looked AWFUL--so I threw that away,lol..
 

Attachments

  • 20170317_200043.jpg
    20170317_200043.jpg
    69.6 KB
Working on V3.0-----me thinks me made a mess,lol...
 

Attachments

  • 20170318_204458.jpg
    20170318_204458.jpg
    76.7 KB
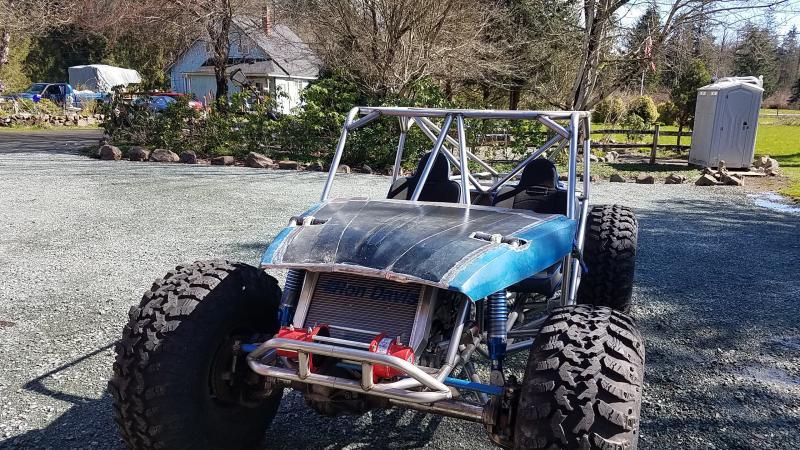
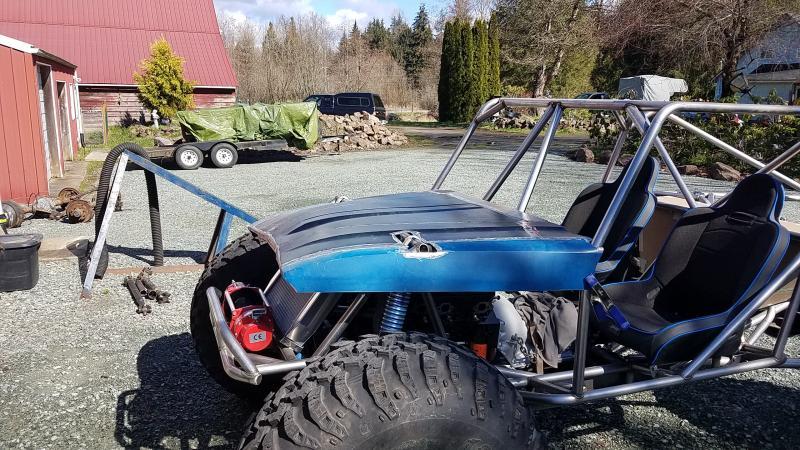
And here is V3.0--I like it. Now with my lack of talent with body panels its not going to be perfect--more like far from it. I ended up lengthening it 3" and there are dents in the panels already. But I found what I was after and I rolled it out of the shop to do a really good cleanup and de-dust the whole place..
 

Attachments

  • 20170319_121719.jpg
    20170319_121719.jpg
    120 KB
  • 20170319_121725.jpg
    20170319_121725.jpg
    104.5 KB
  • 20170319_121742.jpg
    20170319_121742.jpg
    84.5 KB
So I am getting ready to order a few steering parts. Looking at going with the psc orbital mount (tube mount style) and was looking at there columns with the built in steering wheel release--anybody use those before?
 
Are you going to put a waistband bar in you door? Looks like a big hole for rocks to reach in
 
Are you going to put a waistband bar in you door? Looks like a big hole for rocks to reach in

I can tell ya from a builders stand point the longer you can hold out on doing the door bars the better..
 
My personal experience with the quick release wheel couplers is that the haxagonal type are sloppy and the steering wheel feels loose. I have this type and hate it.

I have seen several of the splined quick release and they fit very nicely, with little to no play, a huge difference, I would use this style if i built another one.

Also another thing i would do if you can, is mount the orbital down by the bottom of the radiator in a more oem steeringbox type location, and build a steering column to get to the box. This will shorten and clean up all your plumbing aswell as keep it away from heat from the engine and headers. It will also prevent air bubbles from getting trapped in your orbital when it's mounted as high or higher than your reservoir up at the dash.
 
Back
Top