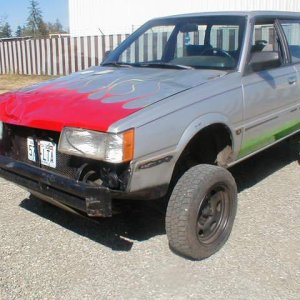
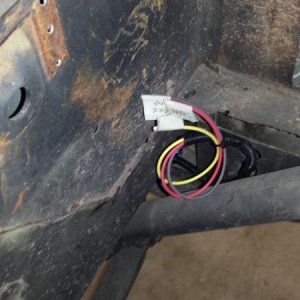
Finally....Da new rig..

Hardline Crawlers - Rock Bouncer Builds, Tech & Off-Road Trail Talk

Help Support Hardline Crawlers:

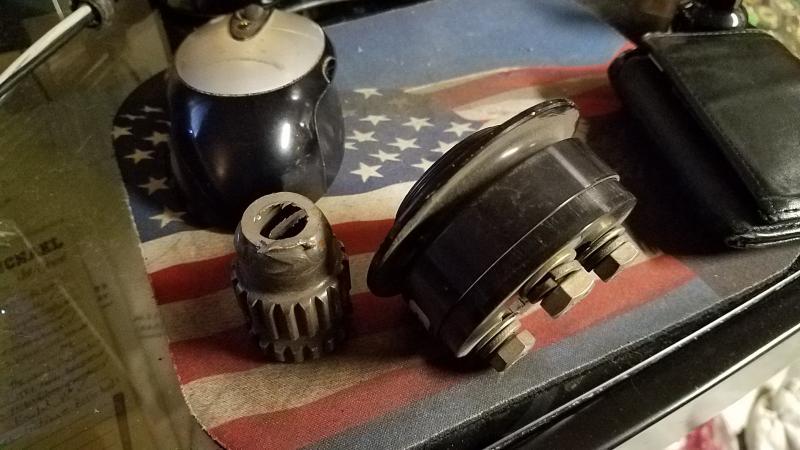
My personal experience with the quick release wheel couplers is that the haxagonal type are sloppy and the steering wheel feels loose. I have this type and hate it.

I have seen several of the splined quick release and they fit very nicely, with little to no play, a huge difference, I would use this style if i built another one.

Also another thing i would do if you can, is mount the orbital down by the bottom of the radiator in a more oem steeringbox type location, and build a steering column to get to the box. This will shorten and clean up all your plumbing aswell as keep it away from heat from the engine and headers. It will also prevent air bubbles from getting trapped in your orbital when it's mounted as high or higher than your reservoir up at the dash.

I can certainly see the splined version being nicer for popping the wheel back on. Couple rigs that I had driven with the hex style didn't seem bad just a pain to get the wheel back on.

Going to start working on steering later this week and will certainly look at all options :awesomework:
 
So I flexed the front and nothing hits. The front bumper pic is a bad one as I should have taken it looking down--but plenty of room. The rear is kinda close and might scrub the paint off but I was happy with the checked both sides and both are identical...

Now with knowing the front doesn't hit now I am onto the front and winch mount.

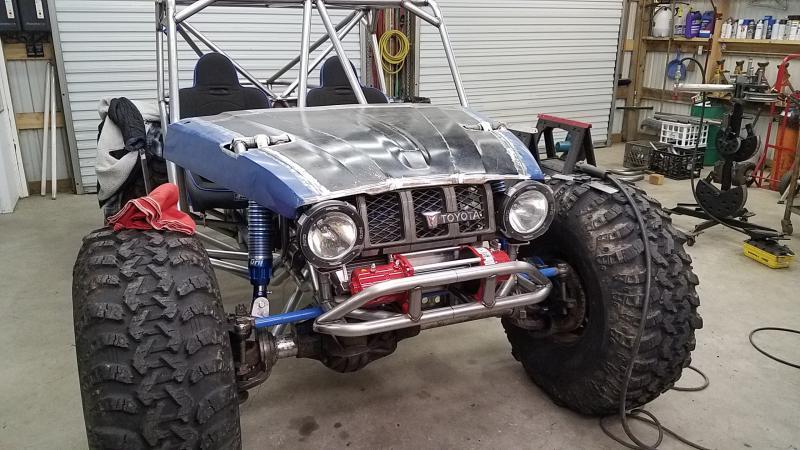
And here is V3.0--I like it. Now with my lack of talent with body panels its not going to be perfect--more like far from it. I ended up lengthening it 3" and there are dents in the panels already. But I found what I was after and I rolled it out of the shop to do a really good cleanup and de-dust the whole place..

Between these two sets of photos, it looks like when flexed, the front tires will eat the hood. Of course, with photos, optical tricks play with perspective.
 
Between these two sets of photos, it looks like when flexed, the front tires will eat the hood. Of course, with photos, optical tricks play with perspective.

I won't be shocked if I have to trim in tony. Then again by one pic it looked like the tire tags the front bumper but it has lots of clearance.
 
The splined units are nice, but they get sticky getting them on and off after a few years. But they dont get sloppy. We have a couple of the hexagon ones in our group, other than one guys rusting up and freezing on they haven't been to horrible from what I've noticed
 
Hex style here and she's a sloppy ***** and like you mentioned at times it can be a pain to get locked correctly...

Splined is the next route for me
 
I forgot I had this stuffed away. It's made by longacres and they don't sell the coupler separately and all there current ones show to have 2 safety locks where this has 1. Joe racing in Everett shows to sell the coupler separately with the single safety lock.
 

Attachments

  • tmp_19690-20170320_225318968484617.jpg
    tmp_19690-20170320_225318968484617.jpg
    54.1 KB
I second Clark's opinion. I mounted my orbital in an oem fashion. Built my own column with shaft collars and impregnated bushings. I have built a couple since and they work well. Something about an orbital in the cab seems sketchy, i could be a big vagina though.:D
 
I can guarantee its going to take some time to get used to,lol. Just the auto alone is going to be a big learning curve.
 
Mike, I have a brand new splined set-up from Speedway. I ended up not using it on the Scout and so it is just sitting on my shelf. Cadillac tilt, telescoping column can't be used with one.

I will sell it for quite the discount to not have it sitting around. PM me if you are interested.
 
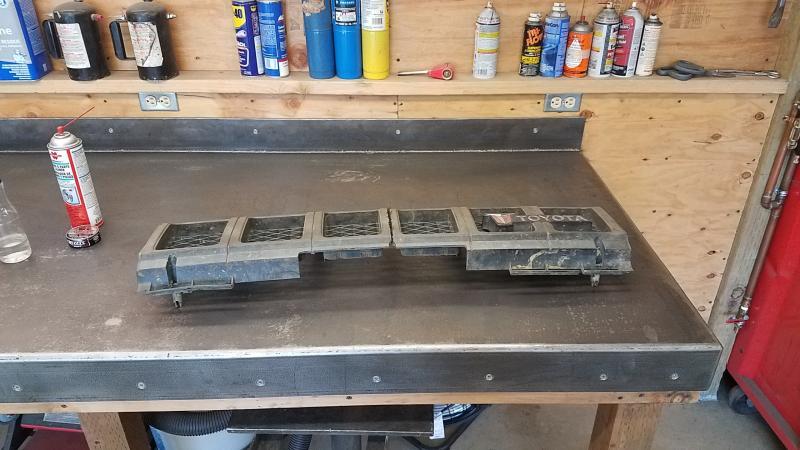
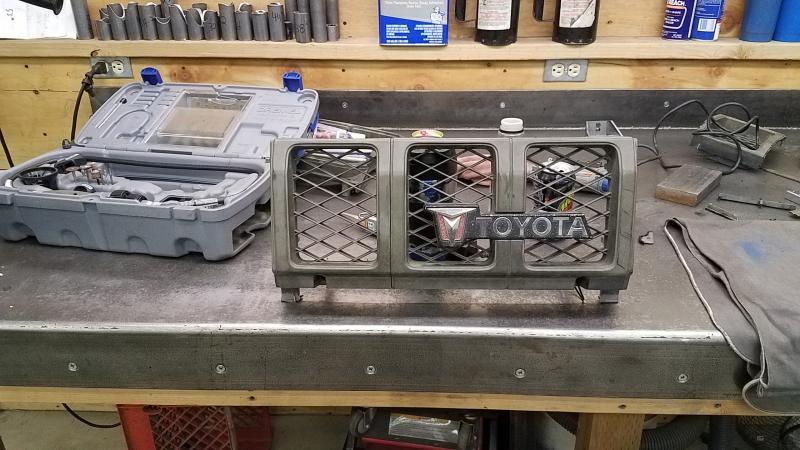
Time to get the grill done up. This is the only part that I am using from the toy is the grill. I ended up cutting 3 sections out of it to make it the correct width. So I kept the 2 driver side portions and then the far passenger side so it had the proper endcap. I couldn't 100% match the curvature of it and still retain the proper width between the sections. Its pretty minor and you can barely tell unless you look directly down on it.
 

Attachments

  • 20170319_160119.jpg
    20170319_160119.jpg
    61.4 KB
  • 20170319_205026.jpg
    20170319_205026.jpg
    71 KB
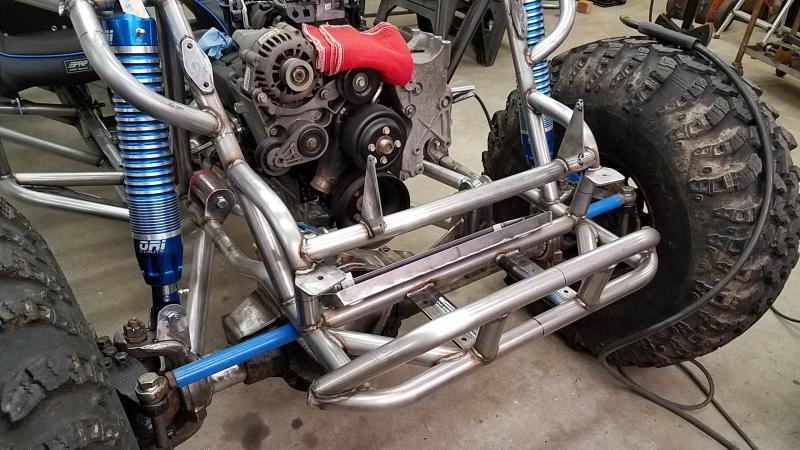
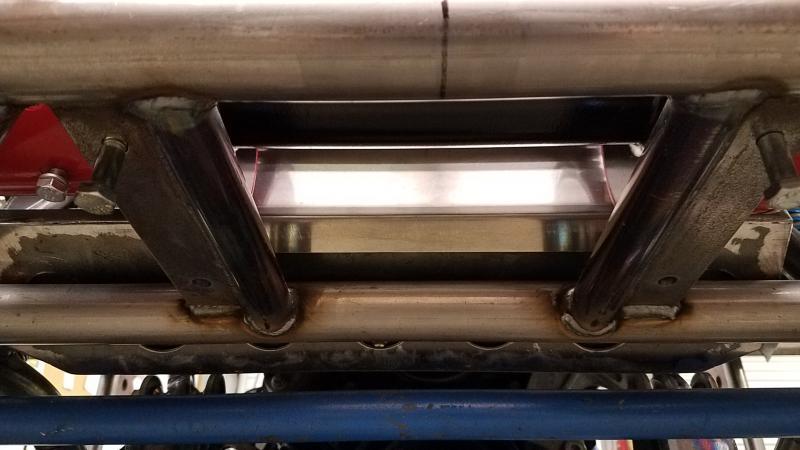
I did some more tube work on the front to hold the grill and lights and also added a some more cross support.
 

Attachments

  • 20170323_192916.jpg
    20170323_192916.jpg
    82.6 KB
And here is the end result. I really like how it turned out. My original idea was to use and earlier grill and round headlamp bezels but ended up being way to wide. Now ya really know its a toyota,lol.
 

Attachments

  • 20170323_205156.jpg
    20170323_205156.jpg
    78.5 KB
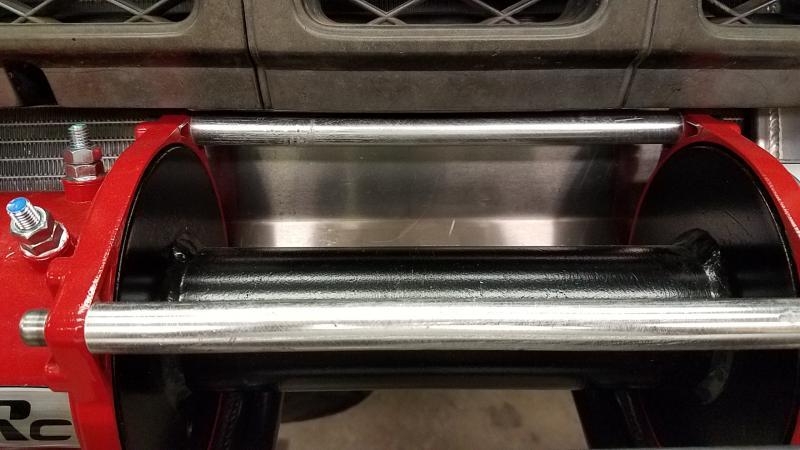
I also made an aluminum plate for behind the winch to protect the radiator.
 

Attachments

  • 20170323_205210.jpg
    20170323_205210.jpg
    51.4 KB
  • 20170323_225453.jpg
    20170323_225453.jpg
    43.4 KB
God dam you Toyota purists will never die. Looks like a Volkswagen beetle tho.:fawkdancesmiley:
 
:awesomework::corn: Any updates kash, the front end turned out killer. Old skool got a guy

I do. Its just been slow between being out of commission for a couple days and I spent a few evenings practicing my tig welding...

God dam you Toyota purists will never die. Looks like a Volkswagen beetle tho.:fawkdancesmiley:

Your just mad mines going to be done first :redneck:
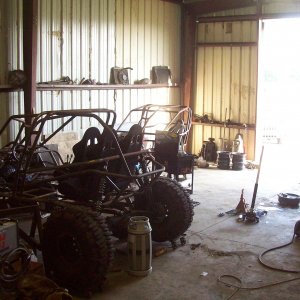
 
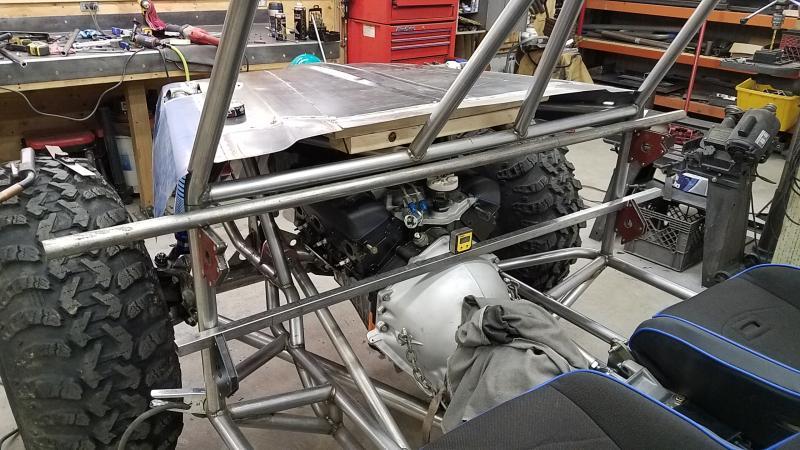
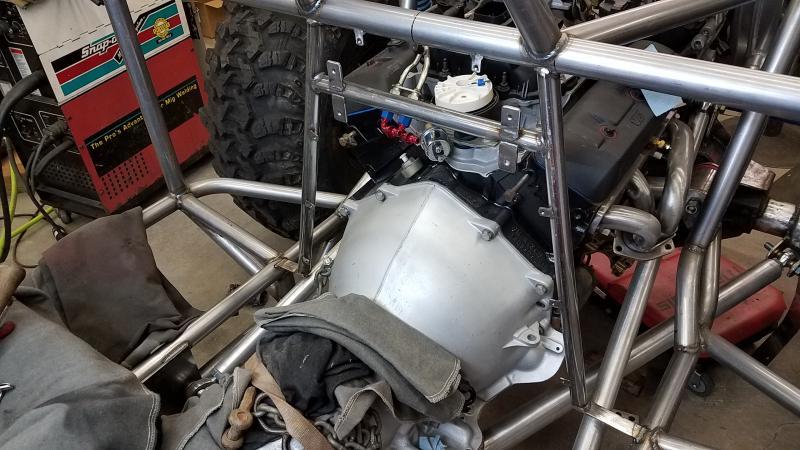
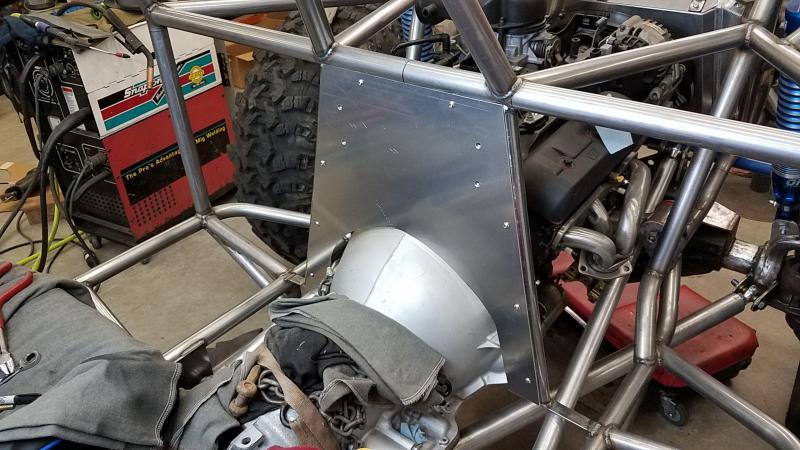
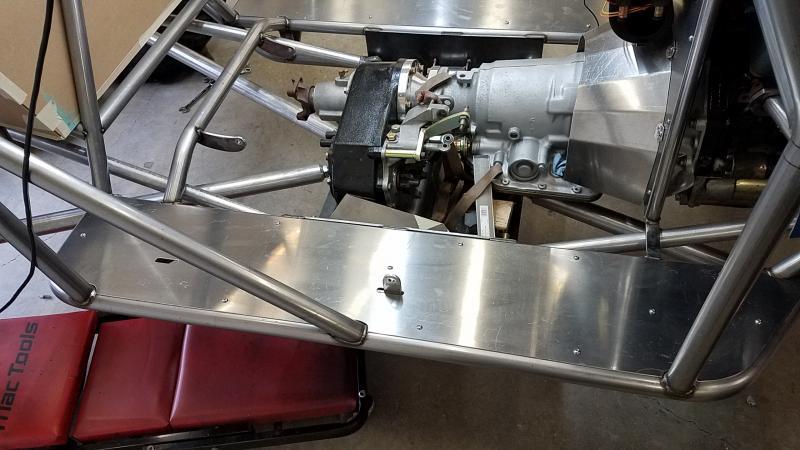
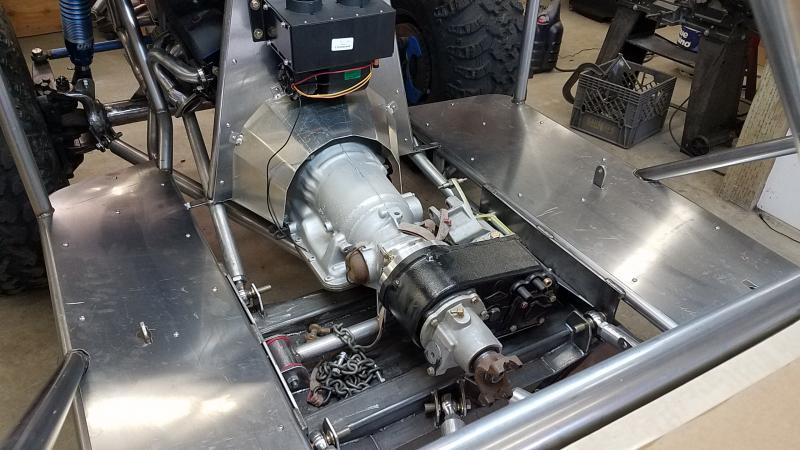
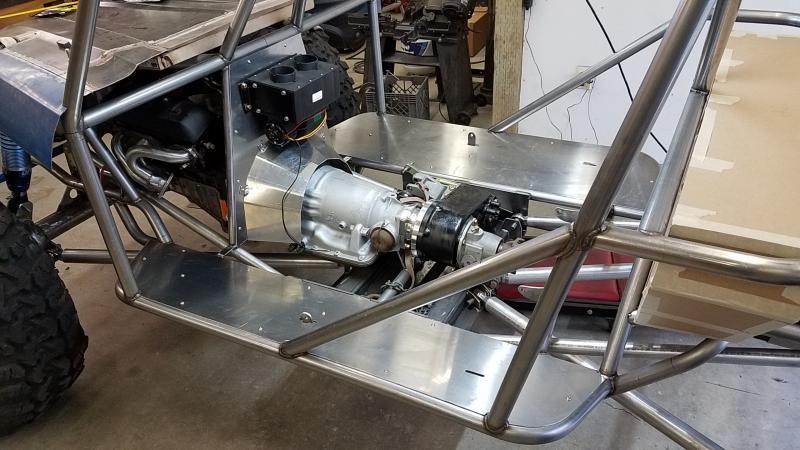
So it has been slow going with allot to figure out. Some guys who ran the Bavo 2's just built there firewall out of sheetmetal but I needed something with more strength than just what sheet metal would give.

So I drug out the 1' tube and went to work.
 

Attachments

  • 20170326_143118.jpg
    20170326_143118.jpg
    72.5 KB
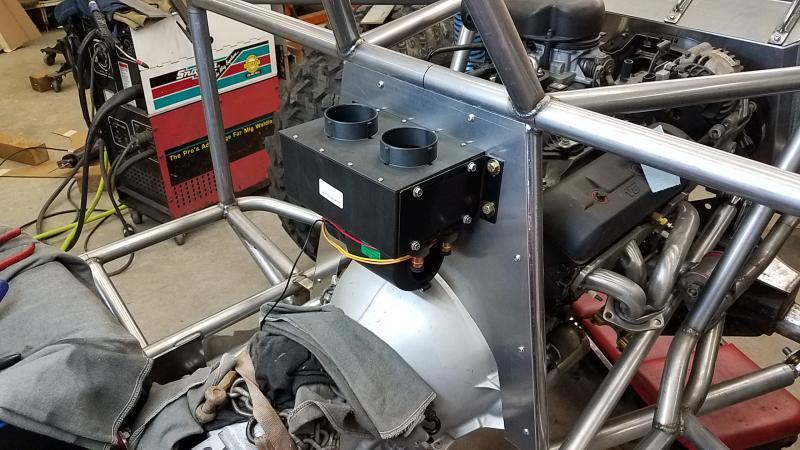
And this was the reason for building the firewall like I did. Thats the summit brand heating unit. It came highly recommended and was very reasonably priced. I also got the vent kit so the plan will be to have a cover over top it so I can pipe the air flow the way I want it.
 

Attachments

  • 20170326_151423.jpg
    20170326_151423.jpg
    76.8 KB
So from here on out I will be bouncing around on the inside of the cab.

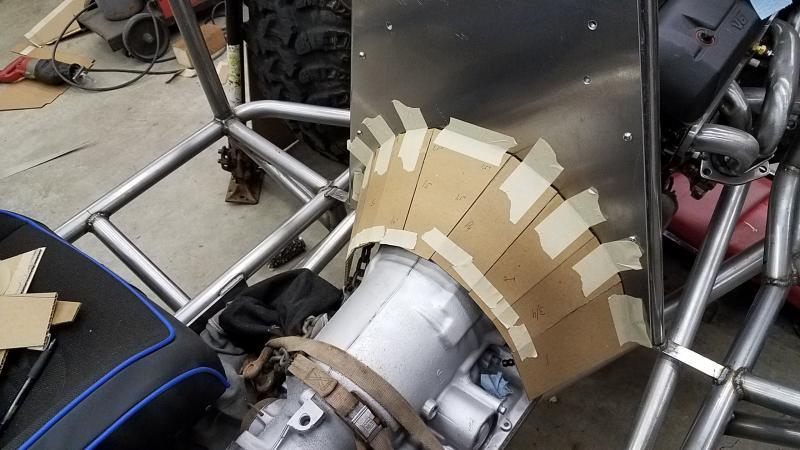
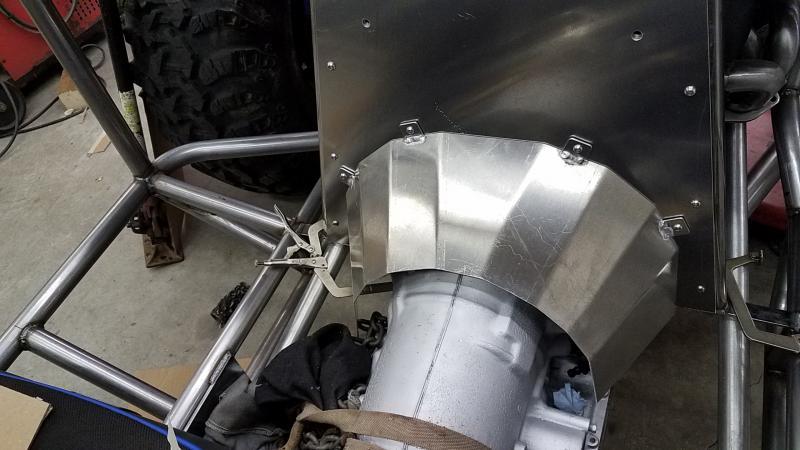
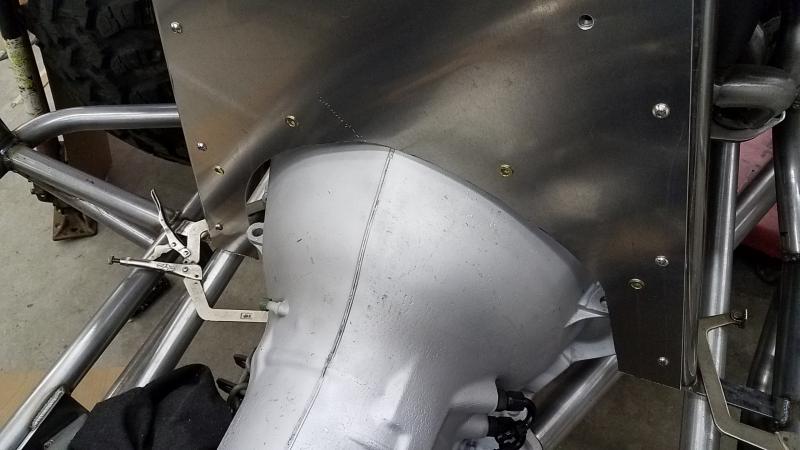
The cover over the bell housing I was originally going to make it from multiple parts and tig weld it into one part. I decided to use the sheet metal break I got a while back to see if I could do it in one chunk. I was able to do it in one shot and the only thing I had to do was flatten the one edge where it meets the firewall. I will also be removing material on the back side where the tunnel goes back but will after a few other pieces are done. Also dug out my threadsert tool and put that to use.
 

Attachments

  • 20170328_183501.jpg
    20170328_183501.jpg
    62.7 KB
  • 20170329_205803.jpg
    20170329_205803.jpg
    52.7 KB
  • 20170329_205120.jpg
    20170329_205120.jpg
    45.5 KB
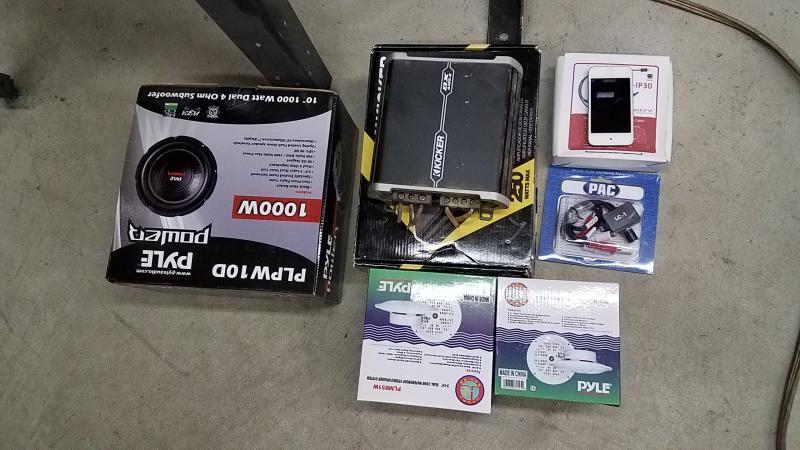
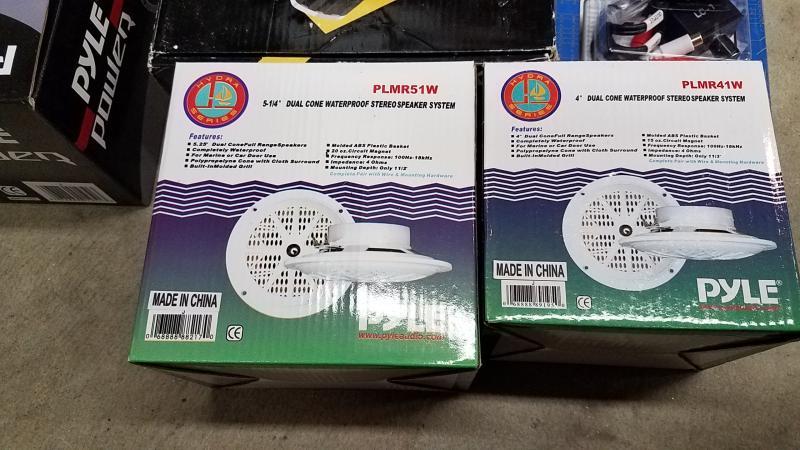
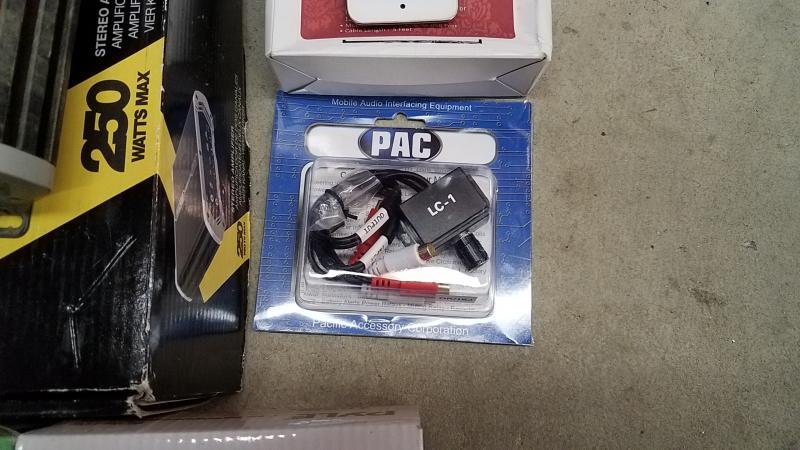
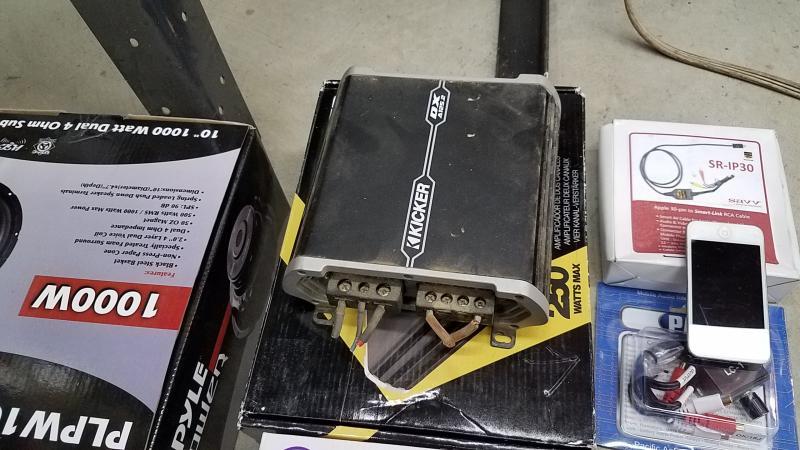
So all my stereo stuff finally arrived and anybody who knows me--I love my tunes wheeling.. So its a simplified system. I have a cable for my ipod that also charges it and from there will go directly to the amps. I got marine speakers for the front and I will be doing the same style of pods as I had before and this time a single sub.
 

Attachments

  • 20170401_091814.jpg
    20170401_091814.jpg
    63.4 KB
  • 20170401_091835.jpg
    20170401_091835.jpg
    71 KB
  • 20170401_091818.jpg
    20170401_091818.jpg
    63.7 KB
  • 20170401_091838.jpg
    20170401_091838.jpg
    68.3 KB
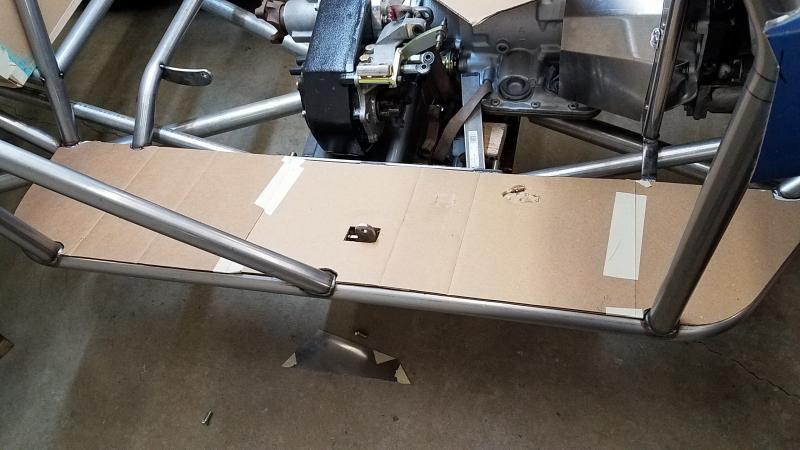
Time to make more templates for the outer portion of the floor. I will say I was pretty proud of myself as I was able to use one template and simply flip it over and it was 95% perfect side to side.
 

Attachments

  • 20170331_212306.jpg
    20170331_212306.jpg
    52.2 KB
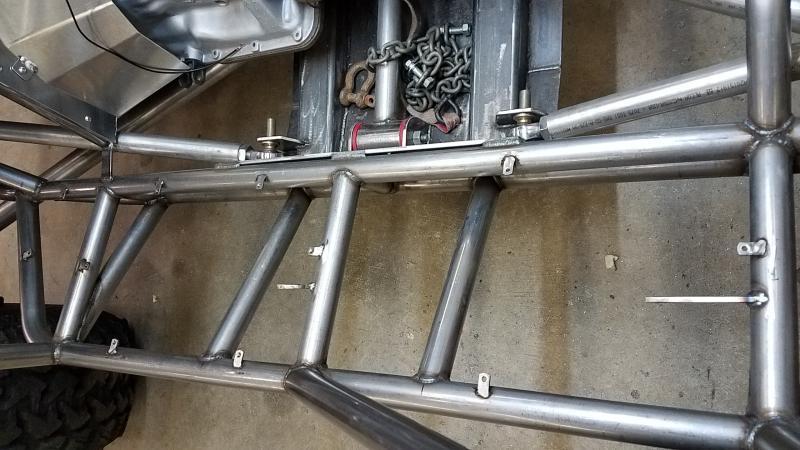
So I busted but this weekend and was able to get both sides done along with all the mounting tabs. I also ended up redoing 2 of the passenger seat mounts since all the mounts were kinda roughed in I wanted to tweek it a bit.

But its starting to take shape inside finally..
 

Attachments

  • 20170402_080733.jpg
    20170402_080733.jpg
    62.6 KB
  • 20170402_164821.jpg
    20170402_164821.jpg
    58.9 KB
  • 20170402_164837.jpg
    20170402_164837.jpg
    67.4 KB
  • 20170402_164831.jpg
    20170402_164831.jpg
    67.9 KB
.

You better be careful, At this rate you're gonna end up wheeling soon. :D
Lookin real clean. Love the grille btw
 
Well I am no speed demon--granted who knows what the hell I will be after its done,lol.. I can tell ya what though I guarantee I will look like a monkey fawkin a football at first. :redneck:
 
Back
Top