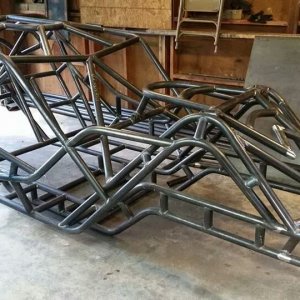
Finally....Da new rig..

Hardline Crawlers - Rock Bouncer Builds, Tech & Off-Road Trail Talk

Help Support Hardline Crawlers:

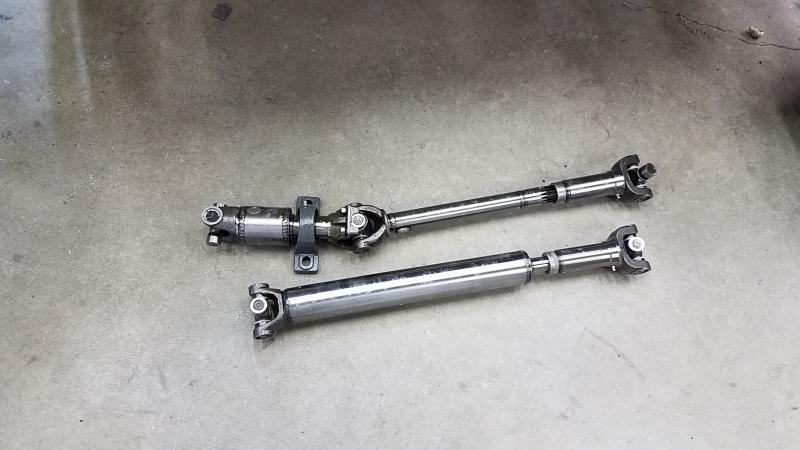
Took a little while but I finally got my new driveshafts. Its probably been 15 years since I had somebody else do my driveshafts..
 

Attachments

  • 20170406_185057.jpg
    20170406_185057.jpg
    46.7 KB
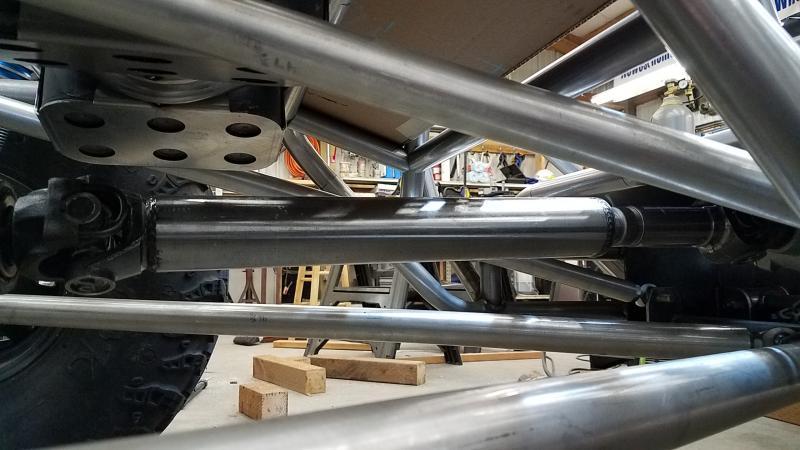
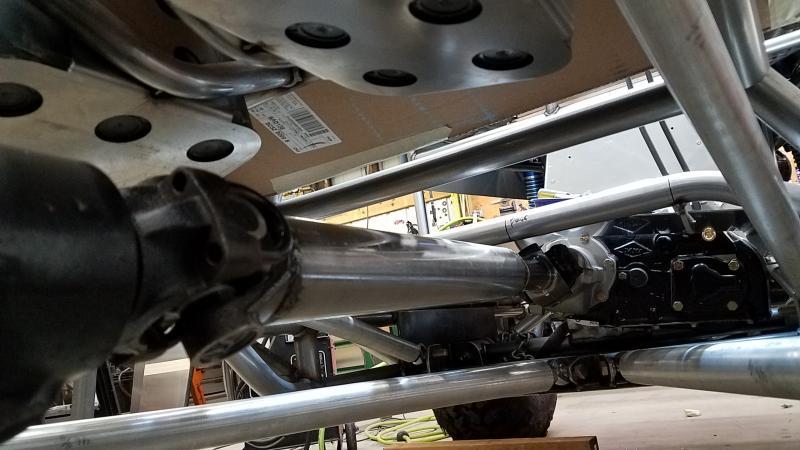
I got the rear shaft put in just to see how it all looks. Its spot on and clears "everything"...
 

Attachments

  • 20170408_082317.jpg
    20170408_082317.jpg
    55.5 KB
  • 20170408_082337.jpg
    20170408_082337.jpg
    55.1 KB
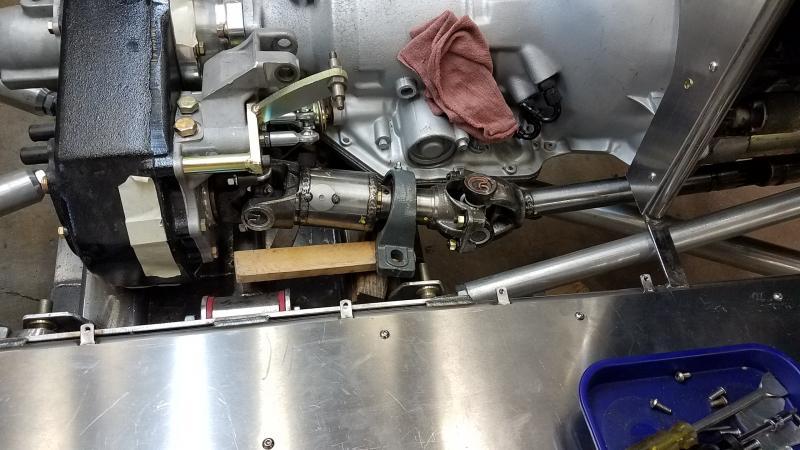
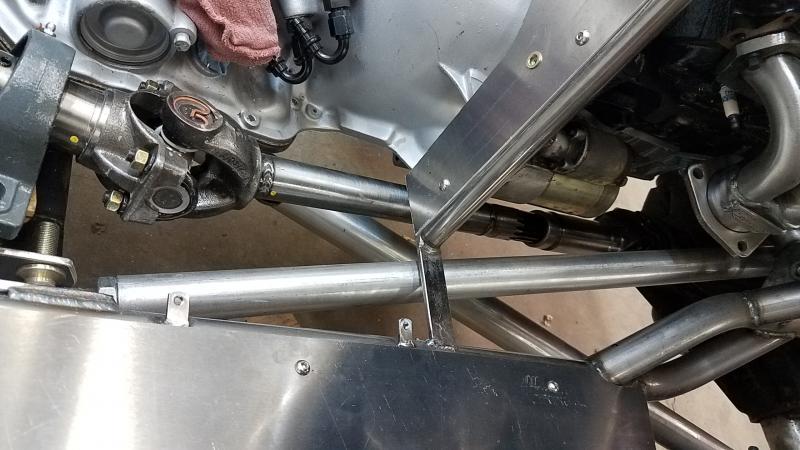
I threw the front shaft in and it looks like its going to also be perfect. I gotta make the mount for the pillow block and check it but that will be for another day.
 

Attachments

  • 20170409_103516.jpg
    20170409_103516.jpg
    62.1 KB
  • 20170409_103520.jpg
    20170409_103520.jpg
    58.5 KB
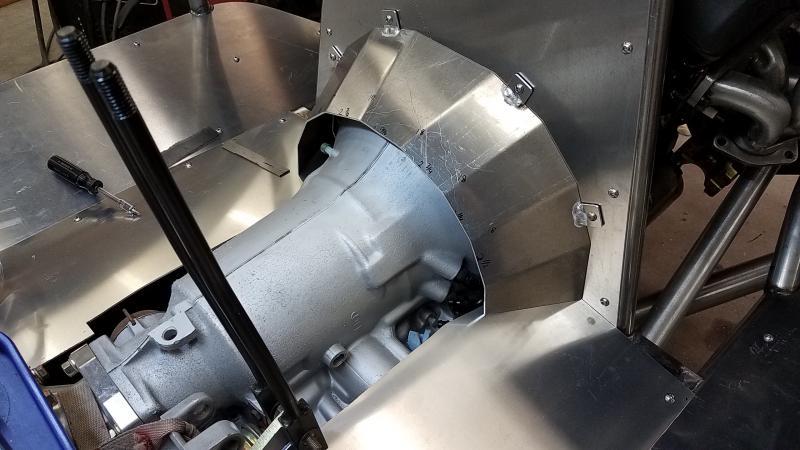
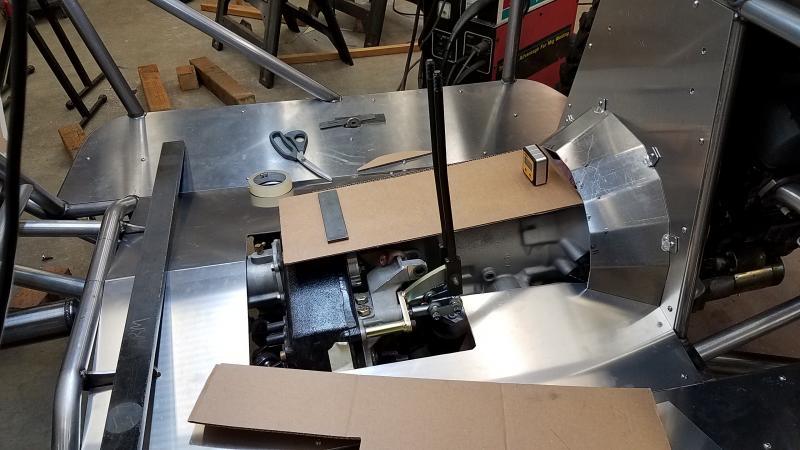
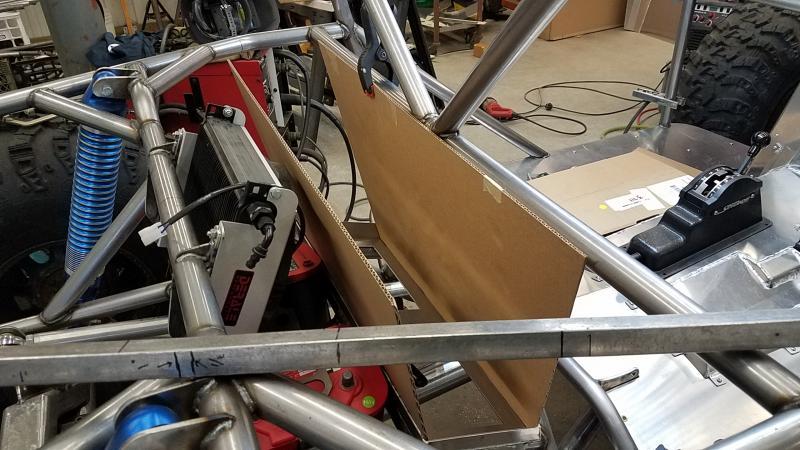
So back to playing with cardboard. I got the inner panel templates made up...
 

Attachments

  • 20170403_191346.jpg
    20170403_191346.jpg
    53.3 KB
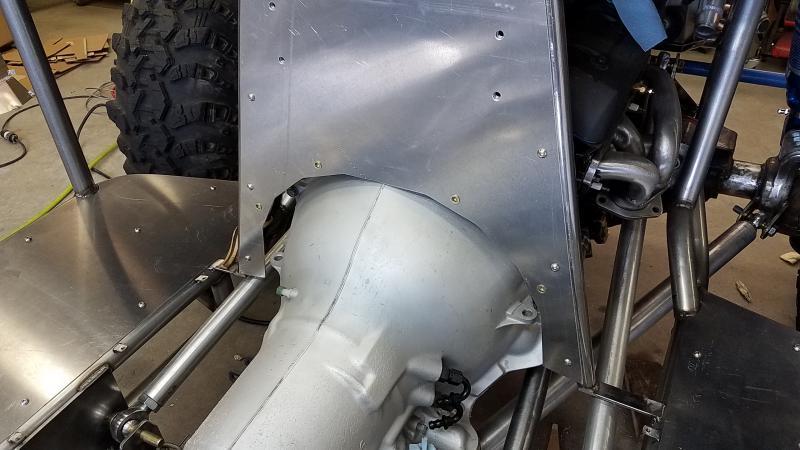
So with the templates made I was able to get the panels cut and tabs welded on that affix them to the outer tube where they meet the outer panels.
 

Attachments

  • 20170406_222313.jpg
    20170406_222313.jpg
    42.7 KB
  • 20170406_222321.jpg
    20170406_222321.jpg
    42.9 KB
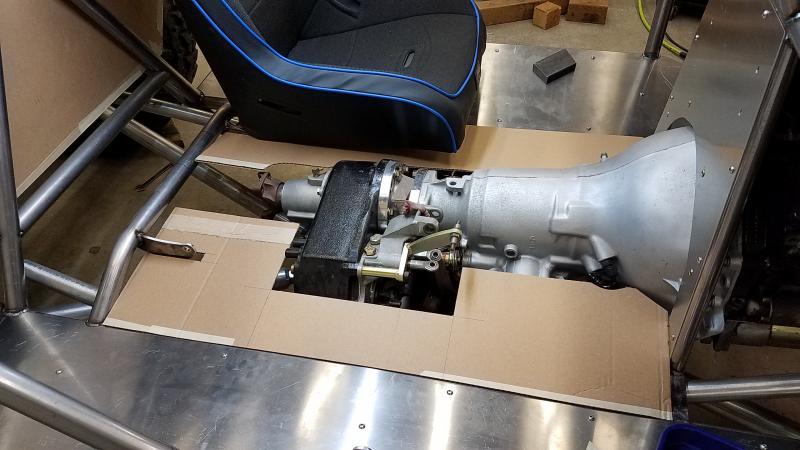
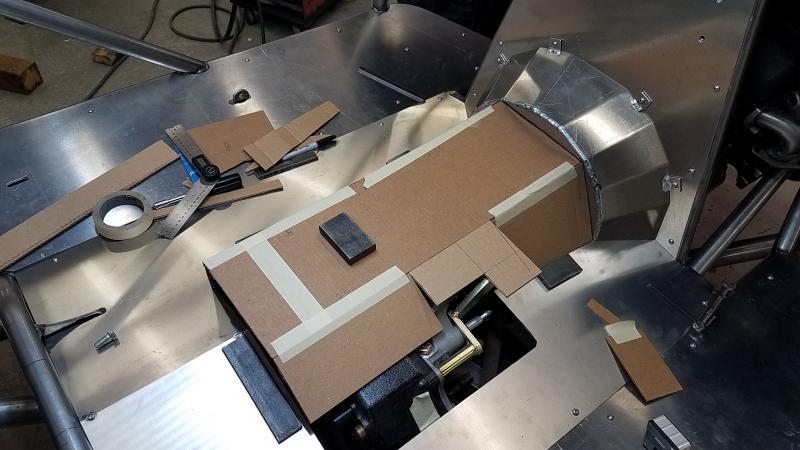
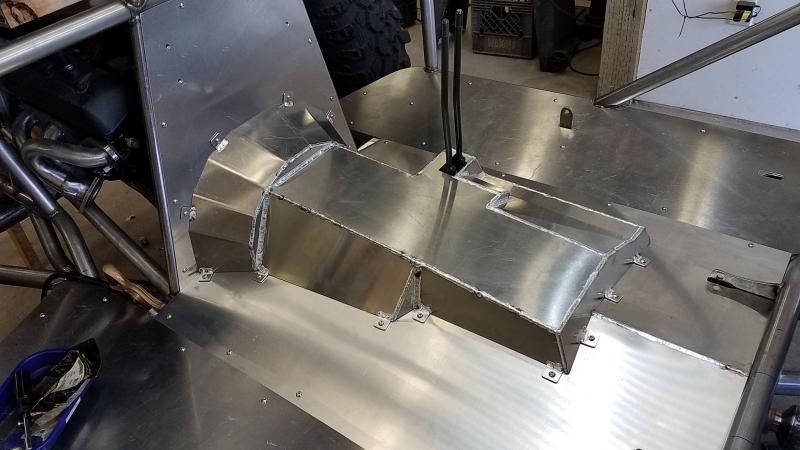
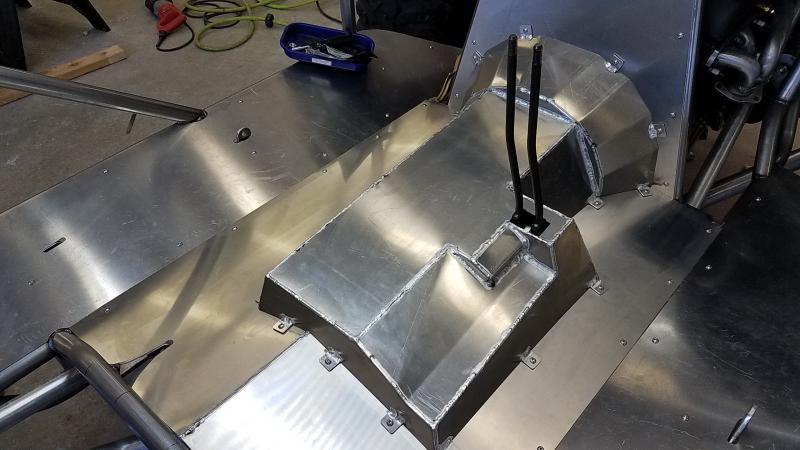
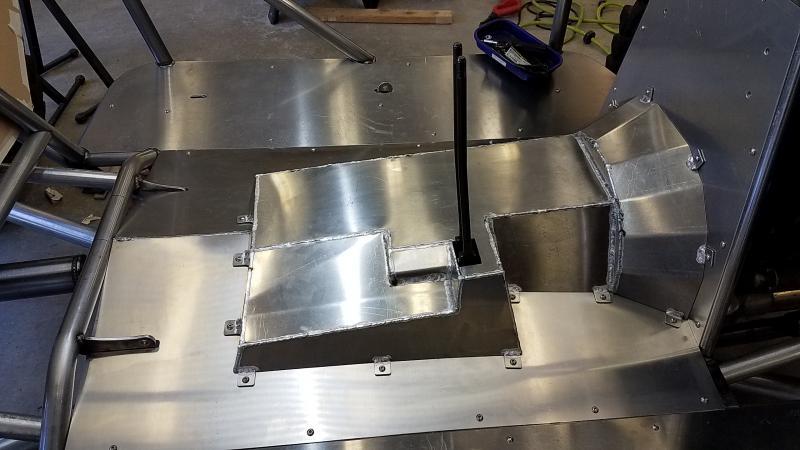
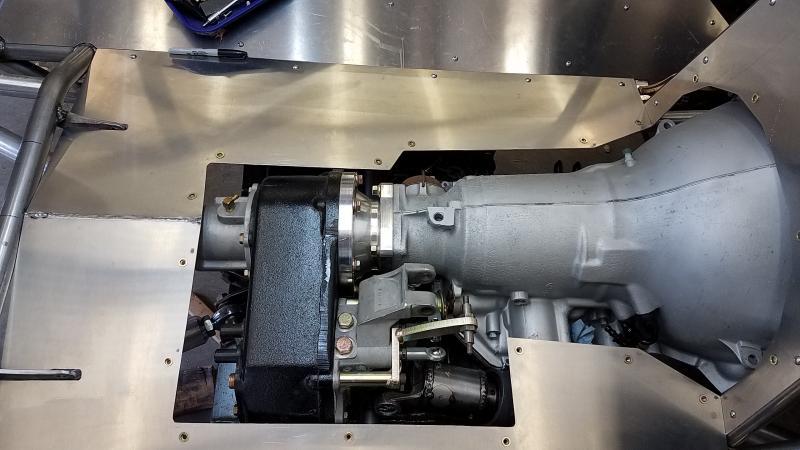
So with the panels in I got the first part of the tunnel I made cut down to match the floor and then made and welded the part that lets the next section of tunnel meet up with it.

Then again the cardboard came out and went thru many versions of it till I got what I wanted. Now onto cutting more panels..
 

Attachments

  • 20170408_091537.jpg
    20170408_091537.jpg
    53.2 KB
  • 20170408_112402.jpg
    20170408_112402.jpg
    56.9 KB
  • 20170409_081945.jpg
    20170409_081945.jpg
    52 KB
Looking good man! I'm getting excited. We actually going to get to go to the rocks at the same time for once?
 
When are you going to start your exhaust? That was a critical and time consuming part in mine.

I am hoping to get the front driveshaft mounted up by monday and then get my list bends to order--shooting for new week...

Once thats done I can get the oil pan skid done also.
 
I am hoping to get the front driveshaft mounted up by monday and then get my list bends to order--shooting for new week...

Once thats done I can get the oil pan skid done also.

I use an exhaust place's over/under bend scrap pile bends. Fit it up cut, pie etc. They charge by the inch and it ended up being way way cheaper. I have total what 1 180* bend would cost. Just an option. The place is Stan's headers in Kent.
 
I use an exhaust place's over/under bend scrap pile bends. Fit it up cut, pie etc. They charge by the inch and it ended up being way way cheaper. I have total what 1 180* bend would cost. Just an option. The place is Stan's headers in Kent.

Way too far south for me....
 
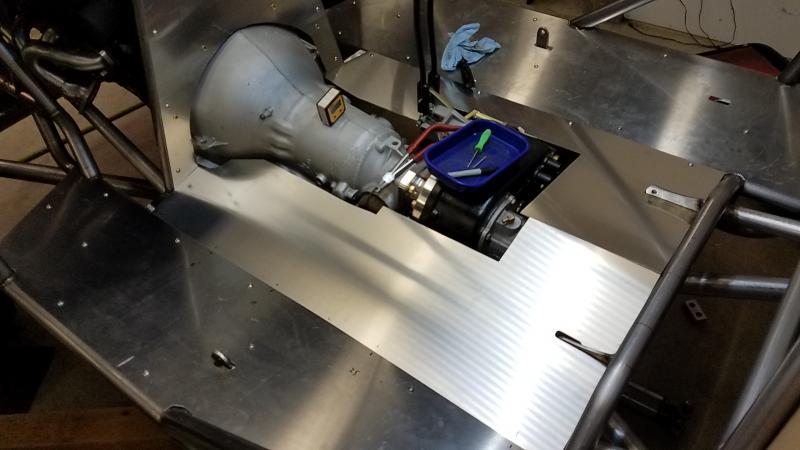
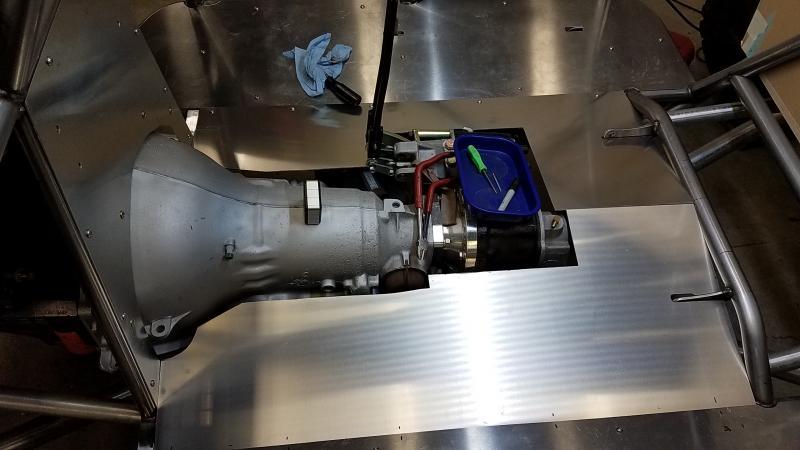
So just putting along.. So I got the tunnel cover finished finally. I was not supper happy with how it turned out mainly due to my tig work but I am slowly getting better. So I pulled the firewall and floor and got all the excess removed at the overlap points along with all the threaded inserts.
 

Attachments

  • 20170415_120039.jpg
    20170415_120039.jpg
    54.2 KB
  • 20170415_132904.jpg
    20170415_132904.jpg
    50.4 KB
  • 20170415_132854.jpg
    20170415_132854.jpg
    50.1 KB
  • 20170415_132845.jpg
    20170415_132845.jpg
    48.5 KB
  • 20170415_120446.jpg
    20170415_120446.jpg
    50.4 KB
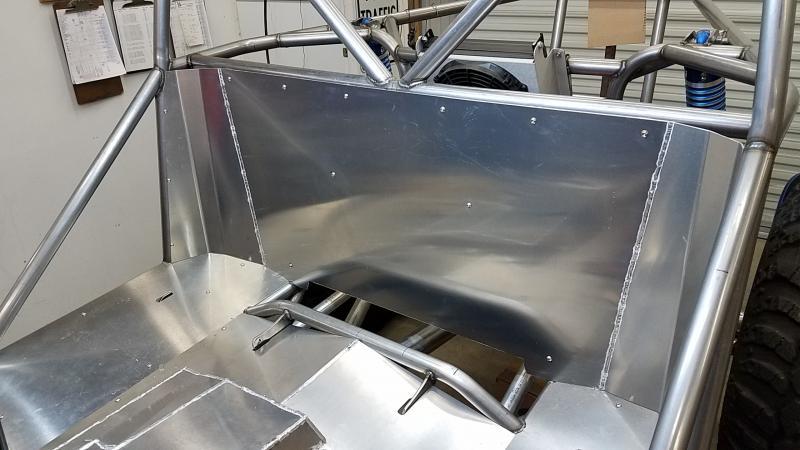
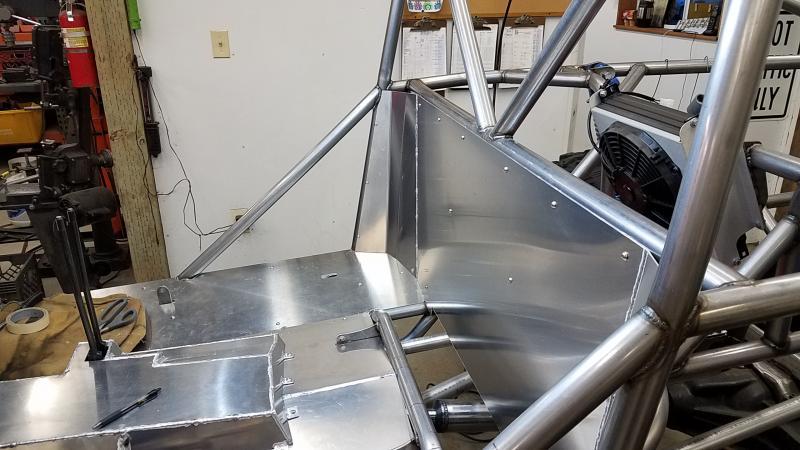
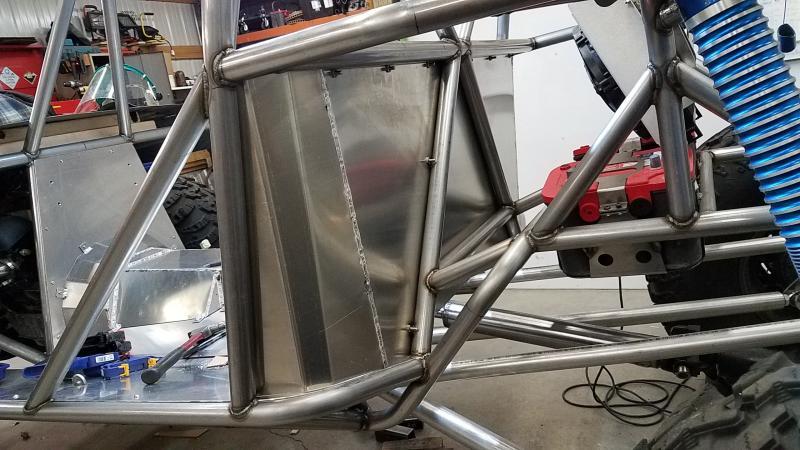
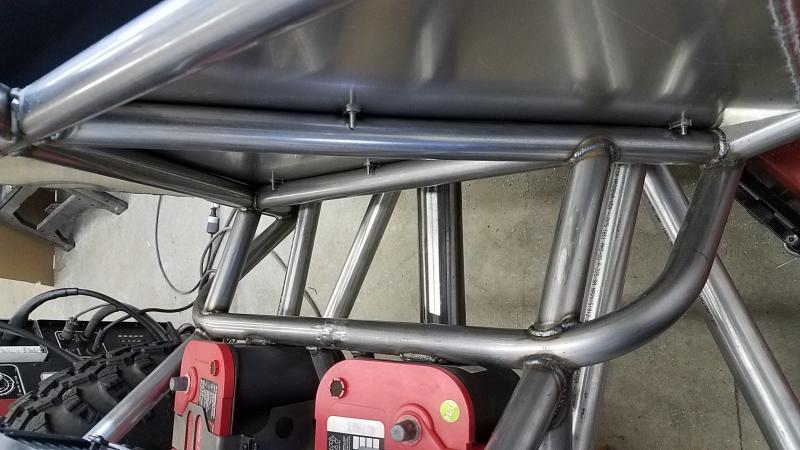
So next I tackled the rear wall. One thing I wanted was a full enclosure so it took a little thought. So the wall on the top side is all done. I still got some work with the last panel below the wall but that will only be trimming and adding a couple more tabs.

But I am getting a pretty decent handle on this sheet metal work...
 

Attachments

  • 20170416_200506.jpg
    20170416_200506.jpg
    52 KB
  • 20170416_200511.jpg
    20170416_200511.jpg
    62.3 KB
  • 20170416_200516.jpg
    20170416_200516.jpg
    72.2 KB
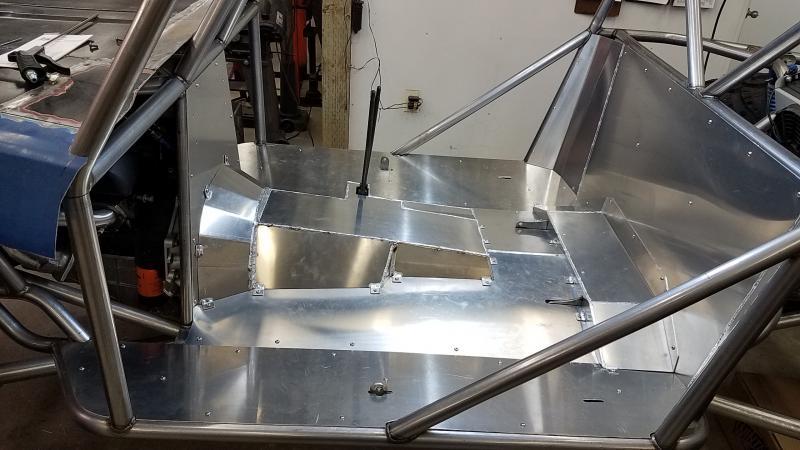
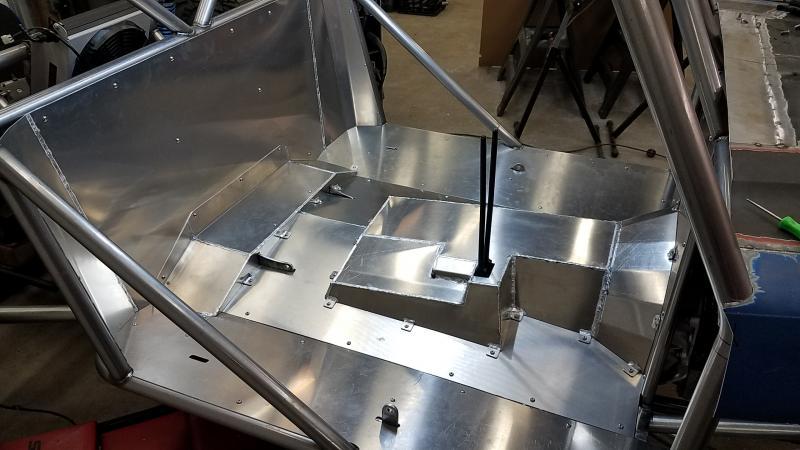
So I got the last panel for the floor finished. It really stiffened the whole works up and ties into the wall, rear seat crossbar and the main floor pan.

So that finishes up the floor.
 

Attachments

  • 20170420_203932.jpg
    20170420_203932.jpg
    57.1 KB
  • 20170420_203106.jpg
    20170420_203106.jpg
    42.4 KB
  • 20170420_203924.jpg
    20170420_203924.jpg
    54.4 KB
So next I decided to tackle the fuel cell which will be going in this area.

When I built my toy in the last configuration I used the mindset to build the fuel cell around the rig not the rig around the fuel cell.
 

Attachments

  • 20170421_074455.jpg
    20170421_074455.jpg
    57 KB
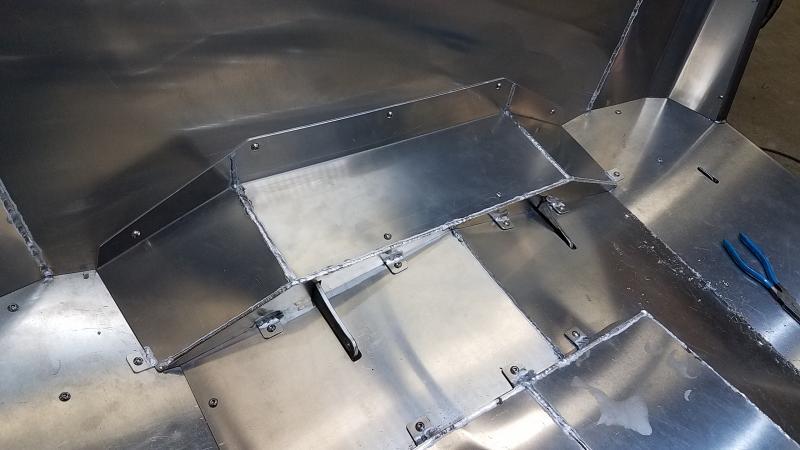
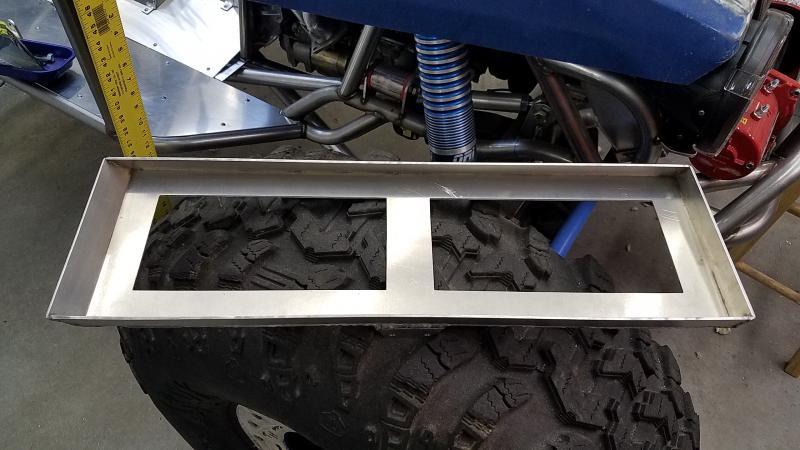
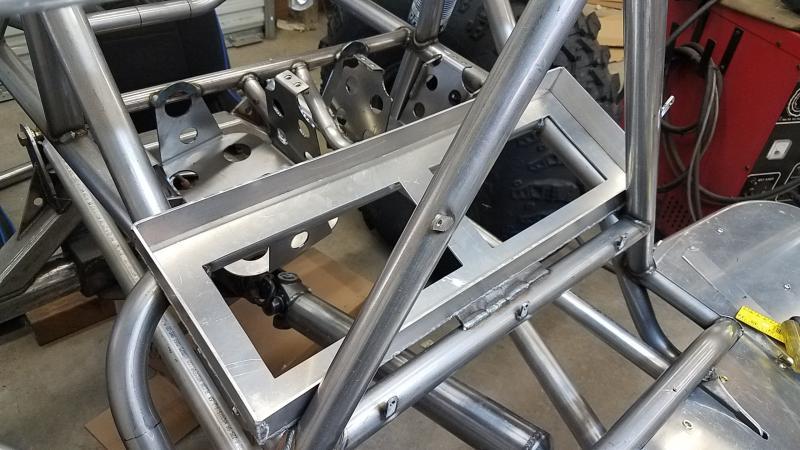
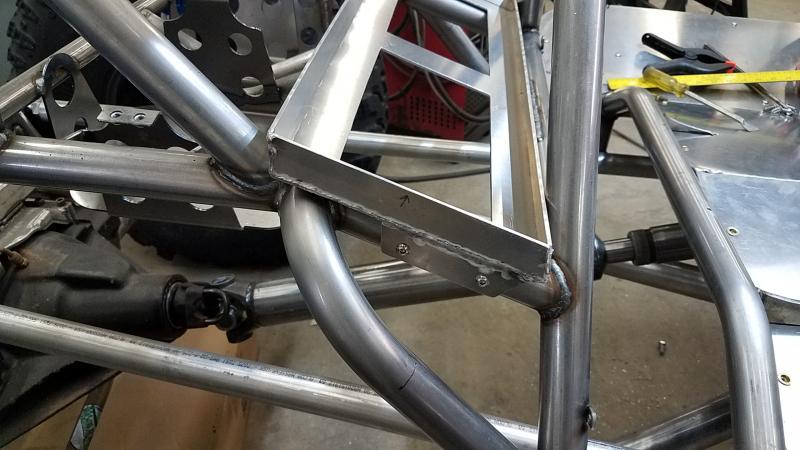
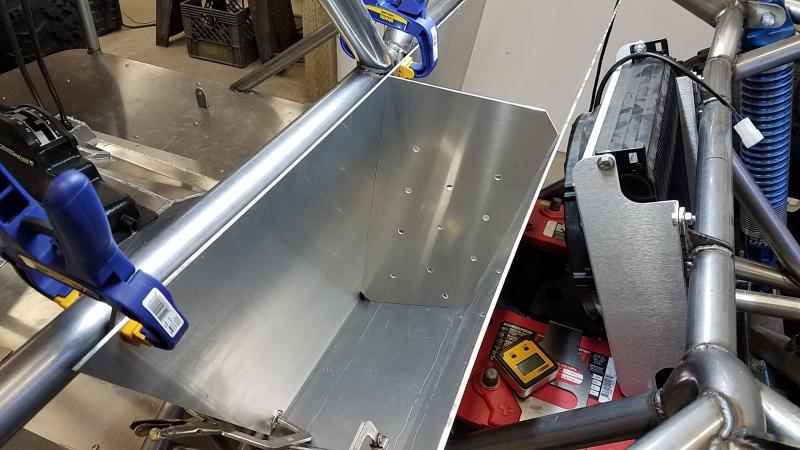
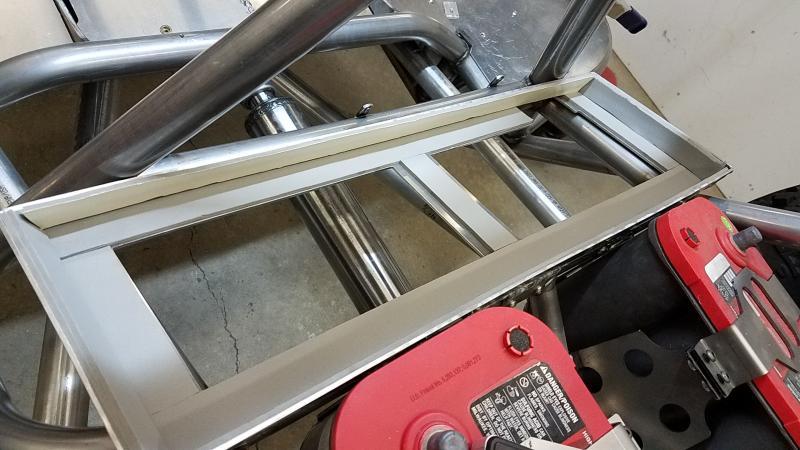
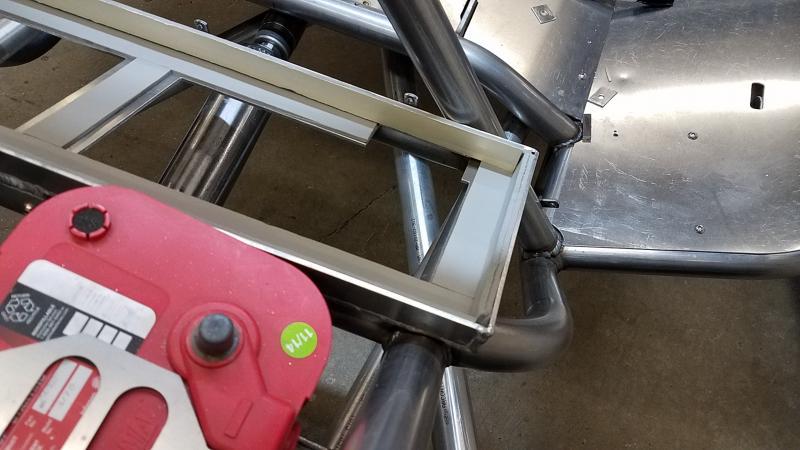
So my idea was to build a cradle/basket for the cell to sit in kinda like I did for my radiator. The big difference was I wanted it removable and out of aluminum. So this is what I came up with.
 

Attachments

  • 20170422_112823.jpg
    20170422_112823.jpg
    55.3 KB
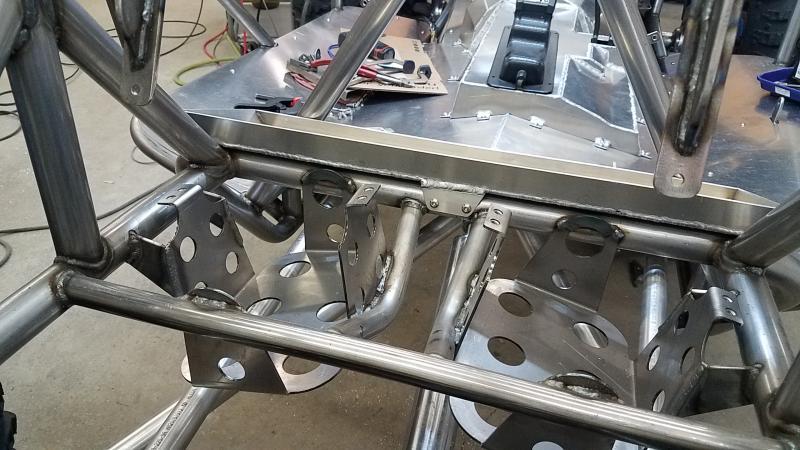
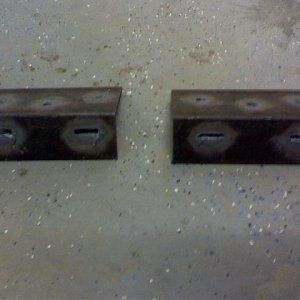
And here it is in place. Its held there by 3 tabs bolted to the chassis...
 

Attachments

  • 20170422_113145.jpg
    20170422_113145.jpg
    67.2 KB
  • 20170422_113149.jpg
    20170422_113149.jpg
    58.2 KB
  • 20170422_113159.jpg
    20170422_113159.jpg
    70.4 KB
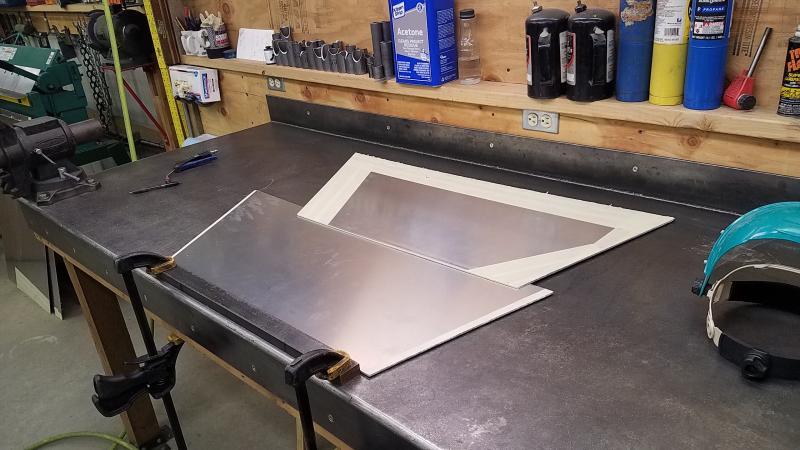
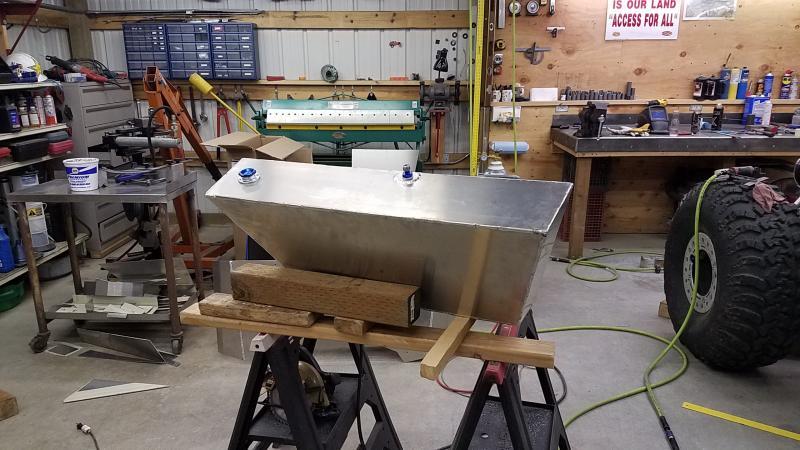
So with the lower mount/bucket done it was time to do the fuel cell and here is where I started getting nervous.. I only have like 5 hours of Tig under my belt with a high potential of fawking this up.. So of course I started with cardboard and got the front/rear aluminum pieces cut. So its roughly going to be 16 gallons. I did awful in geometry and it was many years ago to try and measure a complex shape so I kinda measured in the central points for a rectangle.
 

Attachments

  • 20170422_134141.jpg
    20170422_134141.jpg
    72.7 KB
  • 20170423_150440.jpg
    20170423_150440.jpg
    61.2 KB
The cell will have a center baffle that will also help support the cell walls.
 

Attachments

  • 20170424_200424.jpg
    20170424_200424.jpg
    63.2 KB
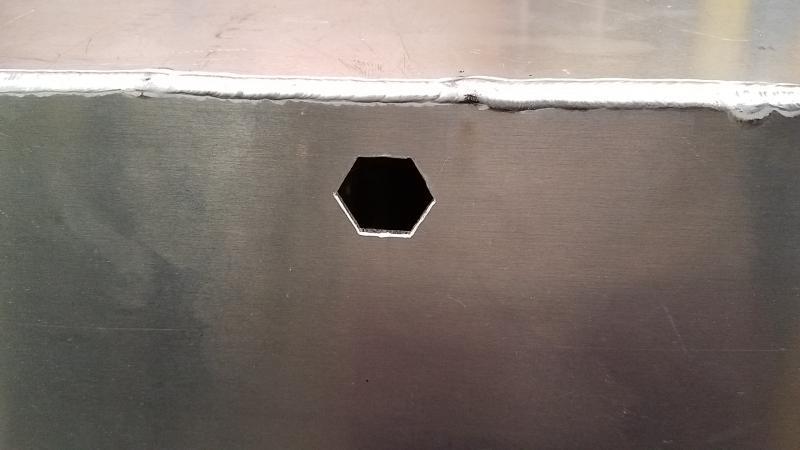
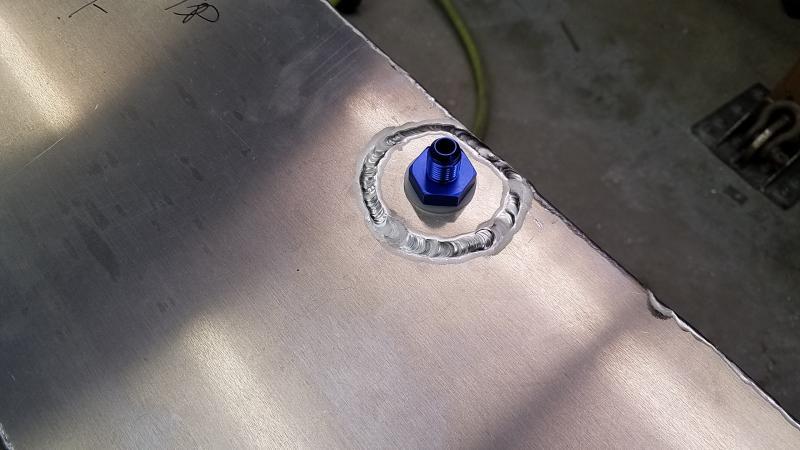
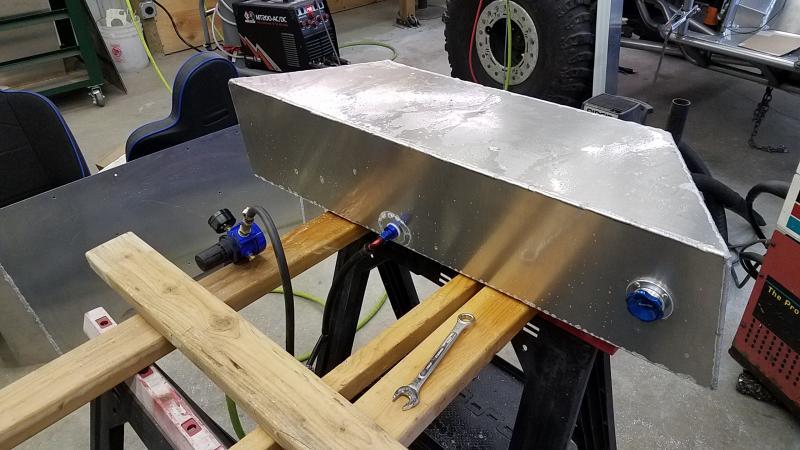
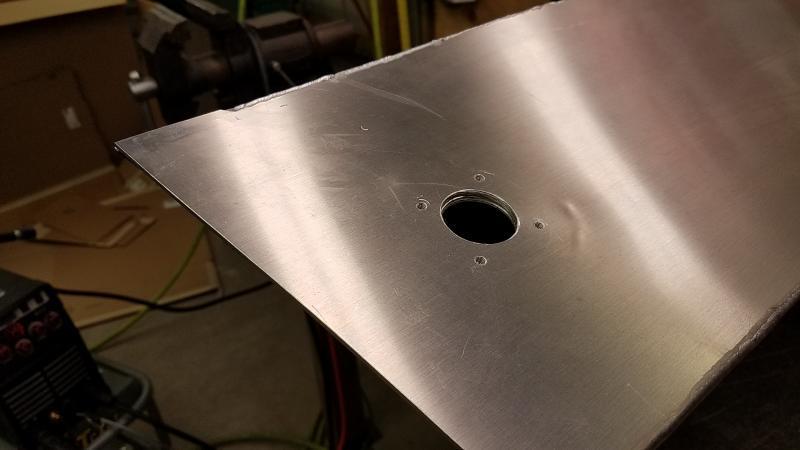
So for the cell vent I went with a typical rollover valve. Now the only issue with this type of valve is its a 2 piece so once its in and cell done you won't be able to access it. My fear was it might come loose and might not be able to tighten it so here is my fix for it. So I cut a hexagonal hole in the top of the tank that the bottom portion of the valve will sit into and then made a cap and welded it to the top of the tank. if the need ever comes the lower part will stay locked into place..
 

Attachments

  • 20170425_215250.jpg
    20170425_215250.jpg
    29.4 KB
  • 20170425_225350.jpg
    20170425_225350.jpg
    42.8 KB
  • 20170425_215244.jpg
    20170425_215244.jpg
    32.3 KB
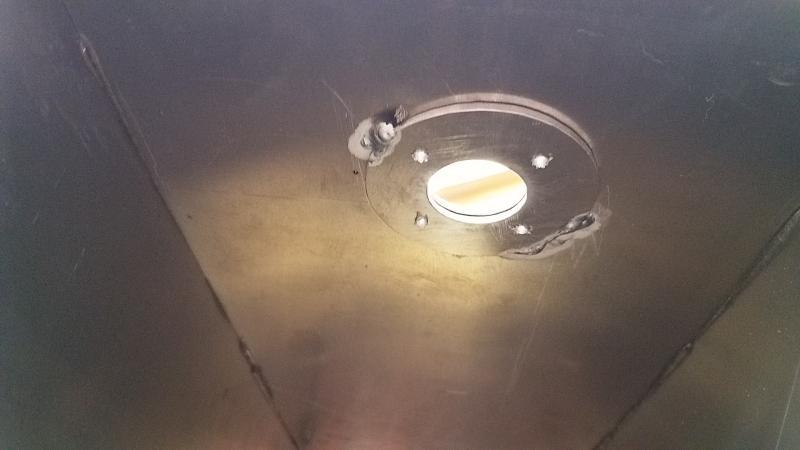
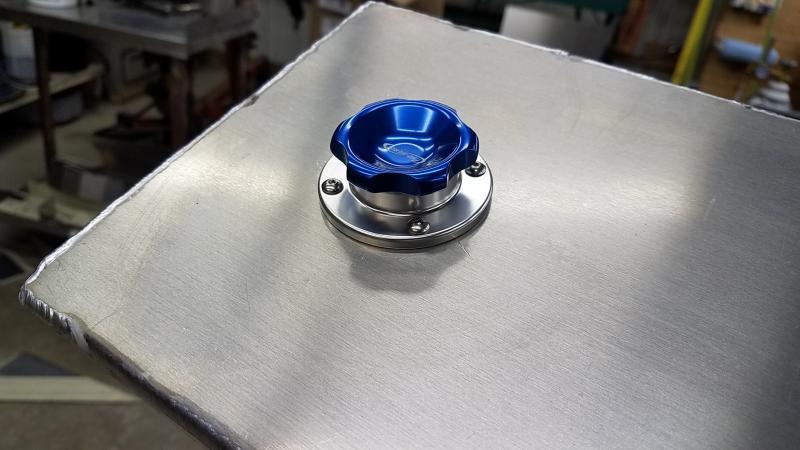
On my old cell in my toyota I had a 1/2 turn style and never really liked it. This time I went with a nice threaded style. I made a ring for the inside of the cell to give more material for the screws that secure the body of the cap for when I tapped them.
 

Attachments

  • 20170426_183409.jpg
    20170426_183409.jpg
    30.3 KB
  • 20170426_183413.jpg
    20170426_183413.jpg
    25.5 KB
  • 20170426_224307.jpg
    20170426_224307.jpg
    43.3 KB
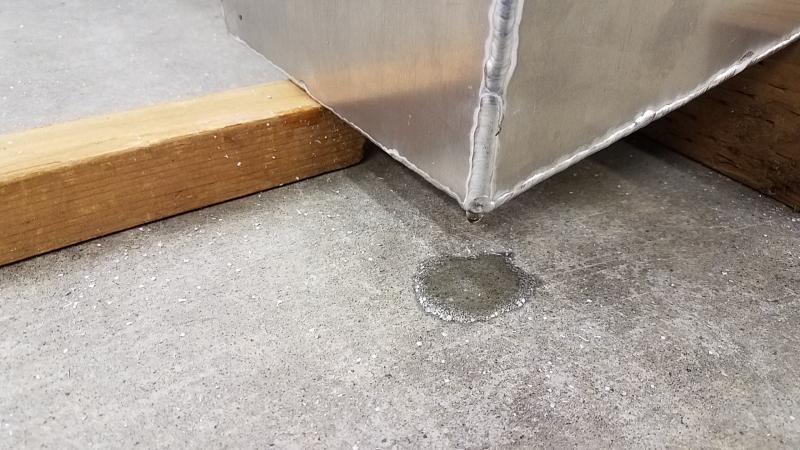
So I nervously tig'ed up the cell and then leak tested it with just water... I was shocked and only one leak at a corner where 3 joints meet up...
 

Attachments

  • 20170426_224344.jpg
    20170426_224344.jpg
    71.6 KB
  • 20170426_230313.jpg
    20170426_230313.jpg
    66 KB
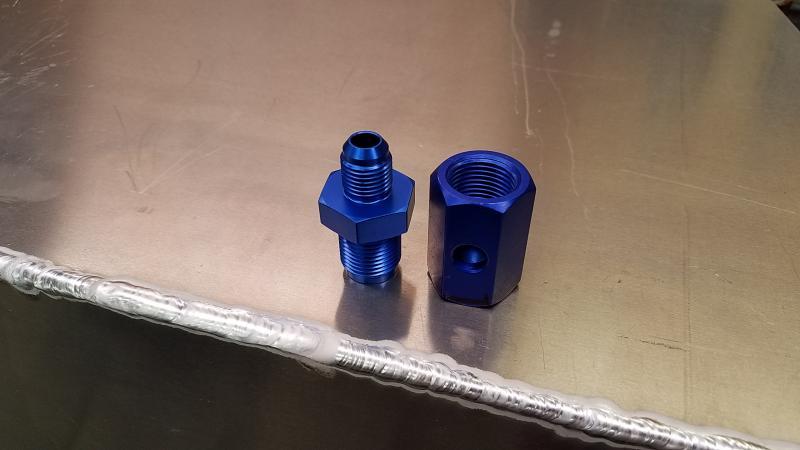
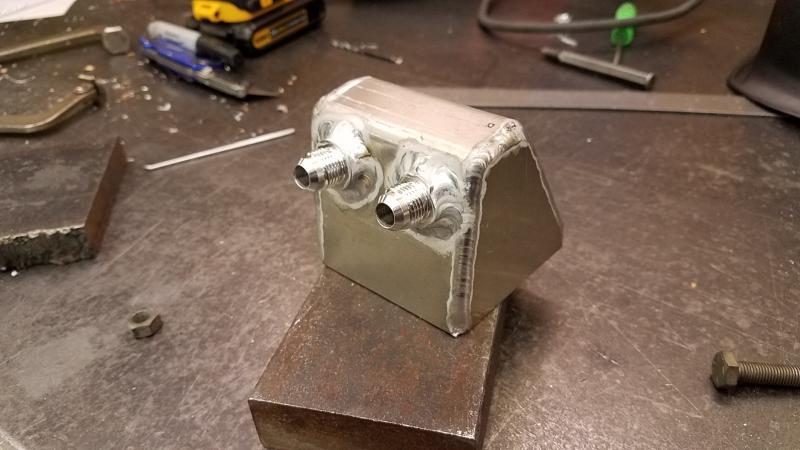
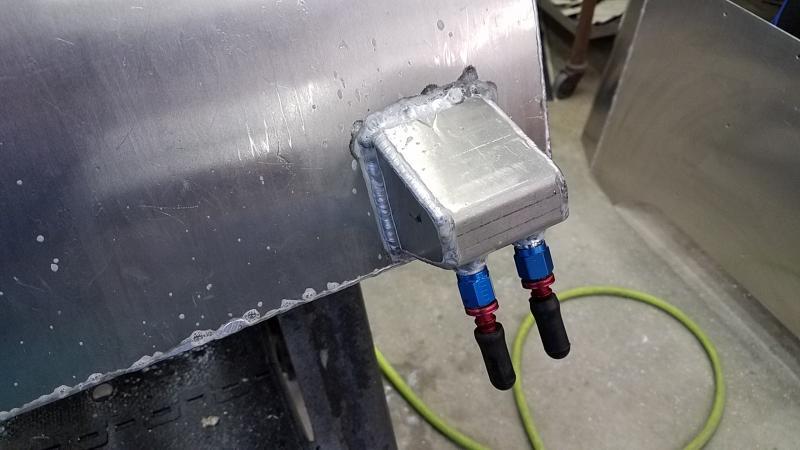
So the cell isn't done yet--still needs a suction and return and here was my plan for it. Made a drop for the bottom front edge of the cell. Once it was welded onto the cell I went and pressure checked it with air/soapy water. Not a single leak--I was pretty stoked about that.

One thing to remember about using water to leak check is the fact a water molecule is larger than that of fuel and have found no leak with water but with fuel (on my old cell for my toyota) so using air if by far the best method.
 

Attachments

  • 20170427_230153.jpg
    20170427_230153.jpg
    49 KB
  • 20170428_195501.jpg
    20170428_195501.jpg
    41.7 KB
  • 20170428_195508.jpg
    20170428_195508.jpg
    62.4 KB
So with the new drop on the cell I also modified the new base to make room for it and I also added one more support tab under the mount to help support it.
Added some foam...
 

Attachments

  • 20170428_205847.jpg
    20170428_205847.jpg
    60.5 KB
  • 20170428_205857.jpg
    20170428_205857.jpg
    52.6 KB
Back
Top