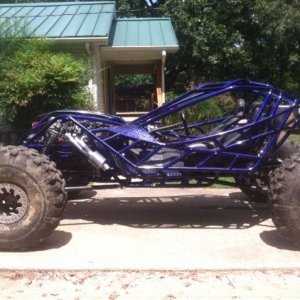
Finally....Da new rig..

Hardline Crawlers - Rock Bouncer Builds, Tech & Off-Road Trail Talk

Help Support Hardline Crawlers:

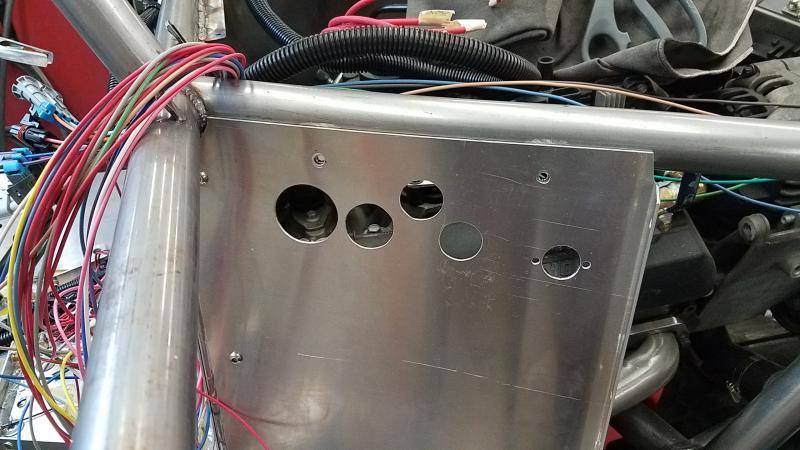
So for the rest of the wiring on the rig I am going to do as little as possible/enough to get all the mounting tabs done or basically all the metal work done prior to paint. But to do that I need to get the electrical center more completed but only all the spots where the wiring must enter.

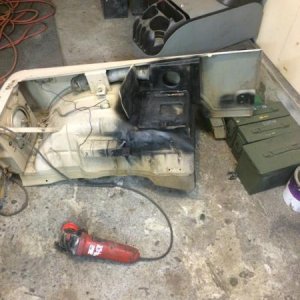
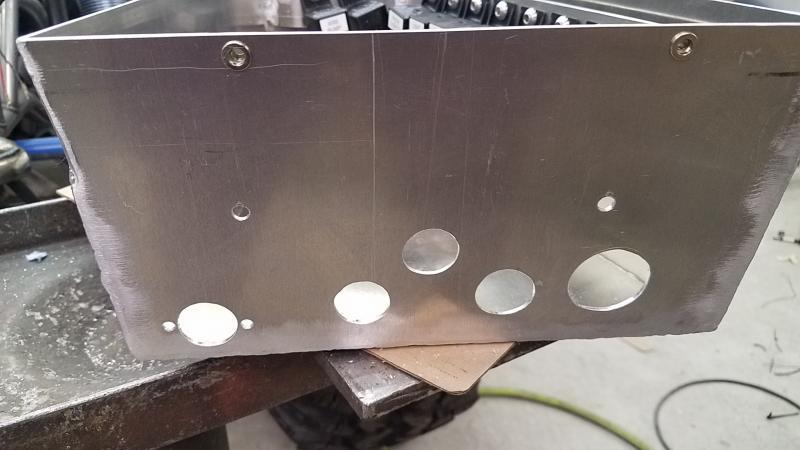
Started by mapping out the needed holes and the main power feed passthru. Once that was figured out I simply had to cut holes in the inner panel and electrical center.
 

Attachments

  • 20170725_212510.jpg
    20170725_212510.jpg
    40.8 KB
  • 20170725_212237.jpg
    20170725_212237.jpg
    61.7 KB
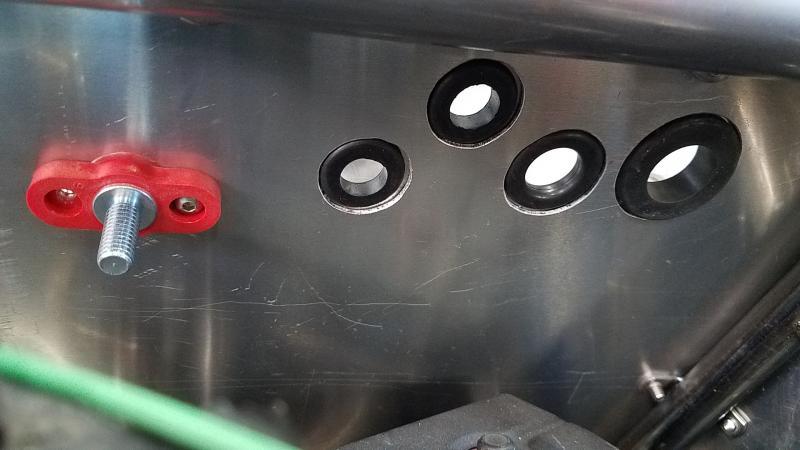
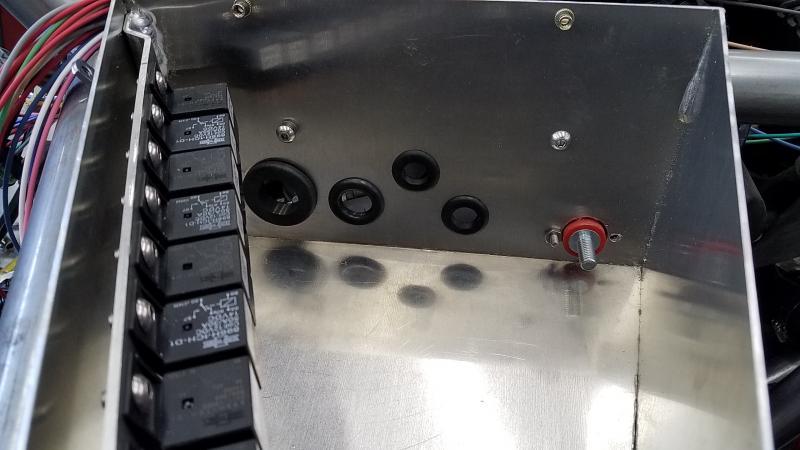
So on the inner panel I cut the holes larger so the grommets can fit into the electrical center and still sit flush with the inner panel.
 

Attachments

  • 20170725_212945.jpg
    20170725_212945.jpg
    39 KB
  • 20170725_212934.jpg
    20170725_212934.jpg
    45 KB
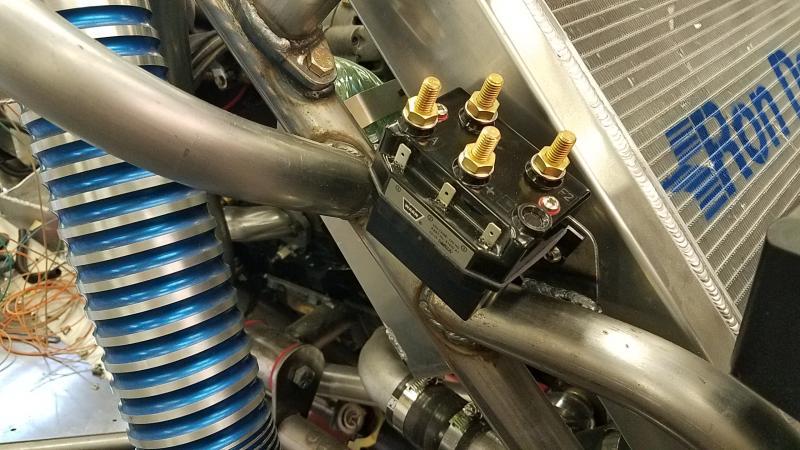
So I finally figured out where to stick the front winch controller--room up front is pretty tight. I made the mount and got it into its new home....
 

Attachments

  • 20170726_185653.jpg
    20170726_185653.jpg
    71.7 KB
  • 20170726_190733.jpg
    20170726_190733.jpg
    74.5 KB
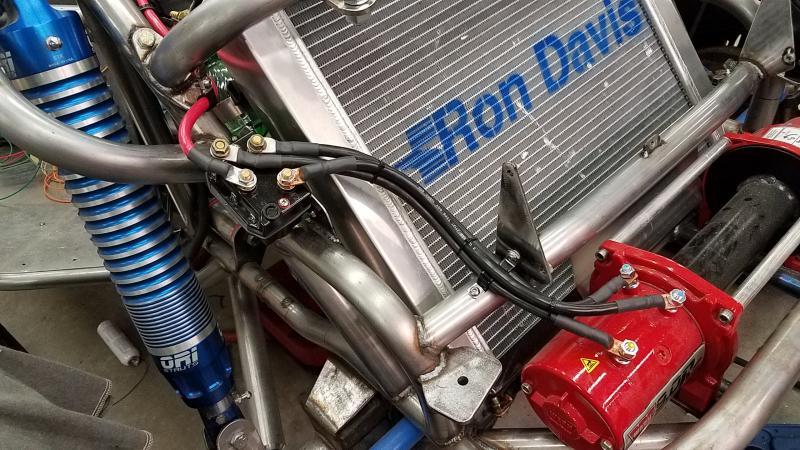
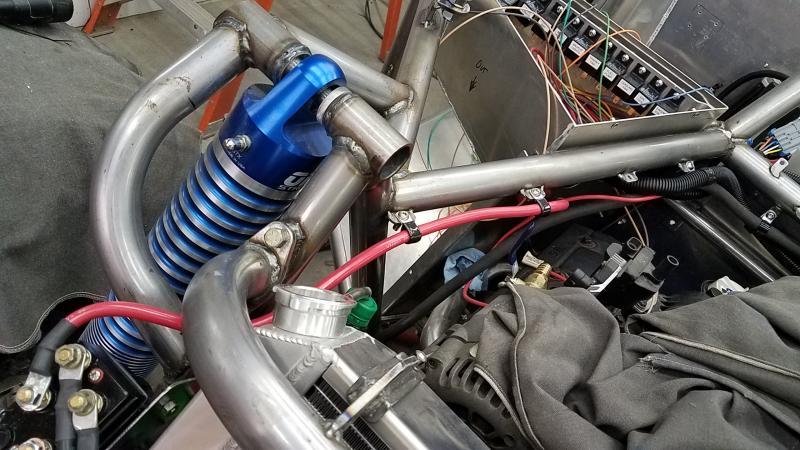
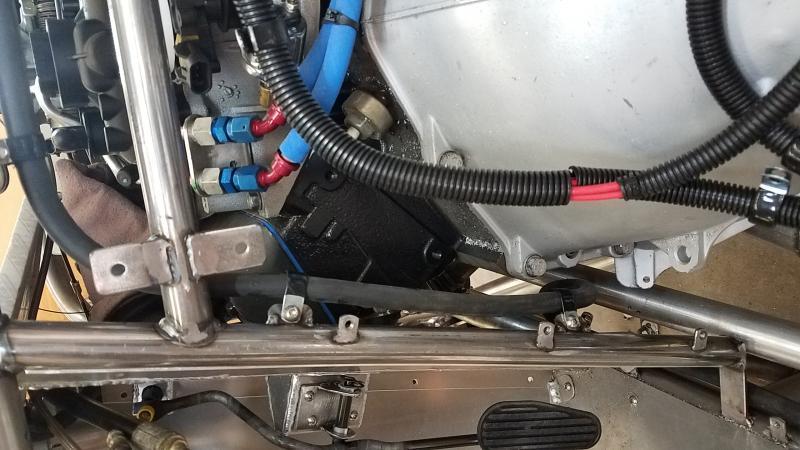
I got the wiring from the controller to the winch done along with the retainers for the front wiring harness. Got the main power cable ran to the stud at the electrical center.
 

Attachments

  • 20170726_222009.jpg
    20170726_222009.jpg
    90 KB
  • 20170726_222014.jpg
    20170726_222014.jpg
    75.8 KB
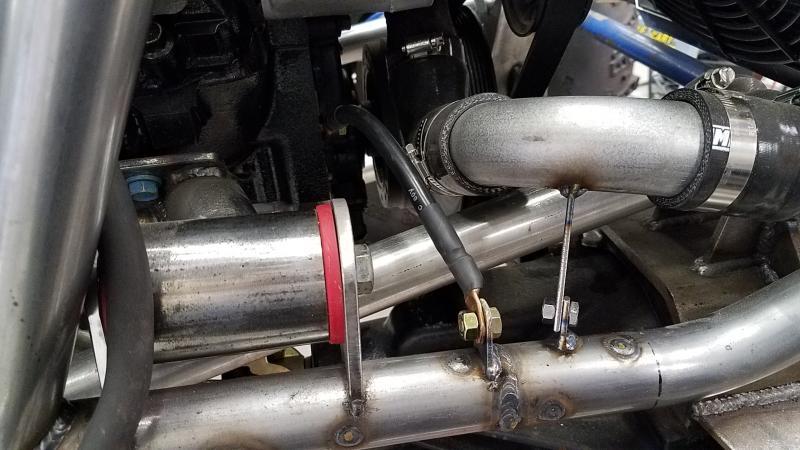
I got the ground cable for the motor completed and one thing I contemplated doing and went ahead and did was a support for the lower hose. My fear was the weight of it causing it to fall downward..
 

Attachments

  • 20170727_200838.jpg
    20170727_200838.jpg
    58 KB
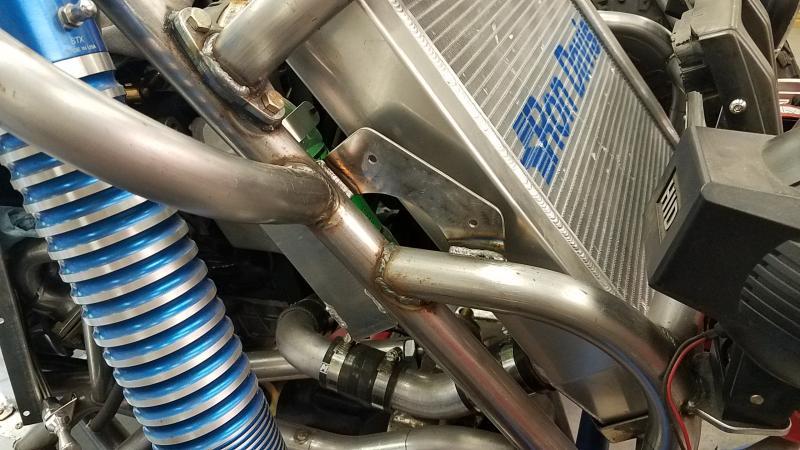
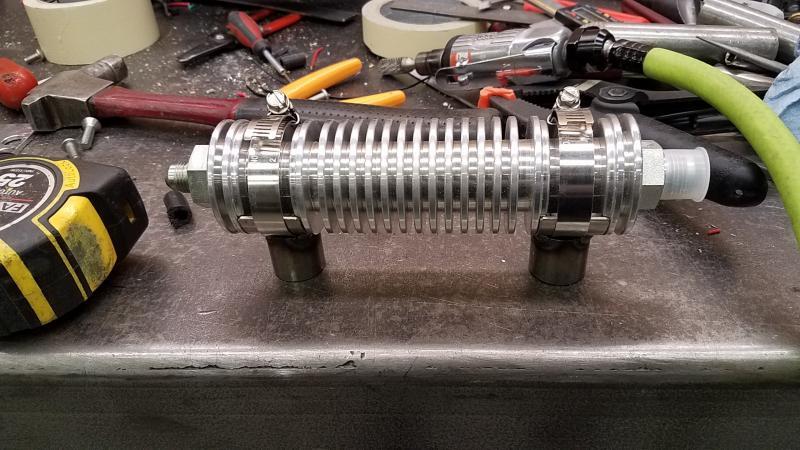
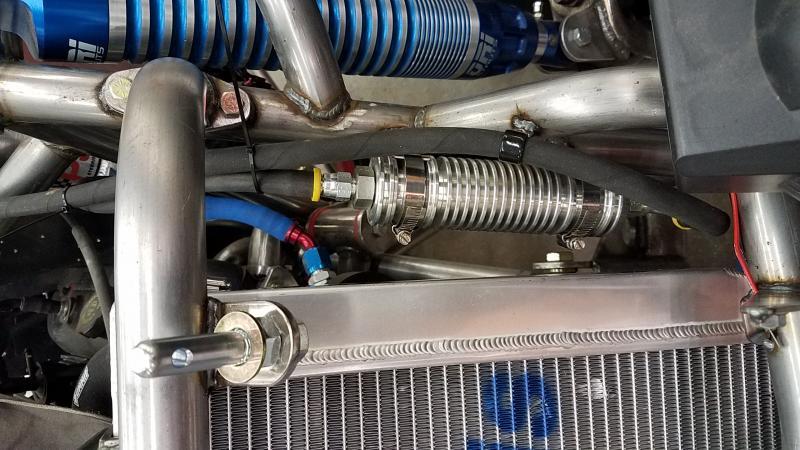
I got the steering cooler mounts made up. I did the same mounts on the last car I did for matt and it worked out perfect...
 

Attachments

  • 20170727_213147.jpg
    20170727_213147.jpg
    71.2 KB
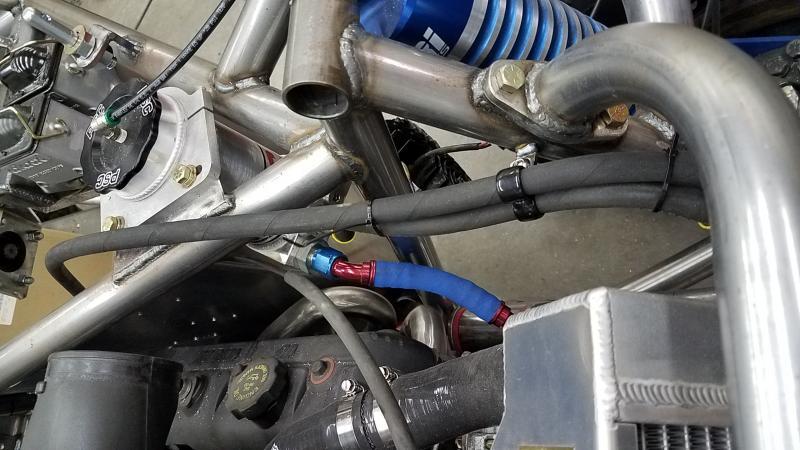
My original intention was to put it behind and at the bottom of the radiator but this spot just seems to be just perfect. I got a portion of the lines ran and will finish them up once I get the ram on the front diff and steering lines ran..

Making decent progress on this little stuff..
 

Attachments

  • 20170727_221834.jpg
    20170727_221834.jpg
    73.6 KB
  • 20170727_221837.jpg
    20170727_221837.jpg
    63.4 KB
Its getting really close now--only a few big things to finish for complete tear down...
 
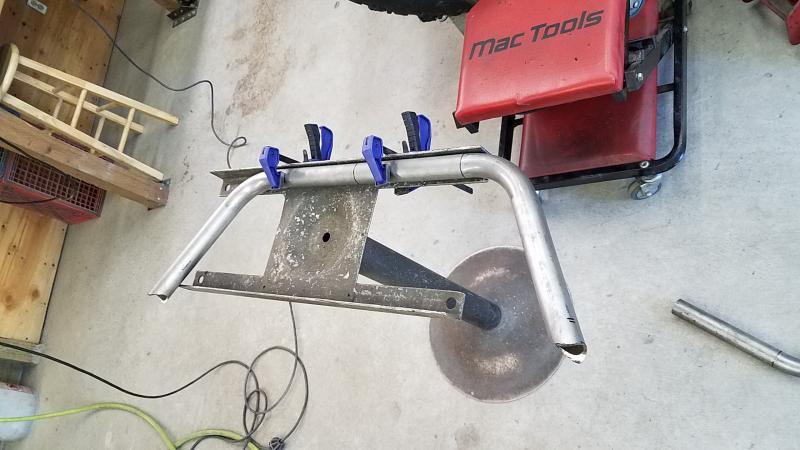
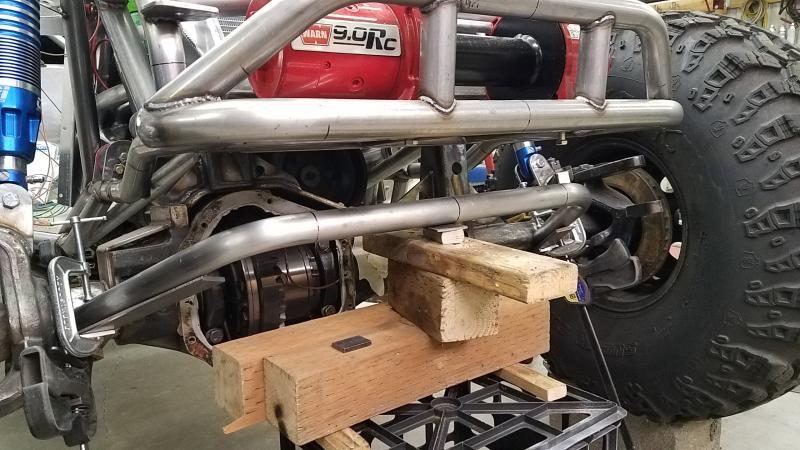
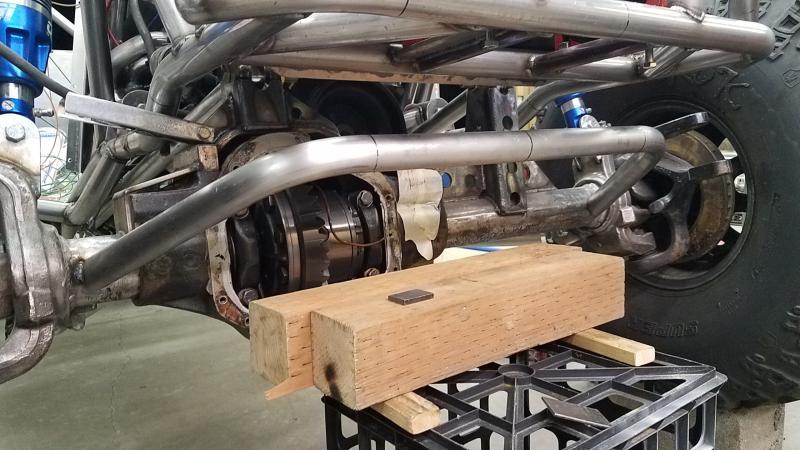
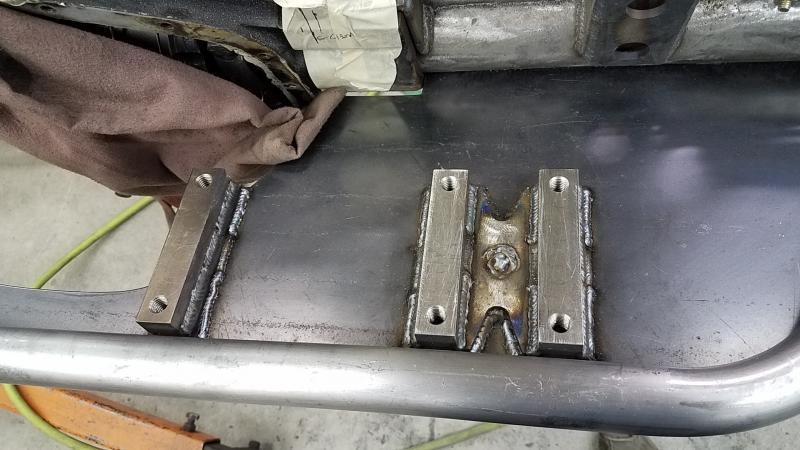
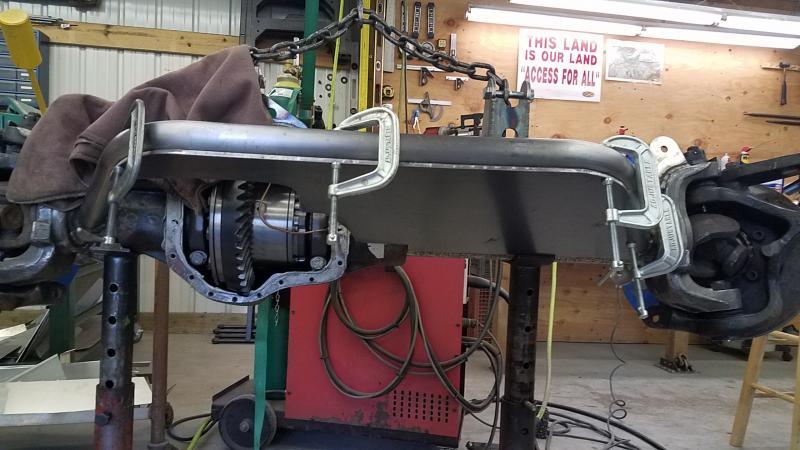
So I am going to do a typical housing cradle....
 

Attachments

  • 20170730_200208.jpg
    20170730_200208.jpg
    53.9 KB
Got it positioned and tacked into place.
 

Attachments

  • 20170730_211227.jpg
    20170730_211227.jpg
    74.1 KB
  • 20170730_212632.jpg
    20170730_212632.jpg
    68.8 KB
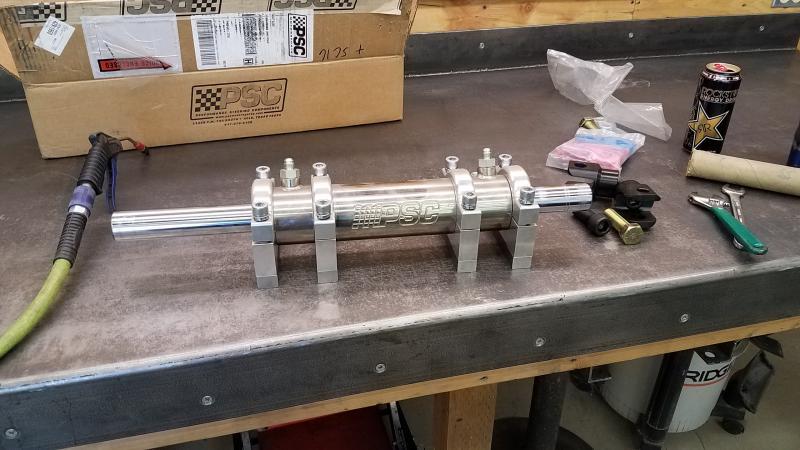
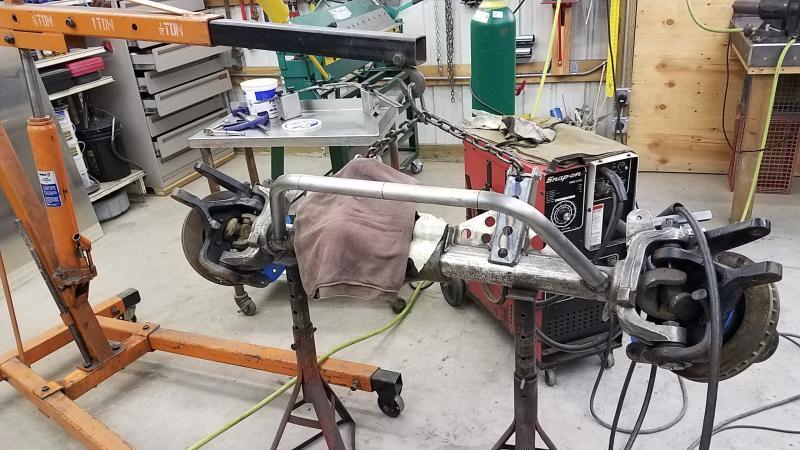
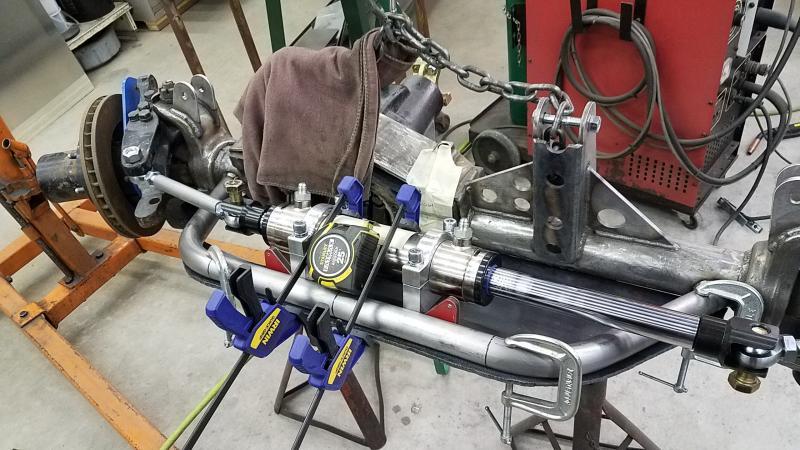
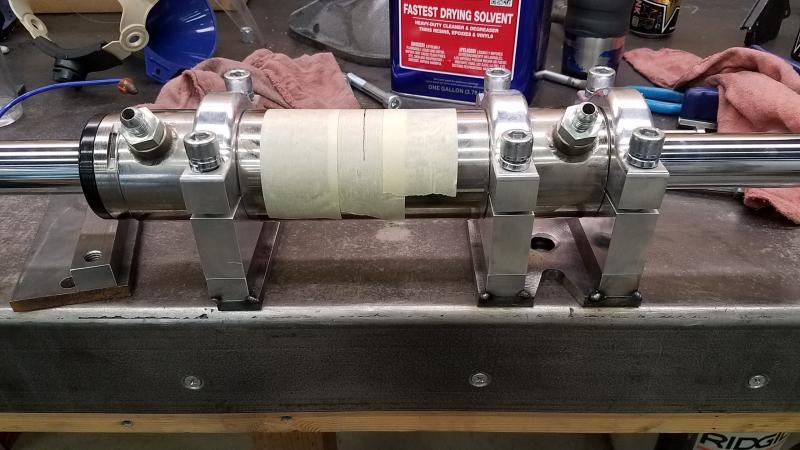
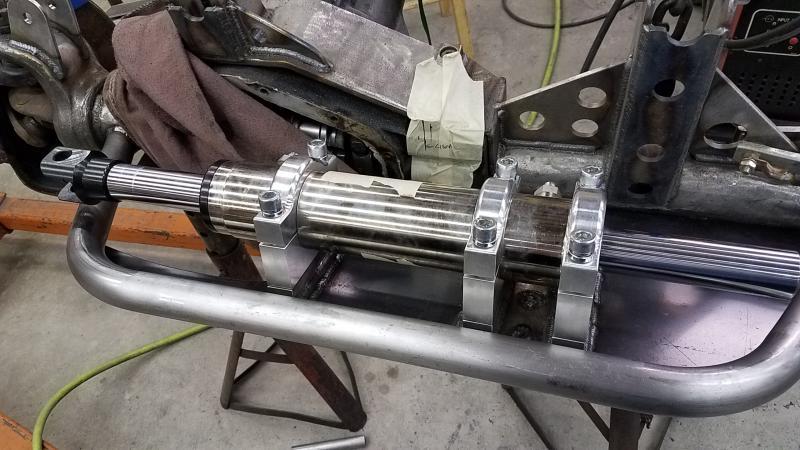
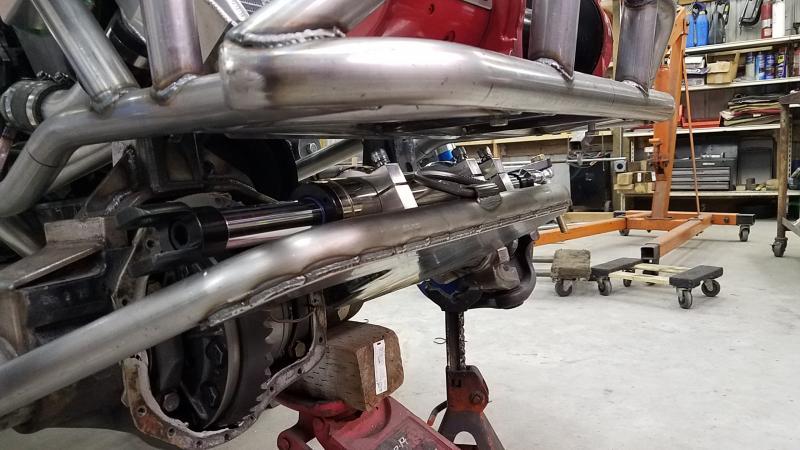
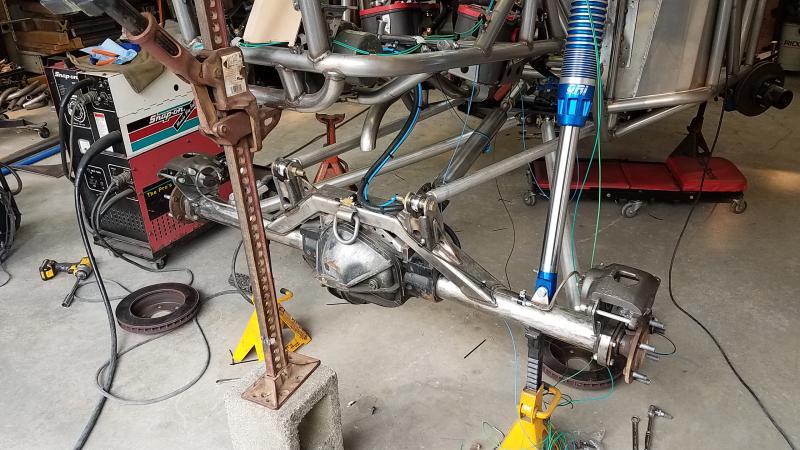
Drug the housing out from under the rig and up for ease if working. I got the ram positioned and I will only be able to run 3 clamps so there is room to still pull the carrier if need be. The clamps are recessed into the ram body so it should still have some good force to keep it in place.
 

Attachments

  • 20170731_211218.jpg
    20170731_211218.jpg
    80.8 KB
  • 20170731_221645.jpg
    20170731_221645.jpg
    78.5 KB
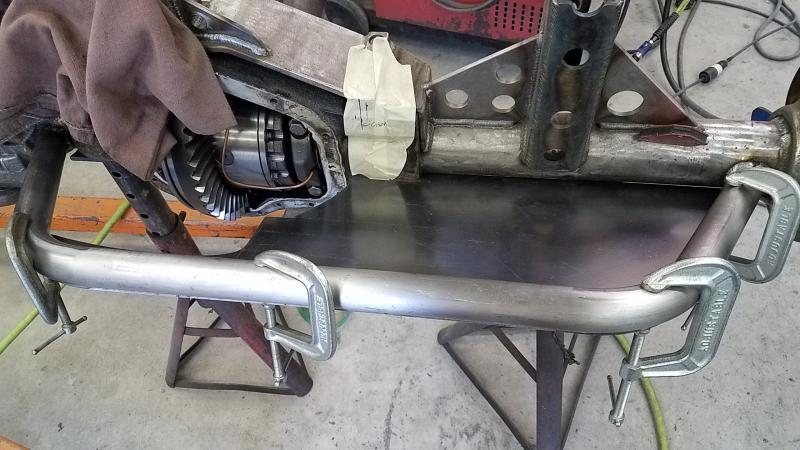
So I got the plate cut for the cradle and tacked into place.
 

Attachments

  • 20170801_193835.jpg
    20170801_193835.jpg
    63.2 KB
  • 20170801_193840.jpg
    20170801_193840.jpg
    63.6 KB
  • 20170801_195017.jpg
    20170801_195017.jpg
    66.8 KB
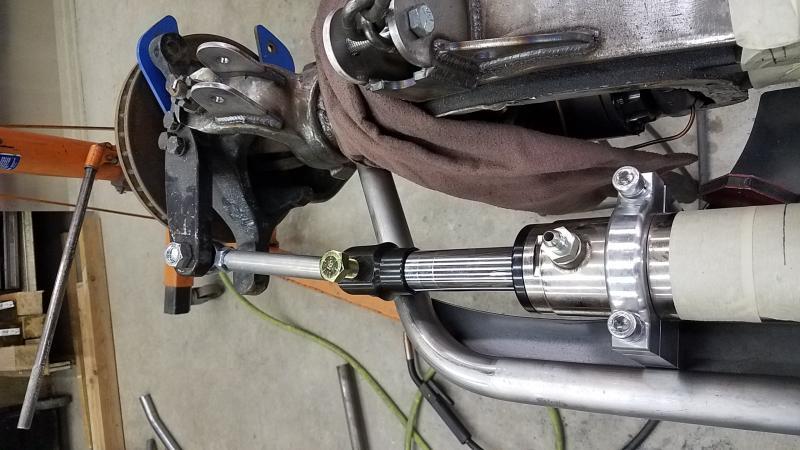
Played with the ram to get a rough idea of any clearance issues and found the ram needs to raise off the cradle plate a little...
 

Attachments

  • 20170801_220056.jpg
    20170801_220056.jpg
    61.5 KB
So I made spacers to raise the ram 1/2" and welded everything to the cradle plate and checked fitment---good to go...
 

Attachments

  • 20170802_195403.jpg
    20170802_195403.jpg
    60.7 KB
  • 20170802_212328.jpg
    20170802_212328.jpg
    56.5 KB
  • 20170802_212703.jpg
    20170802_212703.jpg
    66.3 KB
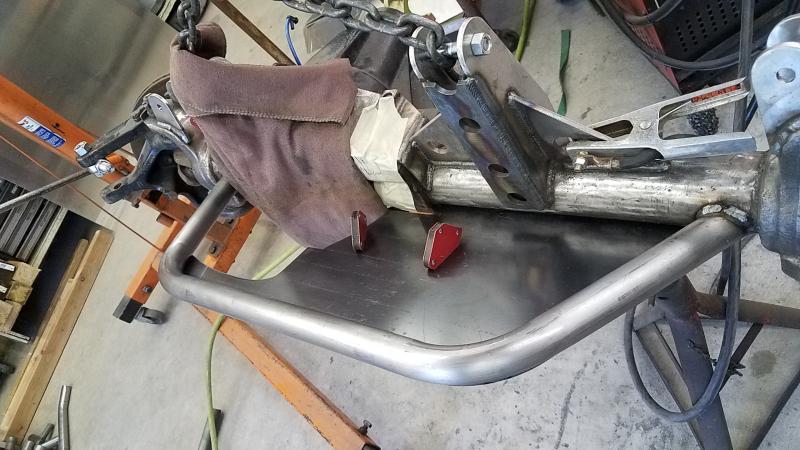
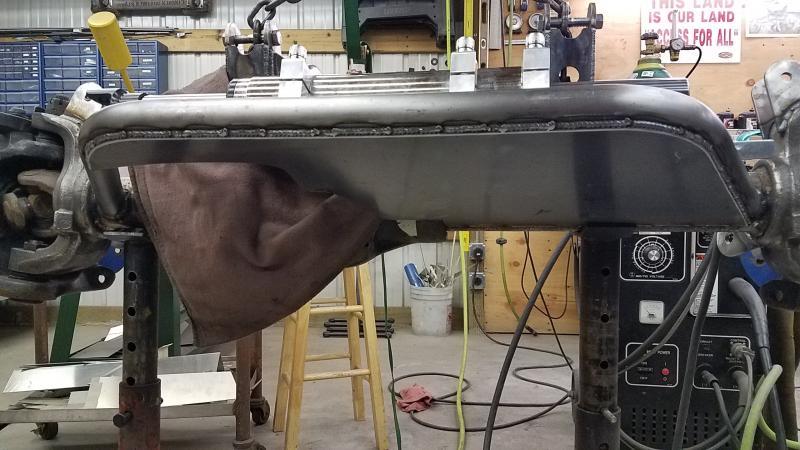
I got the cradle fully welded up and the housing back under the rig and checked fitment--good to go.....
 

Attachments

  • 20170802_212707.jpg
    20170802_212707.jpg
    66.3 KB
  • 20170803_203337.jpg
    20170803_203337.jpg
    65.1 KB
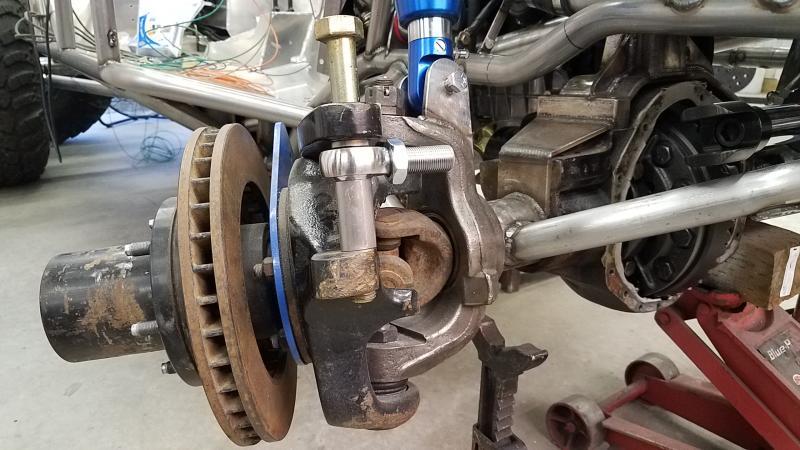
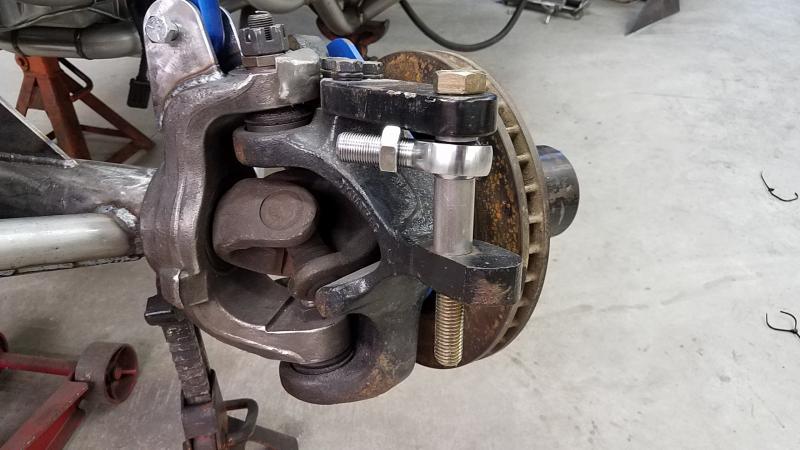
The last parts to make were the spacers for the hiems at the arms. I got the measurements for the short tie rods and my buddy matt is going to machine me a set.
 

Attachments

  • 20170803_203343.jpg
    20170803_203343.jpg
    67.3 KB
  • 20170803_203357.jpg
    20170803_203357.jpg
    53.4 KB
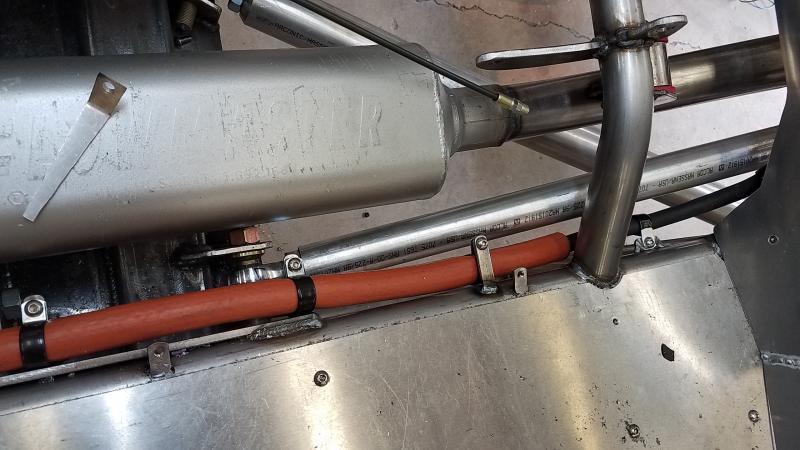
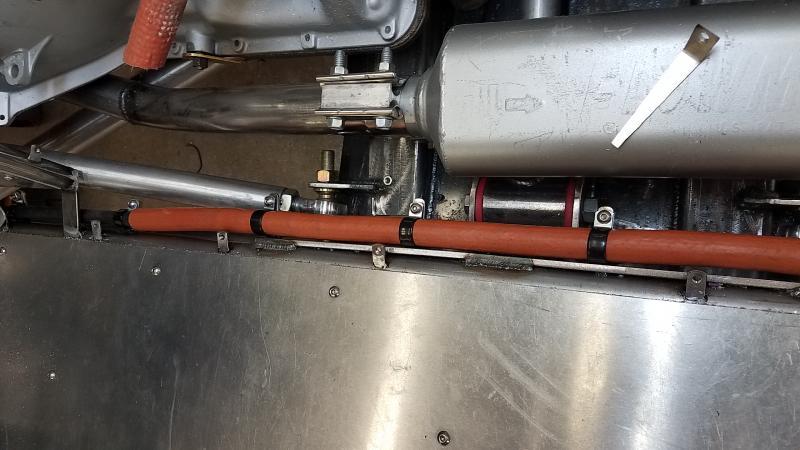
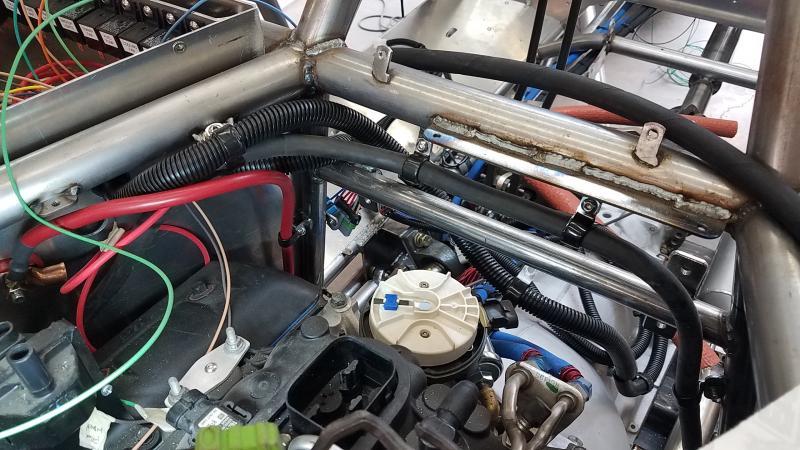
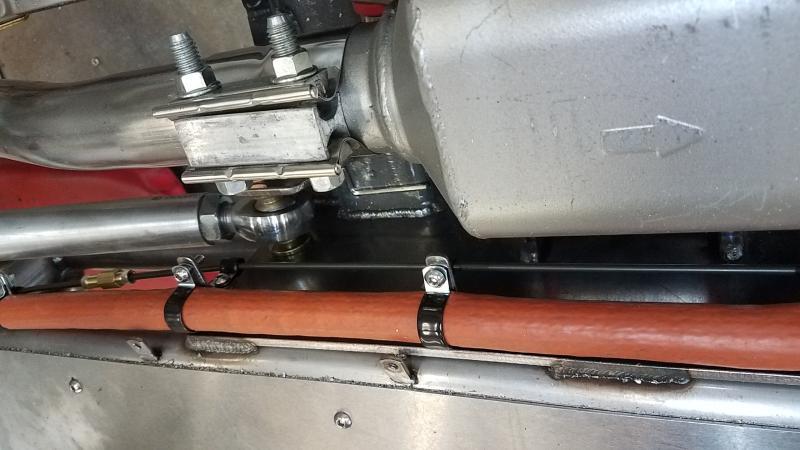
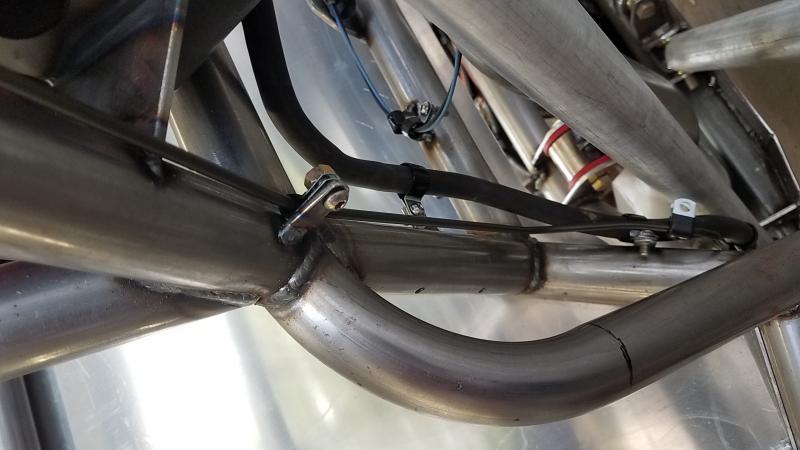
So time to bounce back to the main power feed routing that I started earlier. So I made brackets for the cable to sit on and then ran it thru a heat sleeve and down the inner edge of the chassis..
 

Attachments

  • 20170805_083449.jpg
    20170805_083449.jpg
    56.9 KB
  • 20170805_083452.jpg
    20170805_083452.jpg
    52.2 KB
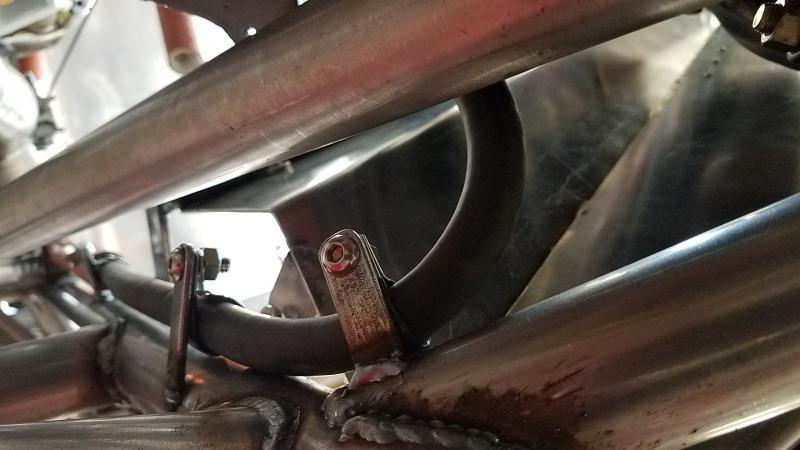
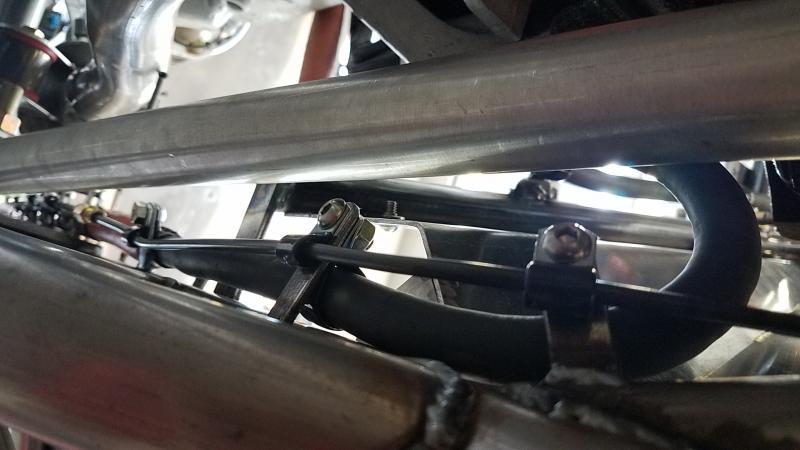
It was really tight where it turns up from the edge of the chassis and around to the main junction stud.
 

Attachments

  • 20170805_083516.jpg
    20170805_083516.jpg
    43.2 KB
  • 20170805_083526.jpg
    20170805_083526.jpg
    62.7 KB
  • 20170805_083534.jpg
    20170805_083534.jpg
    81 KB
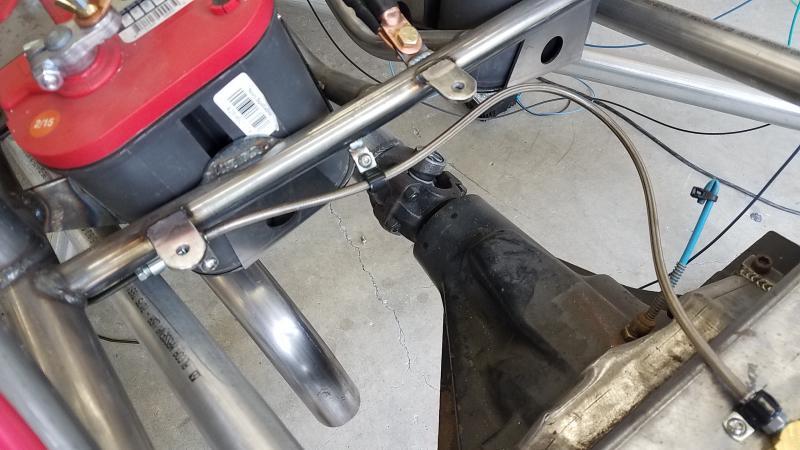
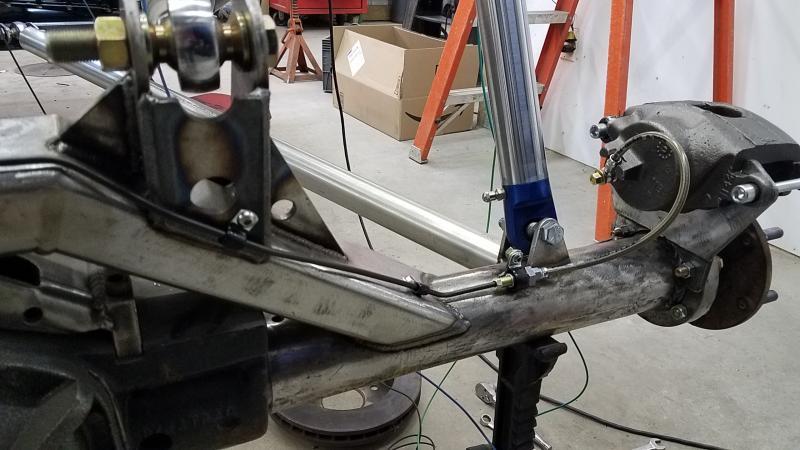
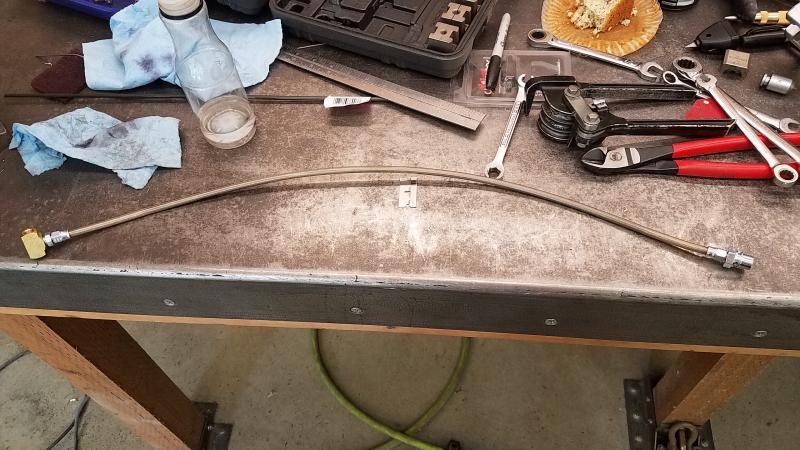
Now I can get the rear brake lines done. Instead of running rubber brake hoses I am going with steel braided braked line with re-usable ends. Started by building my first line.
 

Attachments

  • 20170805_132837.jpg
    20170805_132837.jpg
    73.6 KB
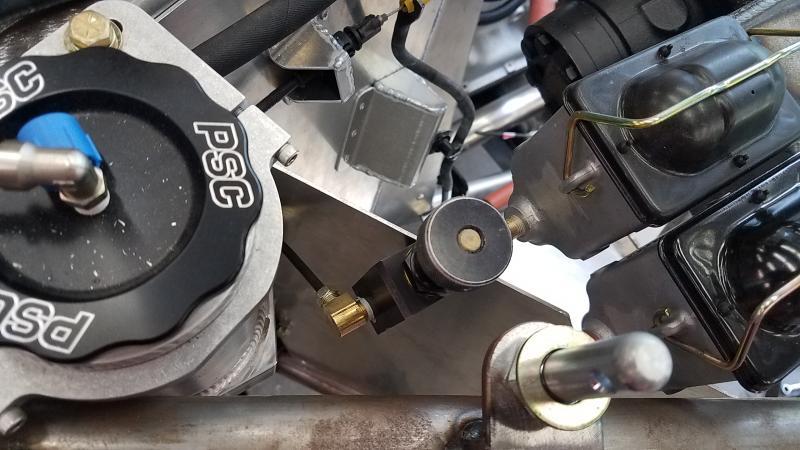
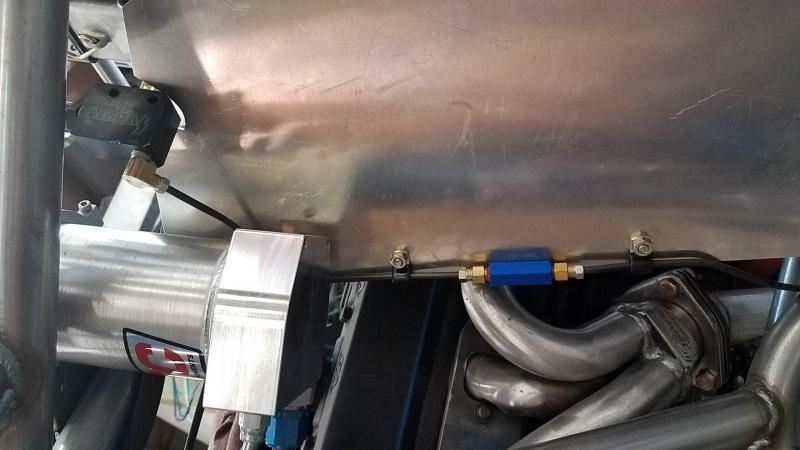
So after I notched the forward panel I ran the rear per portioning valve right off the master mainly that was the only place for it and the residual valve right below it where the lines run down the front edge of the panel.
 

Attachments

  • 20170805_142801.jpg
    20170805_142801.jpg
    60.1 KB
  • 20170805_142806.jpg
    20170805_142806.jpg
    42.9 KB
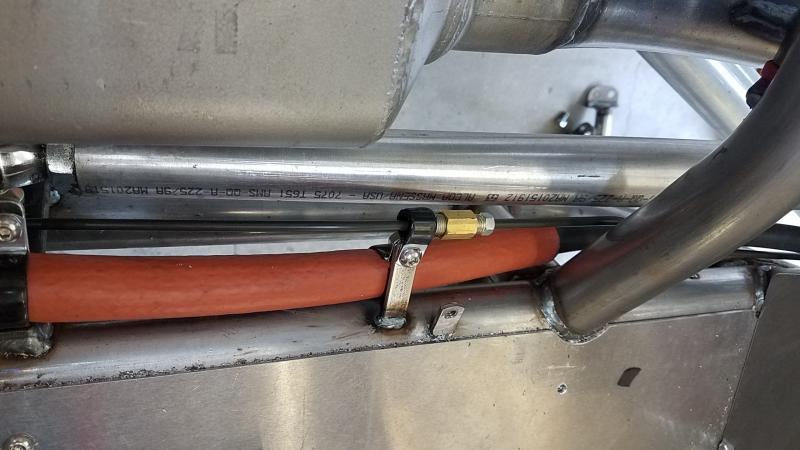
Line goes down and turns and when I made the main power feed mounts I also made them with a secondary mount to hold the brake line.
 

Attachments

  • 20170805_142849.jpg
    20170805_142849.jpg
    50.6 KB
  • 20170805_142852.jpg
    20170805_142852.jpg
    47.9 KB
  • 20170805_142836.jpg
    20170805_142836.jpg
    42.3 KB
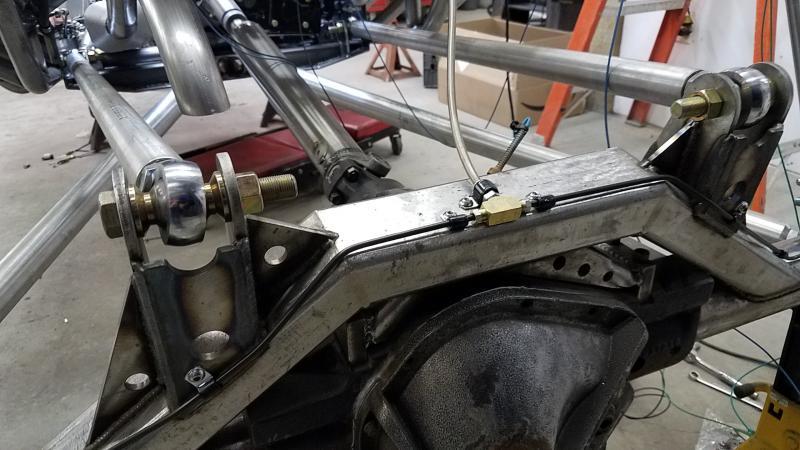
Down the chassis to the soft line I made to the diff.
 

Attachments

  • 20170805_142901.jpg
    20170805_142901.jpg
    43.9 KB
  • 20170805_142910.jpg
    20170805_142910.jpg
    59.3 KB
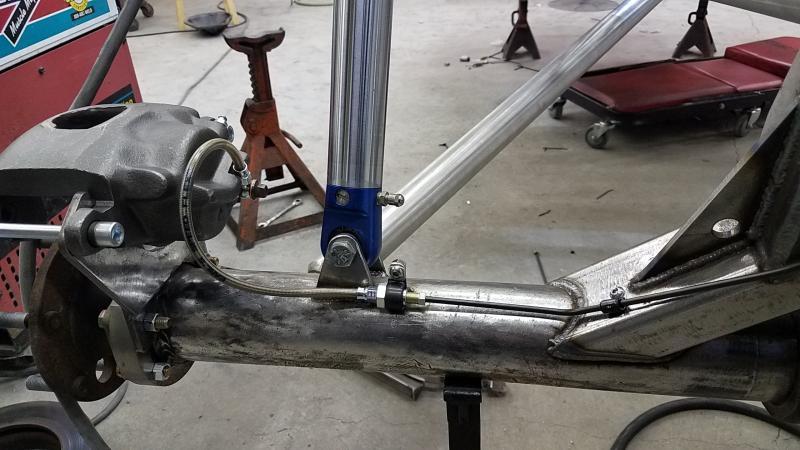
Made new hardlines and softlines to the calipers and that finished up the rear brake lines.
 

Attachments

  • 20170805_210333.jpg
    20170805_210333.jpg
    63.2 KB
  • 20170805_210337.jpg
    20170805_210337.jpg
    59.8 KB
  • 20170805_210340.jpg
    20170805_210340.jpg
    58.1 KB
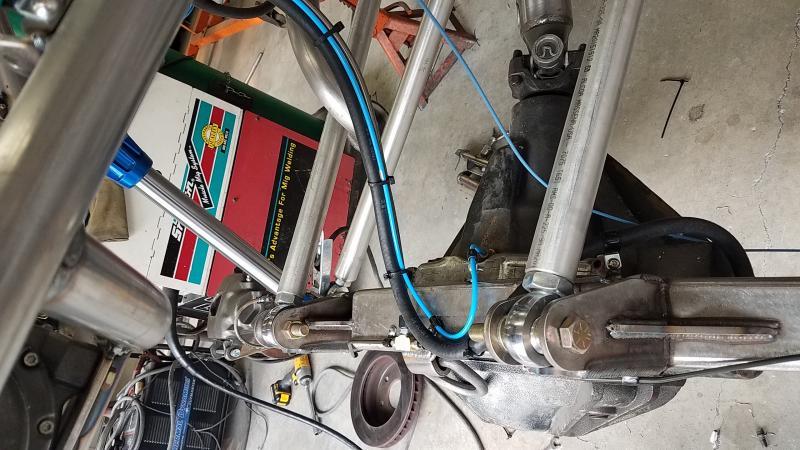
I just roughed in the arb/vent lines to get any needed mounts done(they will be finalized on final assembly) and then checked compression/extension and it should work great.
 

Attachments

  • 20170806_085220.jpg
    20170806_085220.jpg
    81.2 KB
  • 20170806_085229.jpg
    20170806_085229.jpg
    73.8 KB
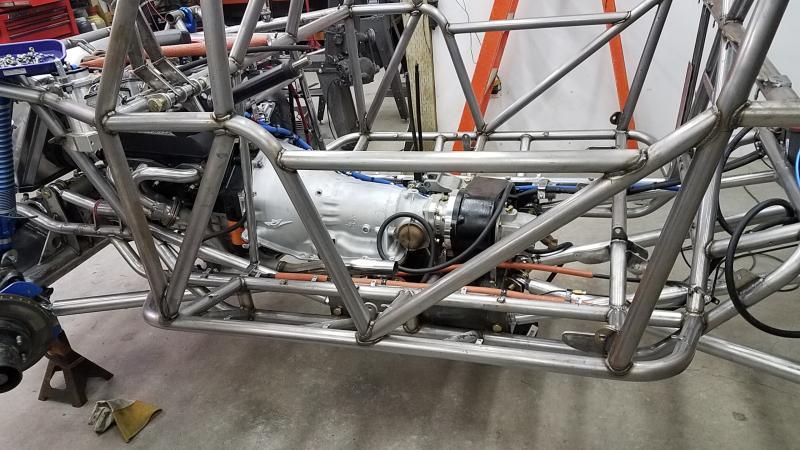
I got the door bars all done and the outer floor panels notched..

Another thing off the list....
 

Attachments

  • 20170807_224533.jpg
    20170807_224533.jpg
    79.8 KB
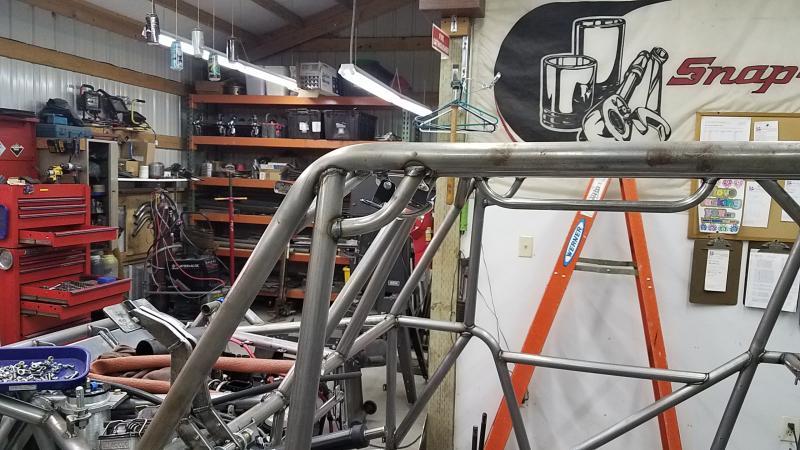
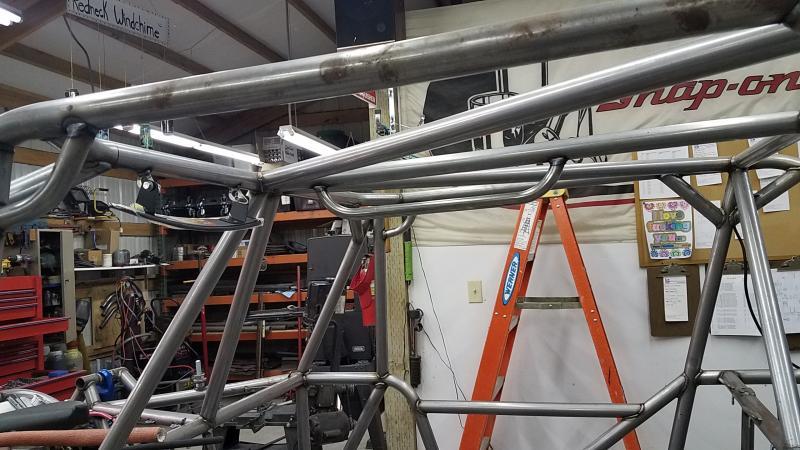
So before I could get the roof done I wanted to get the grab handles made and buzzed in.
 

Attachments

  • 20170807_224531.jpg
    20170807_224531.jpg
    79.4 KB
  • 20170807_224538.jpg
    20170807_224538.jpg
    75 KB
So the roof will be tinned for not only protection but my old rig had a canvas top and it was always getting pulled off.

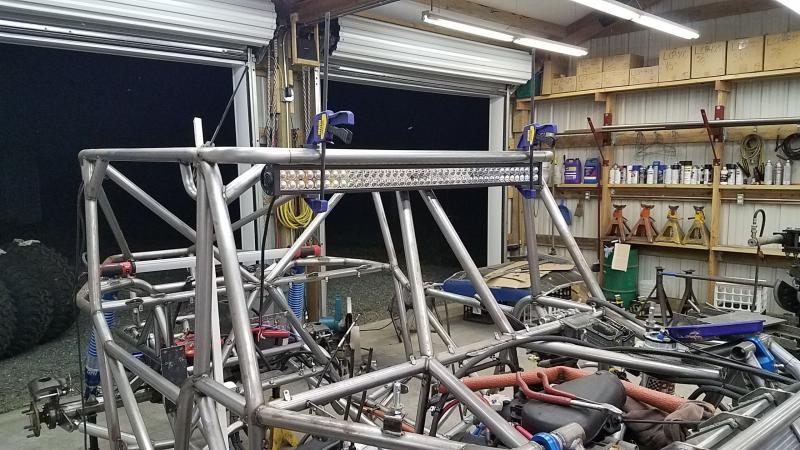
So I had been tossing the idea of a light bar and went ahead and ordered a 42". Now I had planned of extending the front roof edge out mainly to push water forward onto the dash rather than on my legs and it just seemd to work out and have the light bar tucked under it. Unfortunately the only down side was the forward tube had no good support in case a good roll over but it will be cosmetic as the cage behind it is plenty strong and will do a good job of protecting anybody in the cab.
 

Attachments

  • 20170808_230850.jpg
    20170808_230850.jpg
    87.9 KB
Back
Top