Finally....Da new rig..

Hardline Crawlers - Rock Bouncer Builds, Tech & Off-Road Trail Talk

Help Support Hardline Crawlers:

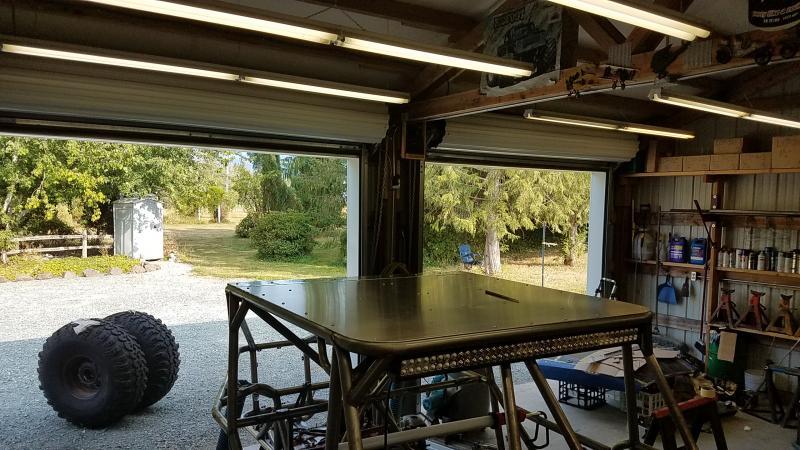
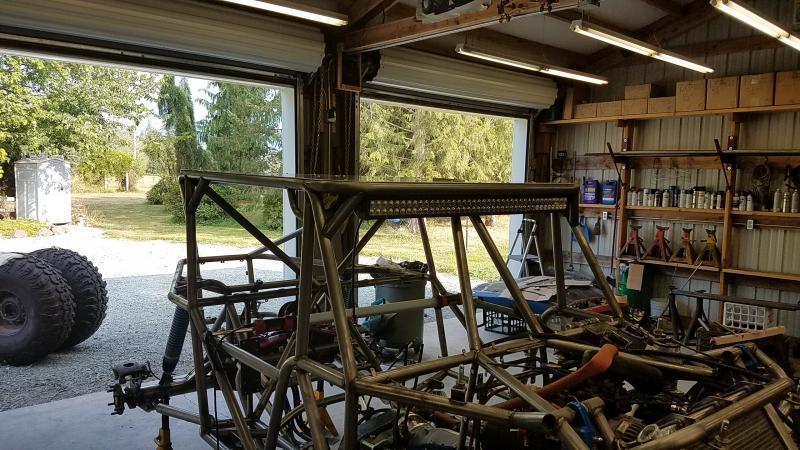
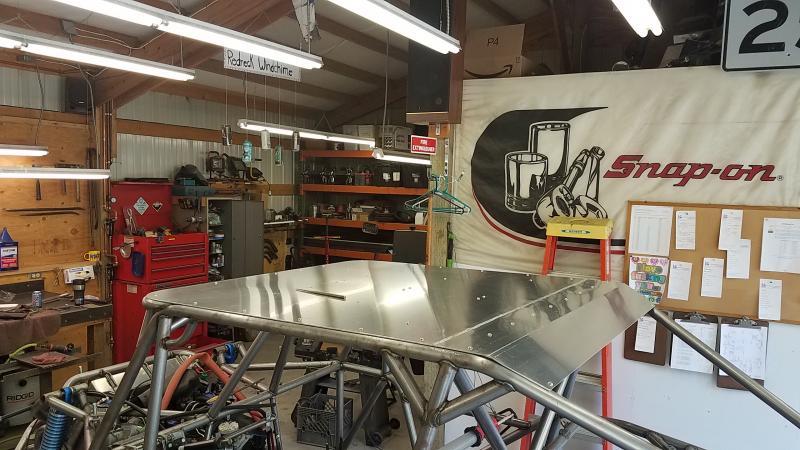
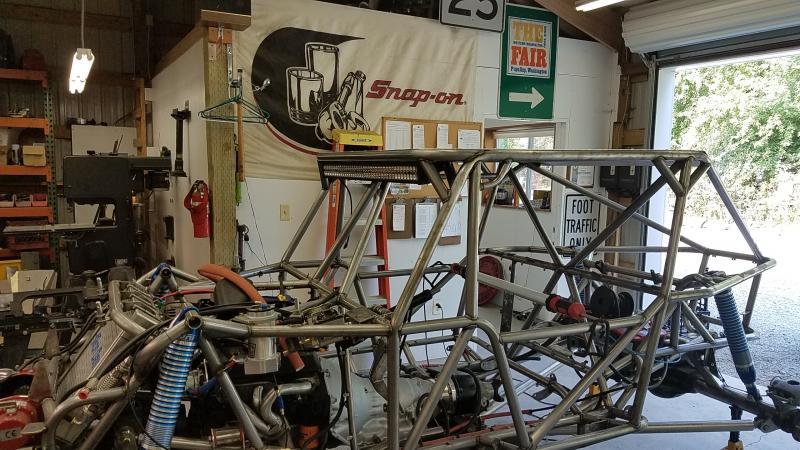
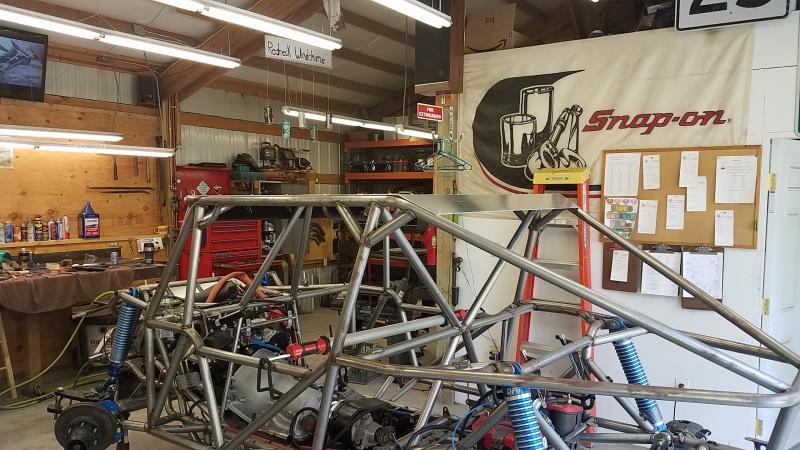
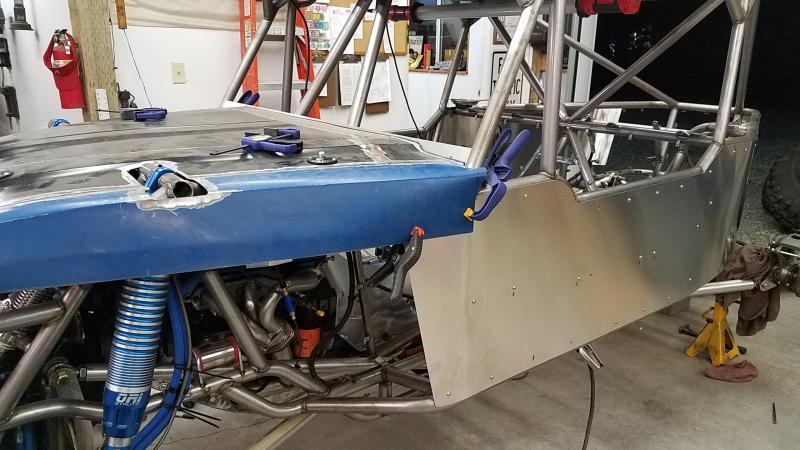
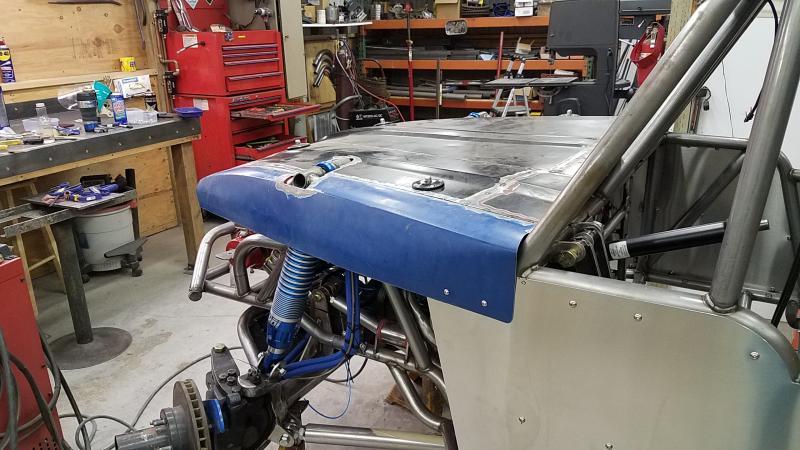
I got the roof all done, I was not 100% happy with the back side where I had to weld an extension on. Its not super bad but didn't meet what I was shooting for--has some wobbling to it around the welds. Once painted it should not look as bad-will have to see.

Another big piece done...
 

Attachments

  • 20170812_173001.jpg
    20170812_173001.jpg
    82 KB
  • 20170812_172957.jpg
    20170812_172957.jpg
    91.2 KB
  • 20170812_173027.jpg
    20170812_173027.jpg
    73.2 KB
  • 20170812_173011.jpg
    20170812_173011.jpg
    87.6 KB
  • 20170812_173023.jpg
    20170812_173023.jpg
    83.7 KB
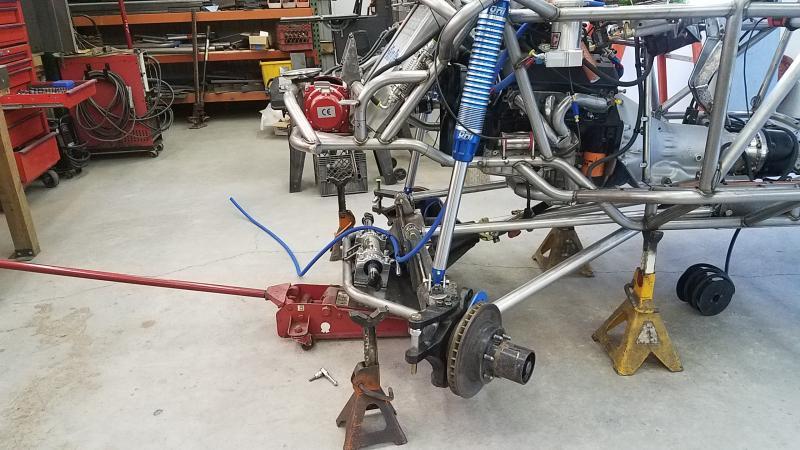
I finally got all my hydro parts so it was time to get that part completed.
 

Attachments

  • 20170812_185922.jpg
    20170812_185922.jpg
    75 KB
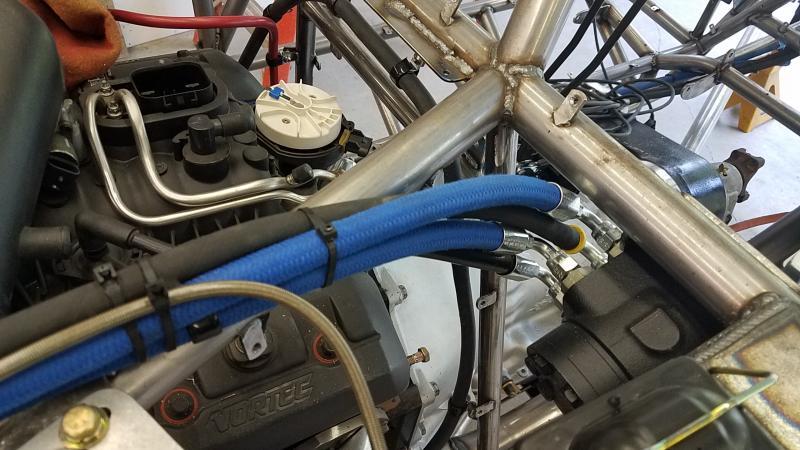
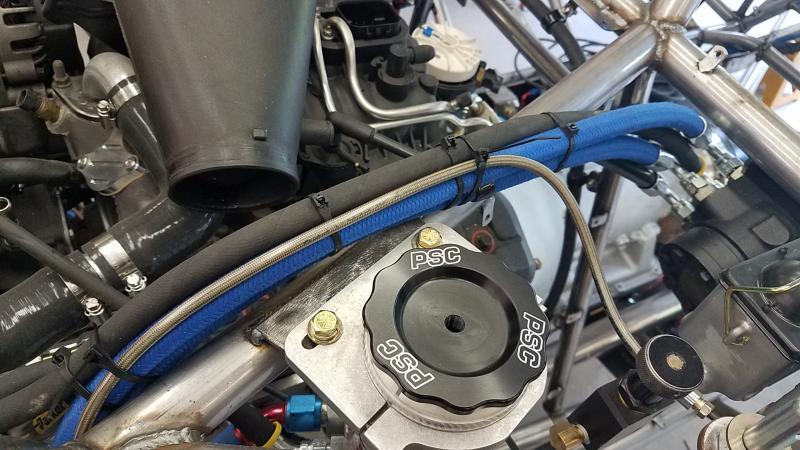
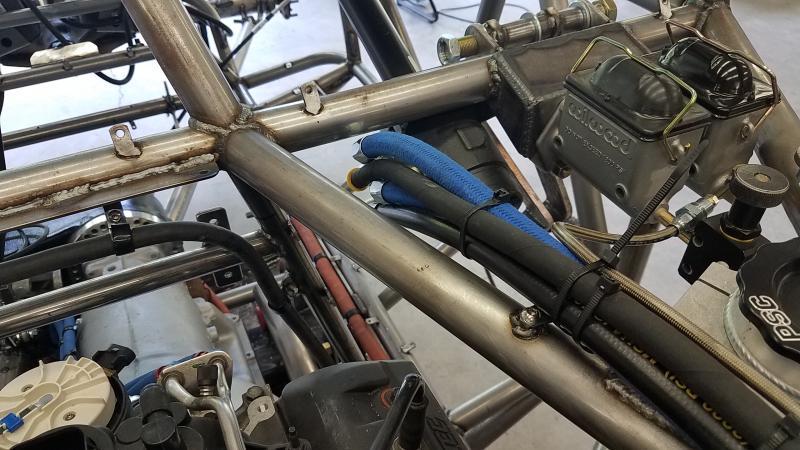
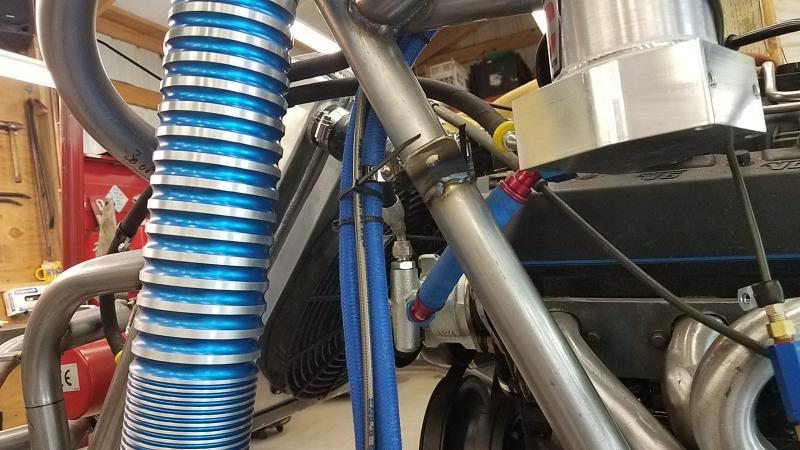
So I got all the lines at the orbital done and forward. I also got the brake line made that will be soft line from the master all the way down to the front diff. I am adding mounts for the lines as I go.
 

Attachments

  • 20170814_161844.jpg
    20170814_161844.jpg
    69.3 KB
  • 20170814_161848.jpg
    20170814_161848.jpg
    72.1 KB
  • 20170814_161855.jpg
    20170814_161855.jpg
    75 KB
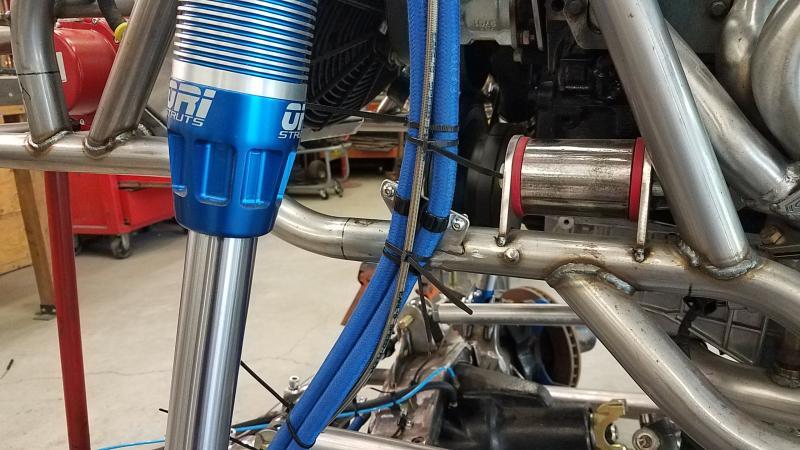
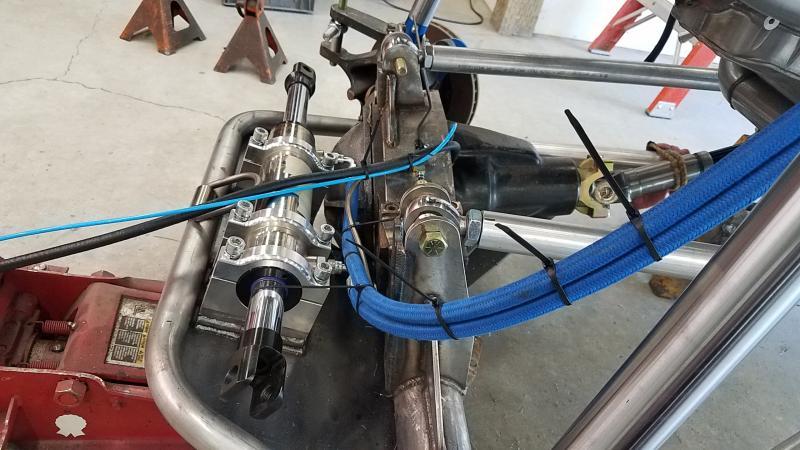
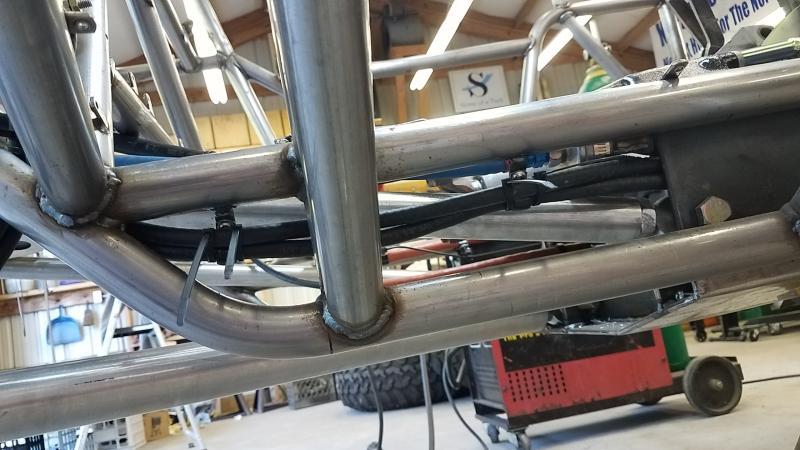
I made a plate that holds the lines where it leaves the chassis and down to the front diff. There in one rub point on the lines but on final assembly they will be in a sock and well protected. ARB and vent hose was just ruffed it at the diff and will also be be completed on final assembly. The brake line goes down to the TEE at the front diff and the brakes will be finished up once the housing is pulled out from under the rig during finally assembly.
 

Attachments

  • 20170814_161910.jpg
    20170814_161910.jpg
    70.6 KB
  • 20170814_161907.jpg
    20170814_161907.jpg
    69.4 KB
  • 20170814_161914.jpg
    20170814_161914.jpg
    67.3 KB
Why not run the lines down the upper link?

Did that and hated it--plus no way to run anything on the front links due to there location and tightness to the chassis...

Its a great concept but in reality sucks trying to keep them in place with zip ties always getting ripped off.
 
Looking good Crashmaster, but I think mine will see the dirt before yours does.:fawkdancesmiley:
 
Are you worried about glare off the hood with that light bar? I've heard some people have had that issue. I think it might depend on the quality of the projected beam though?

This thing is looking so good. I can't believe how much progress you have made. Makes me and my little project look silly with how much faster you're moving forward :haha:

~T.J.
 
Are you worried about glare off the hood with that light bar? I've heard some people have had that issue. I think it might depend on the quality of the projected beam though?

This thing is looking so good. I can't believe how much progress you have made. Makes me and my little project look silly with how much faster you're moving forward :haha:

~T.J.

I was waiting for somebody to mention glare :redneck: I don't think it will be any issue because first it being a darker color blue and the fact about mid way the hood curves downward. But anything is possible I suppose...
 
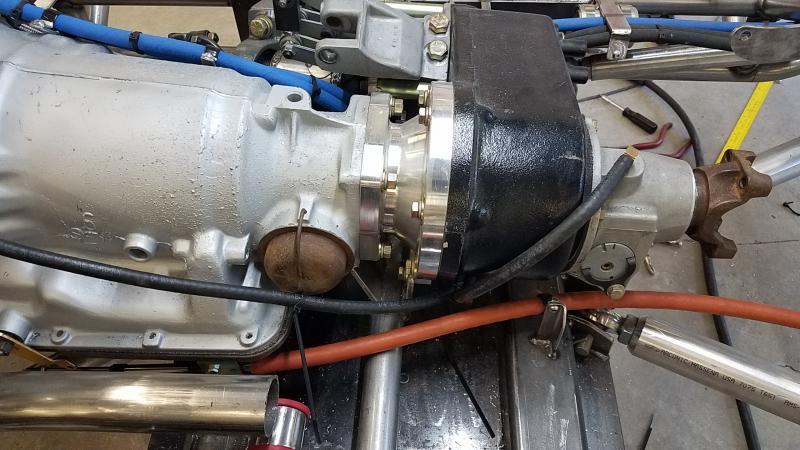
So next onto the last 2 vents--tranny and t-case.

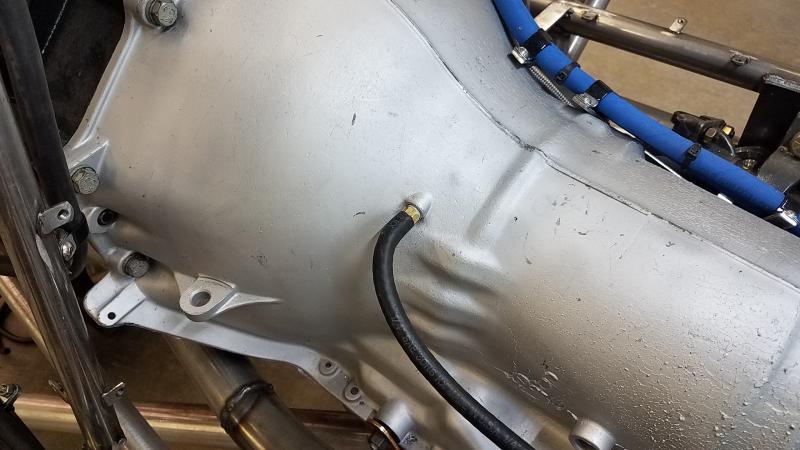
Started by pulling that goofy plastic vent and tapped the case to 1/8" NPT (the hole size is PERFECT to simply run the tap down it).
 

Attachments

  • 20170814_191015.jpg
    20170814_191015.jpg
    52.8 KB
Ran both vents down under the t-case and down the passenger side of the chassis and and added a couple tabs to secure them.
 

Attachments

  • 20170814_191029.jpg
    20170814_191029.jpg
    61.6 KB
  • 20170814_191019.jpg
    20170814_191019.jpg
    68 KB
So next onto the last 2 vents--tranny and t-case.

Started by pulling that goofy plastic vent and tapped the case to 1/8" NPT (the hole size is PERFECT to simply run the tap down it).

I don't know why tranny builders don't just do this as part of a rebuild :rolleyes:... so as to not potentially get shavings into the case...:beer:
 
I don't know why tranny builders don't just do this as part of a rebuild :rolleyes:... so as to not potentially get shavings into the case...:beer:
I know right--the tv cable had a plug in it,lol.. Slow and grease is certainly your friend.
 
Thanks for at least using SOME zip ties. Makes me feel a little better about mine....:D
 
Thanks for at least using SOME zip ties. Makes me feel a little better about mine....:D


:redneck:

The rear to front wire harness will be ziptied to the tranny lines since there wasn't enough room to give the harness its own mounts :D

:haha:

Amazing work Crash. Keep on keeping on. :cool:

Thanks Glenn...
 
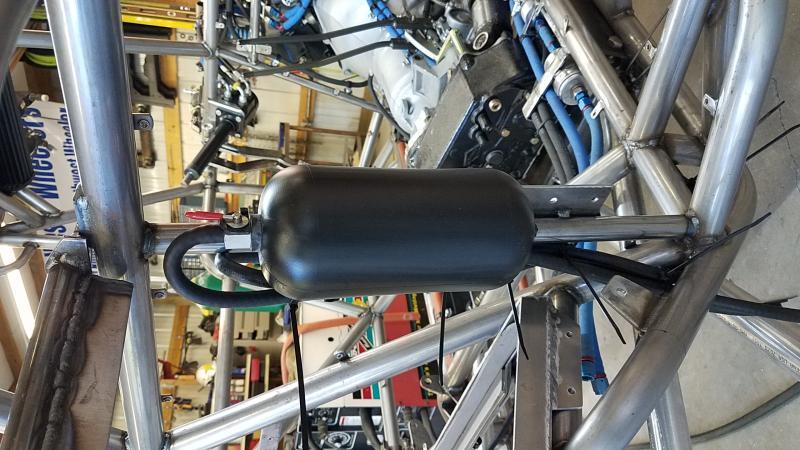
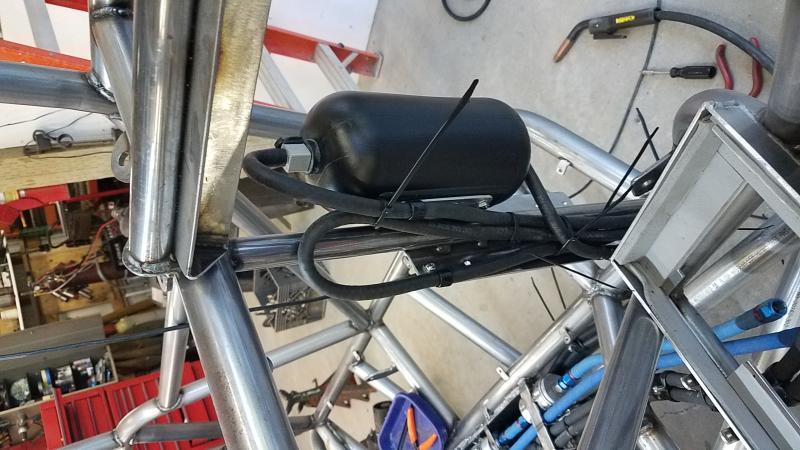
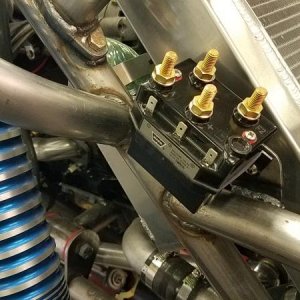
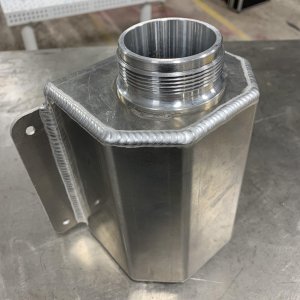
So the vents run up to behind the passenger rear panel and I made a mount for the catch can for the tranny vent. It has a shut off valve in case of a roll over to help from loosing badly needed fluid...
 

Attachments

  • 20170814_191034.jpg
    20170814_191034.jpg
    75.5 KB
  • 20170814_191041.jpg
    20170814_191041.jpg
    68.5 KB
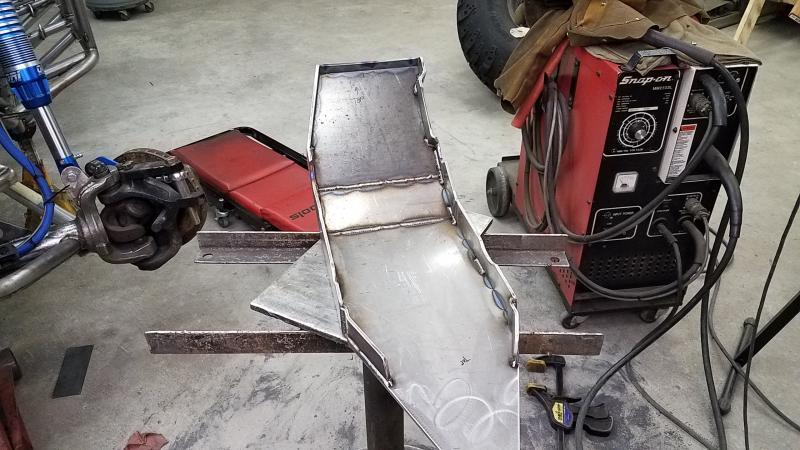
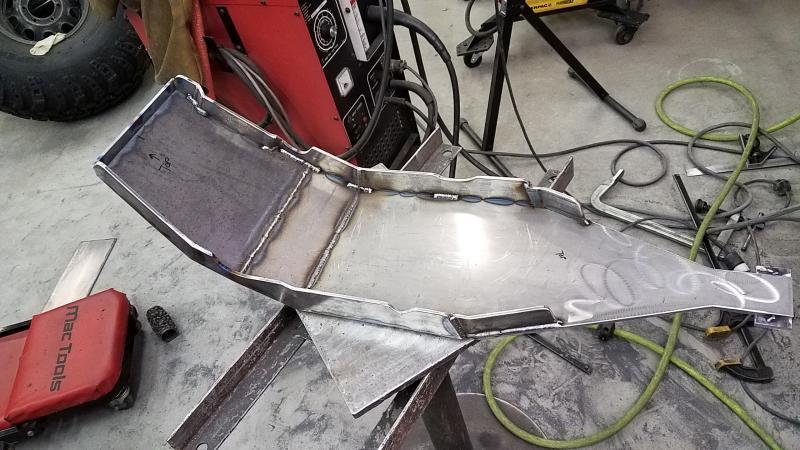
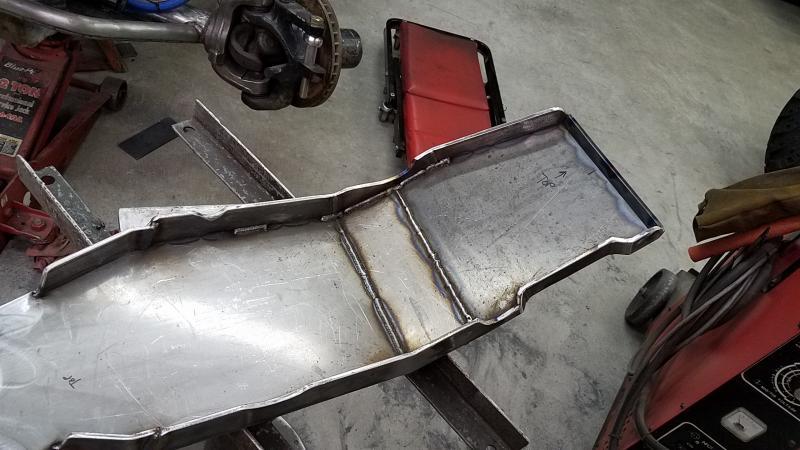
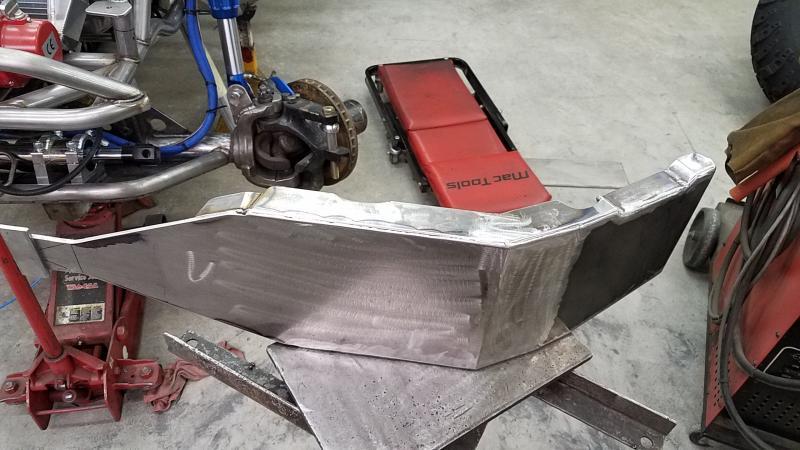
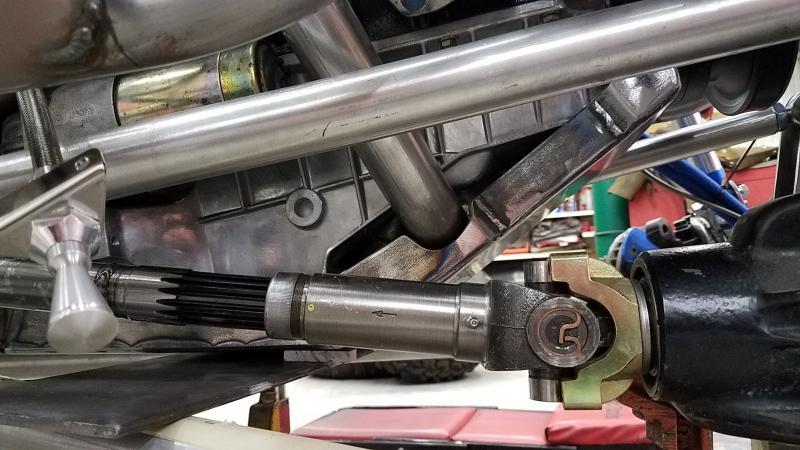
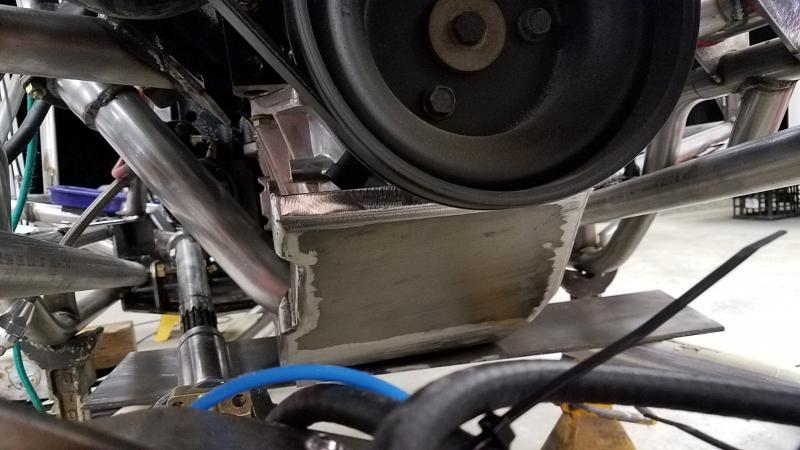
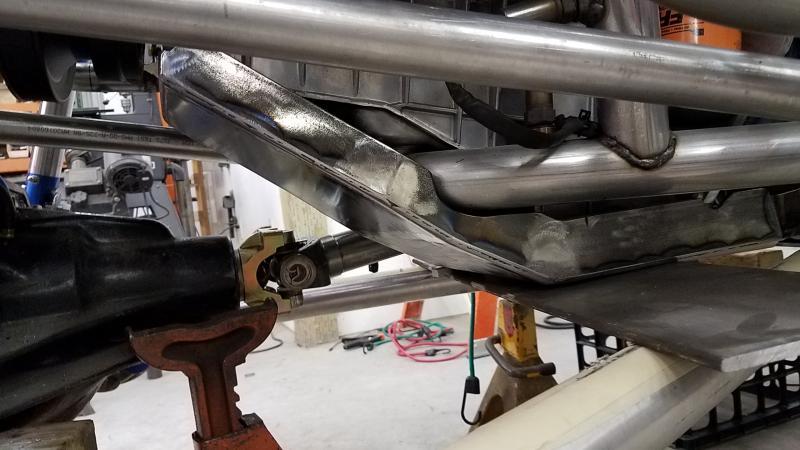
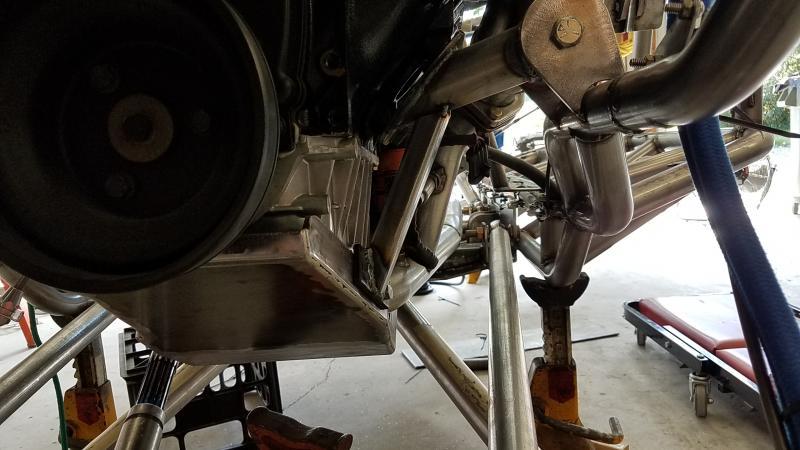
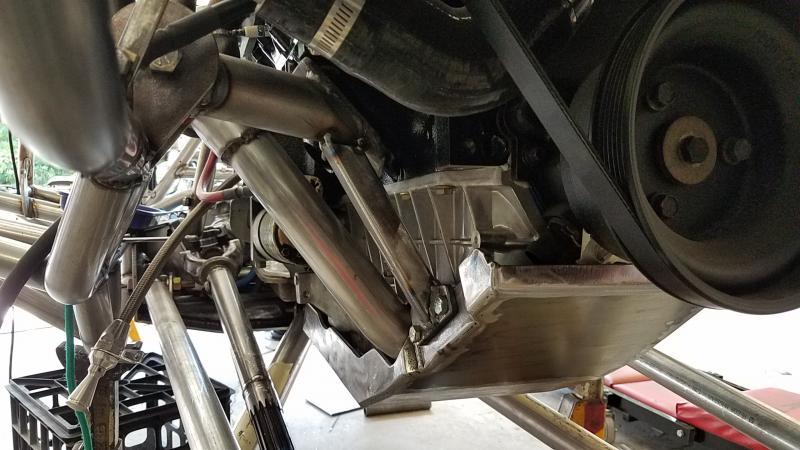
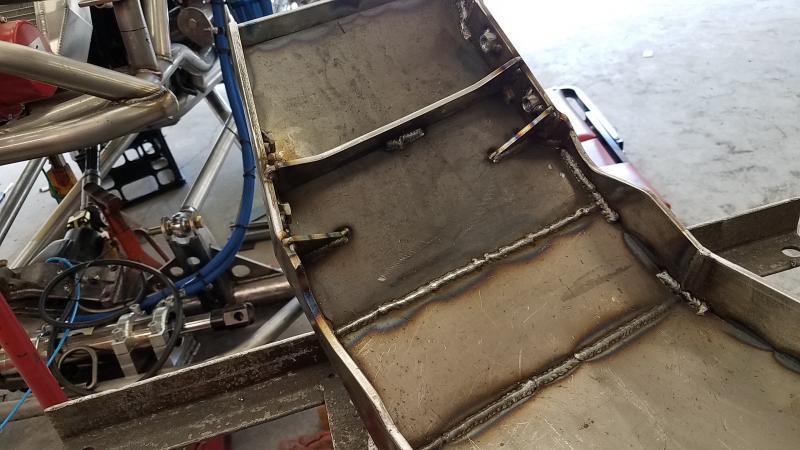
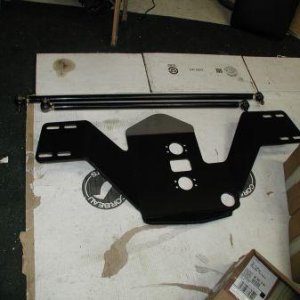
So I went ahead and tackled the next big thing. As anybody knows aluminum cannot withstand being smacked like steel can. Since the rig is lower so is the motor/tranny both those need some protection. So this is what I came up with. It contours every thing as best as possible and I was also bale to give the driveshaft some decent clearance. So Fist step build it...
 

Attachments

  • 20170817_222413.jpg
    20170817_222413.jpg
    70.7 KB
  • 20170817_222417.jpg
    20170817_222417.jpg
    72.2 KB
  • 20170817_222423.jpg
    20170817_222423.jpg
    58.5 KB
  • 20170817_222430.jpg
    20170817_222430.jpg
    62.8 KB
So as I went building it I clearanced it to the pan/exhaust and the crank sensor. Got it shoved into place and made sure all was good and next to get it mounted.
 

Attachments

  • 20170817_223718.jpg
    20170817_223718.jpg
    64.1 KB
  • 20170817_223726.jpg
    20170817_223726.jpg
    54.6 KB
  • 20170817_223735.jpg
    20170817_223735.jpg
    55 KB
So my original intention was to make supports of the motor mounts and make the skid/mounts one who assembly and then add holes to access the drain plug. Well this is where I found the motor mounts sit on top of the chassis rails and the rear shock mounts kinda go over top the mounts so if it was one whole assembly there would be no way to remove it. So it required more thinking to figure that out. So I ended up making stand offs and adding a little more support to the skid to help keep it from being able to be shoved to one side. The stand offs need to be fully welded and the back part of the skid mount made under the tranny pan but that will be done once I get the motor/trans pulled out of the rig.
 

Attachments

  • 20170819_114311.jpg
    20170819_114311.jpg
    56.4 KB
  • 20170819_114307.jpg
    20170819_114307.jpg
    62.9 KB
  • 20170819_113735.jpg
    20170819_113735.jpg
    62.6 KB
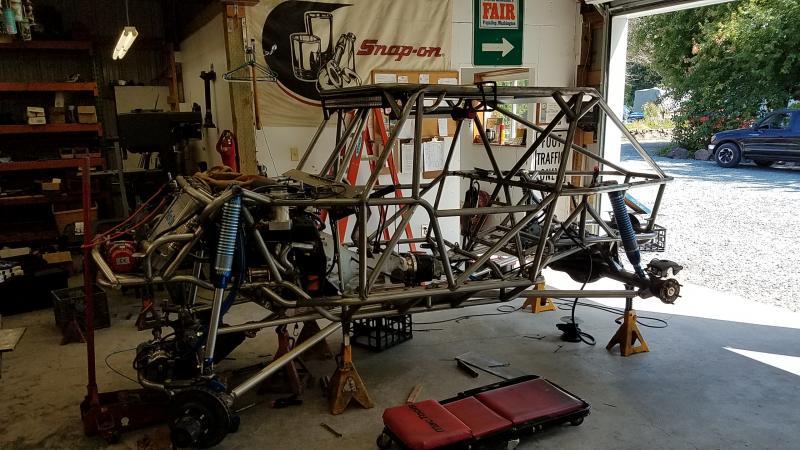
As I have been going along I have been pulling parts out of it that are no longer needed.
 

Attachments

  • 20170819_114900.jpg
    20170819_114900.jpg
    80.6 KB
So onto the last thing before I can fully disassemble the whole rig..

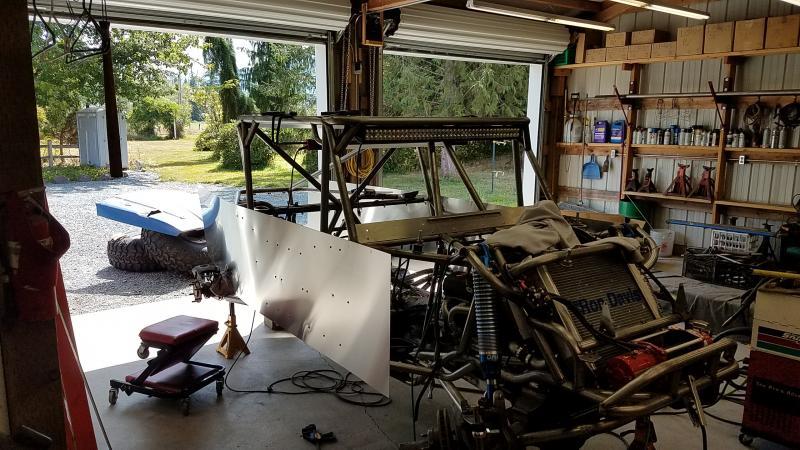
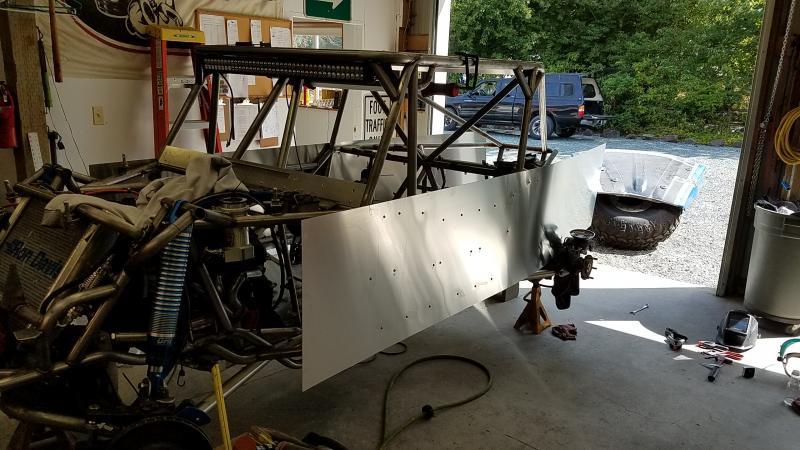
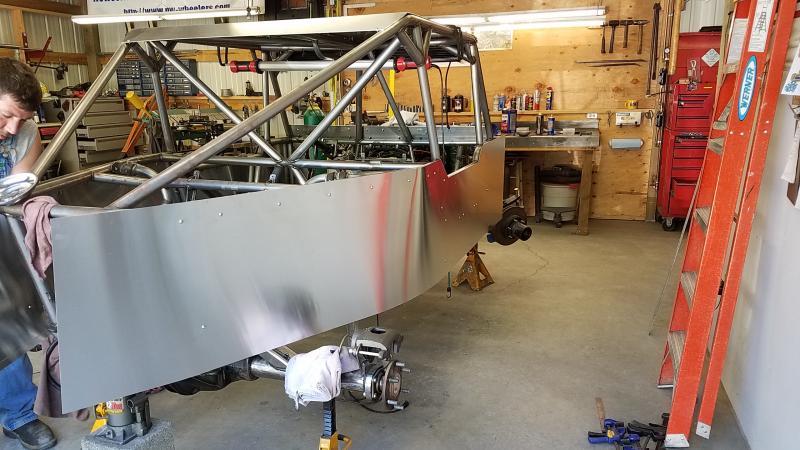
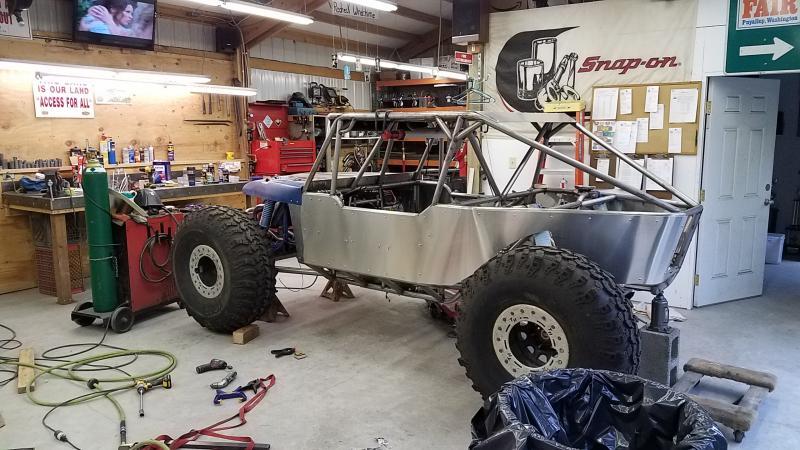
Time for skins. I started by getting many tabs welded to the chassis and then plain sheets bolted to it (measuring for holes ect)..

As the panels went on I started by rough cutting them since my final cuts are all measured from the tube.
 

Attachments

  • 20170820_113048.jpg
    20170820_113048.jpg
    85.9 KB
  • 20170820_113055.jpg
    20170820_113055.jpg
    72.1 KB
  • 20170820_172530.jpg
    20170820_172530.jpg
    69.8 KB
  • 20170820_172916.jpg
    20170820_172916.jpg
    74.6 KB
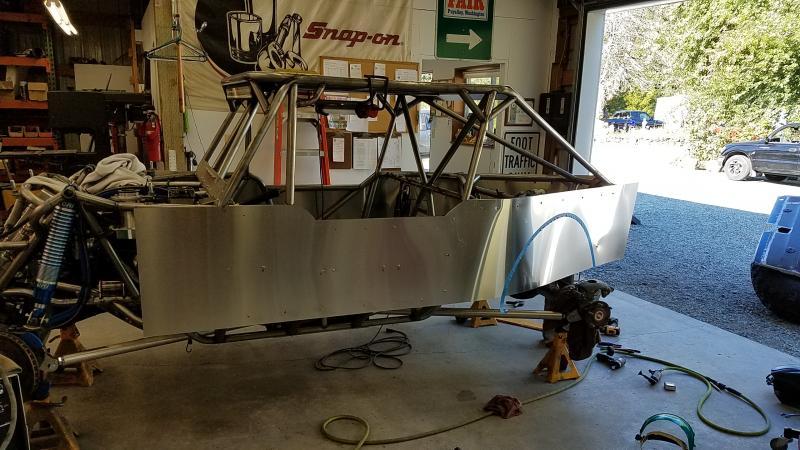
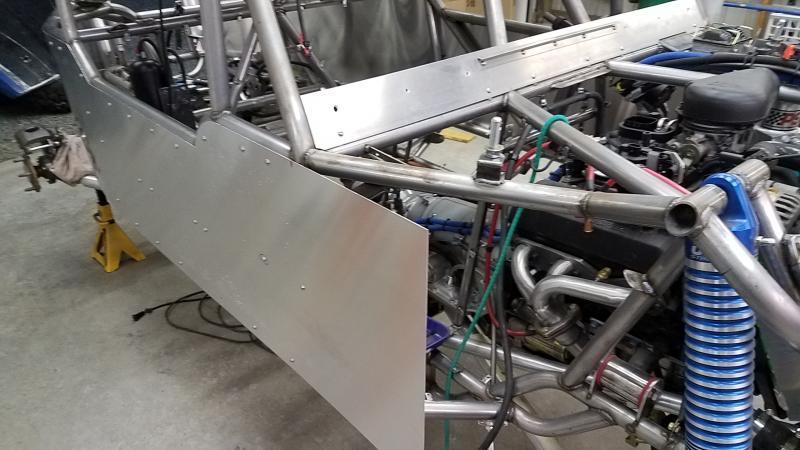
So I got both panels finish cut from the A-piller to the tail. The wrap around at the tail was a little tricky and not 100% flush like I was hoping but its very close--and I think it looks good...
 

Attachments

  • 20170820_231458.jpg
    20170820_231458.jpg
    70.6 KB
  • 20170820_231506.jpg
    20170820_231506.jpg
    78.1 KB
  • 20170821_203649.jpg
    20170821_203649.jpg
    67.9 KB
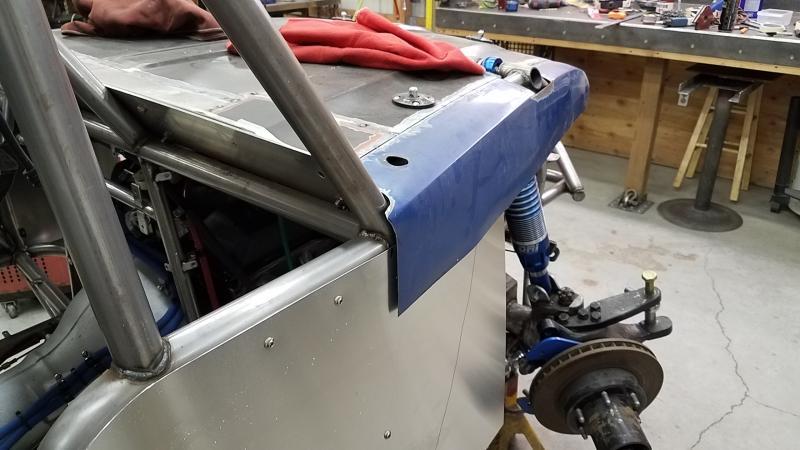
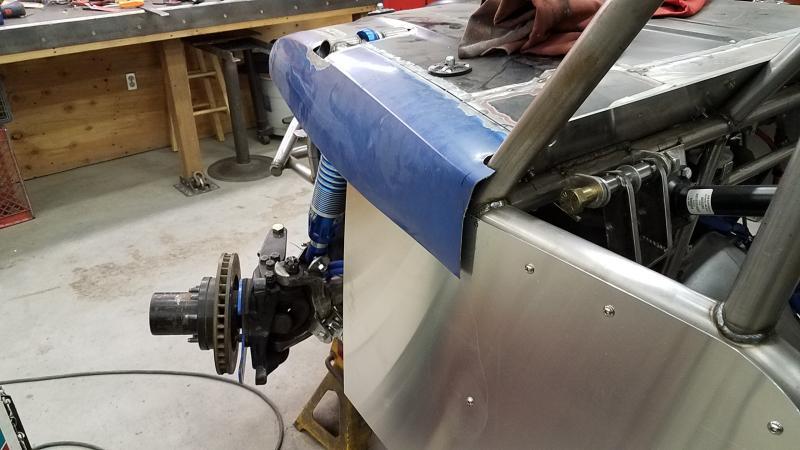
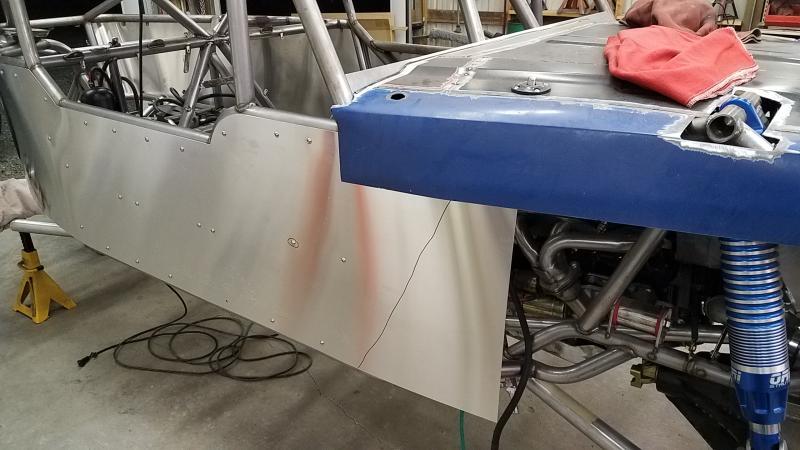
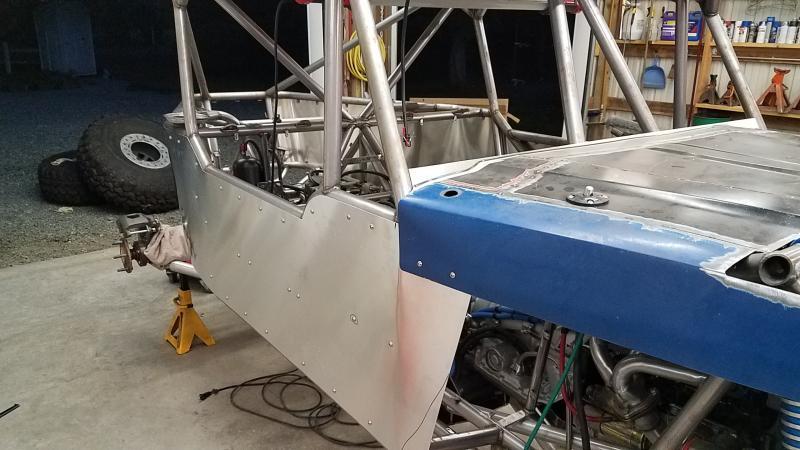
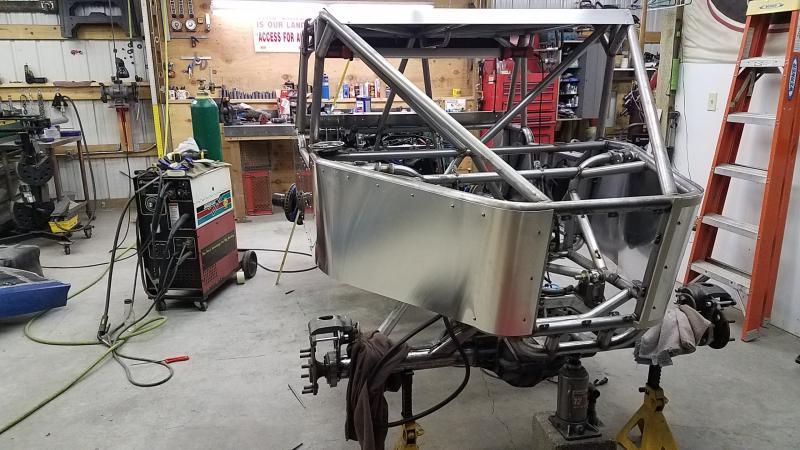
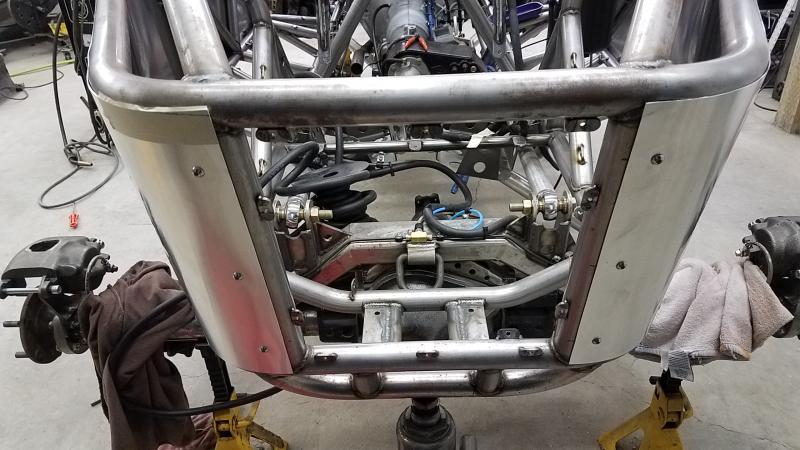
Now onto the front. I had no game plan going into this and was just going to wing it. From the get go I knew the transition from the body to the hood was not going to be spot on due to the angle of the hood and such...
 

Attachments

  • 20170821_203832.jpg
    20170821_203832.jpg
    60.8 KB
  • 20170821_203837.jpg
    20170821_203837.jpg
    67.7 KB
As you can see its not perfect. Hindsight is certainly 20/20 and I would have made it 1" narrower at the A-pillar. Despite that I think I got it pretty decent considering all the angles I had to look at when it was built. It will take a little work but I think I can make it workable,,,
 

Attachments

  • 20170821_205229.jpg
    20170821_205229.jpg
    54.3 KB
  • 20170821_205238.jpg
    20170821_205238.jpg
    52.7 KB
  • 20170821_205223.jpg
    20170821_205223.jpg
    56.1 KB
So started by angling the panel inward to match the hood and cut the panel. Added one tab at the bottom and a long plate behind where the panel/hood overlap to suck the hood to the panel. I plan on using some Dzus fasteners and made the plate behind wide enough. It certainly looks much better and I think once the hood/body panels are the same color it won't stand out quite as much.
 

Attachments

  • 20170821_205734.jpg
    20170821_205734.jpg
    71.4 KB
  • 20170821_230030.jpg
    20170821_230030.jpg
    67.3 KB
  • 20170822_203355.jpg
    20170822_203355.jpg
    72.4 KB
  • 20170822_203405.jpg
    20170822_203405.jpg
    60.5 KB
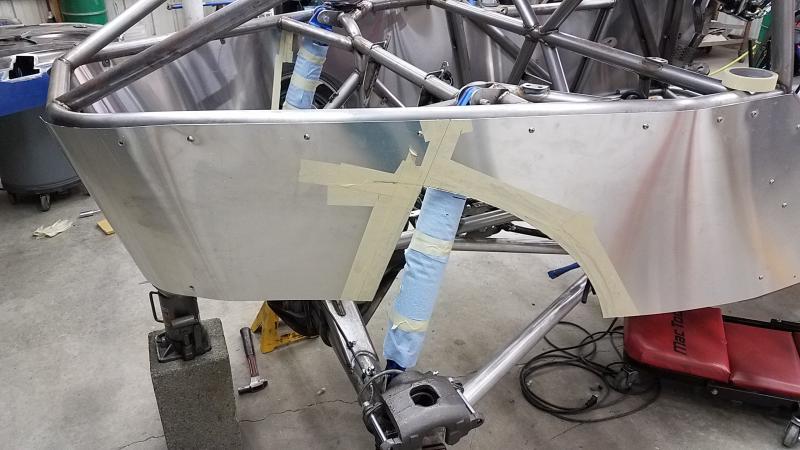
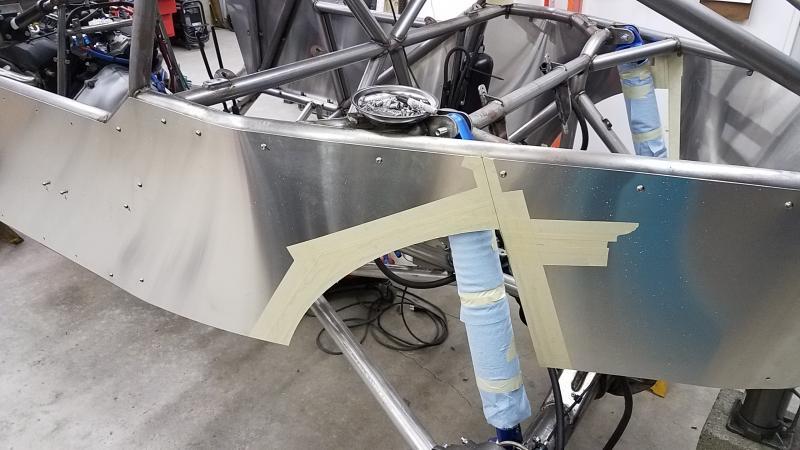
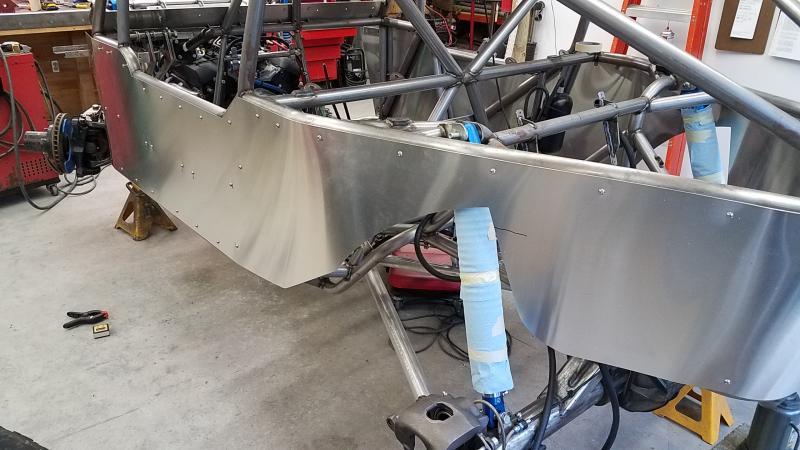
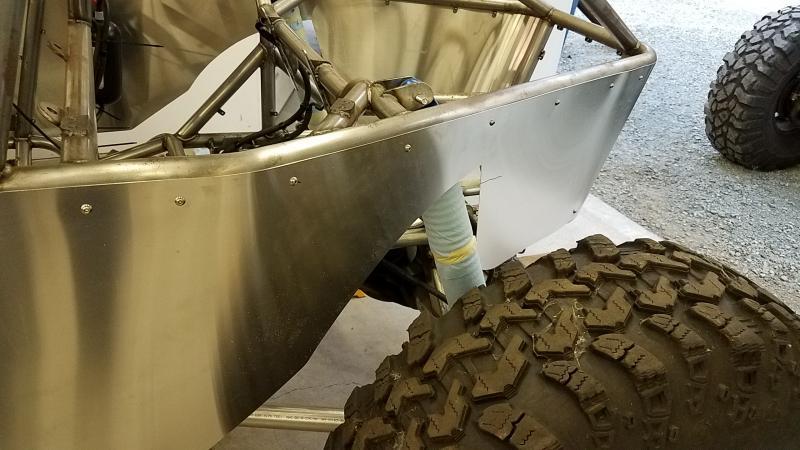
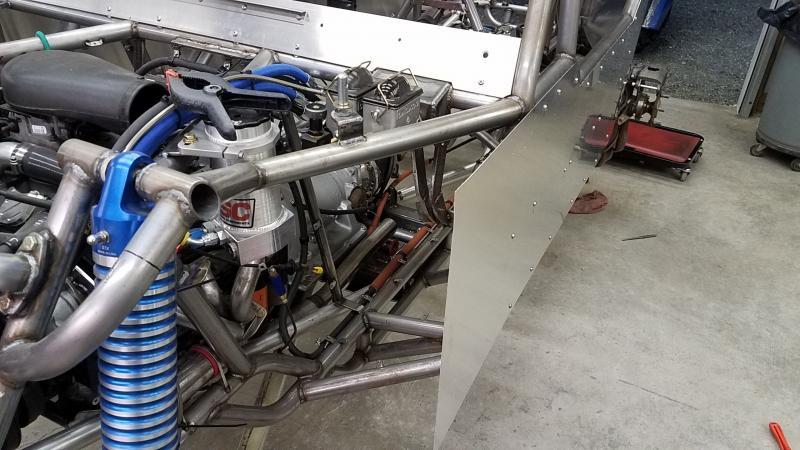
So to the back of the rig and time to get the panels cut out for shock/tires..

Started with a good rough cut which actually was pretty close...
 

Attachments

  • 20170822_231127.jpg
    20170822_231127.jpg
    57.6 KB
  • 20170822_231134.jpg
    20170822_231134.jpg
    56.5 KB
And the final cut....
 

Attachments

  • 20170823_193525.jpg
    20170823_193525.jpg
    61.7 KB
  • 20170823_194244.jpg
    20170823_194244.jpg
    58.7 KB
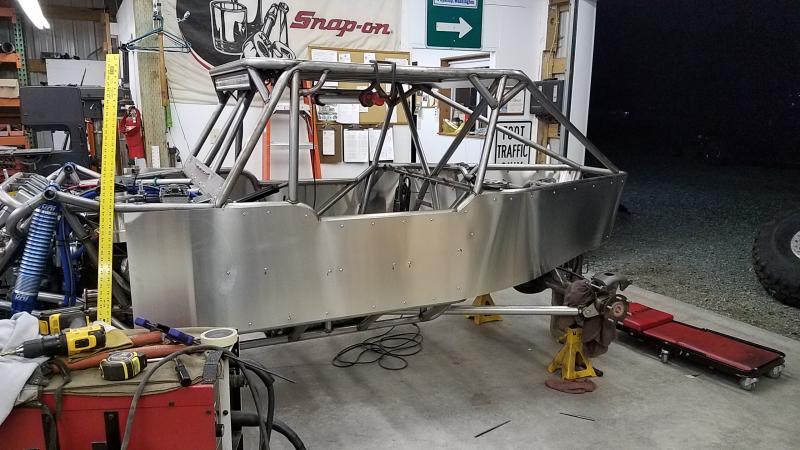
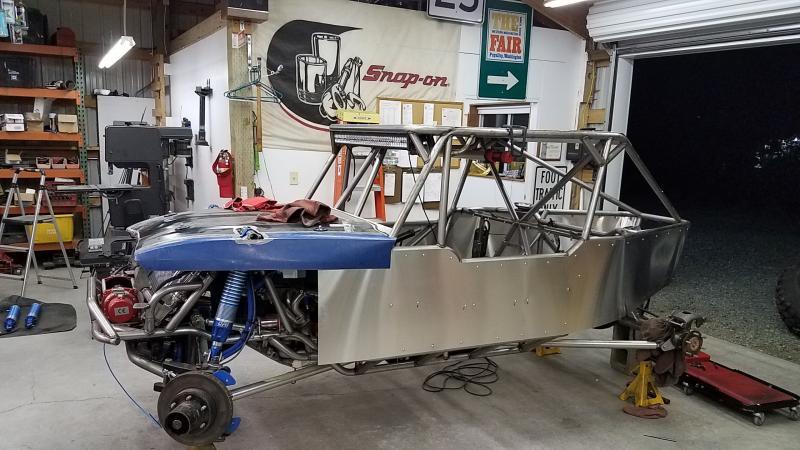
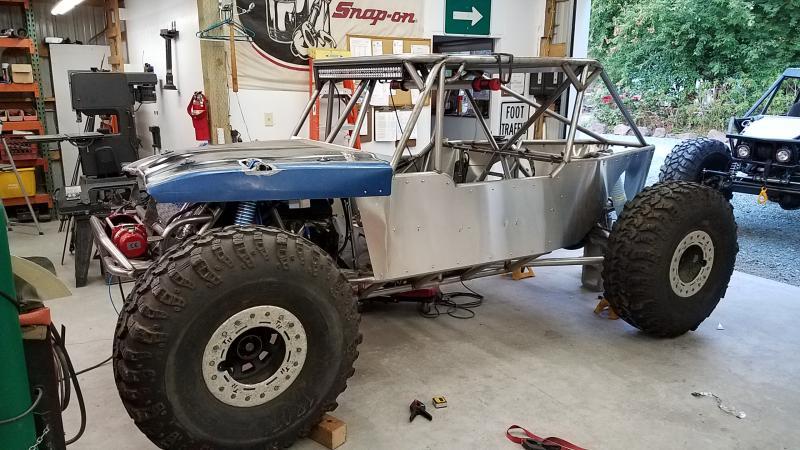
And the body panels are now done.....

So now its time to clean up and organize a bunch of stuff and time to start tearing it apart and finishing up a bunch of small things....
 

Attachments

  • 20170823_194236.jpg
    20170823_194236.jpg
    81.3 KB
  • 20170823_194251.jpg
    20170823_194251.jpg
    78.2 KB
Back
Top