• Help Support Hardline Crawlers :

Juggy Rehab

I have seen it done before, but it was a pretty light, nimble buggy. I honestly think if I tried it again and got a little more to the left and got my driver side tire up on the rock to the left I may get enough traction to get over it. Either that, or it will flop hard on the passenger side. ;D
 
hokie_yj said:
I have seen it done before, but it was a pretty light, nimble buggy. I honestly think if I tried it again and got a little more to the left and got my driver side tire up on the rock to the left I may get enough traction to get over it. Either that, or it will flop hard on the passenger side. ;D
Pin it to win it dale yeah!!


Sent from a undisclosed thinkin spot...
 
It's been a busy week and I forgot to update this thread. I got the reinforcement finished up and everything back together this past Sunday. If this thing bends again something is royally screwed up.


And here it is loaded up and ready for another beating tomorrow at the Poker Run at Chinquipin in Sneedville, TN.

 
I'm not a fabricator so excuse my ignorance... besides the cool looking factor, do dimple dies add more strength? I can see it as a way of making it lighter by removing parts of the metal, especially on big pieces. Can you also use thinner, lighter weight steel because the dimple dies add the strength?
 
Yeah, they serve a dual purpose of reducing weight and allowing you to use thinner material and still have the strength.

I'd love to get down that way one day Brock!
 
how well does that fan/shroud cool that motor? I've never seen a shroud with a pusher fan before. I've got a YJ that I just put a small block in and I am having cooling issues. looks like that fan pulls/pushes 2500 cfm I might just order one and try it. I have a cheap one that came with my radiator now and I'm thinking it is only pushing 1300 cfm.
 
It's never really gotten above 200* until this weekend at Chinquipin. The fan locked up and quit and I didn't know it. It got to 260* quick. I just ordered another one today from Summit.
 
Bringing this thread back from the dead. I had kinda forgotten about it. Been working on this one a little bit between time on the single seater trying to get it ready for a Harlan run in a couple weeks.

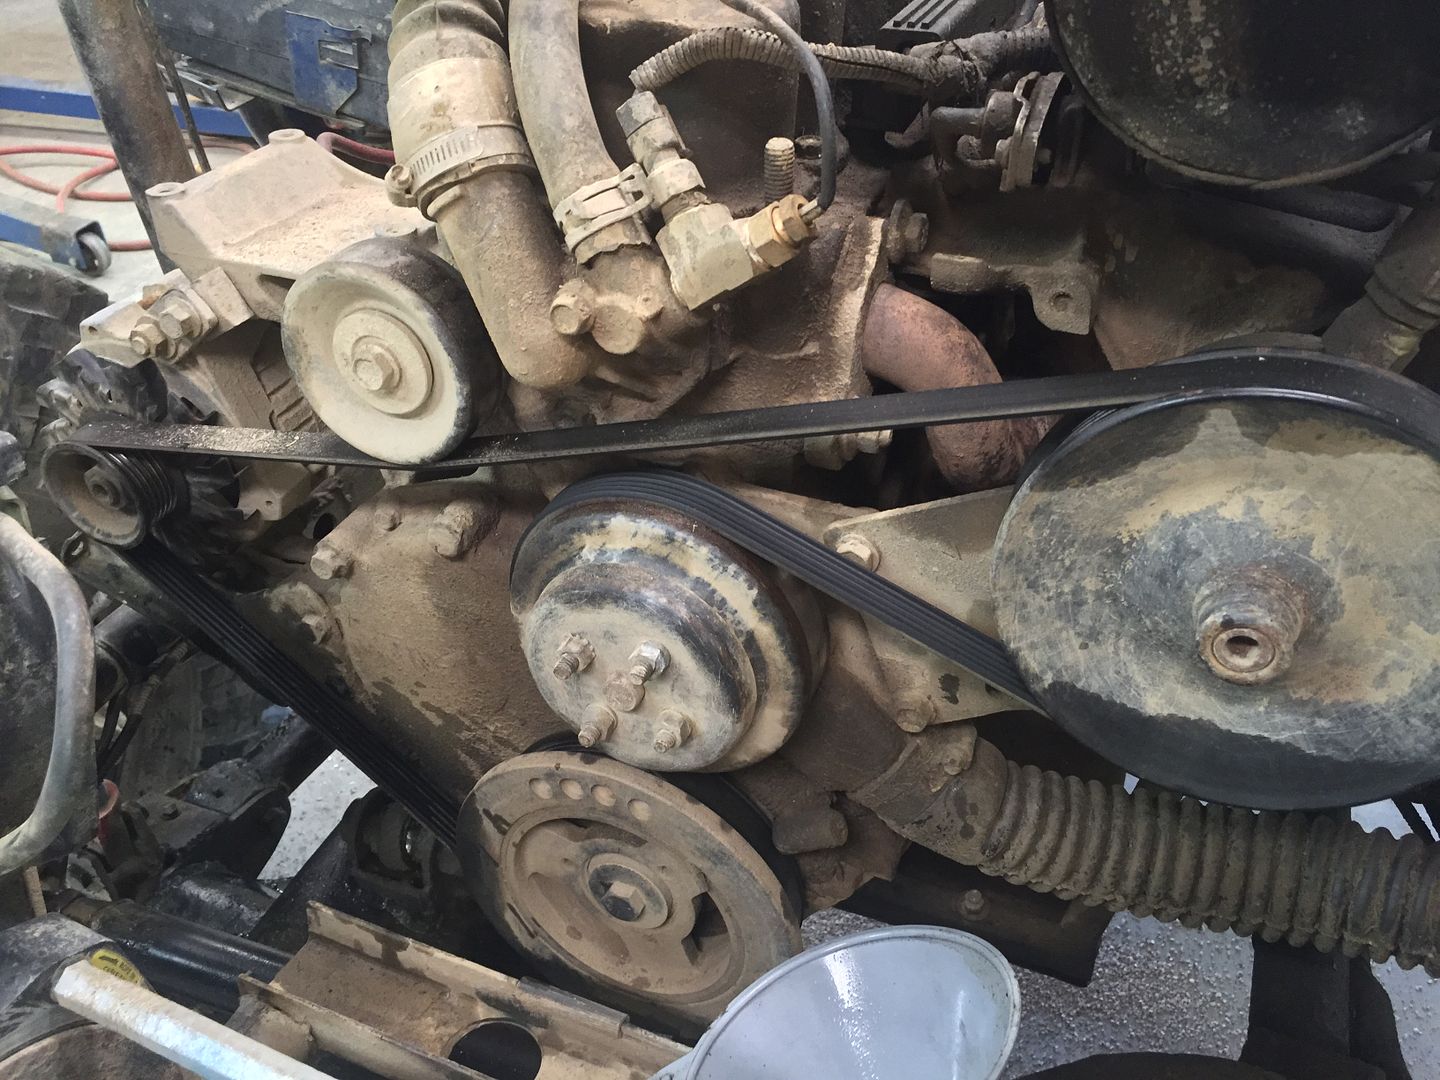
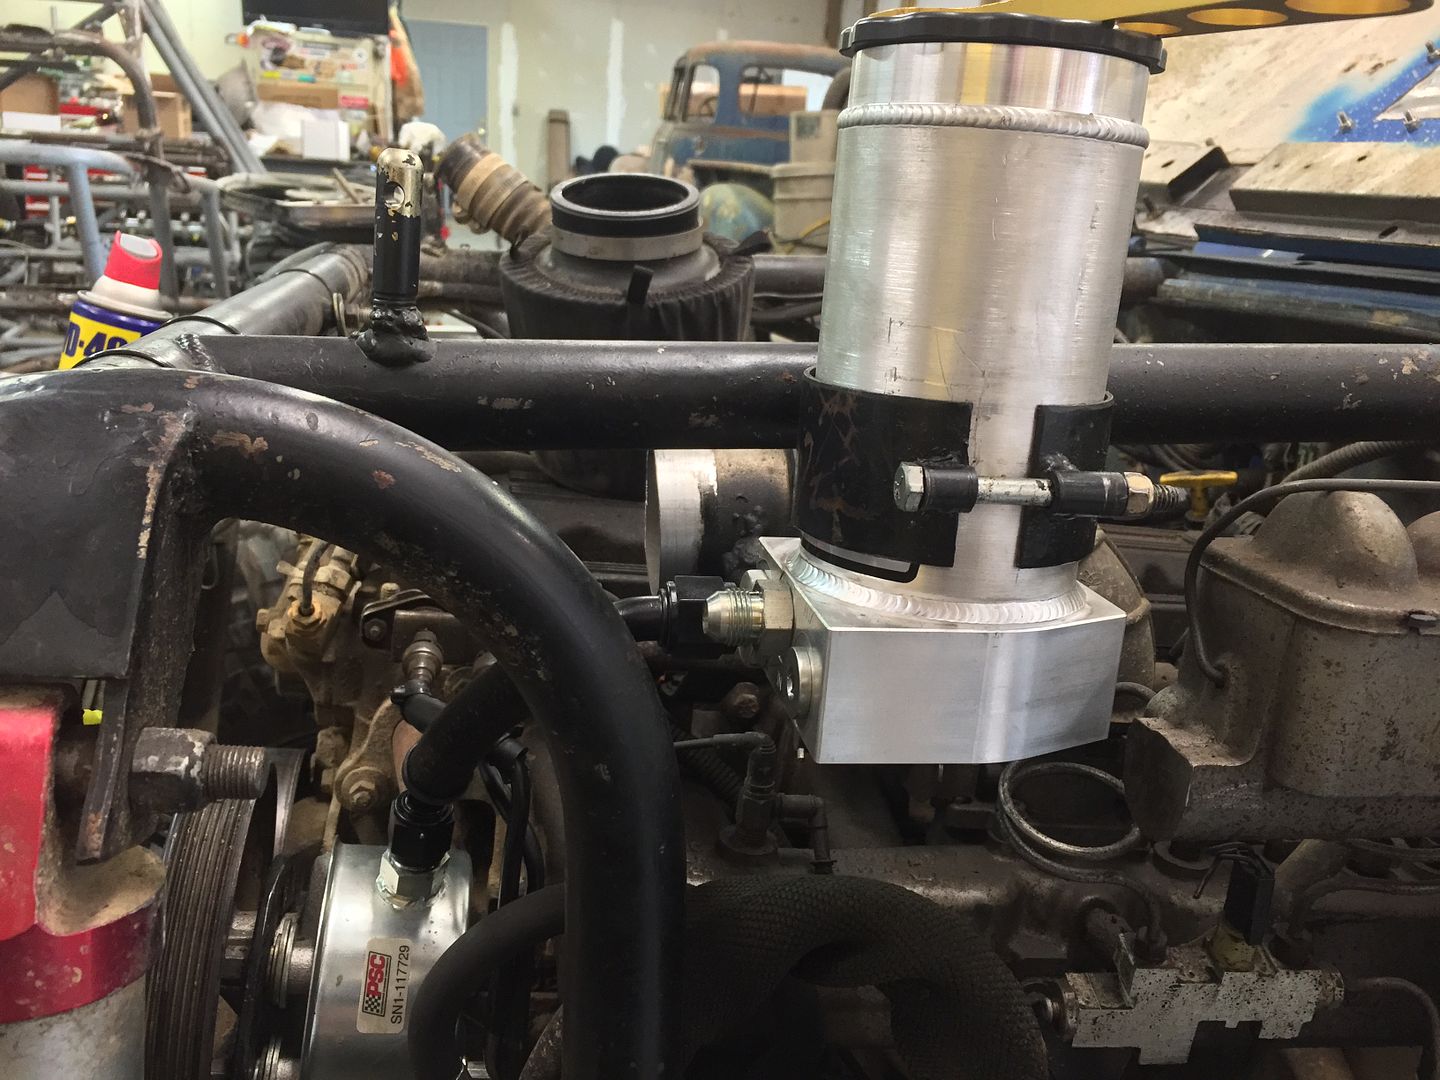
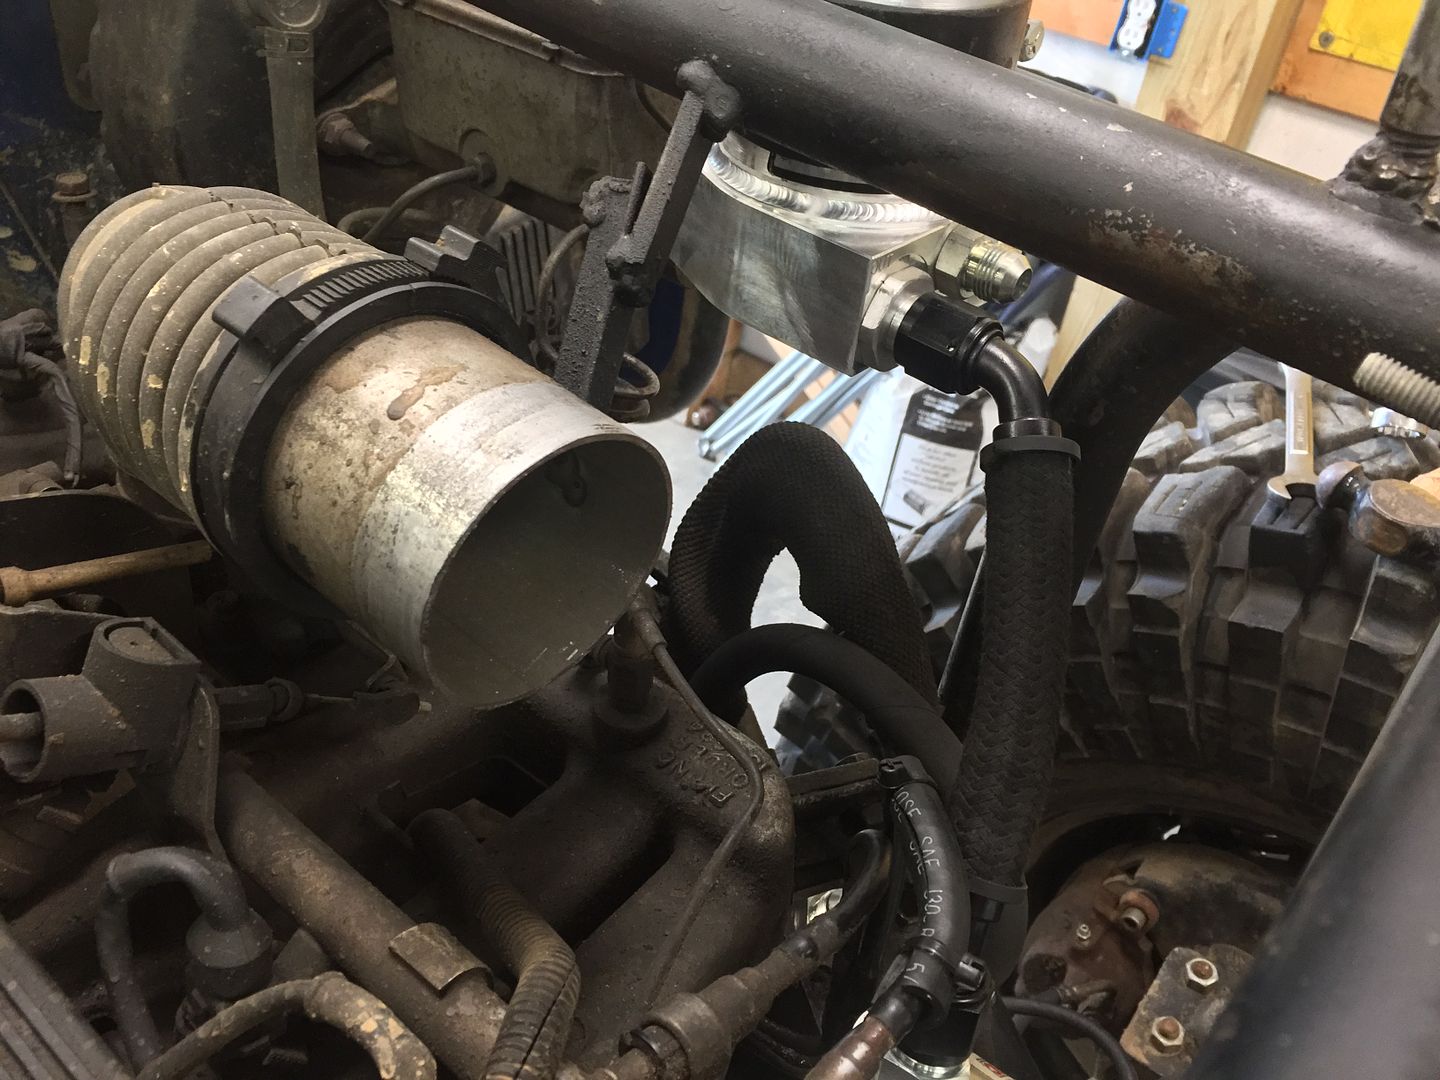
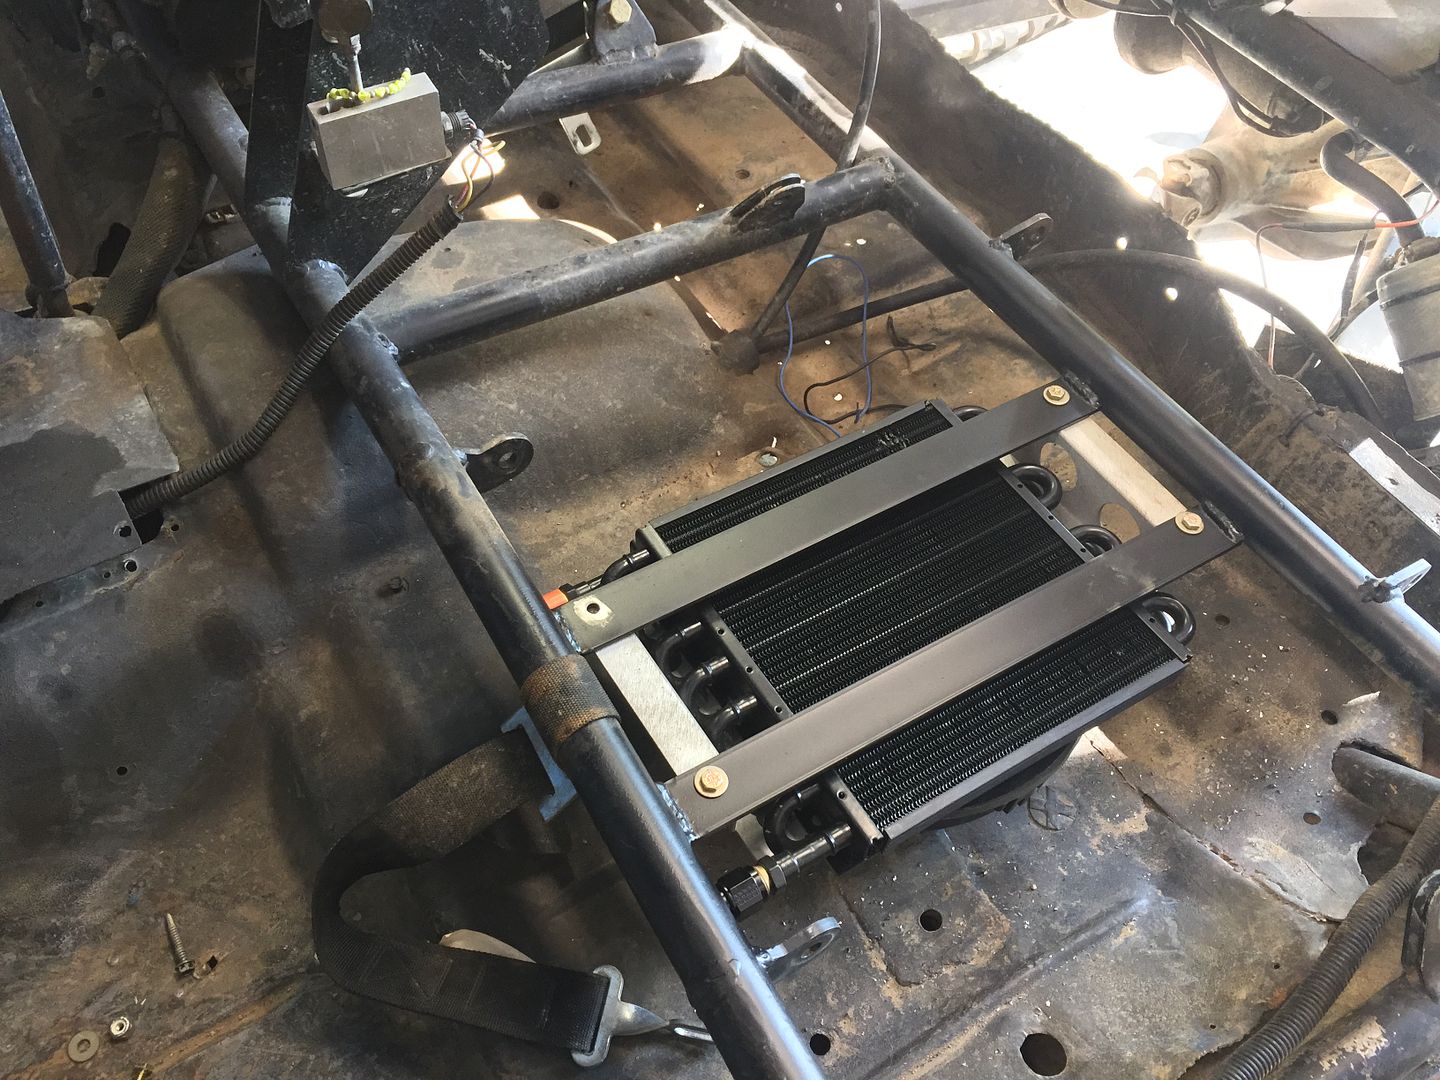
Several months back I put on a new PSC P pump, with the new generation PSC reservoir. And added a 16 pass -8 Derale cooler with fan mounted under the driver's seat. I think the old style reservoir was causing cavitation in the pump, which causes more heat than my cooler could handle, and burnt the pump up. It was a squealing machine, and would barely steer anymore with any resistance at all. I'm hoping this will solve the issues. I haven't had it out yet, but on the runs I made up and down my road it seemed to do a lot better. Only time will tell.


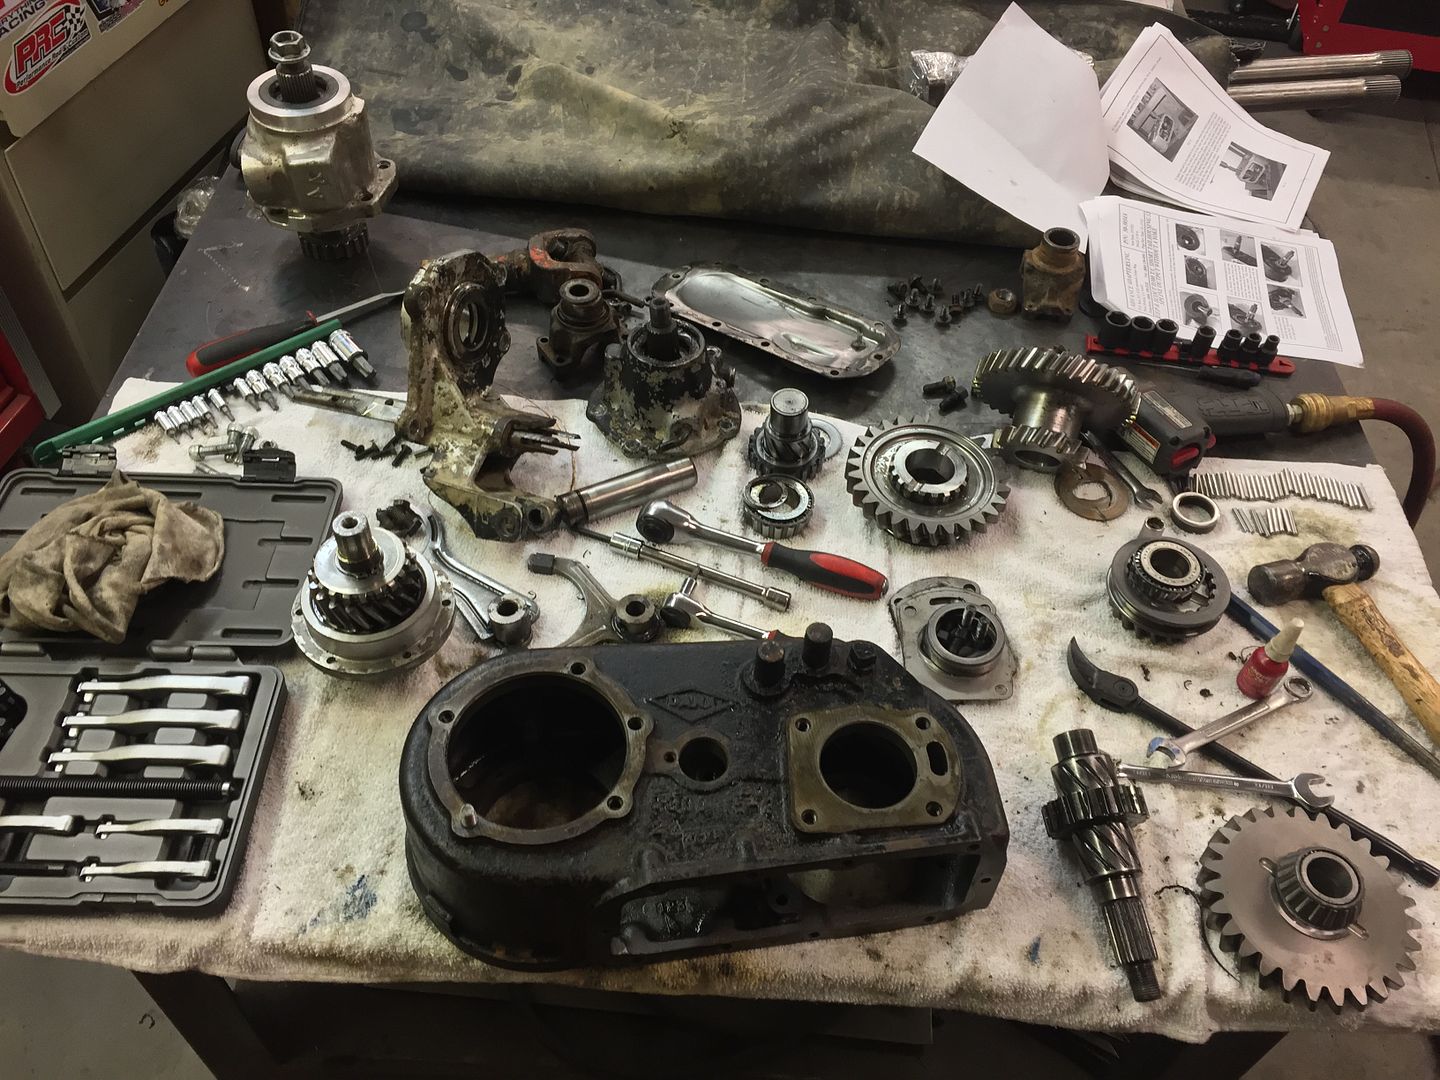
I've also been gathering the parts to upgrade the Dana 300 in this thing too. It was just struggling with the stock gears trying to turn 40s. A few months back I found a good deal on a set of front and rear 32 spline outputs. Monday I picked up another complete 300 that already had 4:1 gears in it but a broken stock rear output for a smoking deal. I tore it down, and gave it a good cleaning. I have the 32 spline rear output and front input installed already. I would have the whole thing back together already but I had to order some shift fork inserts because two were missing. As soon as they get here I'll finish putting it together. When it's all said and done I'll only have about $900 in a 4:1 300 with 32 spline f/r outputs. That's not too bad. It will definitely help this thing out a ton!

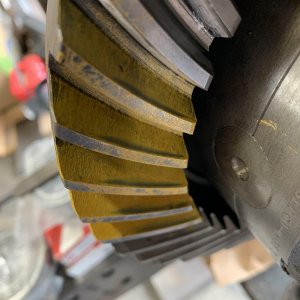
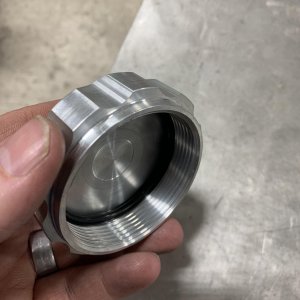
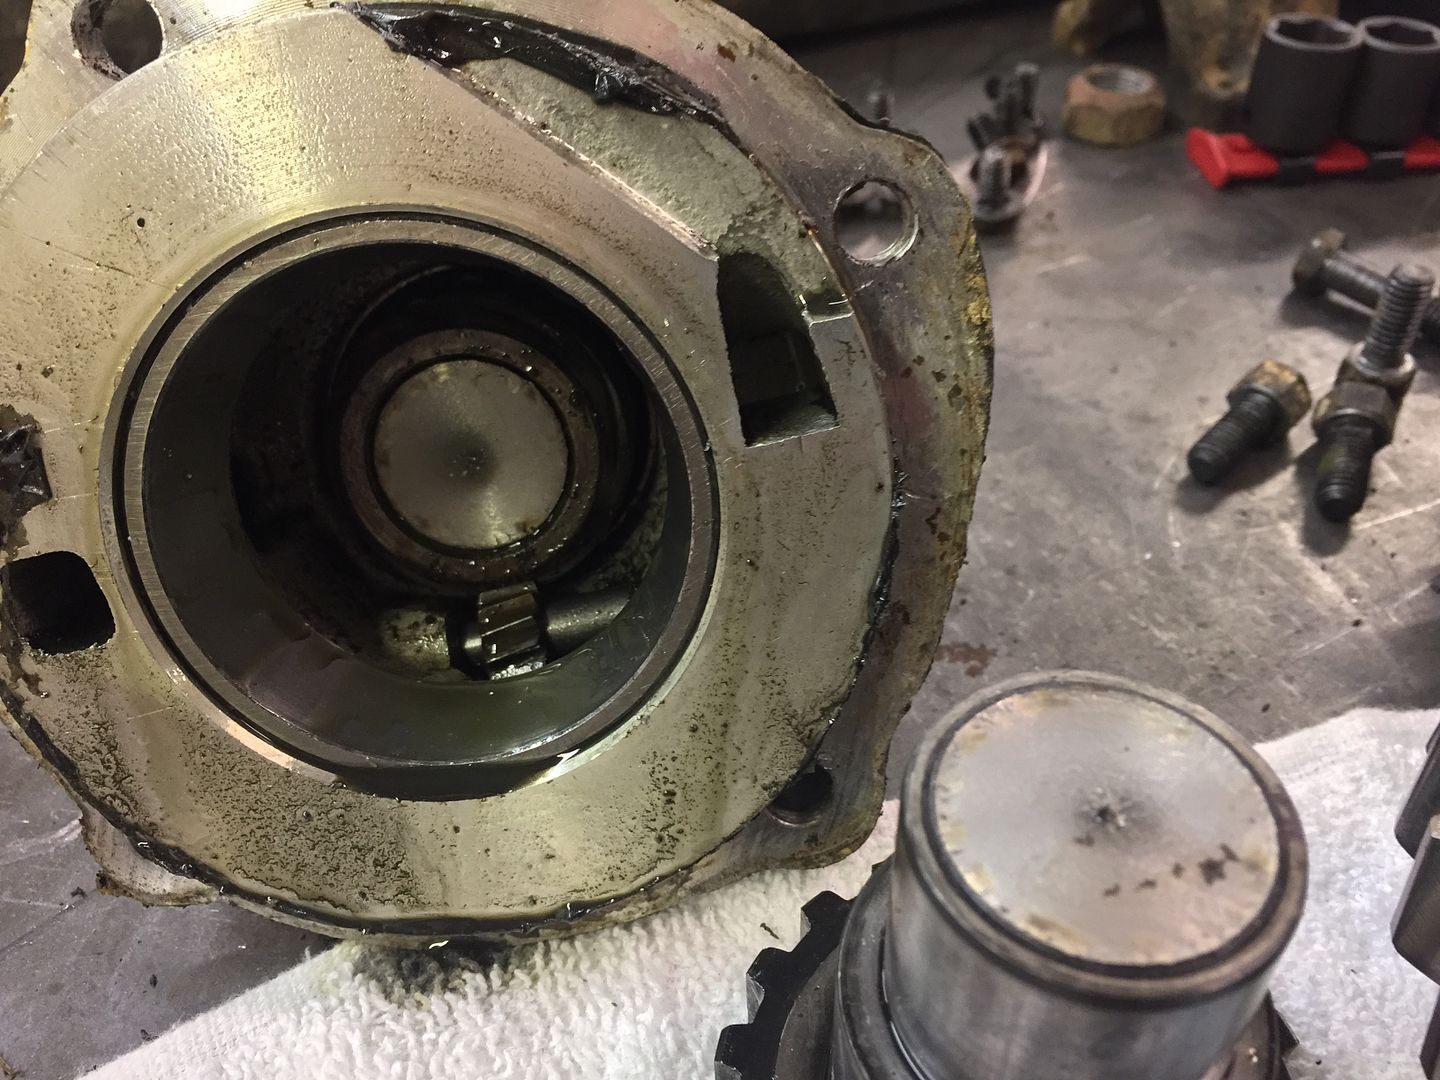
What 4:1 gears and 39" Reds do to stock output shafts.


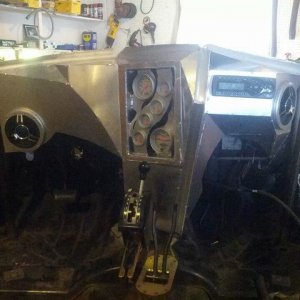
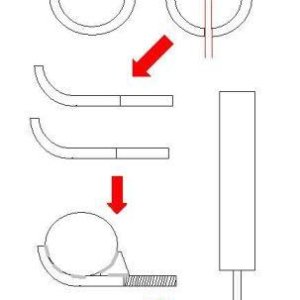
A Dana 300 in 300 pieces.


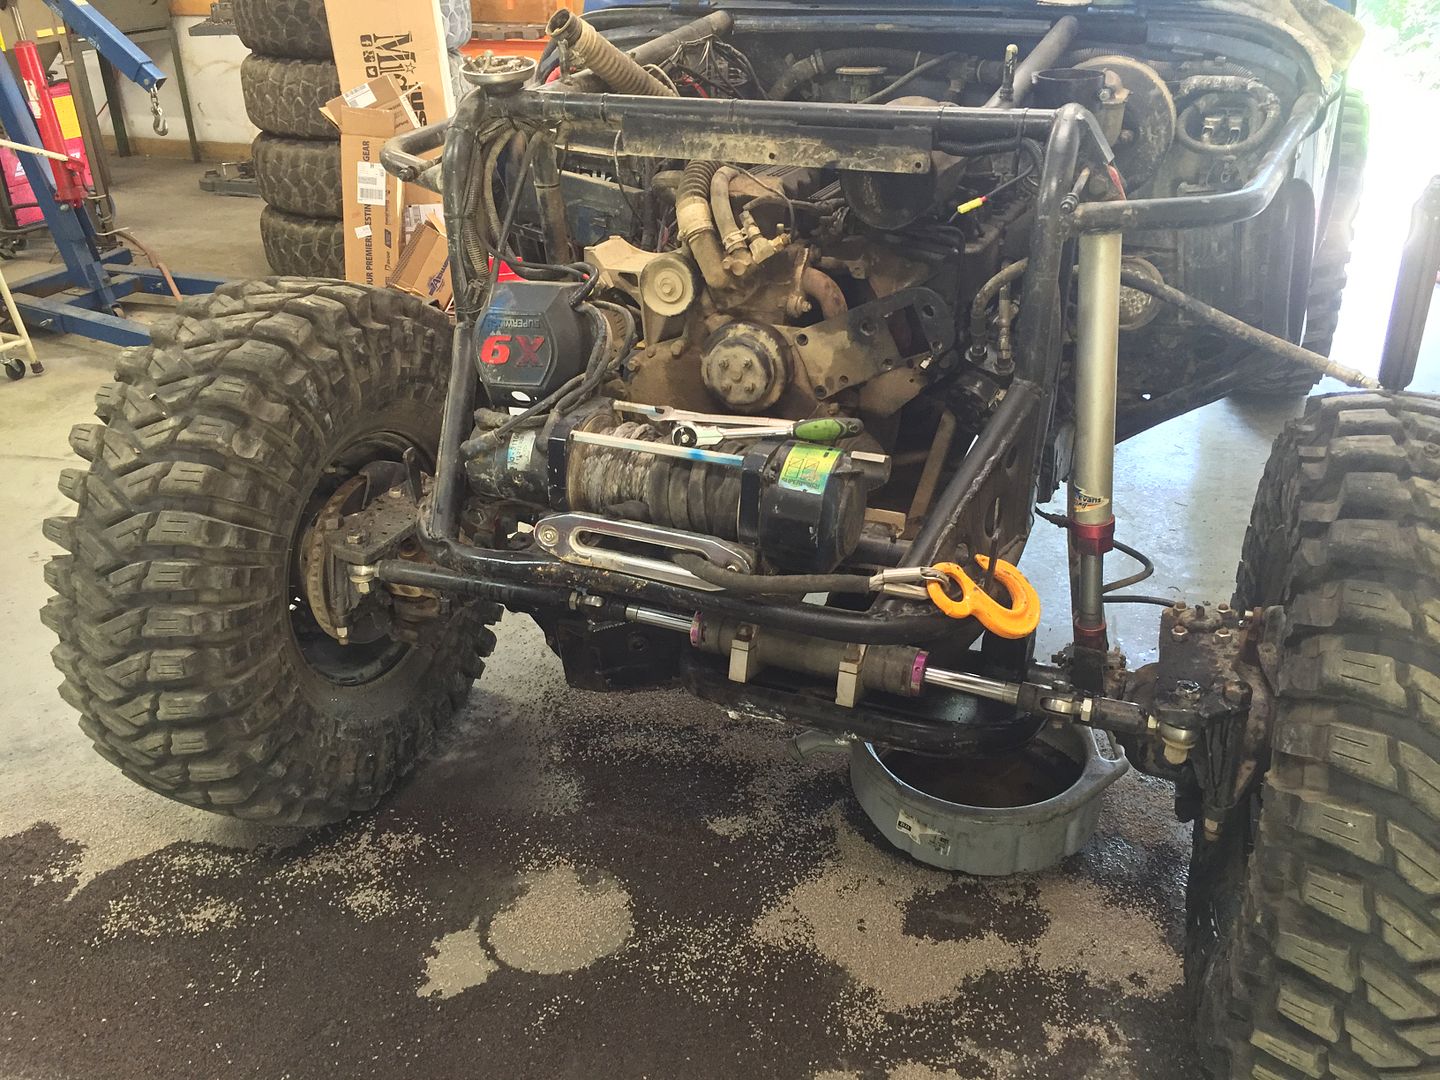
This morning I dropped the skidplates, pulled the driveshafts, and pulled the stock 300 out. There's nothing wrong with it, just going to keep it around as a spare.


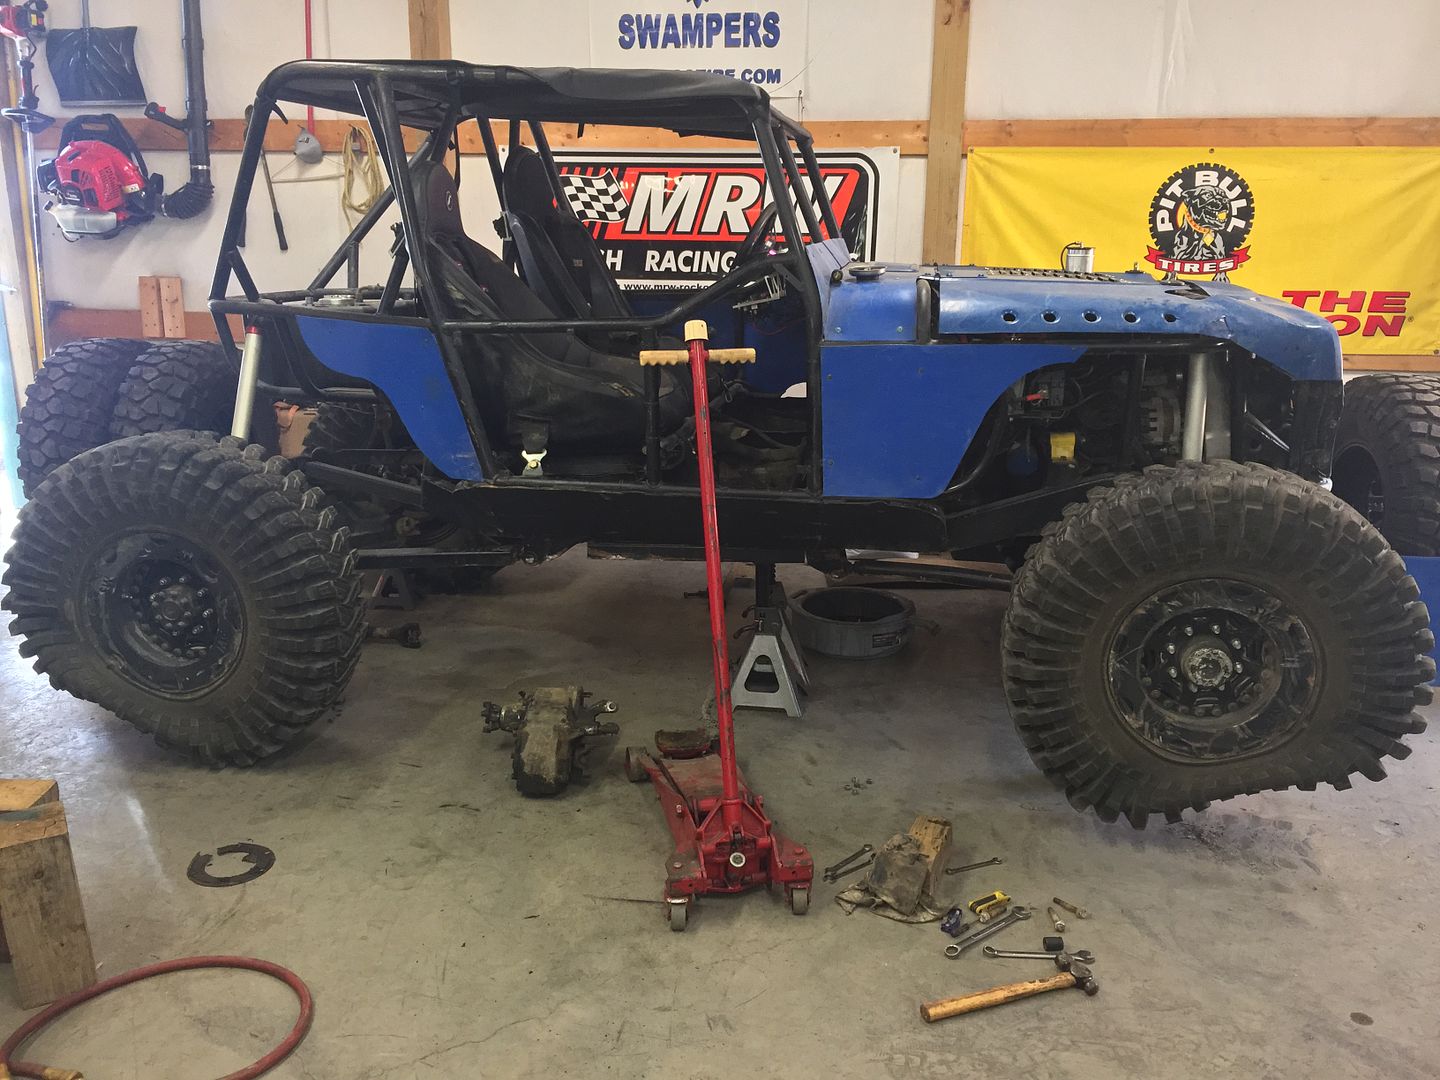
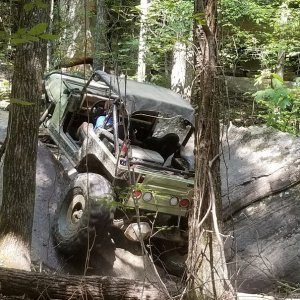
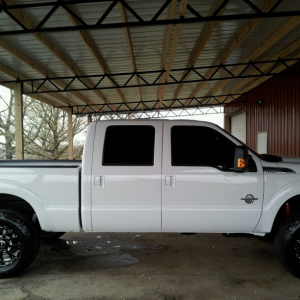
You may notice the Treps set on dig mode. They say you're supposed to air down for rockcrawling, right? That's the next project after I get the new case in. 3 of the 4 Stazworks wheels are leaking around the beads. I'm going to break them back down and try some bead sealer on them and hope it solves the problem.
 
The new 300 is built and back in the buggy. Also put a new output seal on the AW4. The old one wasn't leaking, but figured I would do it while I was in there anyway.


This was a short rear output 300. The 32 spline kit makes the rear output 1.5" longer than stock, so the rear driveshaft had to be cut down to fit.


Decided to dust off the old TIG skills (or lack of) to weld it back up.


Just have to bolt the driveshafts back in and put the skid plates back on. Then it's time to tackle the damn leaky wheels. Gotta get it ready for Harlan next weekend. After that it's back on the single seater.
 
Driveshafts are back in and the skid plates back on.

One wheel had a pretty good bend on the lip so I broke it all the way down and put it in the press to straighten it. It ended up cracking it so I had to weld it back up.


On the other wheels I just loosened the bolts holding the two halves together and broke the beads with tire irons. I slopped the bead sealer in there good and thick and tightened the bolts back up and aired the tire up. After that I rolled them outside and lit the bead sealer and let it burn for a few seconds to get. This was the recommendation of a friend. He said it would help it seal off. We'll see how it works. They're holding air so far sitting in the shop. We'll see if it lasts when we get to the woods.

Just burning a $700 tire. Haha.


But if they don't hold air I'll at least have a 20lb CO2 bottle on board now.


Other than putting the panels on that side it's pretty much ready to put in the trailer for Harlan this weekend. I have a 40" light bar I need to get mounted and wired up, but I probably won't have time this week to get it done.

 
hokie_yj said:
But if they don't hold air I'll at least have a 20lb CO2 bottle on board now.


Glad to see progress on this juggy. That takes warming up a sticky tire to a new level.

It may have been answered before, but what are the two round holes in the rear section of the tub for?
 
Everybody says you have to heat them up to get them to stick. Just taking their advice to heart. Haha.

The PO had one of the small seats mounted there for his kid. I let him keep it when I bought it because I didn't need it.
 
hokie_yj said:
Everybody says you have to heat them up to get them to stick. Just taking their advice to heart. Haha.

The PO had one of the small seats mounted there for his kid. I let him keep it when I bought it because I didn't need it.

Makes sense there. I knew I could see the brackets through the holes, so was just curious.
 
Thanks! I'm hoping it works. I just checked the pressures a little while ago. So far they're holding sitting here in the shop. The can this stuff comes in is just one big warning label, so you know it must be pretty good stuff. I had to go to the commercial accounts desk in the back of Advance to get it. They don't keep it out front. Only like $9 for a 32oz can.
 
Top