LJ on Tons

Hardline Crawlers - Rock Bouncer Builds, Tech & Off-Road Trail Talk

Help Support Hardline Crawlers:

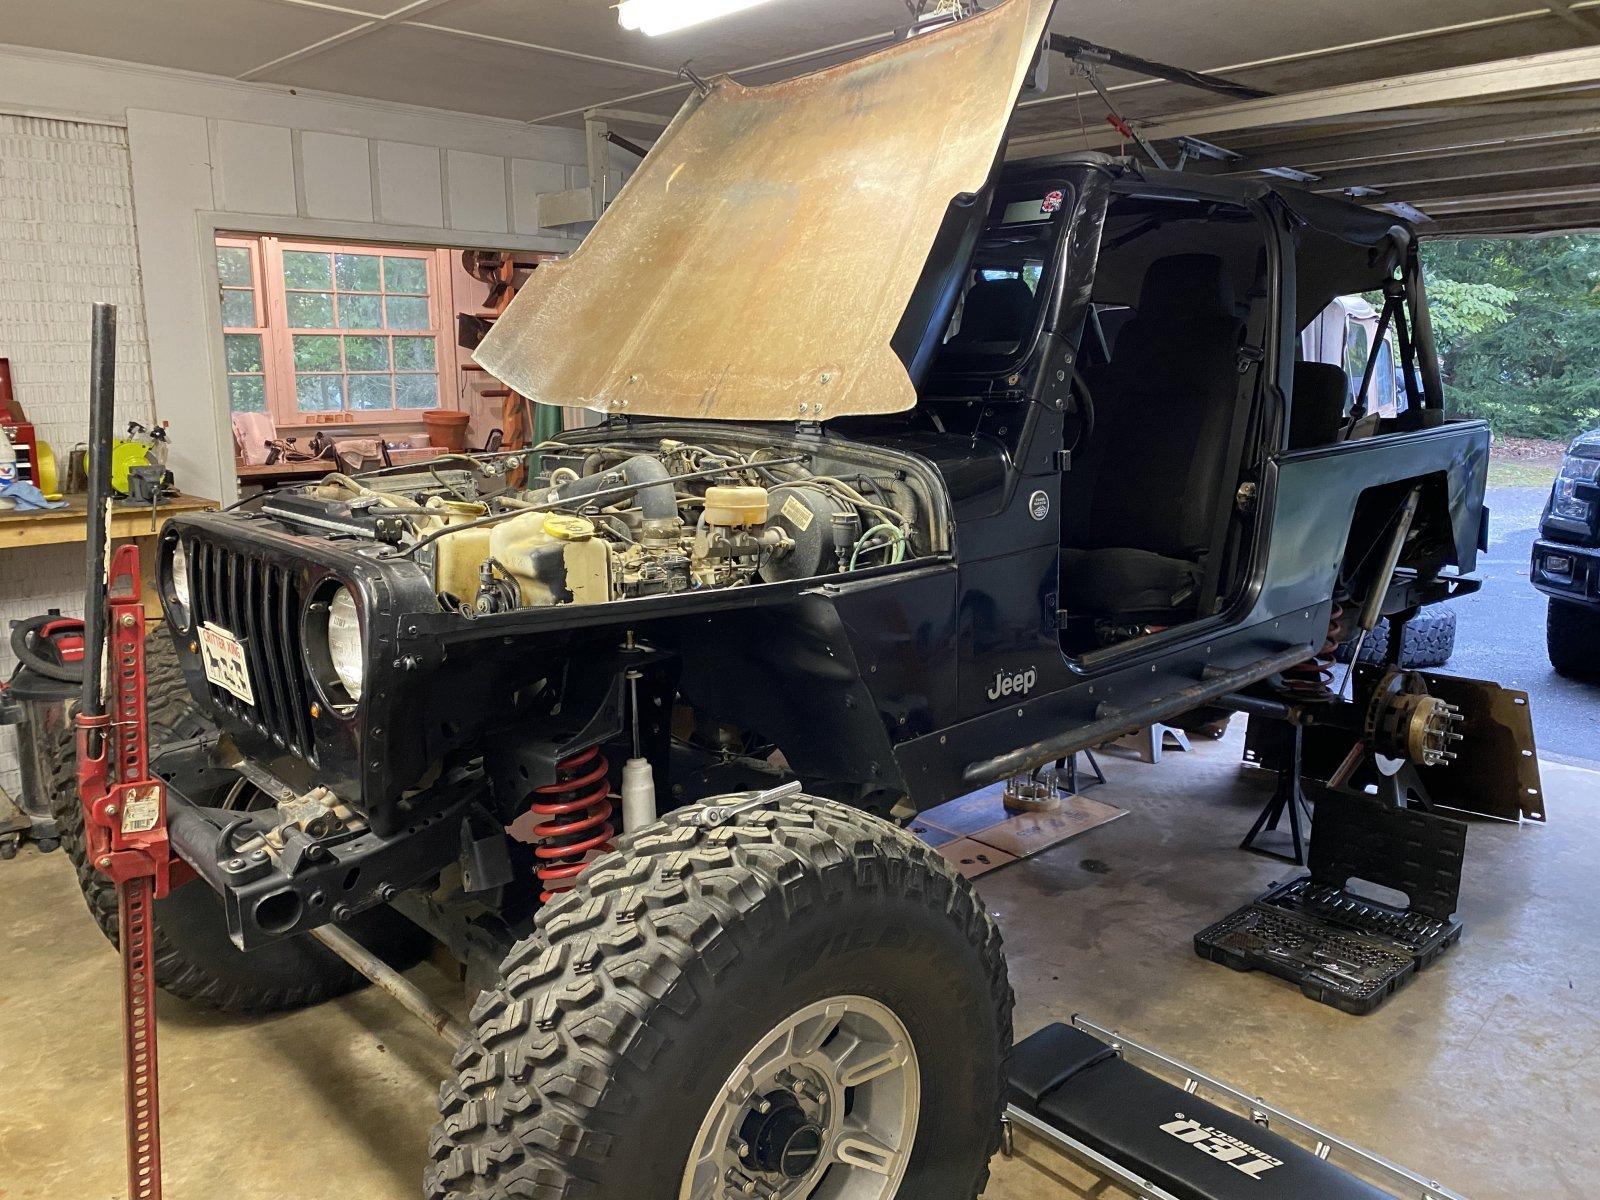
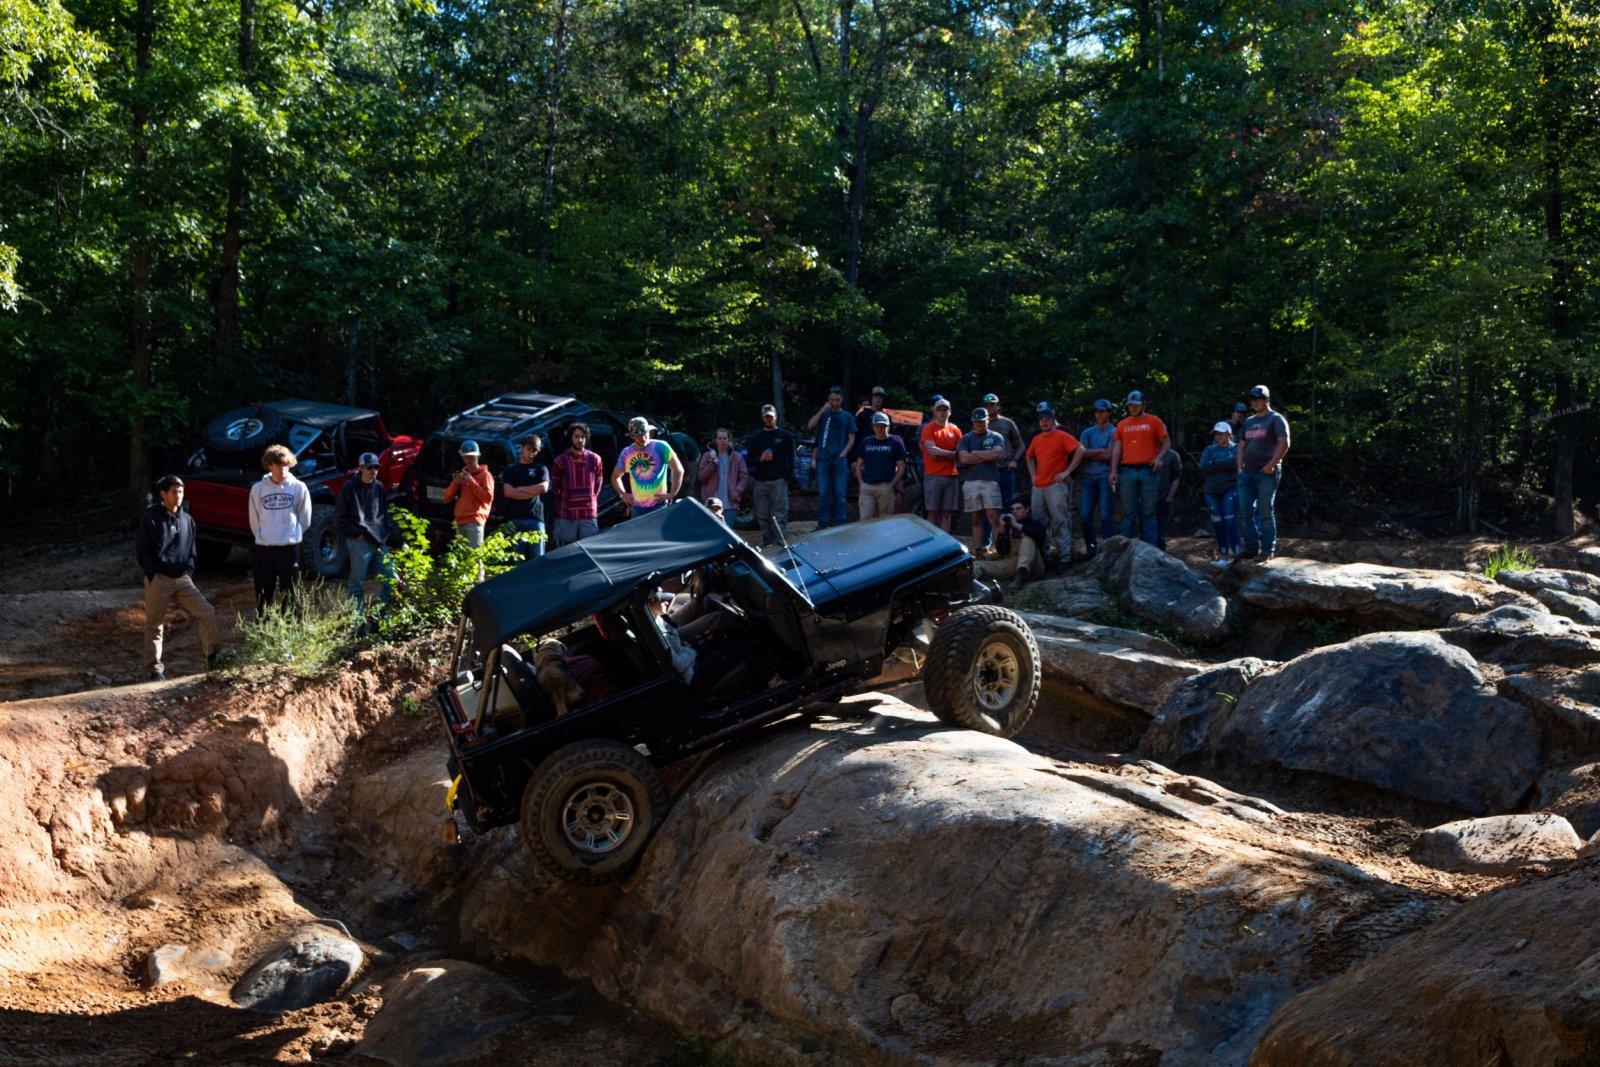
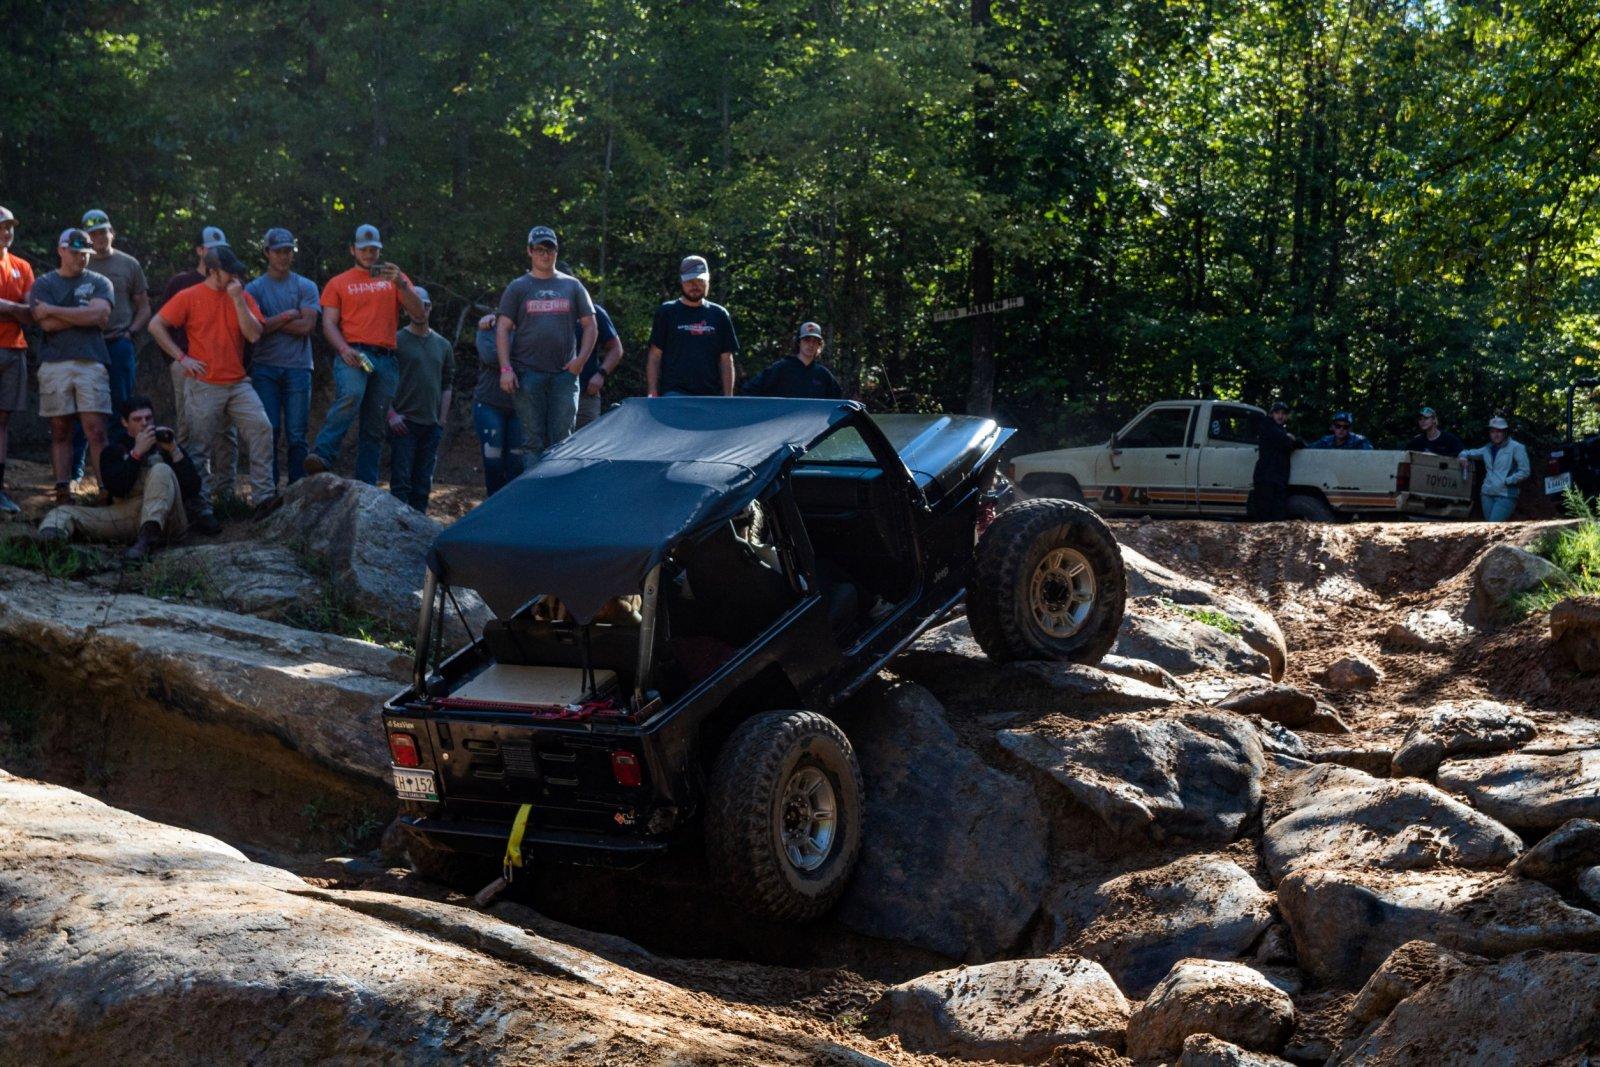
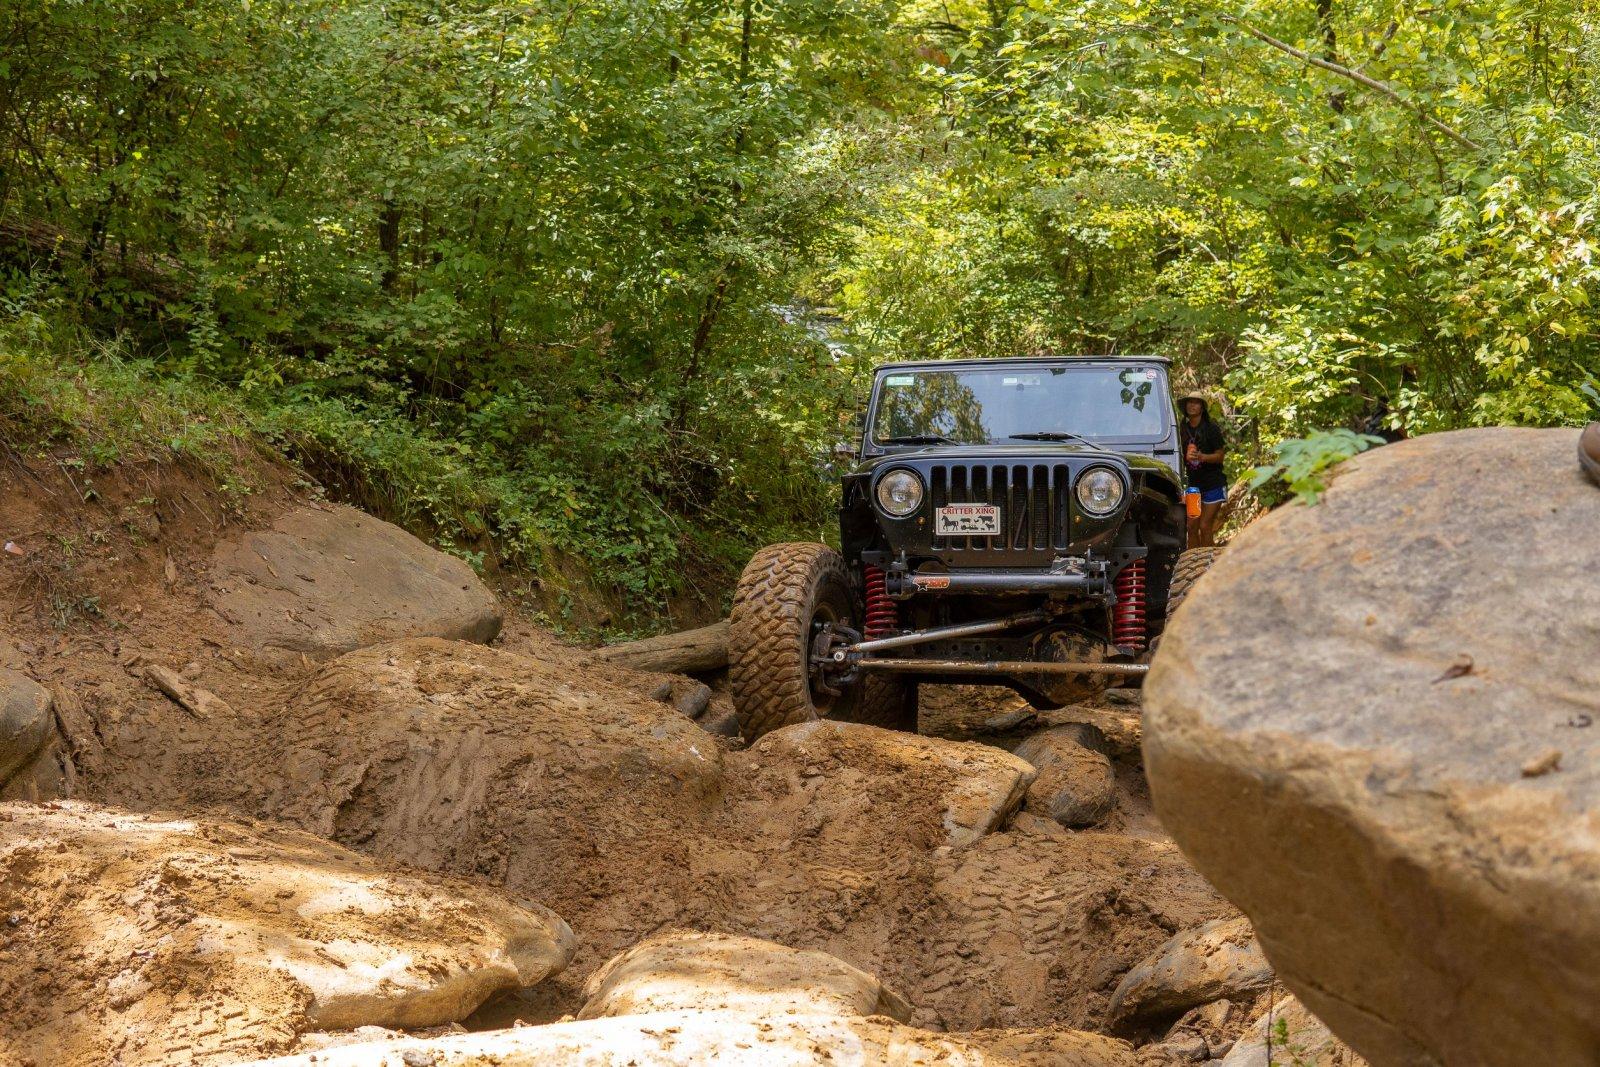
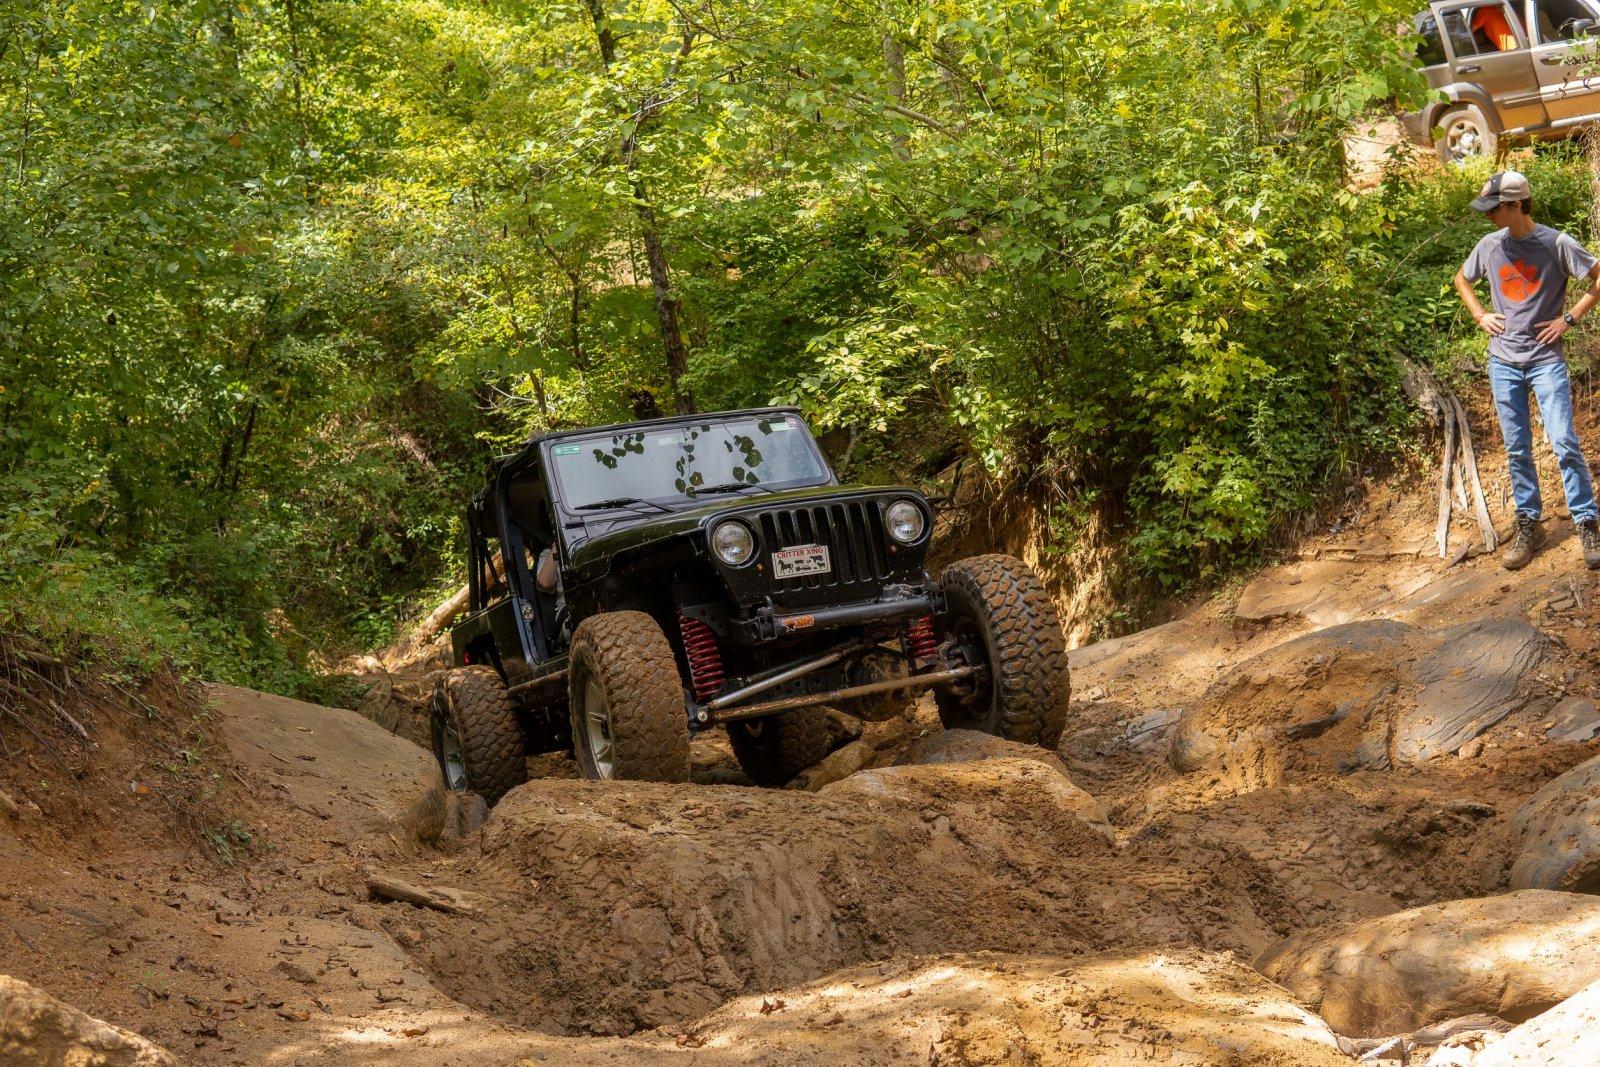
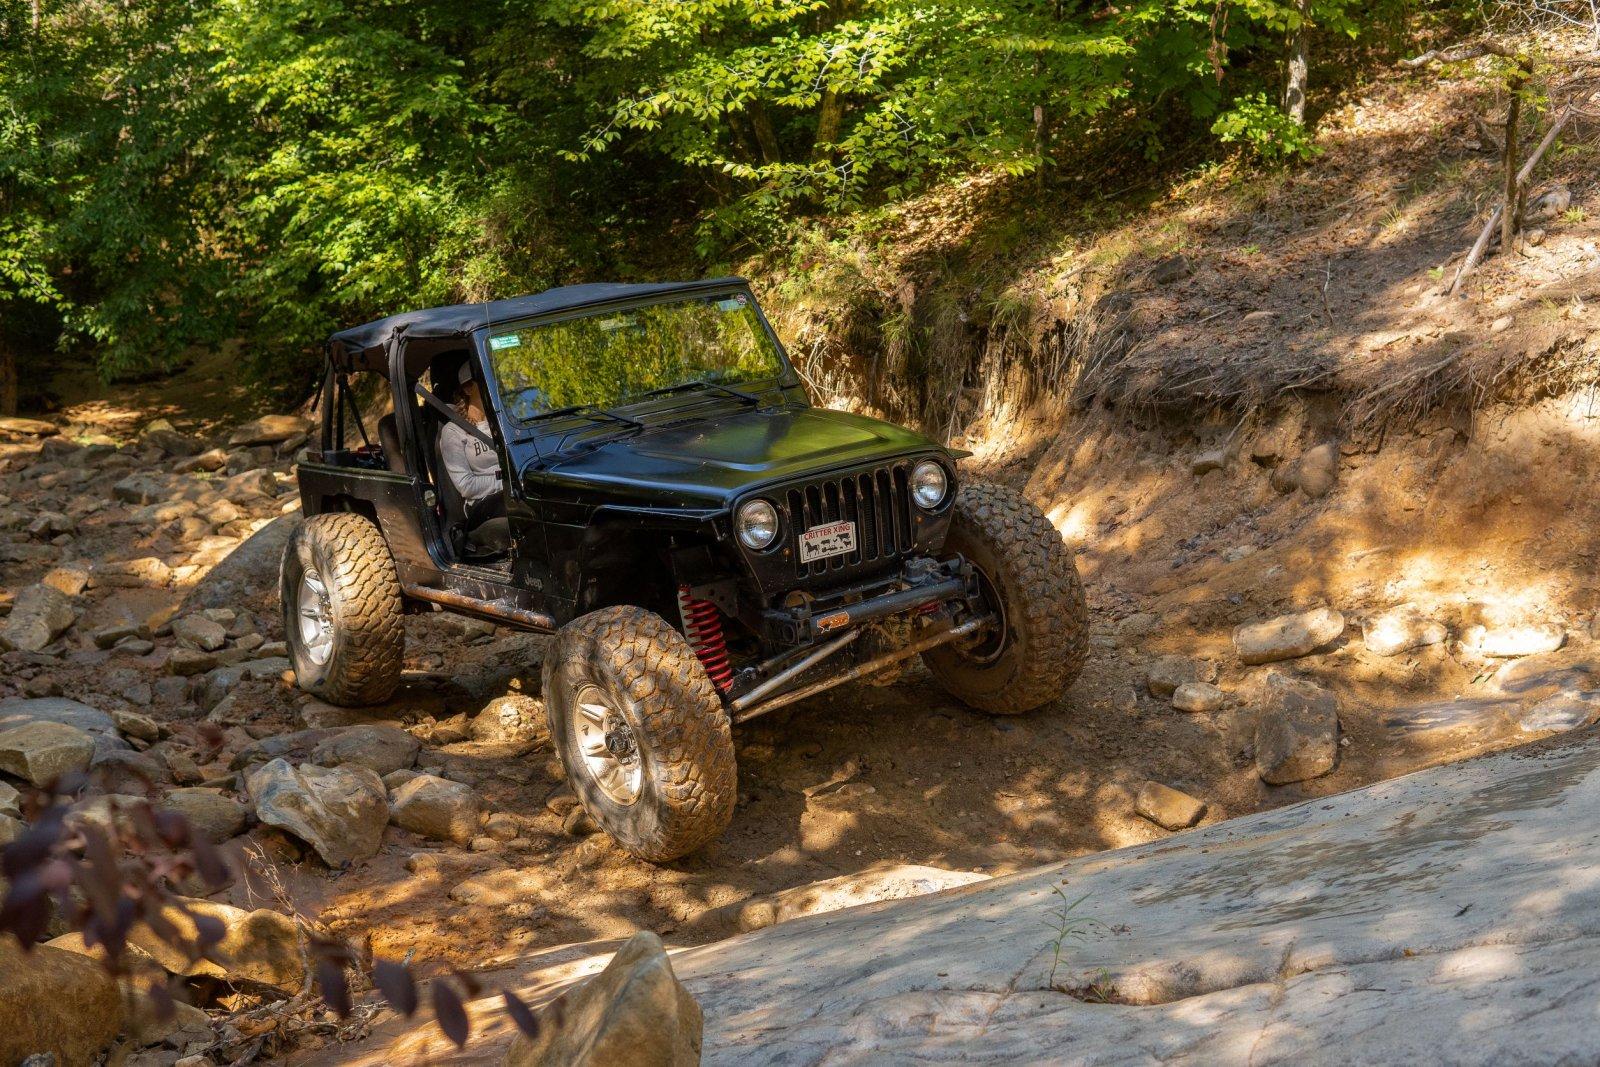
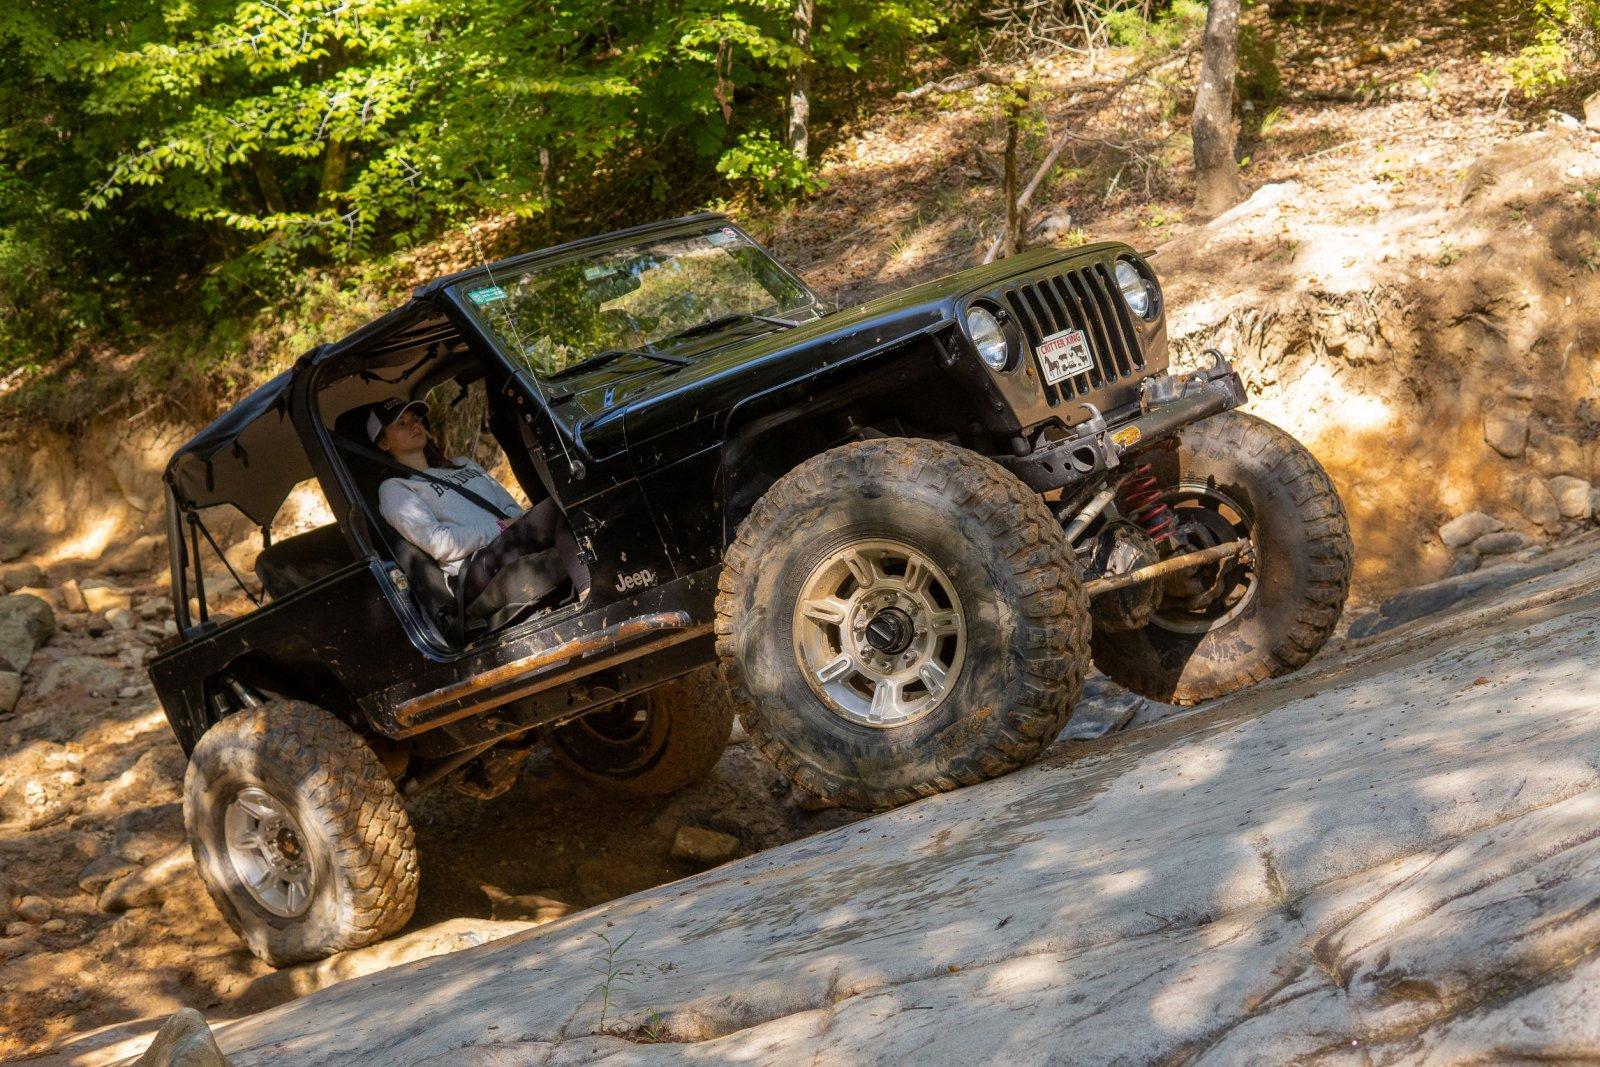
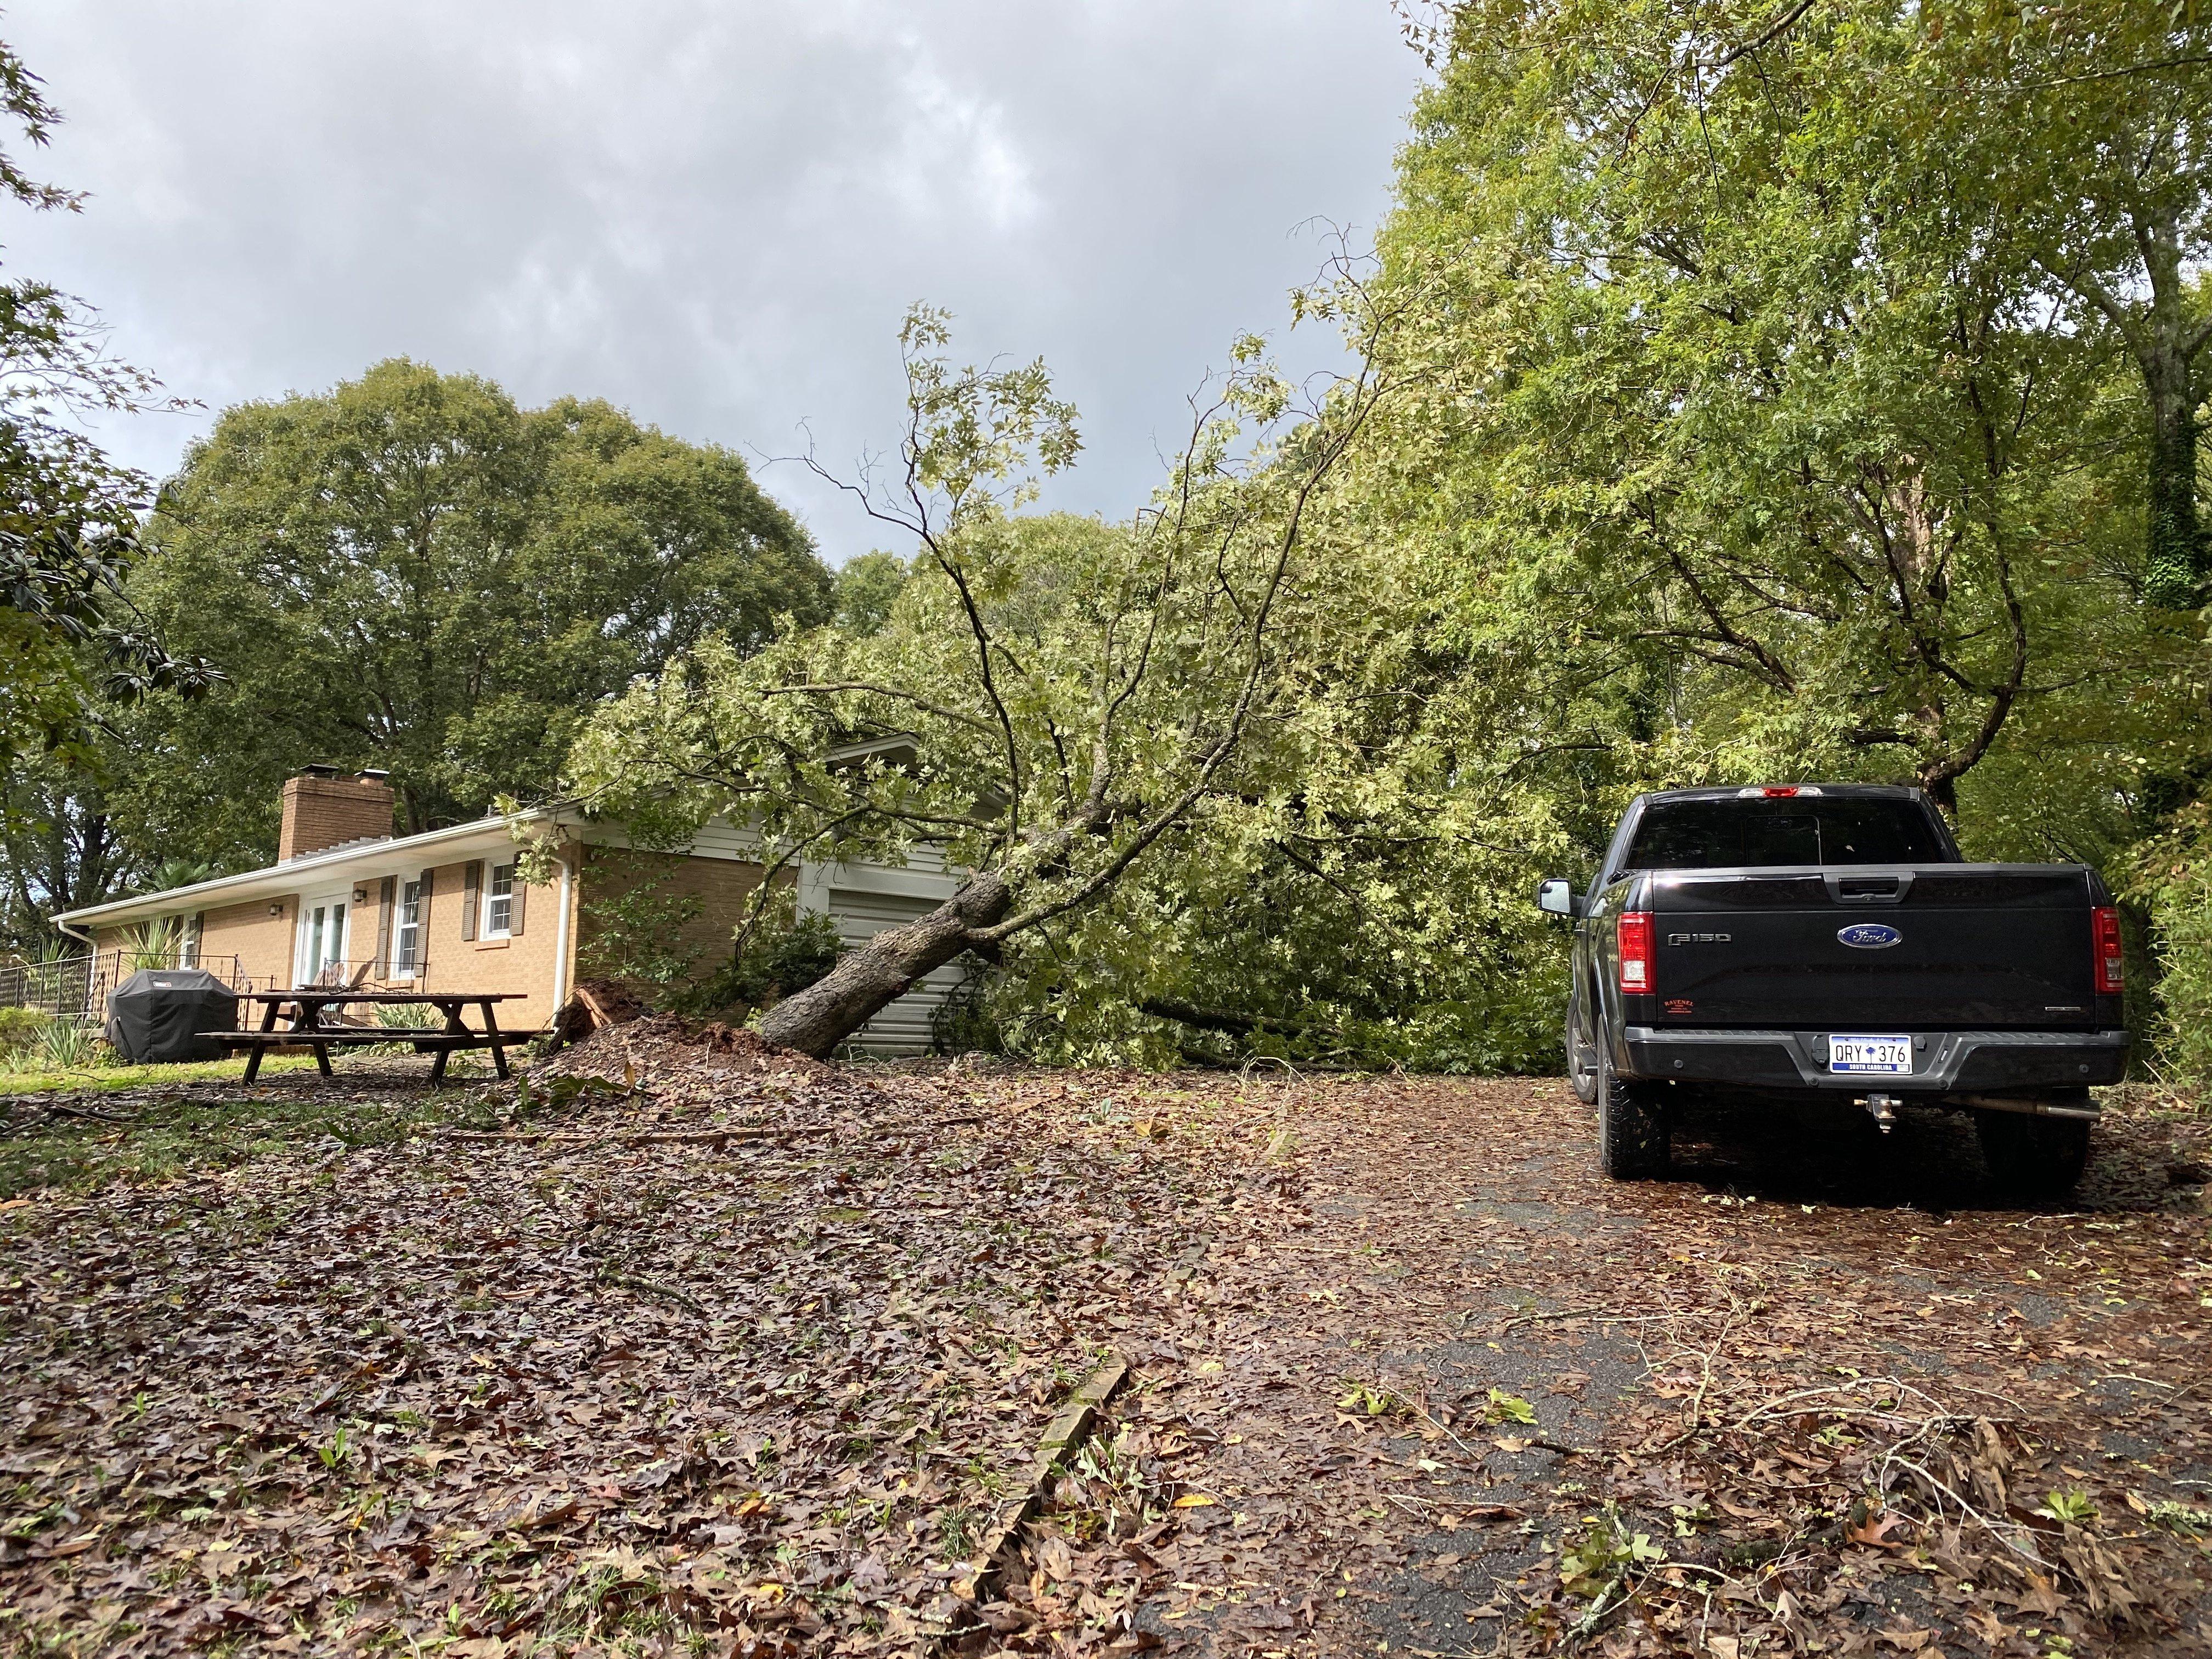
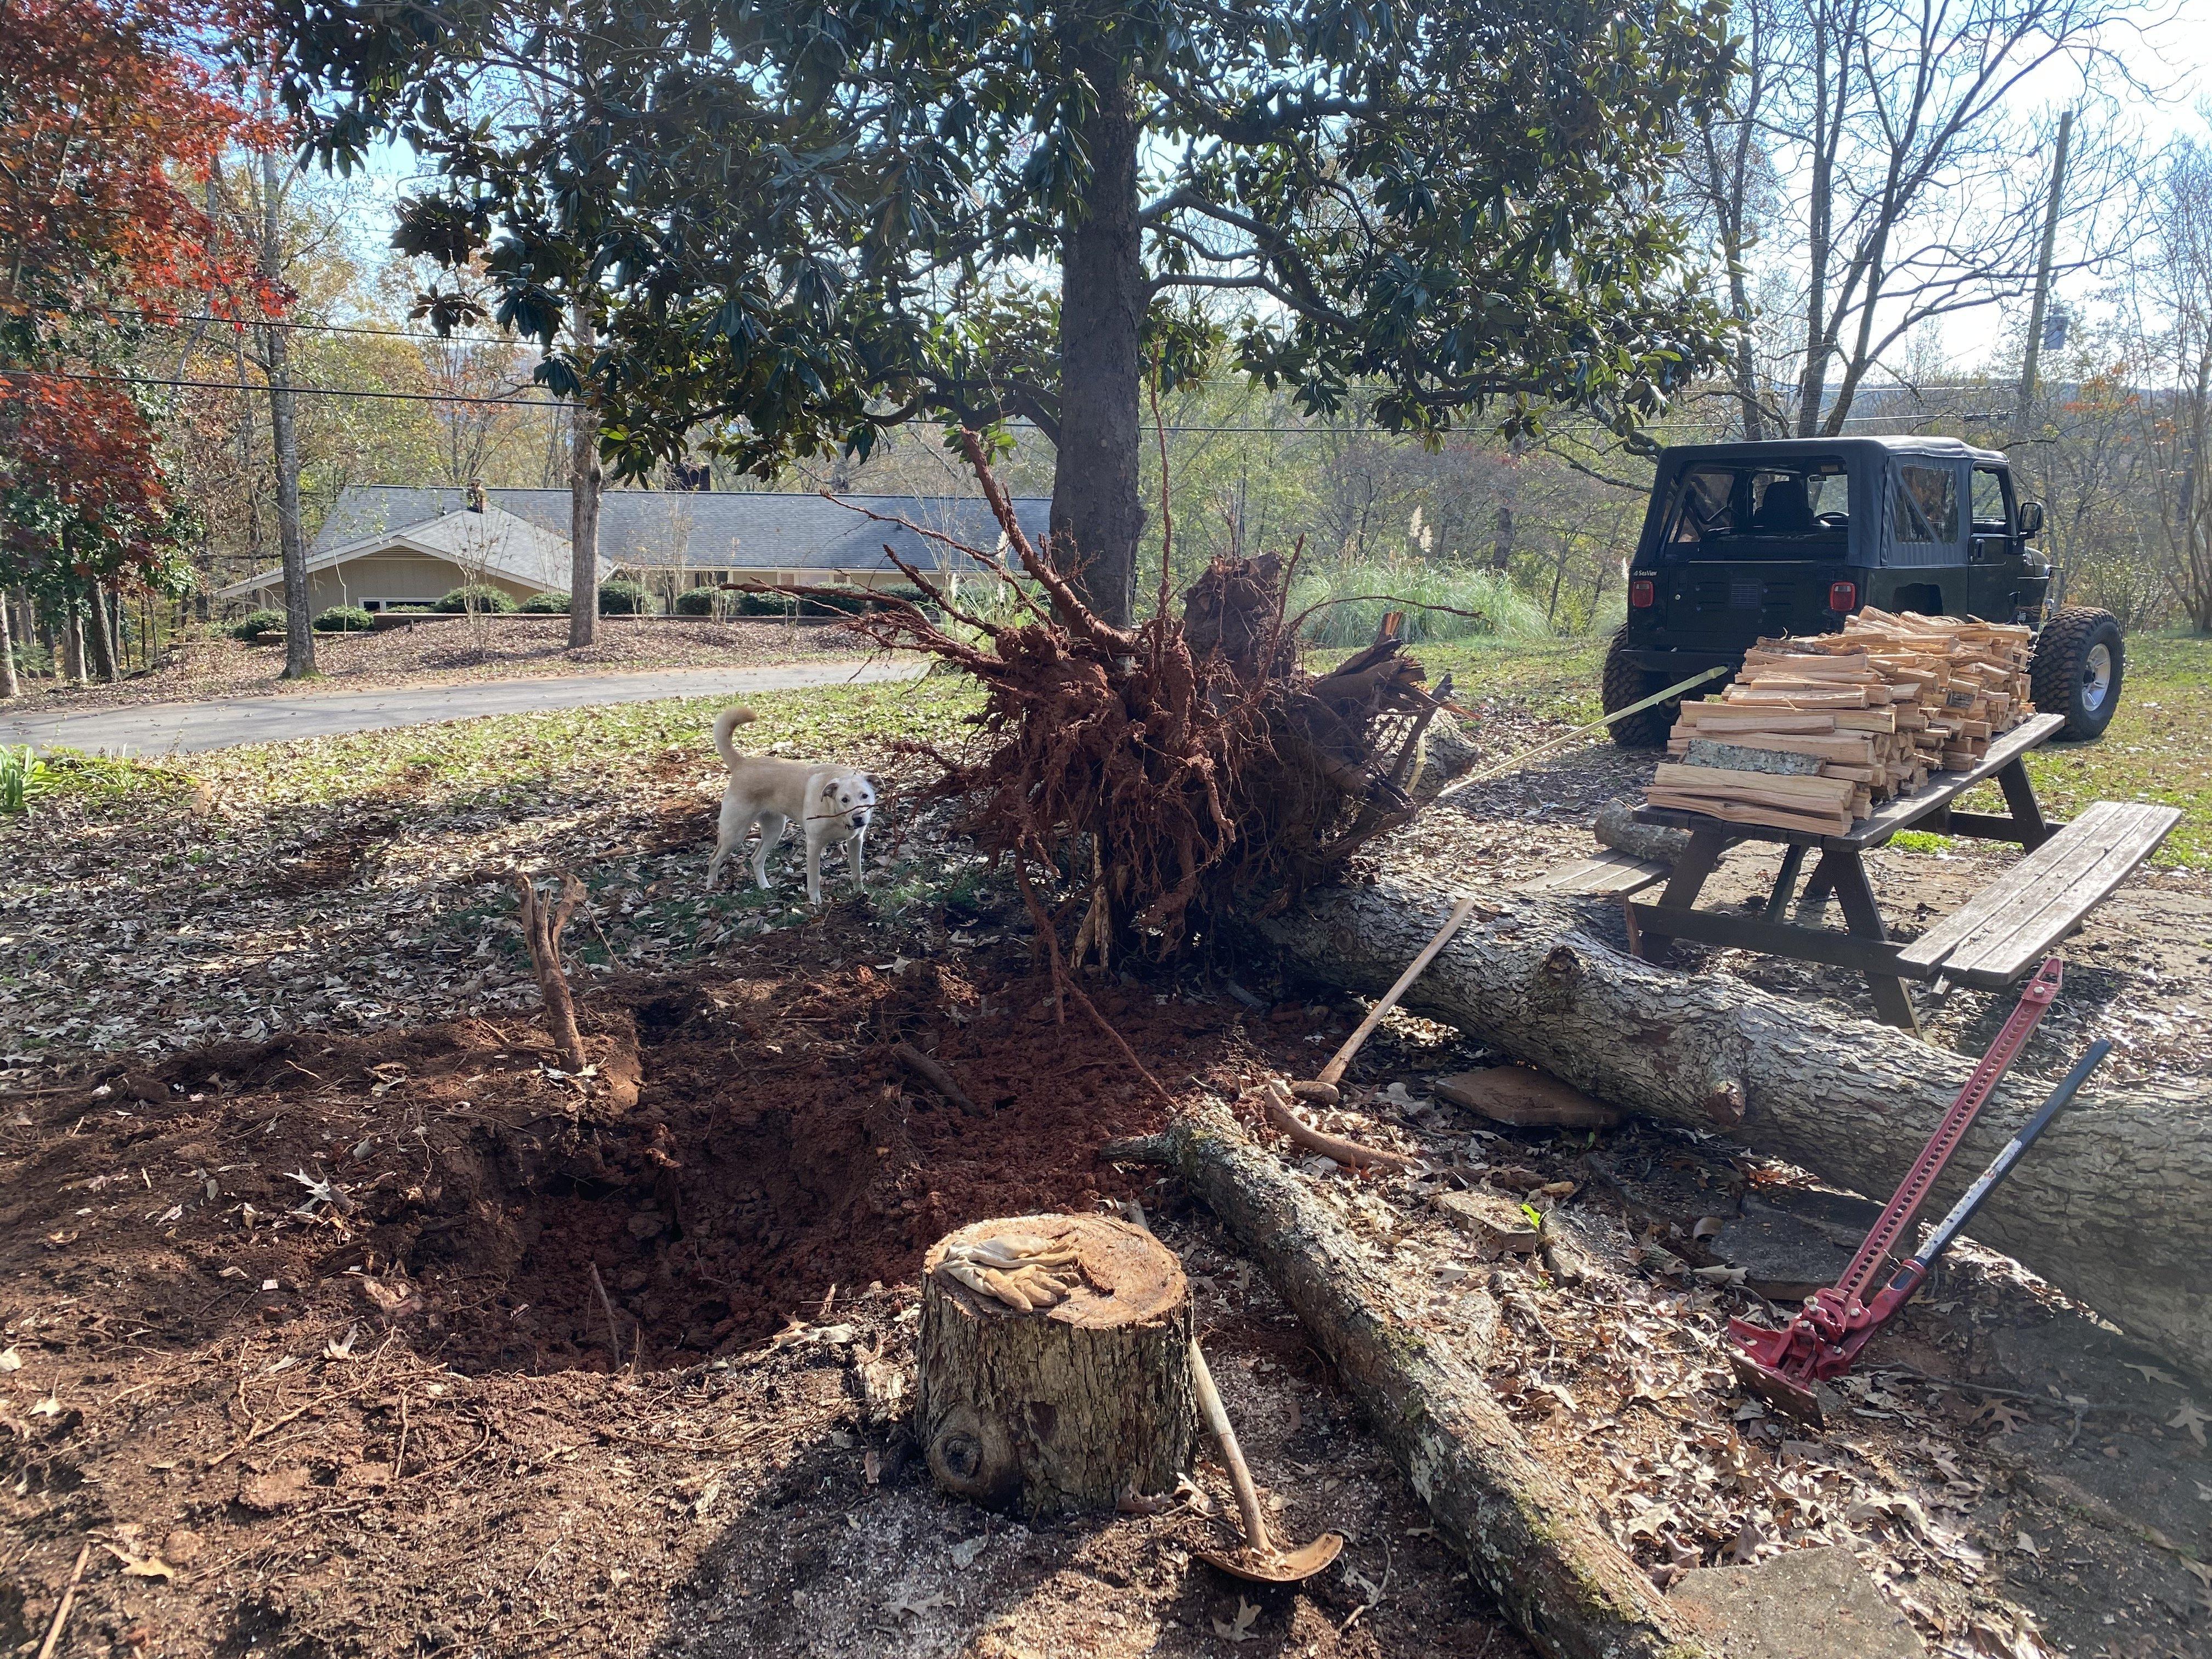
Better than a yard ornament. May not be much but at least it still get a workout from time to time. The LJ fought the stump for a good while.
IMG_0756.jpg
IMG_0884.jpg
 
Actually, I am very much in the planning phase for the garage and will need to get some thoughts on tool organization and vehicle accessibility so I'm sure you will see me post some stuff here of my sketches (if allowed) to see if others have any thoughts. I have to run 100 amp line from the panel in the basement to the garage and install a subpanel so that the garage functions more as a shop space.
 
A year into my new house and I was finally able to get some work done on the LJ again.. I ran some 10/2 wire to the garage and set up a usable 220v outlet for the welder (no more pulling the stove away from the wall and using my DIY conversion pigtail!) Man, she barely fits. Guess the ceiling needs to go upward LOL.

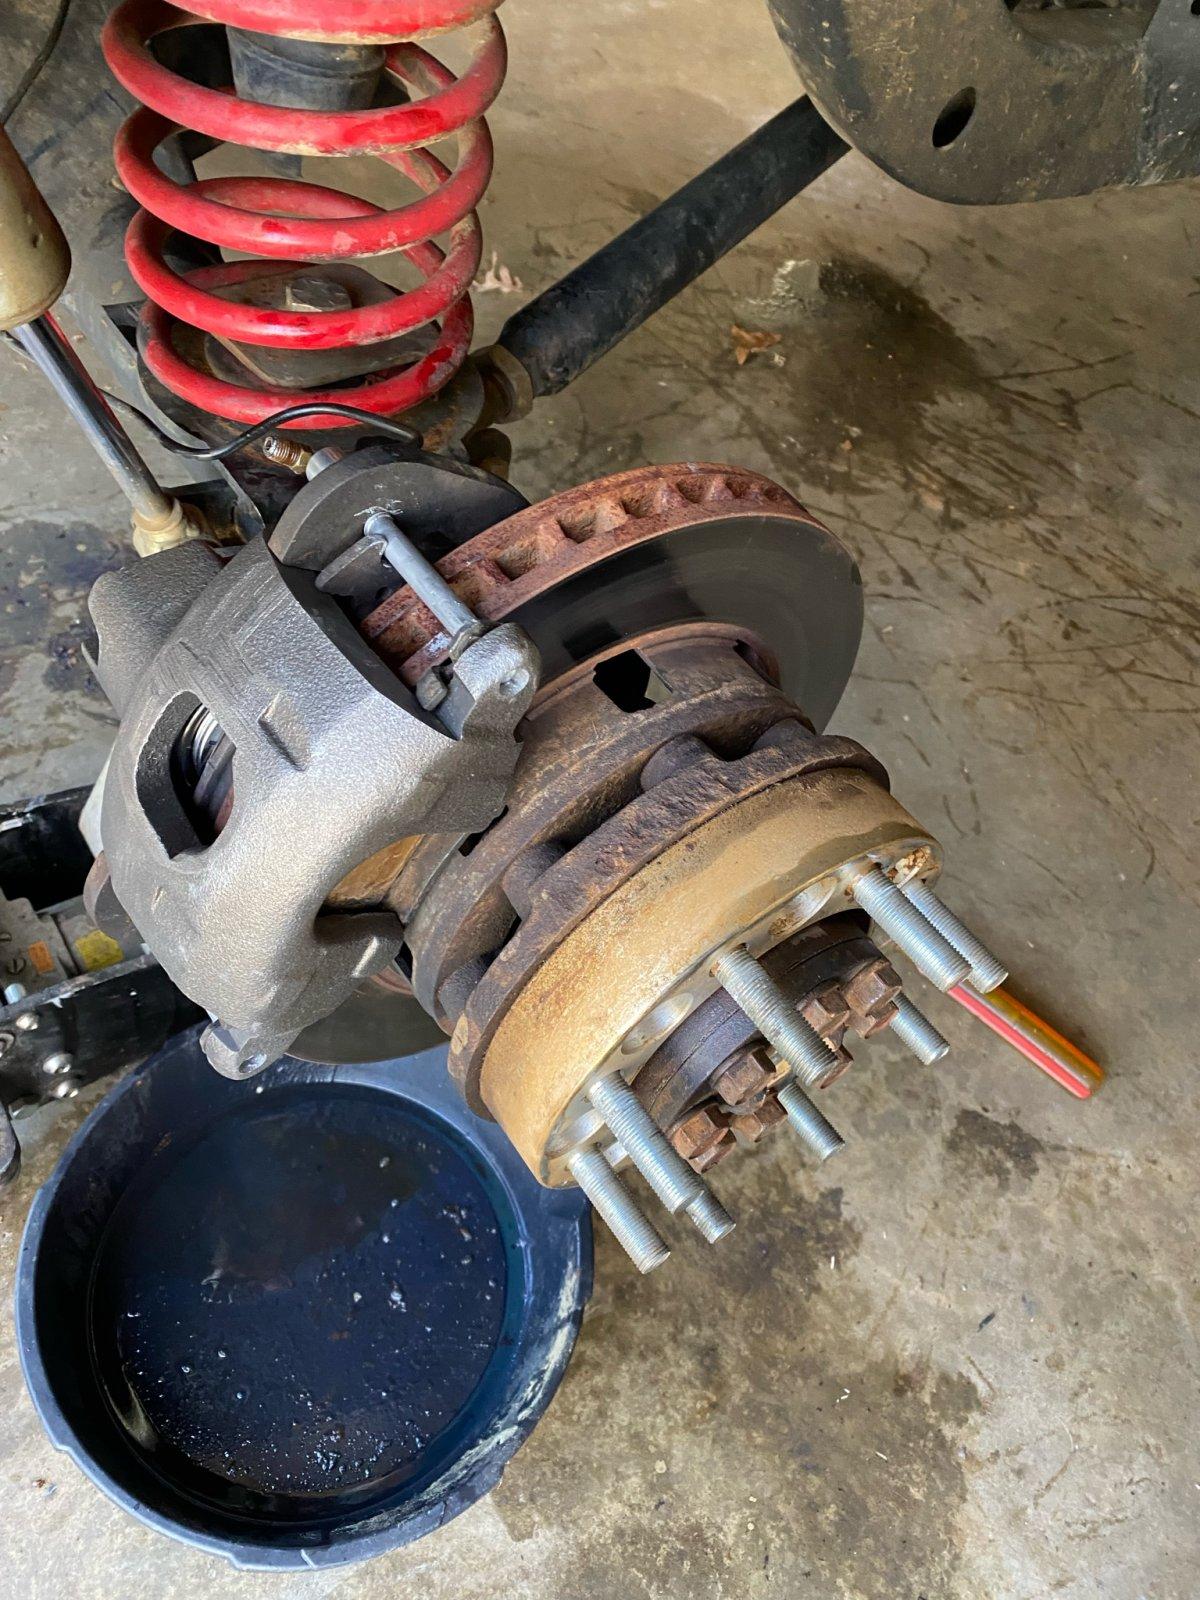
The LJ got some routine maintenance. Unfortunately my time frame to get everything done was tight and so I didn't take any photos. But the routine work consisted of an oil change, coolant flush, front and rear diff oil flush, new rear hub seals for the 14 bolt, driveshaft servicing, steering "fix," intake manifold cleaning, some wiring, skid plate fixes, etc. I also managed to fix the seizing front brakes and replace the Johnny Joint with a 1.25" Heim on my upper control arm. I will never run another Johnny Joint as I have exploded two now.

This all occurred simultaneously with two other vehicles getting upgrades. My brother's green TJ got a sweet new RuffStuff panhard kit to eliminate the death wobble he had. We also cut his stock front sway bar and sleeved it to make it wilder and fit better with the JK D44 width.

I also got started helping my buddy with his bone stock (for now :stir:) Liberty. The end goal is to build something similar to the BDS suspension KJ.

Everything got done just in time for a trip to Gulches.
IMG_2650.jpg

IMG_2064.jpg
IMG_2065.jpg
IMG_2080.jpg

IMG_2081.jpg
 
Last edited:
Hoping these videos can post so everyone can see this thing in action. First Video is From Rocker Knocker, Second is from Shipwreck, done in Reverse.


Good to see some information on this build again. Really like the creativity of the work you do. We will have a group up at Gulches October 8 to 11. Been awhile since i have been to the park. Interested in all the changes they have made.
 
Good to see some information on this build again. Really like the creativity of the work you do. We will have a group up at Gulches October 8 to 11. Been awhile since i have been to the park. Interested in all the changes they have made.
The park has undergone some great changes. Brandon, Jenny and their group have done an amazing job with parking lot, access trail and camping upkeep. There is a 10pm hard curfew now due to the proximity of their neighbors. I appreciate the complements on the LJ. Be sure to drop some pictures of your trip coming up.
 
Im not sure I can manage to stay up all the way to 10 pm but I will give it a shot! I have to get my boy to take some pics etc, I always forget.
 
Well, I’m back at it with the Jeep. The house is to a fairly good stopping point and I have committed myself to attending OSCAR X at the end of April. There is a lot to accomplish before then.

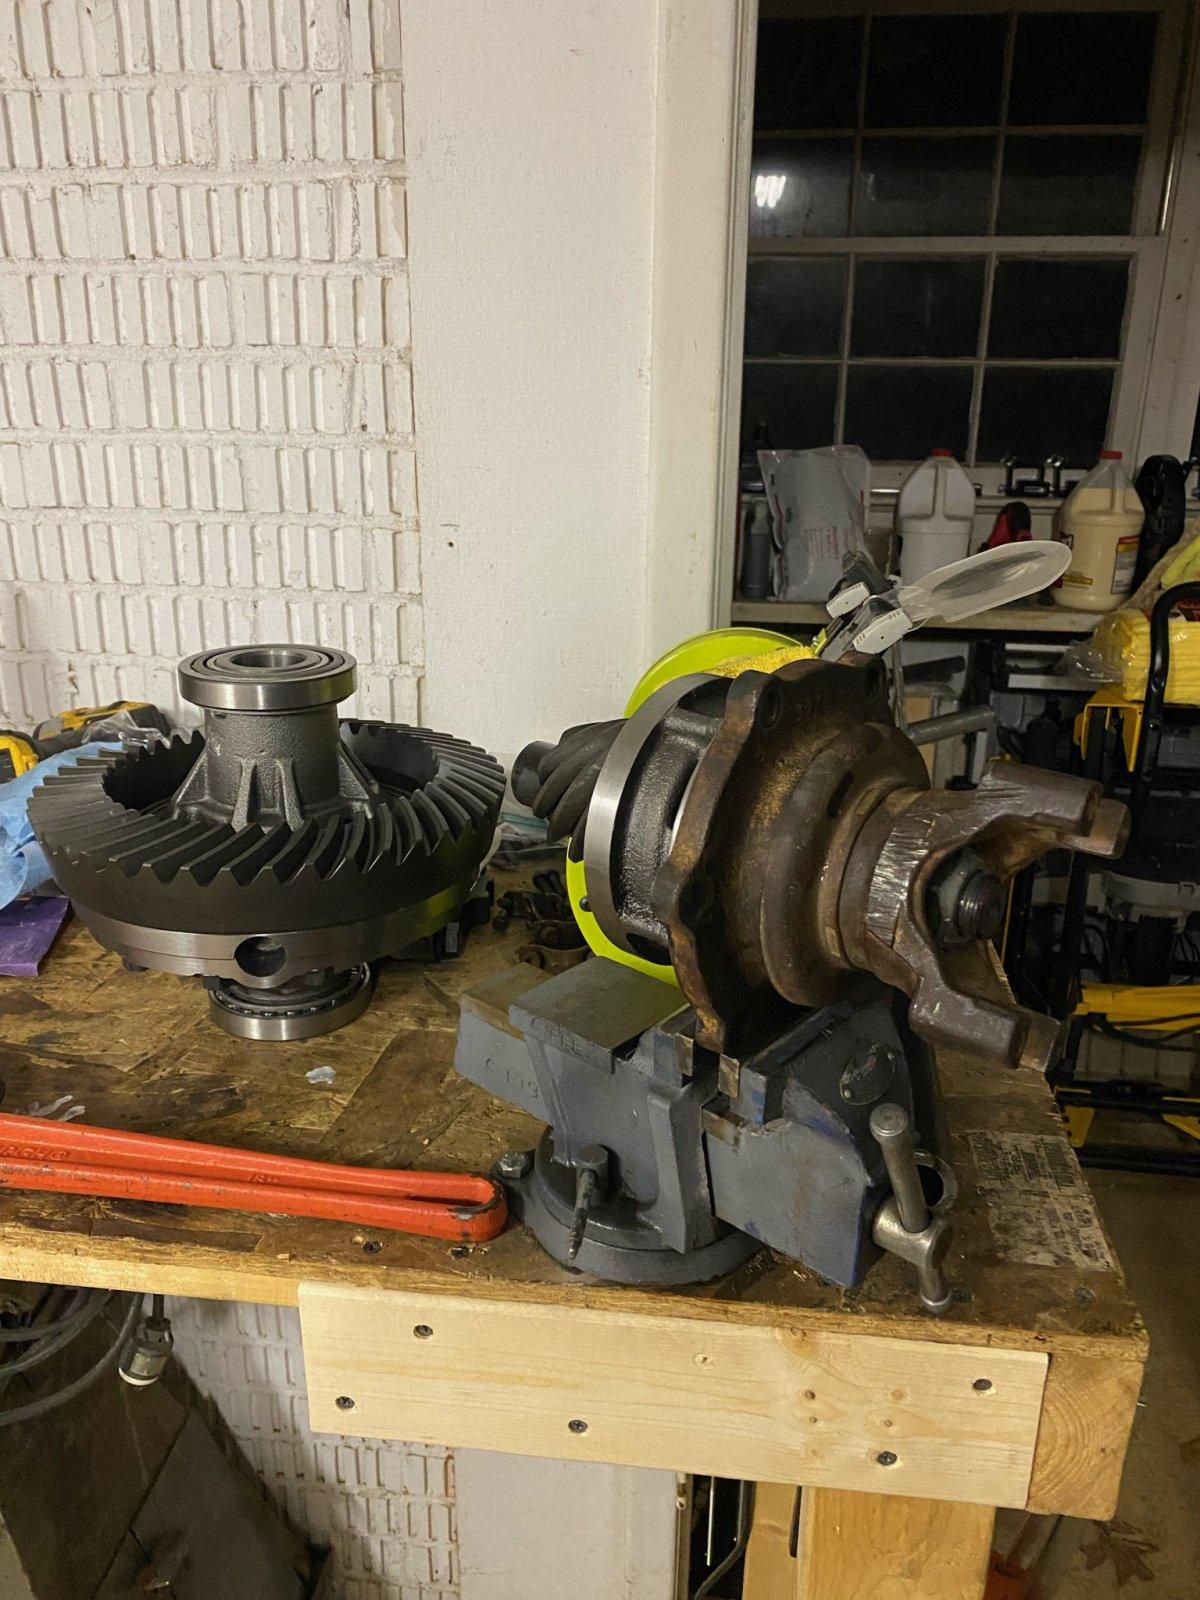
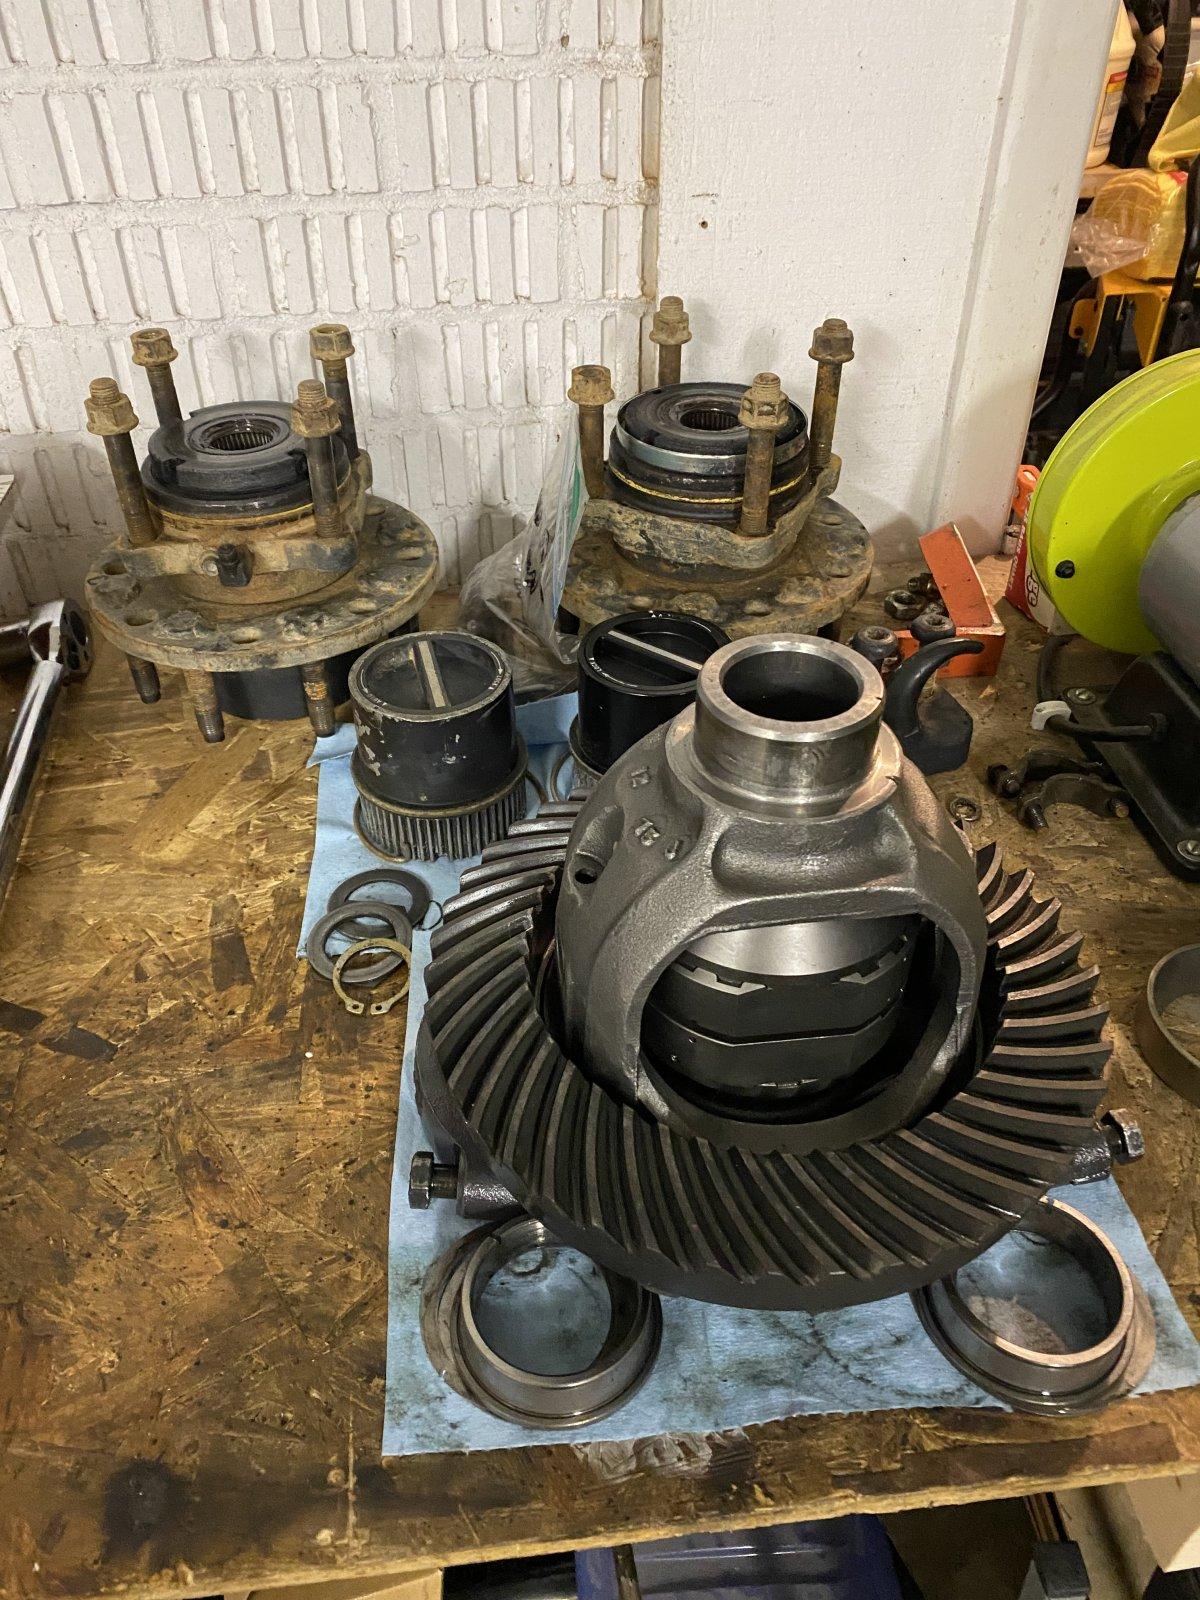
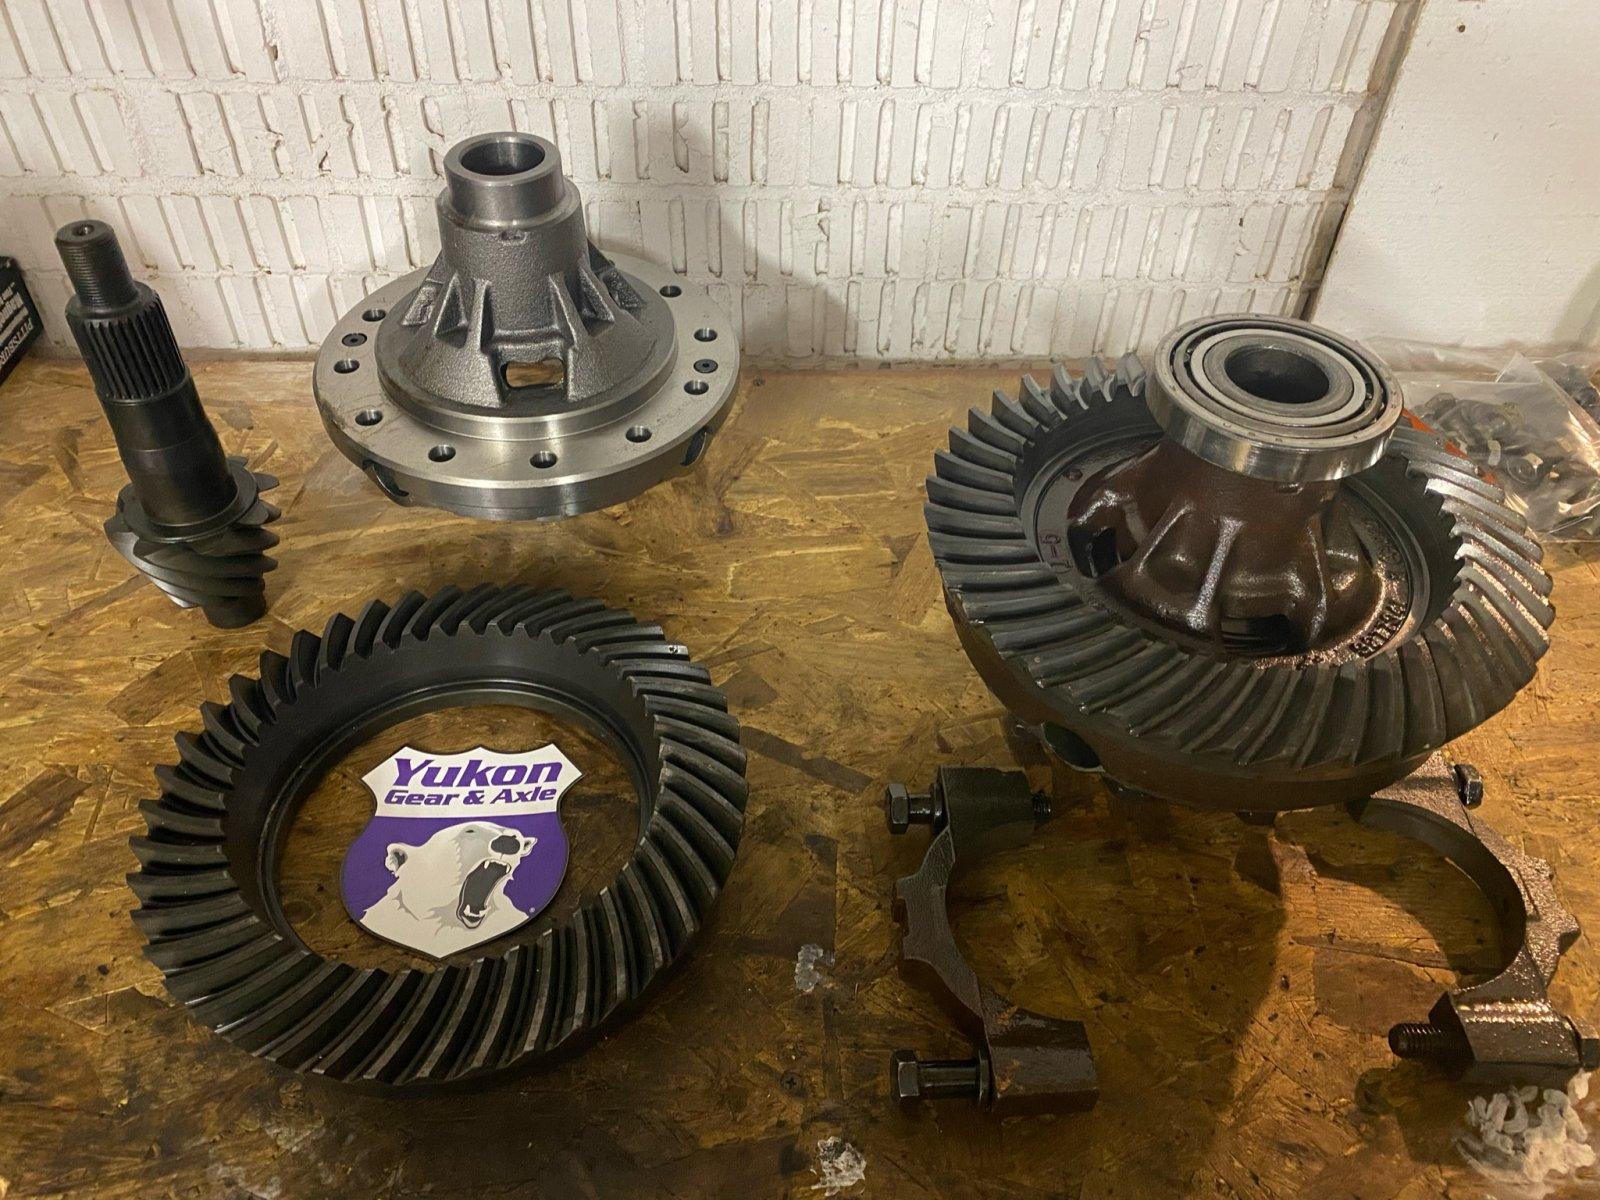
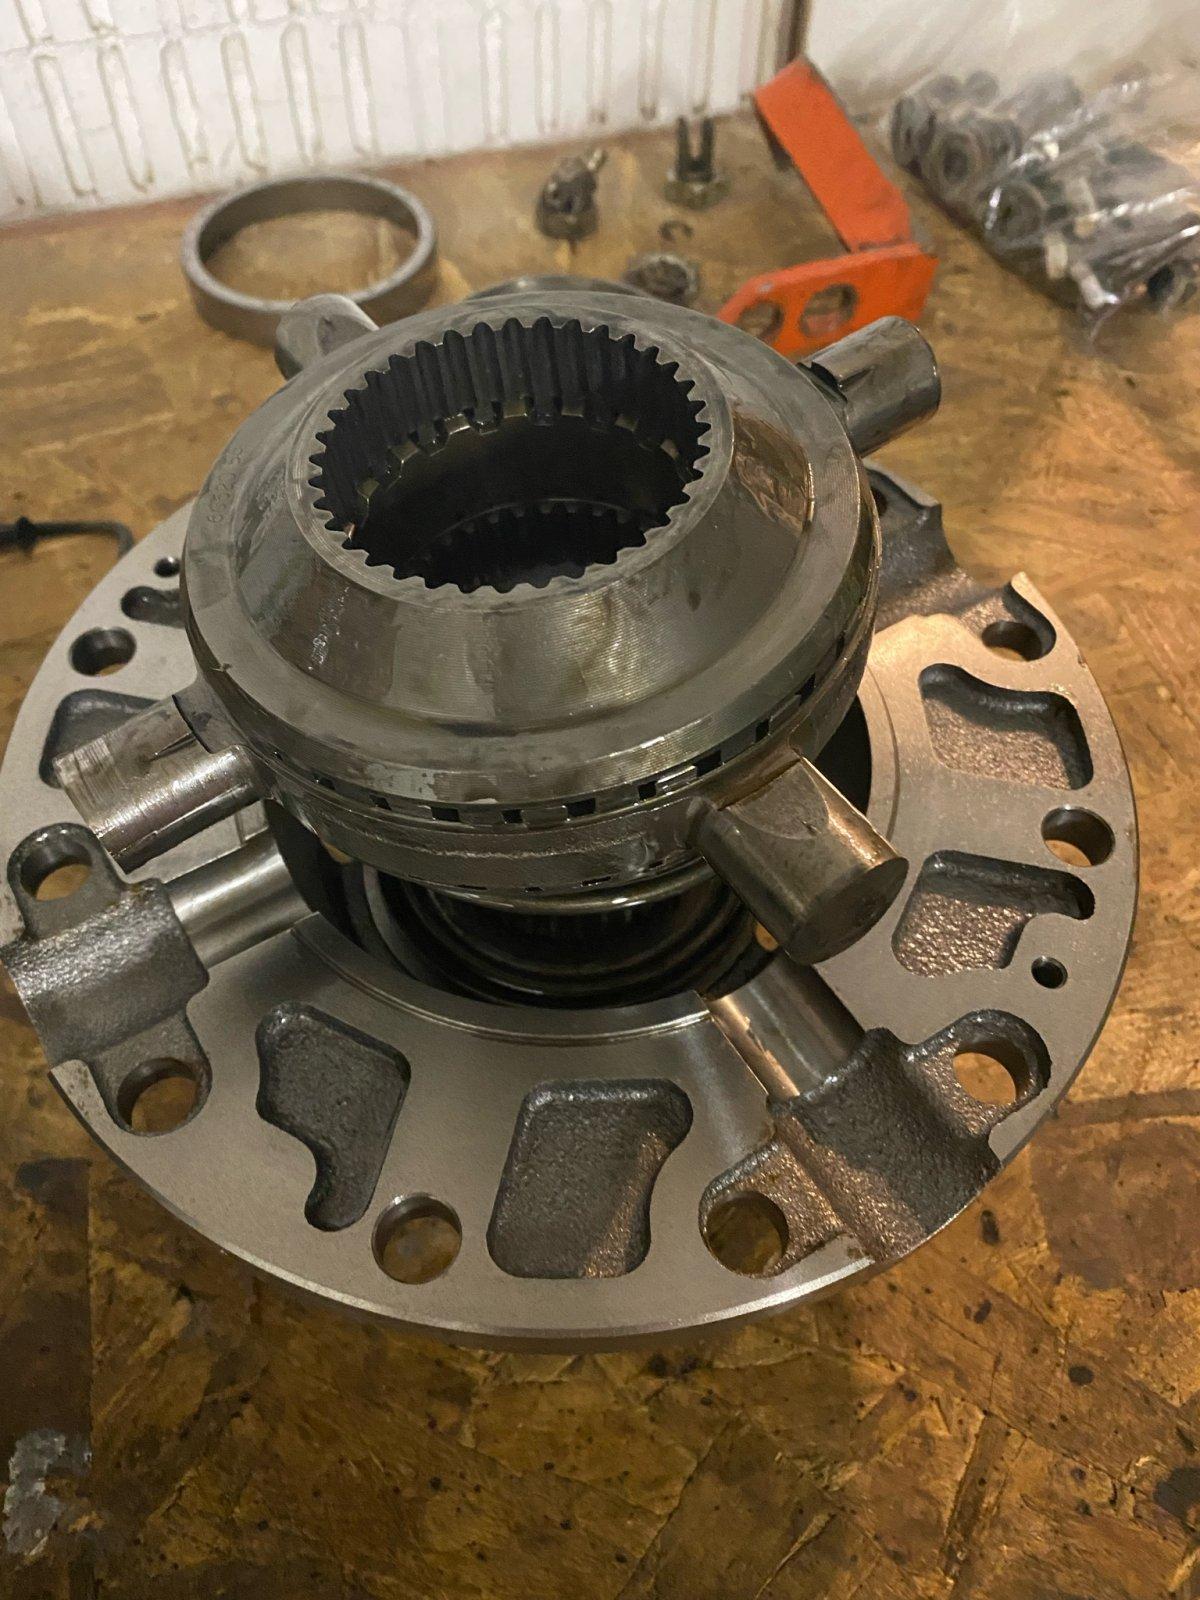
I ordered a set of Yukon 5.38s from East Coast Gear Supply. They were a huge help in verifying the year of my 14 bolt and giving me feedback on the ratio I wanted to run. I had to make the swap from the 4.56 Up carrier to the 4.10 Down carrier. Swapping the Detroit locker over was easy enough and the new carrier had two countersink bolts to keep the halves together when no ring gear is installed unlike the stock carrier I removed. I’ve included the carrier deck heights below if you are ever curious about which you have.

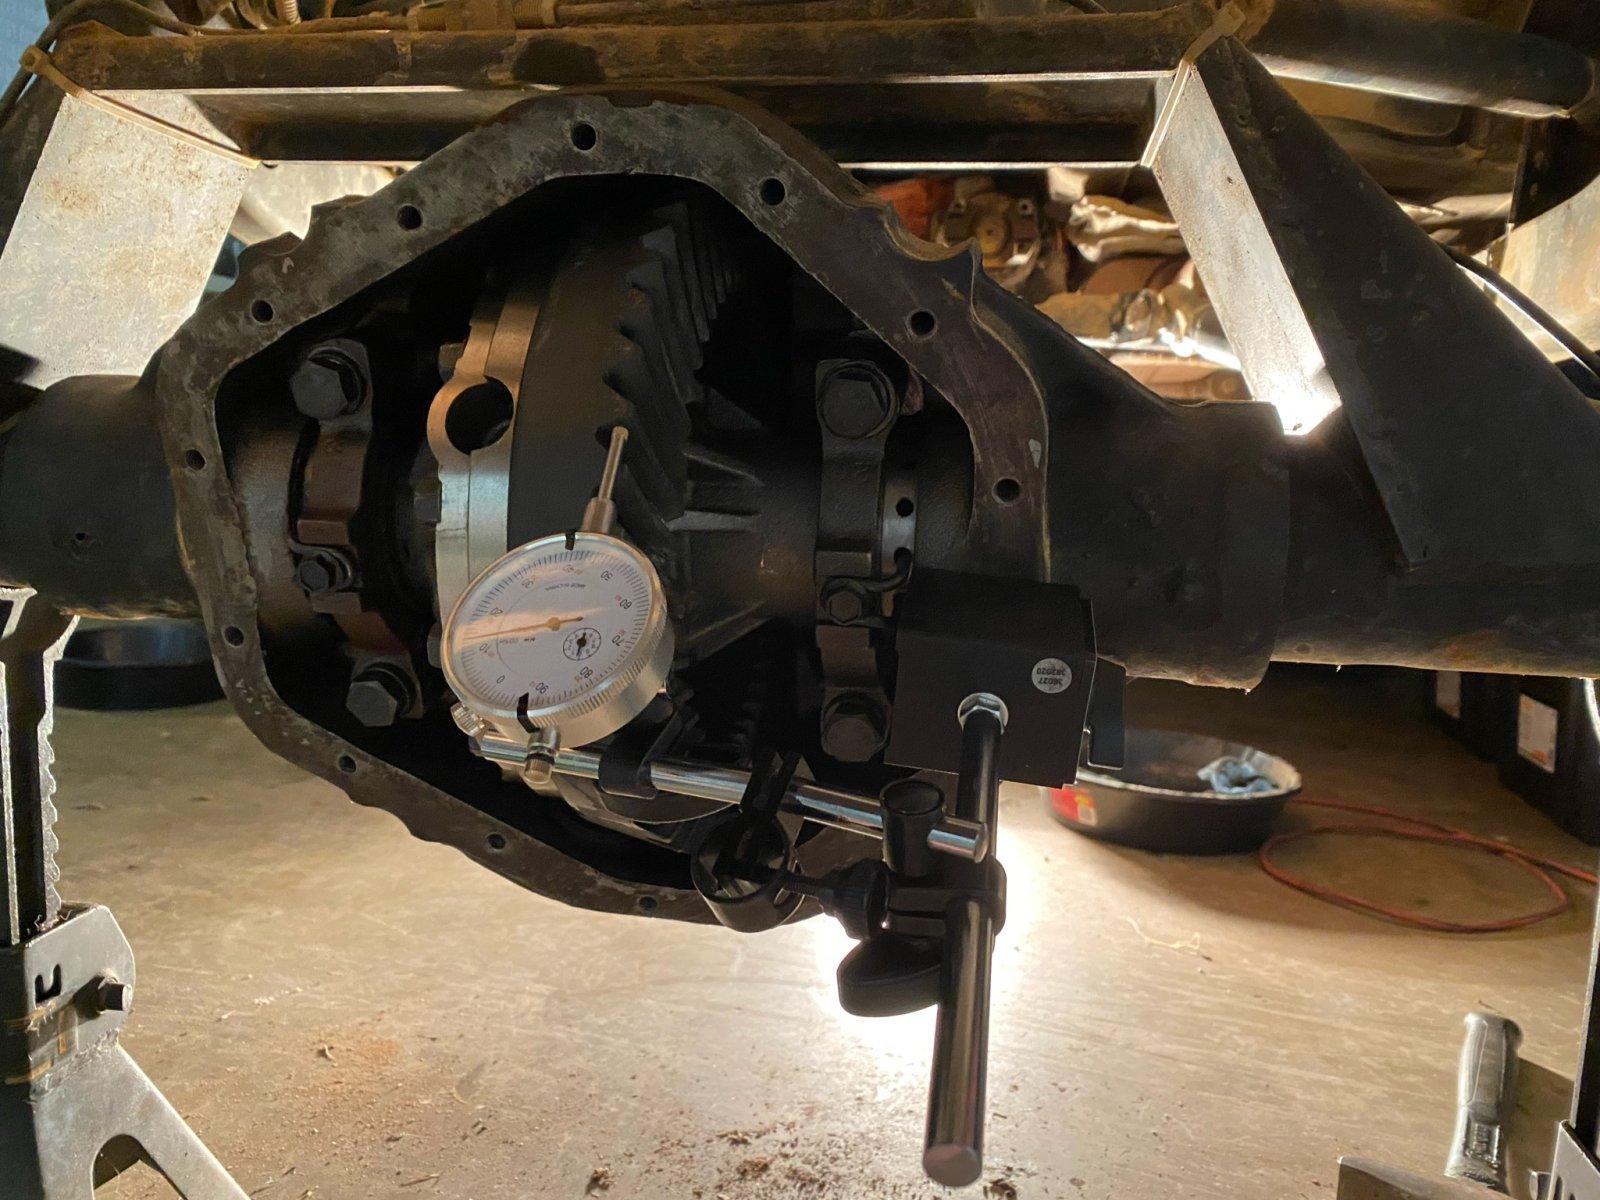
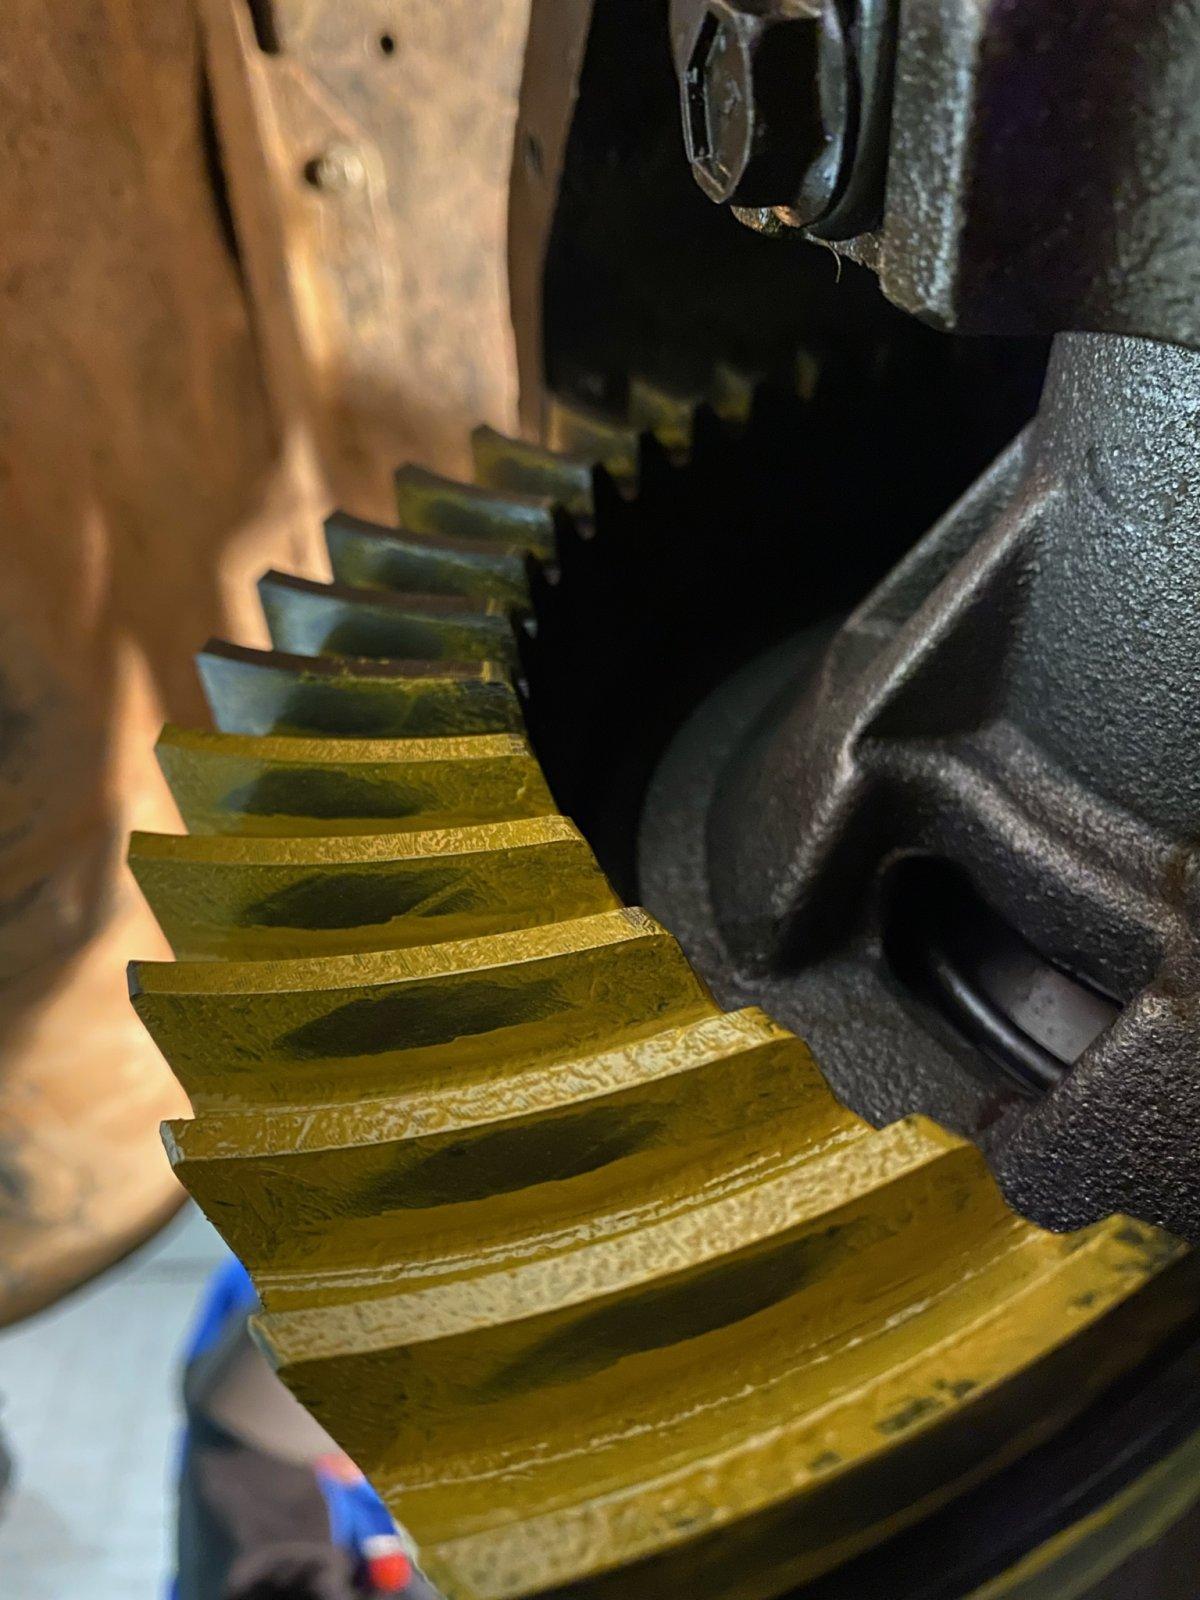
Final Backlash was 0.006” +/- 0.001” around the ring gear. The patterns seemed to be right in the center and I verified with a buddy that the sharp edge in the pattern was nothing to worry about.

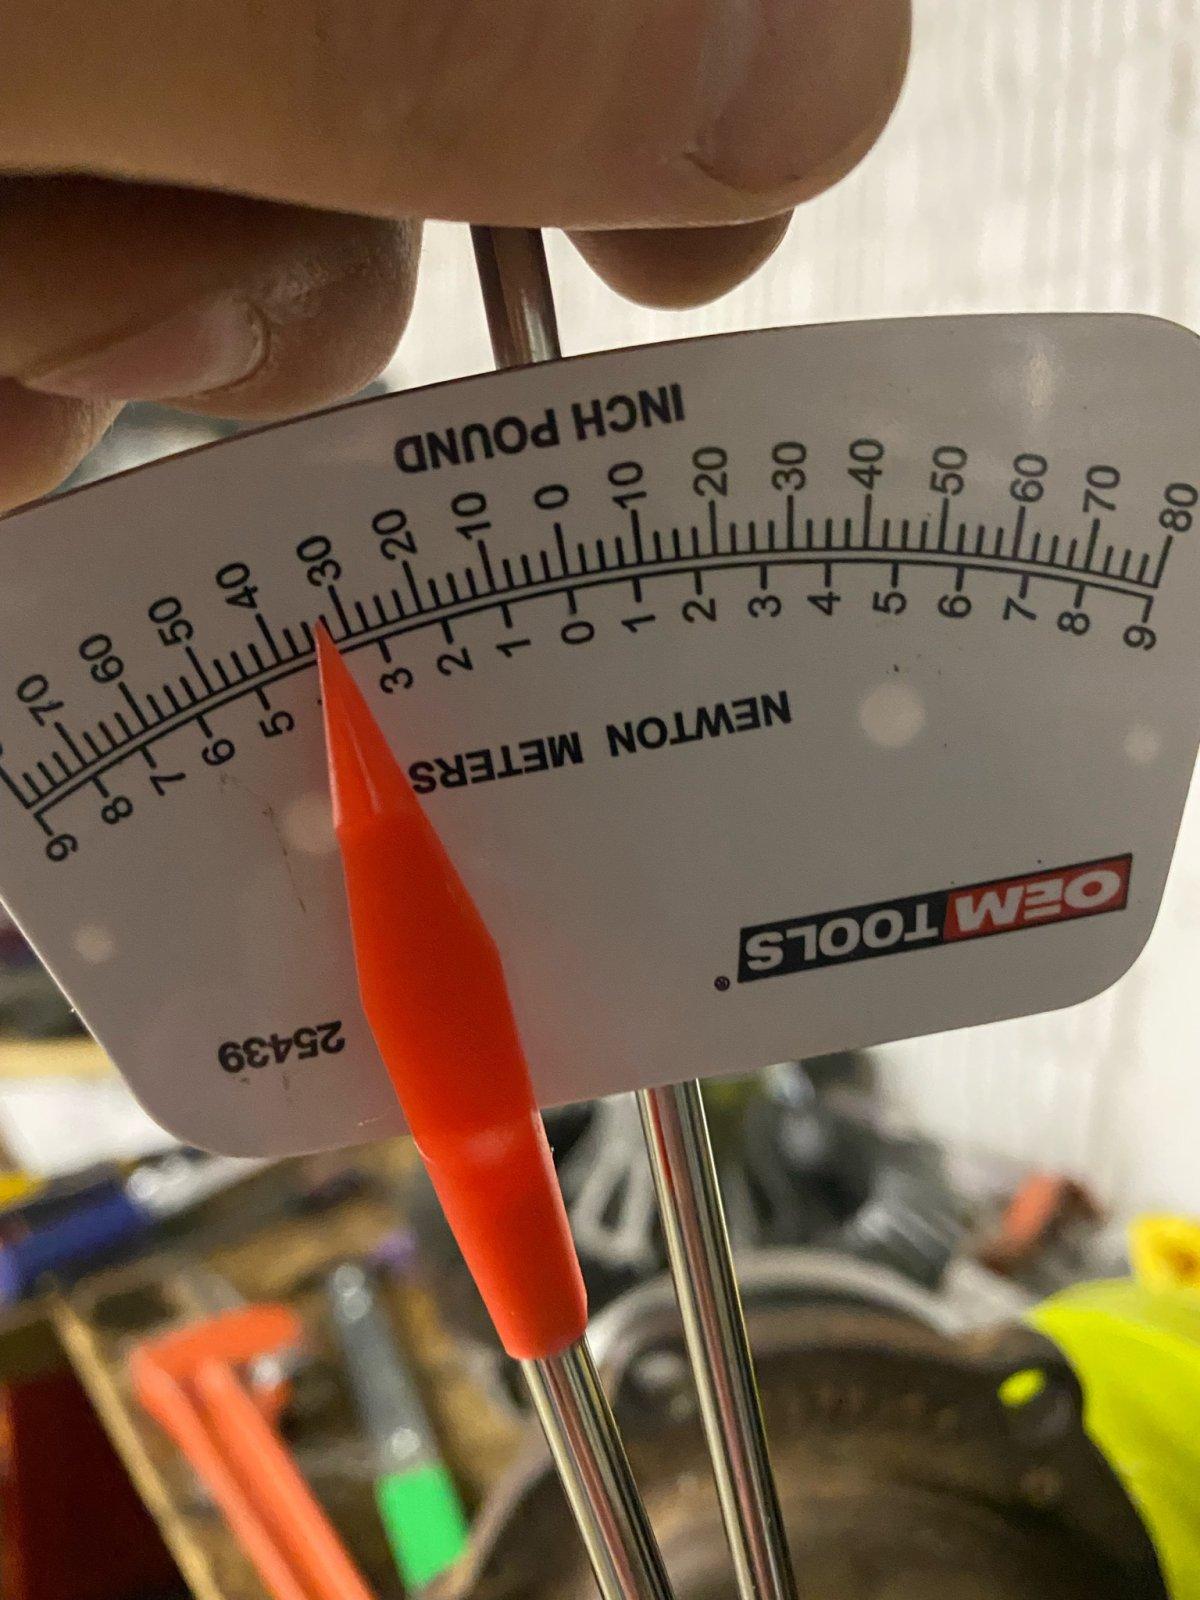
Pinion preload landed right around 32 in-lbs. My torque wrench only reaches 250 ft-lbs so I could not verify if my pinion nut is tightened all the way to spec. It’s tighten to my fat ass hanging on a cheater bar ft-lbs.

4.10 Down: 4.165”
4.56 Up: 4.520”

87410109-9150-474E-9F72-1AF5E53C1D24.jpeg
C4DF05D6-5124-449E-8F25-4FD36436BCA9.jpeg
CCEDC432-66E6-4700-8C5F-B97A8B09E65B.jpeg
49315361-4CFC-4864-8A0A-7634020AC38B.jpeg

C2561F52-648A-49C1-B73D-81D7404CCFFB.jpeg
B350508E-0B06-409F-8A02-88094EB08371.jpeg
9BA23443-5D3E-47FE-9631-EB3CD3340A88.jpeg
42906186-F571-4C73-8856-CA46F836338D.jpeg
 
With the rear end back together, I got the Jeep on the road to be sure I liked the 5.38s. I absolutely love having the motor back in the power band. It can now get out of its own way and keep up with traffic. Unfortunately every time I work on the damn thing it decided it needs more stuff fix. I had a rear caliper seize and smoke my brake pads. I guess its angry I’m not driving it enough. :unsure: Ended up ordering a set of remanufactured Eldorado calipers and installing them. Now i have to reconfigure my hard brake lines on the rear axle so i can attach to the new calipers. It just keeps piling up.
DAC987C4-DC35-45C9-B163-658E16BE3A11.jpeg
 
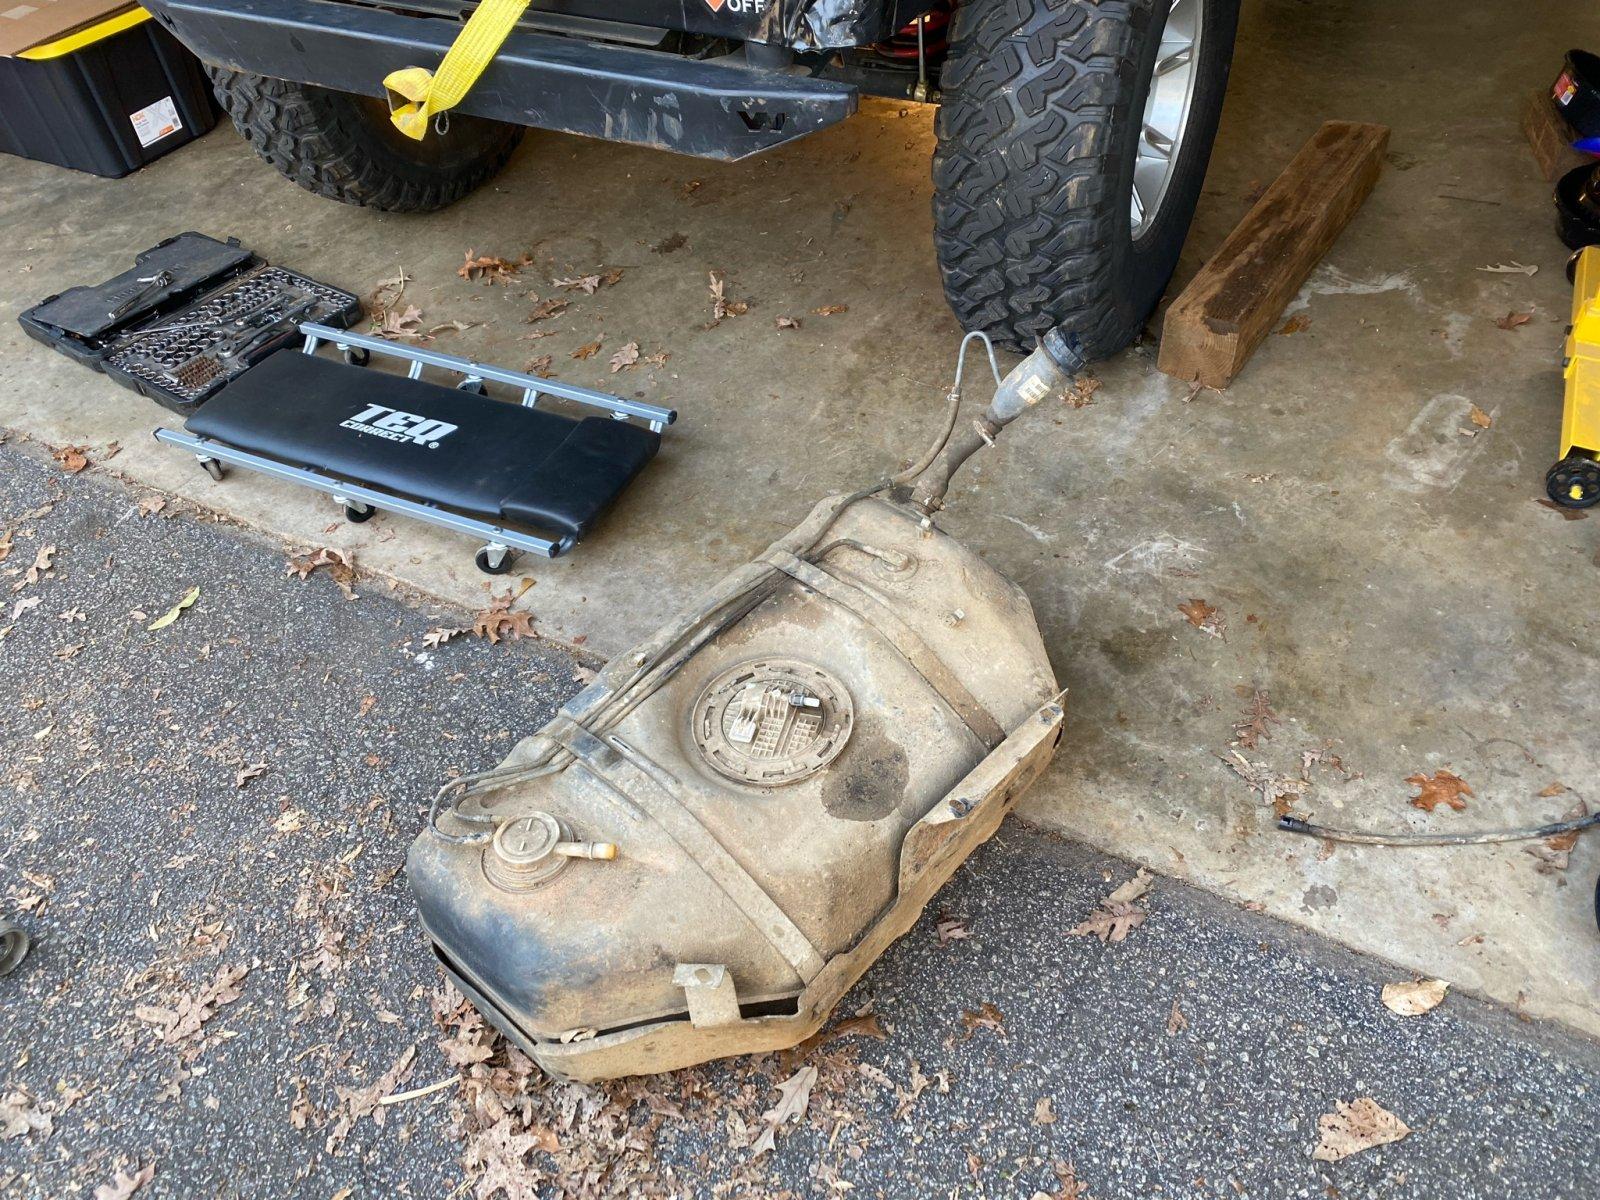
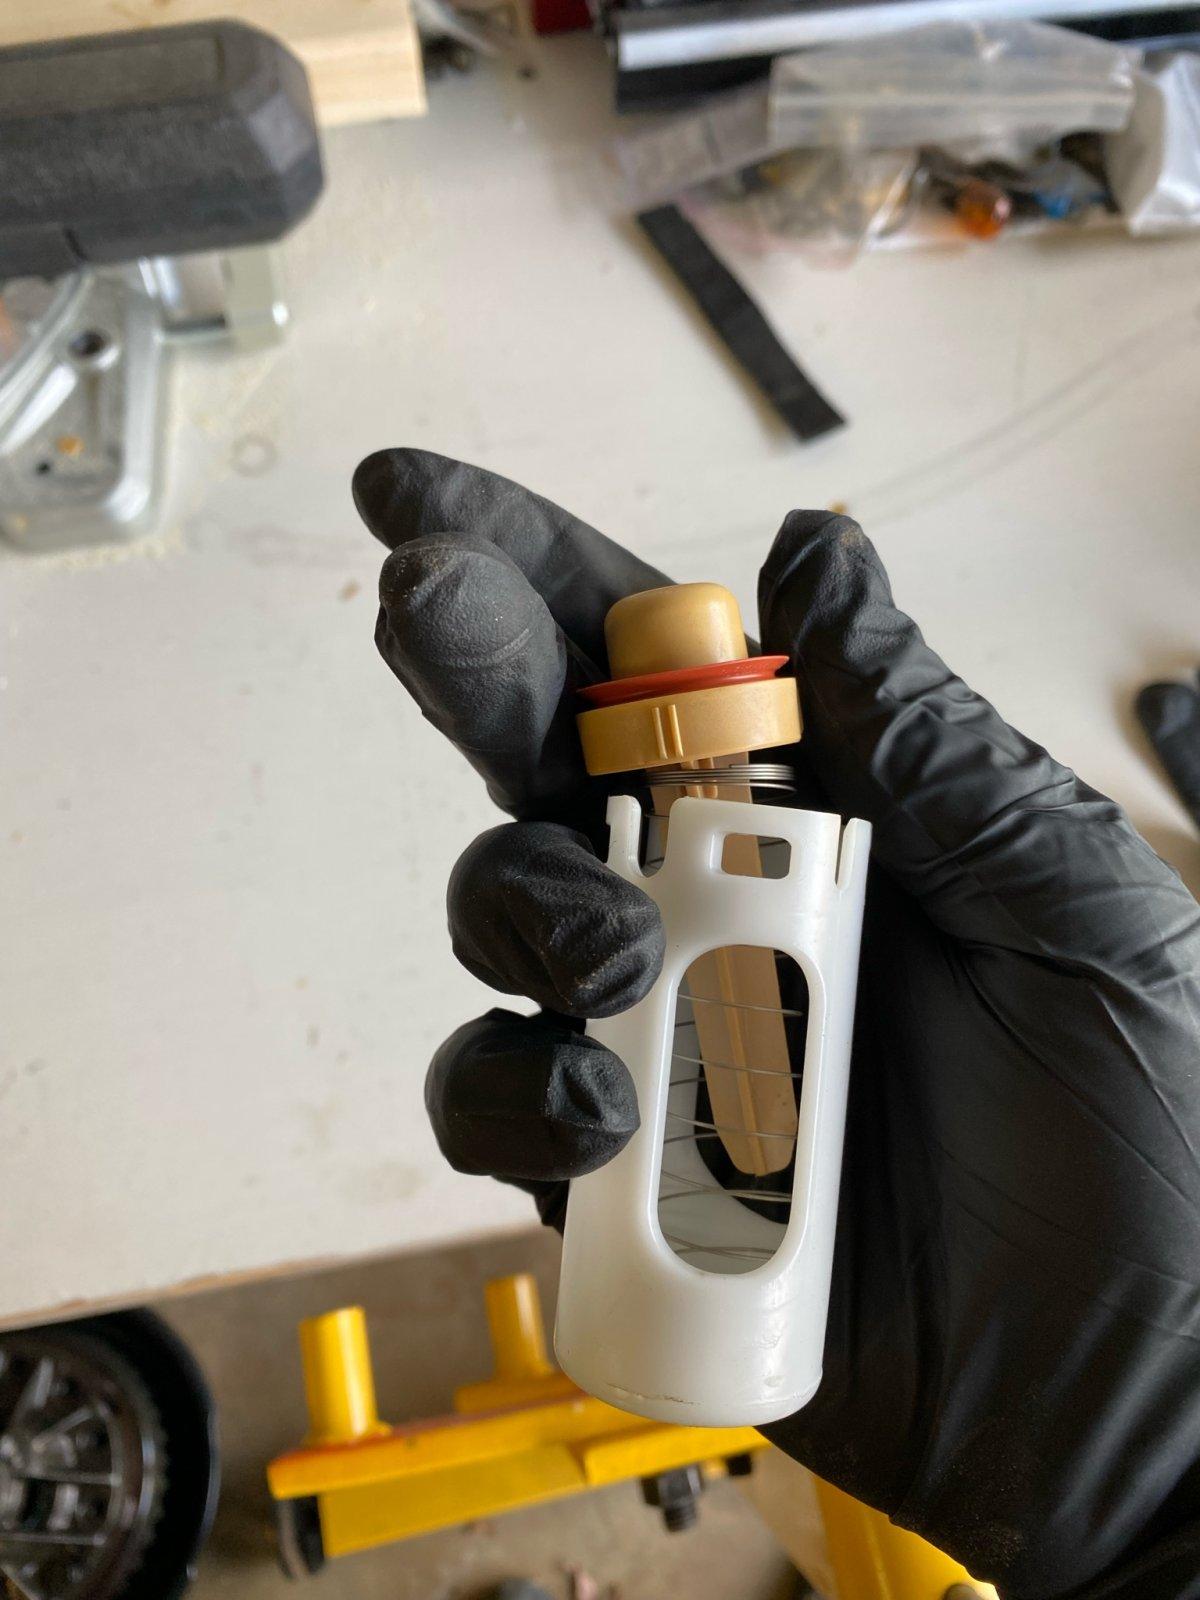
I pulled the rear gas tank out to make the quick fix on the fuel filler back pressure slide. I hate that my Jeep struggles to fill up at the pump ever since I shortened the filler neck and hid it behind the body panel. There is not enough pressure from the nozzle to push the plunger down so I constantly had to stand at the pump and trickle gas in. I sanded the raised edges of the plunger off and snapped the system back in. No more nozzle issues or burping at the pump!

E03ADD3C-4242-45BD-AA0F-782AC51CF16E.jpeg
BE87F8EF-DB30-4364-84B0-FD5128A2E3B2.jpeg
 
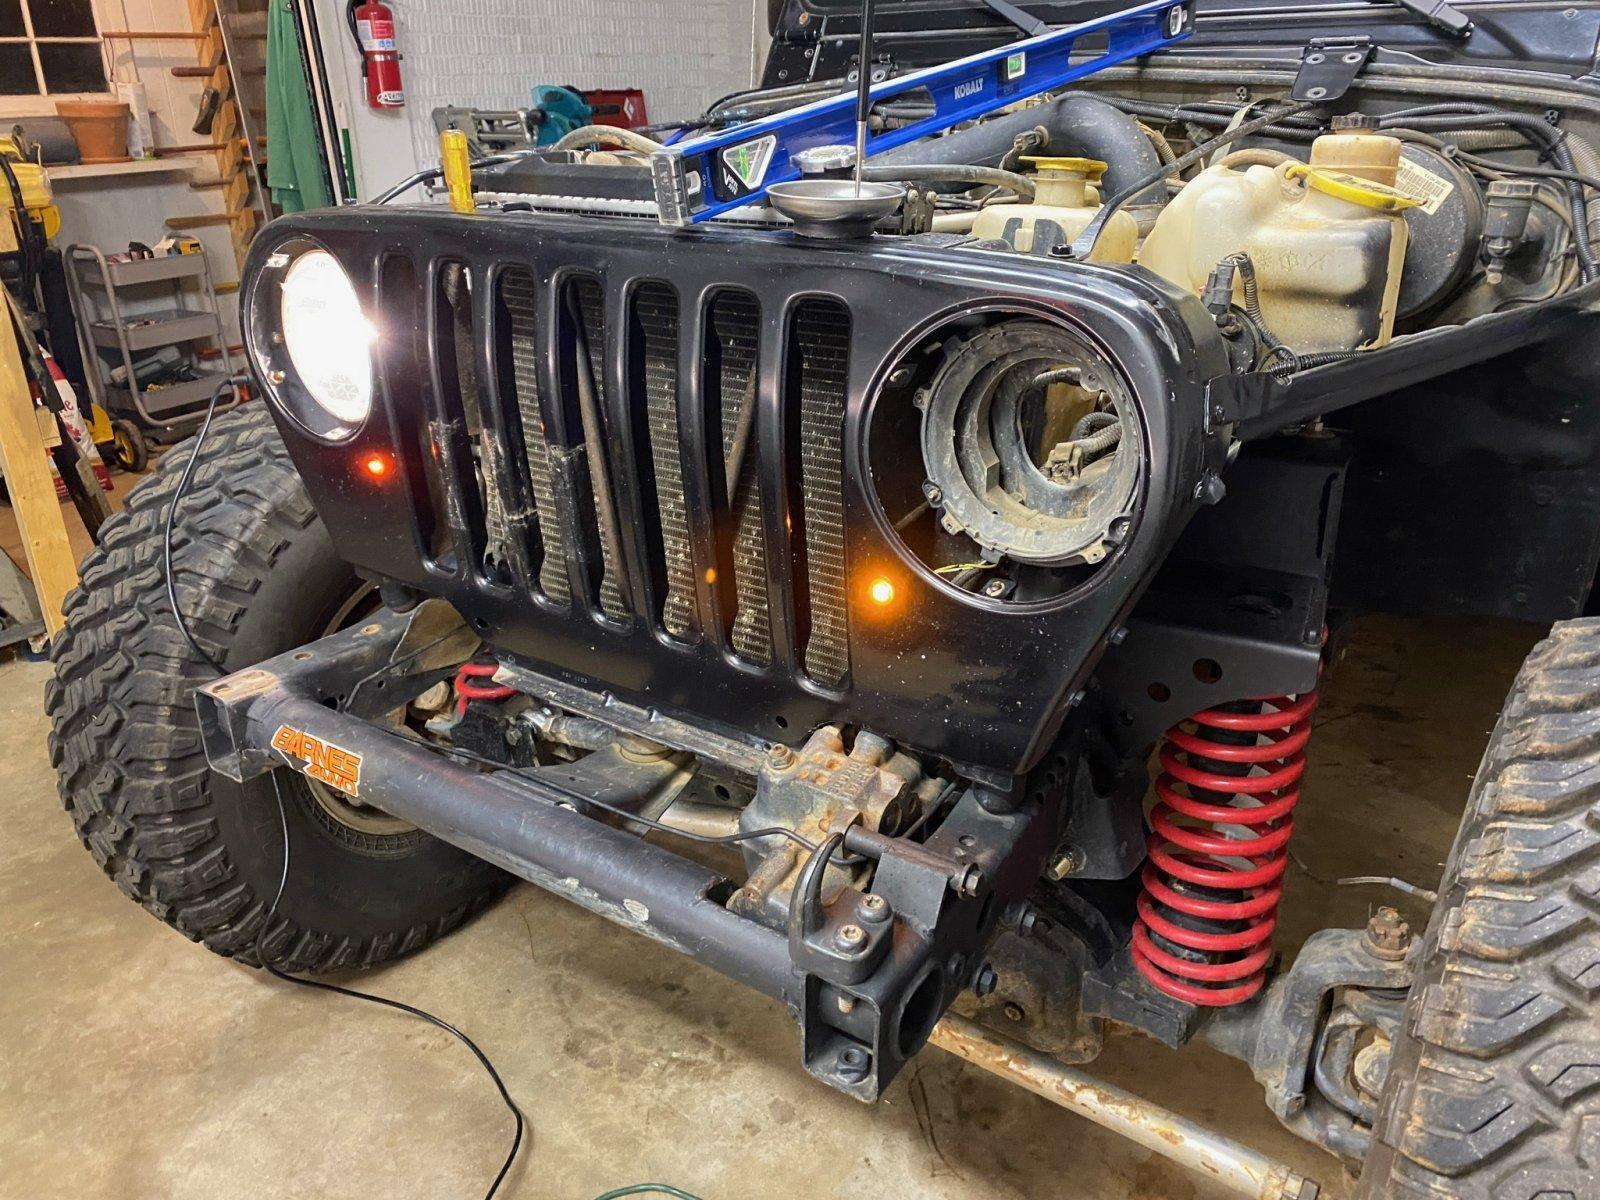
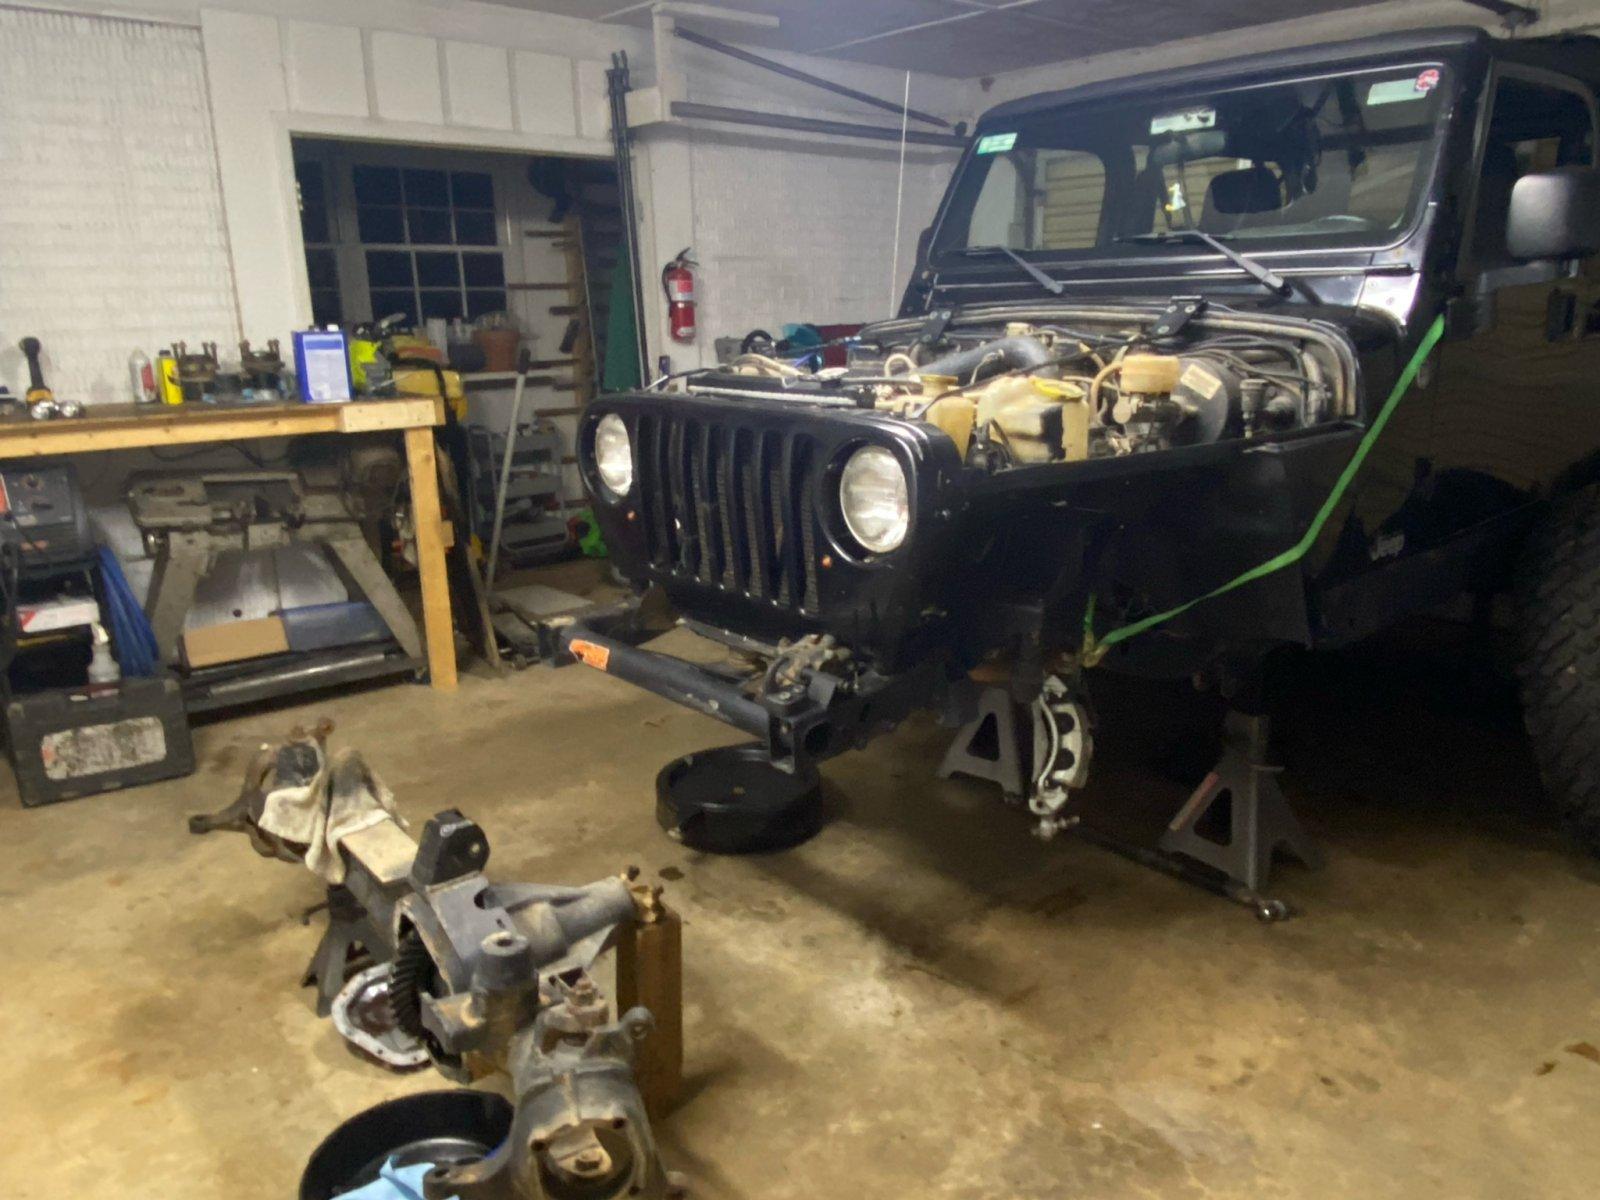
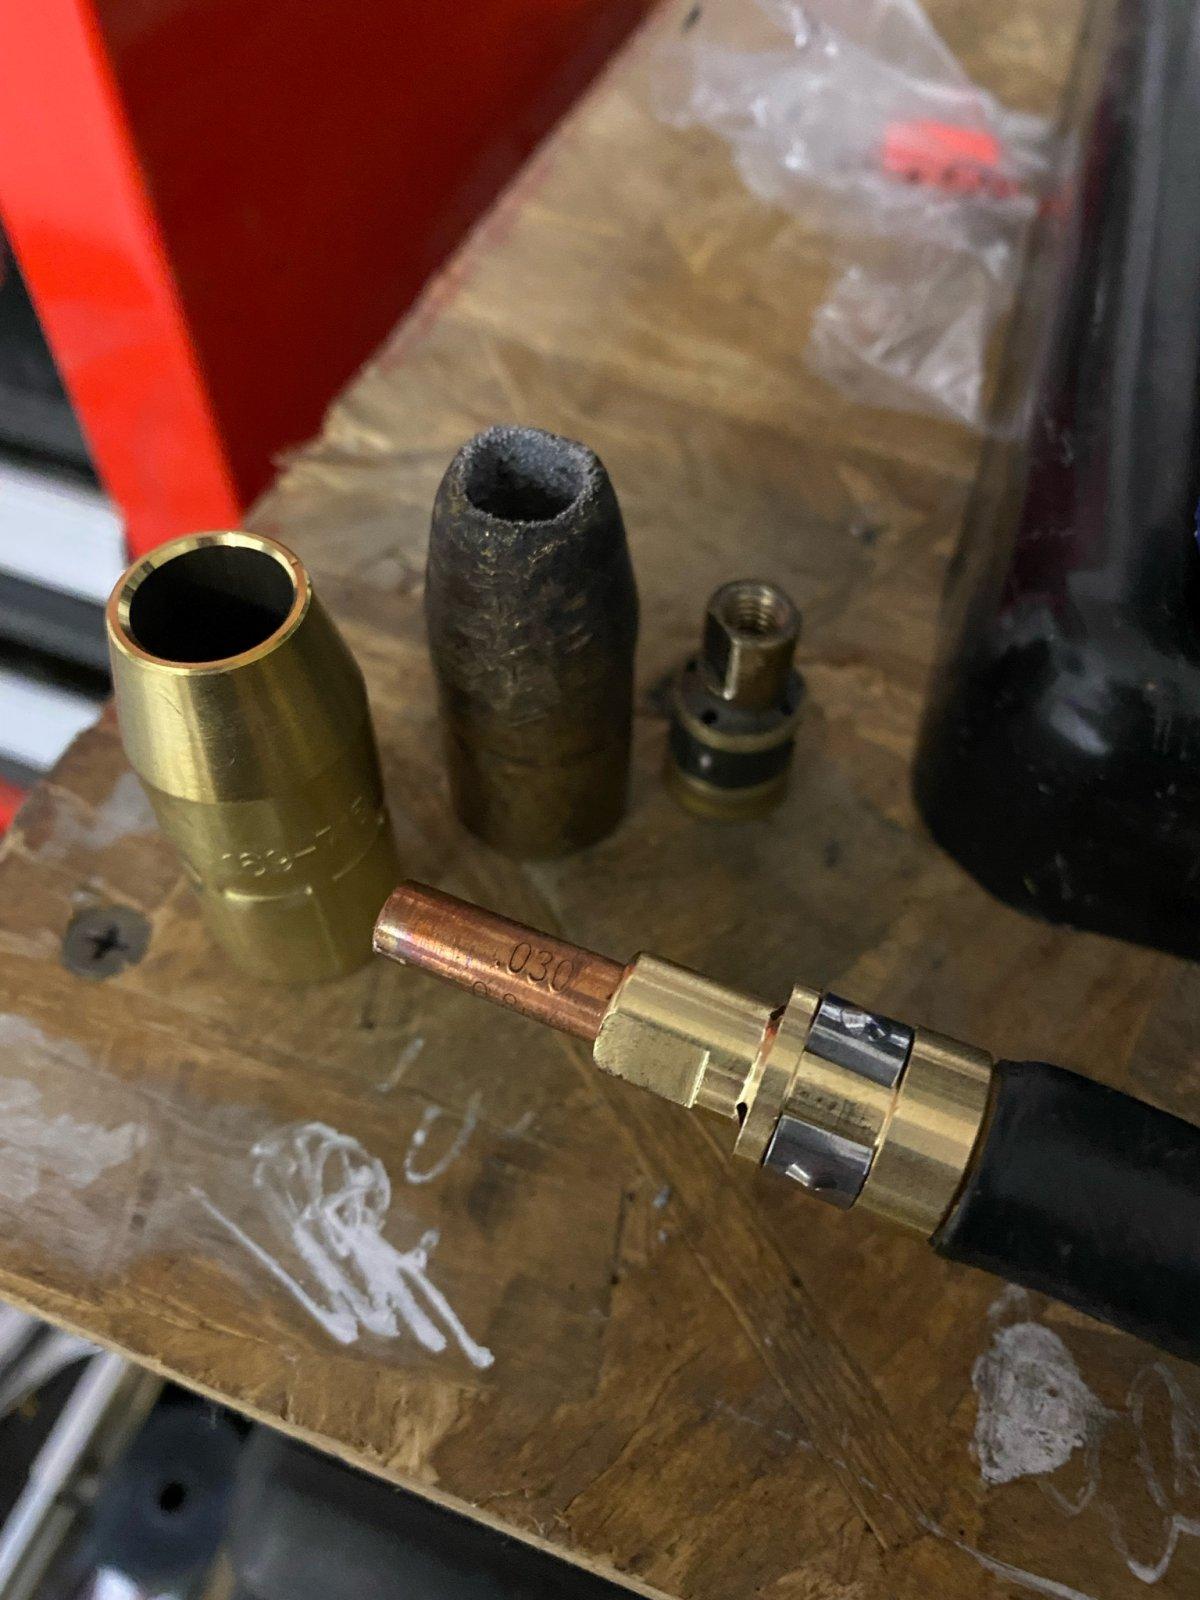
Now that I have the rear regeared, the logical thing to do would be to regear the front. WRONG. I started screwing around with other tasks like getting new lights for my front blinkers to replace the 2 wire trailer markers I installed way back. I also sent my hood off to get the fiberglass reinforced after forgetting to latch it down… And I started stripping paint off control arms and skid plates so I could repaint them. I even got around to replacing the consumables on my welder! You know, the essentials. Don’t worry, I did pull the axle out.

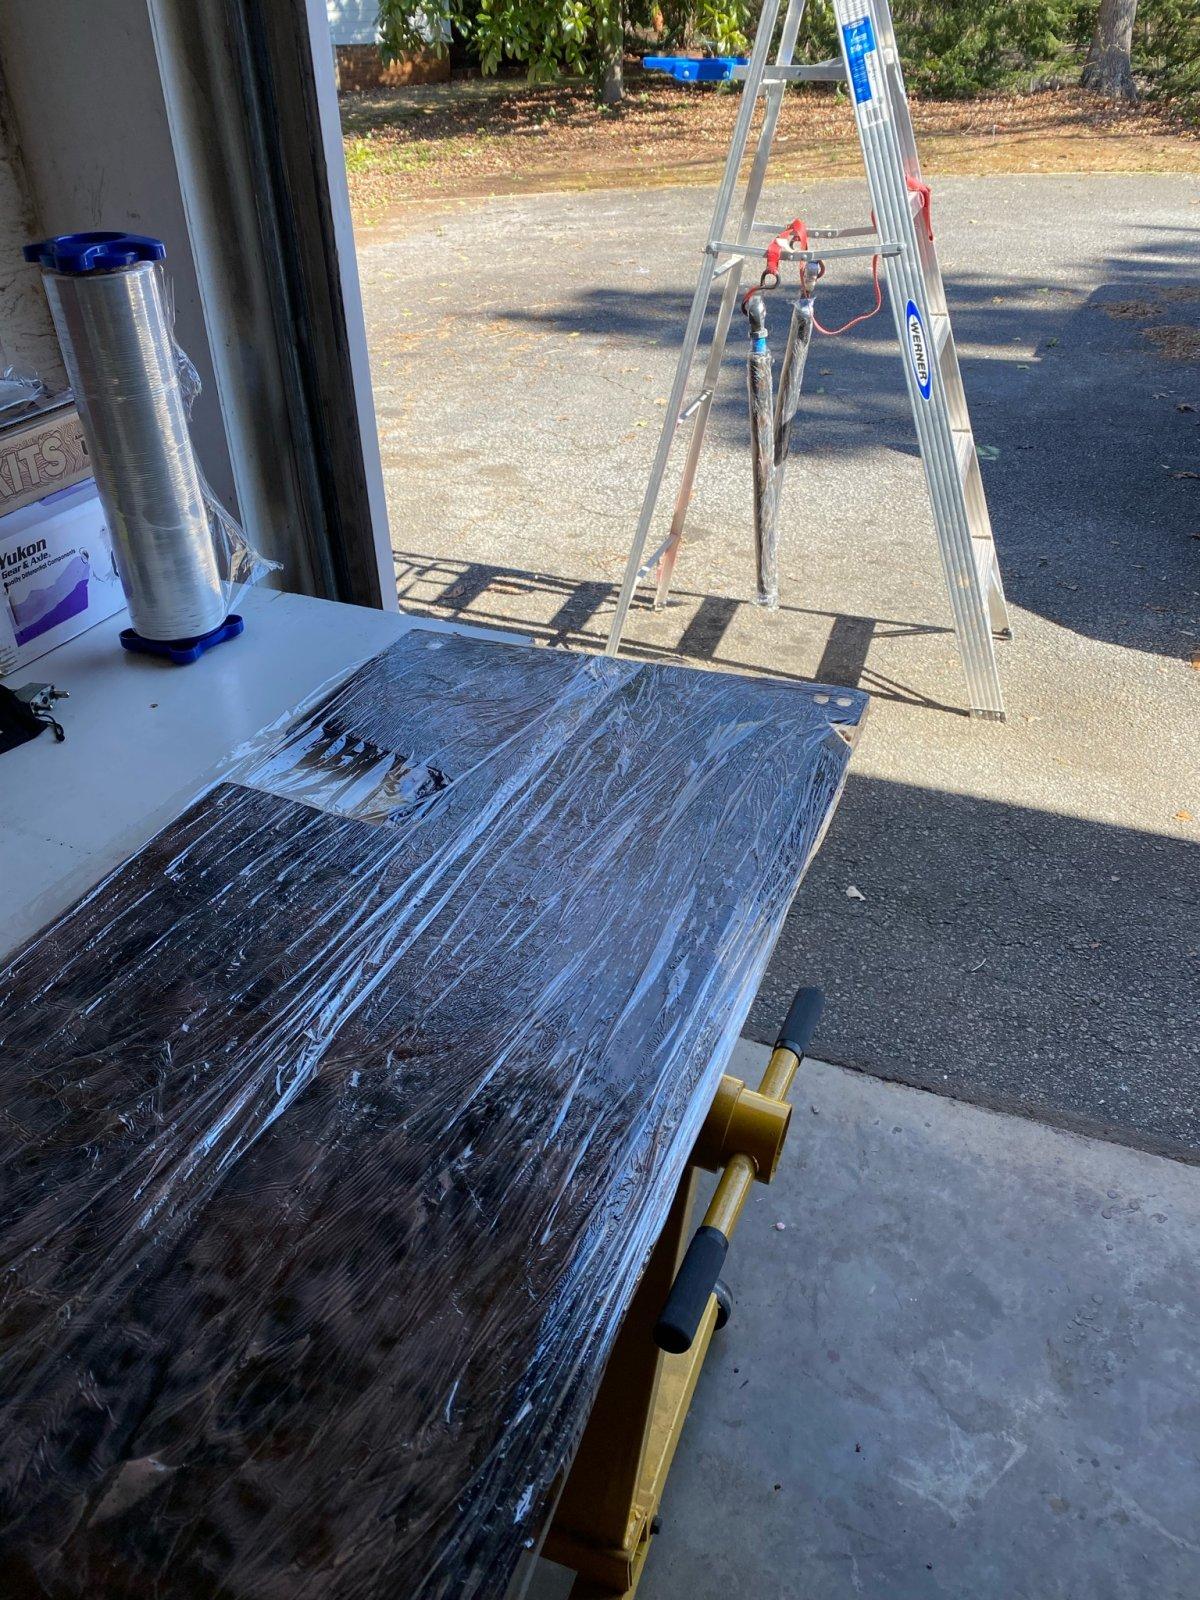
I used CitriStrip on the CAs and skid plates and am wildly impressed at how effortlessly it was to remove the old paint after letting it sit for a couple hours.

7E155D0C-C0EE-49F4-AF88-024BE03829FB.jpeg
2FD01AF8-8F07-4425-BAF9-9A3EAA0741C5.jpeg
370D9058-4FA3-4A34-92FA-7D428E5A5F88.jpeg
7413AAD5-F679-4B3D-93E7-88A992483B24.jpeg
 
@GlipGlop anything new on this one?
Yes I actually! I have been meaning to move a bunch of photos over to my computer from the phone and get on to make some updates. The last couple of years working about the house and traveling for work has slowed progress on the Jeep, not to mention I took a perfectly running rig and made it exactly not that. Let me see where I left off above and I'll jump back in.
 
Feb 2022
Eventually I was able to regear the front axle to match the rear. Left the Spartan lunchbox locker in for the time being. If it ever breaks, I'll upgrade to a full carrier locker. Until then, I wanted to put money else where and use what I already had. About this time I was crunching to get the LJ ridable again for OSCAR put on by Offroad SC in Harlan, KY.

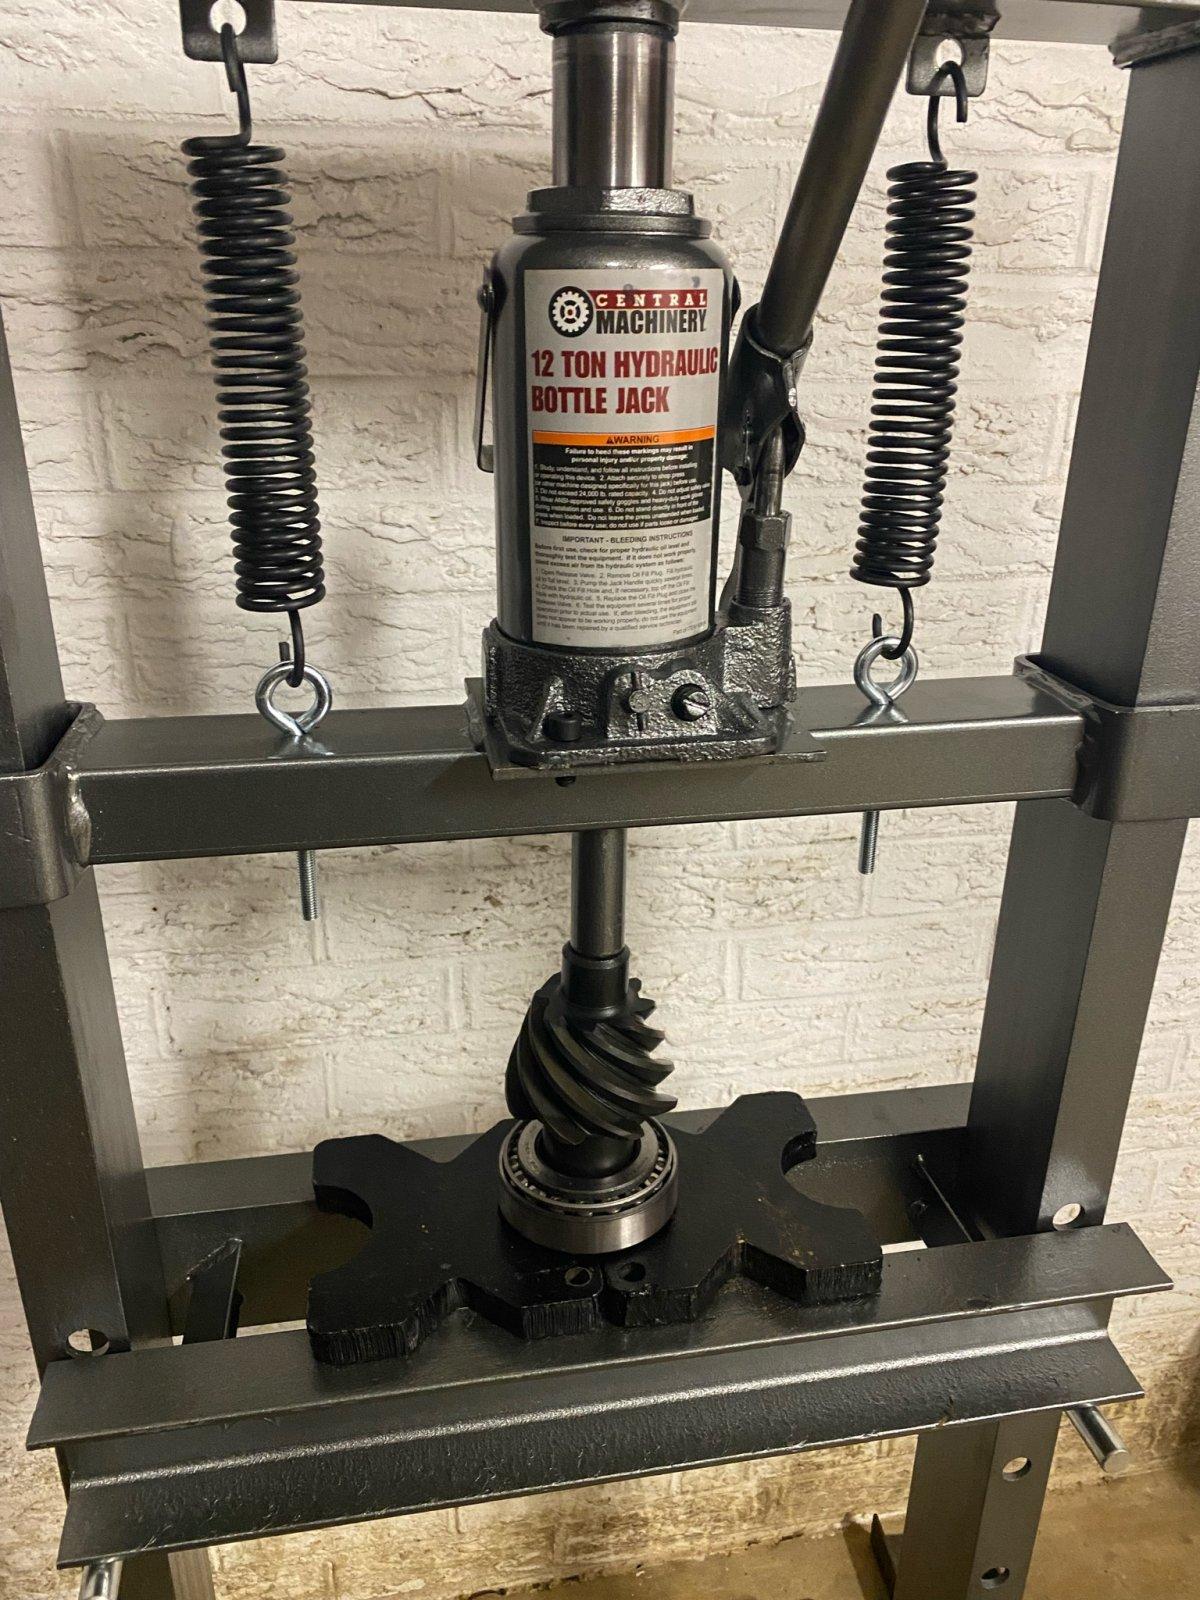
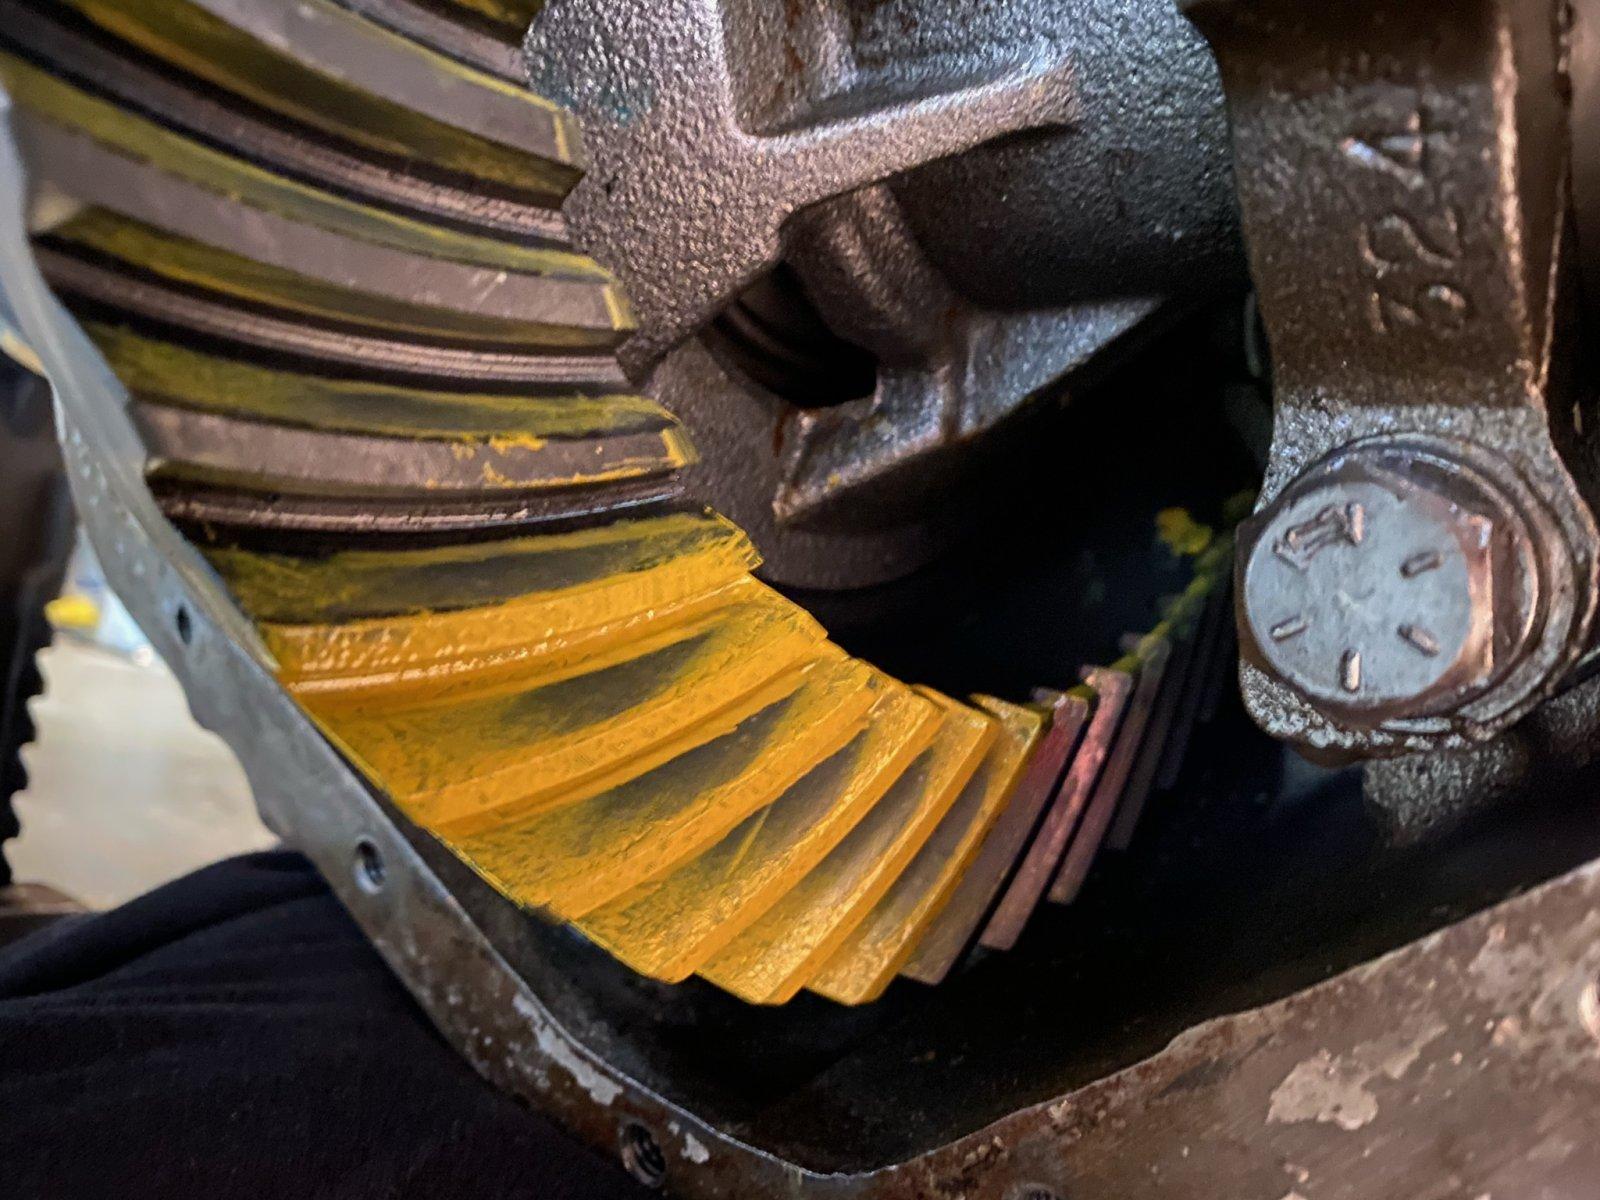
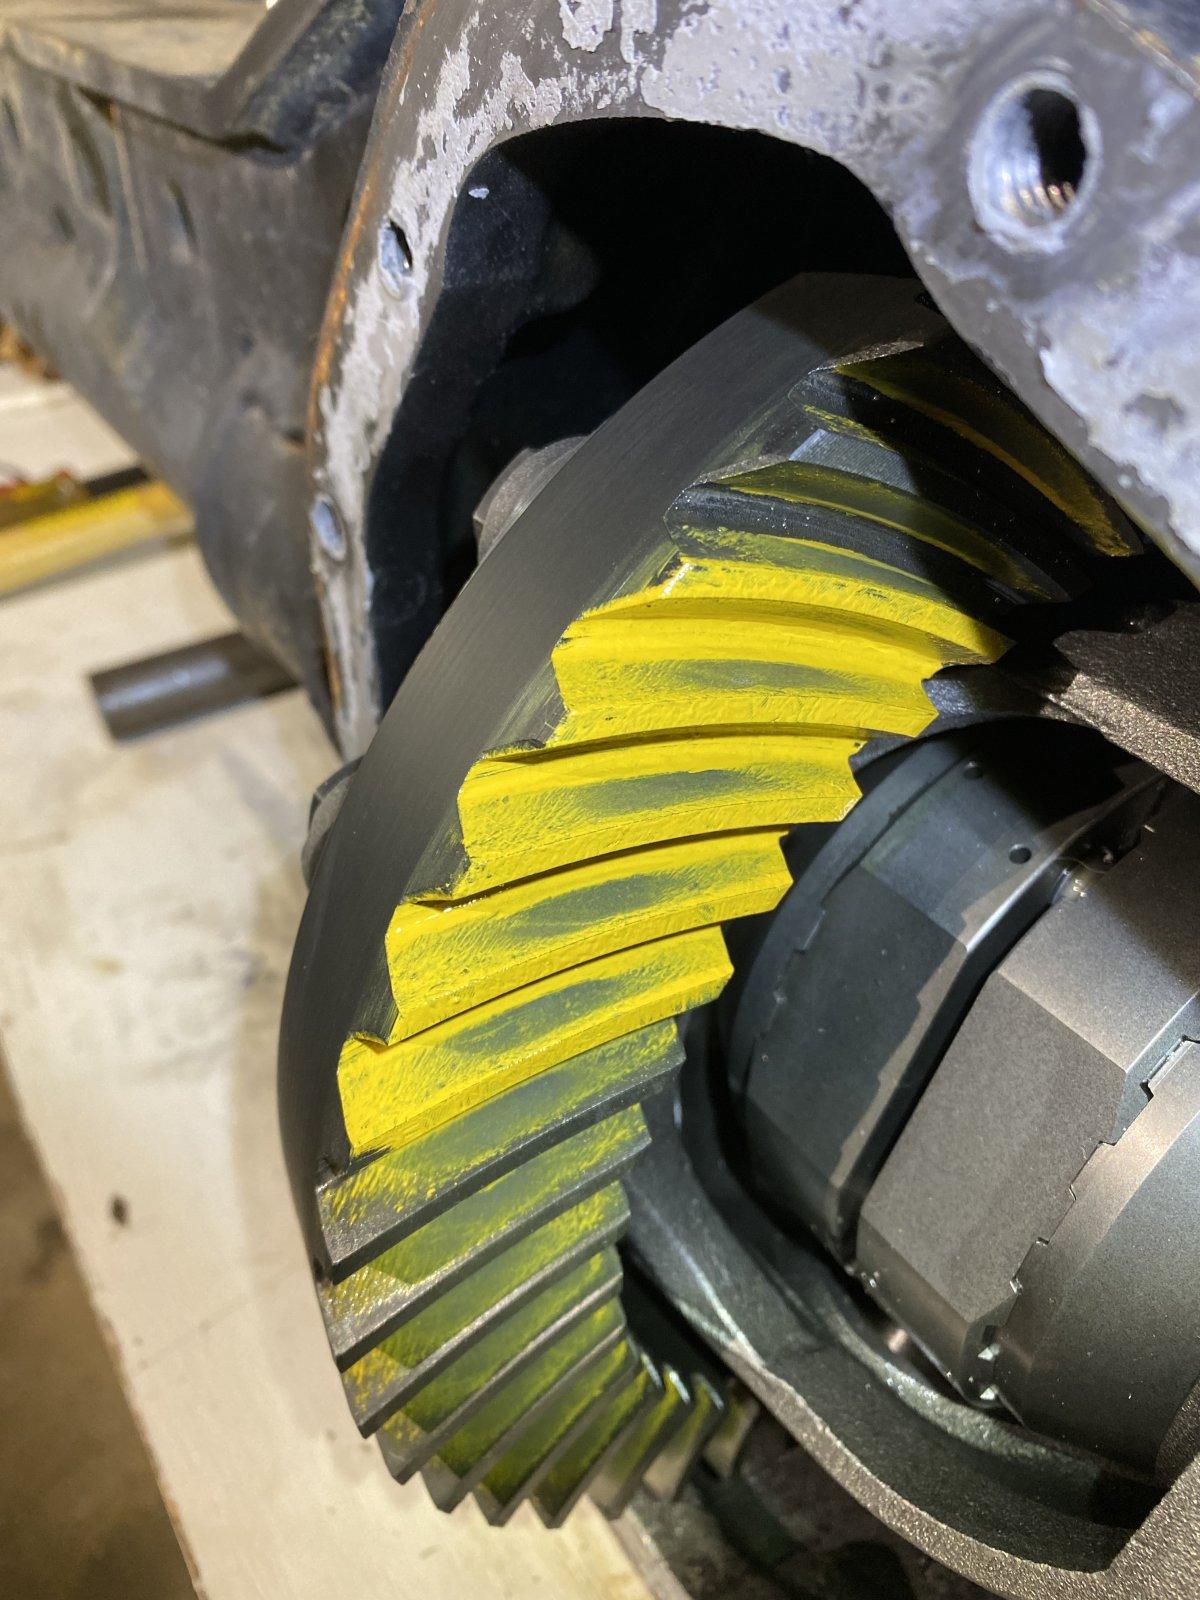
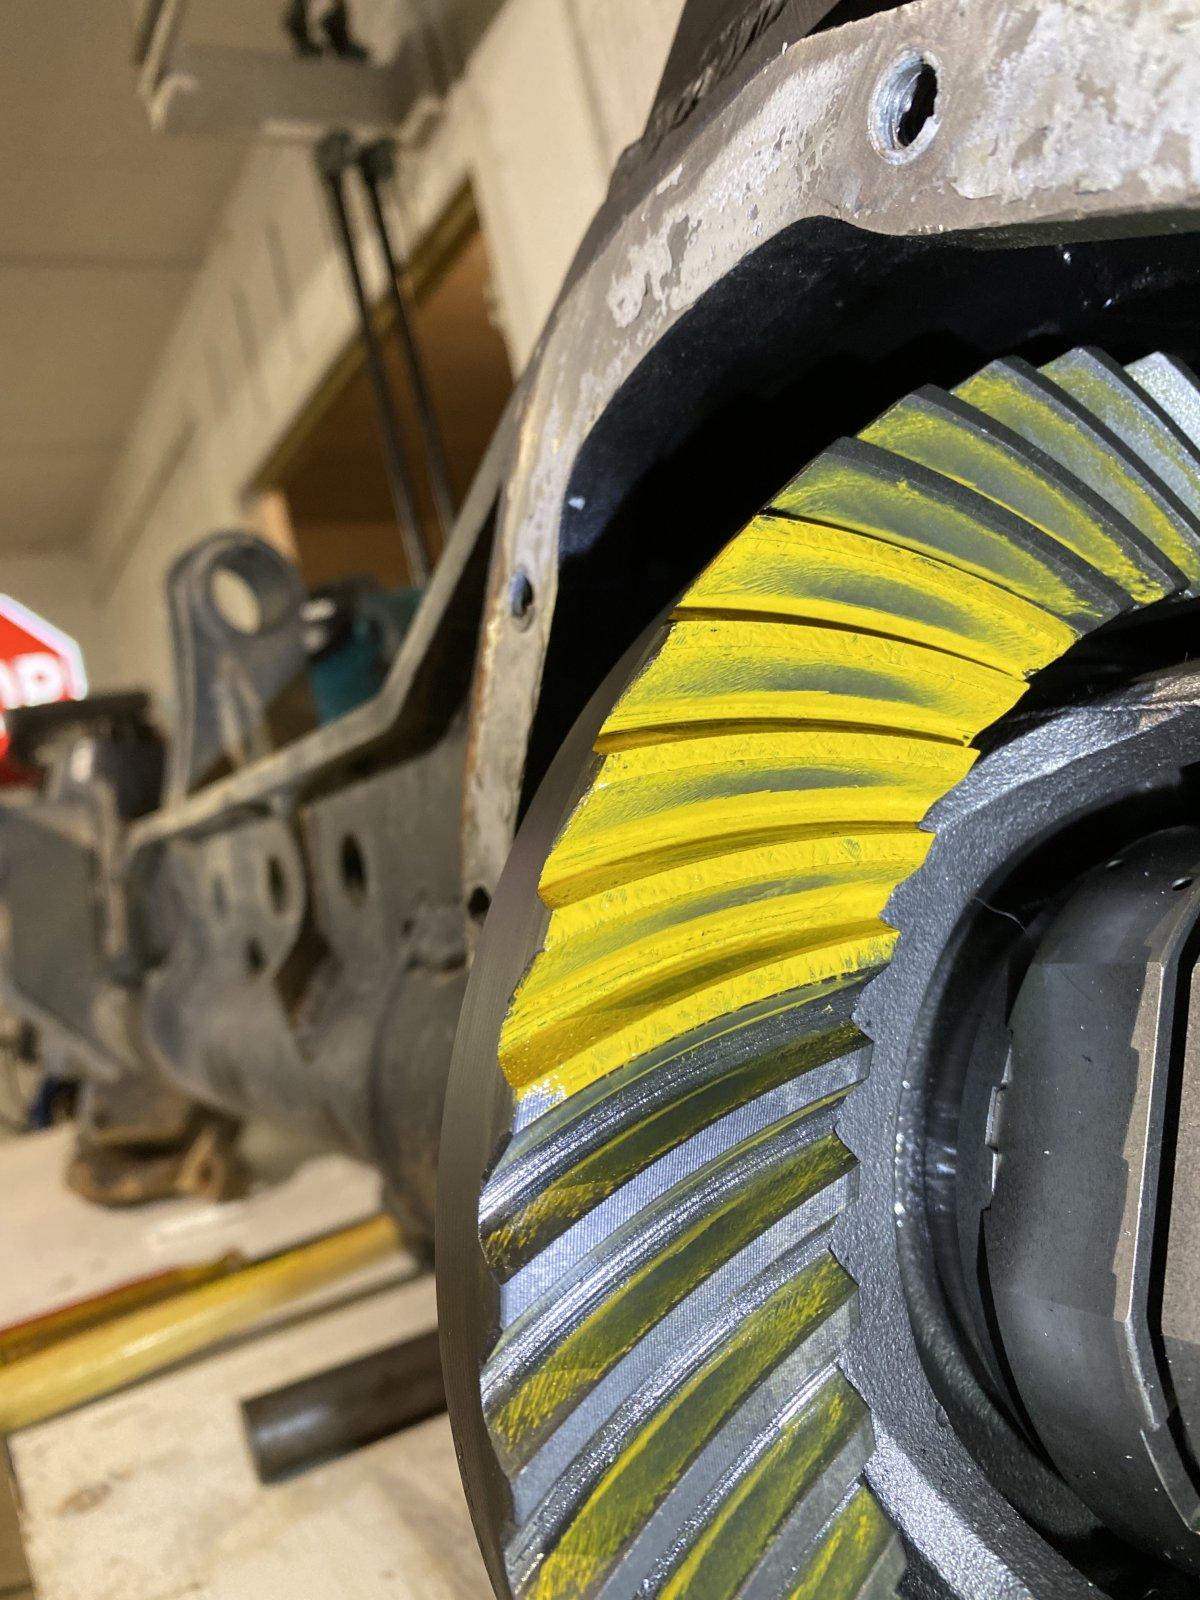
Here's a shot of the ring gear swapped onto the carrier. Not my precision technique to remove old bearings. Up until recent I have never had a bearing puller so I used to cut the bearings from my carriers like the broke college kid I was. I also dropped in a couple shots of my patterning after playing around with the pinion depth. At first I wasn't totally centered up on the teeth.

IMG_3405.JPEG
66925967750__C70D466B-2713-4416-8B8A-66CF1566FBED.JPEG

66925969662__FB468134-FFE0-452D-970F-79002550EC0A.JPEG
 
Feb 2022
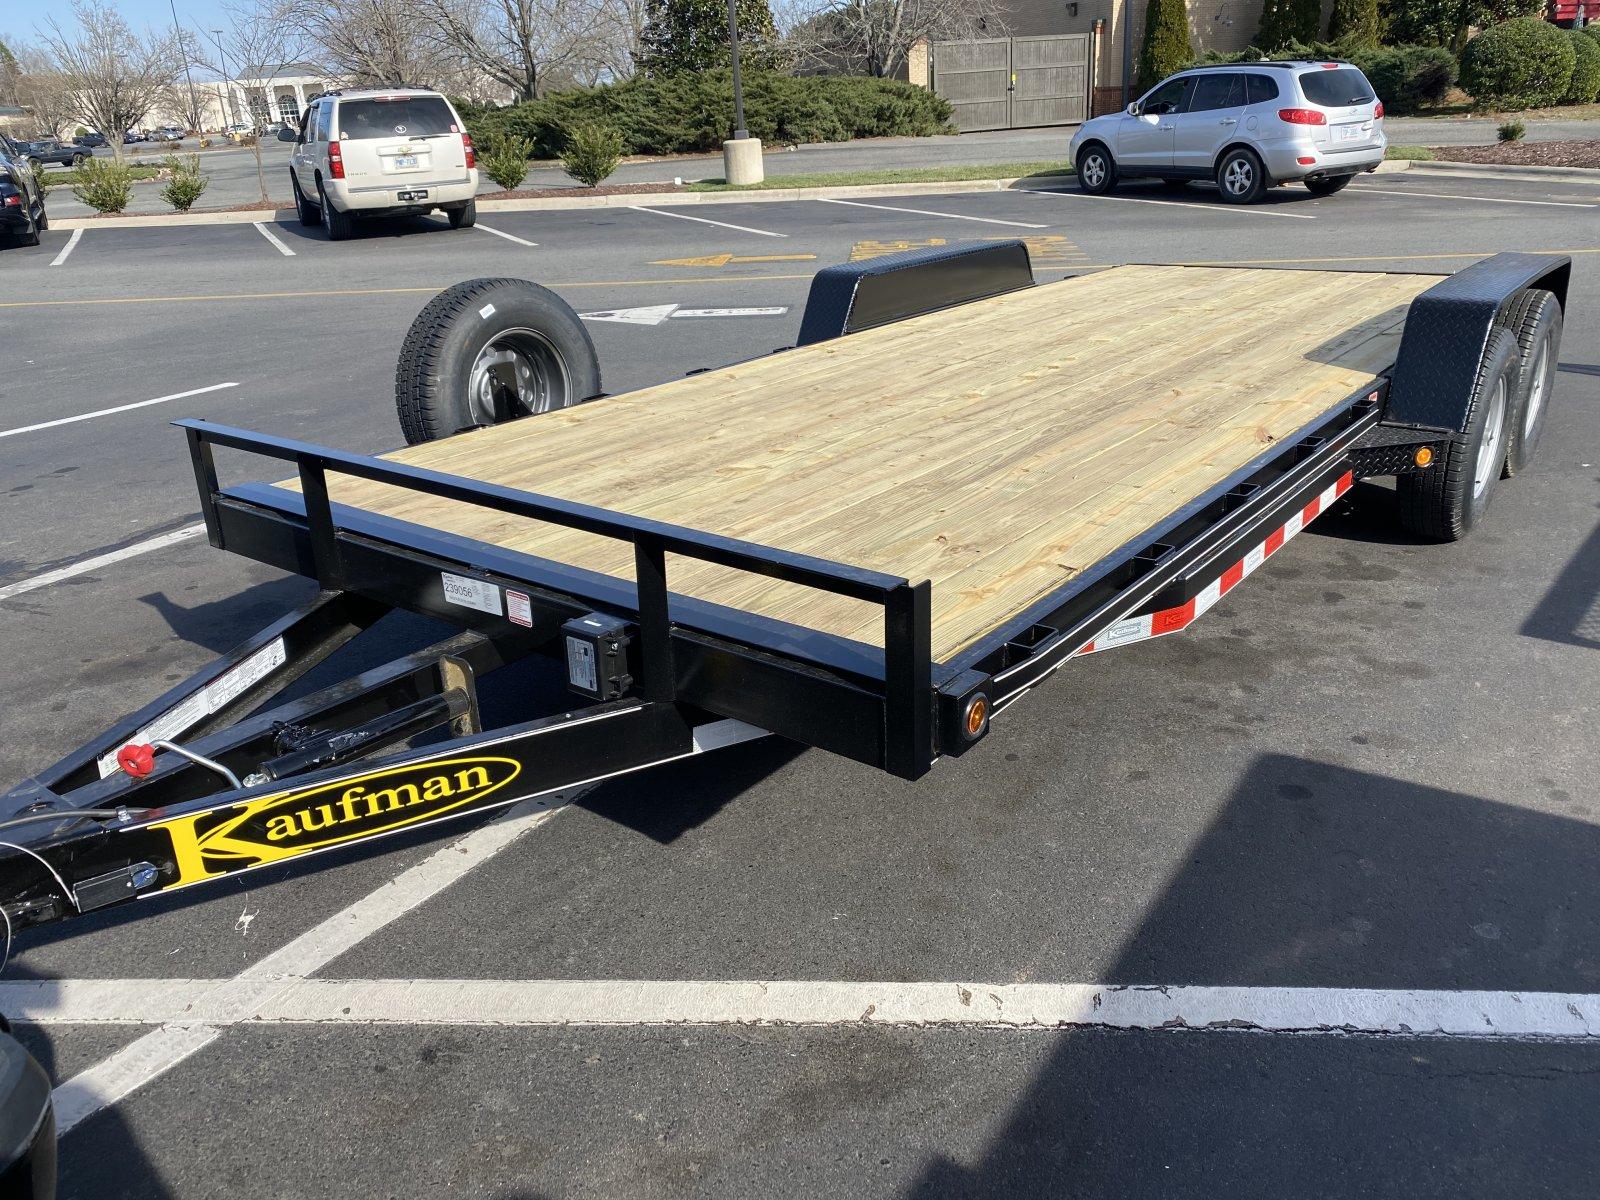
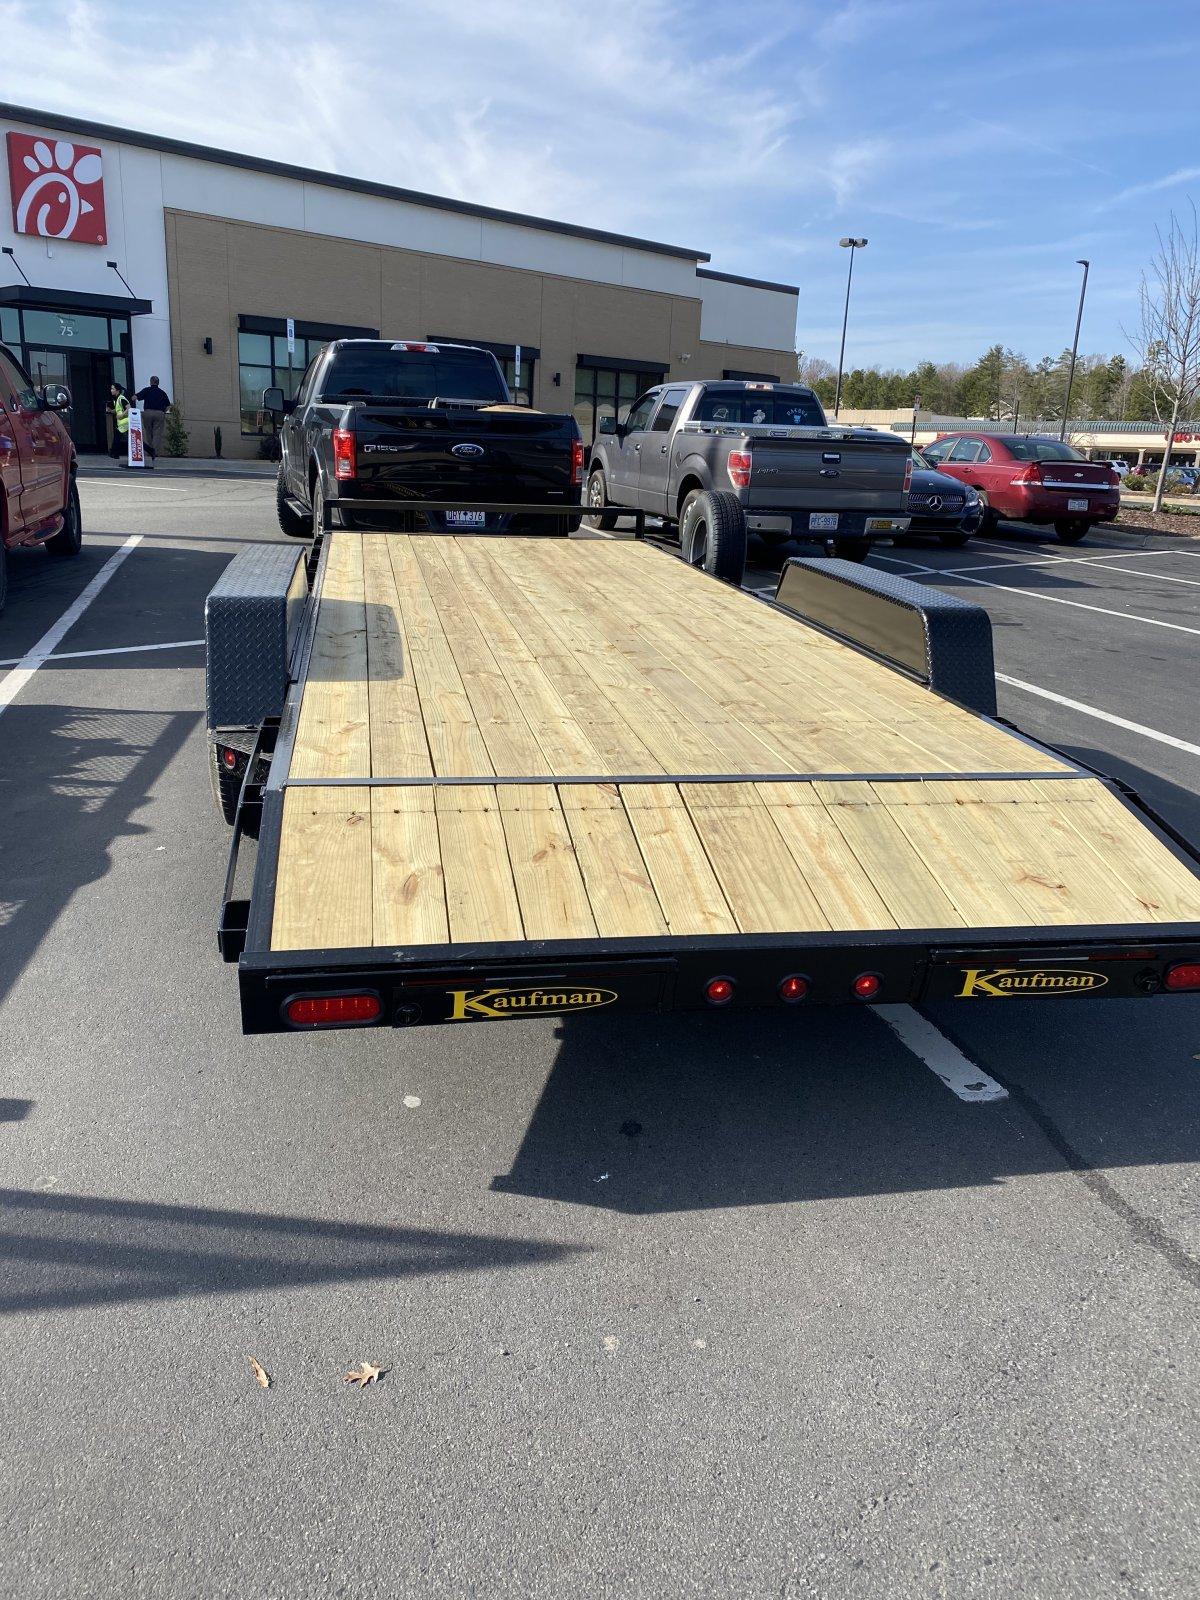
With the front axle buttoned back up, I loaded up the dogs and girlfriend and we hit the road to go pick up a new trailer I ordered from Kaufman Trailers in NC. A bit of a haul but well worth it. The trailer was finished just in time for the OSCAR trip coming up in April.

The trailer is a 20ft (18ft bed with 2ft dovetail), stow away ramped in the rear, LED lighting, Trailer brakes on both axles and 5000lb axles to accommodate the hefty LJ.

IMG_3420.JPEG

IMG_3421.JPEG
 
April 2022 (2 weeks before OSCAR)
So I lied. To finish up the front axle before OSCAR I added some gussets to the spring perches where the Artec kit originally had sway bar connection points. This should help prevent the perches from deflecting/flattening out.

IMG_3592.JPEG

IMG_3591.JPEG


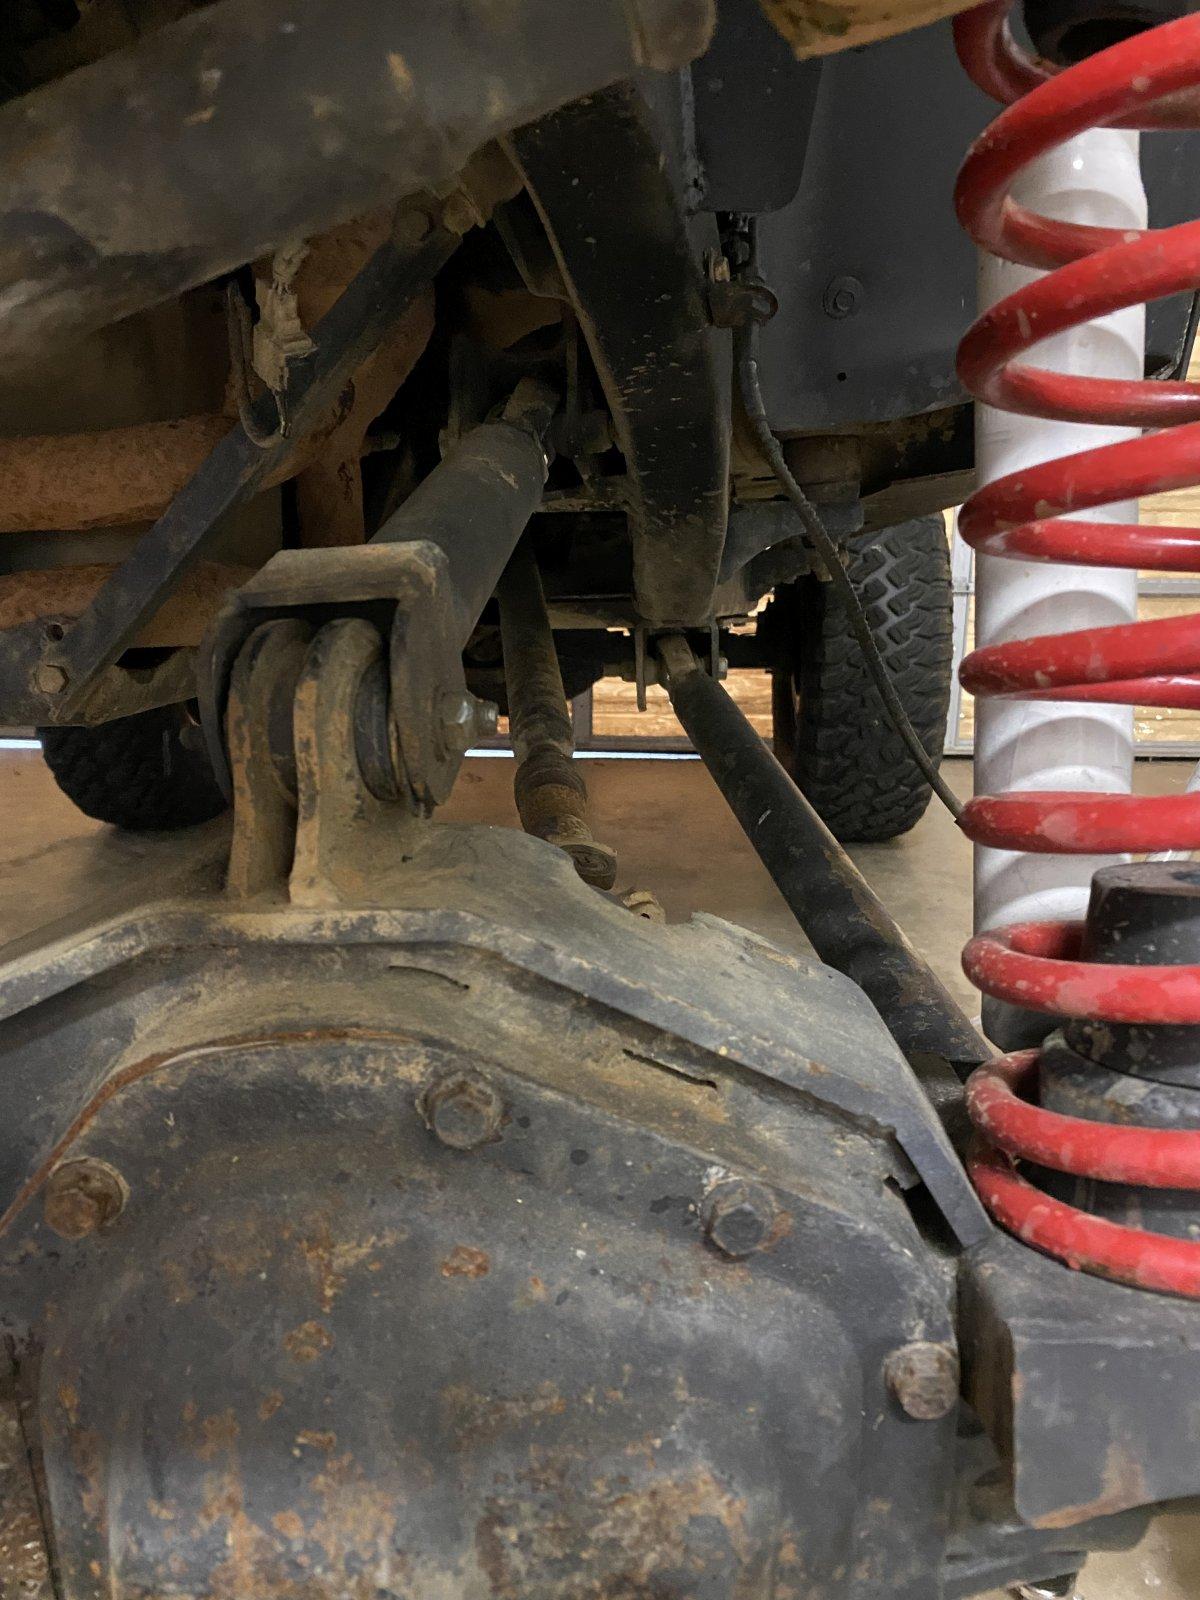
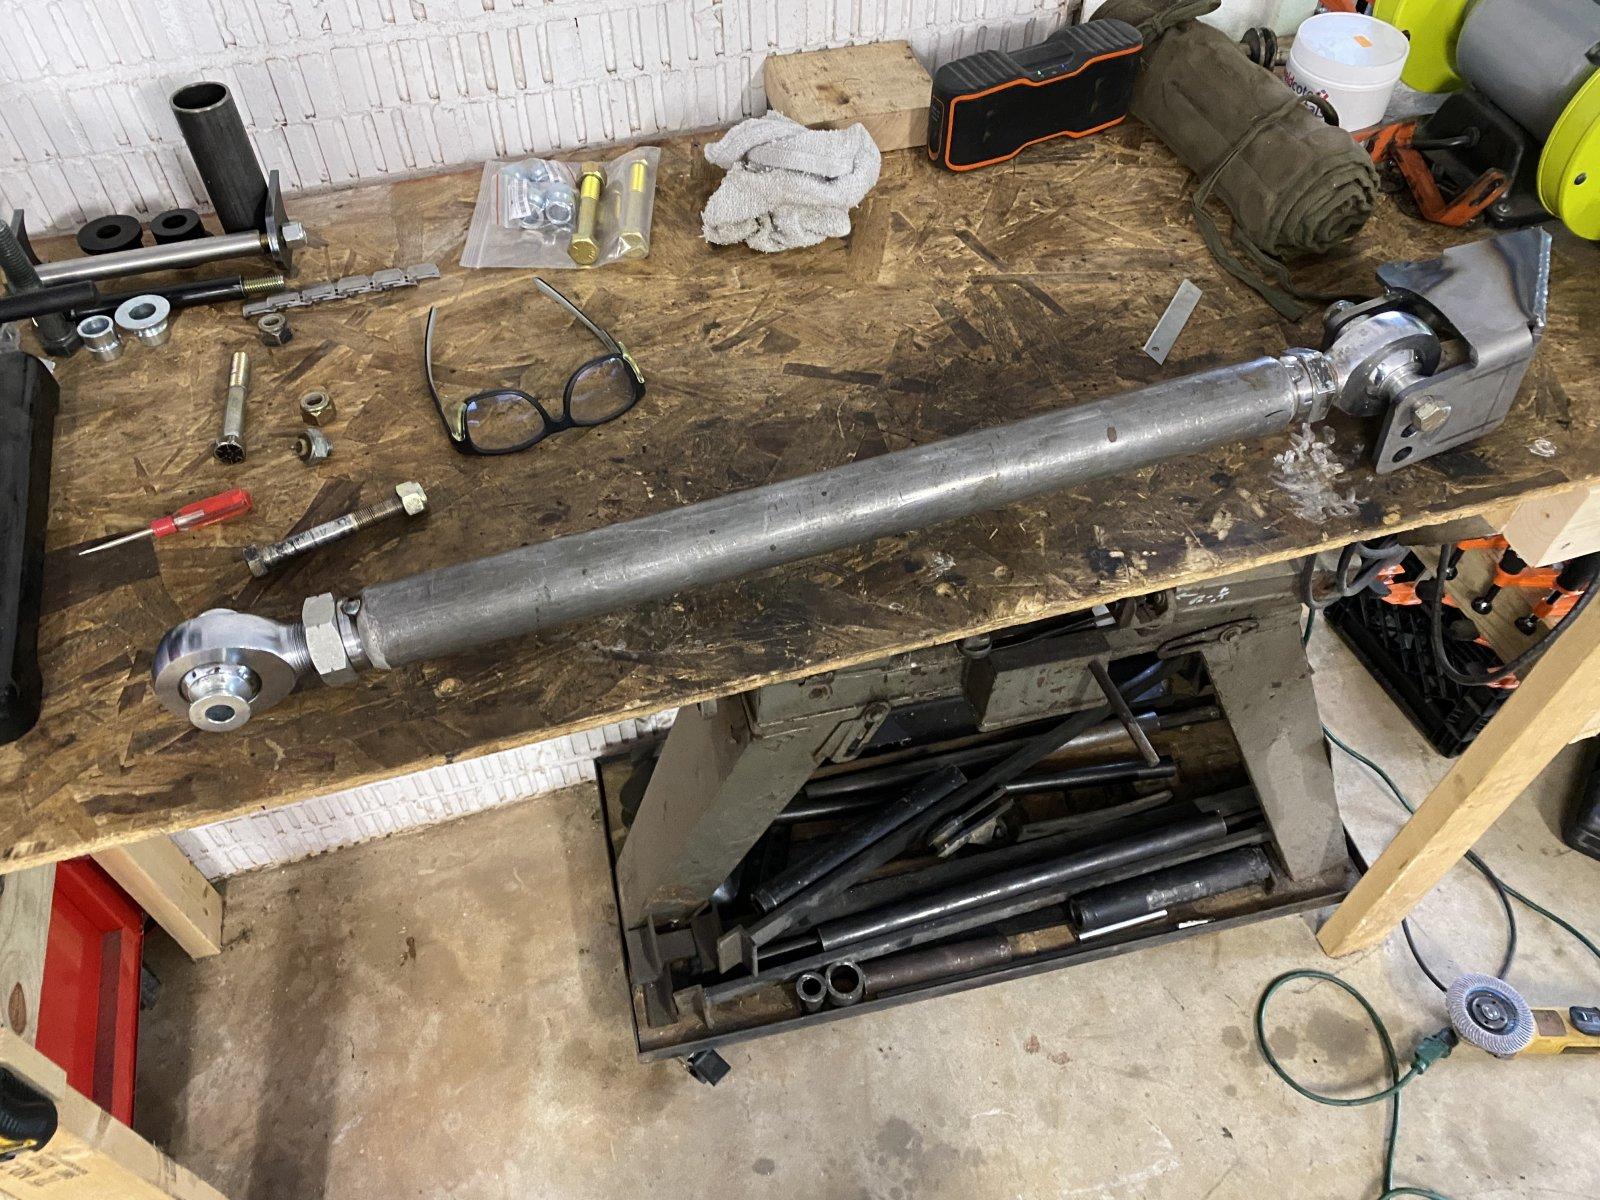
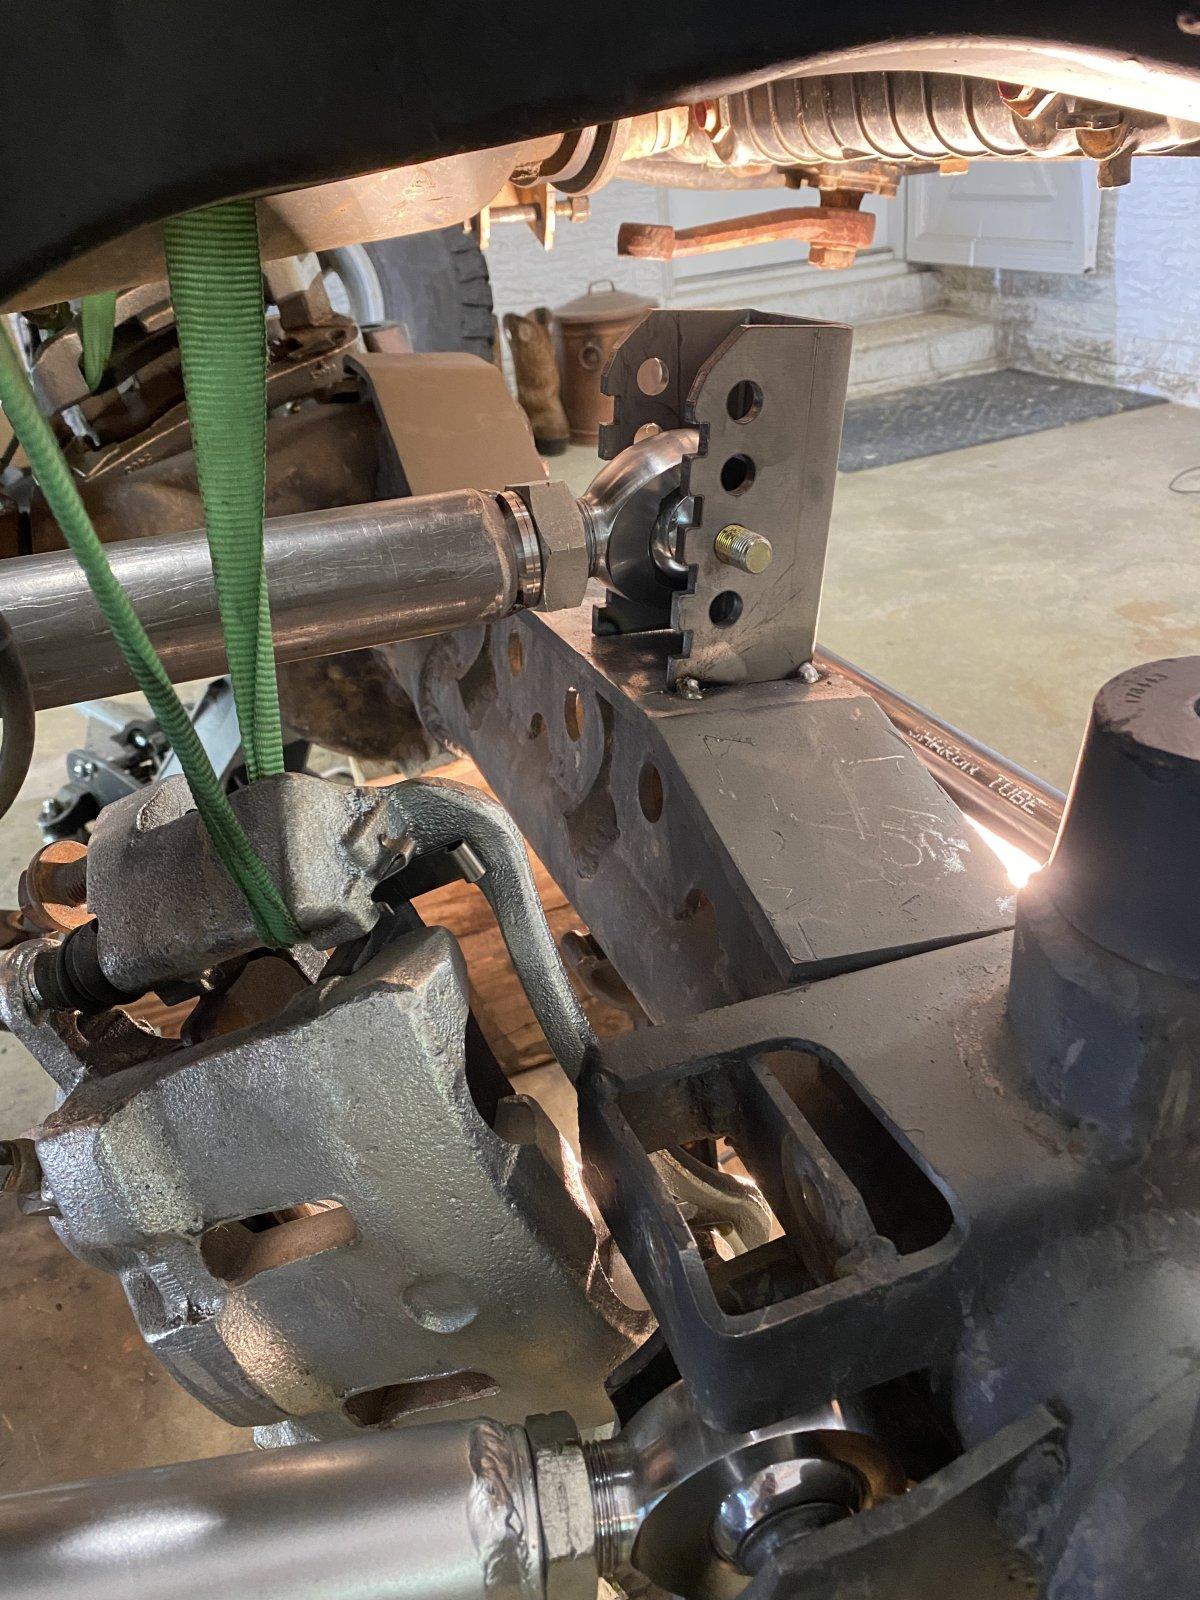
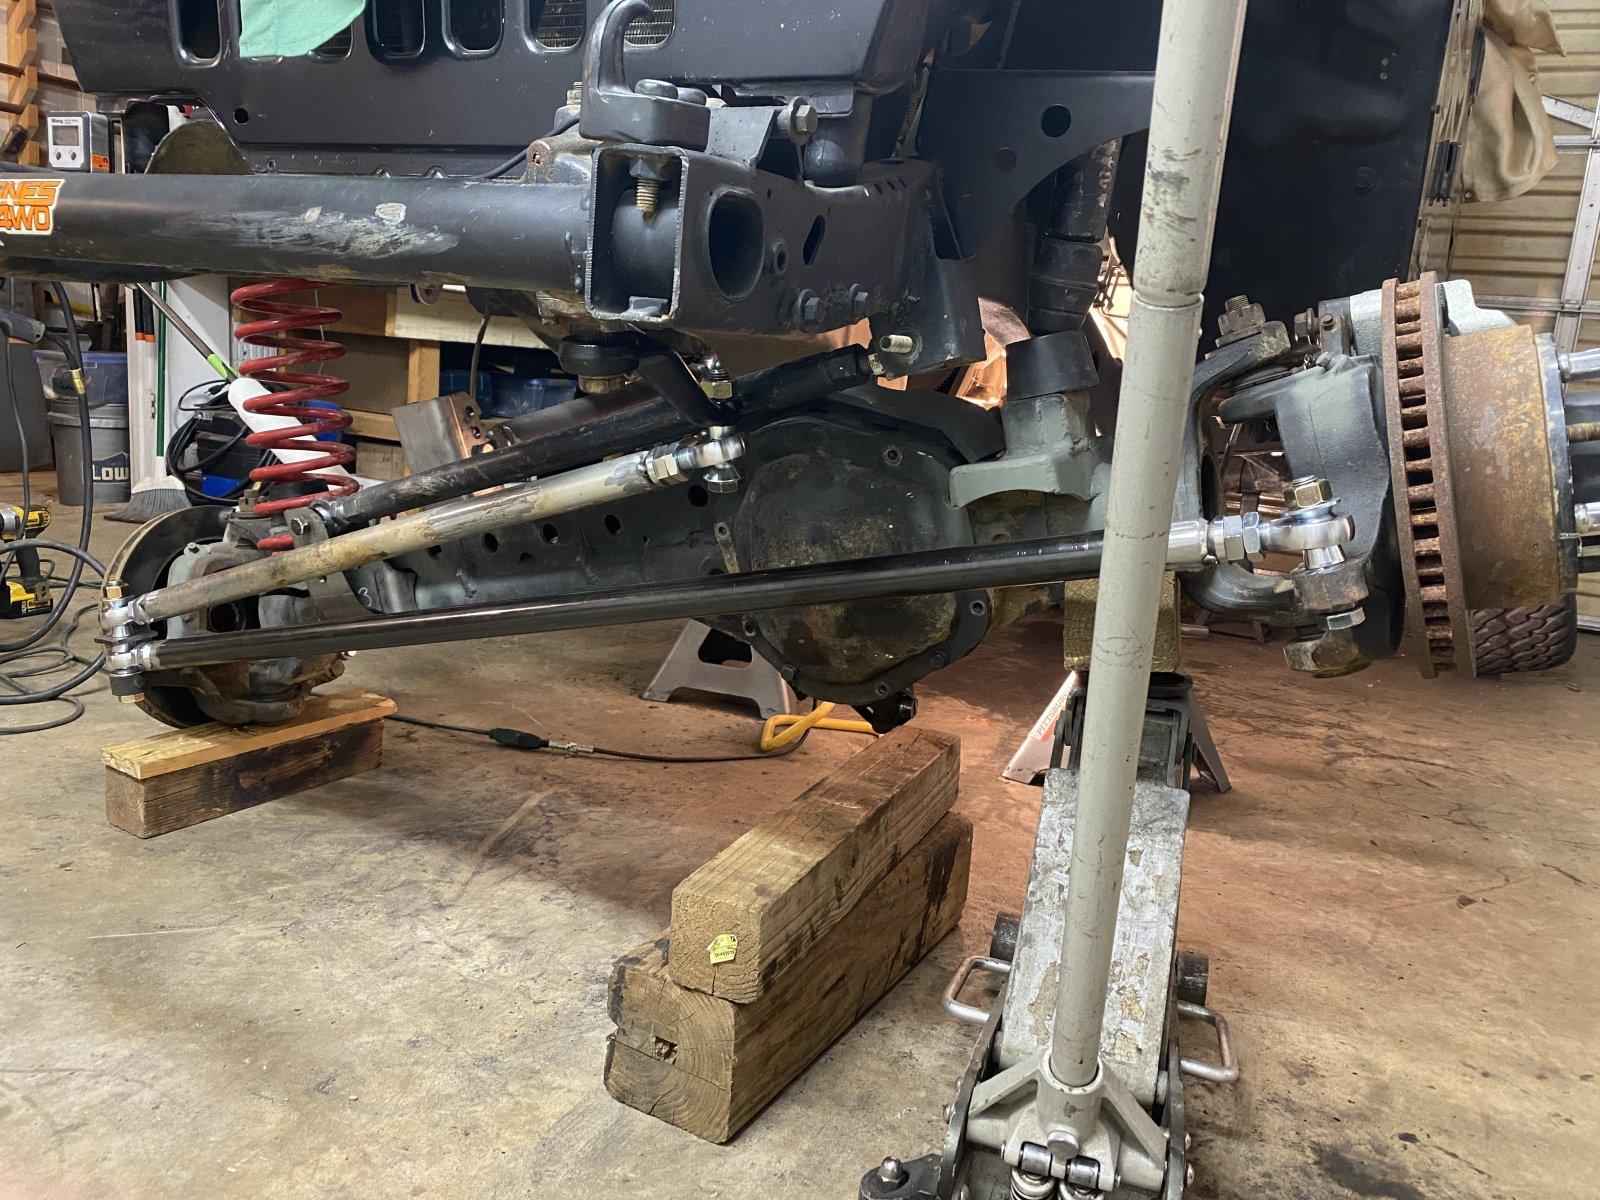
I removed the recently added upper control link from the driver side and built a longer one on the passenger side, added some limiting straps to protect the shocks from being pulled apart.

IMG_3666.JPEG
IMG_3671.JPEG
IMG_3672.JPEG

IMG_3673.JPEG


I replaced the drag link bracket at the axle.

IMG_3677.JPEG


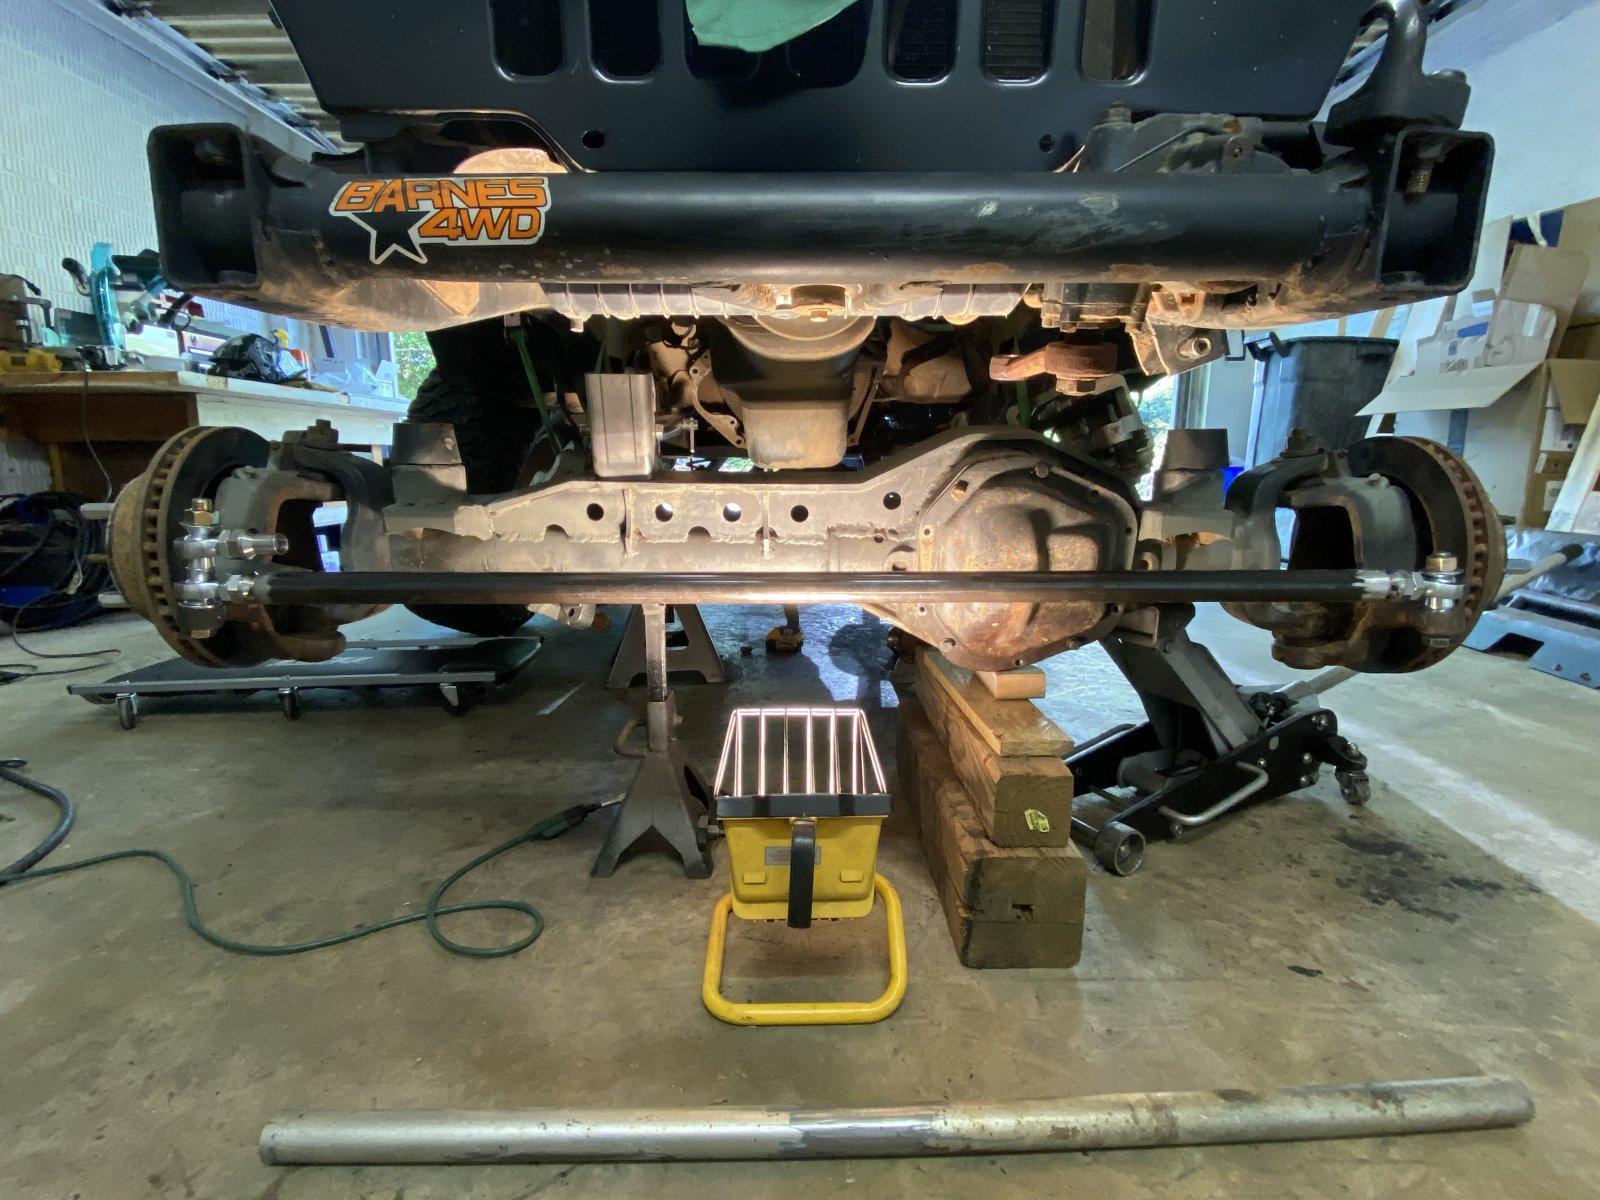
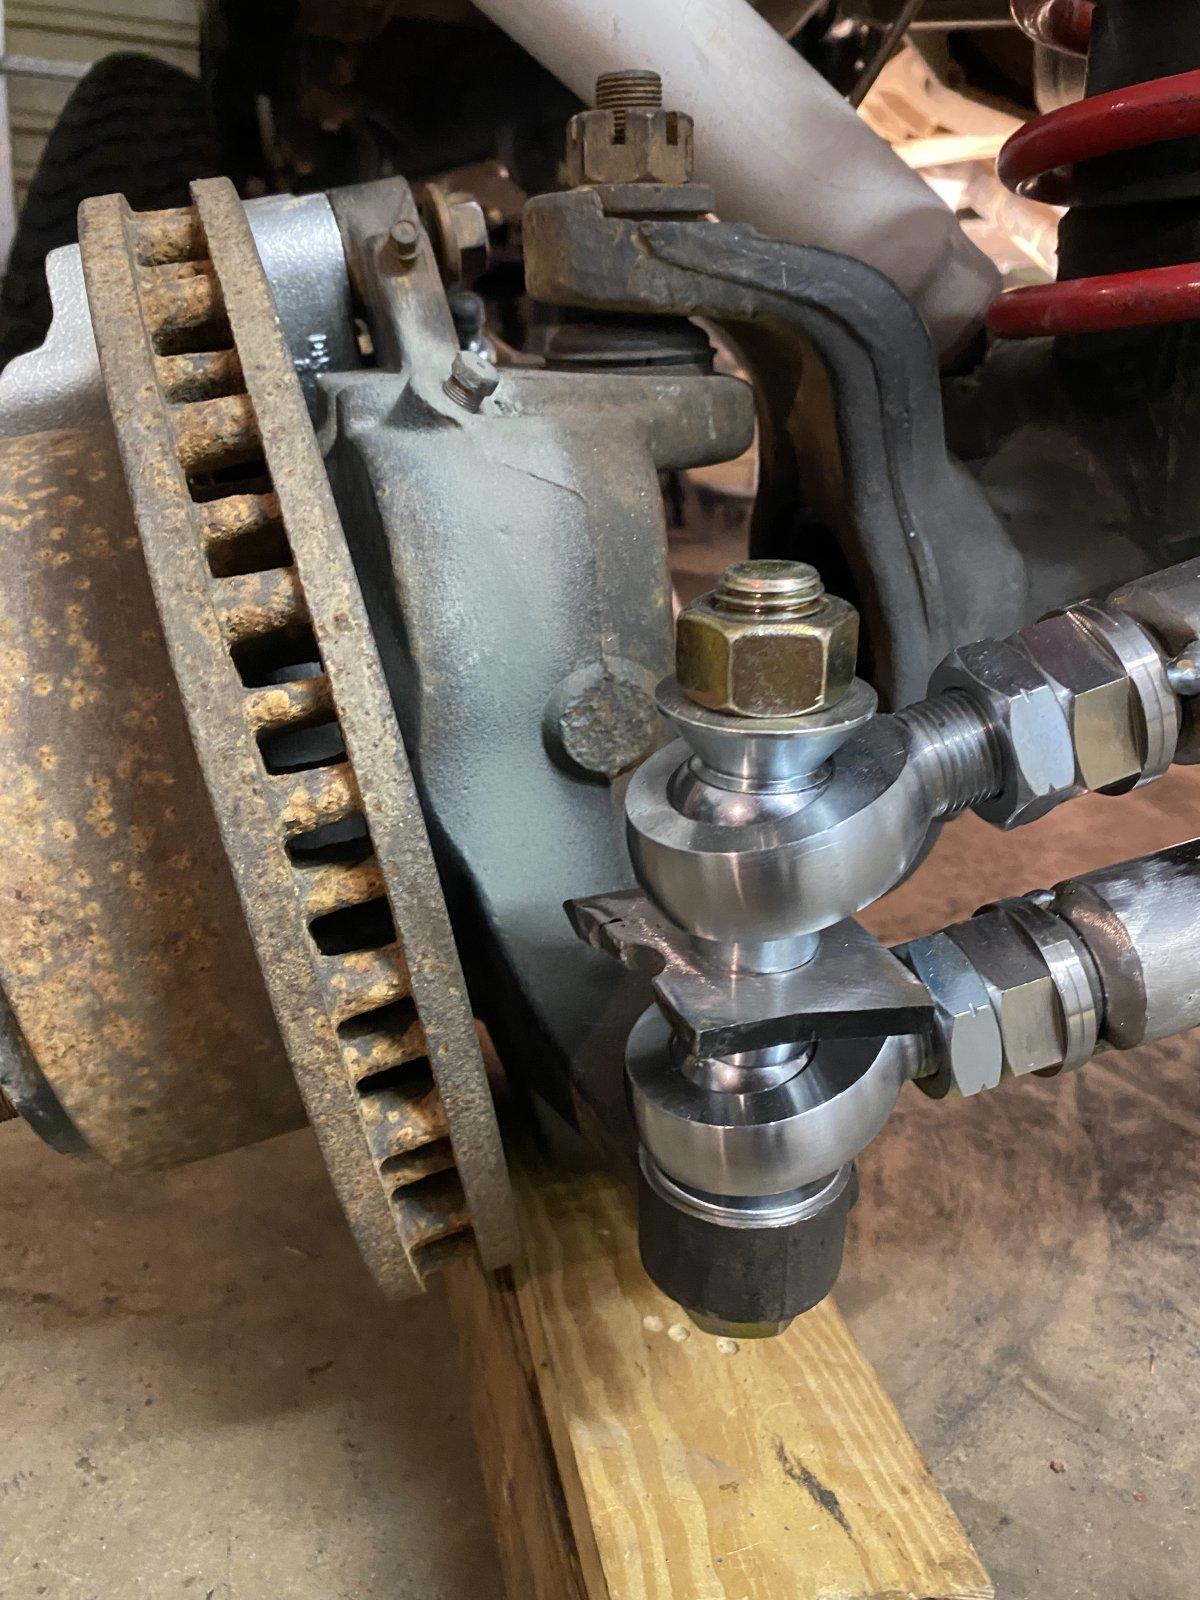
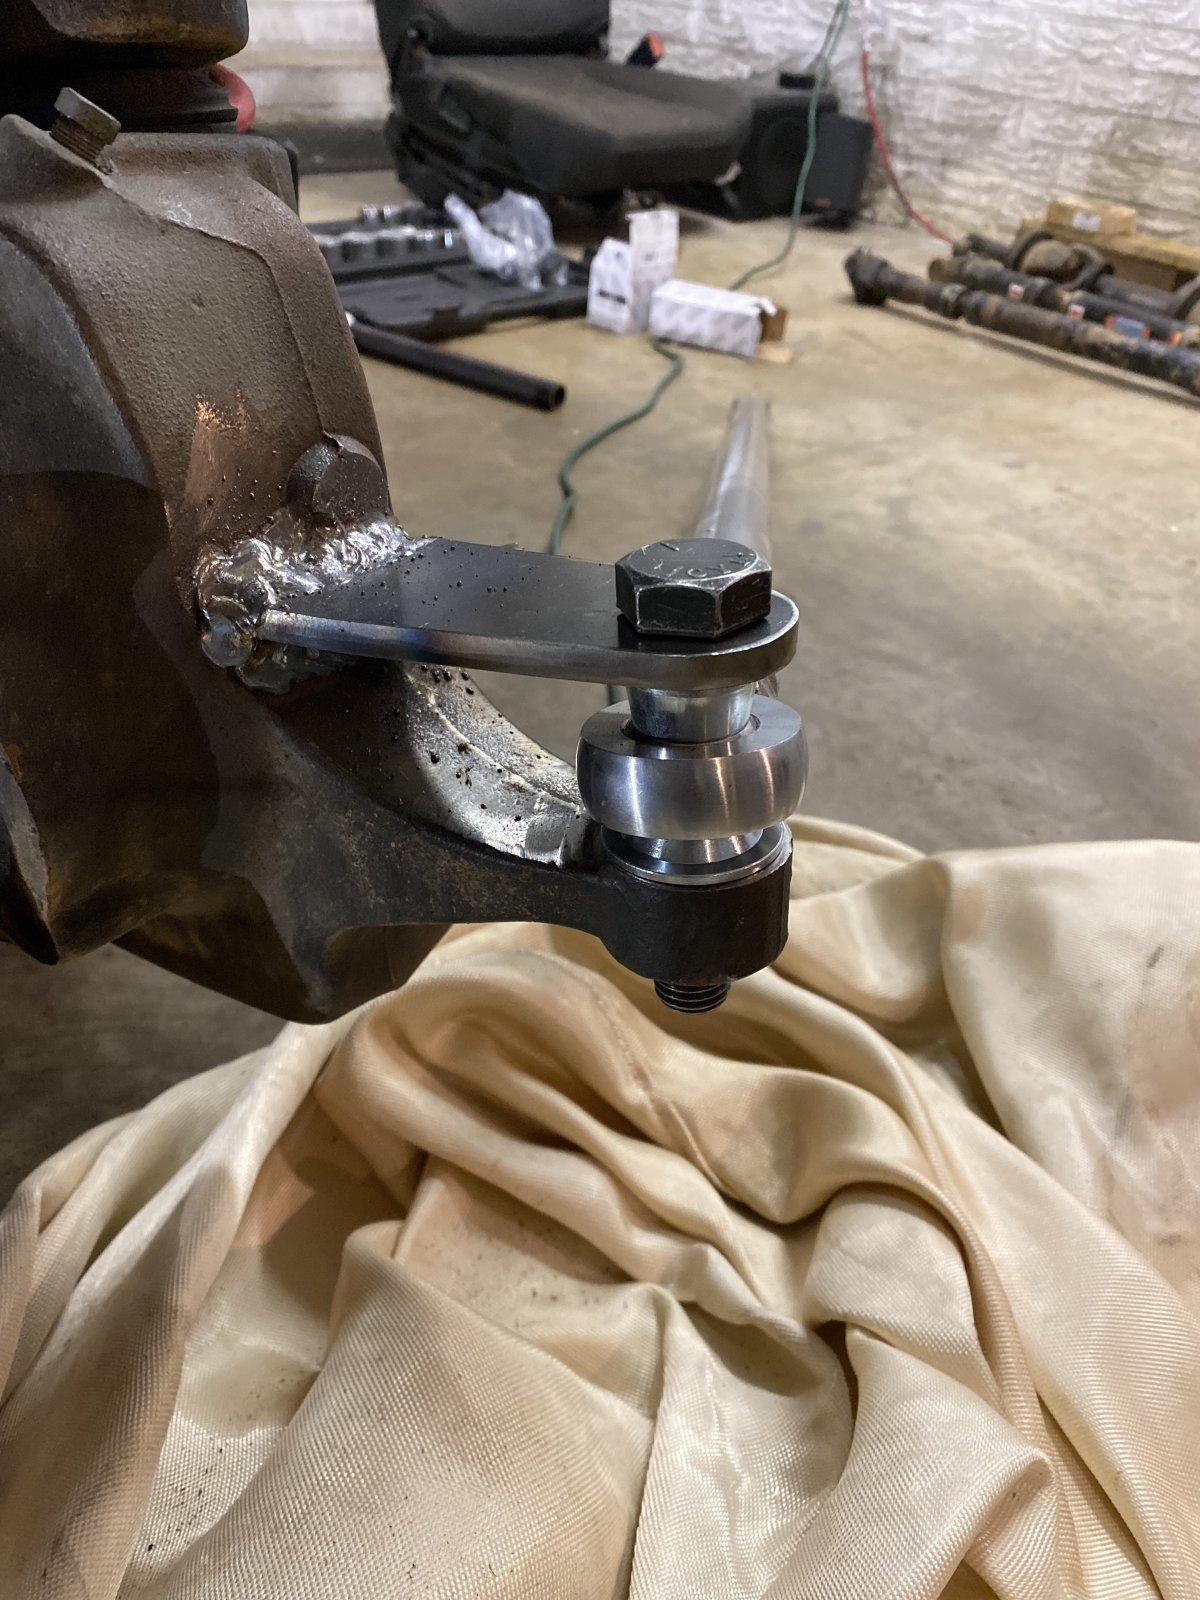
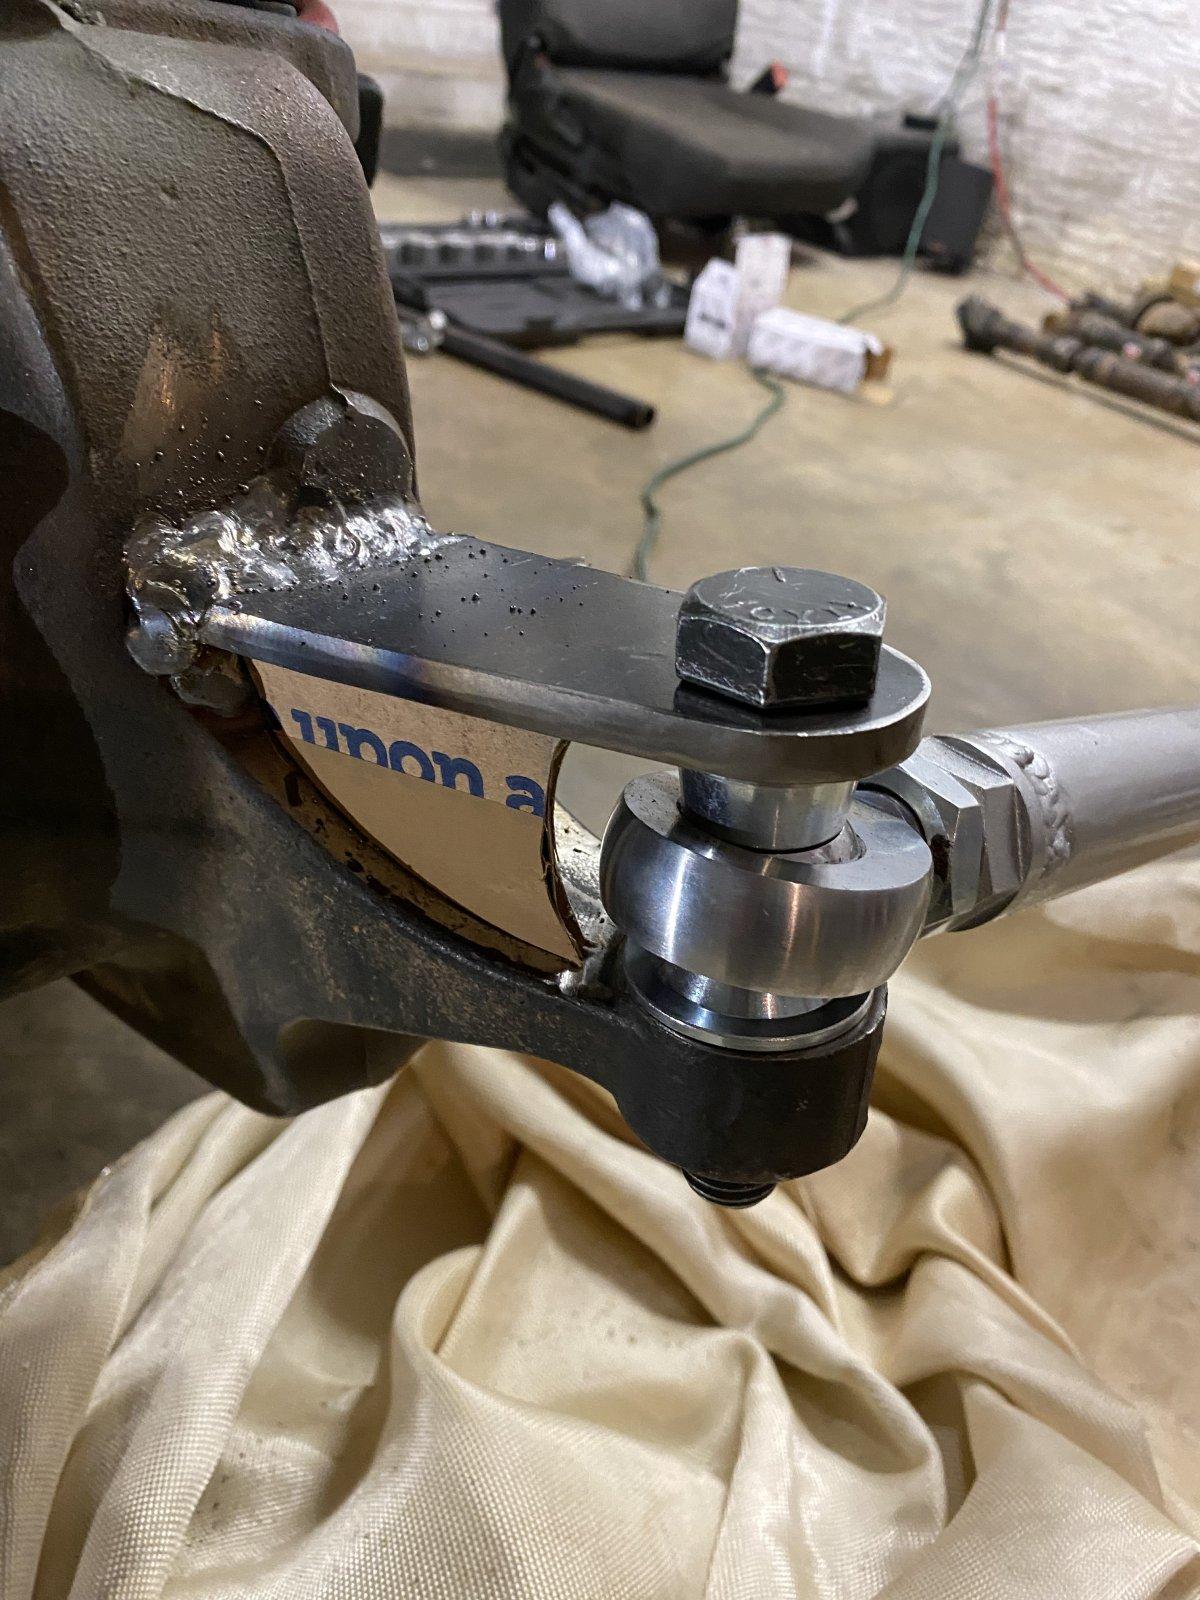
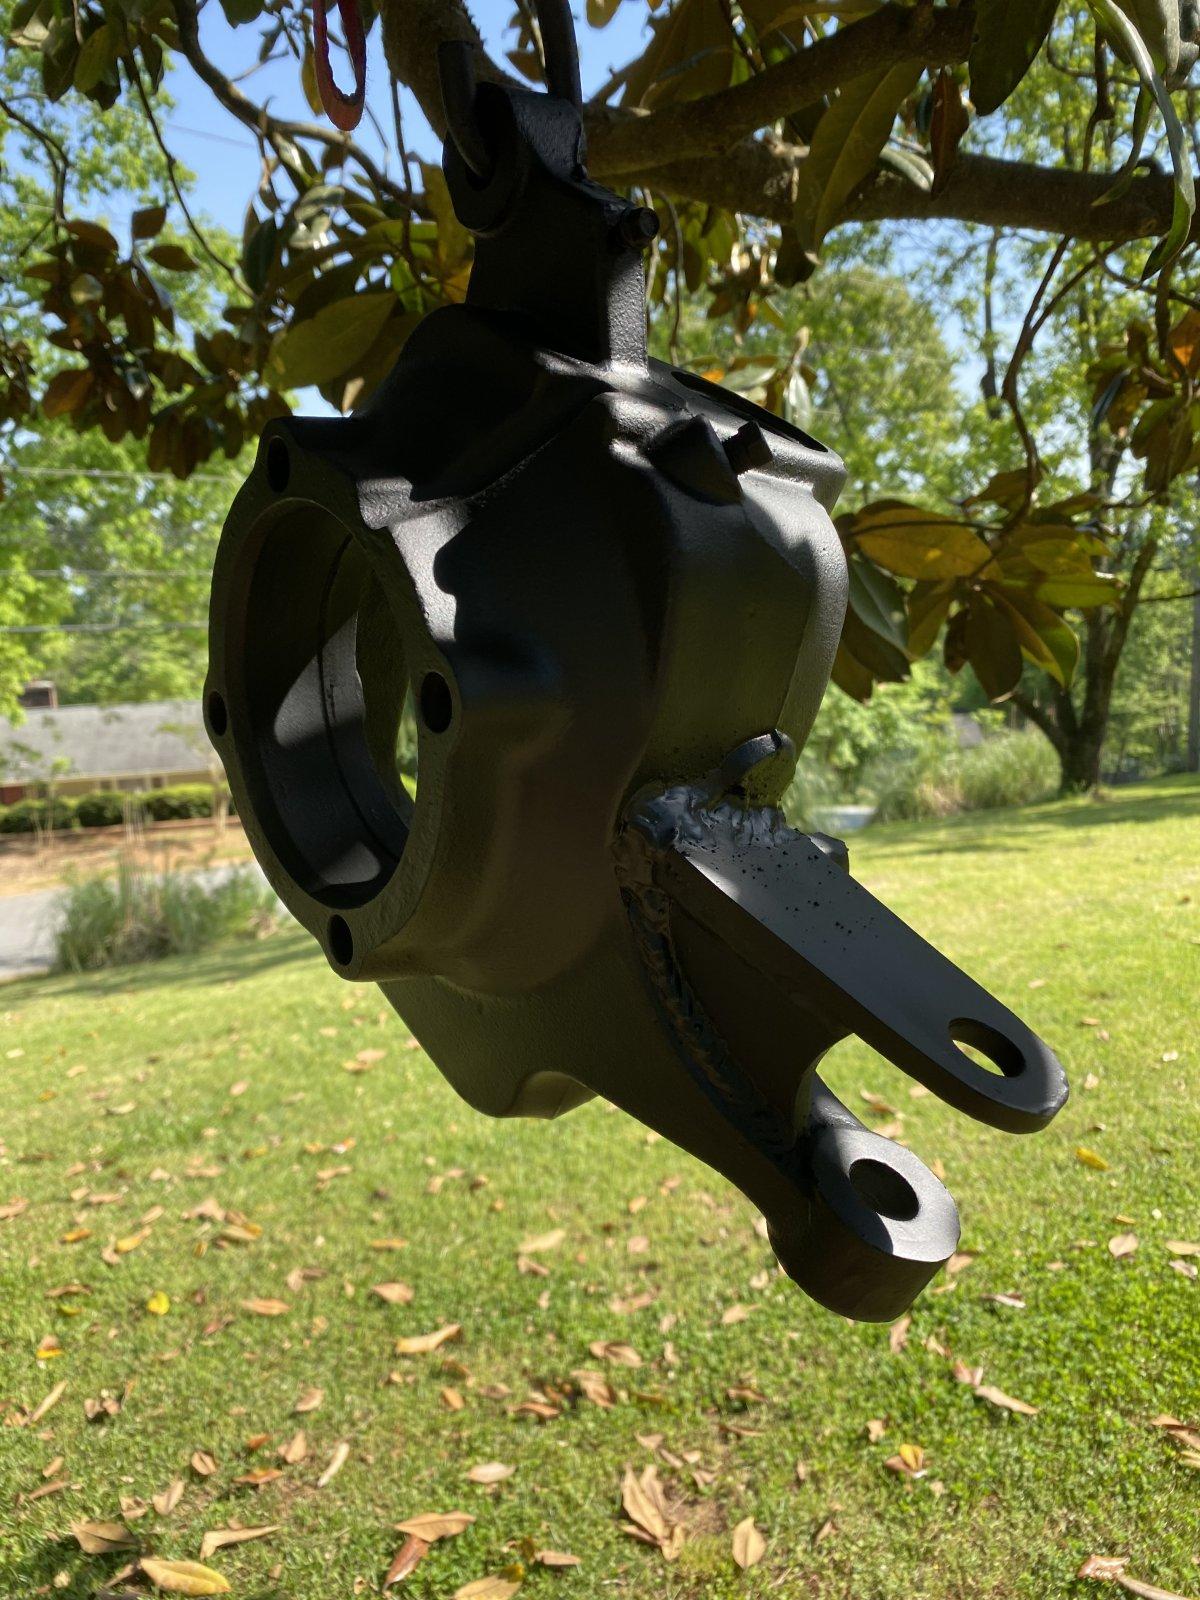
I swapped my steering from TREs to Heims and built some double sheer parts to add to the stock knuckles. I cut the old tie rod down and reused it as a the drag link to save on some tubing.

IMG_3674.JPEG

IMG_3675.JPEG


Some scrap steel to determine thicknesses/orientation of the double sheer bracket.

IMG_3676.JPEG
 
April 2022 (3 days to OSCAR)
I went ahead and started cutting out the pieces I would need to stack my Heims on the passenger knuckle and create a partial double shear. I do hope to go back and add a top plate to the passenger side and do a double sheer set up on the driver knuckle to prevent the bolt from ruining the hole. I also had to go by Tractor Supply for an insert as the TRE previously used had a hole larger than the new grade 8 bolts I was using. Extra Steps.

With a few days before our trip can you tell I'm no where near ready to go? I still had driveshafts, seats, wheel bearings, crossmembers and other bits pulled out of the Jeep!
67280975036__4673480C-EA24-47D5-8B6C-8AB0BBE700E4.JPEG
IMG_3720.JPEG
IMG_3724.JPEG
 
April 2022 (3 days before OSCAR)
With the front axle and steering now buttoned up for our trip, I turned my focus to the doubler, its crossmember and some other components. Since I installed the doubler, I've never been fully pleased with the set up. Having a driver side front axle with a 231/D300 caused a lot of clocking issues. BOTH cases were basically upside down. The smarter thing would have been to convert the front to a Chevy passenger drop axle or get gnarly and chop up the HP Superduty axle to make my own.

Obviously that didn't happen and instead I reclocked the transfer cases to get them out of the floor boards. This resulted in more holes in the back of my transmission. Lowering the transfer case also caused my transmission crossmember to interfere with my front driveshaft, So I went ahead and modified that to have a kick up in it. For last second alterations, it seemed to all work out decently okay. But don't be fooled I was stressed and frustrated. Nothing like waiting to the last minute to prep for a wheeling trip! :rolleyes:

67244205506__2F4C7700-BA71-4891-A72F-542BCE0BC82C.JPEG

IMG_3704.JPEG


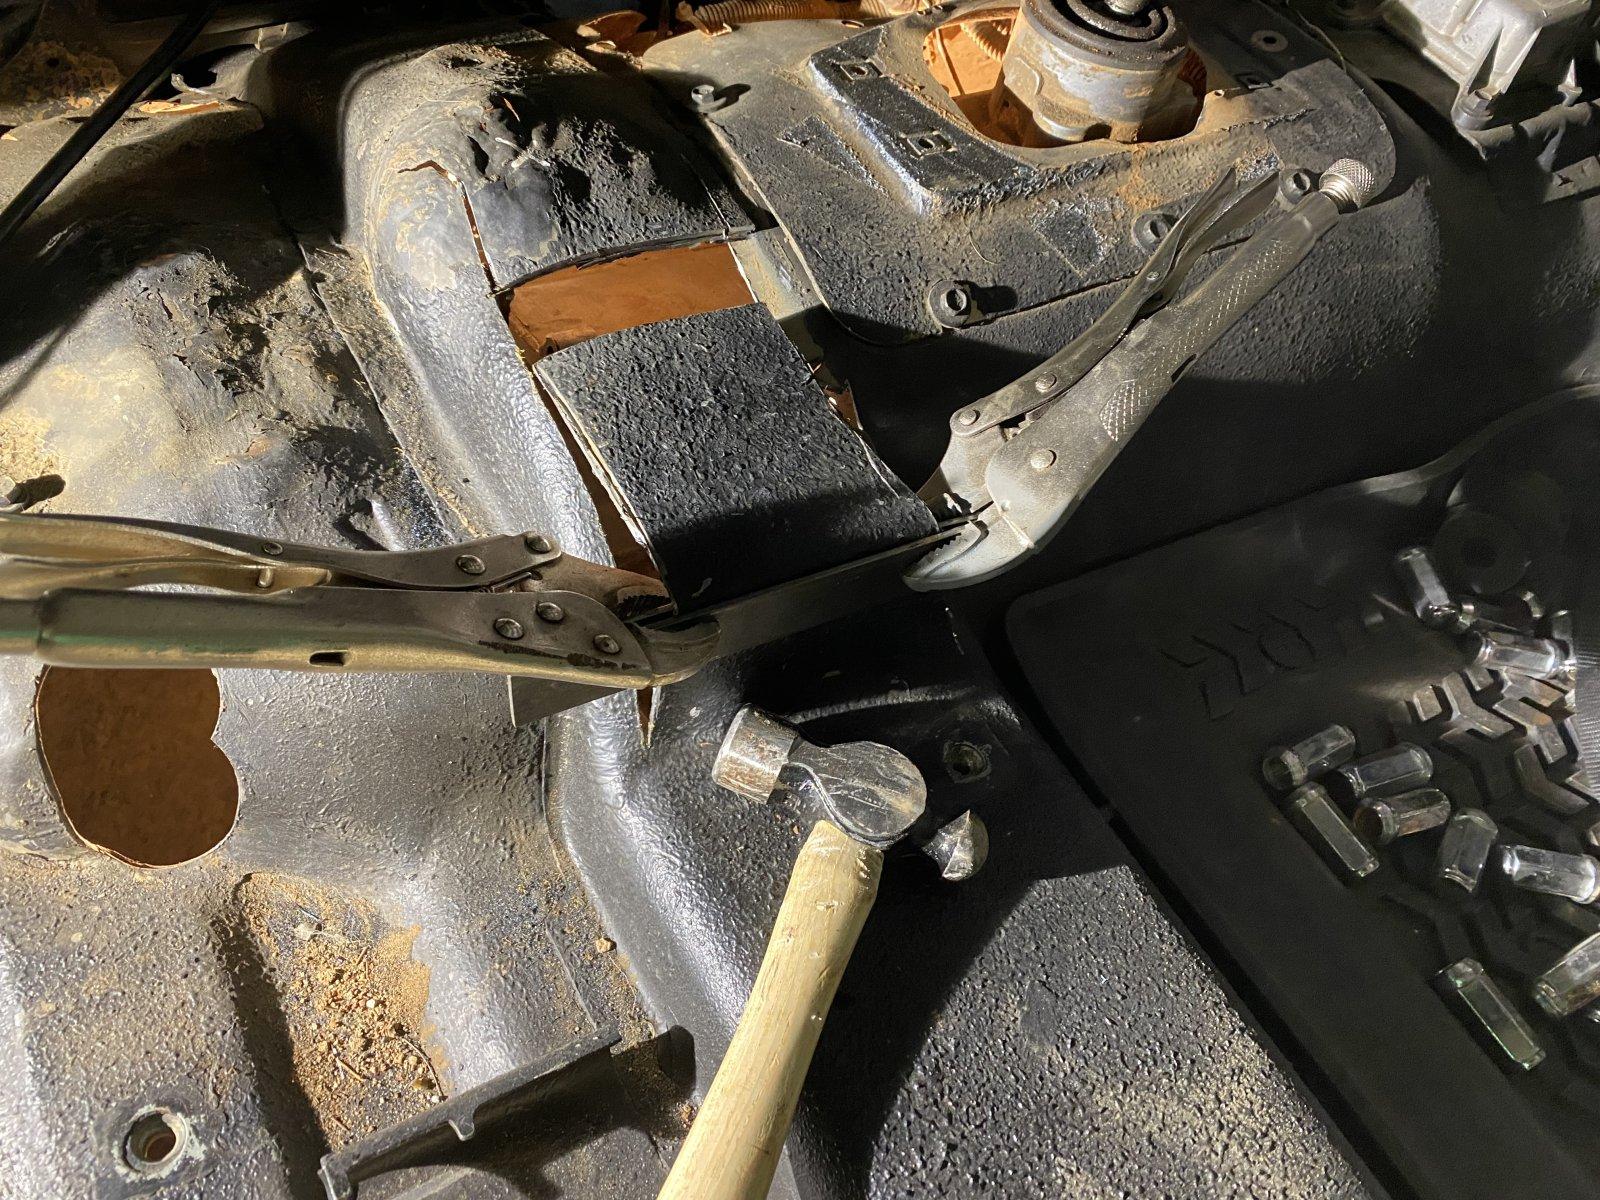
A little floor modification to make that flipped 231 fit under the passenger seat.

IMG_3705.JPEG
IMG_3708.JPEG


The transmission crossmember prior to reclocking the t cases.

IMG_3698.JPEG


The hoop I had bent at the local muffler shop so the front driveshaft had clearance.

IMG_3725.JPEG


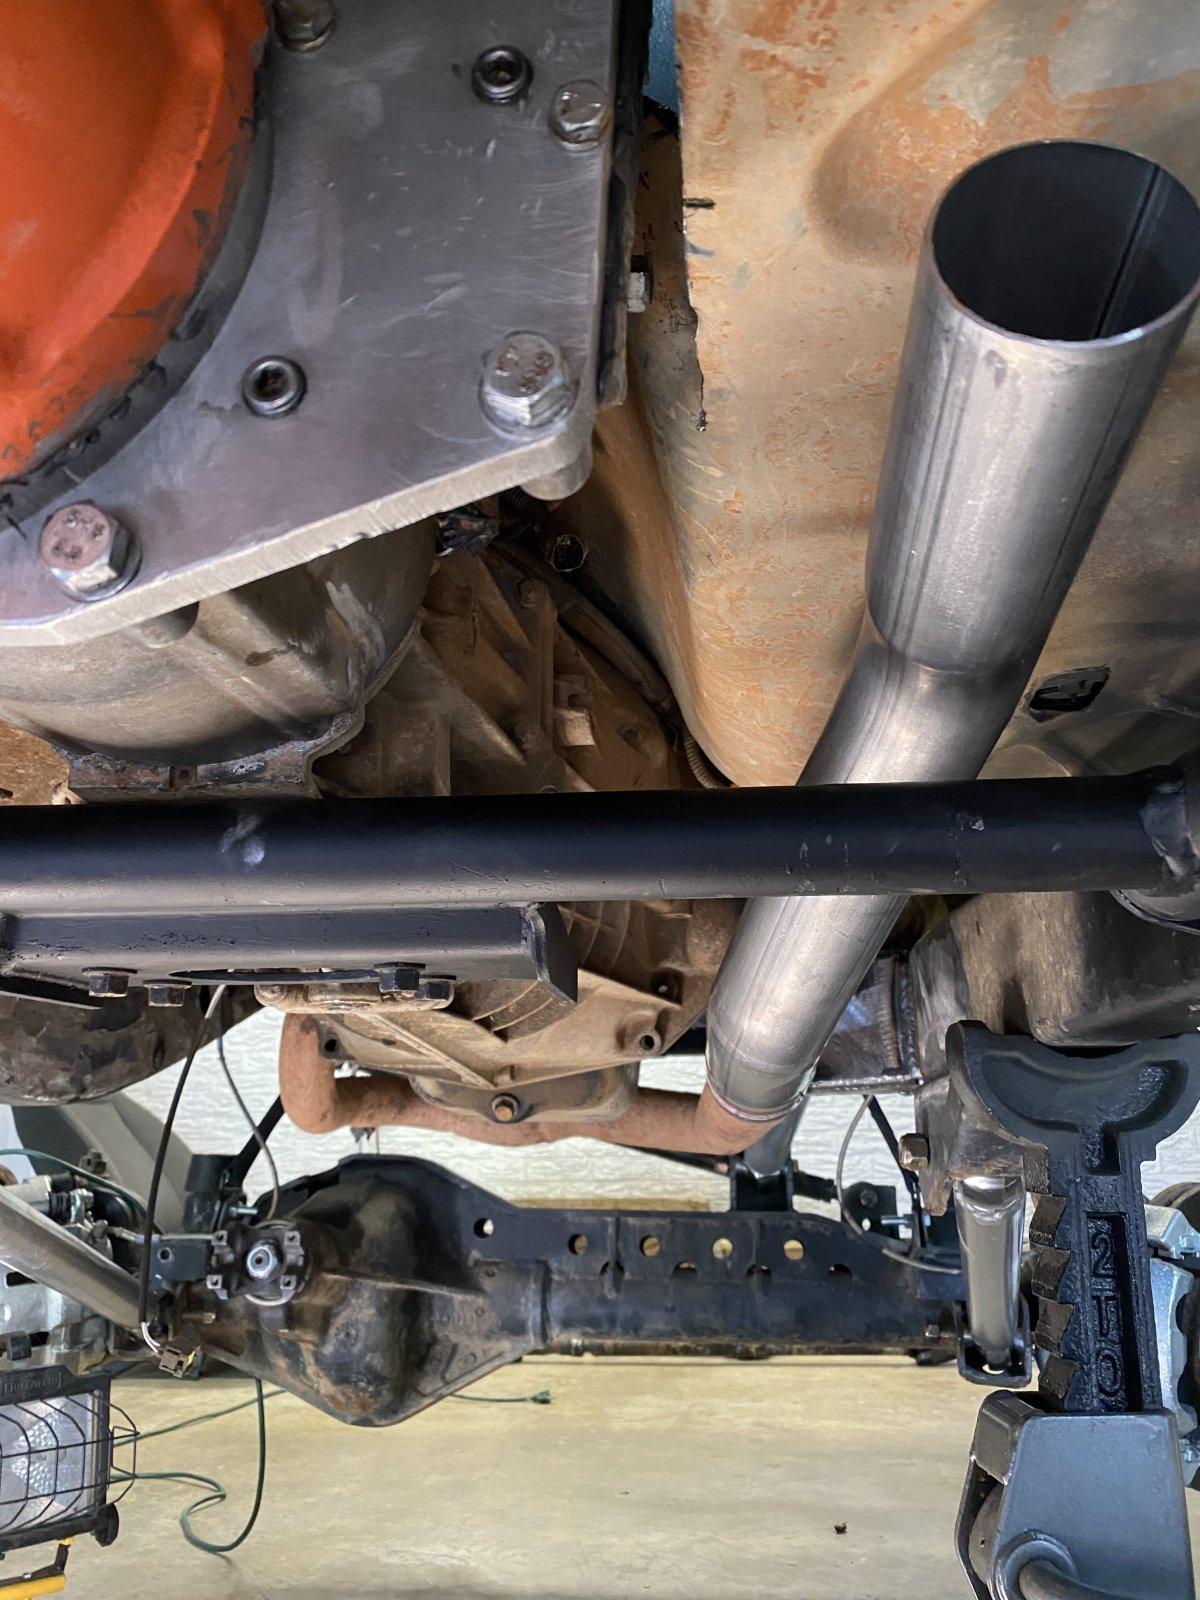
Glenn's Muffler Shop was also kind enough to bend me an offset for my exhaust to clear up and over my transmission and 4 link crossmembers.

IMG_3714.JPEG
 
April 2022 (2 days to OSCAR)
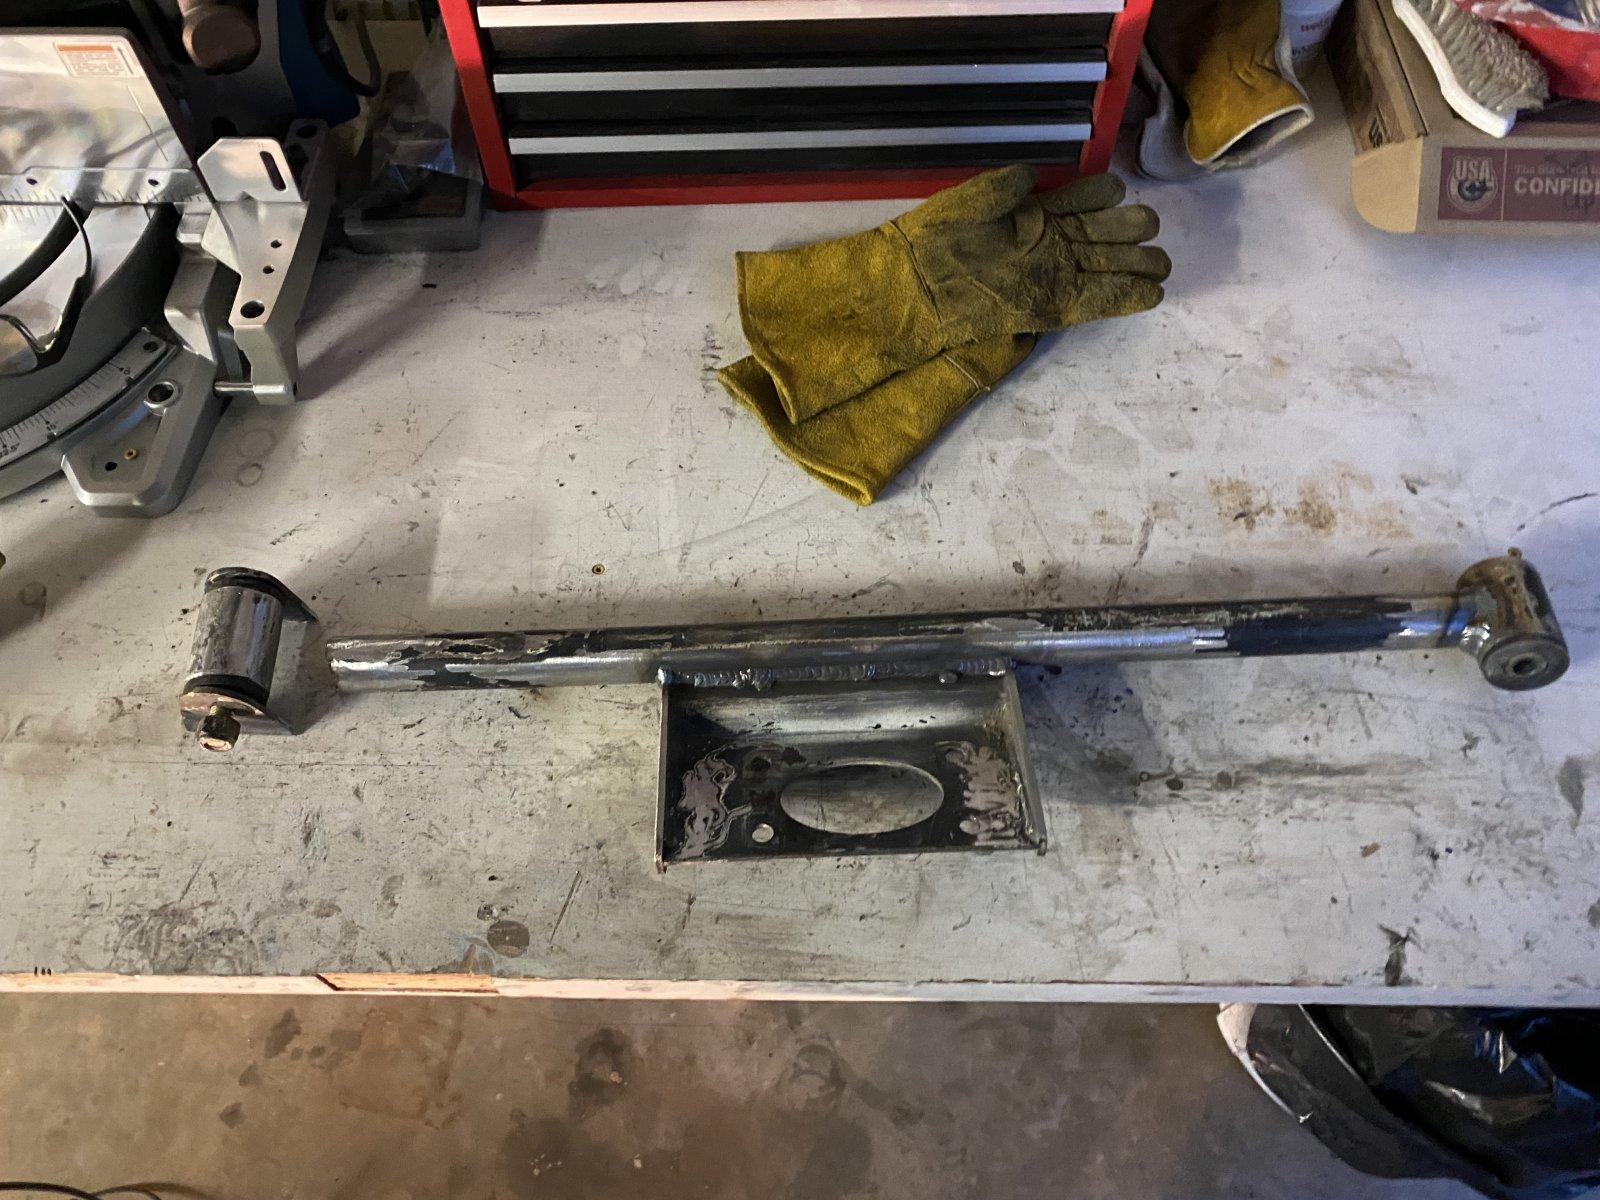
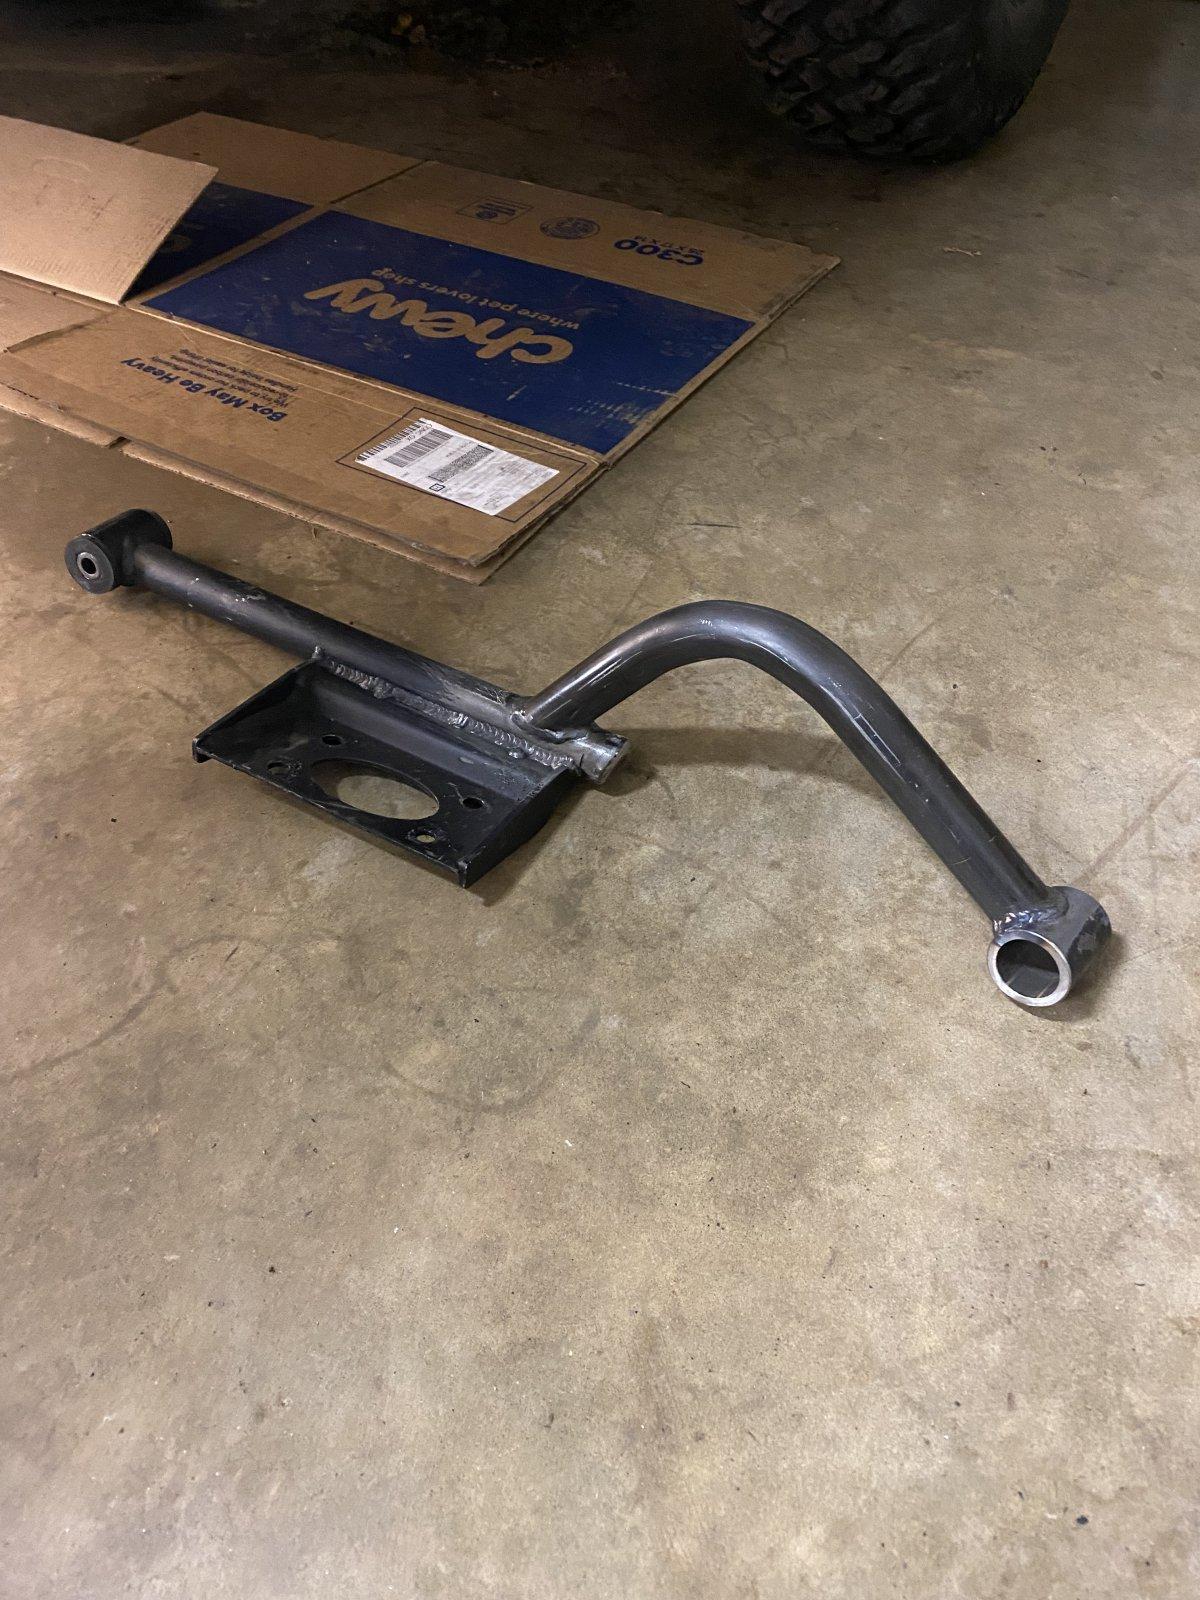
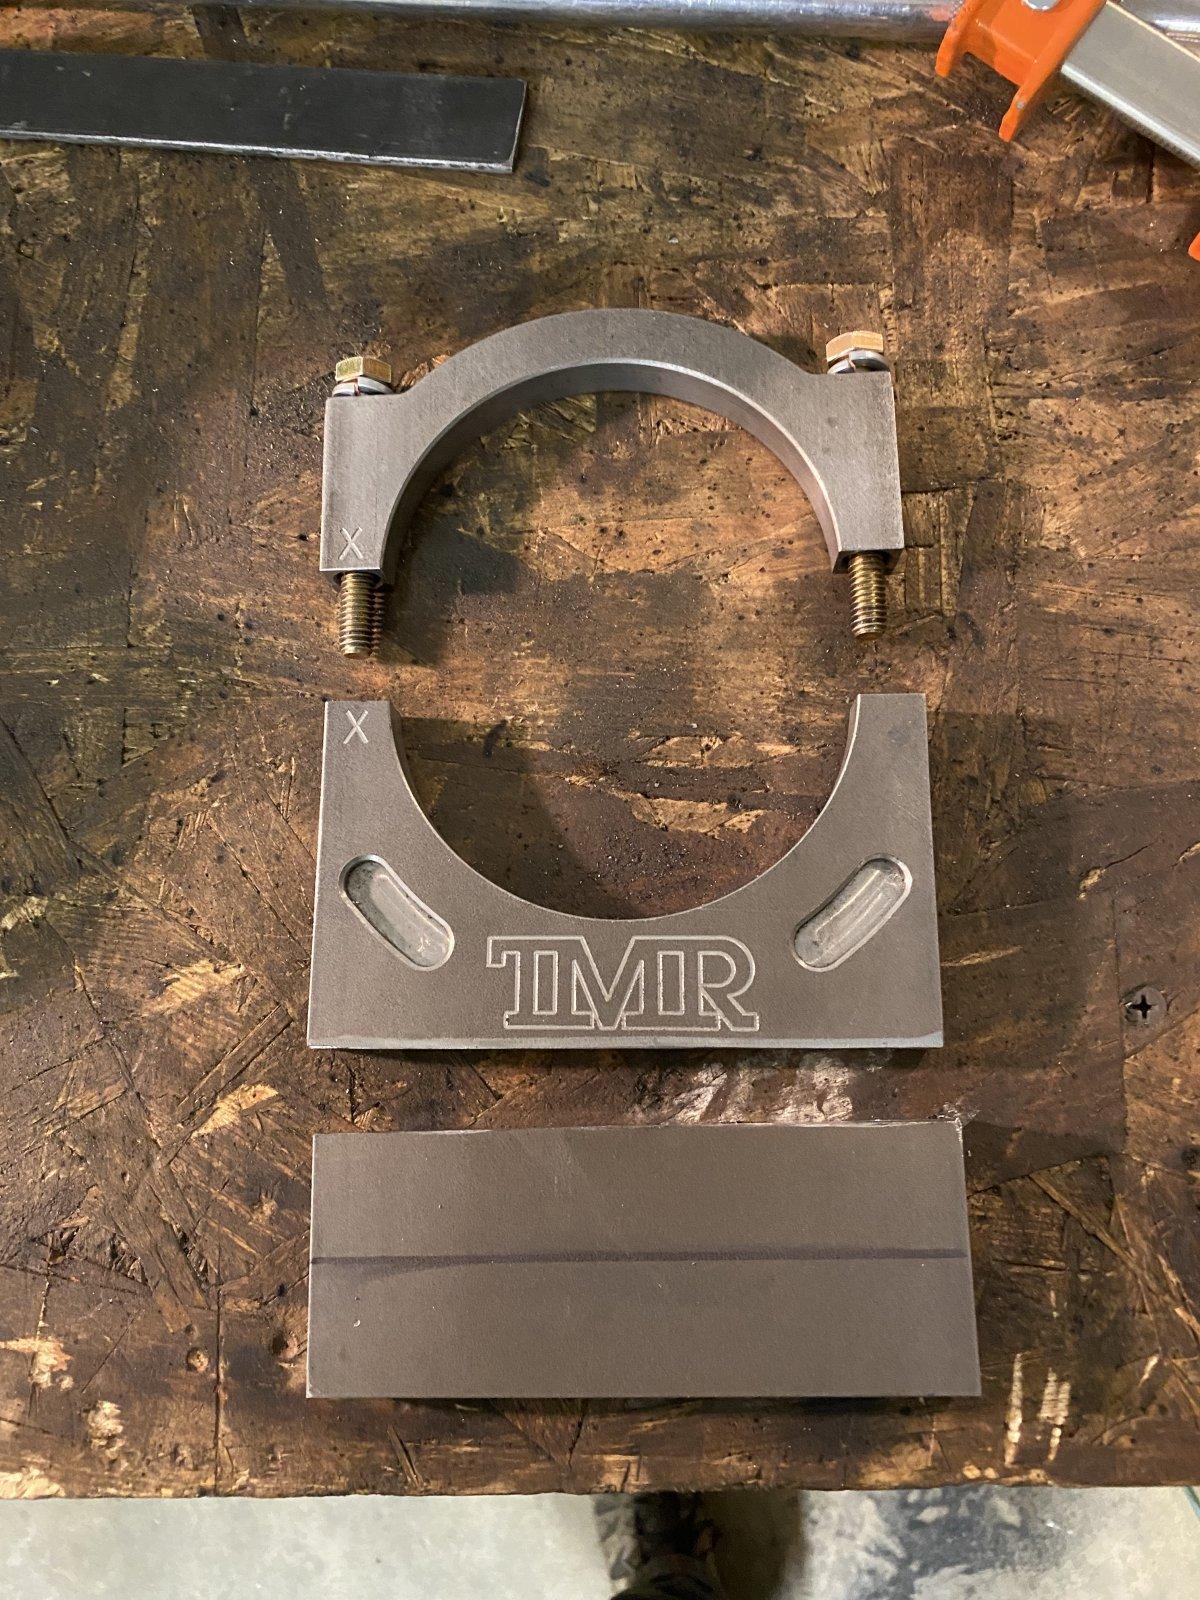
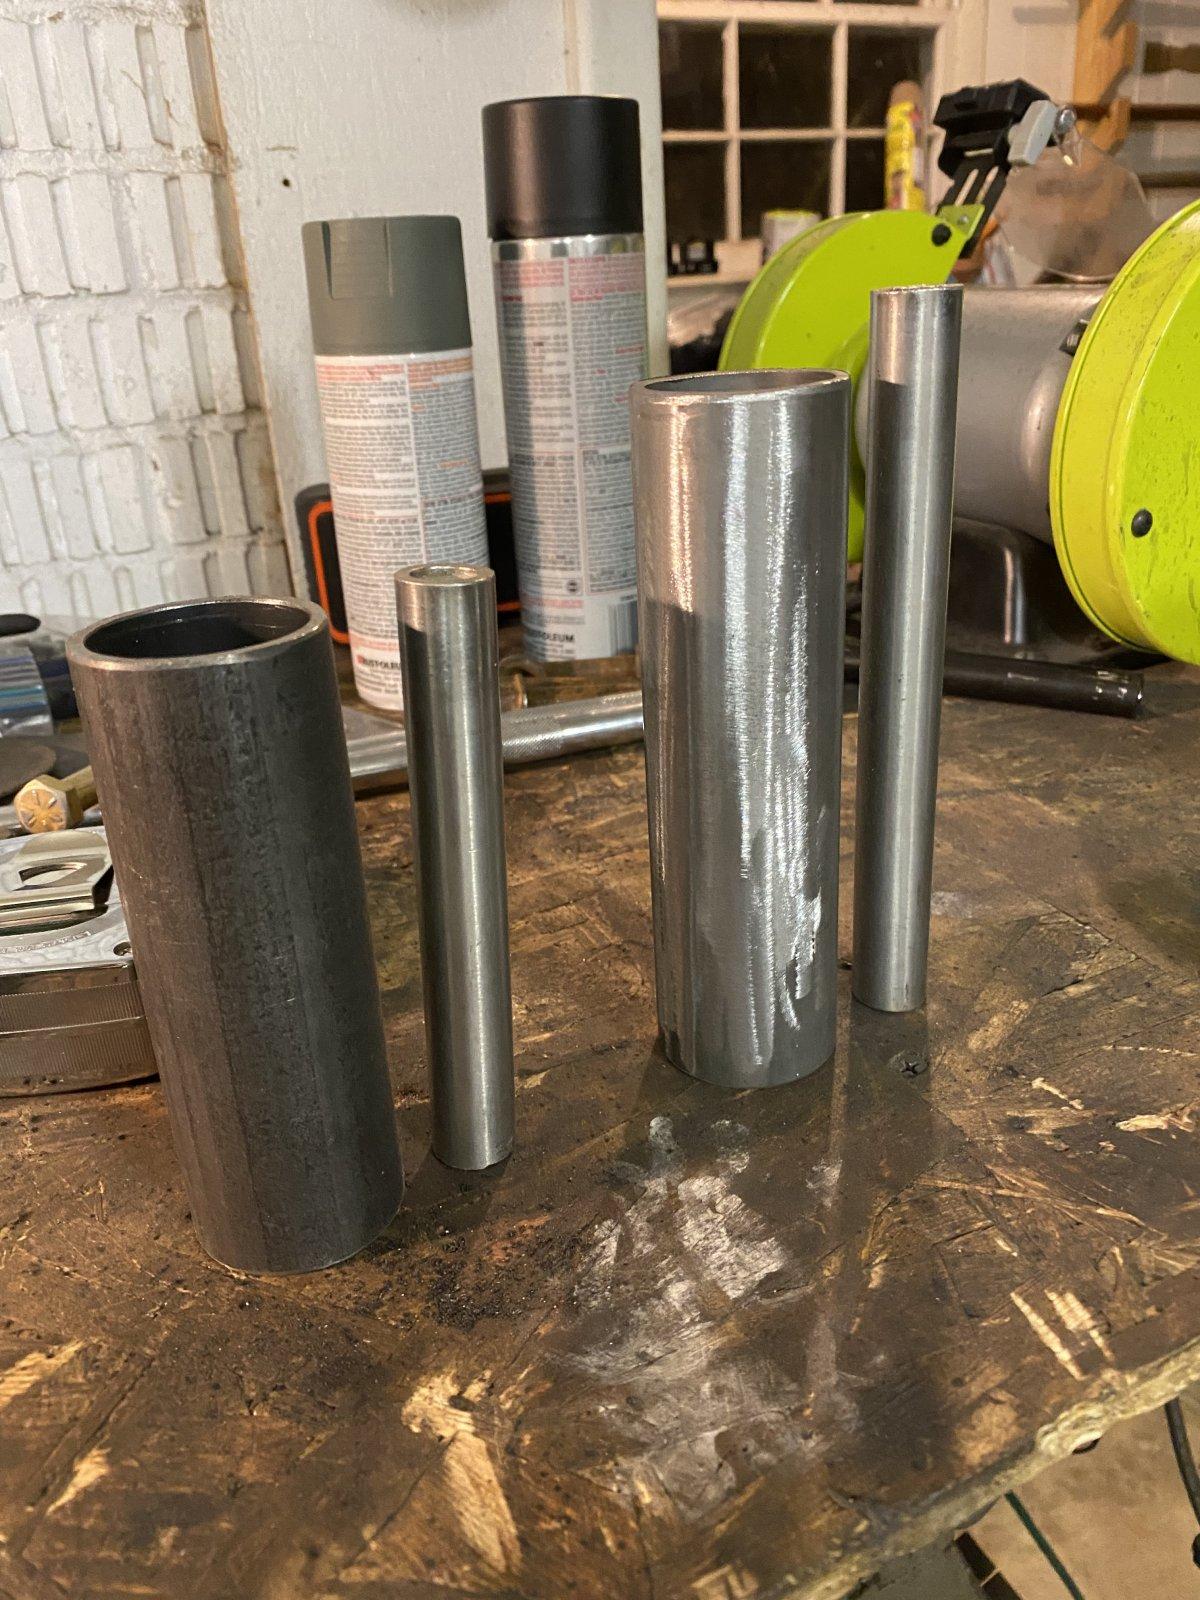
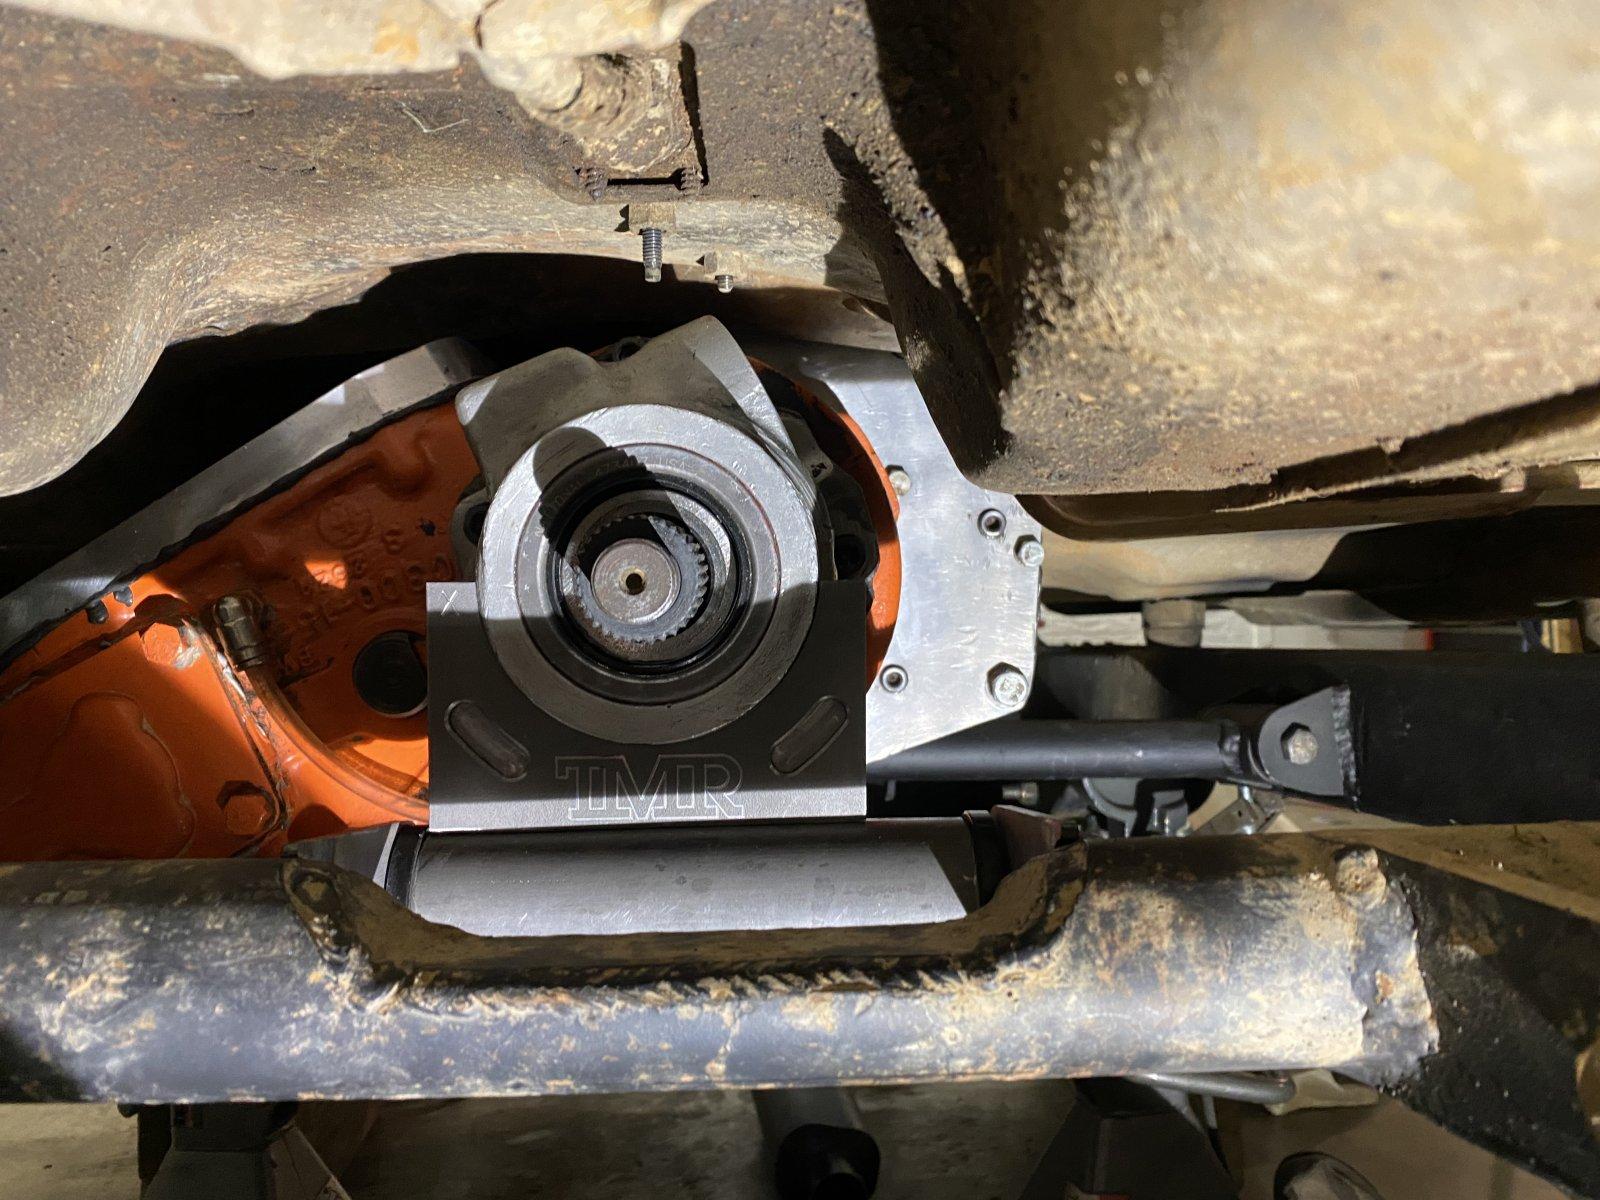
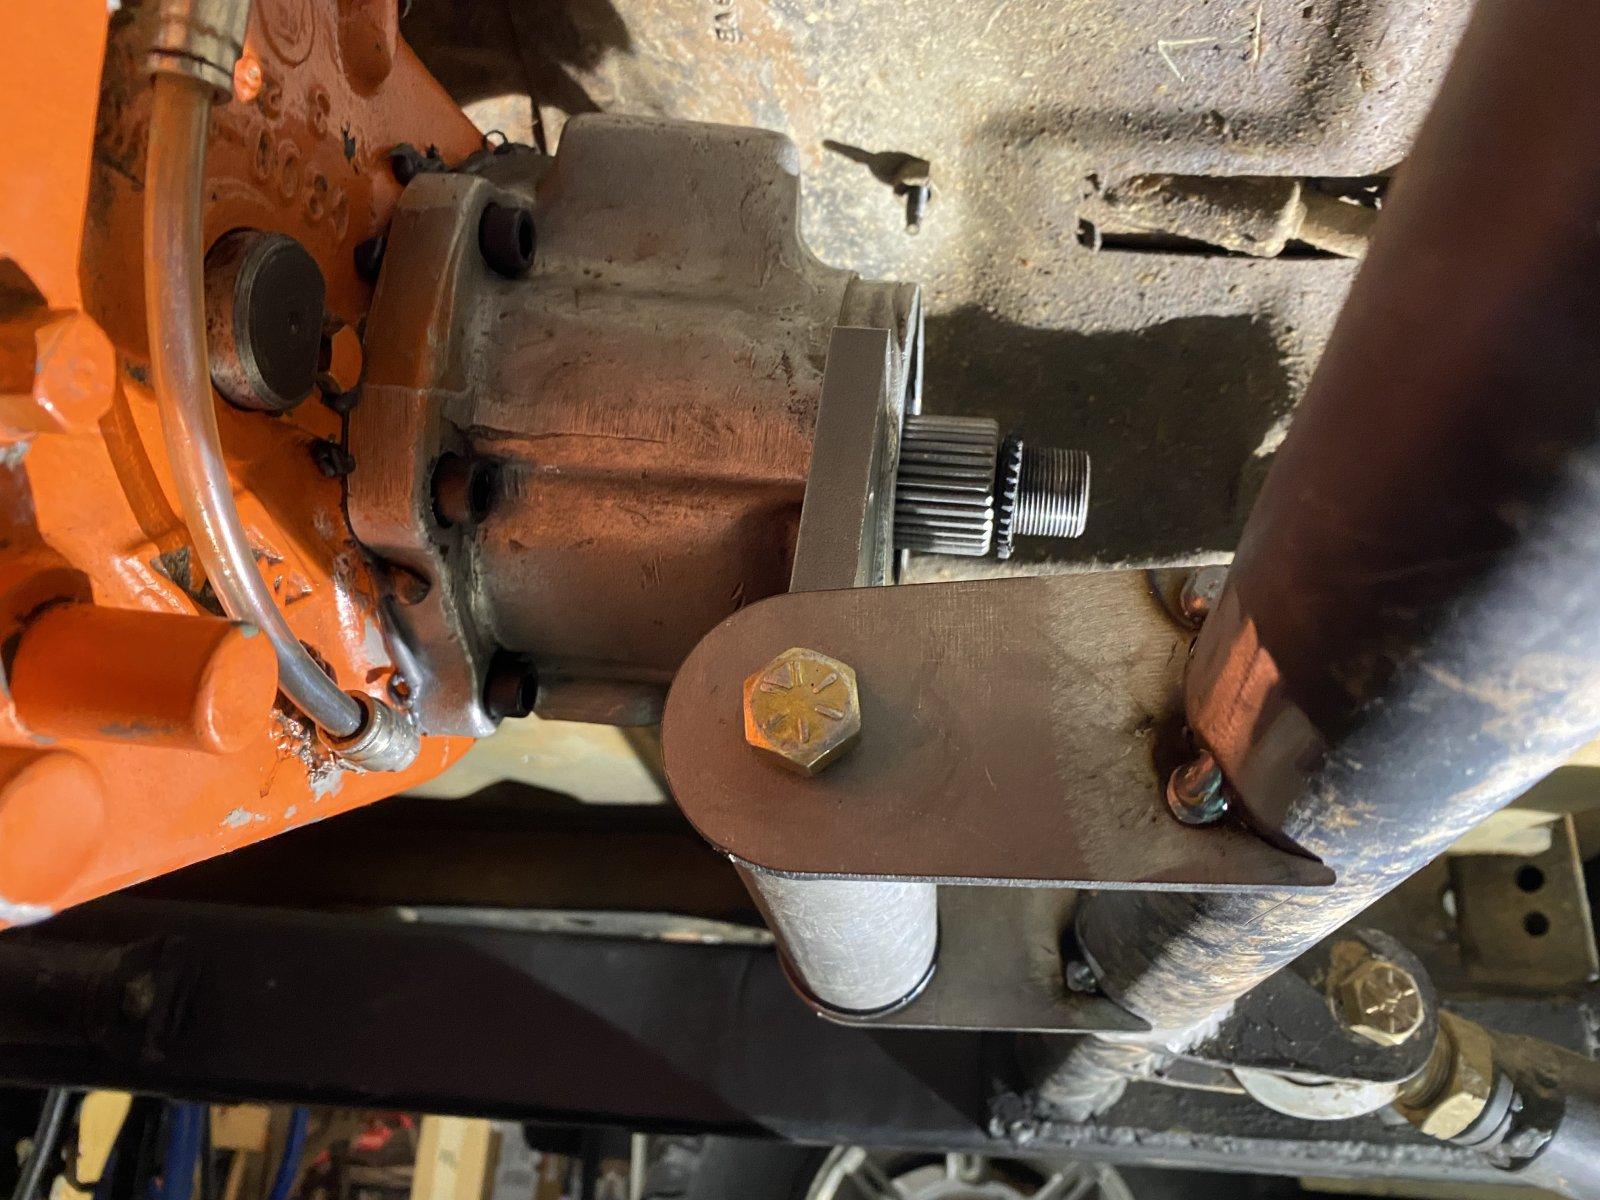
The doubler was sorted out (for the most part) so I threw together a new tail housing support using a a TMR kit. The kit worked out great and allowed me to get rid of the old 'custom' fit stuff I made back in college. it was a much needed improvement for the driveline support. I did however extend the bushing piece at the bottom to fit around the cutout in my 4 link crossmember.

IMG_3716.JPEG

IMG_3715.JPEG

IMG_3717.JPEG
IMG_3718.JPEG


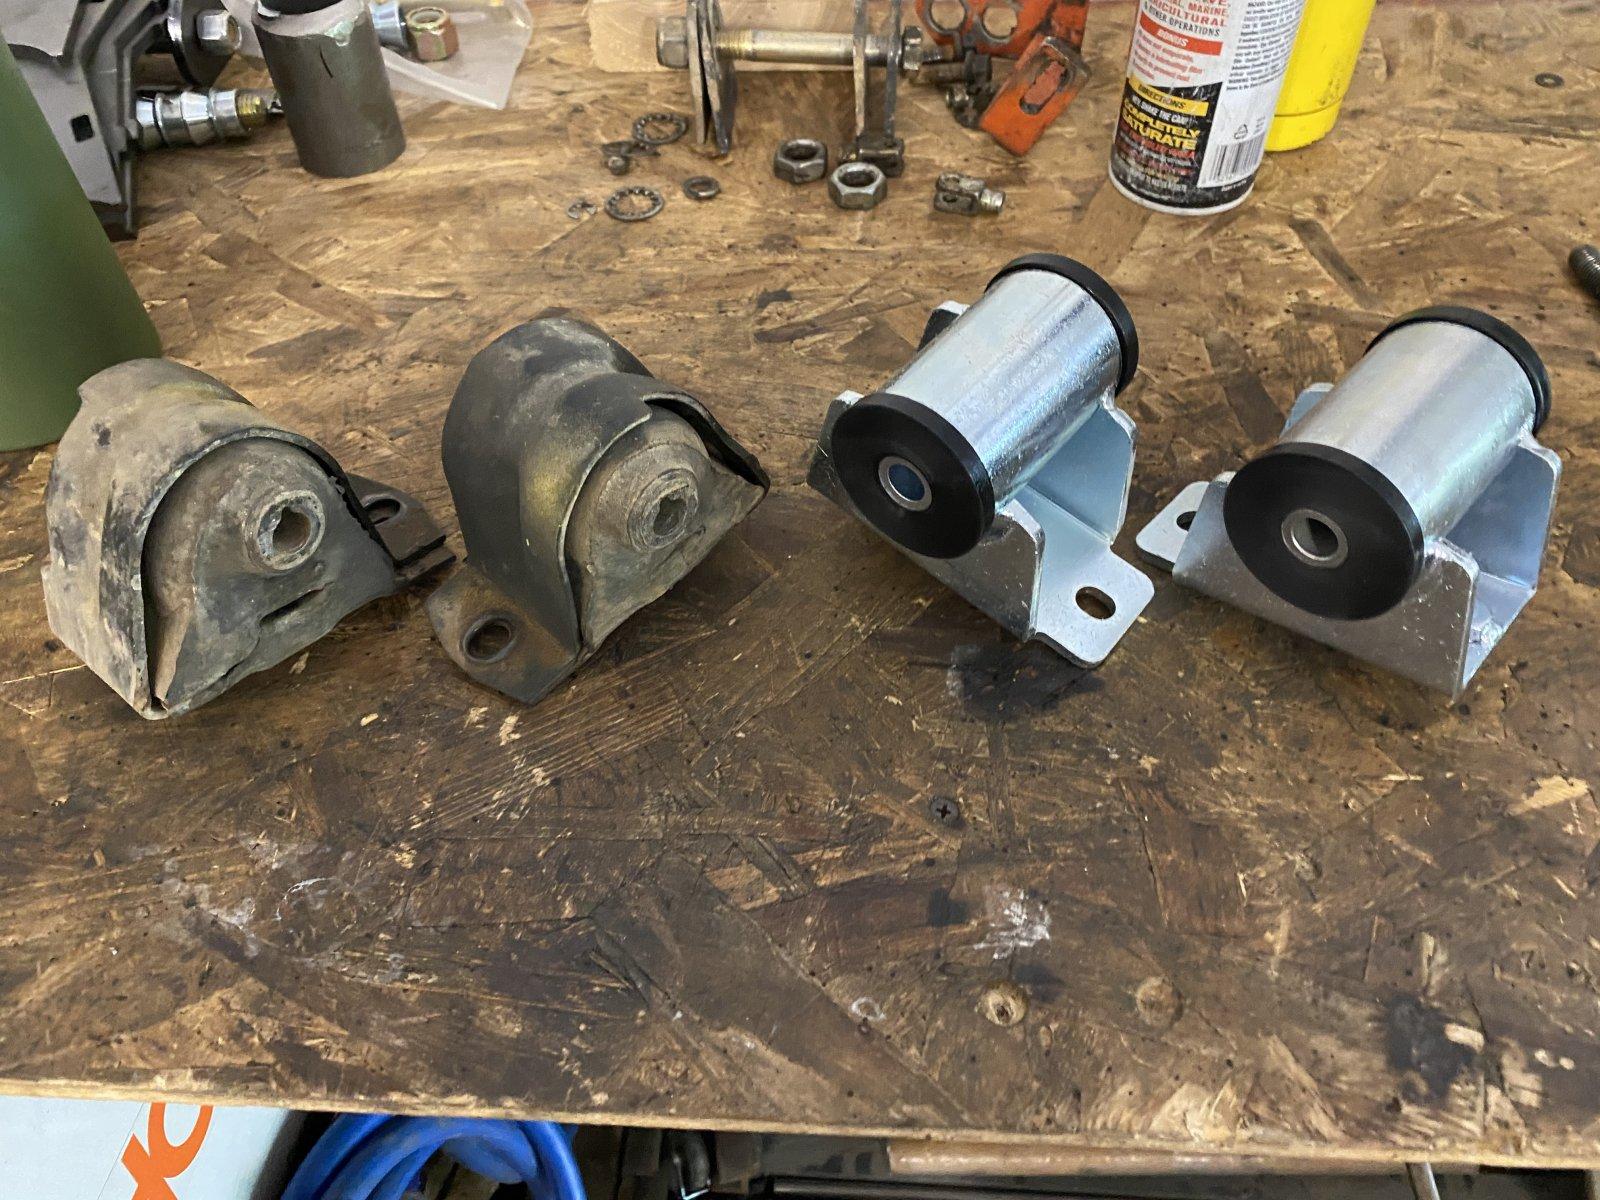
With the upgrades to the crossmember and tail housing supports it only made sense to finally swap the rubber motor mounts for poly ones. Doing so ensured that the drivetrain would not twist and possibly crack a bellhousing due to the different materials in the mounts.

IMG_3692.JPEG


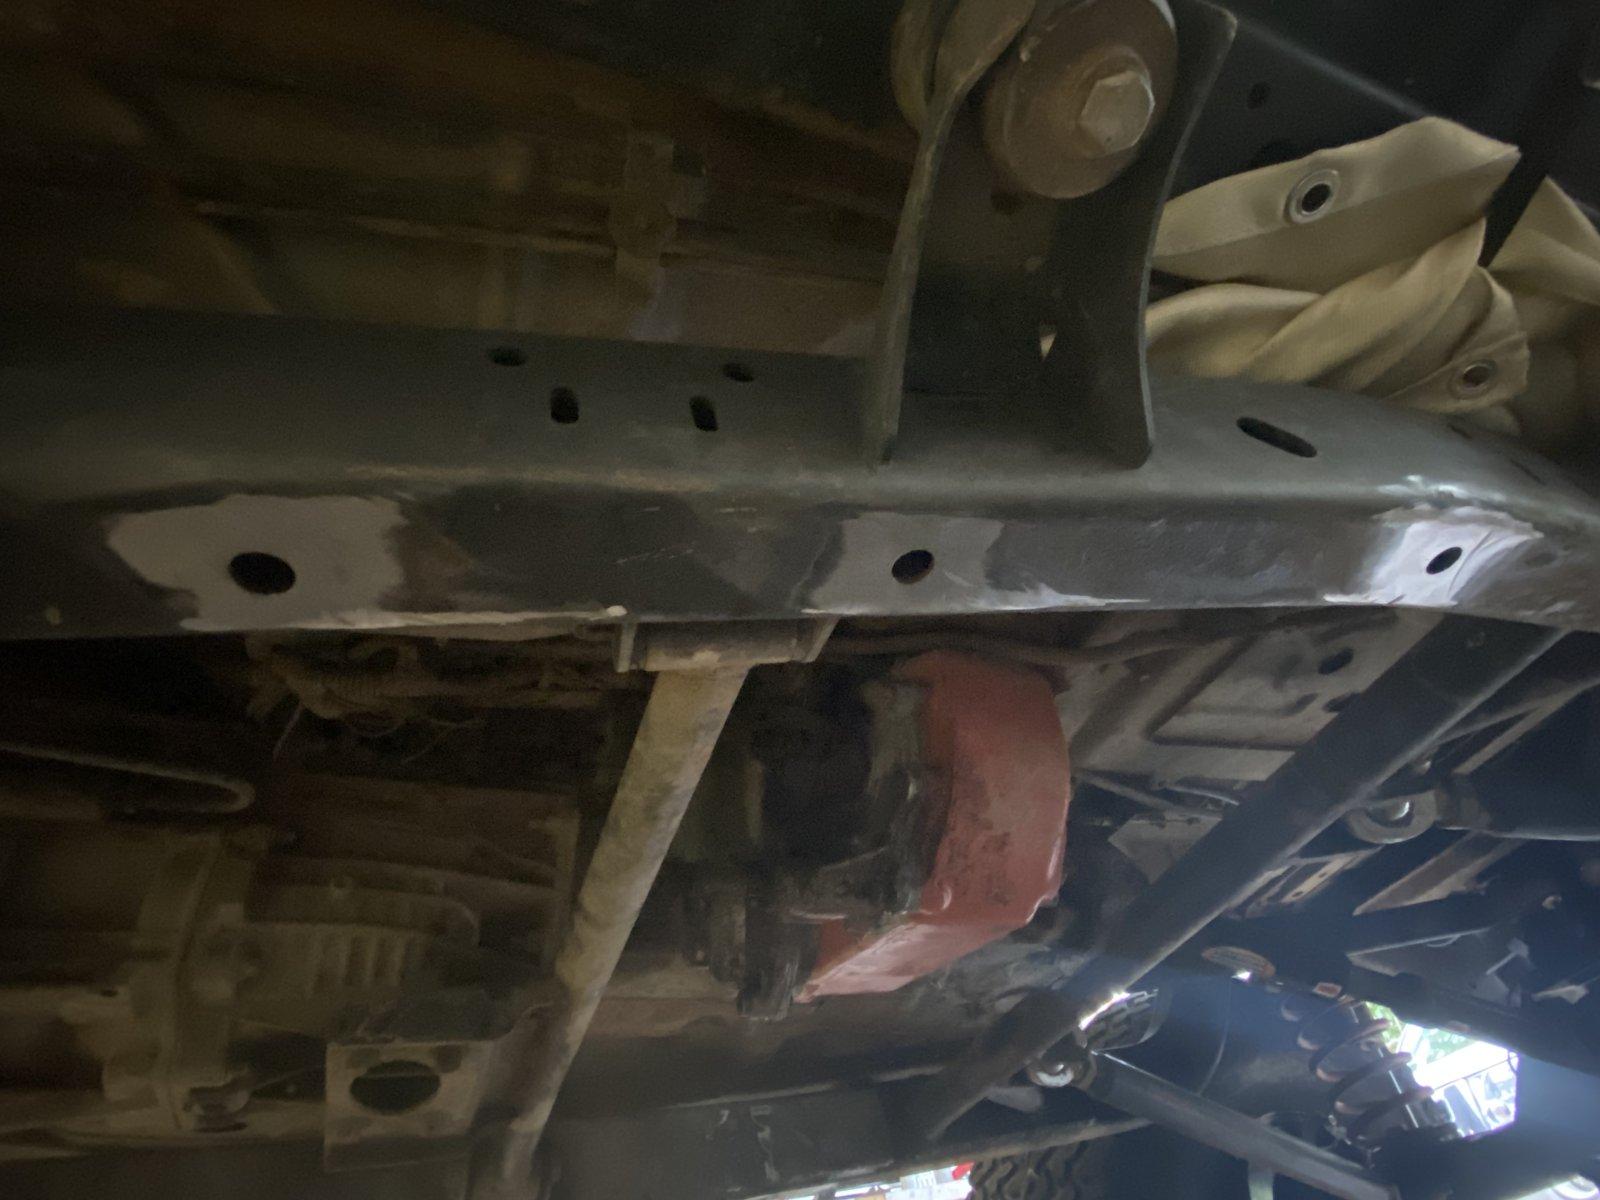
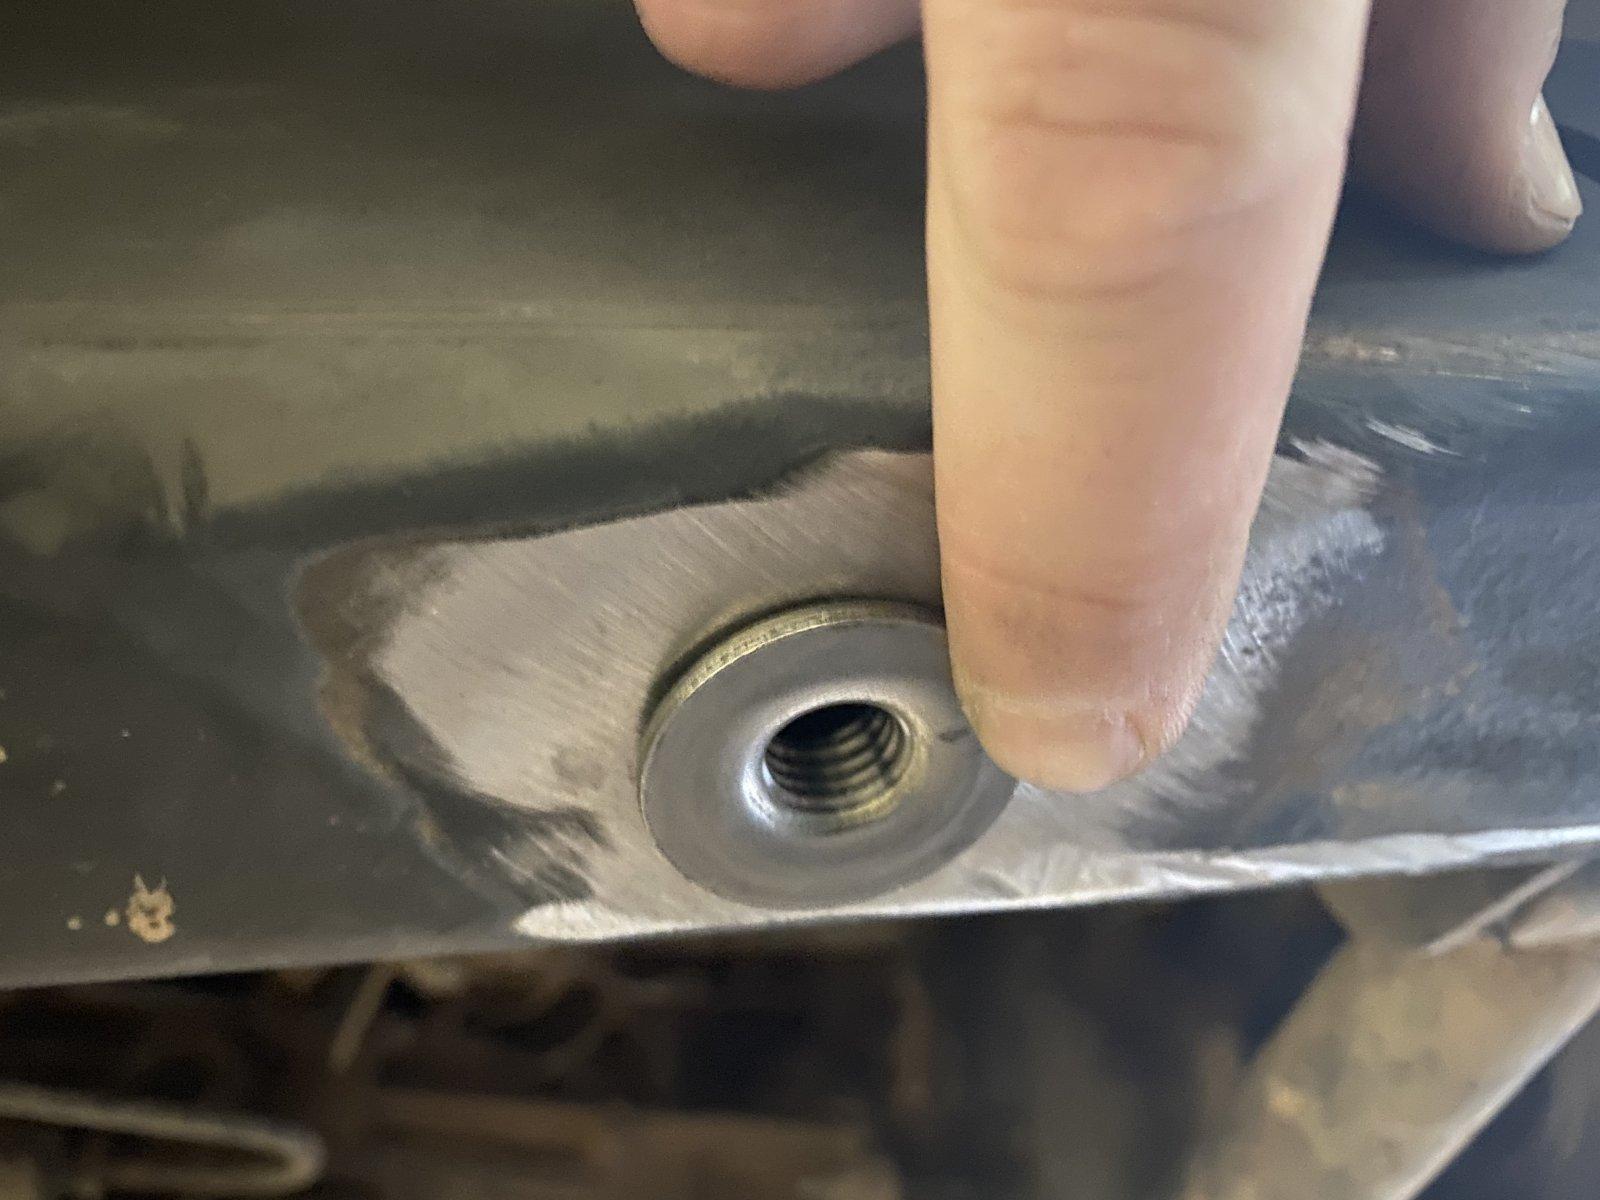
Driveshafts were put back and two of the three shift cables were reinstalled. I wrapped up the installation of some of the interior bits and I drilled out the stripped/broken skid plate inserts in the frame and welding in some new ones from McMaster-Carr. Skid plates were loaded into the truck bed and I installed them on the trailer in Harlan! :ROFLMAO:

IMG_3593.JPEG

IMG_3594.JPEG
 
April 2022 (OSCAR)

At this point I buttoned up what else I could. We loaded up for OSCAR and hit the road. I think we even delayed leaving for a few hours as I was waiting on a new shifter cable to arrive from UPS for the transfer case. I did a good bit of install on the trailer later that friday evening including the cable and my skid plates.

OSCAR was very short lived for us. We went out with the Clemson 4 Wheel group to run Mason Jar. The trail has been seriously torn up at the entrance and so on the new 'bypass' climb into the trail, I managed to tear my right upper control arm mount clean off the frame in the rear. This caused the axle o shift under the Jeep and cause a bit of body damage. We were pretty well stuck on the hill climb and had to get assistance to pull it back off to flat ground.

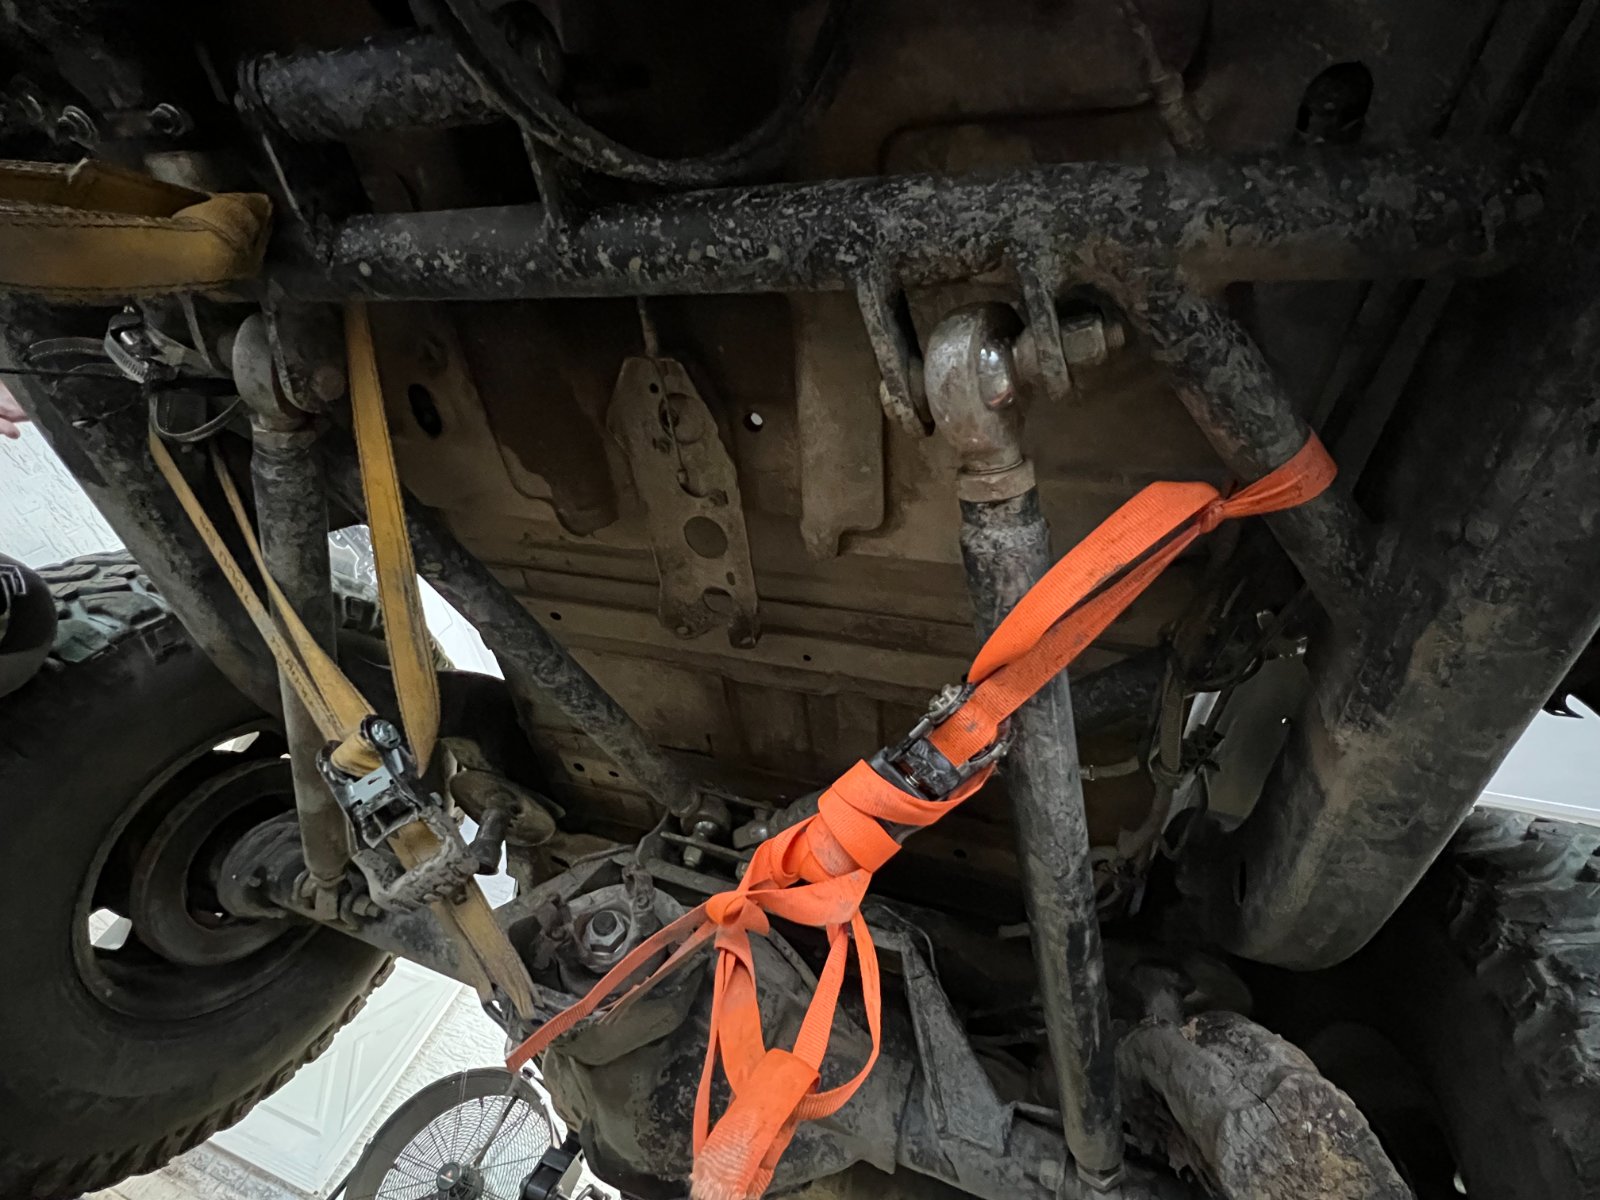
A group of friends stuck around to help me remove broken parts and mend it enough to get back to the trailer. We used a large log to hold the Jeep up off the axle and ratchet strapped, duct taped and hose strapped everything we could into place. It was a rough ride to camp but we finally got down and loaded the Jeep.

Unfortunately, we didn't take many photos. I do know there is a video of me breaking out there somewhere and will add it in if I can ever get my hands on it.

If you look closely, you can see the log in the bottom right corner of this picture.

IMG_4039.JPEG
 
Last edited:
June 2022

We made it back from OSCAR and I pretty much walked away from the Jeep. It lived on my trailer for some months under the tree in our driveway and I went about other projects and a new job. After some encouragement from the Clemson 4 Wheel crew, I did start digging back into what went wrong, making repairs and slowly acquiring new parts.

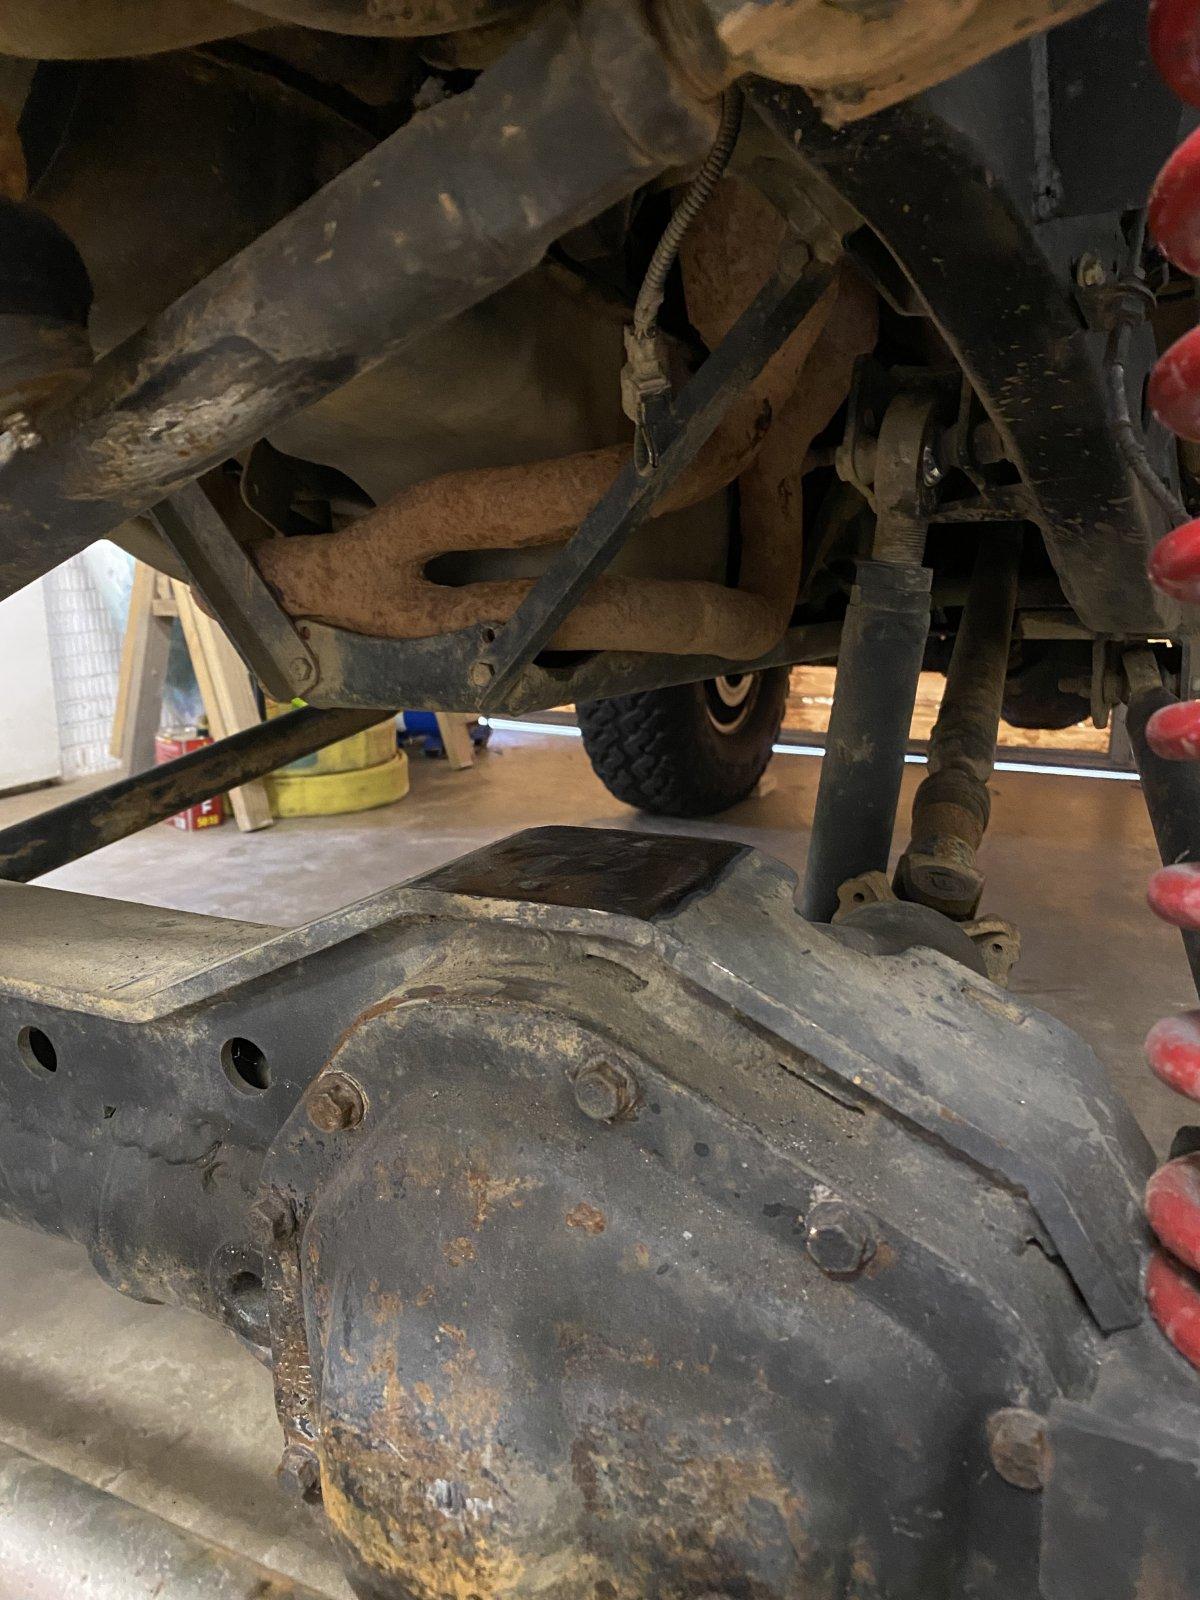
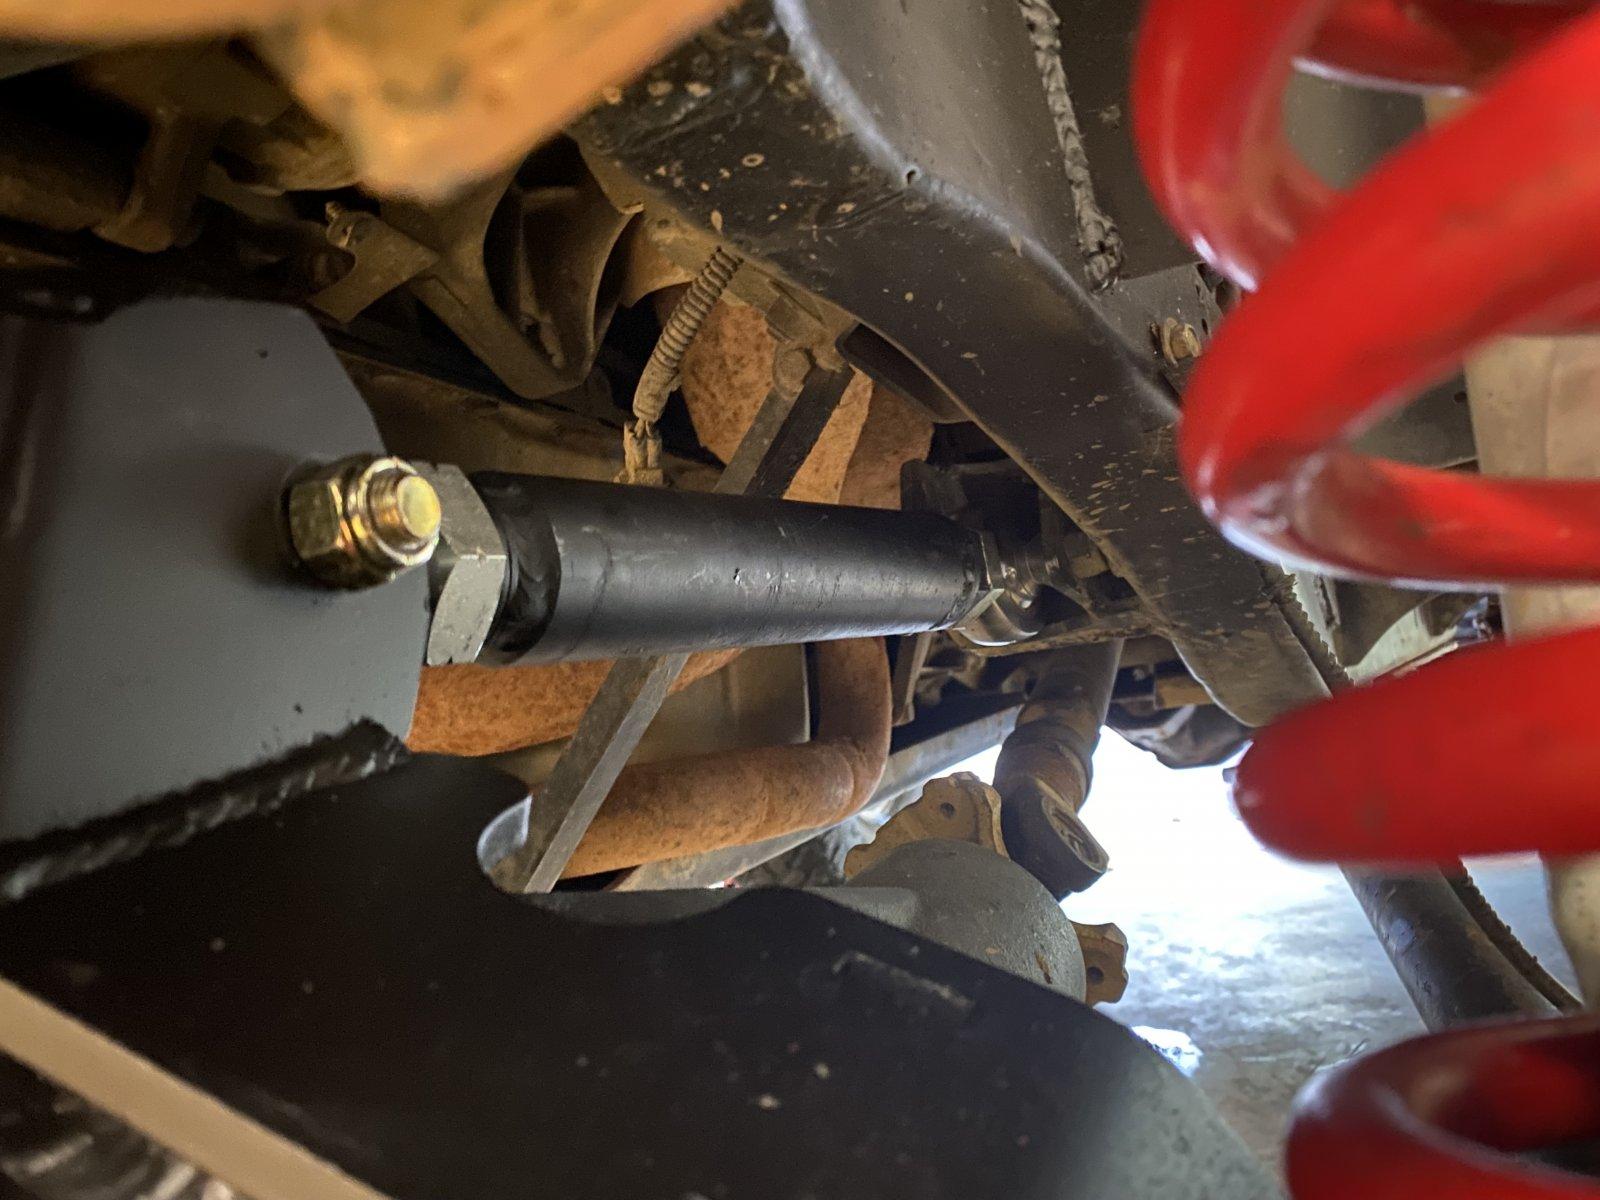
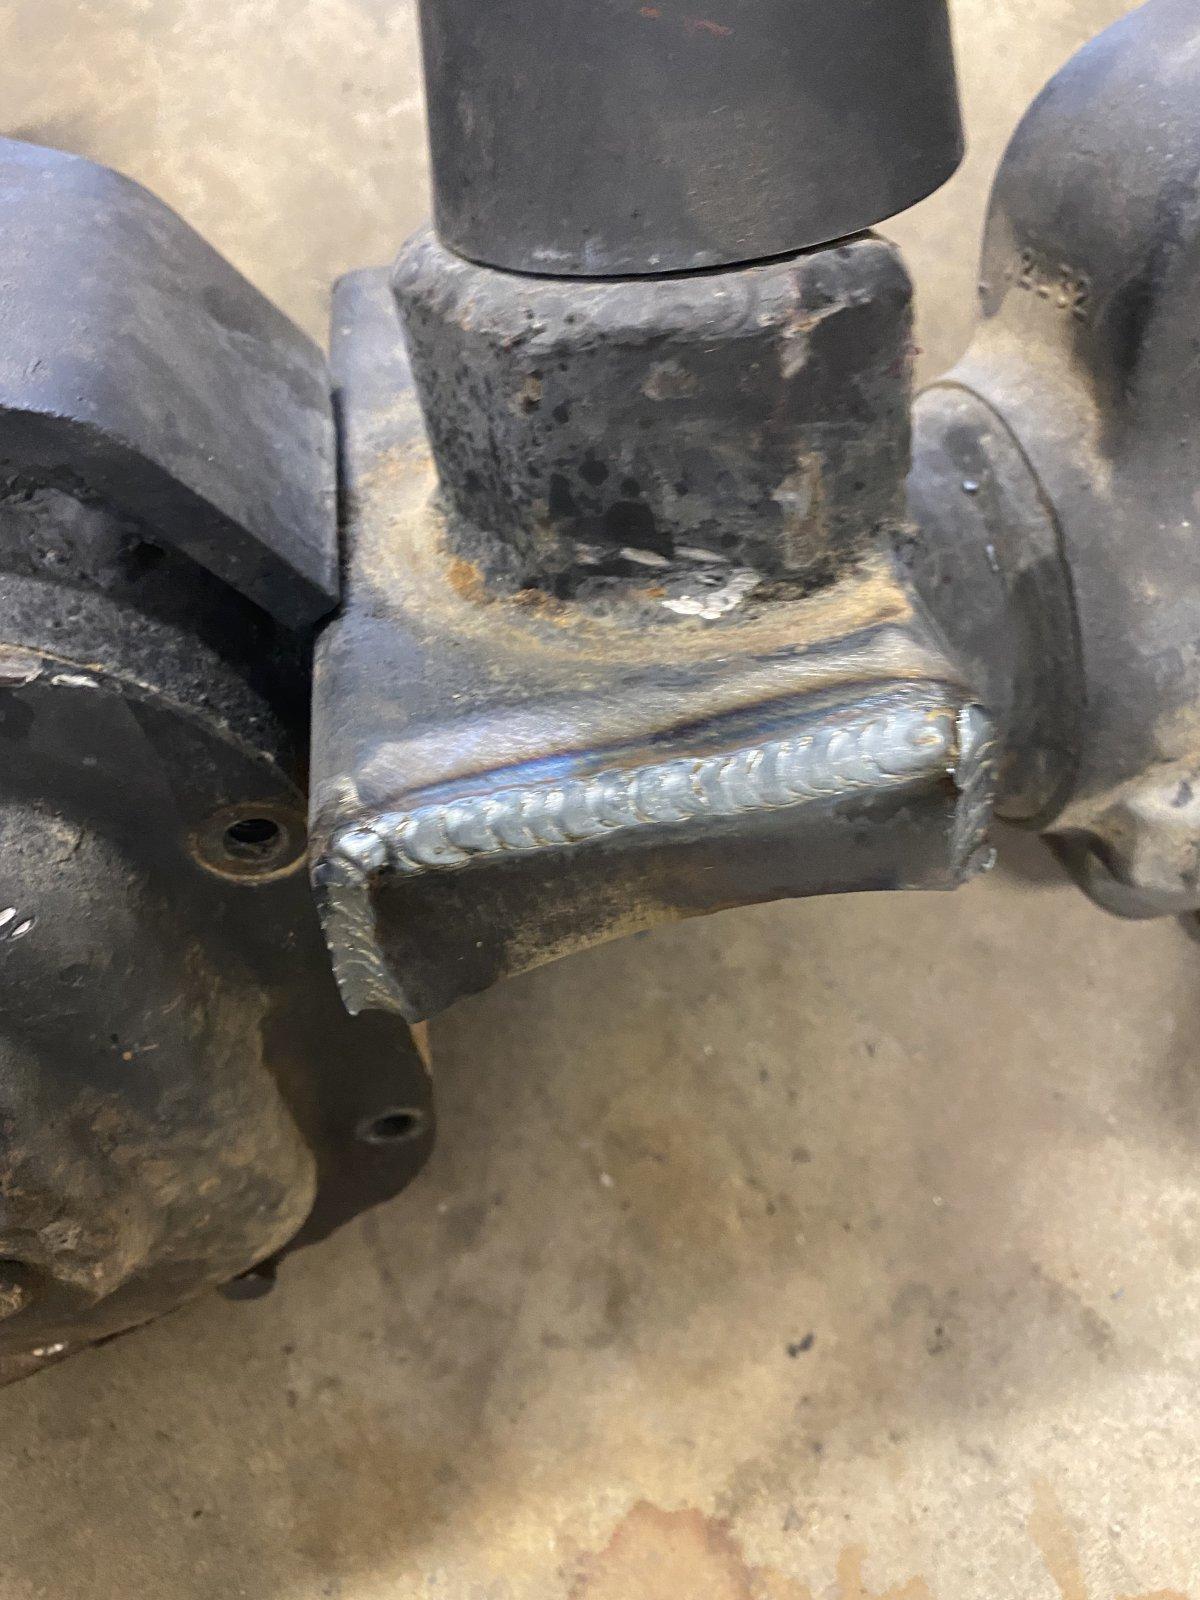
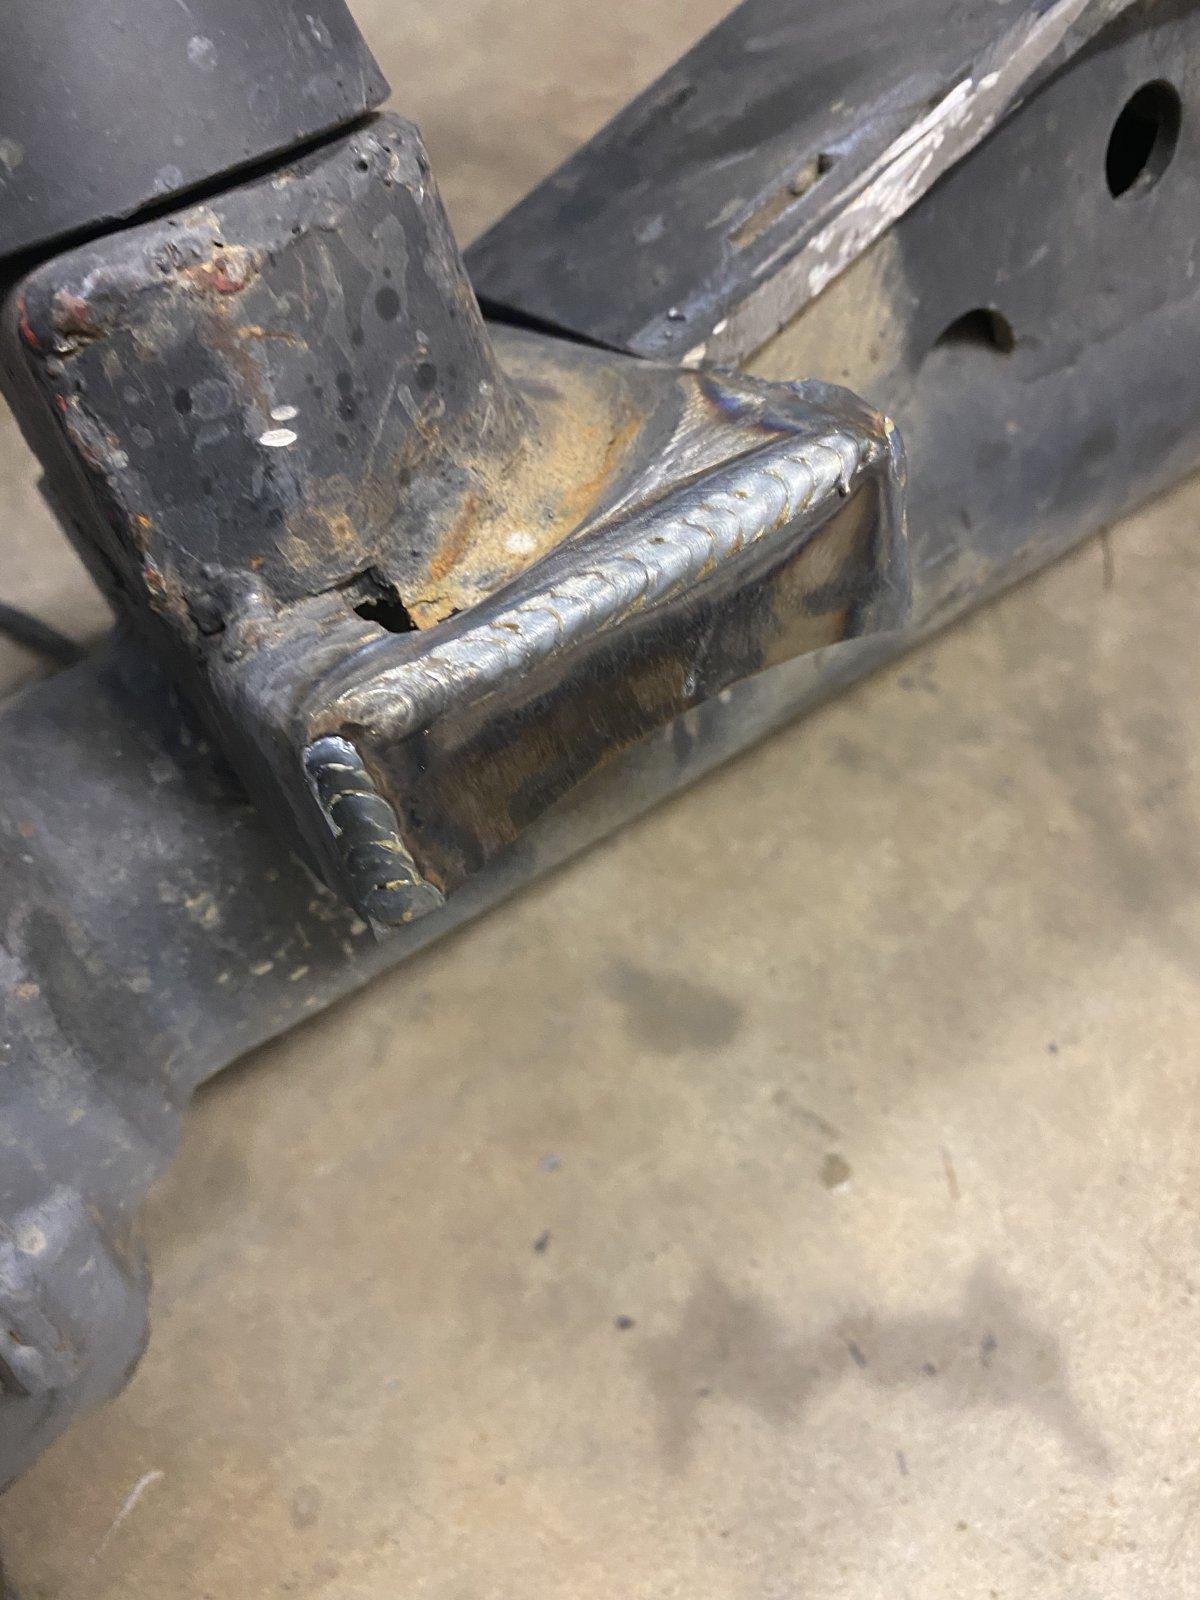
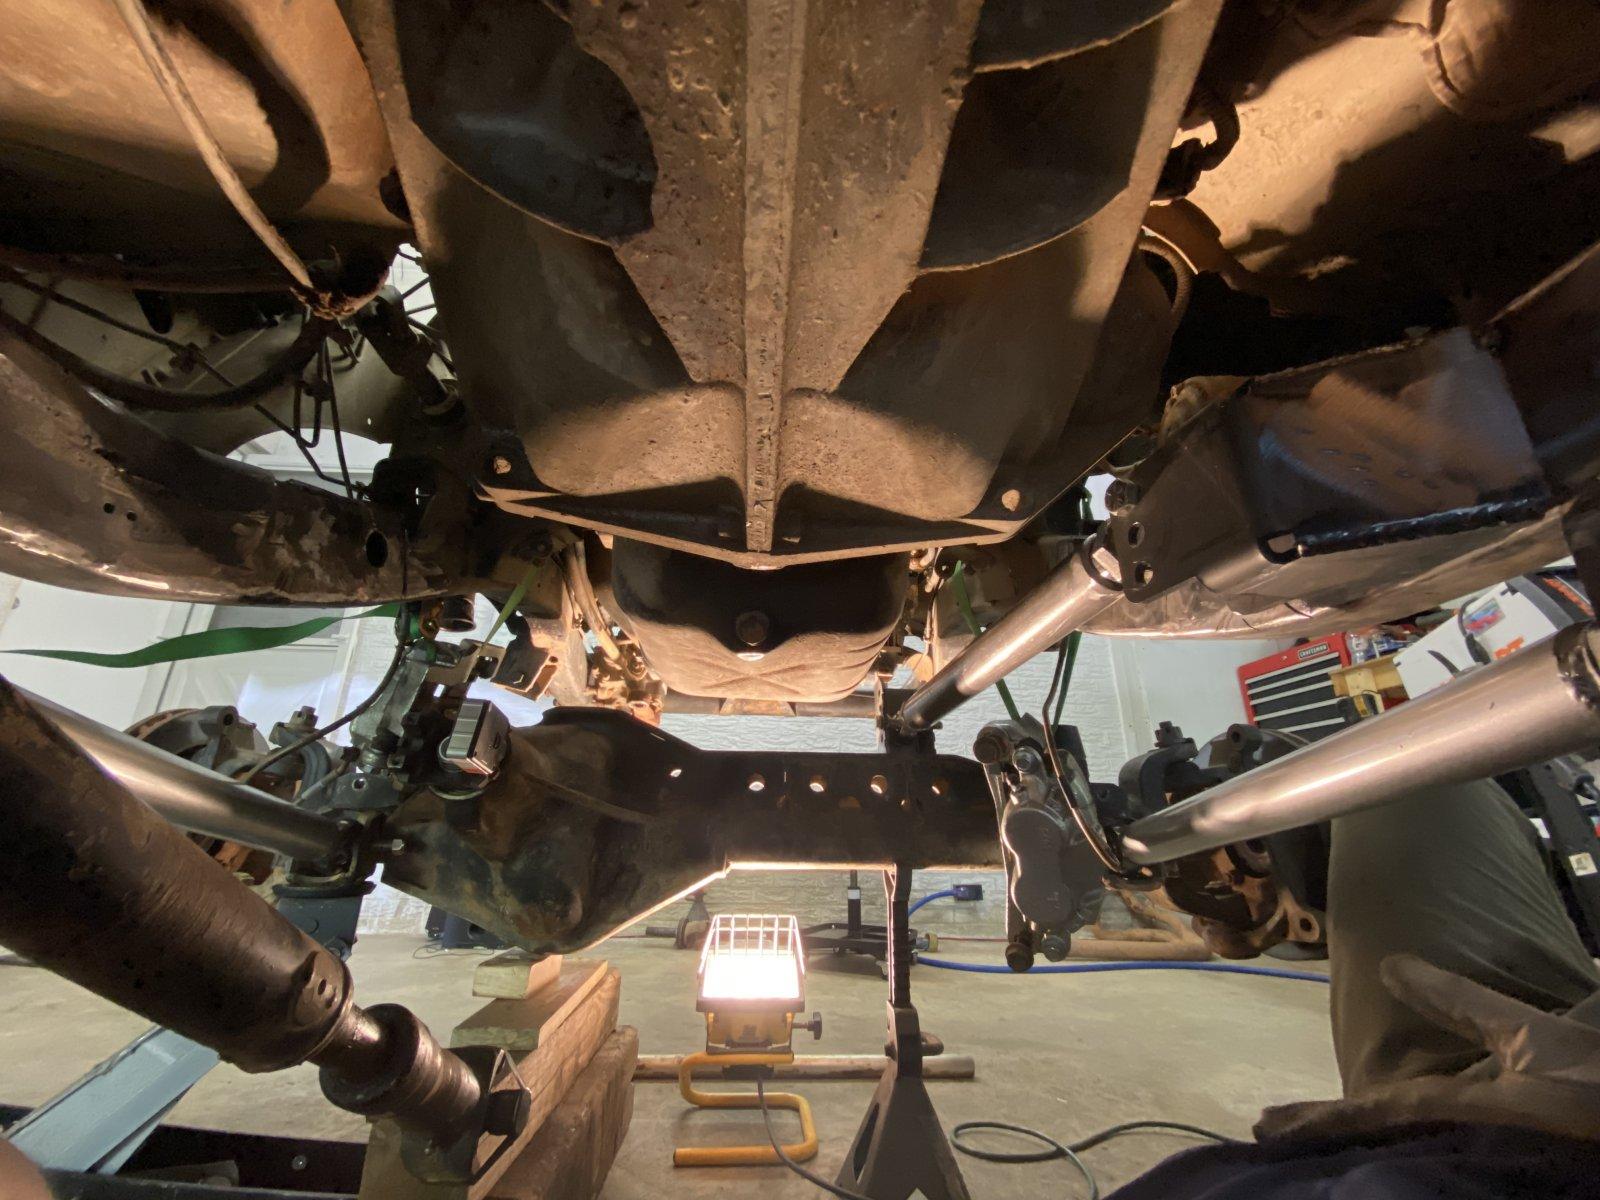
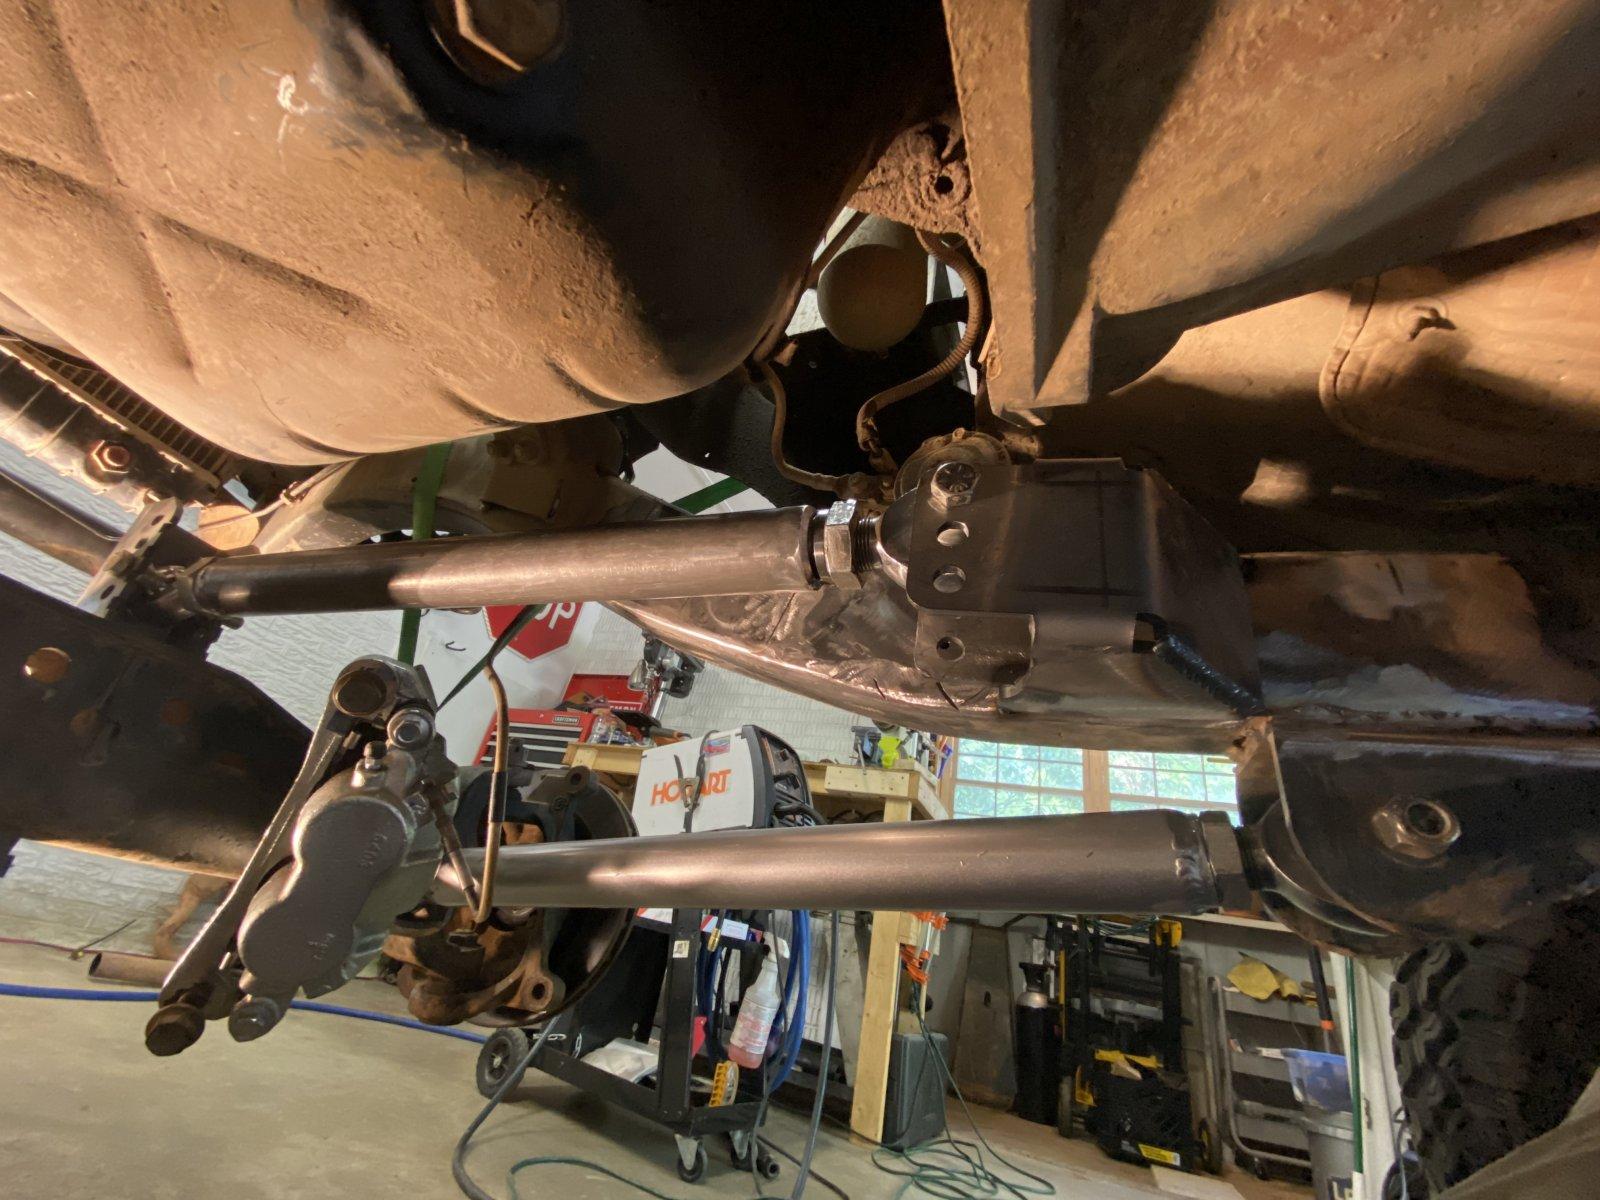
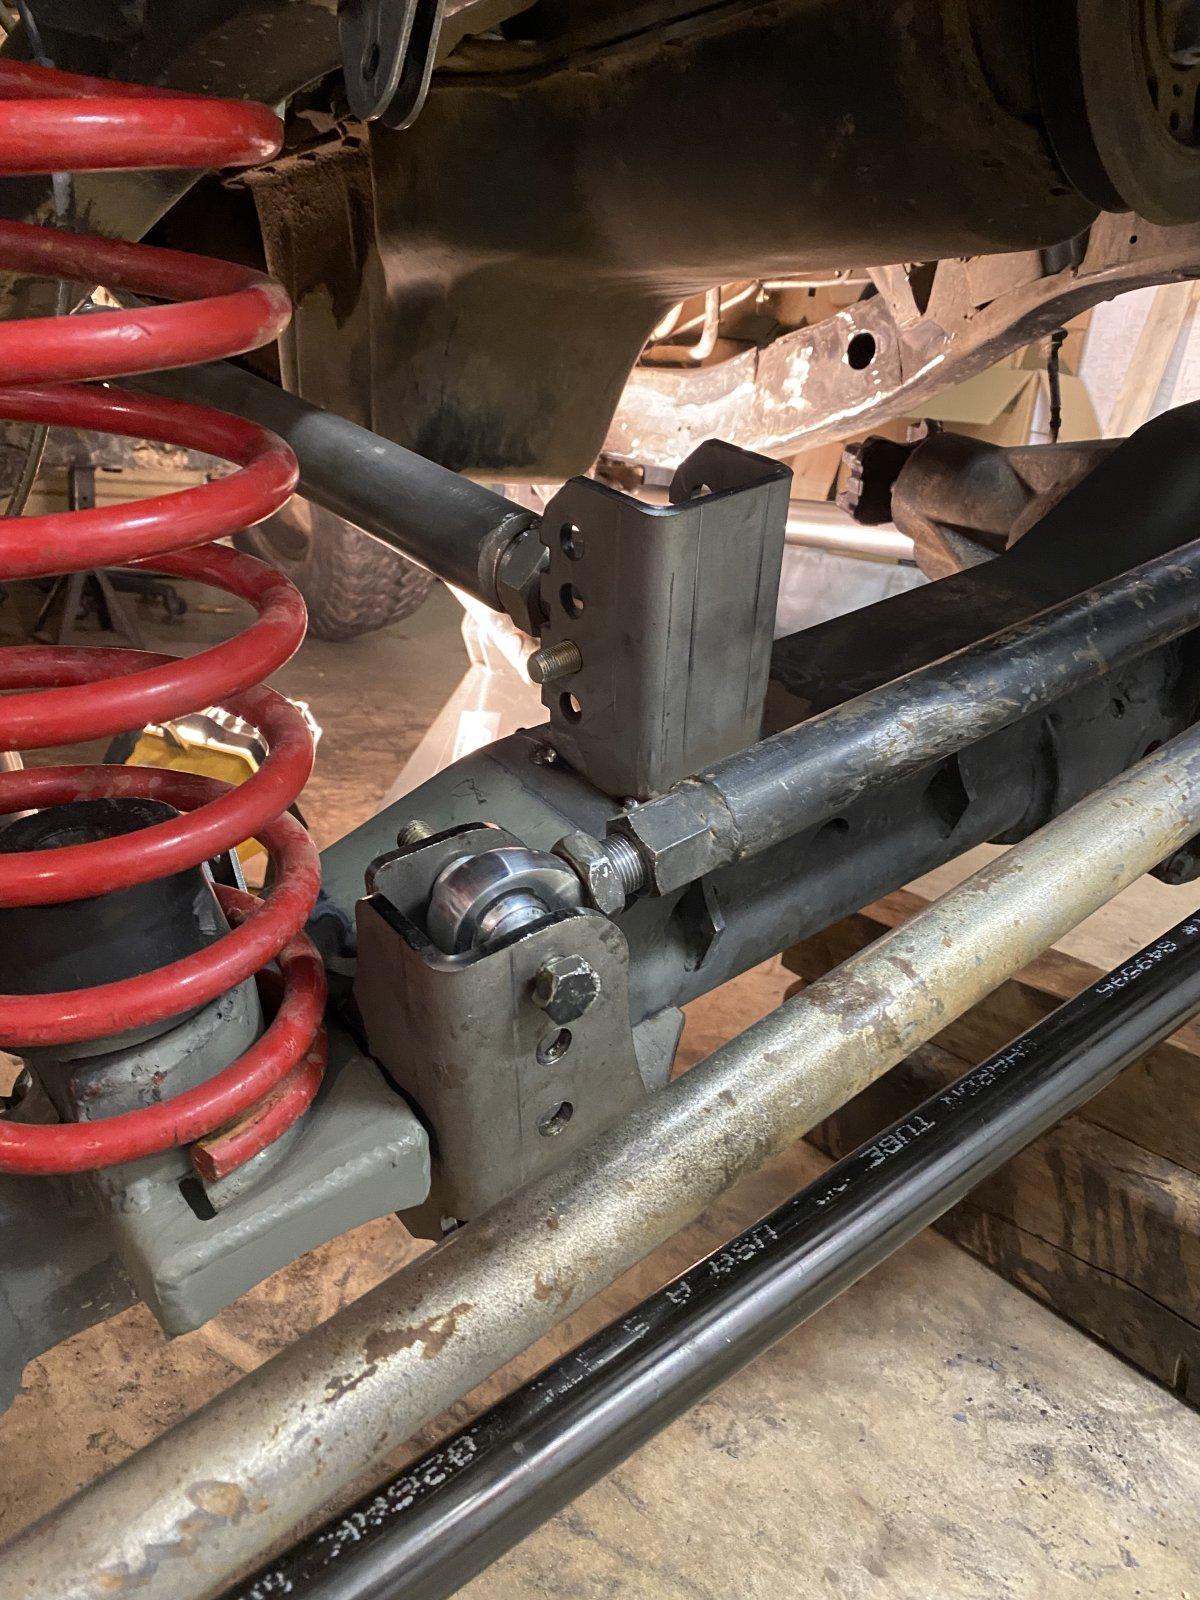
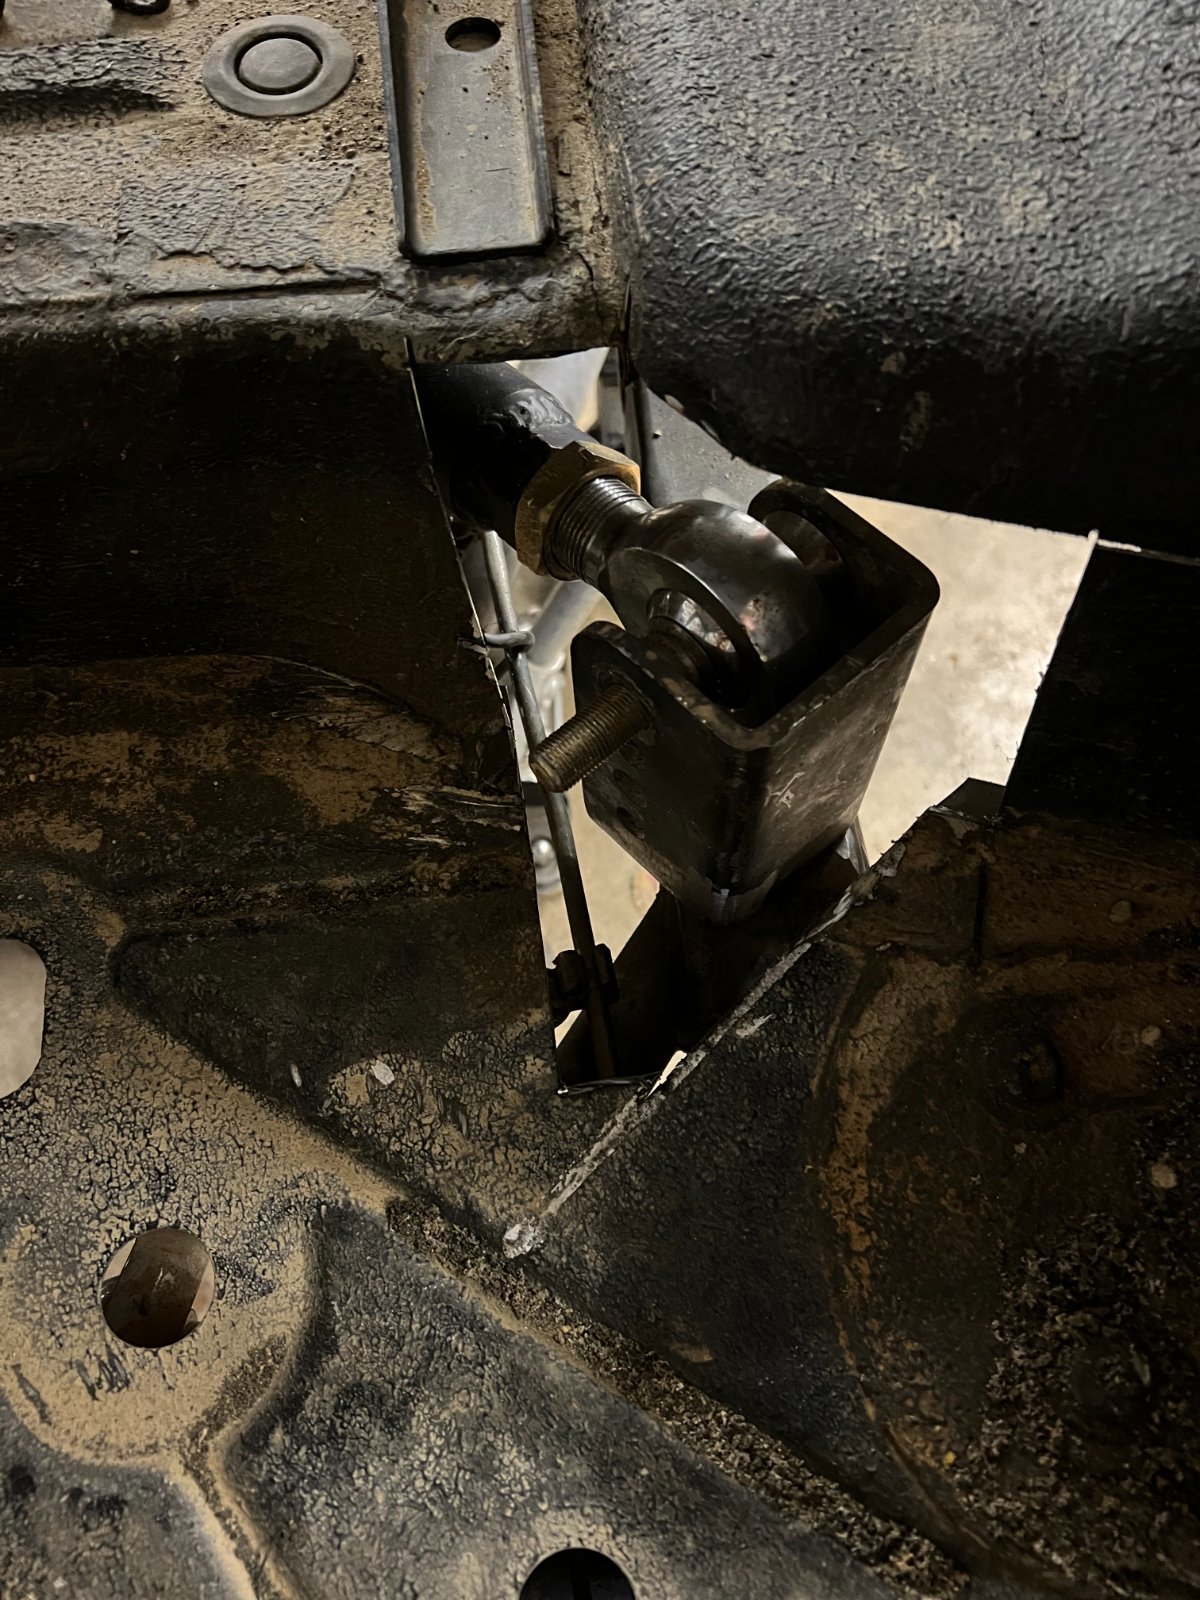
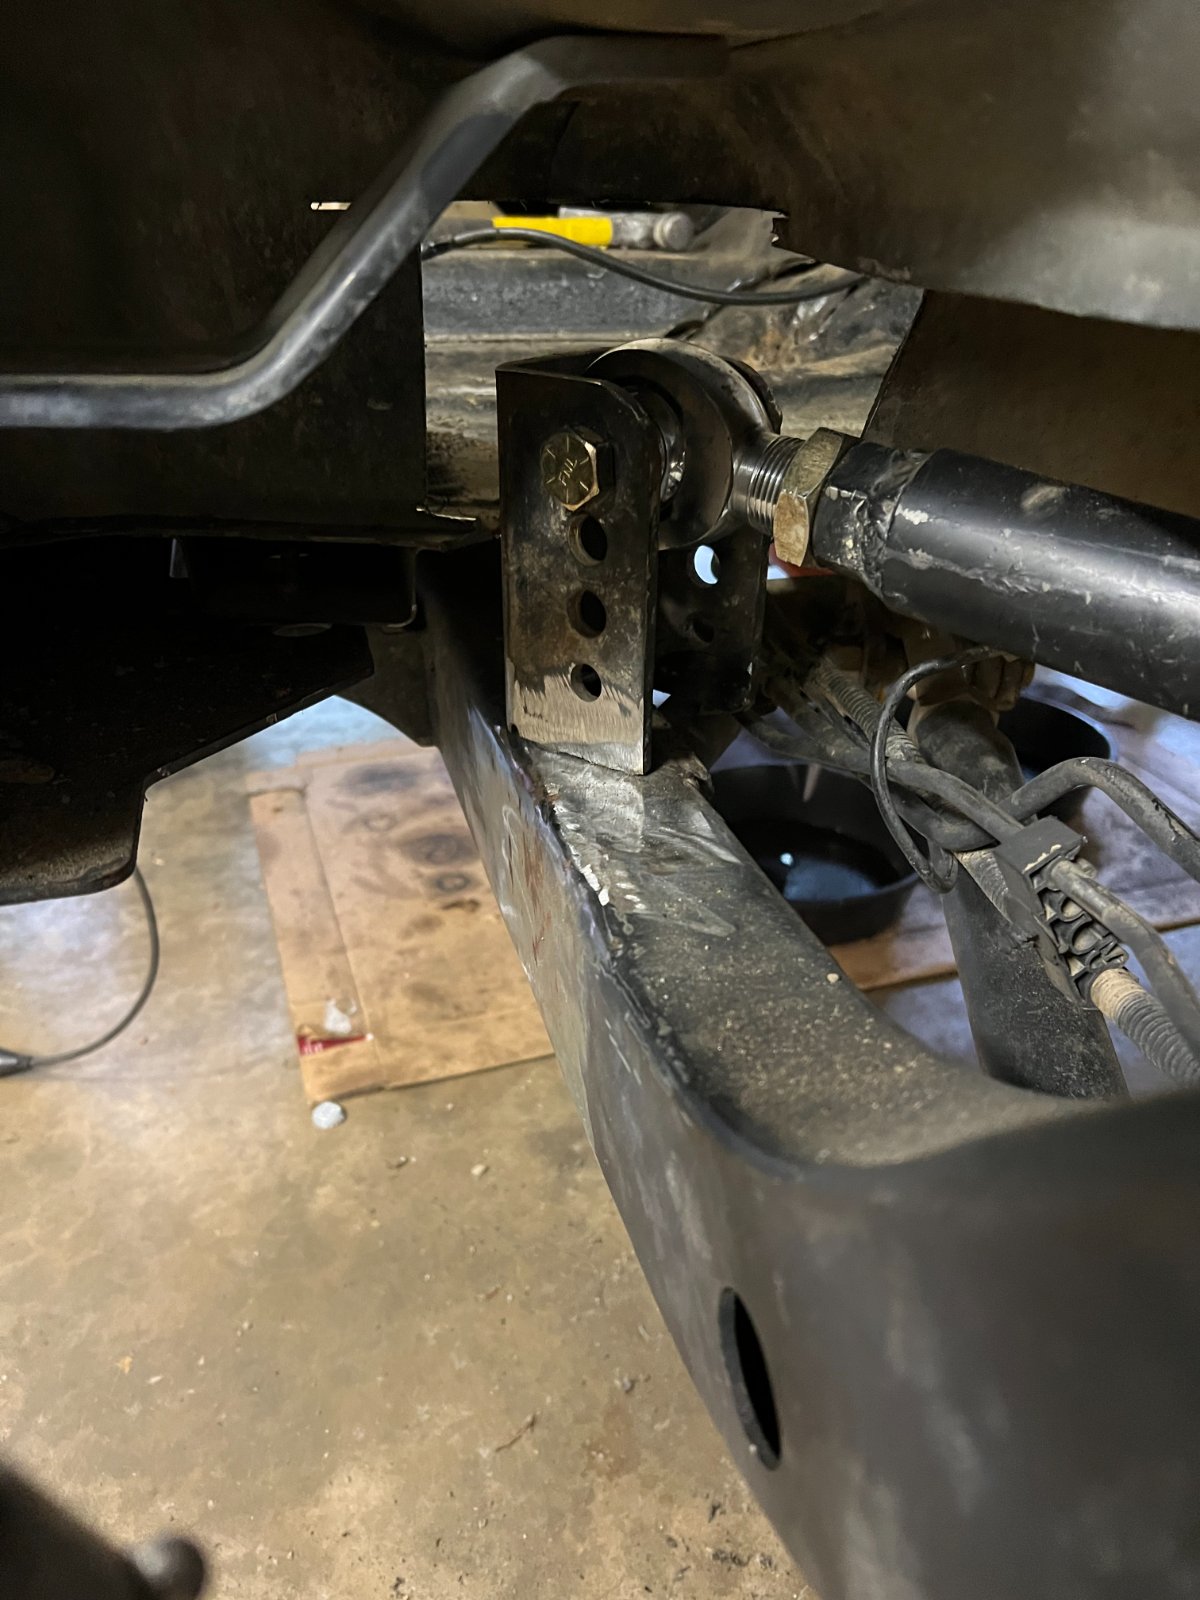
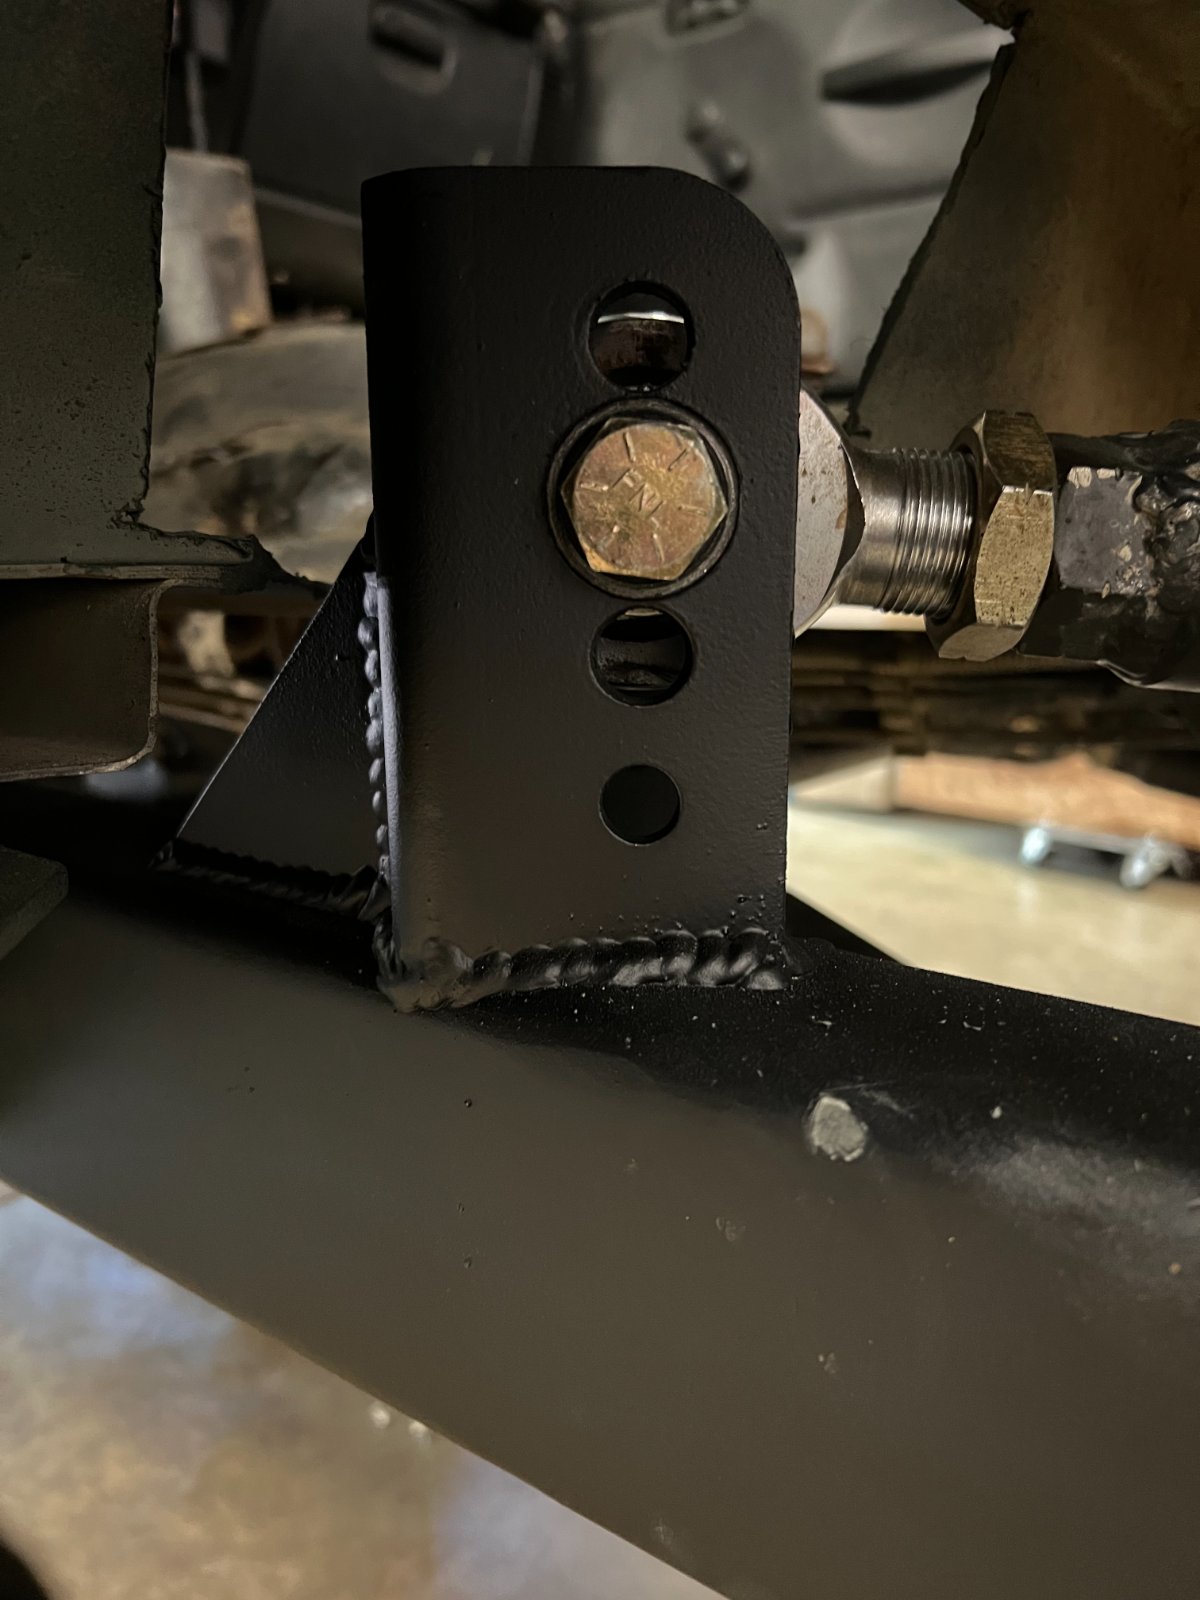
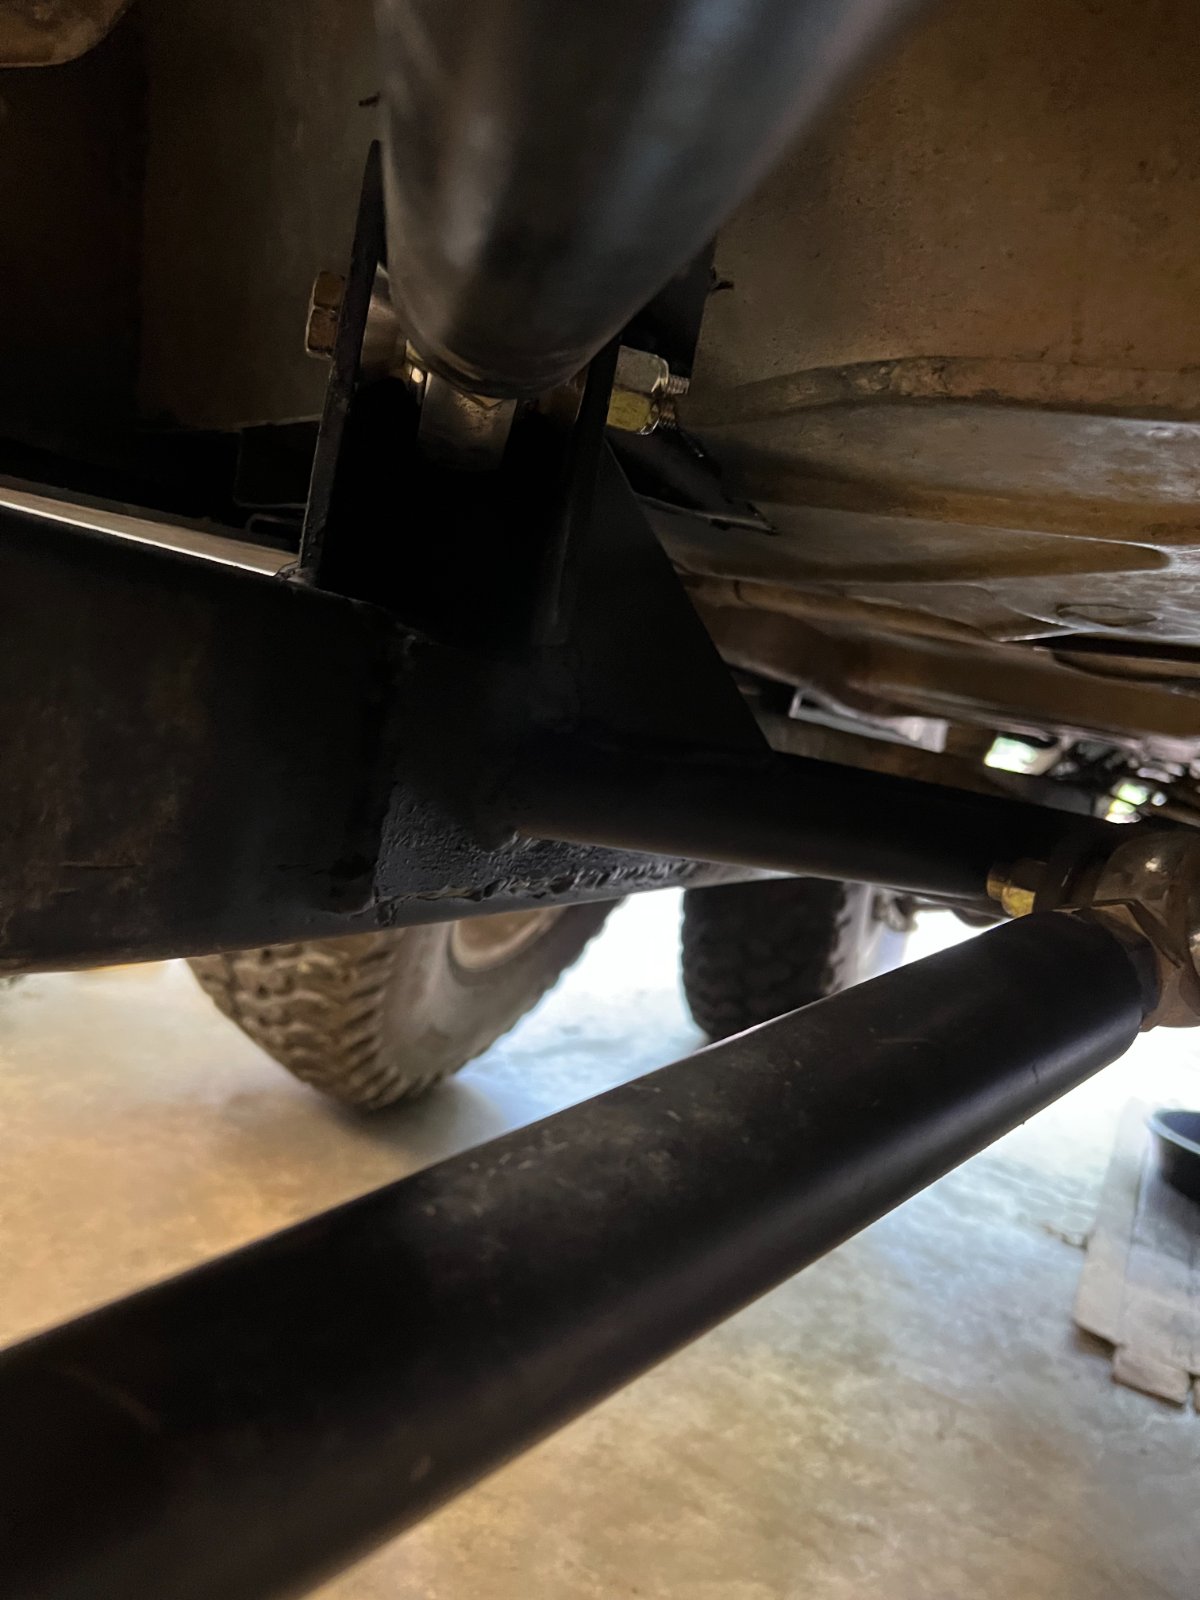
For the Upper control arms, I got a new set of brackets, relocated both and reinforced them with some gussets that stretched down to the frame and to my lower CA crossmember.

IMG_4446.JPEG

IMG_4447.JPEG

IMG_4453.JPEG
IMG_4454.JPEG


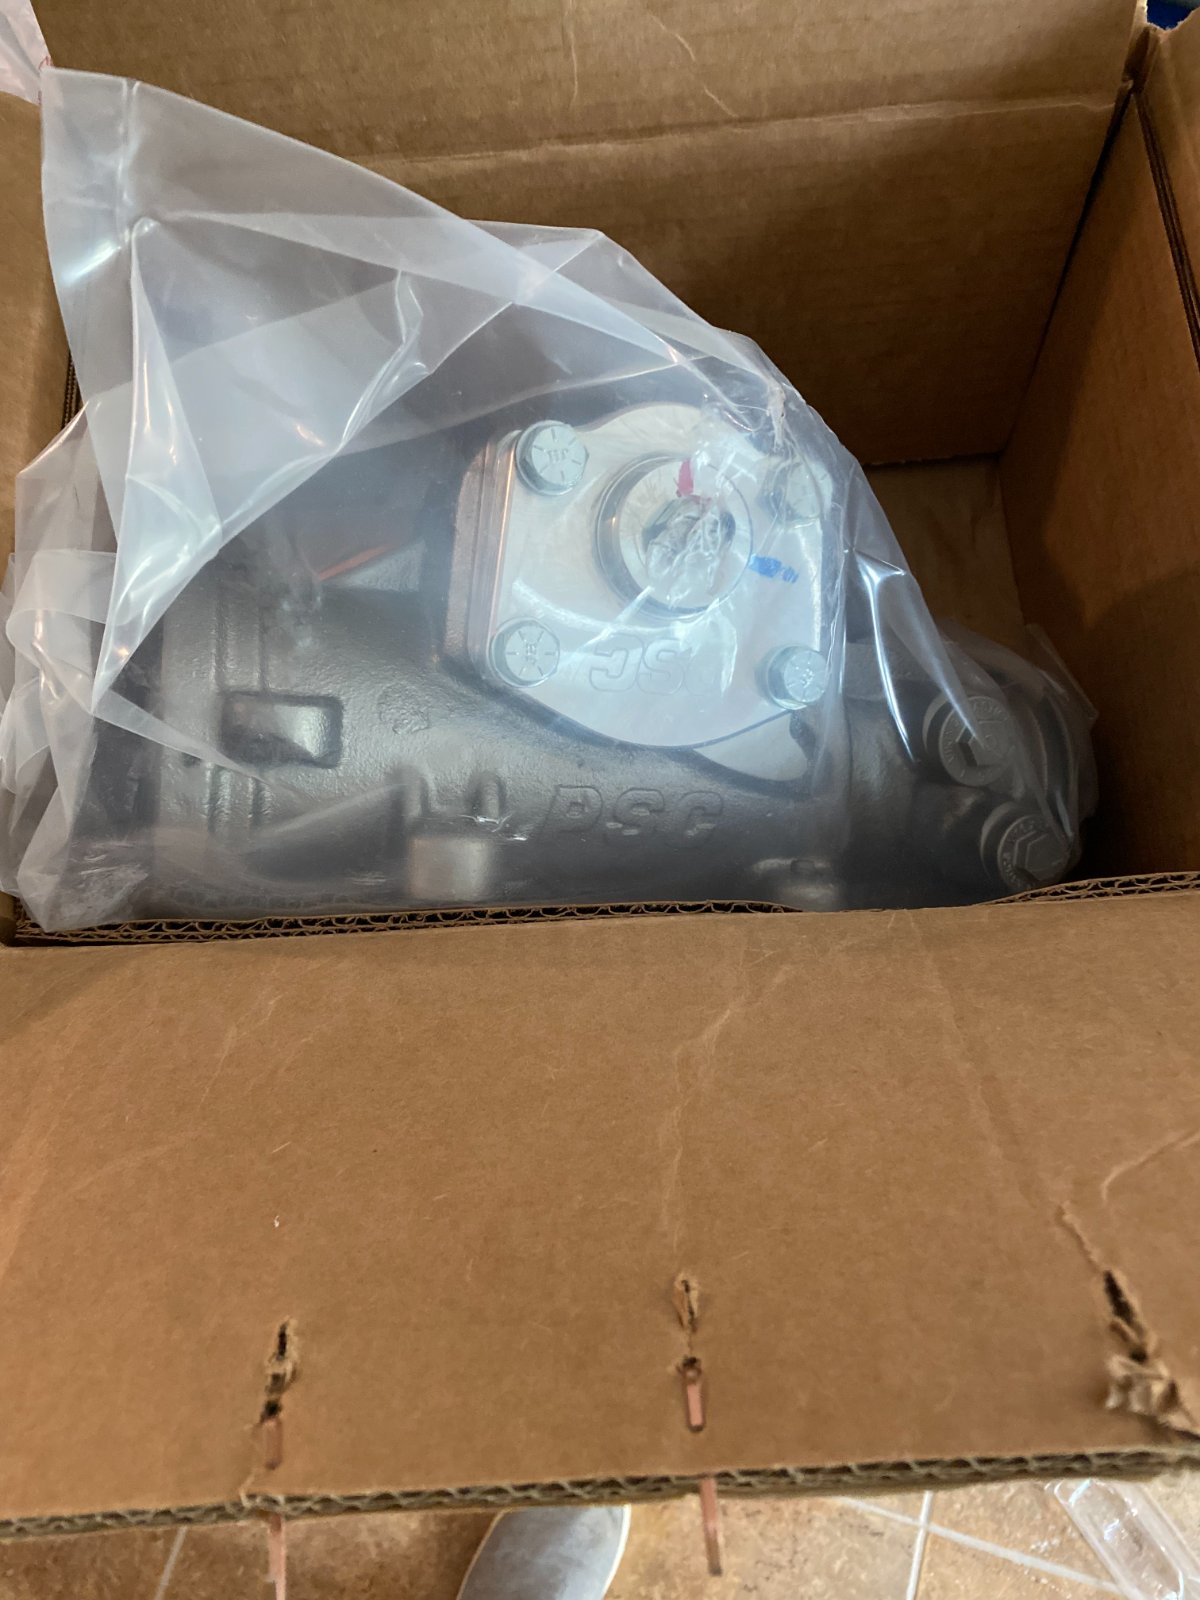
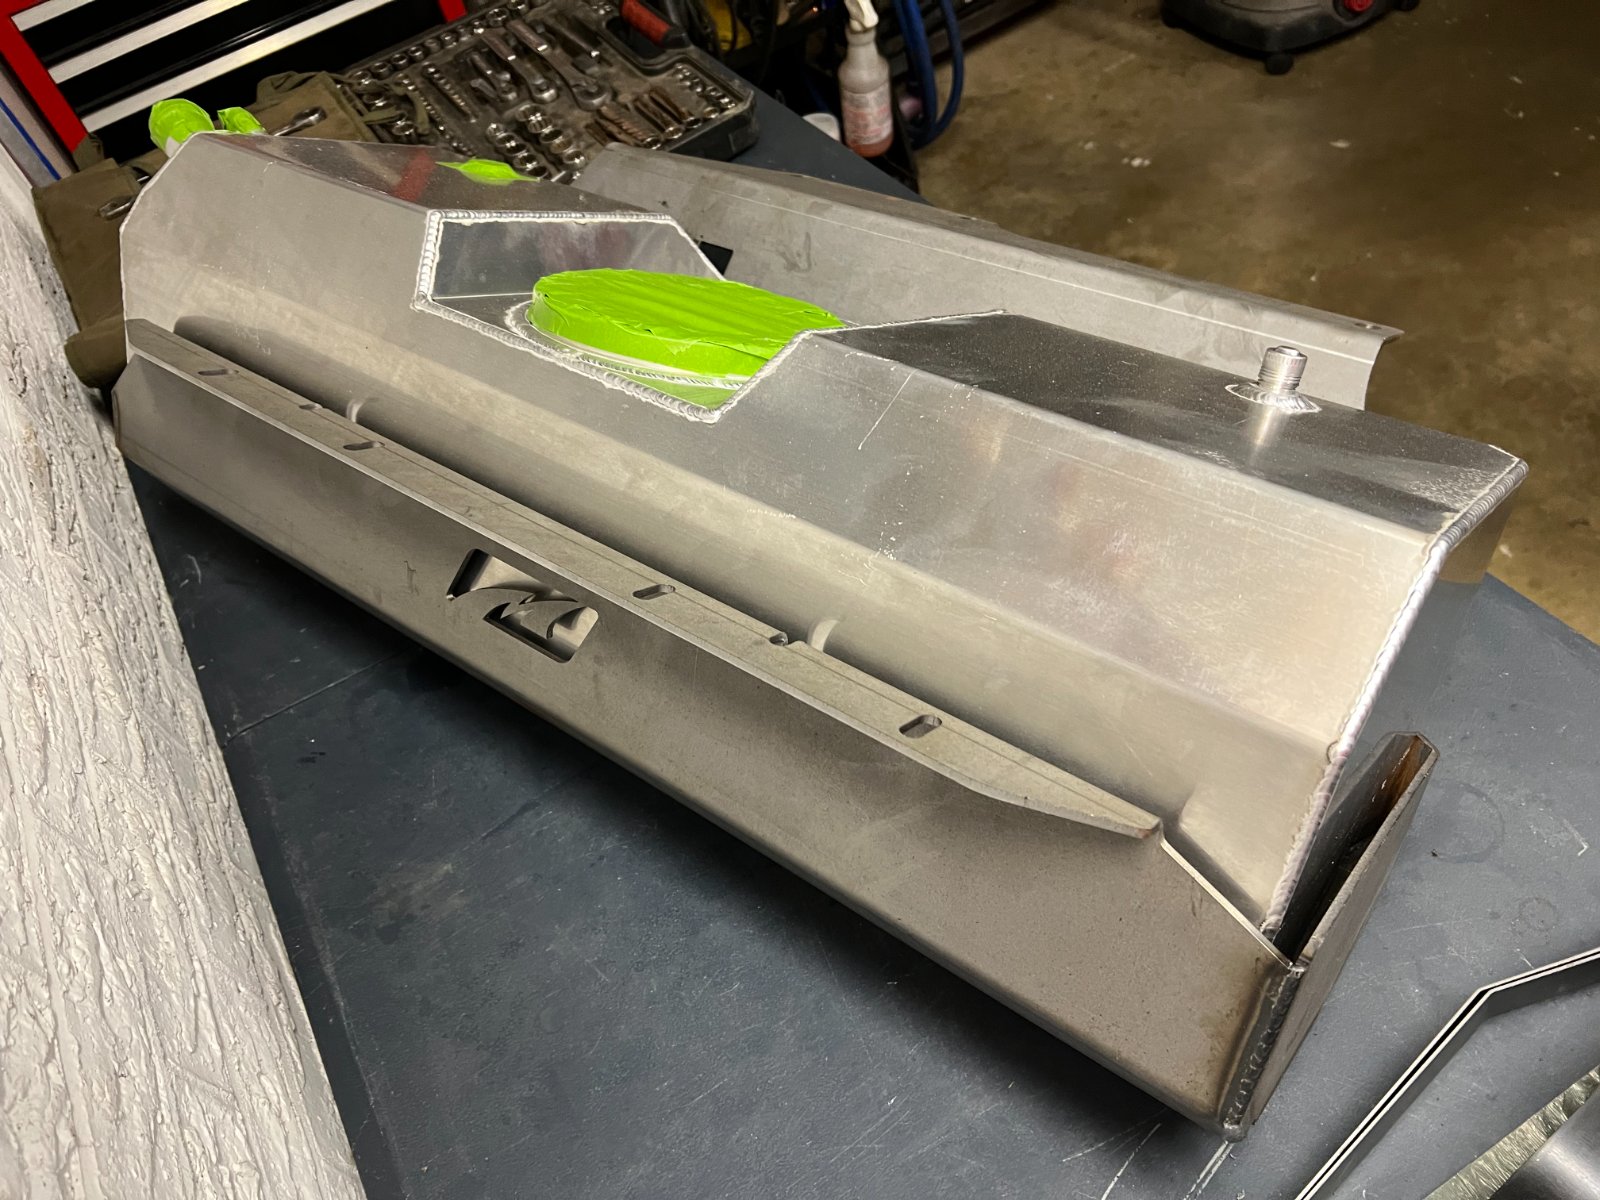
I picked up a PSP big Bore steering box (for a 98-02). This was okay with me as I needed to remove the bracket I made for my OEM box that raised it above the frame rail so not a big deal having a different year big bore box. I also was able to get a smaller tank from Motobilt which will allow me to have a bit more room between the 14 bolt and the tank.

67520062787__927B66EC-F9C5-4842-B8E9-1930A6FE3F07.JPEG
IMG_4173.JPEG
 
September 2022

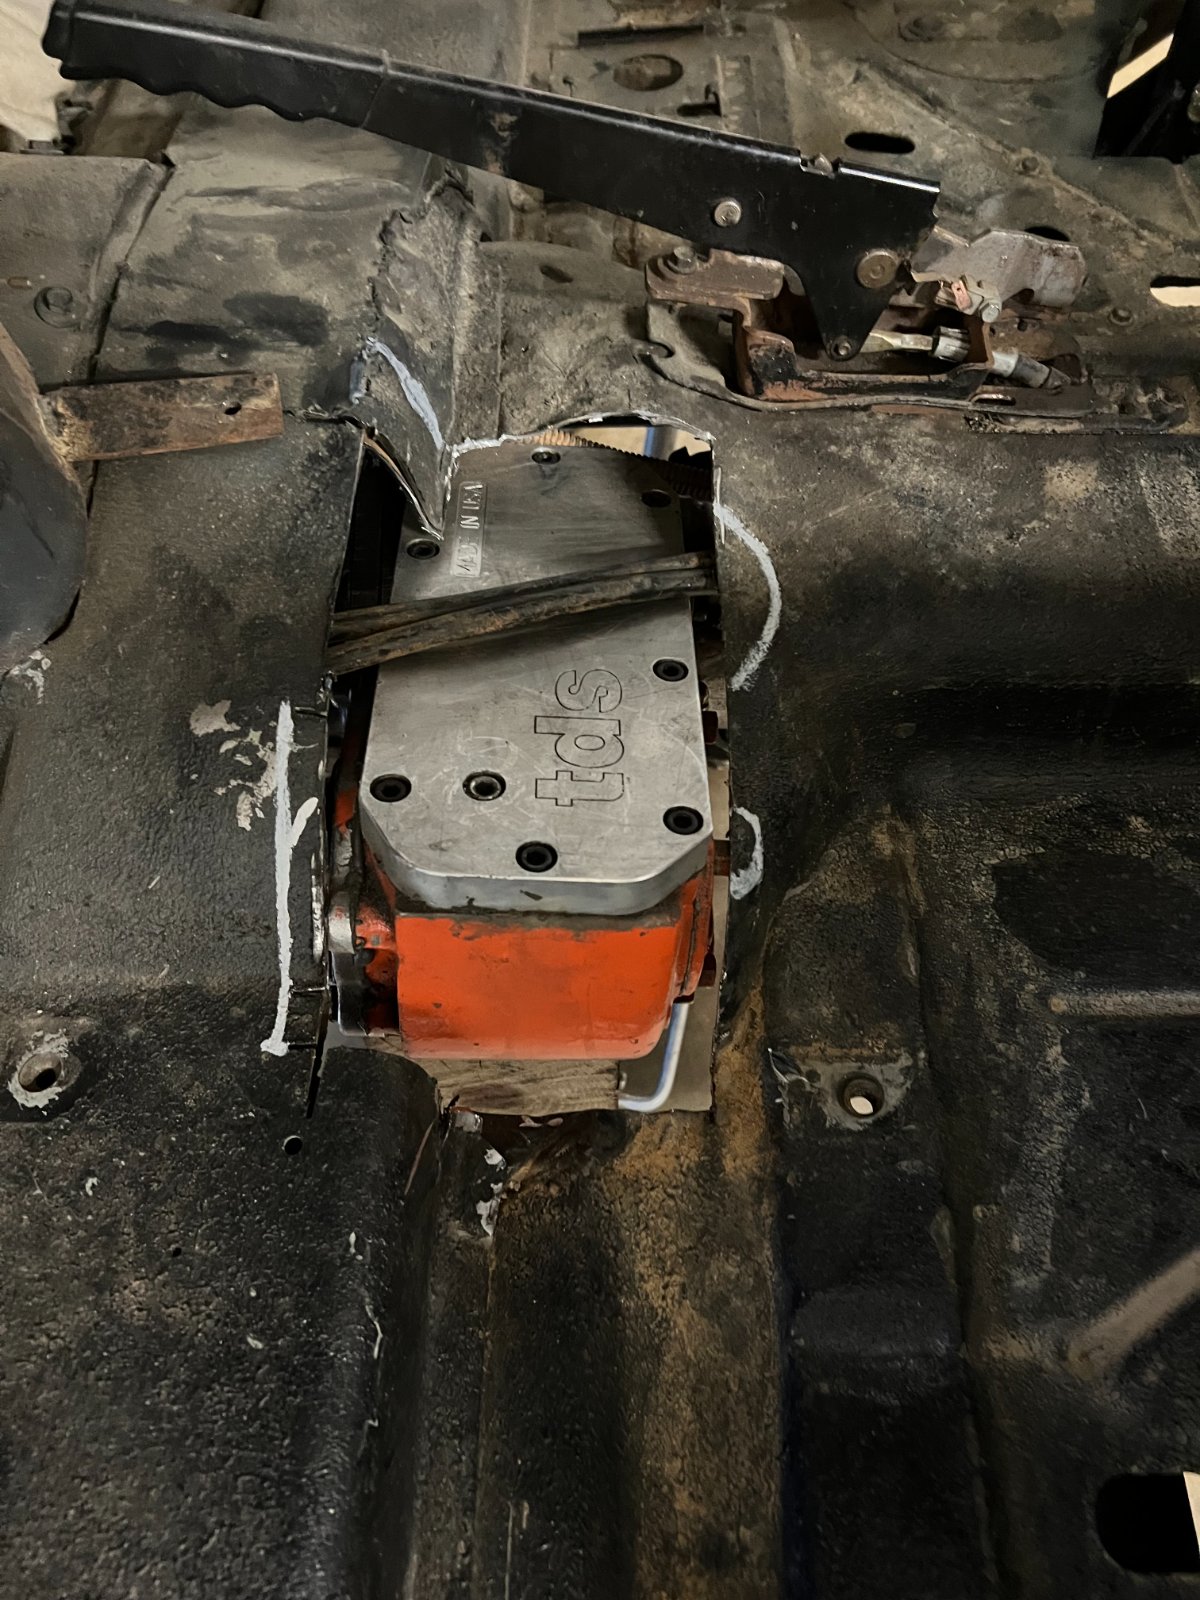
I traveled most of the summer so the Jeep sat up on jack stands. When I had some downtime, I tried to rework the doubler and get more of my belly clearance back. Prior to OSCAR I had to make some spacers to drop my skid plate down a couple inches as I could not fit the doubler inbetween the body and the skid plate well enough without major body modification.

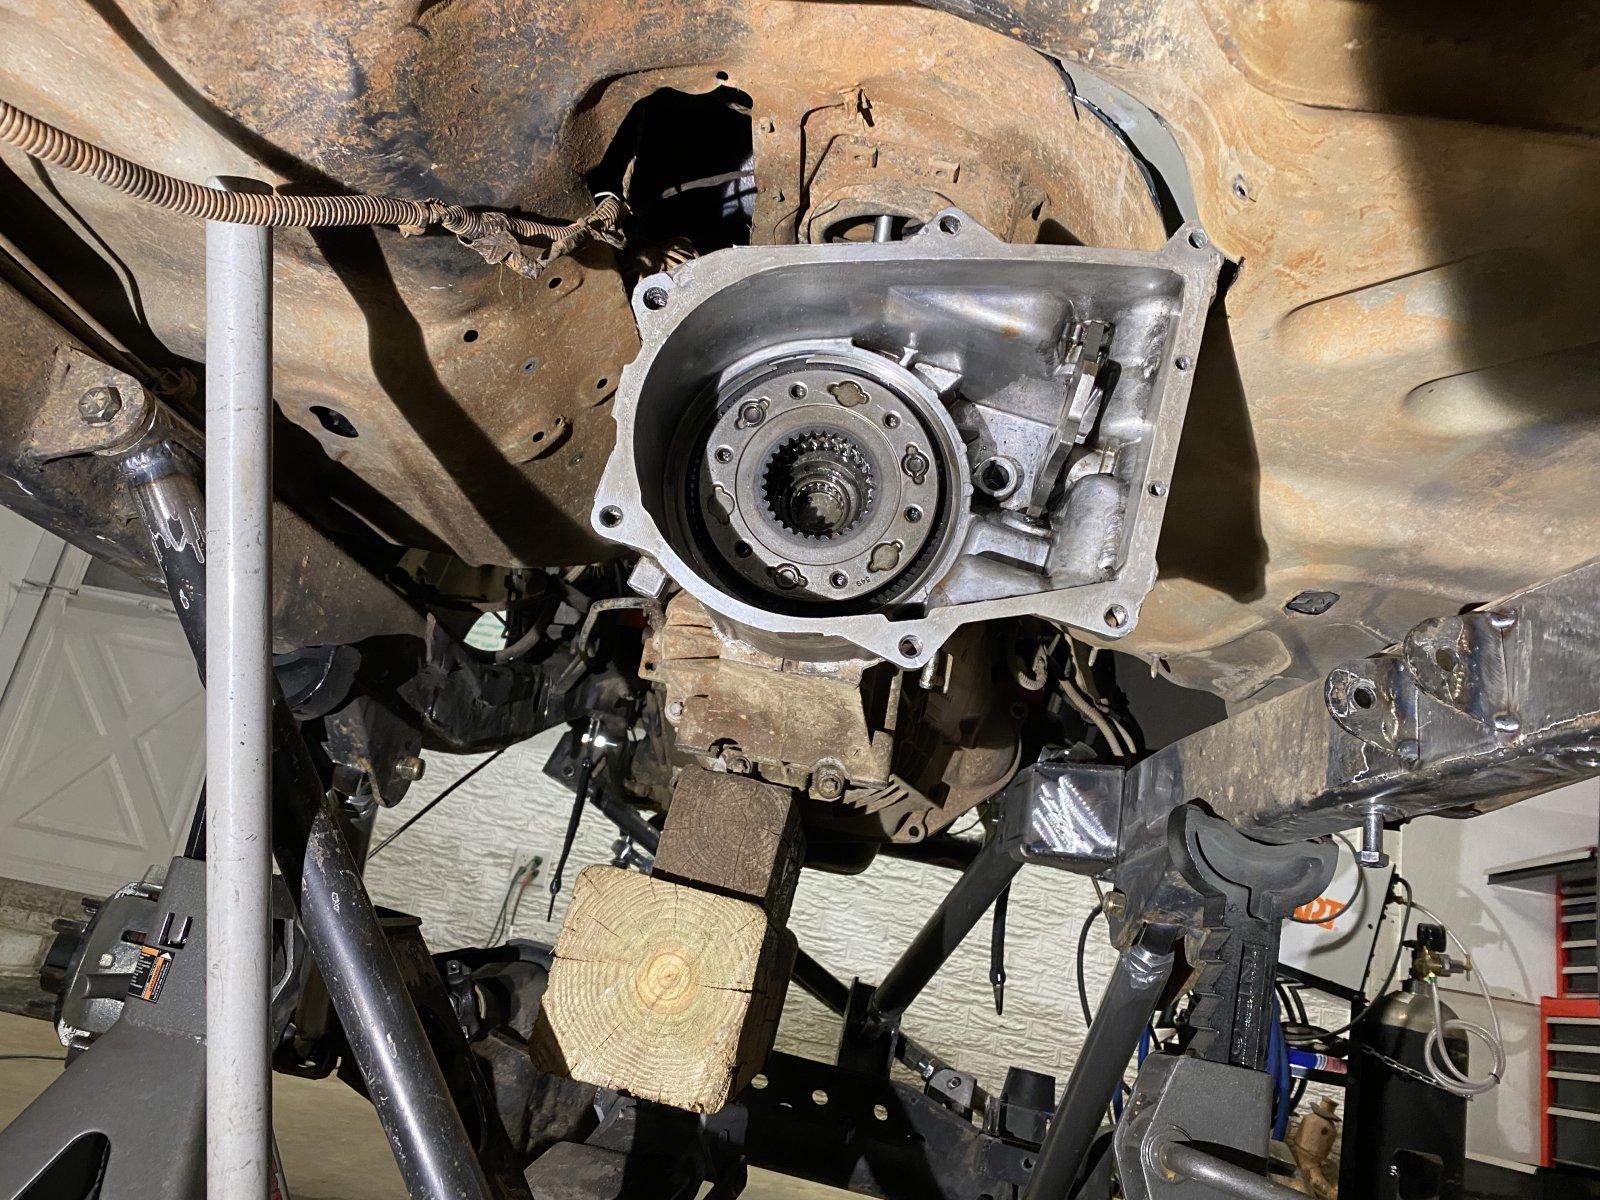
I started down this path of removing the transmission tunnel and clocking the doubler to fit.

68488758188__60D43B6D-BD28-4C81-8987-1B998934B647.JPEG

IMG_4739.JPEG

IMG_4738.JPEG

IMG_4737.JPEG


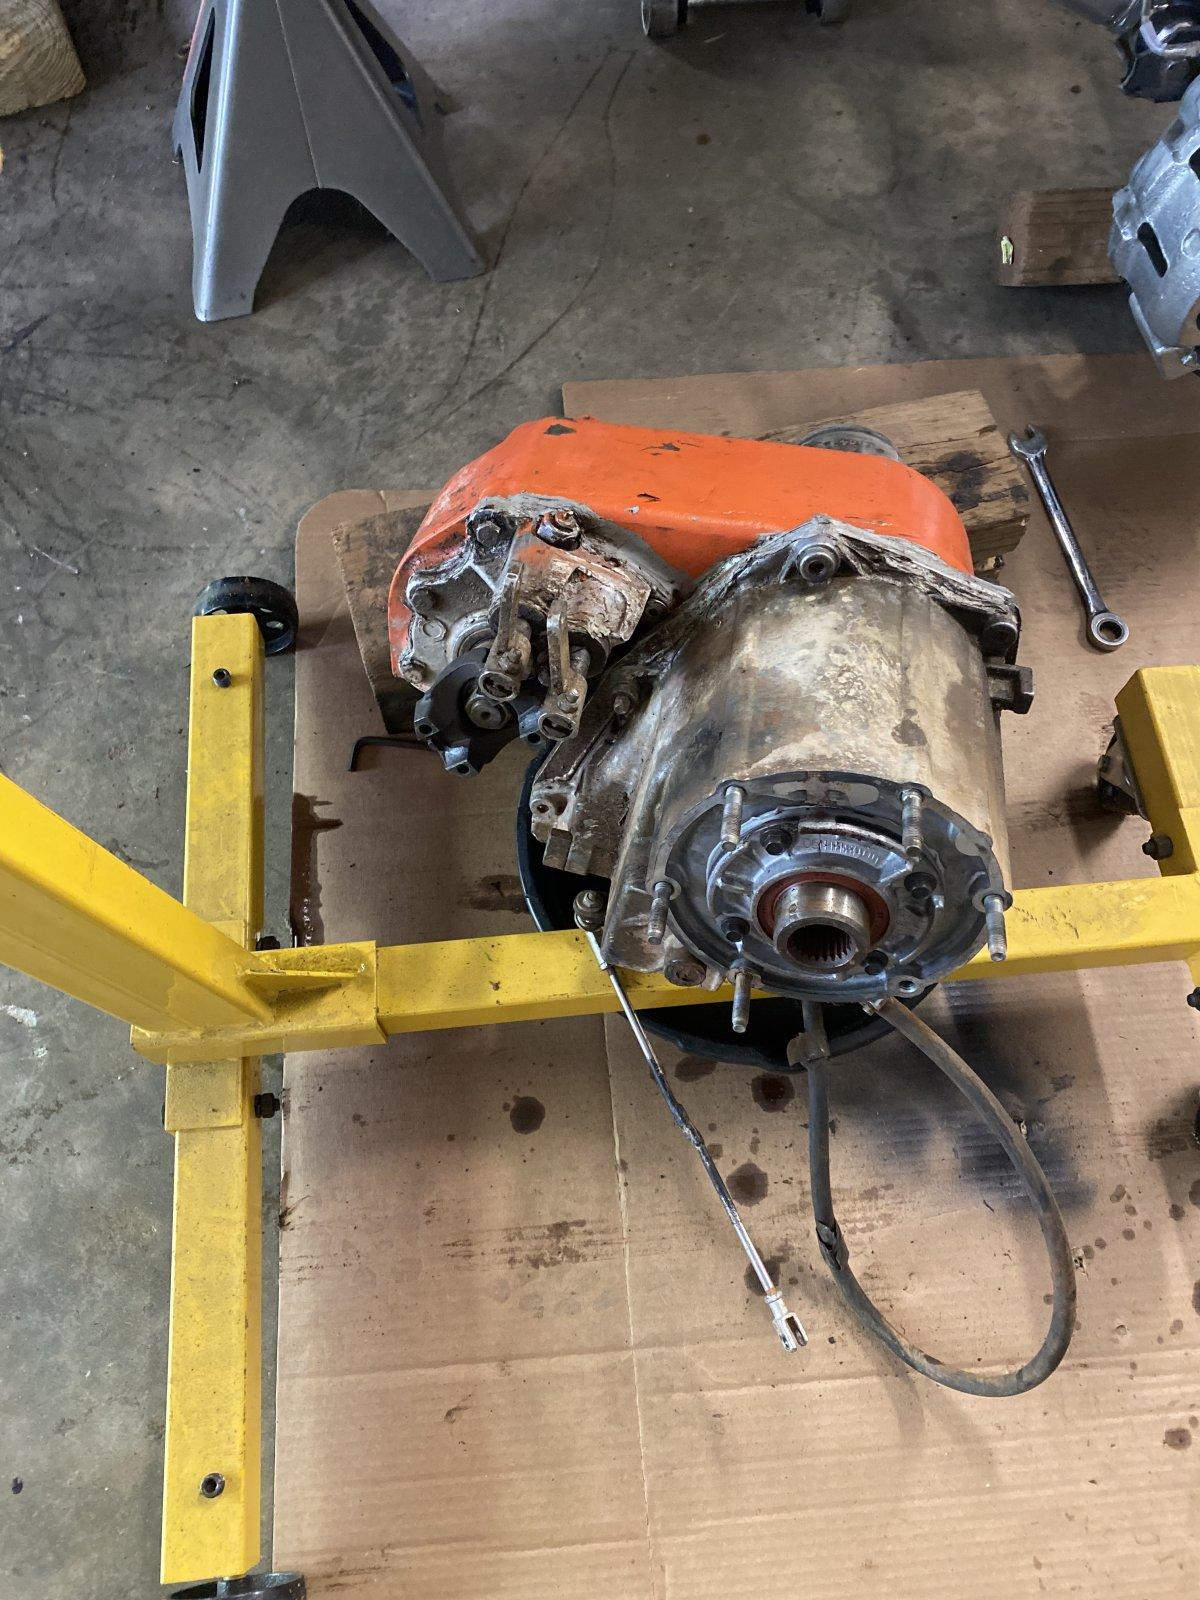
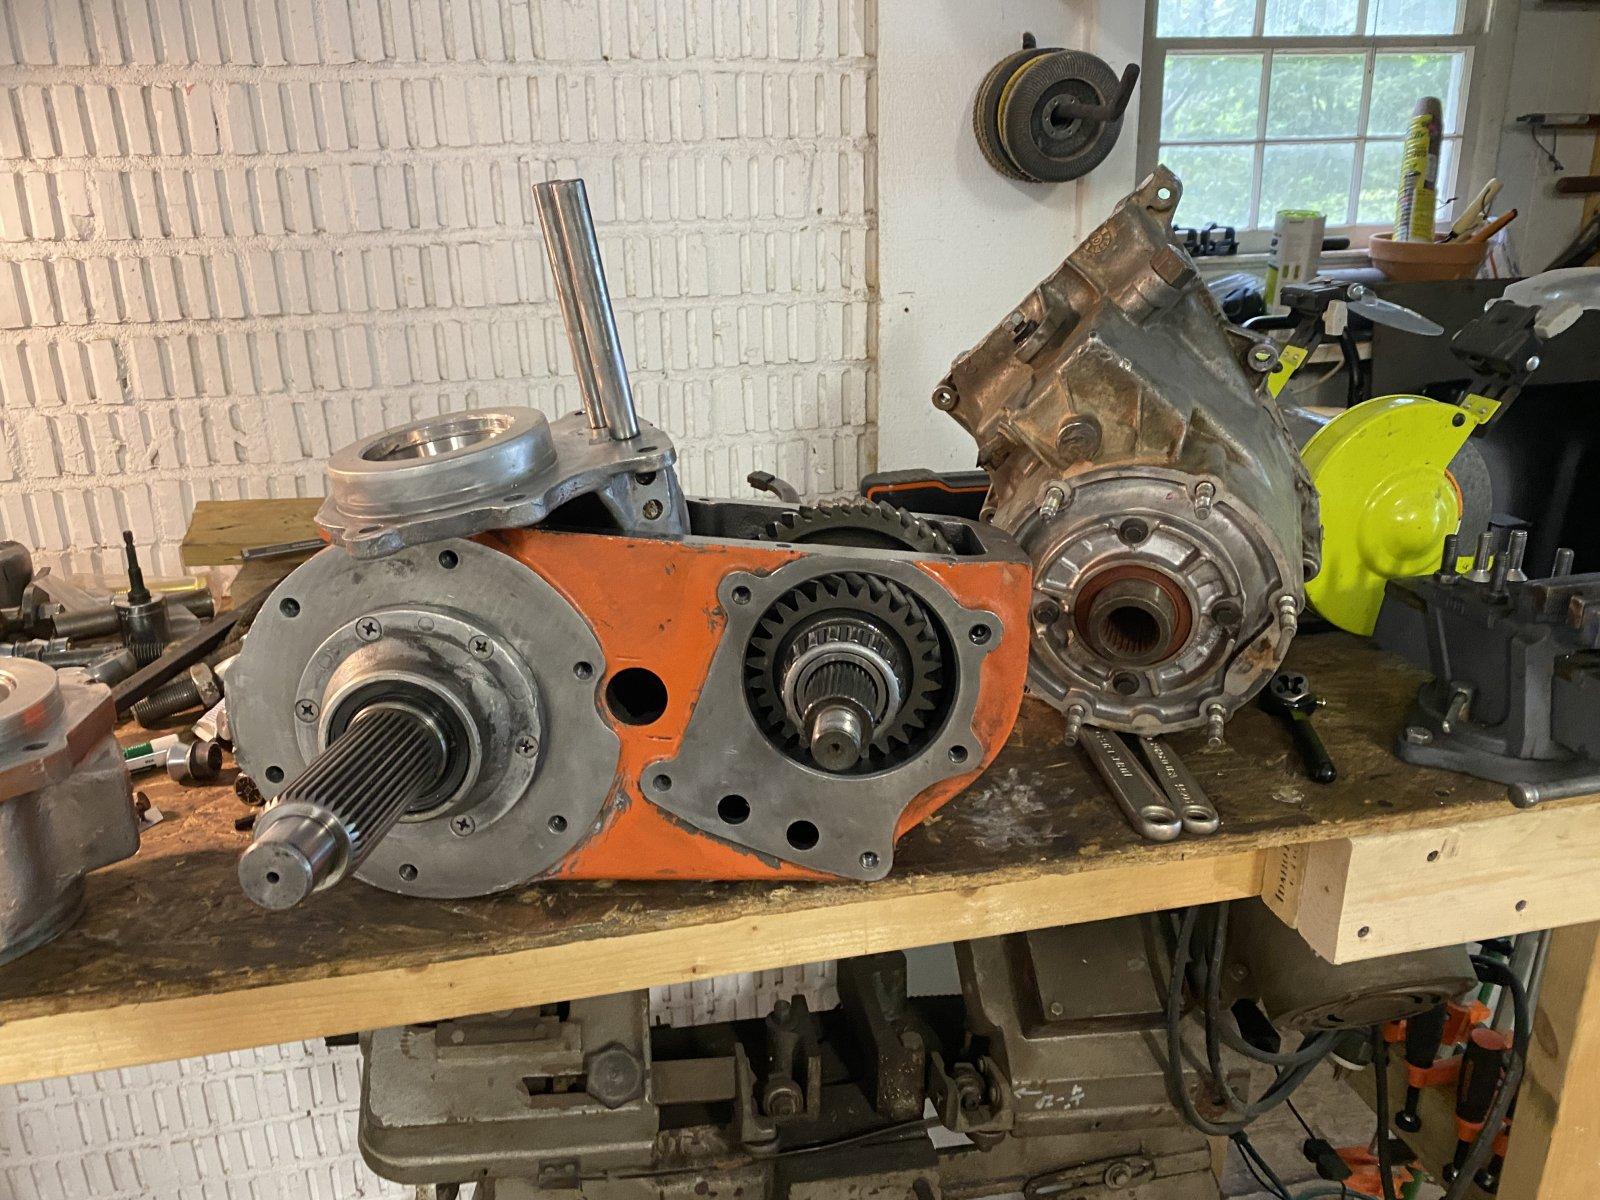
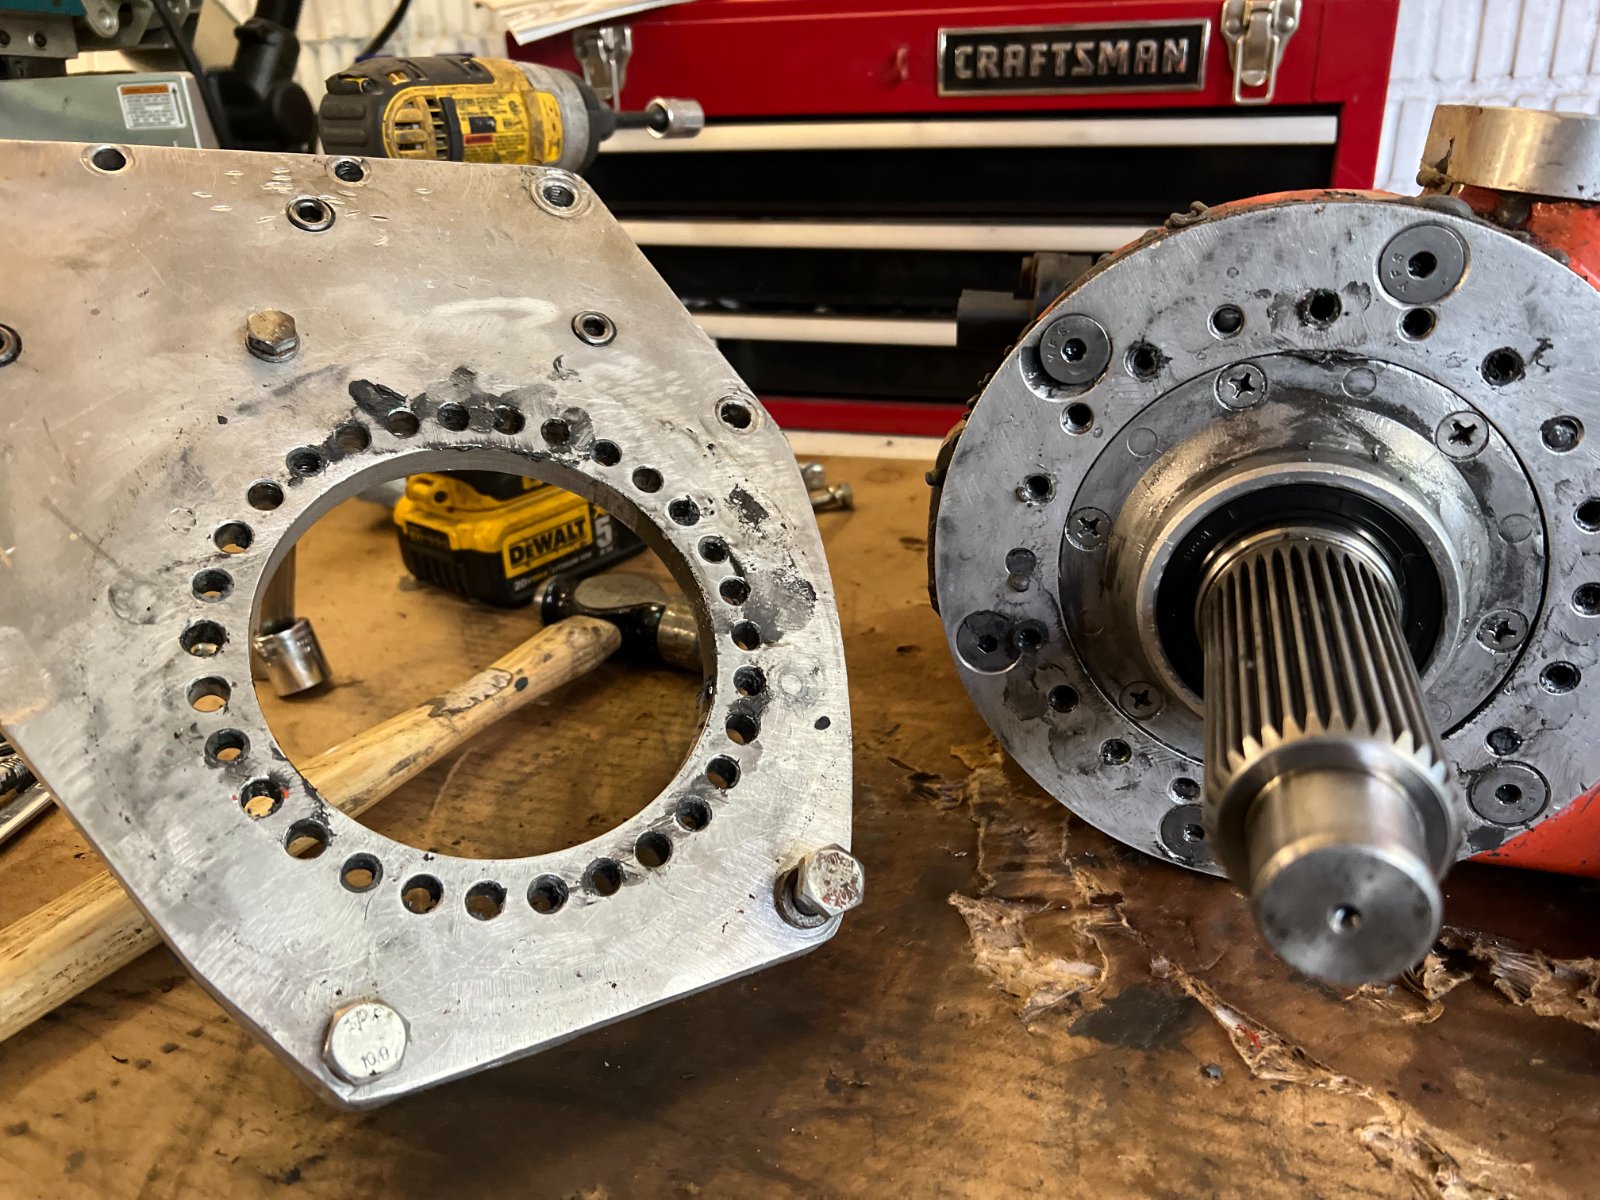
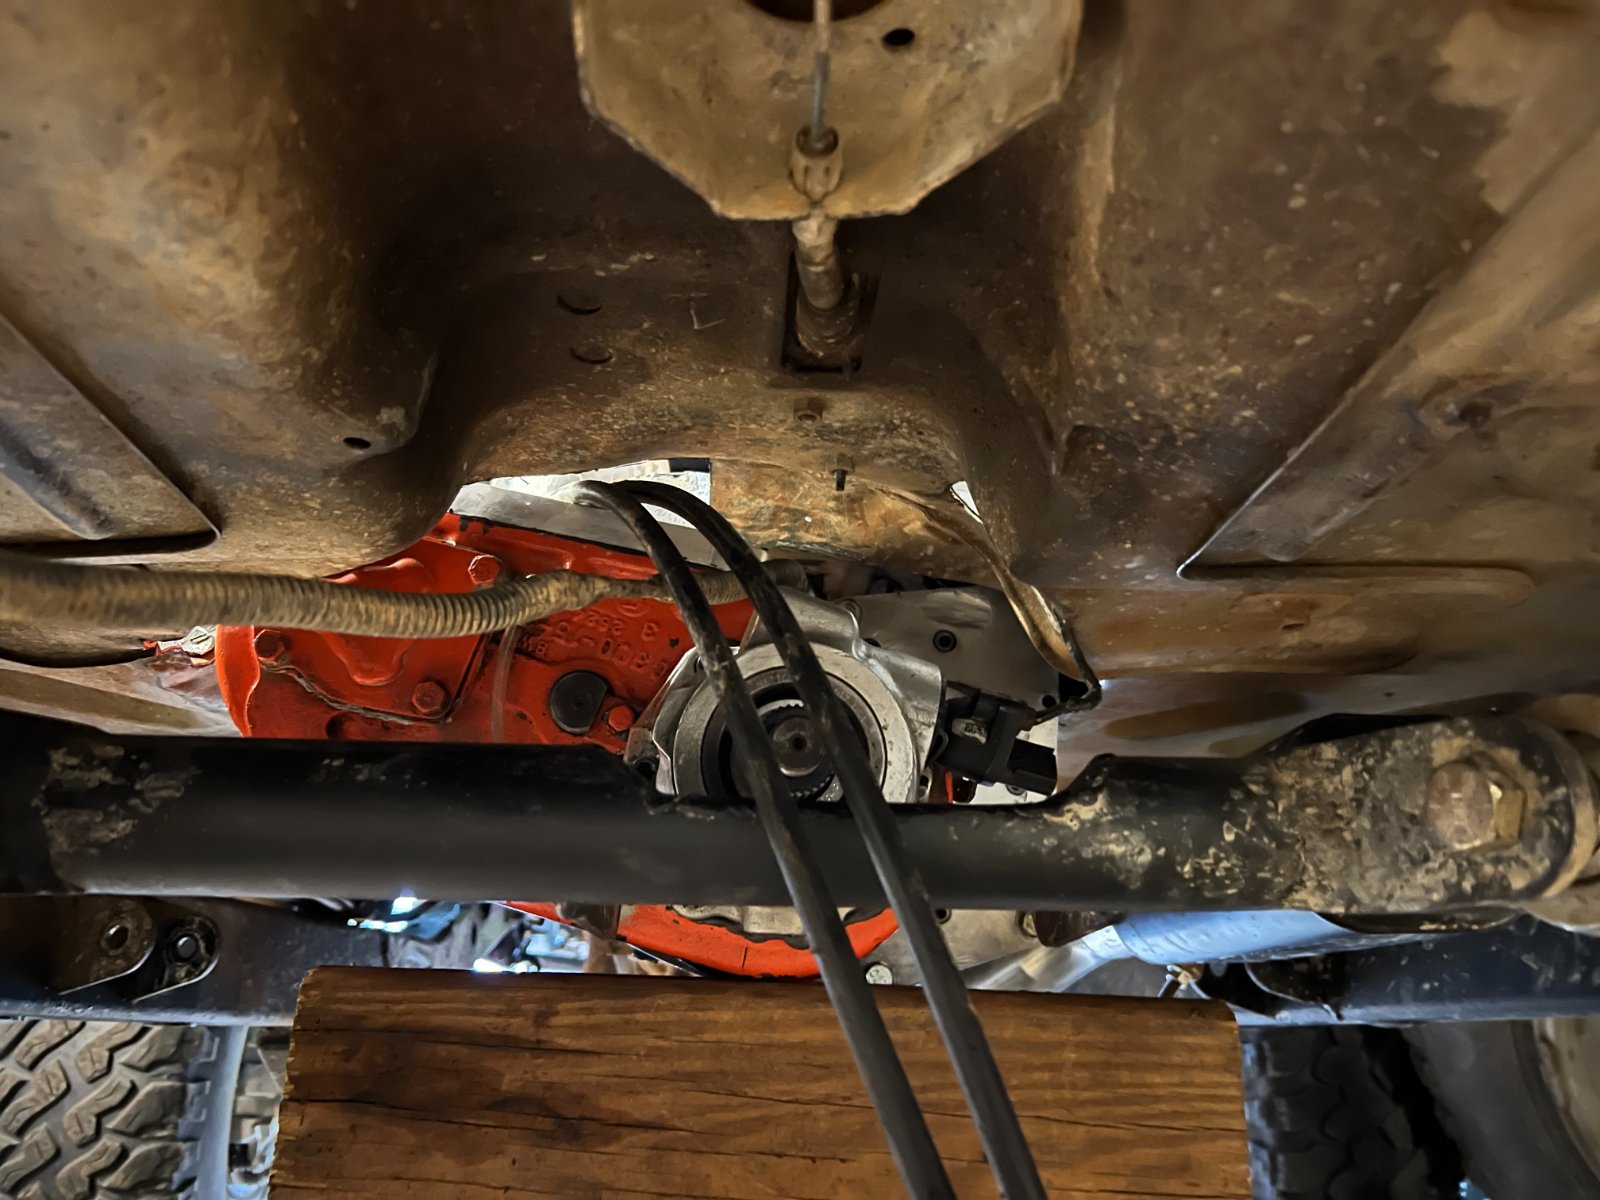
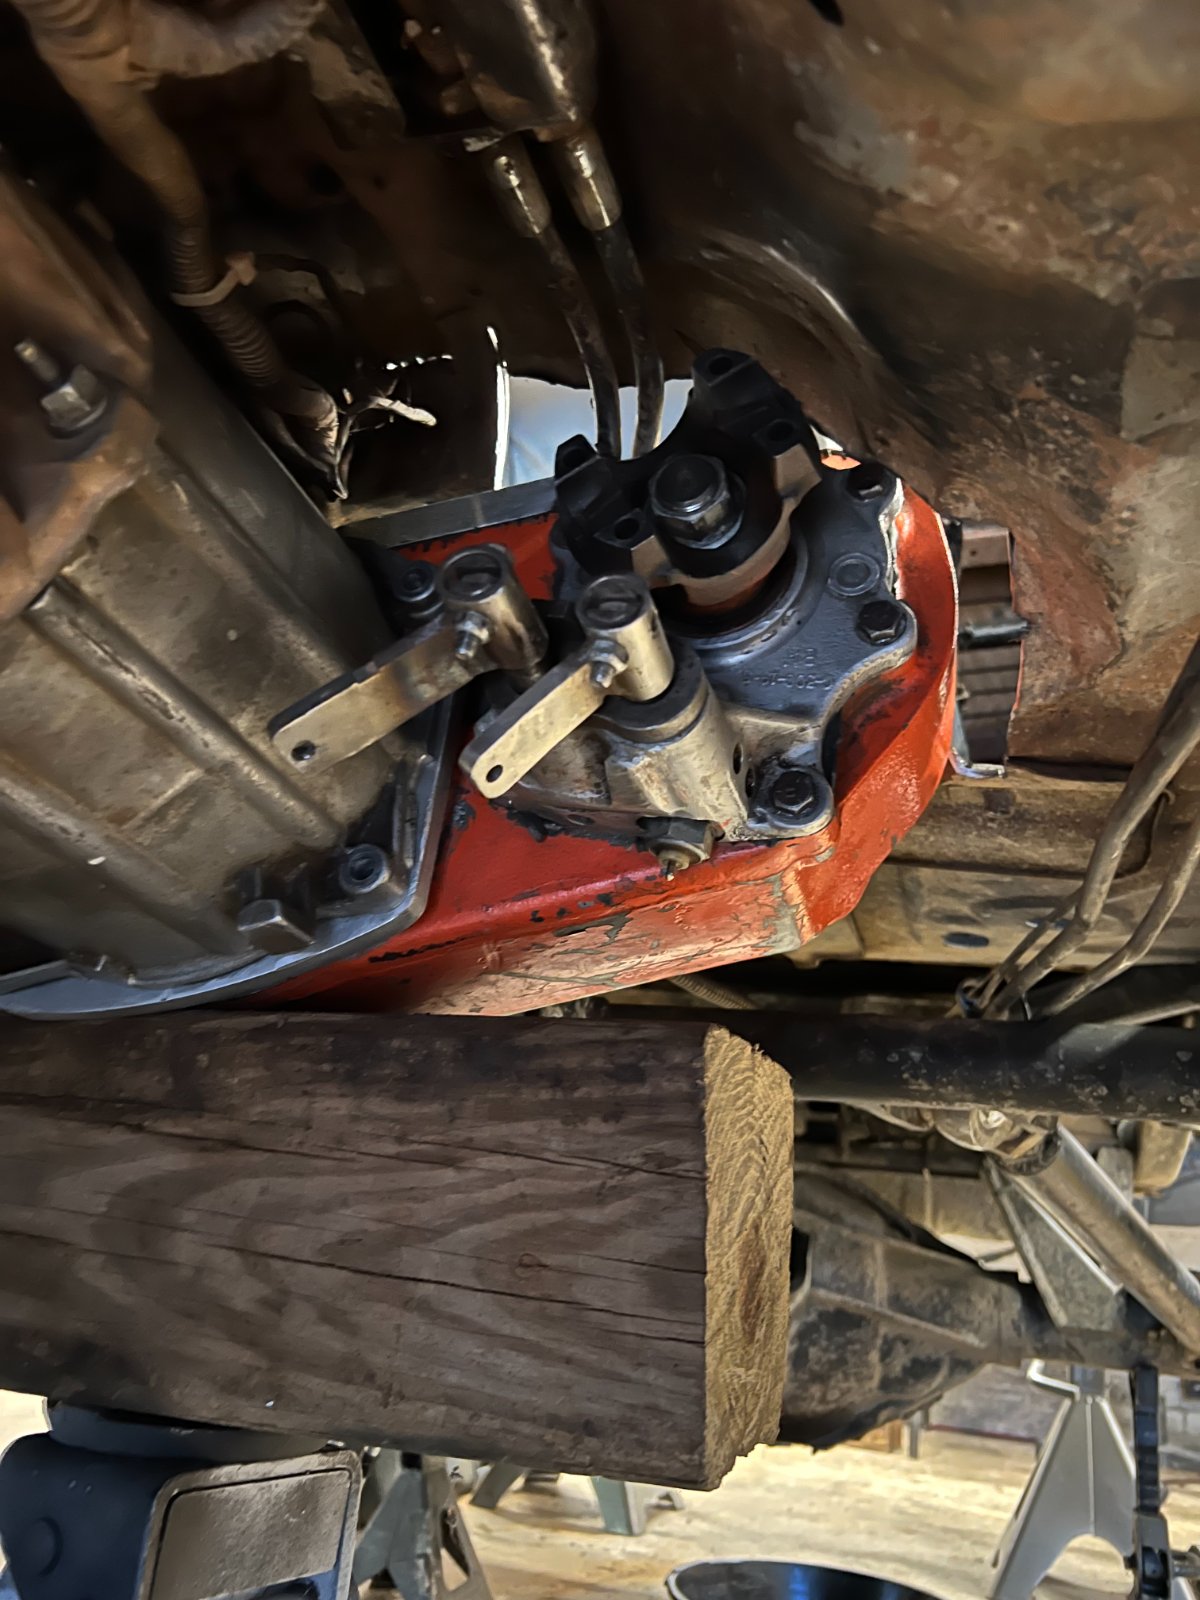
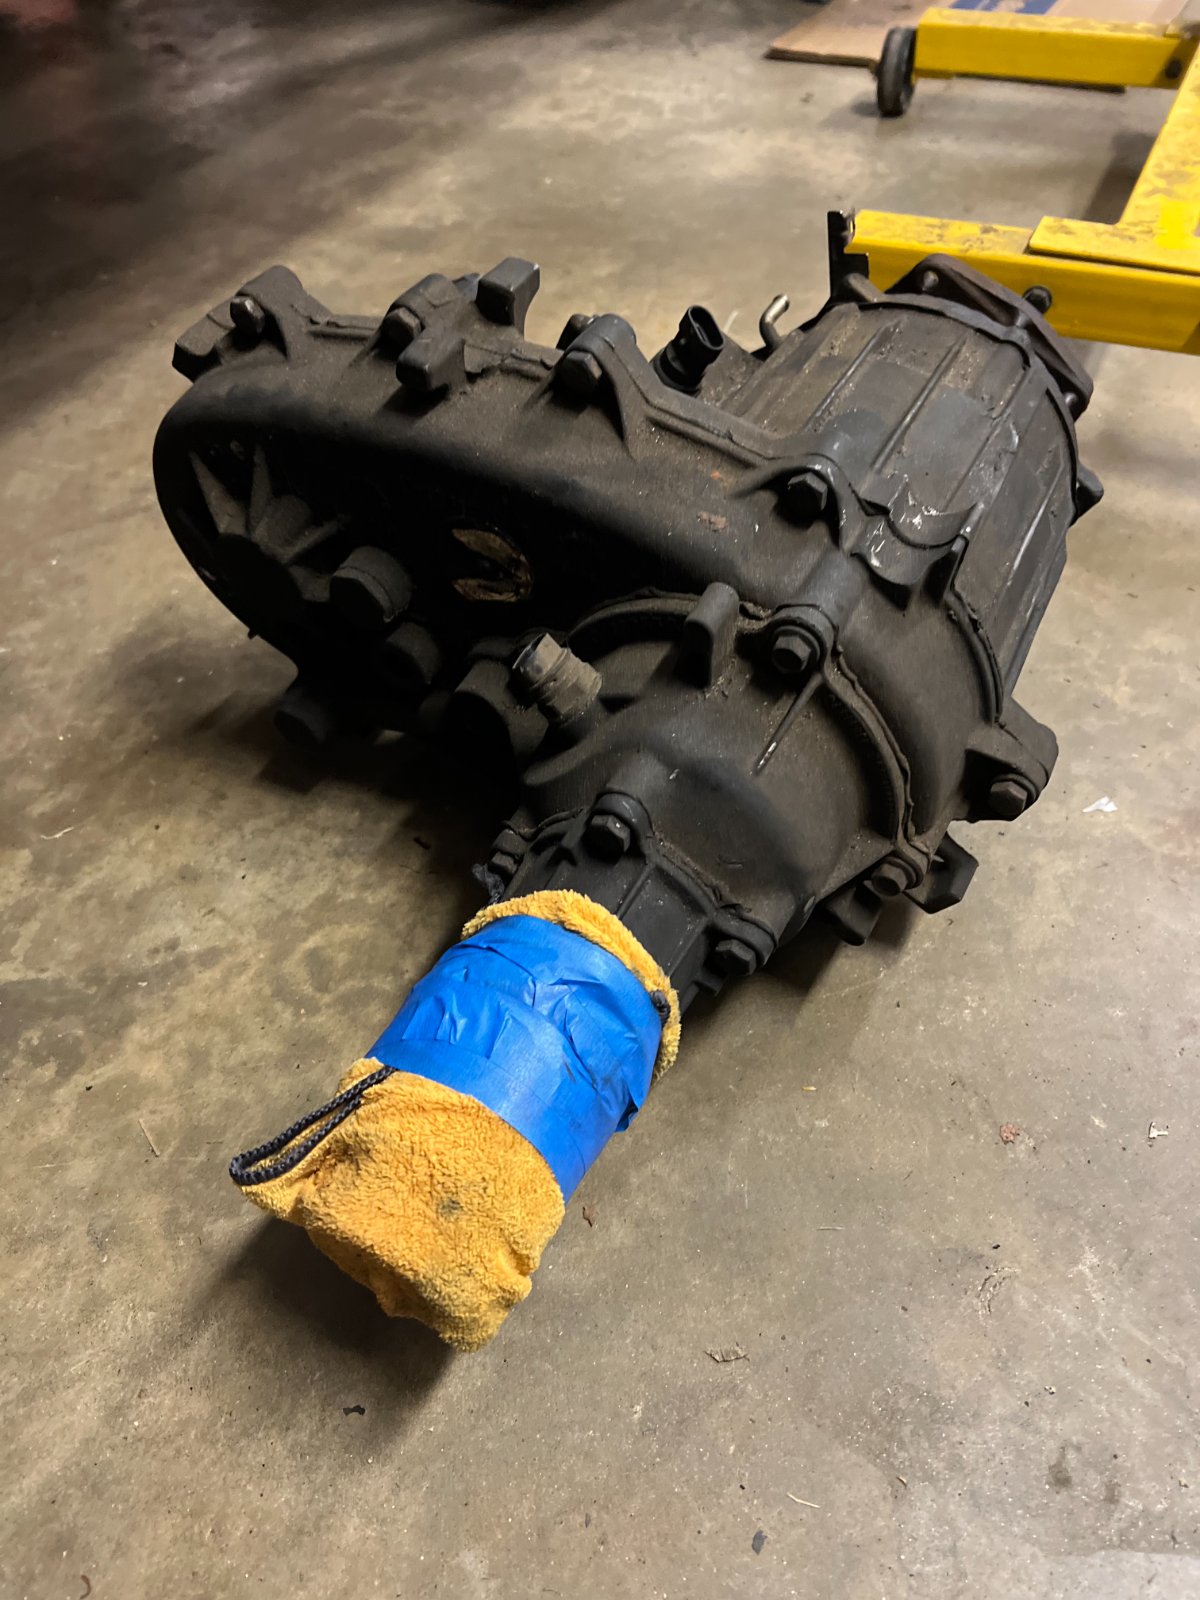
I had worked it out where I had just a about a 1/4 inch clearance around my front output, could install my driver seat and get back to a flat belly underneath. While the set up was cool, I hated this and it felt like more trouble than it was worth cutting up my Jeep unnecessarily. So I began exploring other options. Return to a 231 with an SYE or find a 241C from a chevy truck. I opted for the larger 241C and found one on marketplace. The dimensions were similar enough I was thinking I could fit it without changing my 4 link and other linkage components.

68497995406__45FACD65-904A-45FE-967B-5AD9C63D41C1.JPEG
 
Back
Top