GlipGlop
Well-Known Member
Took some thinking and bouncing some screen names off the gf. Finally landed on this one which felt appropriateYour screen name is hilarious. killer jeep to.

Took some thinking and bouncing some screen names off the gf. Finally landed on this one which felt appropriateYour screen name is hilarious. killer jeep to.
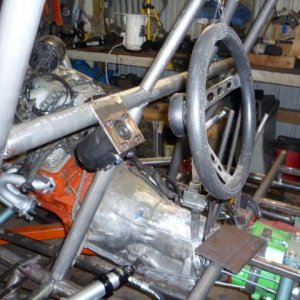
lol theres nothing quite like building a project as a broke college kid in your community parking lot. We were fortunate enough to have installed a 220v outlet close to the front door so the welder could get rolled out a ways into our "shop." I've since graduated and moved and now do most of my work in my single car garage but it can get cramped quick...Nice write up and truly representing wheeling in its finest I must say. Guess all of us with shops and garages need to quit *****in and just get to work.
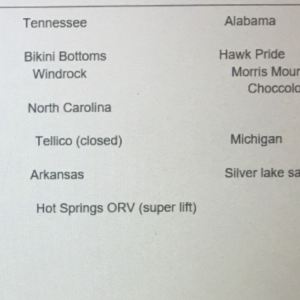
). Also note that I've got some wonky stuff going on in my steering to make it work so maybe that has something to do with it.I'm just out there fakin it til I make it man. Food was awesome. I think its time to get me an enclosed trailer! By the way, I still have a handful of photos of your rig from that Morris Mtn trip. I know its overdue but if you're interested let me know and I'll shoot them your way. Keep us updated on your LJ. I always like seeing how each one varies.Your LJ is turning out nice!
< That guy in the buggy can't drive for ****.
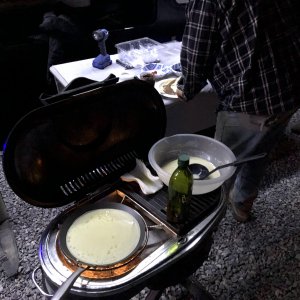
Glad you guys enjoyed the food.
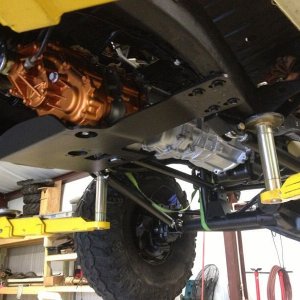
I currently building axles for my LJ at the monent. I'll probably do a build thread as well.
Just through them in the trail pics thread so we all can make fun of me.I'm just out there fakin it til I make it man. By the way, I still have a handful of photos of your rig from that Morris Mtn trip. I know its overdue but if you're interested let me know and I'll shoot them your way.
 It's now on my list of things to fix.