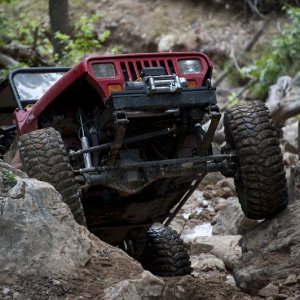
crash2
-Oh no I picked a side-
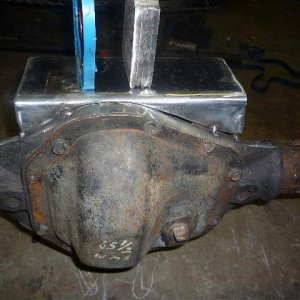
nice work!!! uh what do you need that hilux cab front clip? scaler? haha.
MINE there buddy :fawkdancesmiley:
nice work!!! uh what do you need that hilux cab front clip? scaler? haha.
MINE there buddy :fawkdancesmiley:
 ics:
ics:
:fawkdancesmiley::fawkdancesmiley:
Come on Mike, I KNOW there has to be some kind of an update on this thing... :corn:
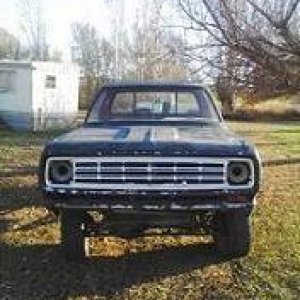
That's pretty cool :awesomework:


About time!!! :fawkdancesmiley: :fawkdancesmiley: :fawkdancesmiley:
Looking good Mike! :awesomework:
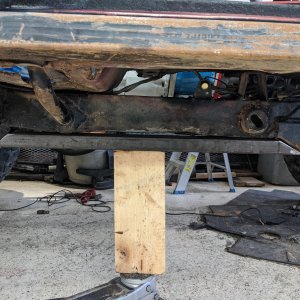
What's going on with the hollowed out skid plate? Just saving weight or you mounting something down in there?
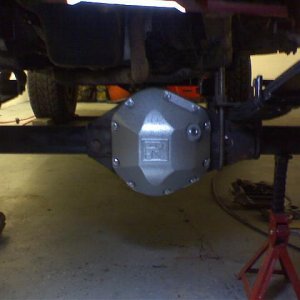
I told Shelby I want a set of Bully axles for my bday (which isn't until October) so I could build a new comp crawler since mine was outdated and was sacrificed to build my scaler, once I get those I'll have to send my knuckles up and have you drill them out for me.