Toy Story

Hardline Crawlers - Rock Bouncer Builds, Tech & Off-Road Trail Talk

Help Support Hardline Crawlers:

Well I have done a good bit or reading and learning and I decided to start today by finding all the connectors that are not being used by the stuff I have removed from the new motor like all the EGR stuff and VSVs. The truck does not have AC or cuise so things can get simple. My 1981 truck harness will provide all the wires to the gauge cluster for the tach, fuel gauge, speedo is cable, and coolant temp, volt meter is easy, and the Oil PSI is live copper tube.

I started at the new fuel tank and cut the 3rd gen connector off the harness for the gauge sending unit and spliced it on the end of my 1st gen harness. Fuel pump wires (one blue and one white) will run up the frame alone with the 1st gen sending unit wires. Fuel tank done!

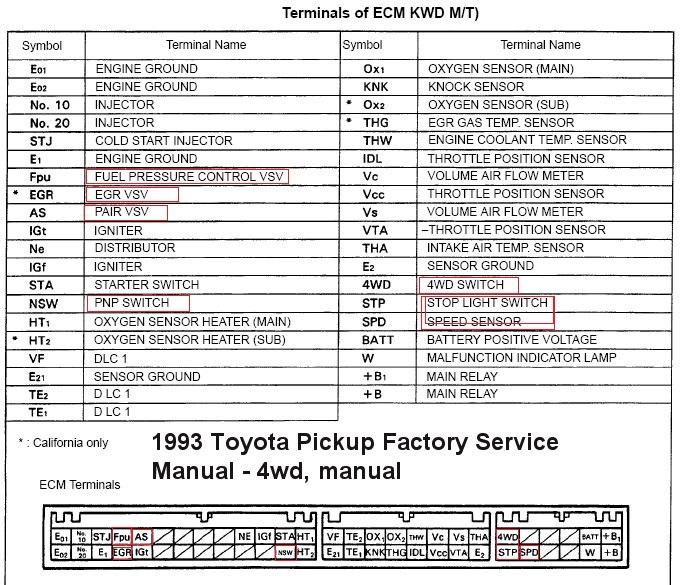
I Then took the engine harness off the motor, while unplugging connectors I know I need I labeled them for easy reinstall and so I don't flub up and remove wrong wires. I then removed all VSV wiring, 4x4 wires, electronic speedo wires to clean up the engine harness.

I also removed the PNP switch wire, the stop switch wire and the speed sensor wire... I hope I did good on this cause most buggy harness do not have such systems.

Believe it or not I was left with about 5 wires that come out of the dash harness grey plug and go to what looks like the steering collom area. This is where I will do more digging before I tie them into my truck. The white dash harness plug was completely eliminated from the system since this is mostly gauge wires.
 

Attachments

  • AFF6BB79-0298-4C9A-AA71-F2348553374F.JPG
    AFF6BB79-0298-4C9A-AA71-F2348553374F.JPG
    112.1 KB
There is one wire that will need spliced to the switched ignition power to trigger the relays for the ecm...THAT I remember. :redneck:
 
Did some side stepping today... got a few things done but I am taking my time doing things right. Got the 3rd gen fuel tank installed today and ran the 3rd gen pressure/feed line along the frame. I did some thinking and chose to use the 1st gen fuel gauge sender so I didn't have any issues in a week when I turn the key and my gauge don't work. To do this I had to use the 1st gen sender and the 3rd gen float and rod so it will clear the fuel bowl/baffle inside the tank. Maybe a bit of extra work but I know what I have now. I also took the time to bench test the pump and clean out the inside of the tank. I used the 3rd gen fuel filler neck also, it fits with a little man handling.

Tomorrow, my plan is the rough rout the wiring... I need to add a hole in the firewall, mount the ECU, pick up a few things at Napa, maybe do some more painting and cleaning of parts. I am hoping to have everything done and installed by next weekend so I can try and start it up.... we will see. I told my buddy that we will wear helmets and have the hose ready. :beer: :beer:
 
Got the new RE sitting in its new home this morning... Bummed about the Hawks but I am happy about life and the way this project is coming along. I'm excited to drive it and I hope that day is soon.
 

Attachments

  • image.jpg
    image.jpg
    88.1 KB
As an Amazon Associate we earn from qualifying purchases. Product prices and availability are accurate as of the date/time indicated and are subject to change.
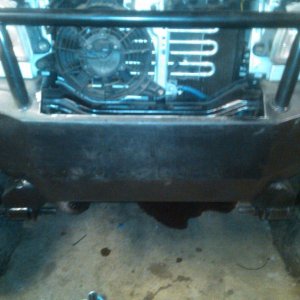
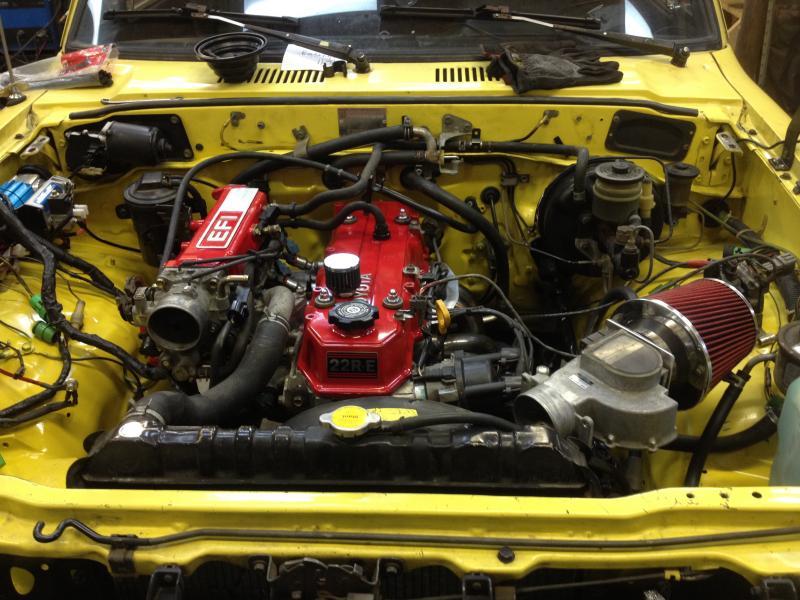
Got lots of stuff hooked up today before work. All fuel lines hooked up, installed starter and wires for it, installed alternator wires, routed and hooked up RE wire bundle for the drivers side items, MAF and coil. Got 02 sensor installed and wiring routed. Hooked up all vac lines and heater hoses.

Only things left to do now is cut the hole in the firewall and rout wires for computer and hook up the few wires to the ignition and grounds. I need to buy and install new belts on the motor also. I hope to be closer after tomorrow, goal is to have it running by the weekend and maybe do a test drive. :cheer: :beer:
 
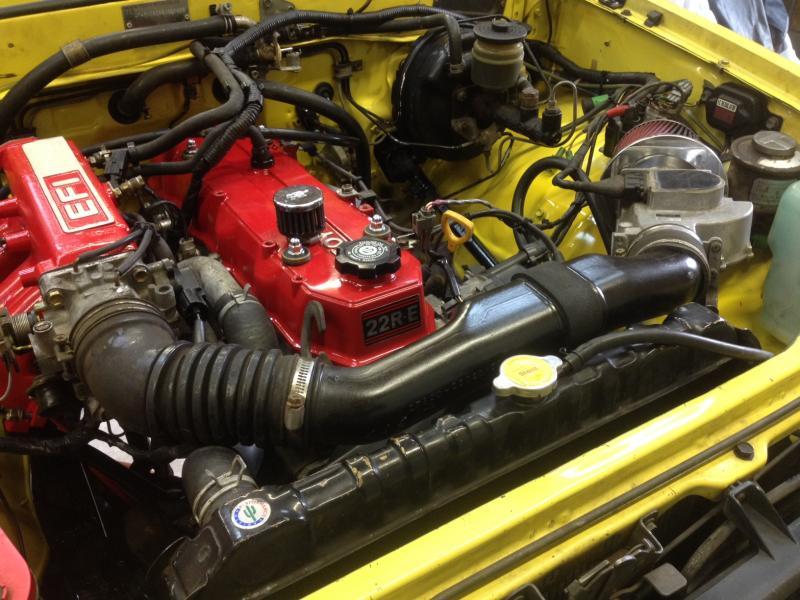
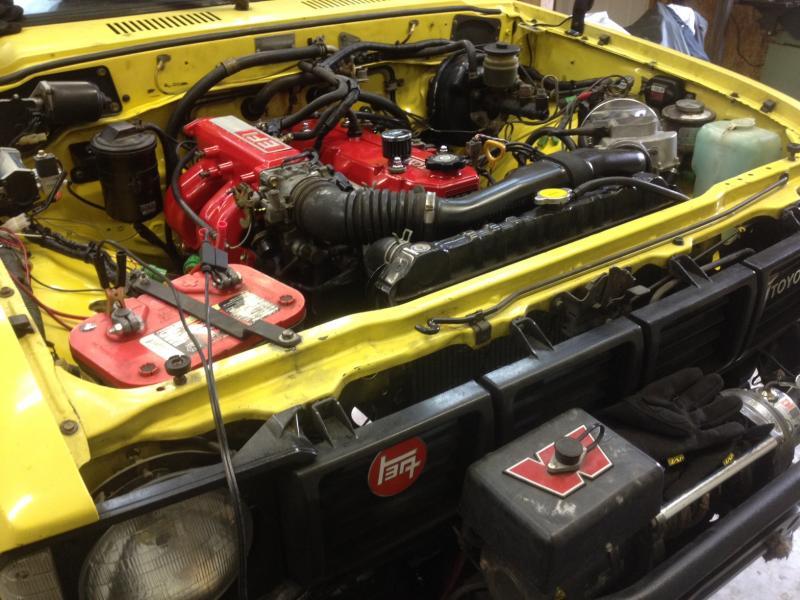
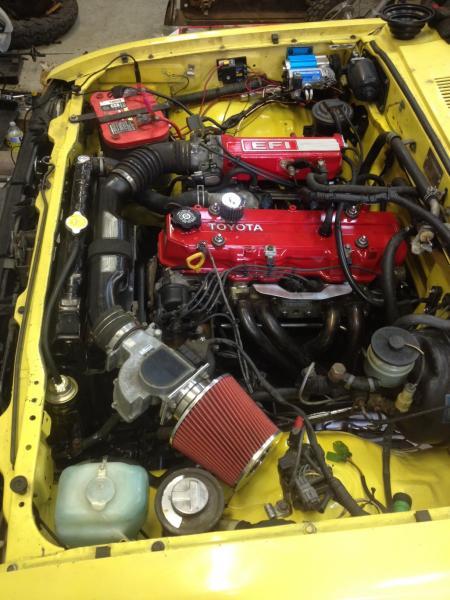
Ok, been working on all the little invisible finish work the last few days. I am waiting on a friend to give me some info on the last few wires I need to hook up. Wiring gives me a headache. Anyway, here is what it looks like now.... almost too clean. :beer:
 

Attachments

  • IMG_3303.jpg
    IMG_3303.jpg
    83.9 KB
  • IMG_3304.jpg
    IMG_3304.jpg
    81.1 KB
  • IMG_3301.jpg
    IMG_3301.jpg
    53.4 KB
I have finished the 22re swap to the point where my knowledge runs thin and I am waiting for help to arrive this coming Saturday to finish the wiring and get it running. Thanks Bill for hooking me up with Phil, he is an awesome dude!

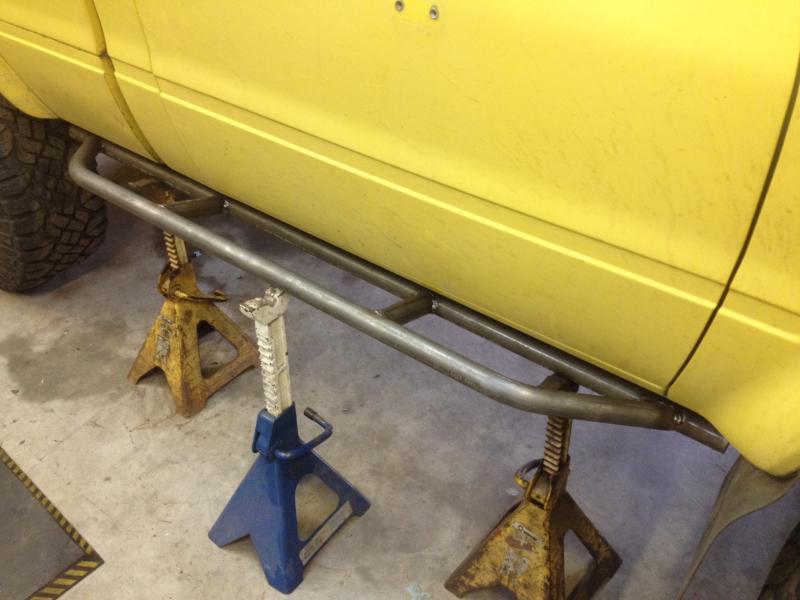
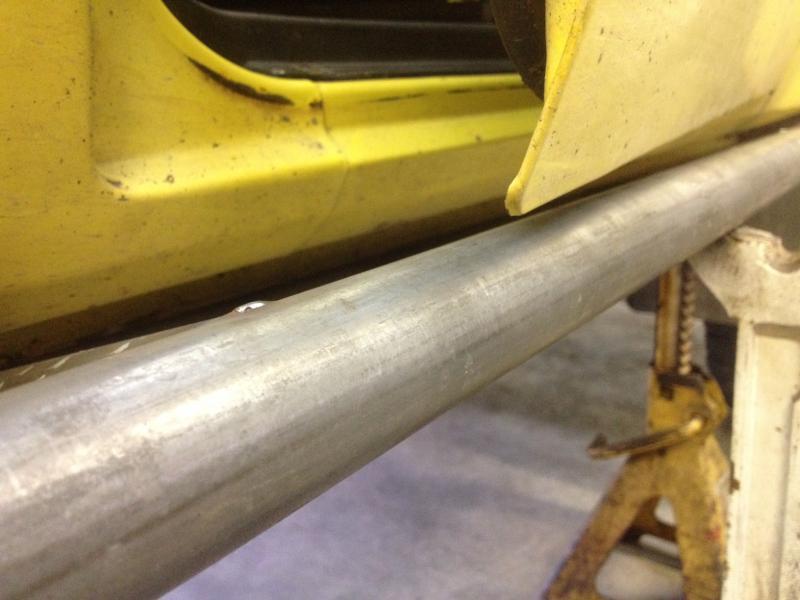
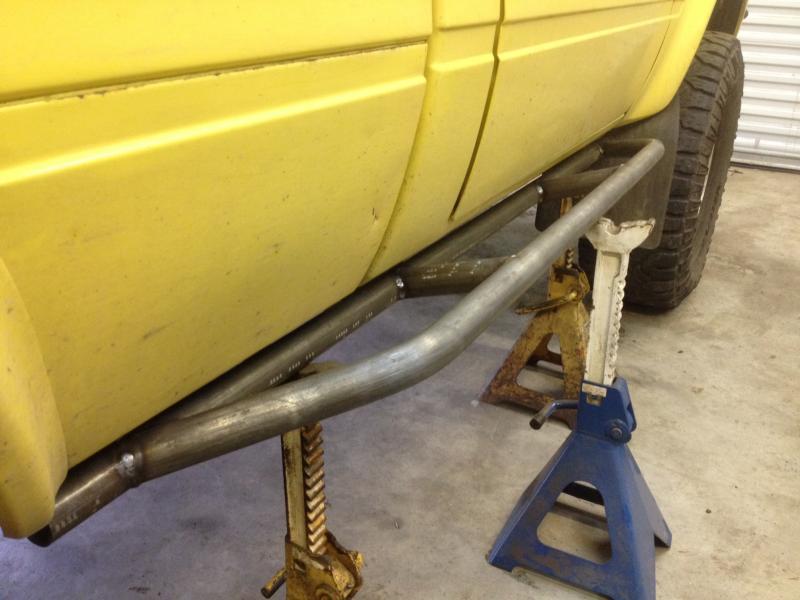
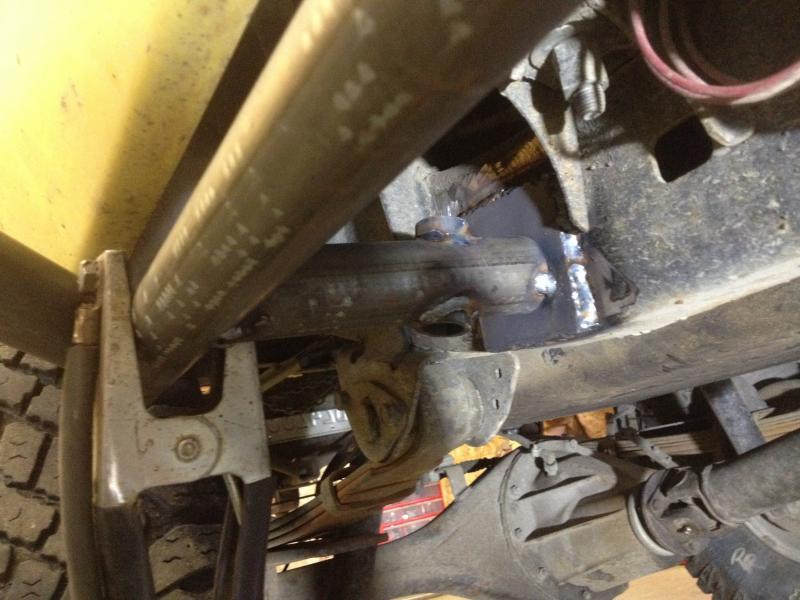
I am spending the meantime doing other little fix-it stuff and building some body protection... more for looks of course, cause I wont be wheelin this thing... :stirpot:
 

Attachments

  • IMG_3325.jpg
    IMG_3325.jpg
    50.1 KB
  • IMG_3326.jpg
    IMG_3326.jpg
    60.2 KB
  • IMG_3327.jpg
    IMG_3327.jpg
    46.1 KB
  • IMG_3328.jpg
    IMG_3328.jpg
    51.3 KB
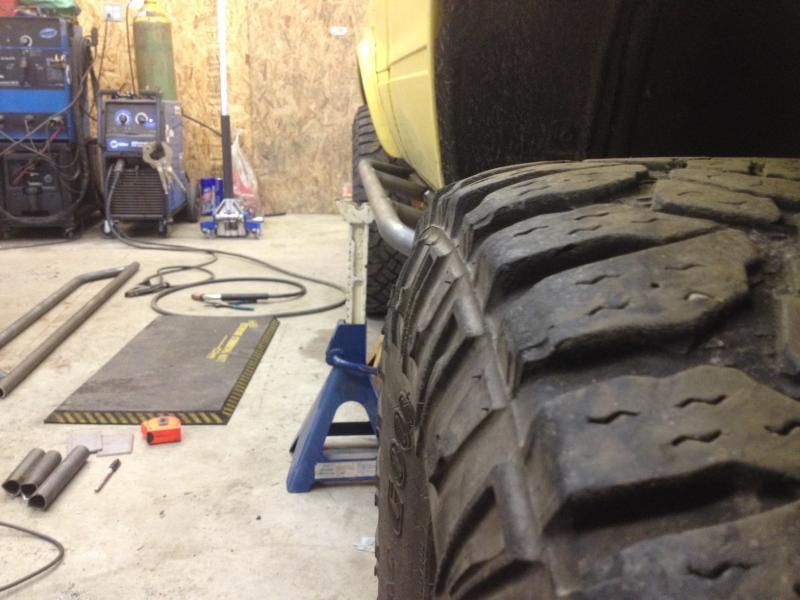
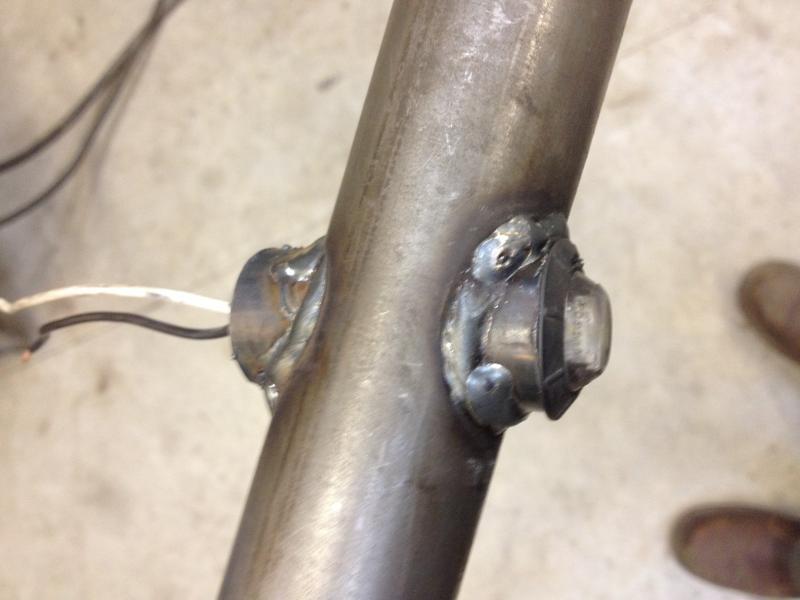
Pugging away on the sliders... I scrapped a few chunks of tube today so I had to do some redoing but all is good now. I bored into the 3 mounting tubes with some 1" DOM to mount the 3/4" LED lights for rock lights... should be handy for those night ops.
 

Attachments

  • IMG_3332.jpg
    IMG_3332.jpg
    38 KB
  • IMG_3334.jpg
    IMG_3334.jpg
    63.6 KB
Well, it runs and runs good!!! I got a few little issues like the oil pan leaks like crazy but everything else is all hooked up and working as it should. I'm very happy with the 22re swap.
 
Now that it is done time to sell it. Put me in line for takers. Great build will be a blast to take out on trails or town.
 
Oh its never done... there is always little stuff I want to do to it but Its nice to have most of the big stuff done. I love this damn truck too much to sell it, the wife says its part of the family. :redneck:
 
Glad it worked out for you:awesomework:

Ya Mark! Thanks a lot for the motor and the help along the way. Phil did a great job on the wiring and got it all fired up on Saturday. Ill let you know when I get the little stuff fixed up and maybe we can go take a drive! :beer:
 
Well since Saturday I have been getting really good at removing the oil pan on this thing. Finally got the pan to seal up with Factory Toyota FIPG. Its the only thing that seemed to work. Now with the pan not leaking I could see other hidden issues. It seems the last owner of this motor was hardly an auto tech. This person that I have dropped the F bomb on quite a few times today chose to cross thread 4 bolts and leave 3 bolts loose in the timing chain cover when they replaced the chain. Chain cover leaks on the drivers side enough to create a pool of oil at idle and cover the underside of the truck in a few min drive.

I have the front end items removed as of today. I am going to drop the pan for the 4th time tomorrow morning and remove the TC cover, inspect and replace items as needed. I wanted to make sure the PO installed metal backed guides also. What a royal ass ache!
 
Don't forget to silicone the top of the cover when it goes back on. They'll bleed if you don't!

I use ultra gray rather than factory FIPG nice I can buy it locally and I've had great luck with it.
 
Don't forget to silicone the top of the cover when it goes back on. They'll bleed if you don't!

I use ultra gray rather than factory FIPG nice I can buy it locally and I've had great luck with it.

Ya I have some Ultra grey also but plan to use the FIPG cause its already open. I was able to get everything removed and cleaned up today. I got a new gasket kit and I have the water pump installed on the TC cover right now. I ran out of time cause I had a keg of beer to install and test. :beer:

The dude before me was a real hack.. I also found out that the cam was a tooth off from TDC. :looser: Its been an interesting few days.
 
Last edited:
The dude before me was a real hack.. I also found out that the cam was a tooth off from TDC. :looser: Its been an interesting few days.

Dont go off the timing marks. If the head been milled it will roll the cam over and give a funky lineup.


Count the links.
 
Dont go off the timing marks. If the head been milled it will roll the cam over and give a funky lineup.


Count the links.

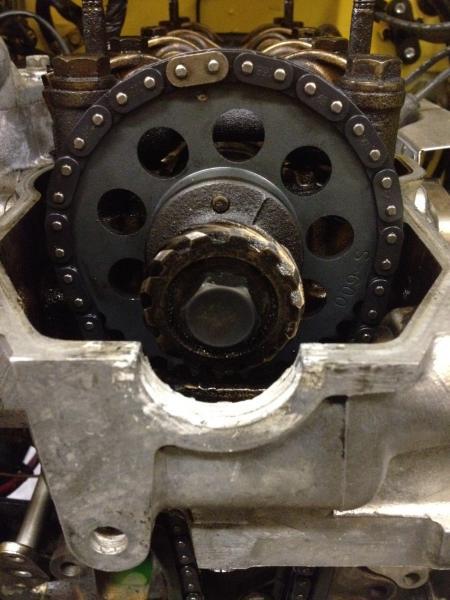
Im not sure what the link counting method is. I put the bright colored links at the bottom of the crank gear and the top one at the dimple in the cam gear. I had to advance the cam 1 tooth to do this. The key in the cam was pointing quite a bit to the passenger side when the crank was set at TDC.
 
When looking at the cam gear, the mark/pointer should be slightly off-center to your left when looking from the front when the crank is at #1 TDC...
 
When looking at the cam gear, the mark/pointer should be slightly off-center to your left when looking from the front when the crank is at #1 TDC...

Yes I know that, and it is now. Before it was ALOT left! The notch/keyway for the cam gear is at 12 o'clock now and the dimple and bright colored link is now at the 11:30 area. Ill snap some pics of it in the morning. I have checked DTC about 10 times, I have the number 1 plug removed to check piston since I have the pulley and cover removed now. With the cam 1 tooth off how would the truck act? It felt like it was a slug compared to the 22r I just removed.
 
Woodruff key on the crank at 12 o'clock straight up is TDC. That should put the cam pin slightly to the passenger side of the top. Roughly where the hour hand is at 11:45. I've never counted a link or paid attention to the bright links, ever without issue. :redneck:


A whole tooth retarded would absolutely kill your bottom end and depending on ignition timing it would likely cause the computer to retard the timing severely.
 
Last edited:
Ok so here is a pic on how the cam is sitting now that I have moved it one tooth. It is at TDC in this pic. I have not buttoned it back up yet so I could change it if it looks odd to more trained eyes.
 

Attachments

  • IMG_3359.jpg
    IMG_3359.jpg
    43.7 KB
Well I got it all back together yesterday and let the FIPG dry over night, filled it with fluids today and fired it up. No issues at all, got it all timed and topped off. I also did a valve adjust while I was in there. Damn thing runs great, way more power.

What I think the PO did was when he hacked at the timing chain and installed it a tooth off on the cam he also had the dizy a tooth off cause I marked it when I removed it. Me thinks this made it run "ok" but not the best. I could feel something was off for sure. No leaks, and runs like a pro now.

On to the next phase :stirpot:
 
Back
Top