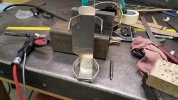
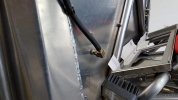
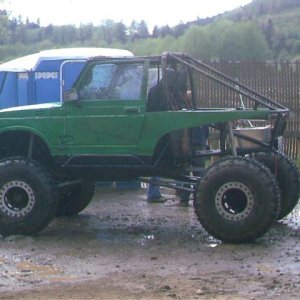
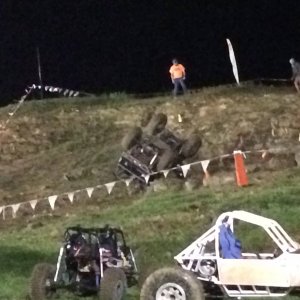
crash2
-Oh no I picked a side-
You musta missed the pics above mike :redneck:
And mine will be done before yours :haha:
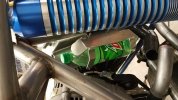
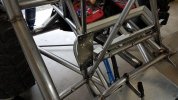
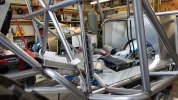
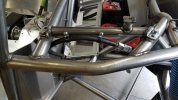
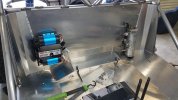
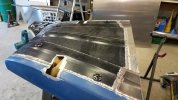
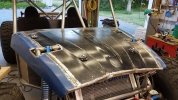
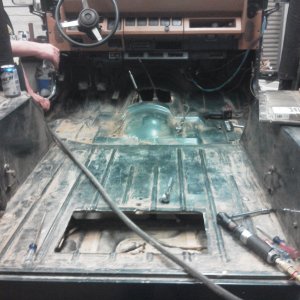
And a few ideas for something on the floor as the foot area... more to come
And mine will be done before yours :haha:
And a few ideas for something on the floor as the foot area... more to come