-
Help Support Hardline Crawlers :
You are using an out of date browser. It may not display this or other websites correctly.
You should upgrade or use an alternative browser.
You should upgrade or use an alternative browser.
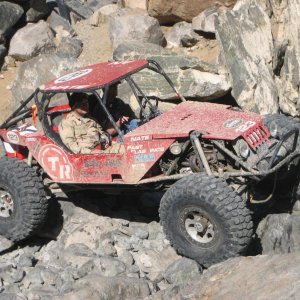
Finally....Da new rig..
- Thread starter crash2
- Start date
crash2
-Oh no I picked a side-
crash2
-Oh no I picked a side-
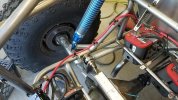
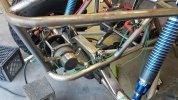
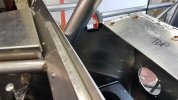
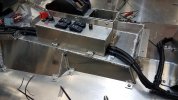
I got the batteries all wired up and the 2/0 main cable started running forward to the center of the chassis. I will finish that later once I get a bunch of interior stuff done up and started pulling panels...
Attachments
crash2
-Oh no I picked a side-
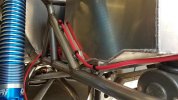
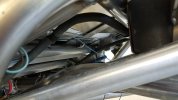
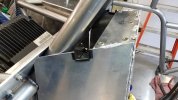
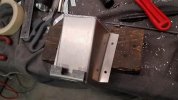
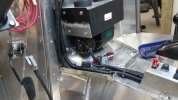
So I got all the tabs done for the rear to front harness. Once the harness meets the trans cooler lines it will just follow it to the fuel pump and I will figure it out from there when I hit that point.
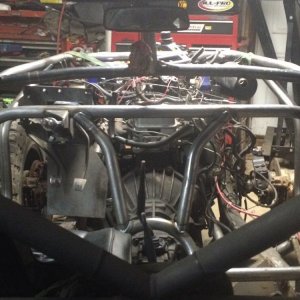
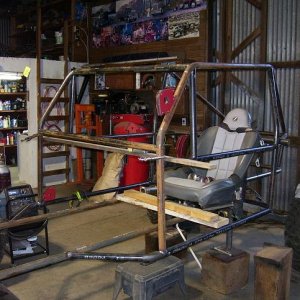
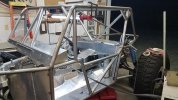
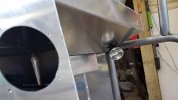
So all the metal work is done on the rear except the tabs for the body panels.
So all the metal work is done on the rear except the tabs for the body panels.
Attachments
crash2
-Oh no I picked a side-
crash2
-Oh no I picked a side-
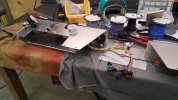
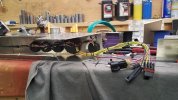
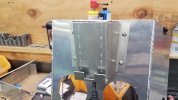
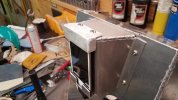
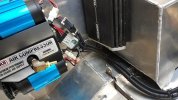
So time for a little fun and one thing I really do enjoy doing. Now my plan is to build the rig in a modular fashion as much as possible so I will be doing as much wiring as I can that can be torn apart for paint. I got the dash top wired up.
Attachments
crash2
-Oh no I picked a side-
crash2
-Oh no I picked a side-
crash2
-Oh no I picked a side-
crash2
-Oh no I picked a side-
Thanks Happy...:cheer:Great job. I always love seeing your work.
crash2
-Oh no I picked a side-
crash2
-Oh no I picked a side-
crash2
-Oh no I picked a side-
crash2
-Oh no I picked a side-
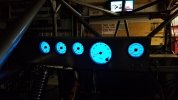
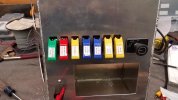
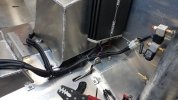
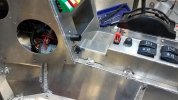
I figured it was a very wise idea to label the damn switch's because there is no way I will remember what is what,lol.. My toy had like 5 and I was always forgetting what was what.
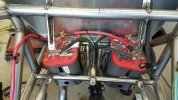
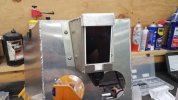
I also got the center console wired up. The feed wires to the master ignition switch will come from a separate loom.
I also got the center console wired up. The feed wires to the master ignition switch will come from a separate loom.
Attachments
crash2
-Oh no I picked a side-
crash2
-Oh no I picked a side-
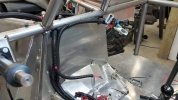
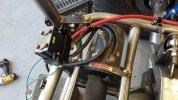
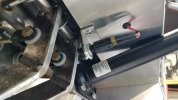
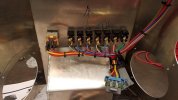
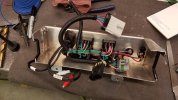
Now onto the cab wiring. I always prefer to start at the end and work my way forward so I started at the compressor and worked from there.
My plan is to totally complete the wiring in the cab so I can simply pull it out for paint.
My plan is to totally complete the wiring in the cab so I can simply pull it out for paint.
Attachments
crash2
-Oh no I picked a side-
crash2
-Oh no I picked a side-
crash2
-Oh no I picked a side-
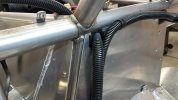
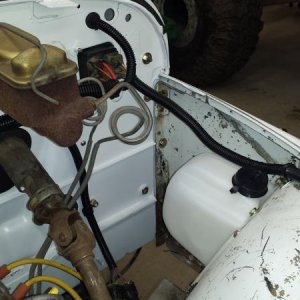
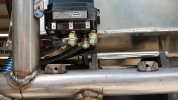
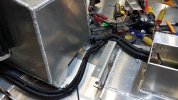
So I ran the wiring thru the firewall in 2 spots, one being the main feeds and other the rest of the wiring. I went and simply notched the top of the panel so the panel can be lowered (just enough room) and the wiring pulled forward.