• Help Support Hardline Crawlers :

Hot PSC steering pump

Just did a search on the orbital valve I have and ,,wel this one wont be getting thrown away at $531 dollars new value..I'll try to find a farmer/forklift needing one and sell it before I tear into it. Just have to figure out where to find a buyer..lol
 
i bought a used equipment forktruck orbital and it did sam thing, cause it was closed center and i didnt know except pump would start smoking in few minutes! it retaild like 630$ but was junk to me!
 
I have a orbital off of a forklift. I checked the numbers to see if it was closed or open. Book says it is a load sensing orbital. It has 5 ports and has a priority valve that it hooks up to. Will this orbital work on a crawler?
 
THat sounds like the closed center unit. It will have to be drilled out like the link above outlines in order for it to work without destroying the steering pump.
 
sounds like the 1 ive got, 5th port on the side of orbital?
 

Attachments

  • 001 (Medium).JPG
    001 (Medium).JPG
    184.4 KB · Views: 92
that looks like it. It is designed to use with the priority valve. when the steering is not being used the valve sends available fluid to the lift controller on the fork lift. I guess I could run the lift controller port back to the reservoir. it's a high pressure line so it may blow the top off of it. It was free so I will try and drill it out, nothing to loose.
sounds like it might work good for a rear steer axle providing the controller for rear was an open center.
 
Ok guys, I'm starting on the work to make this closed center an open center...
Here is the orbital/metering unit/ steering valve taken apart..
orbital.jpg


Here you can see the neutral marks just to the right of the springs if you look close..
orbitaltop.jpg


These are the holes I will be drilling through to the center in order to open it up and make it work in my steering system.
workarea.jpg


Here it is without the penciling showing which holes to mark through..
orbitalpart.jpg


I'll get a pic it seperated and marks on the inner piece and after the holes are drilled before putting it back together...
 
Make sure and keep your hands away from the steering wheel when you fire it up the first time, if the orbital gets out of time it could slam hard one direction or the other.
 
thanks but how do u know which holes to drill? i gonna take my extra orbital apart and drill it out to open or fawk it up :popcorn:
 
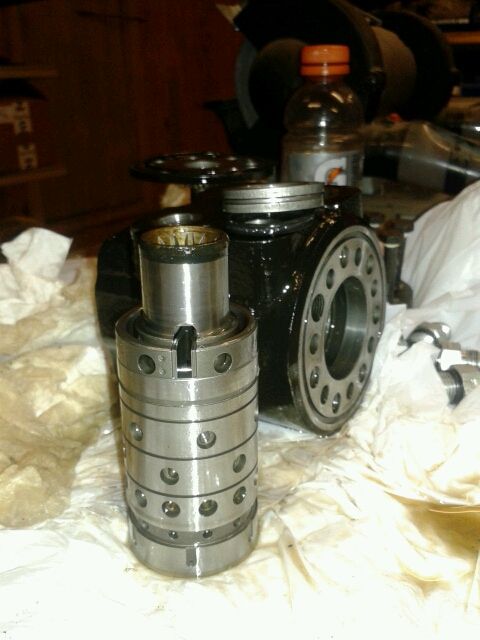
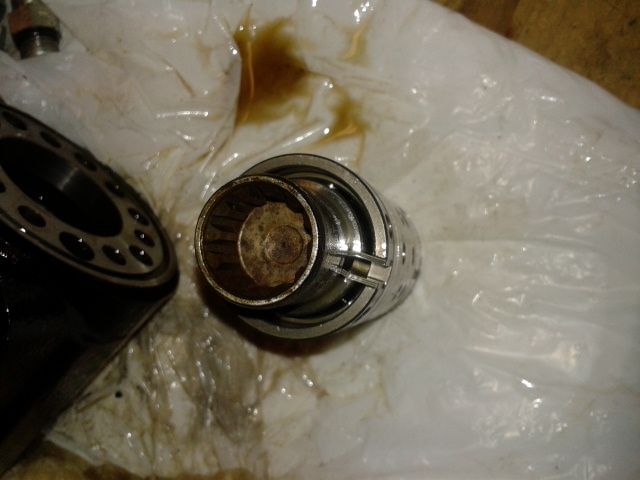
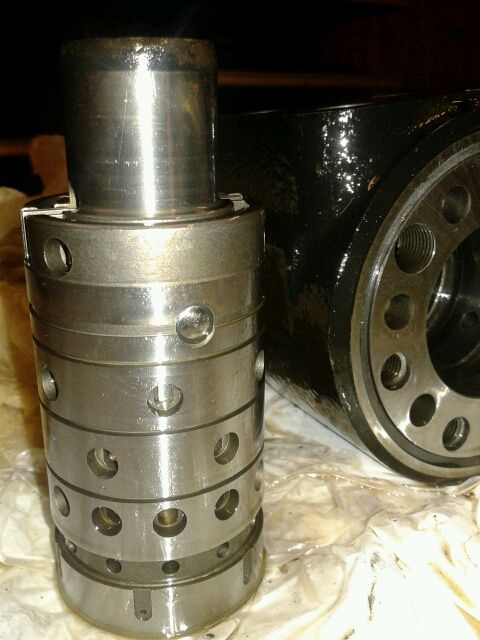
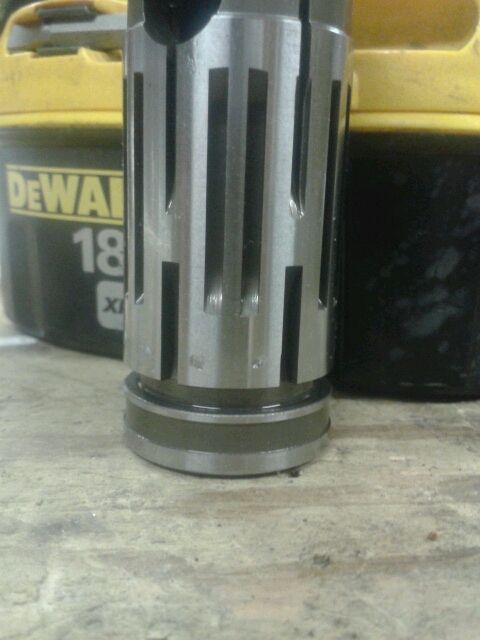
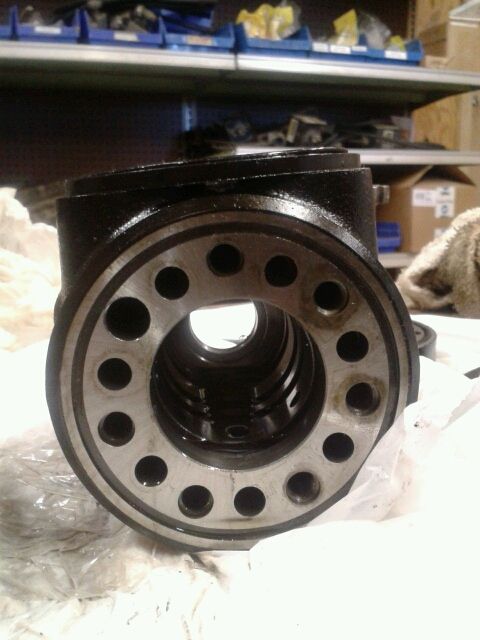
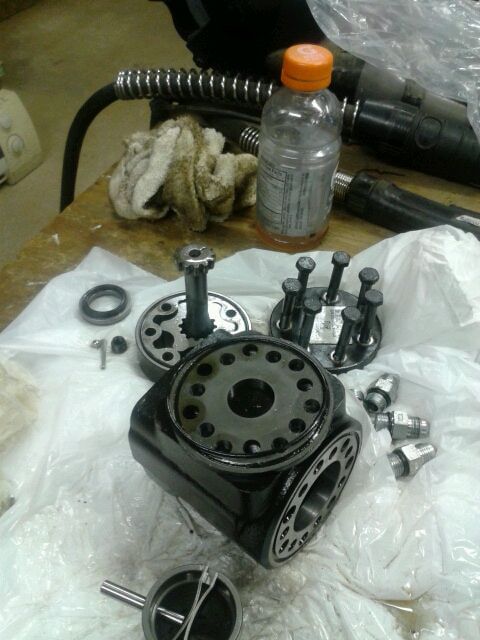
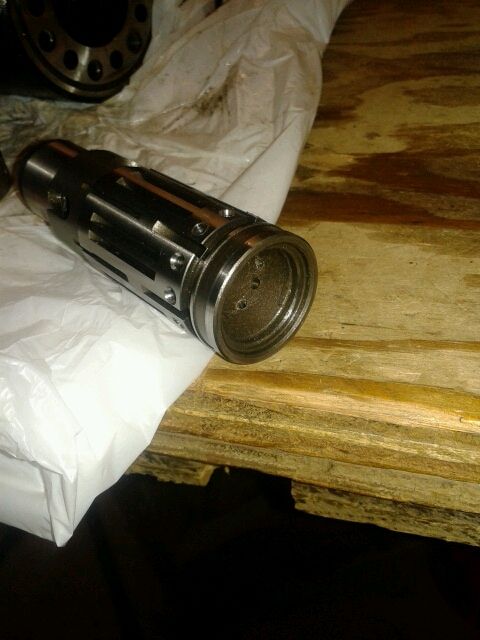
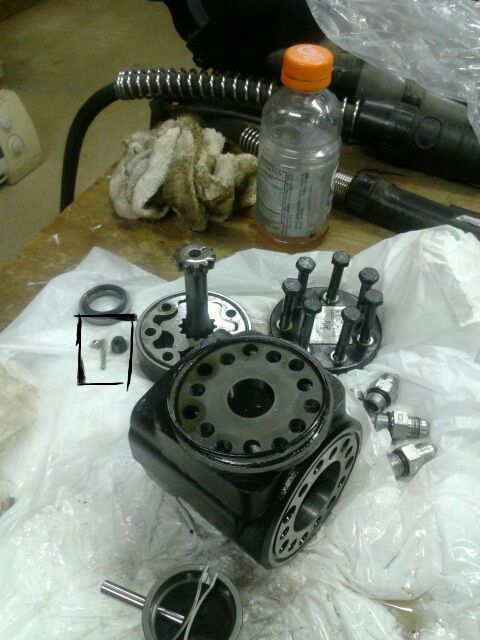
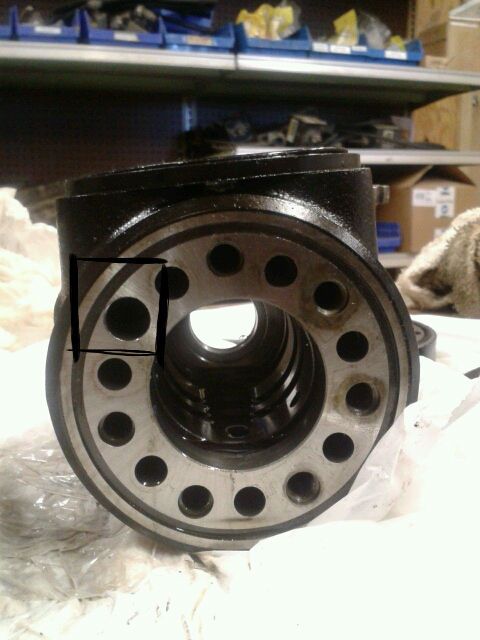
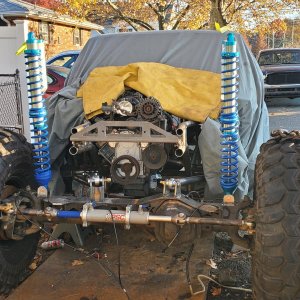
I've been conversing with the guy in the thread from MTU "crash" and getting the info from him... Those holes around the groove that I have circled are the input holes. THe fluid comes in those and then is directed to the other ports through slots as the steering is turned in either direction. As it sits still there are no slots for the fluid to move through, therefore causing the fluid to hit a dam with constant pressure of more fluid being pushed at it. I'm sure you understand that part, but posting it for those like me who didn't understand it at first. I will get a pic of the spool and the slots I'm referring to today and post it up. It's up at the machine shop waiting on them to get freed up to drill it for me.

BTW, crash is a super nice guy and was very eager to help with this, so I told him to please copy and paste the pics to their thread seeing as it was the only one that came up when searching for doing this. Maybe even link this thread in theirs...
 
Here is the spool that is inside the sleeve. Here you can see the different slots that the fluid goes through to the upper sections.. also you can see the indents/marks I made between the lower holes where it will be getting drilled.
spool.jpg
 
Re: Re: Hot PSC steering pump

Thank you for posting this. Good tech!

Sent from my DROID BIONIC using Tapatalk 2
 
Re: Re: Re: Re: Hot PSC steering pump

patooyee said:
Thank you for posting this. Good tech!

Sent from my DROID BIONIC using Tapatalk 2

I agree. I've always wondered what the guts looked like.
 
Here is the spool after we drilled 7 holes through the harden steel. Destroyed 5 carbide centering bits just to drill those... Should have it all back together and hoe to get it installed tonight..
spooldrilled.jpg
 
I got it all put back together, but had to make a call to Eaton for clarification on the needle and ball in this pic at the top left corner I put in the square...
ballandneedle.jpg


I couldn't remember which came out of this hole first...
bolthole.jpg


Found out it is the ball then the needle(roll pin) then the helio thread....

Thought I would post this info for anyone who has a short memory like I do and can't remember where all the moving parts go...I really didn't want any extra parts after putting this back together.... :****:
 
Top